Micro Armour: Fielding the GHQ M7 Priests and Infantry Heavy Weapons

m7priest

The 105mm Howitzer Motor Carriage M7 was a powerful invention to support infantry forces during World War II with a combination of a heavy artillery gun, tracked mobility and armor. Christened the ‘Priest’ by British forces due to its round pulpit-like machine-gunner’s ring, the M7 saw service in North Africa, Italy and Normandy and had a powerful showing during the Battle of the Bulge in the winter of 1944-1945.

GHQlogo

I’ve been wrapping up a bunch of lingering modelling projects at multiple scales for the past two months, and I found I still had a number of 6mm models from GHQ to wrap up. Every time I go back to 6mm from my usual 15mm and 28mm modelling, I’m reminded of how much I love working at the micro armour scale. I’m a big fan of how Priests look with their boxy profile and huge gun, and even at the micro scale the GHQ M7 models have a bunch of detail. Finishing these models involved just a quick shot of olive drab armor base coat spray was followed by a brown wash and some dry brushed highlights in a lighter green. Decals add that last bit of detail before the bases are flocked and the models get a matte coat finish.

IMG_0793GHQ M7 Priests

I also had a pack of GHQ US infantry heavy support weapons on hand to add to my other existing ground forces. The M2 mortars and M1919 light machine guns wound up with a pretty tiny, low profile on my flocked washer bases, but they fill out my infantry with flexible support. Along with my new Priests, my tiny US force is diversely equipped for some micro action.

IMG_0797GHQ M2 Mortars

IMG_0795GHQ M1919 Machine Guns

Flames of War: Fielding the 8.8cm FlaK 36 Platoon

8.8flak2

One of the most common, flexible and deadly weapons used by German forces in World War II was the 8.8cm FlaK 36 gun. Building on earlier models from the late 1920s and early 1930s, the piece could be used for both anti-aircraft and direct anti-tank fire. Known commonly as an “Eighty-Eight,” this iconic artillery was encountered on battlefields from Africa to the Eastern Front to the coast of Normandy in both fixed defensive positions or in support of mobile ground forces.

FOW88flakI’ve been away from modelling any Flames of War miniatures for a while, but I’m planning on running a couple historic beginner games at the HMGS Fall In! convention in Lancaster, PA in early November. One of the scenarios, Sint-Oedenrode, requires some 88s, and I’ve long relied on loaners from other members at Metropolitan Wargamers in Brooklyn, NY. I figured it was high time I add these weapons to my 15mm collection, so I ordered the set from my go-to supplier The Warstore and the box arrived in just over a day.

IMG_0777

IMG_0776

The models, including two metal 88s, a resin Sd. Kfz. 15 command car, two resin Sd. Kfz. 7 half-track tractors and a ton of crew and bits, glued up quickly on the marvelous cast scenic bases I’ve come to expect from FOW designers. My German painting goes pretty quickly with a black spray primer coat followed by some dark grey brushed on as base for uniforms, vehicles and guns.

IMG_0782

IMG_0783

Log emplacements, ammo boxes and equipment get painted up in coats of varying browns and greys. The gun and vehicle grey basecoat are washed in a dark brown and then followed up with some highlights in dry-brushed silver, light grey and brown muds. The huge shells scattered on the ground and fresh rounds in the arms of the crew are done in metallics, and the vehicles are detailed with decals. The final touches are done with static grass applied with white glue around the bases and a few sprays of matte finish to protect the models and dull down any remaining shine.

IMG_0779

IMG_0781In all, the entire platoon took me a couple hours. As with most FOW models, there’s a lot of personality, poses and details in this kit. I love the commander’s stance with binoculars aimed at the horizon and his junior officer reaching for his bag. The main gun bases and the extended separate bases of extra crew make each piece a little diorama of its own. By carefully applying grass to certain areas, I was able to blur the line between the bases, making them appear as one big piece with a quick look. Of course, along with the detail in the models does come some cost, but the usability of these models in so many FOW games makes adding the 8.8cm FlaK 36 platoon a fantastic long-term investment.

IMG_0780

Flames of War: Metropolitan Wargamers Infantry Aces Campaign

MWGInfantry Aces

Two weekends ago we kicked off a Flames of War Infantry Aces campaign at Metropolitan Wargamers in Brooklyn, NY.

A friend of the club and organizer of the campaign has created a special Infantry Aces blog to track the campaign’s progress throughout the summer. The site will be updated weekly as the battle unfolds with after action reports, lots of photos and tracking of each player’s progress in the campaign.

While the battle rumbles on, here’s a brief look at the forces we’ve had fun researching, modelling and painting specifically for our campaign for Italy.

Allied Forces

FOWIAAllies

(clockwise from top left) 504th Parachute Infantry, 92nd Infantry “Buffalo Soldiers,” Gurkha Rifles and members of the 2nd New Zealand Division

Our Allied forces are a mixed group from the Road To Rome book and reflect the mutlinational forces which came together in the late war Italy campaign to break the Axis lines. From the United States, the 504th Parachute Infantry Regiment is bringing their experience to the field after having fought for years from North Africa and Sicily in 1943 to Operation Market Garden to The Battle of The Bulge in 1944. Joining them, are the untested 92nd Infantry Division “Buffalo Soldiers,” the first African-American infantry to fight as wholly-segregated unit in the war.

Allied with the US troops are some unique UK Commonwealth forces. The Indian Gurkha Rifles had a long history in service of the British dating back to the mid-19th-century, and their skill in close combat and rocky terrain would serve them well in Italy. The  2nd New Zealand Division served most of the war in North Africa and hopping around the islands of the Mediterranean until joining the Allied effort to break the Axis lines severing Italy from the rest of Europe.

Axis Forces

germanyia (clockwise from top left) Fallschirmjagers, Hermann Göring troops and Grenadiers

Using the updated Fortress Italy book, our Axis players have fielded some of the classic, war-hardened forces whose mission it was to hold the line against the Allied push up the Italian Peninsula. The 1. Fallschirmjägerdivision in Italy had already proven themselves throughout Europe with wide-ranging early war operations in Denmark and Norway, the Netherlands, Crete and the invasion of the Soviet Union with Operation Barbarossa.

Two other veteran companies fill out the Axis forces. The Hermann Göring Fallschirmpanzerdivision saw action throughout Europe and Africa before fighting in Italy. Finally, the 362.Infanterie-division had seen a long war (including the Battle of Stalingrad) by the time they joined the final Axis defense of Italy.

The Campaign Begins…

IMG_3685

Recent FOW Infantry Aces campaign action at Metropolitan Wargamers

We’ve got two weeks of campaign games in so far, and playing with small infantry forces of 500 points has been a refreshing break from the larger FOW games in which we all usually play. Special rules, varying troop ratings and small tables clogged with Italian terrain have also added to the challenges and enjoyment we’ve all had so far. There’s a lot of gaming to do as the campaign escalates over the coming weeks to 700 and 900 point companies with added support. Check back frequently for more of the action over at the Infantry Aces Metropolitan Wargamers Italian Flames of War site.

Flames of War: Fielding the FOW M10 Tank Destroyer Platoon

m10

The Blitzkreig of German armored forces is one of the more enduring tactics introduced in World War II. Swarmed masses of German tanks and mechanized forces in the early war period rolled through Poland, France, Belgium and the Netherlands in Western Europe and punched into the Soviet Union with Operation Barbarossa in 1941. With early Panzer and later Panther and Tiger tanks ruling the battlefields of Europe, Allied forces struggled for solutions to crack the German tide of iron.

m10normandy

A US M10 tank destroyer comes ashore in Normandy after D-Day in 1944

By mid-war, the Americans had a solution with the M10 tank destroyer. Introduced first into the battlefields of North Africa in 1943, the M10 GMC (“gun motor carriage”) carried a big 3-inch/76mm gun and on a Sherman hull. After success in Africa against earlier model German tanks, M10s became part of the post-D-Day Allied breakthrough campaign. While effective against Panzer III and IV tanks, more heavily-armored Panther and Tiger tanks still proved problematic. Luckily, the M10 was supplemented by the British-modified Sherman 76mm Firefly and the later US-built M18 Hellcat which was quicker on the field. The combination of these three tank destroyers, along with the stalwart work of Allied infantry and deadly air support, turned the tide in Europe.

fowm10set

One of my earliest 15mm WWII purchases years ago, and somewhat at random, was the now-discontinued M10 Tank Destroyer Platoon set from Flames of War. I think at the time, I just liked the look of the models and I was looking to fill-out my new US forces with more variety. To get to a full platoon of four M10s, a fellow club member at Metropolitan Wargamers in Brooklyn, NY recently gave my two more M10s to which I’ve added an additional M20 scout car.

IMG_3389New M10 tank destroyer and M20 scout car

IMG_3388New M10 tank destroyer

IMG_3387New M20 scout car

IMG_3390US tank destroyer platoon with new models (left) and older models (right)

With my existing and new section sections, I now can field a full tank destroyer platoon using a variety of Allied Late War European lists. Anti-tank tactics in the game provide multiple opportunities for the M10 platoon to be used in combination with infantry and other Allied armor on the game table. With optional deployment as a recon platoon using the M20 scout cars, the M10s can create ambushes to wreak havoc on German tanks. Admittedly, using this full platoon will take some practice but I’m certain they’ll be causing headaches for my German opponents in the very near future.

Flames of War: Metropolitan Wargamers Tanksgiving 2013

Tanksgiving PicAbout ten of us at Metropolitan Wargamers in beautiful Park Slope, Brooklyn kicked off the holiday season this past weekend with a day of WWII armored action in conjunction with our first Flames of War Tanksgiving event. The official rules for the event called for 1500-point companies facing off in multiple games throughout the day. Given we had so many new players interested in playing their first games of Flames of War, a few of the more experienced players decided to play host with our own forces brought along for the day over two tables.

FFAMissionThe bigger of the two tables featured Allied forces facing off against Germans in a Late War Western Europe scenario. The Flames of War website offers a group of basic missions of increasingly-complex scenarios, each easily playable in about three hours. Given we were dealing with an entry-level game, we went with a beginner-friendly Free-For-All mission with two 1500-point companies on each side.

IMG_2442
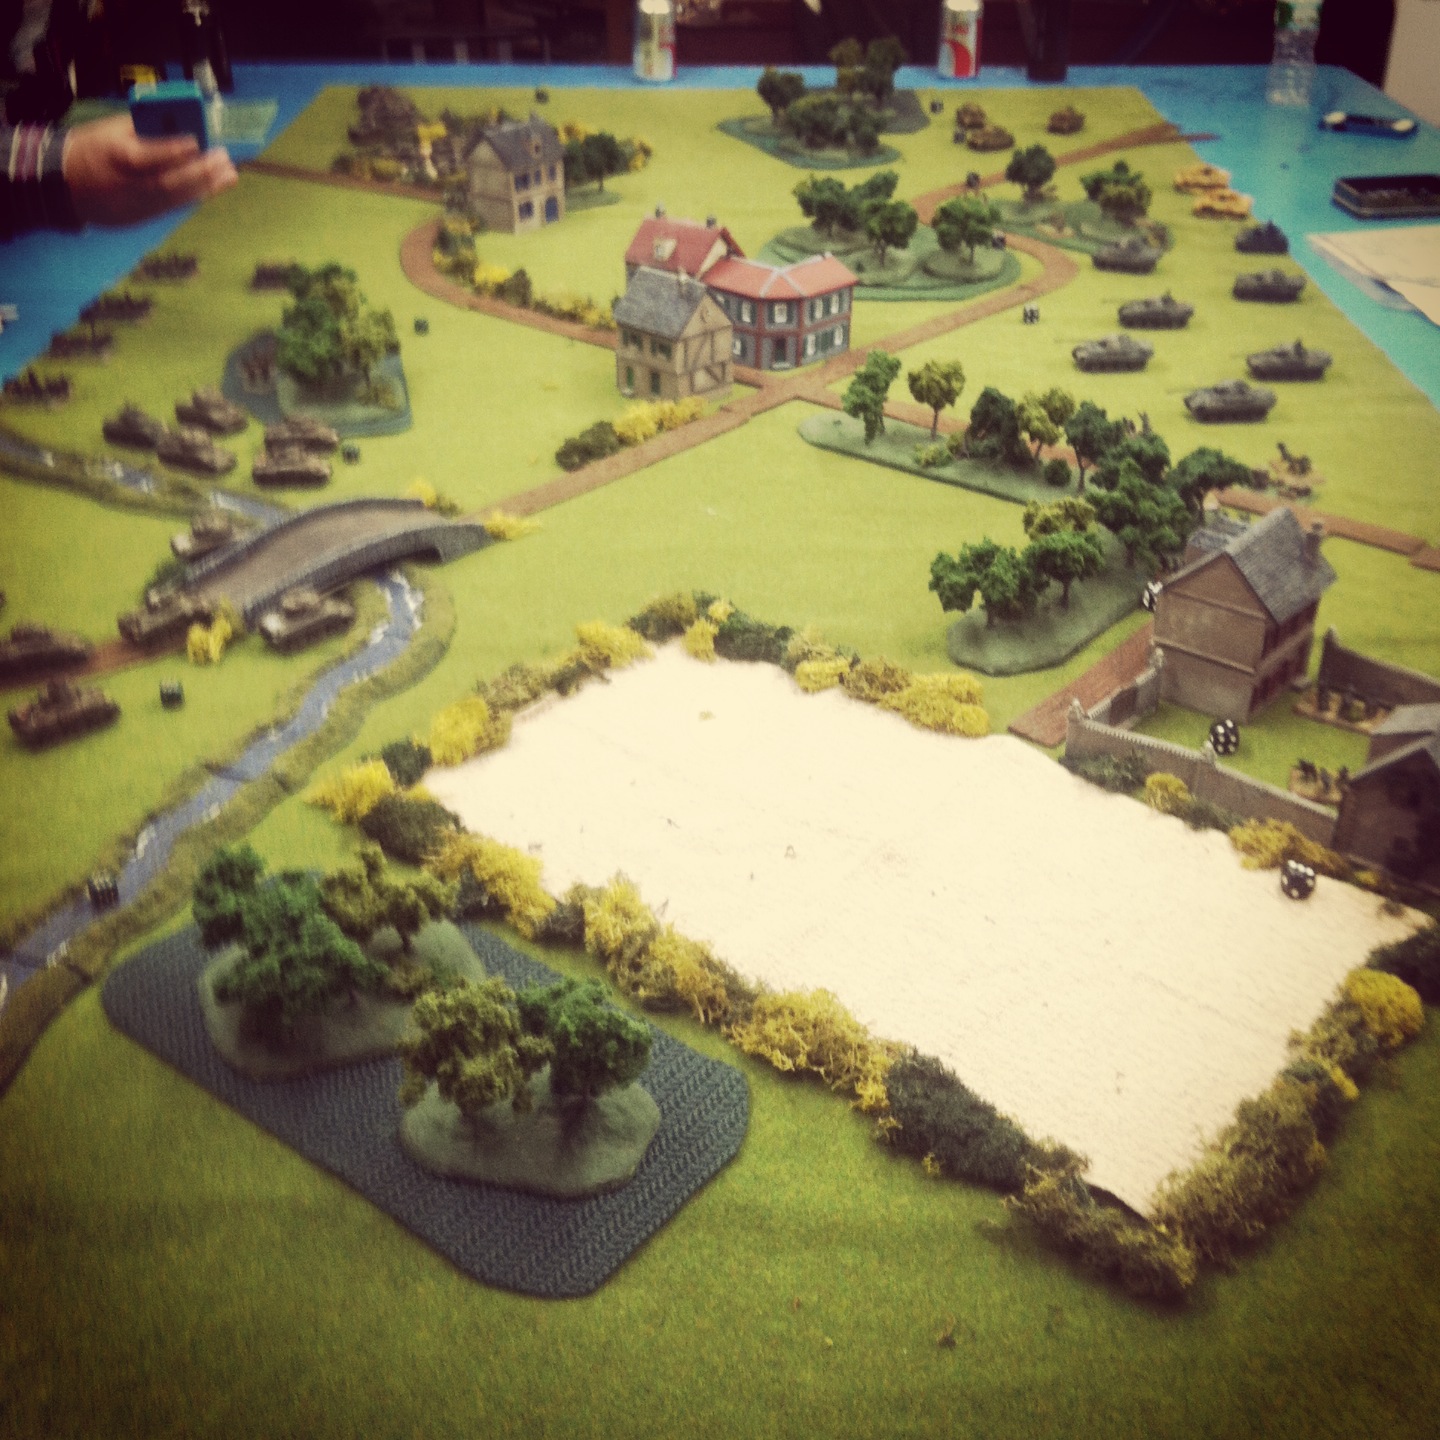
Allied defenders (left) and German attackers (right) deployed

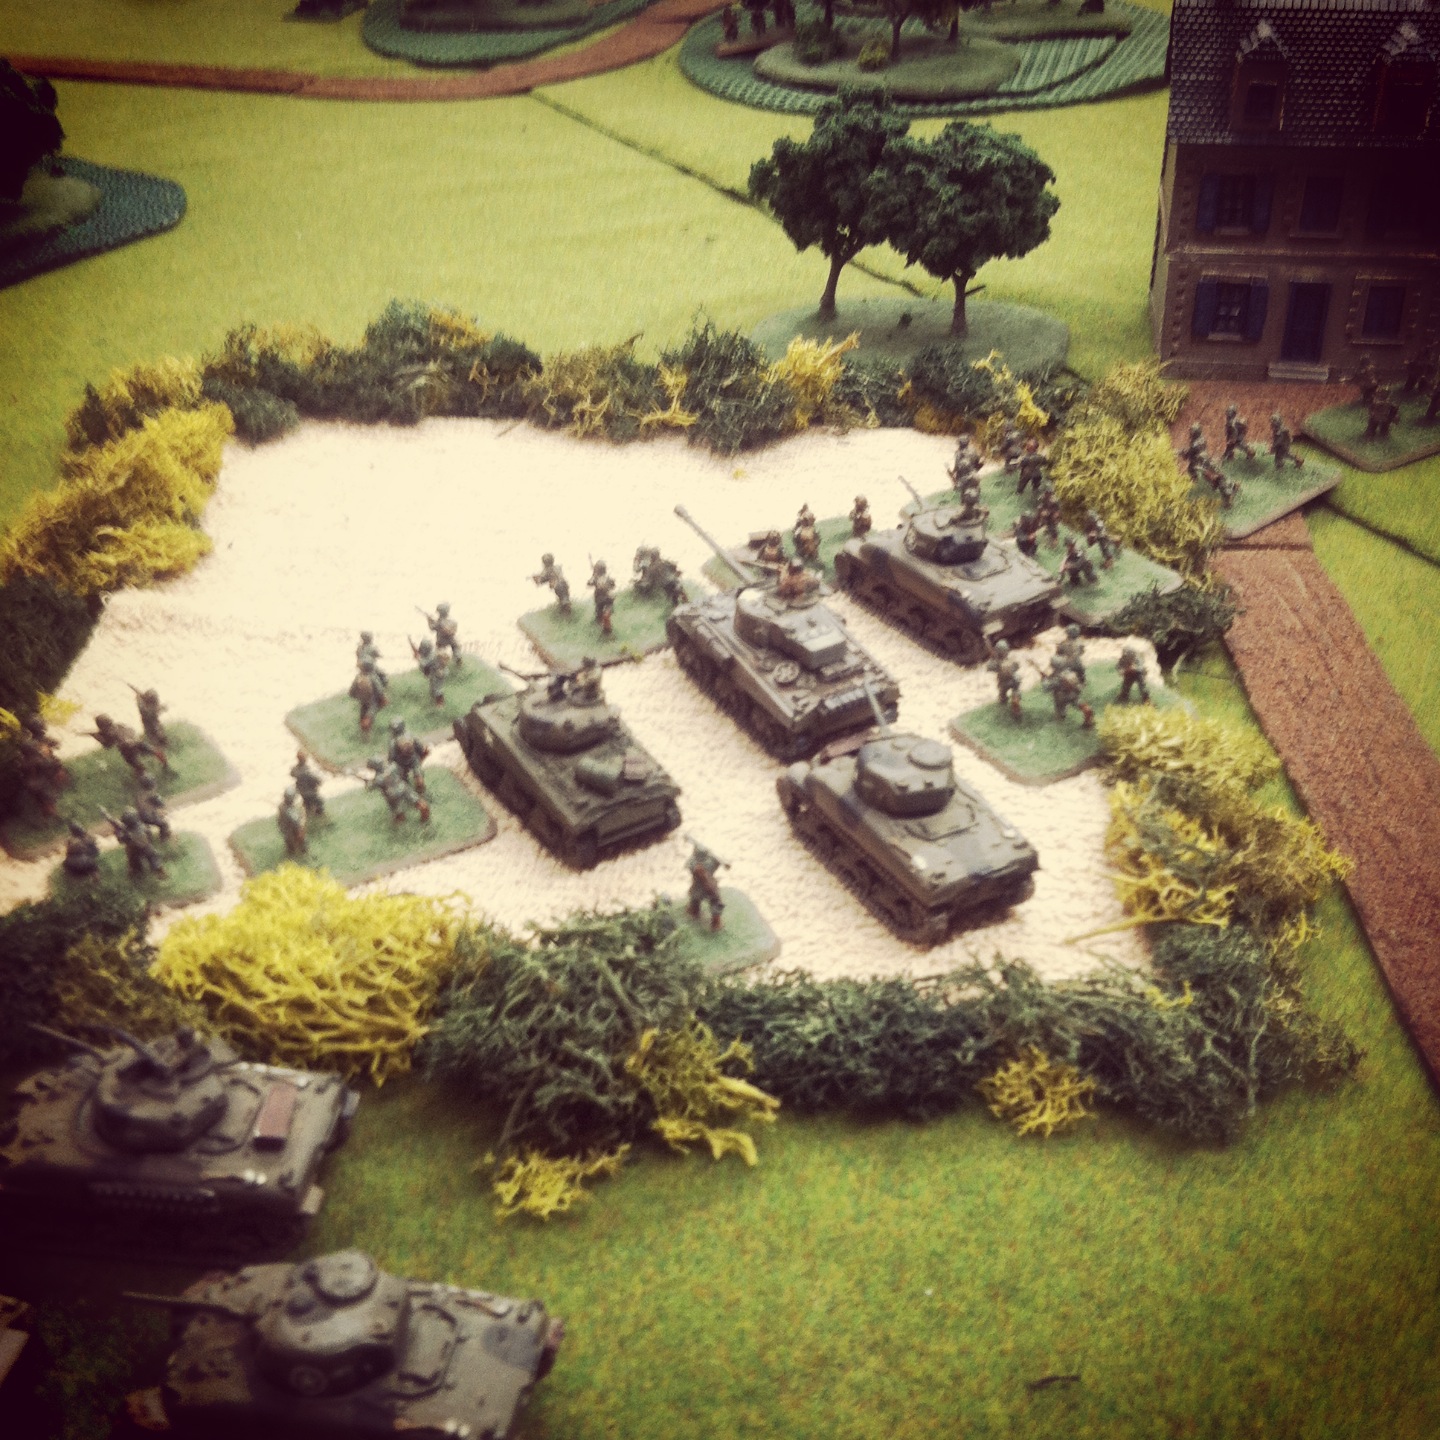
Since this was a tank-focused game, we went easy on terrain with just a smattering of wooded areas, buildings and fields spread over the table. The Allied forces defended, beginning on the side of the table defined primarily by a small river crossing bridge on the Allied right and a field and nearby farmhouse on the Allied left.  On the attacking German side of the table, a walled farm complex surrounded by a tree-lined road sat to the German left and a group of wooded areas to their right. A small town was situated squarely at a crossroad at the center of the field.

IMG_2446Guards Armoured and 101st Airborne started in the farm field

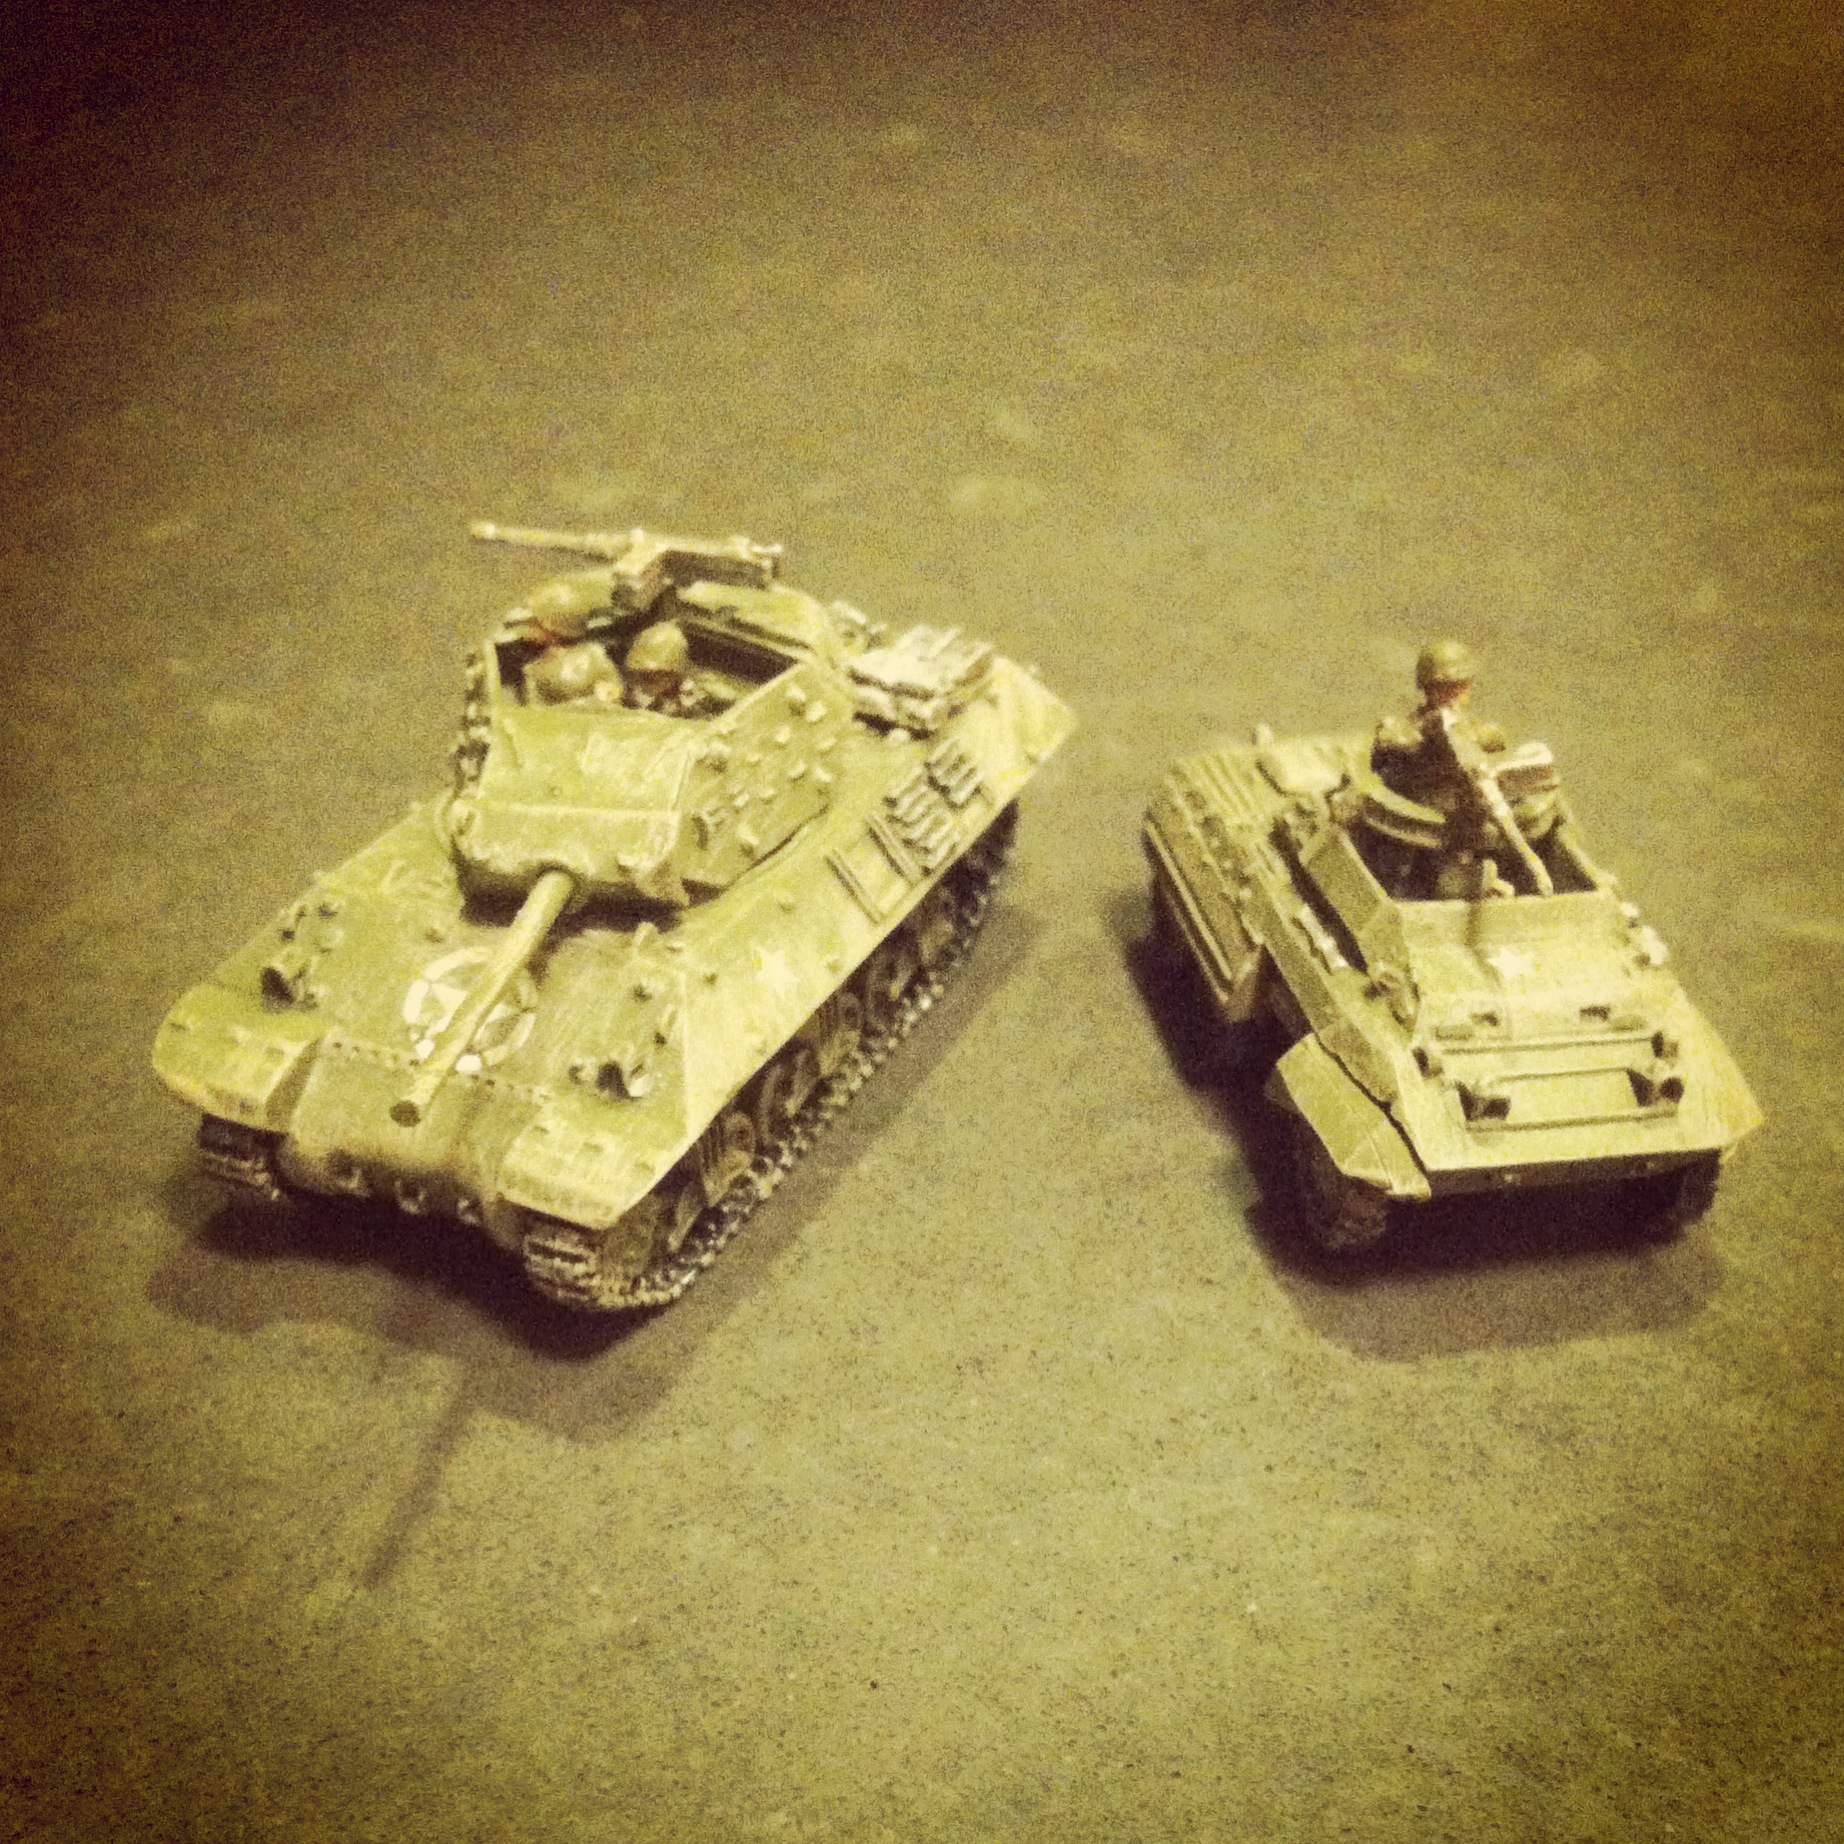
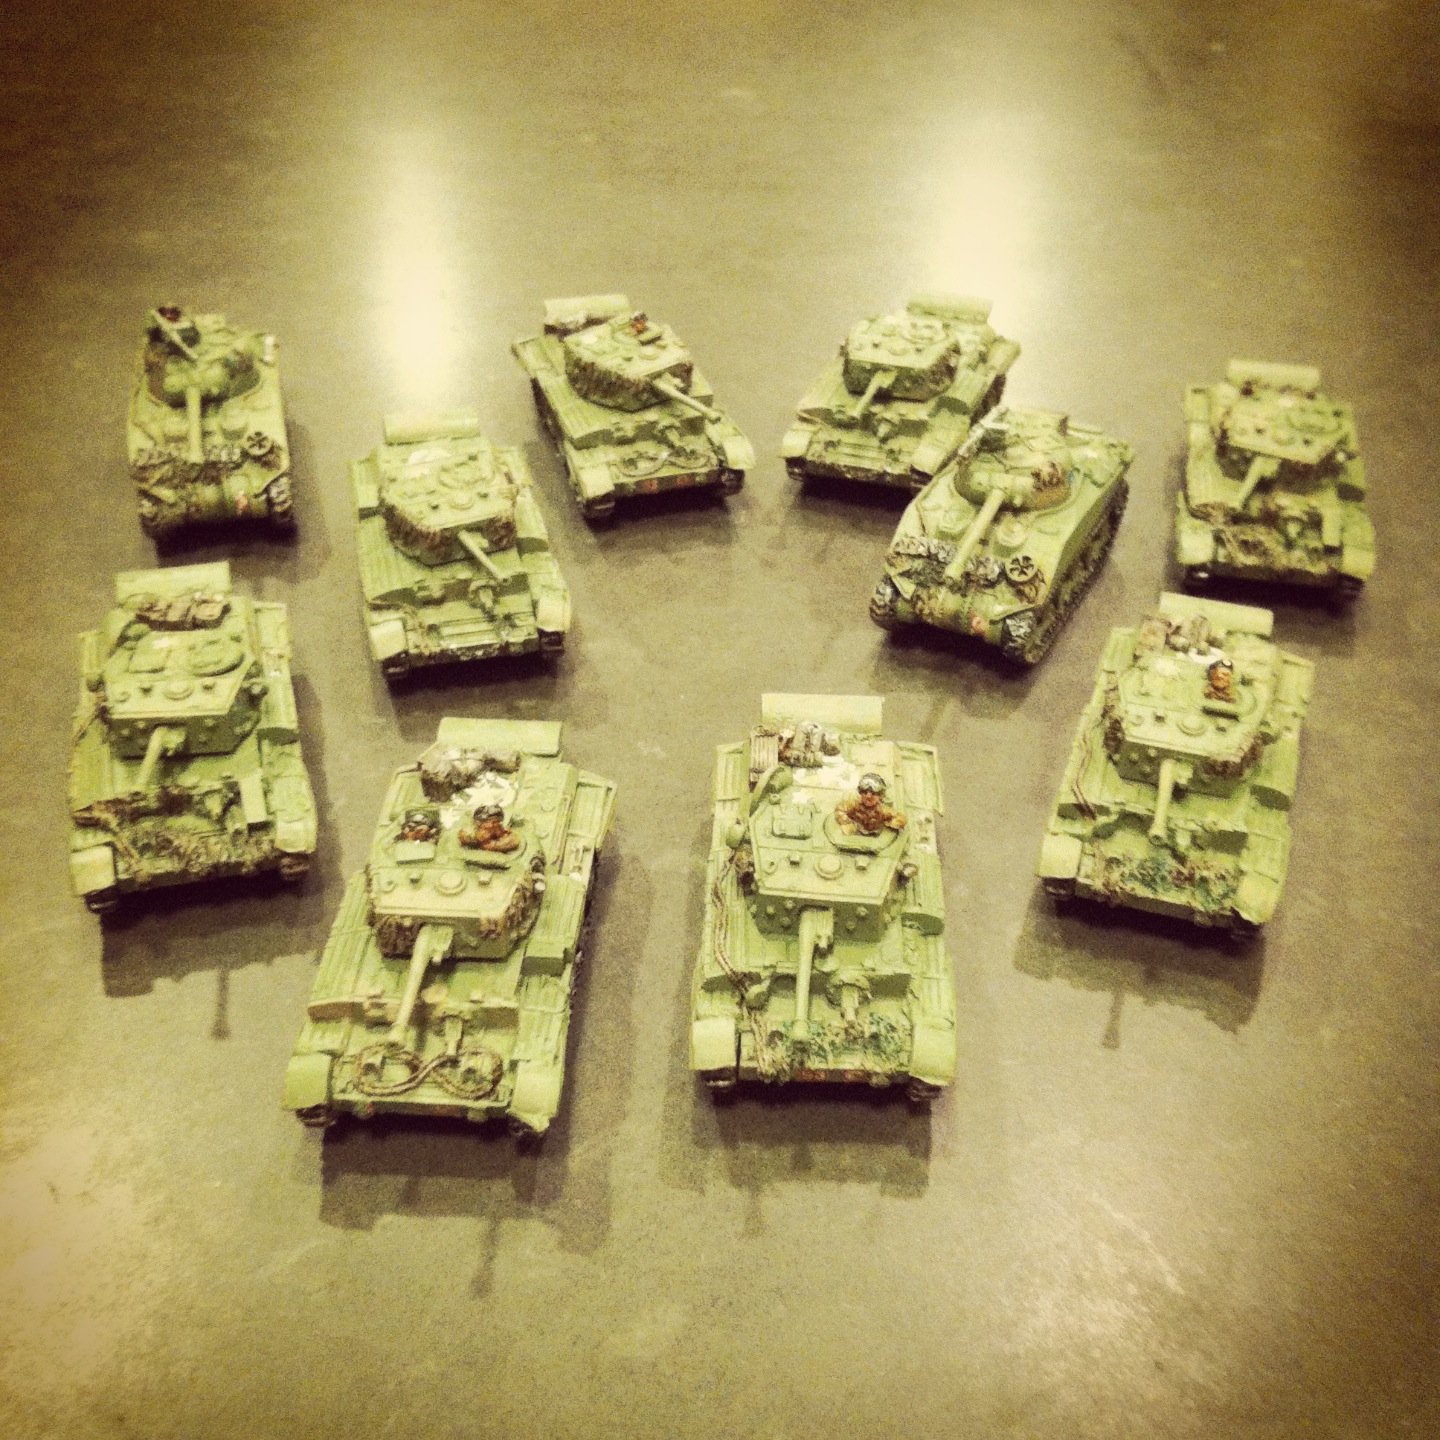
The British Guards Armoured Company began near the farm at their left, deploying its Sherman and Firefly tanks along with one platoon from the US 101st Airborne. Near the bridge, the US 4th Armored Company set its 75mm and 76mm tanks and finally deployed its 105mm artillery platoon at the center of the table edge hidden behind a copse of trees. The Germans deployed Panzer IVs, two Tiger tanks and a Grenadier platoon near a forest at their right. A large group of Panthers started near the center behind the small town with a supporting dismounted Panzergrenadier platoon on their left and a two-tank Panther command platoon at their extreme left.

IMG_2444
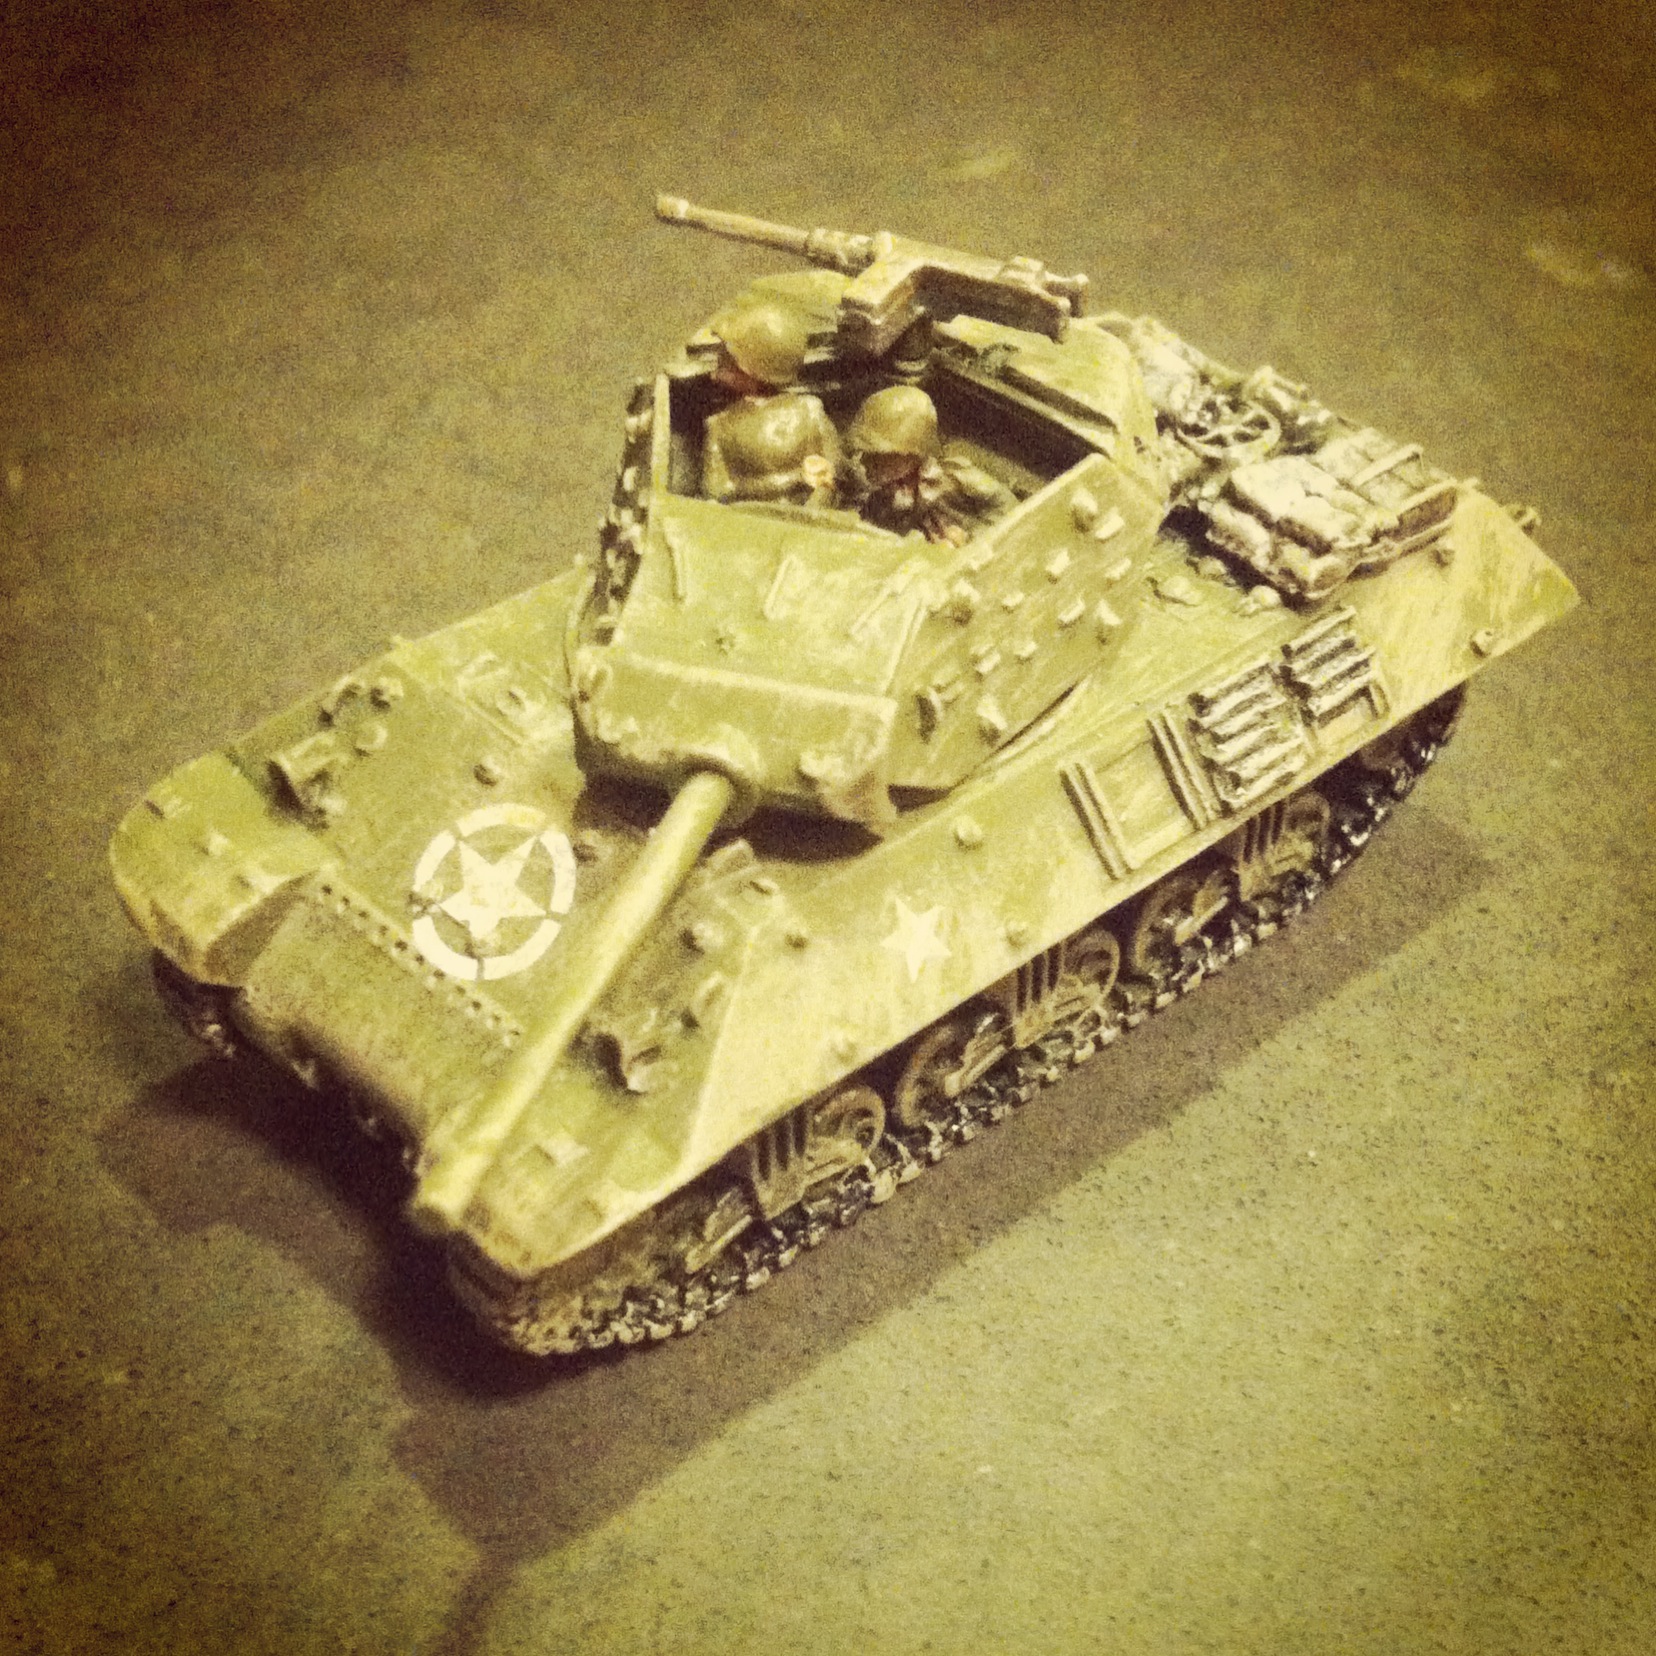
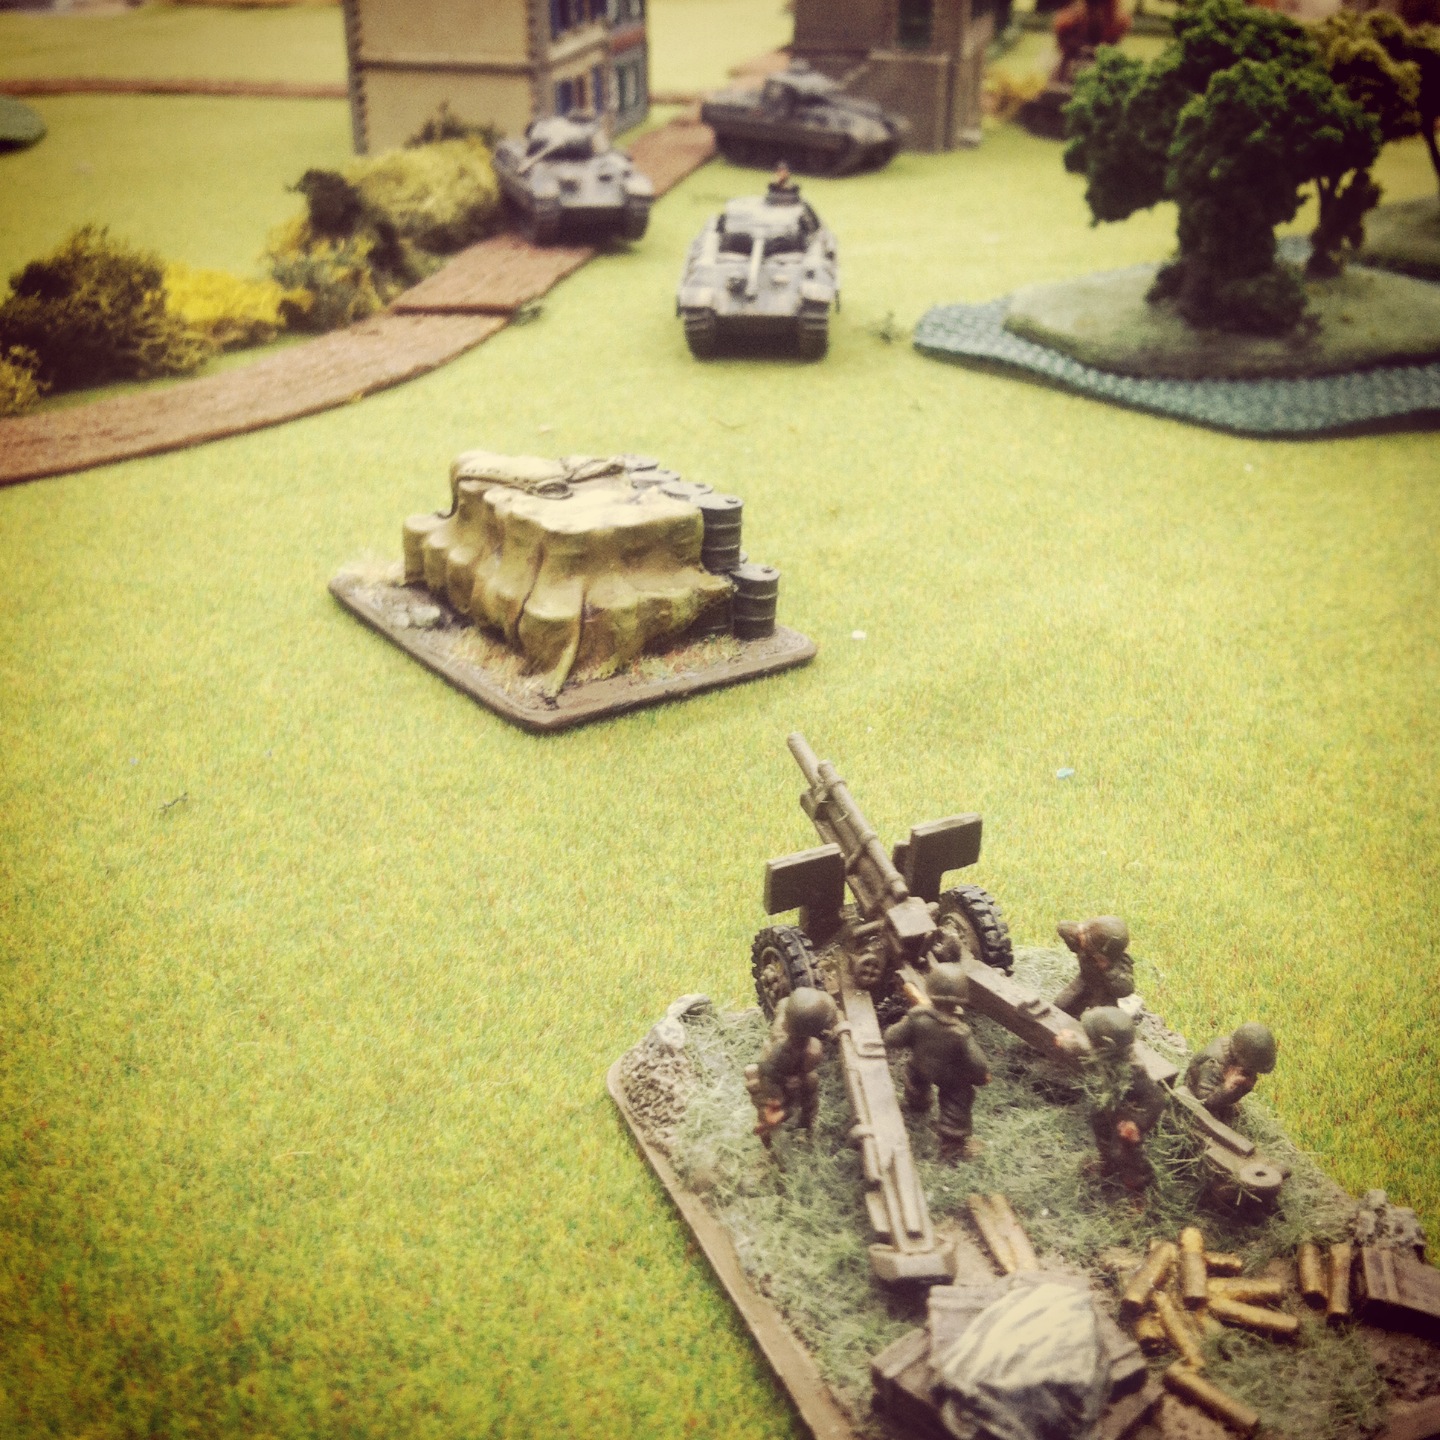
US 75mm and 76mm Shermans tanks at the bridge near the German objective

With the German player starting things off, their main thrust of Panthers moved toward the center of the table while their Panzer IVs and Tigers made a move looking to shutdown to the advance of the Guards Armoured and US airborne troops. The Panzergrenadiers made their way for the walled farm and the treeline at the neighboring road, and the commanding Panthers looped around the farm toward the river and the American right flank.

IMG_2448
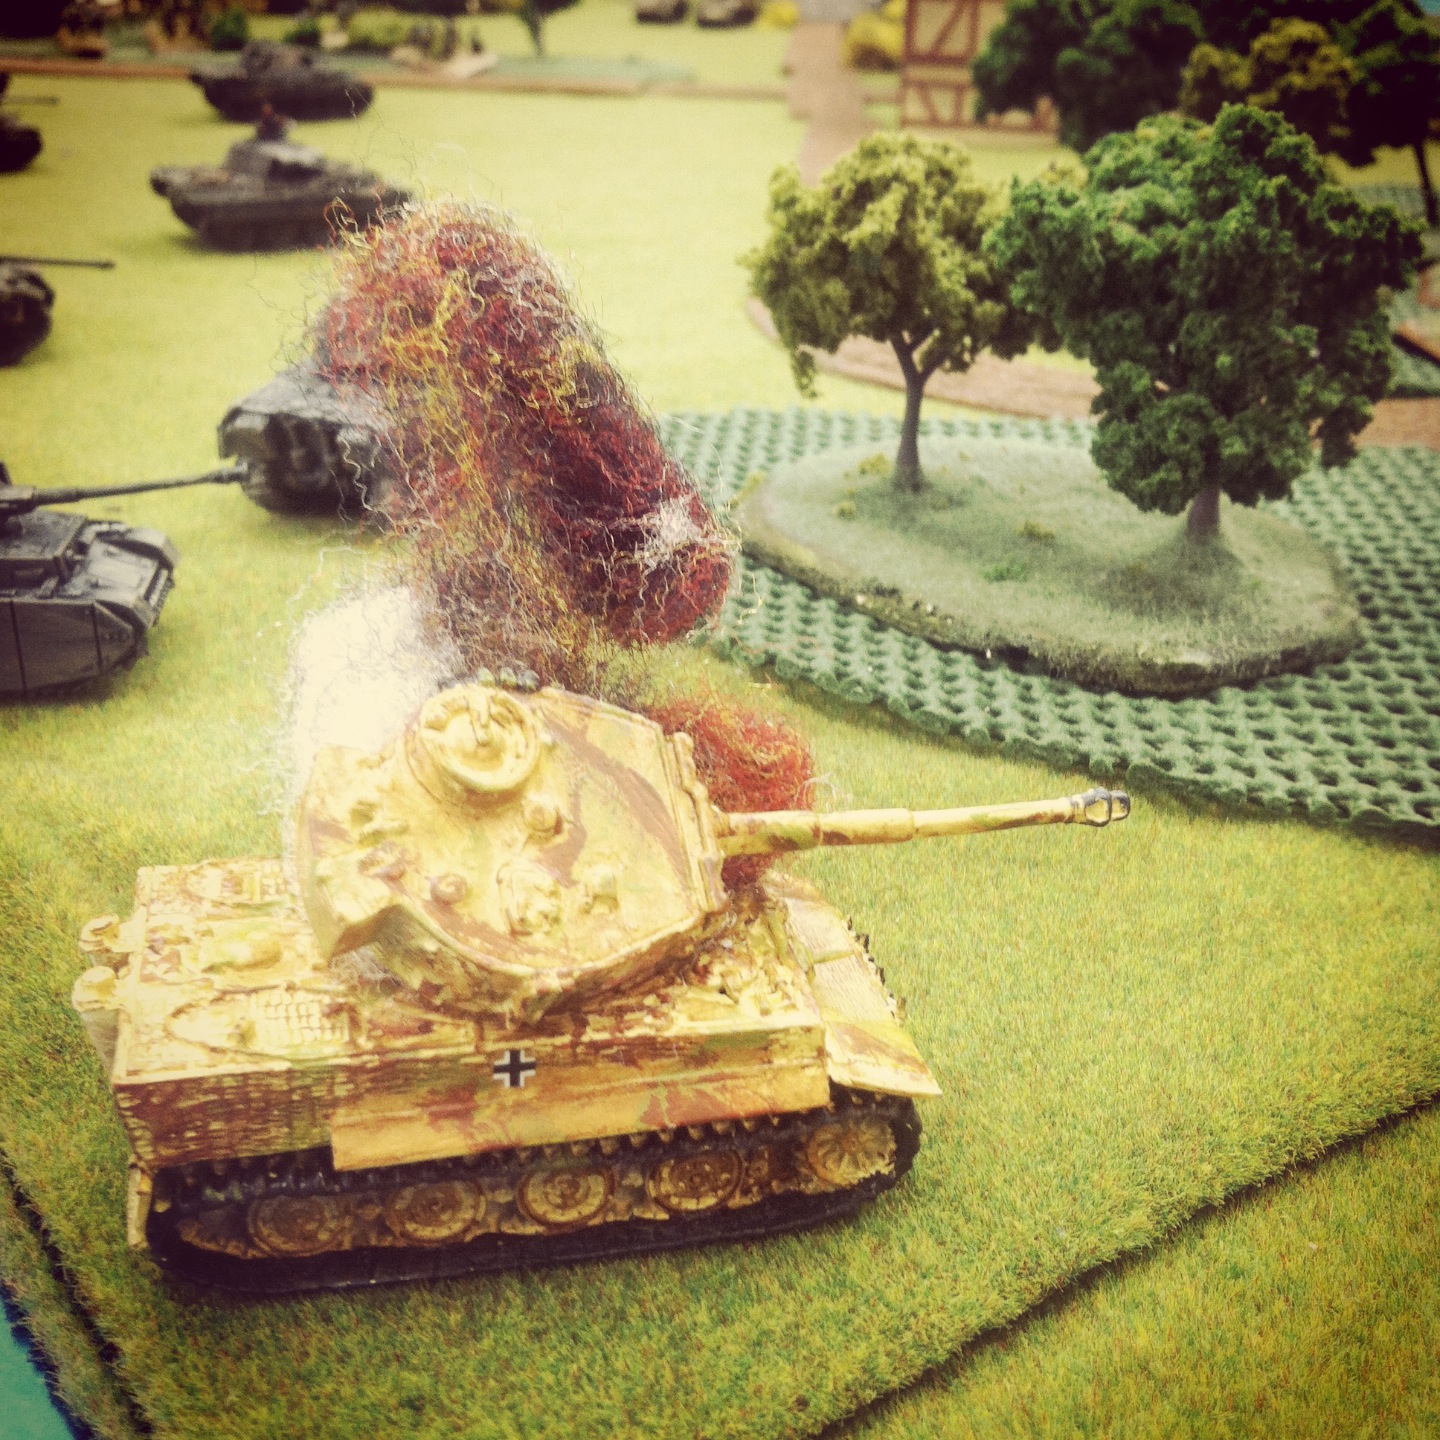
A Tiger sits burning after being hit by a Firefly

On the Allied first turn, the 101st Airborne made a beeline for the neighboring forest across from the field while tanks rolled into the gap between the forest and the field. A lucky opening shot from a British Firefly took out a German Tiger, providing one of the only bright spots for the Allies during the entire afternoon. The spotter for the US howitzers ran for the cover of the town’s buildings while the mass of American tanks on the right split to hold off the center German advance as well as the German command section’s coming end-run at the river.

IMG_2453The Armoured Guards take ferocious fire from the German tanks

In the second and third turns, the German players began running the table to their victory. A concentration of fire into the town destroyed the US artillery spotter, effectively shutting down any good chance of Allied artillery support. The Tigers began laying waste to the line of advancing Shermans in the field and rolling in the open. A failed assault on the German tanks by the 101st Airborne out of the woods stalled under a hail of machine gun before it began, but the Guards Armoured managed to route the Panzer IVs off the board and whittle-down the Grenadiers making their way between the town and farm house nearby.

IMG_2460
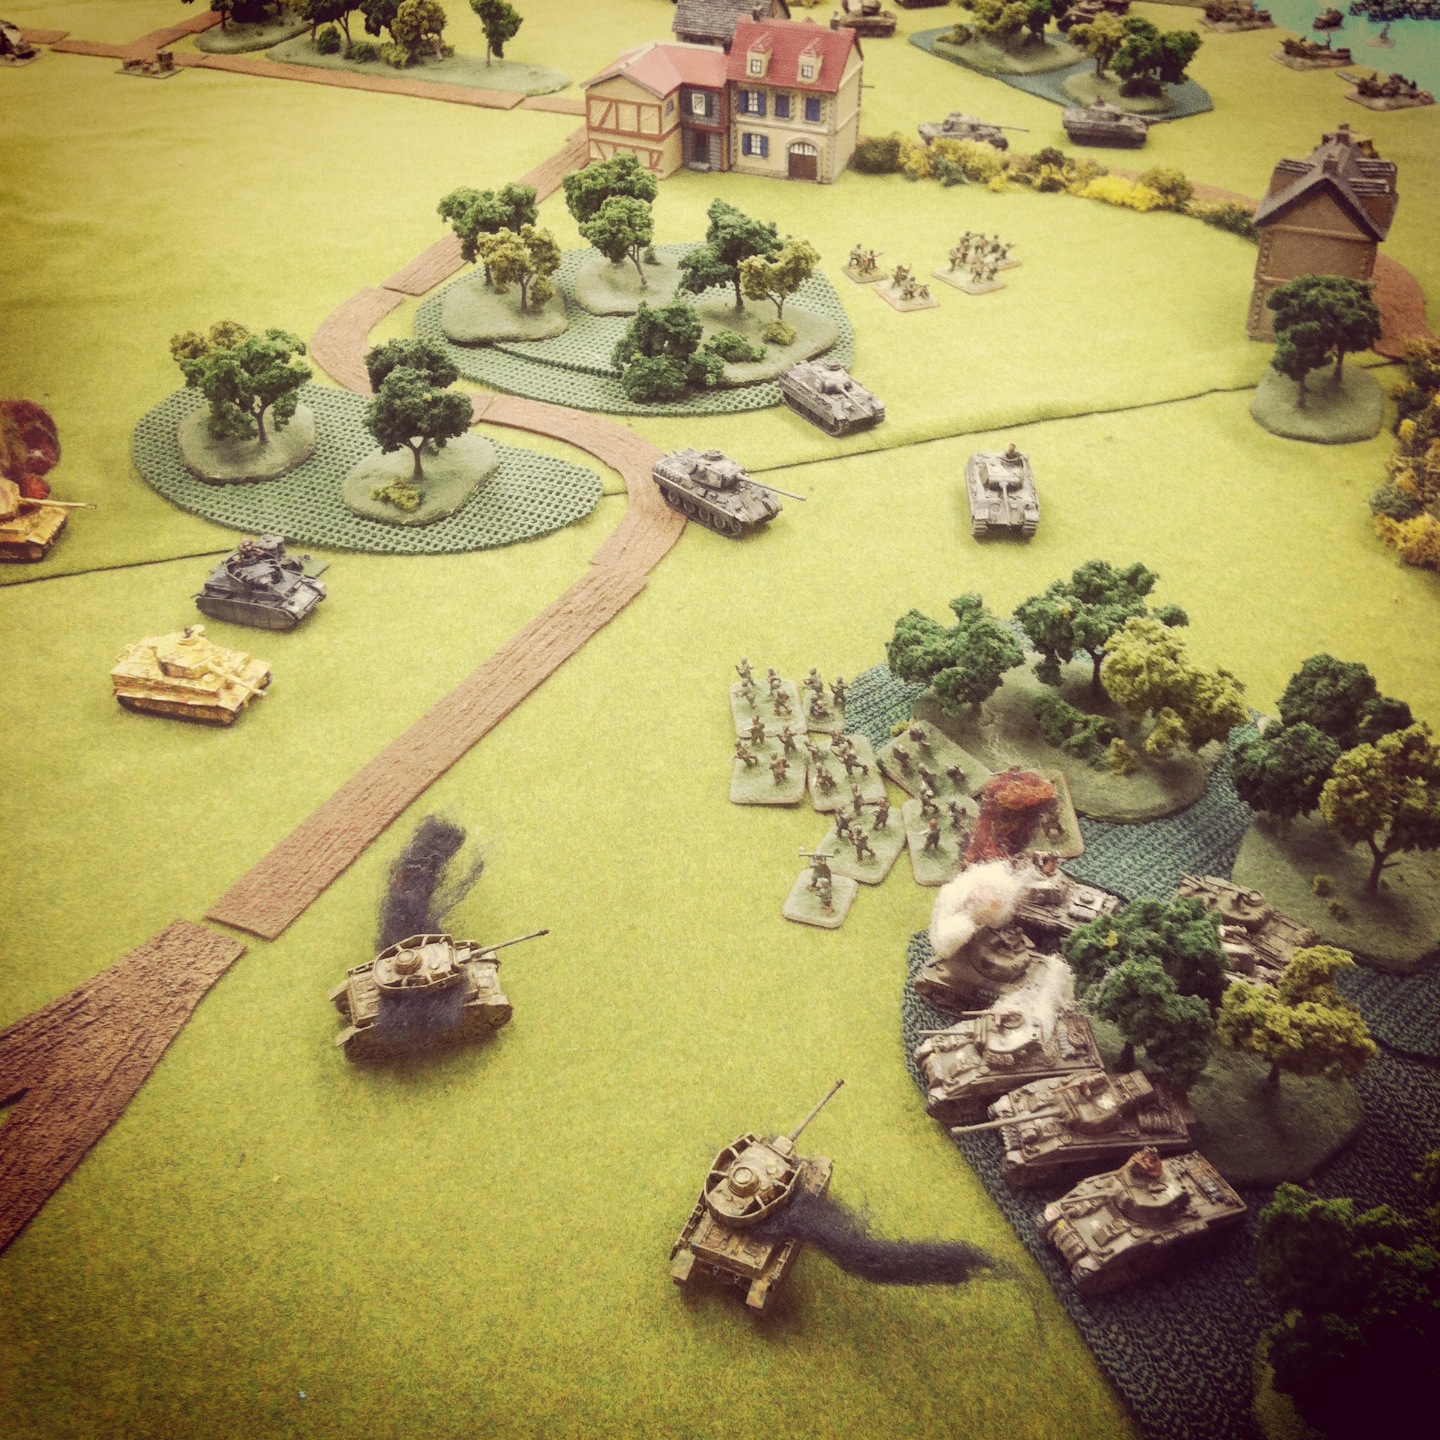
Panzer IVs and Shermans aflame as the 101st Airborne sprints across the field

By the fourth turn, German infantry making their way through the open both for the bridge and objective near the American artillery were mowed down under heavy machine gun fire from the US Shermans. Finding a gap amid the tank fight around them, the 101st made a dash to the next forested area while German tanks poured more fire into the British armor at the rear. At the bridge, American 76mm guns managed to destroy one command tank and bail the crew from the other. Unfortunately, the remnants of the American armor were outgunned and entangled in the burning shells of their comrade’s tanks. With nothing left to stop the advance, German tanks rolled to the center and seized their objective.

IMG_2458Nothing left to stop the German advance to victory

While things raged away on the European table, an Early War showdown between 1500-point British and Italian forces in Africa dustily clamored away one table over. You couldn’t get a more different game with less advanced equipment and differently skilled troops battling in a desert environment laced with prepared defensive positions. Since most of my gaming has focused on Late War Europe, the earlier war stuff fascinates me and I’m definitely going to make some time to try my hand at this other period soon.

IMG_2440Early War Italian and British desert action at Tanksgiving in Brooklyn

As it turned out, the Italians took the game on the Africa table, making our first Tanksgiving event a 2-0 victory for the Axis powers. I learned a mass of German armor is really hard nut to crack unless you’ve got some effective artillery and enough infantry to assault and push to an objective. Every game under my belt gives me ideas for the next. Win or lose, I think a few hours of playing may have hooked a couple new players on Flames of War. For that, we’ll all be thankful as we deploy our platoons for another game very soon.

Flames of War: Fielding the FOW Cromwell and Firefly Tank

dratsBy the time of the Normandy Invasion in June 1944, the British 7th Armoured Division had already seen plenty of war. The division first distinguished itself early in the war in the dusty North African campaign, going brutally head-to-head with General Erwin Rommel’s tough Afrika Korps and earning the nickname “Desert Rats.” In the mid-war invasion of Italy, the division adapted to the southern terrain of Salerno and Naples and helped in securing the Allied push northward.

cromwellA British Cromwell in WWII Europe

fftankSherman Firefly on a street during WWII

Back in the UK following its successes in Africa and Italy, the 7th Armoured rested and retrofitted with new Cromwell and Sherman Firefly tanks in preparation as a follow-on force in the D-Day landings in mid-1944. Over the next six months, the division’s 75mm-armed Cromwells and 17-pound-gunned Fireflies were present during Operation Perch, Operation Goodwood, the Battle of Villers-Bocage, Operation Spring, Operation Bluecoat, Operation Cobra and the final pushes into the Low Countries and Germany. By the war’s end, the battle-weary Desert Rats had cemented themselves as one of the most celebrated divisions in World War II.

fowcromwellAfter being introduced to British Armoured forces with the excellent plastic Sherman and Firefly models included in Flames of War Open Fire! box set, I’ve recently swung some significant focus on building-out a decent amount of UK late-war forces. Modelling the storied 7th Armoured Division seemed like a logical next step in bringing the UK to my Allied forces on the table.

Through some serendipity, I happened to score a couple of half-price box sets of the FOW Cromwell Armoured Platoon from a fellow club member at Metropolitan Wargamers in Brooklyn, NY. Between the two boxes, I’ve been able to assemble a company command of two Cromwells plus two platoons of three Cromwells and one Firefly each. The models feature individually-cast resin tanks, each with their own detail of stowage and ragged camouflage, along with cast metal treads, gun barrels, crew and other details. Compared to curvaceous US Sherman tanks, I also really enjoy the flatter hull profile and boxy riveted turrets on the Cromwells. Although pricier than alternatives from makes like Plastic Soldier Company and Command Decision from Old Glory Miniatures, official FOW models are generally hard to beat for their heft and historical accuracy.

IMG_2334Primer and base coat on treads and stowage

After assembly, my models were hit with a green armor base coat. Tank treads start with a black coat followed a slight wash of metal. Tools, stowage, ropes and the other stuff on the tanks all get a mix of built-up layers of browns, greens and metallic colors. I especially liked the tiny tennis rackets strapped to a couple of the tanks, a nod to the British gentlemen who came to Europe not only equipped for war but for hopeful yet unlikely leisure pursuits. These details really create a lot of depth, interest and personality among the tanks which can otherwise get very visually redundant en masse on the table. Finally, the exposed crews get a a bit of brown-drab uniform color and some flesh tones to finish off those brave Brits.

IMG_2344Decals being applied (grrrrrr….)

I do have to say, the red-and-white Desert Rats vehicle marking has a really big cool factor for me. The FOW kits conveniently come with appropriate decals for the 7th Armoured Division, making finishing off the tanks one step easier than with competitor model-makers that don’t generally supply decals with their models. That said, I find the FOW decals to be incredibly finicky and fragile, and I found myself re-applying several to get them on just right. Once the decals are dry, all the tanks got splashed with mud here and there with some earthy dry-brushing.

IMG_2350Cromwell command section

IMG_2352One platoon of three Cromwells and one Sherman Firefly

IMG_2354Cromwell close-up

IMG_2356Sherman Firefly close-up

In terms of gameplay, I can’t wait for the 7th Armoured Division to go up against some Germans. The combined one-two punch of the faster-moving Cromwells and the hefty-gunned Fireflies should reinvigorate my games away from the sameness I’ve had in just playing with my large group of US Shermans for a couple years. Already, I want more of these platoons to really get the division bulked-out. I’m thinking a follow-up with Cromwells and Fireflies from the Plastic Soldier Company will supplement the finished FOW models nicely. Until then, the 7thArmoured are ready to roll and there’ll be more to report soon on my post-D-Day British force project.

IMG_2348The Desert Rats ready for action in France and beyond…

Related articles