
A few months back I jumped into World War II 6mm micro armour with a few initial purchases from GHQ and a general post on getting started with the scale. With some other 15mm Flames of War projects taking precedent, my 6mm project has been sitting on the back burner until this past week.
I started my US forces with models from the US Armored Infantry Command 1944 and Shermans vs. Panzer IVs Battle Box sets from GHQ. The infantry set gives me a bunch of infantry, bazookas, an M20 armored car, three M8 armored cars, eight half tracks, three M10 Wolverines, three 75mm Shermans and three jeeps. From the US/German box I get another ten Sherman tanks. All together, I’ve got a pretty sizable and inexpensive US force typical of the late war in Europe.
This was my first time painting 6mm models, so I worked out a quick technique for painting infantry, transports and armor that gave pretty great results. I picked up a pair of 1.5x strength reading glasses which really helped in bringing the models into focus as I dabbed paint to the models using an ultra fine brush. By gluing the models to metal washers I was able to affix the models to a strip of magnetic basing, allowing me to rotate the models easily to paint from every angle.
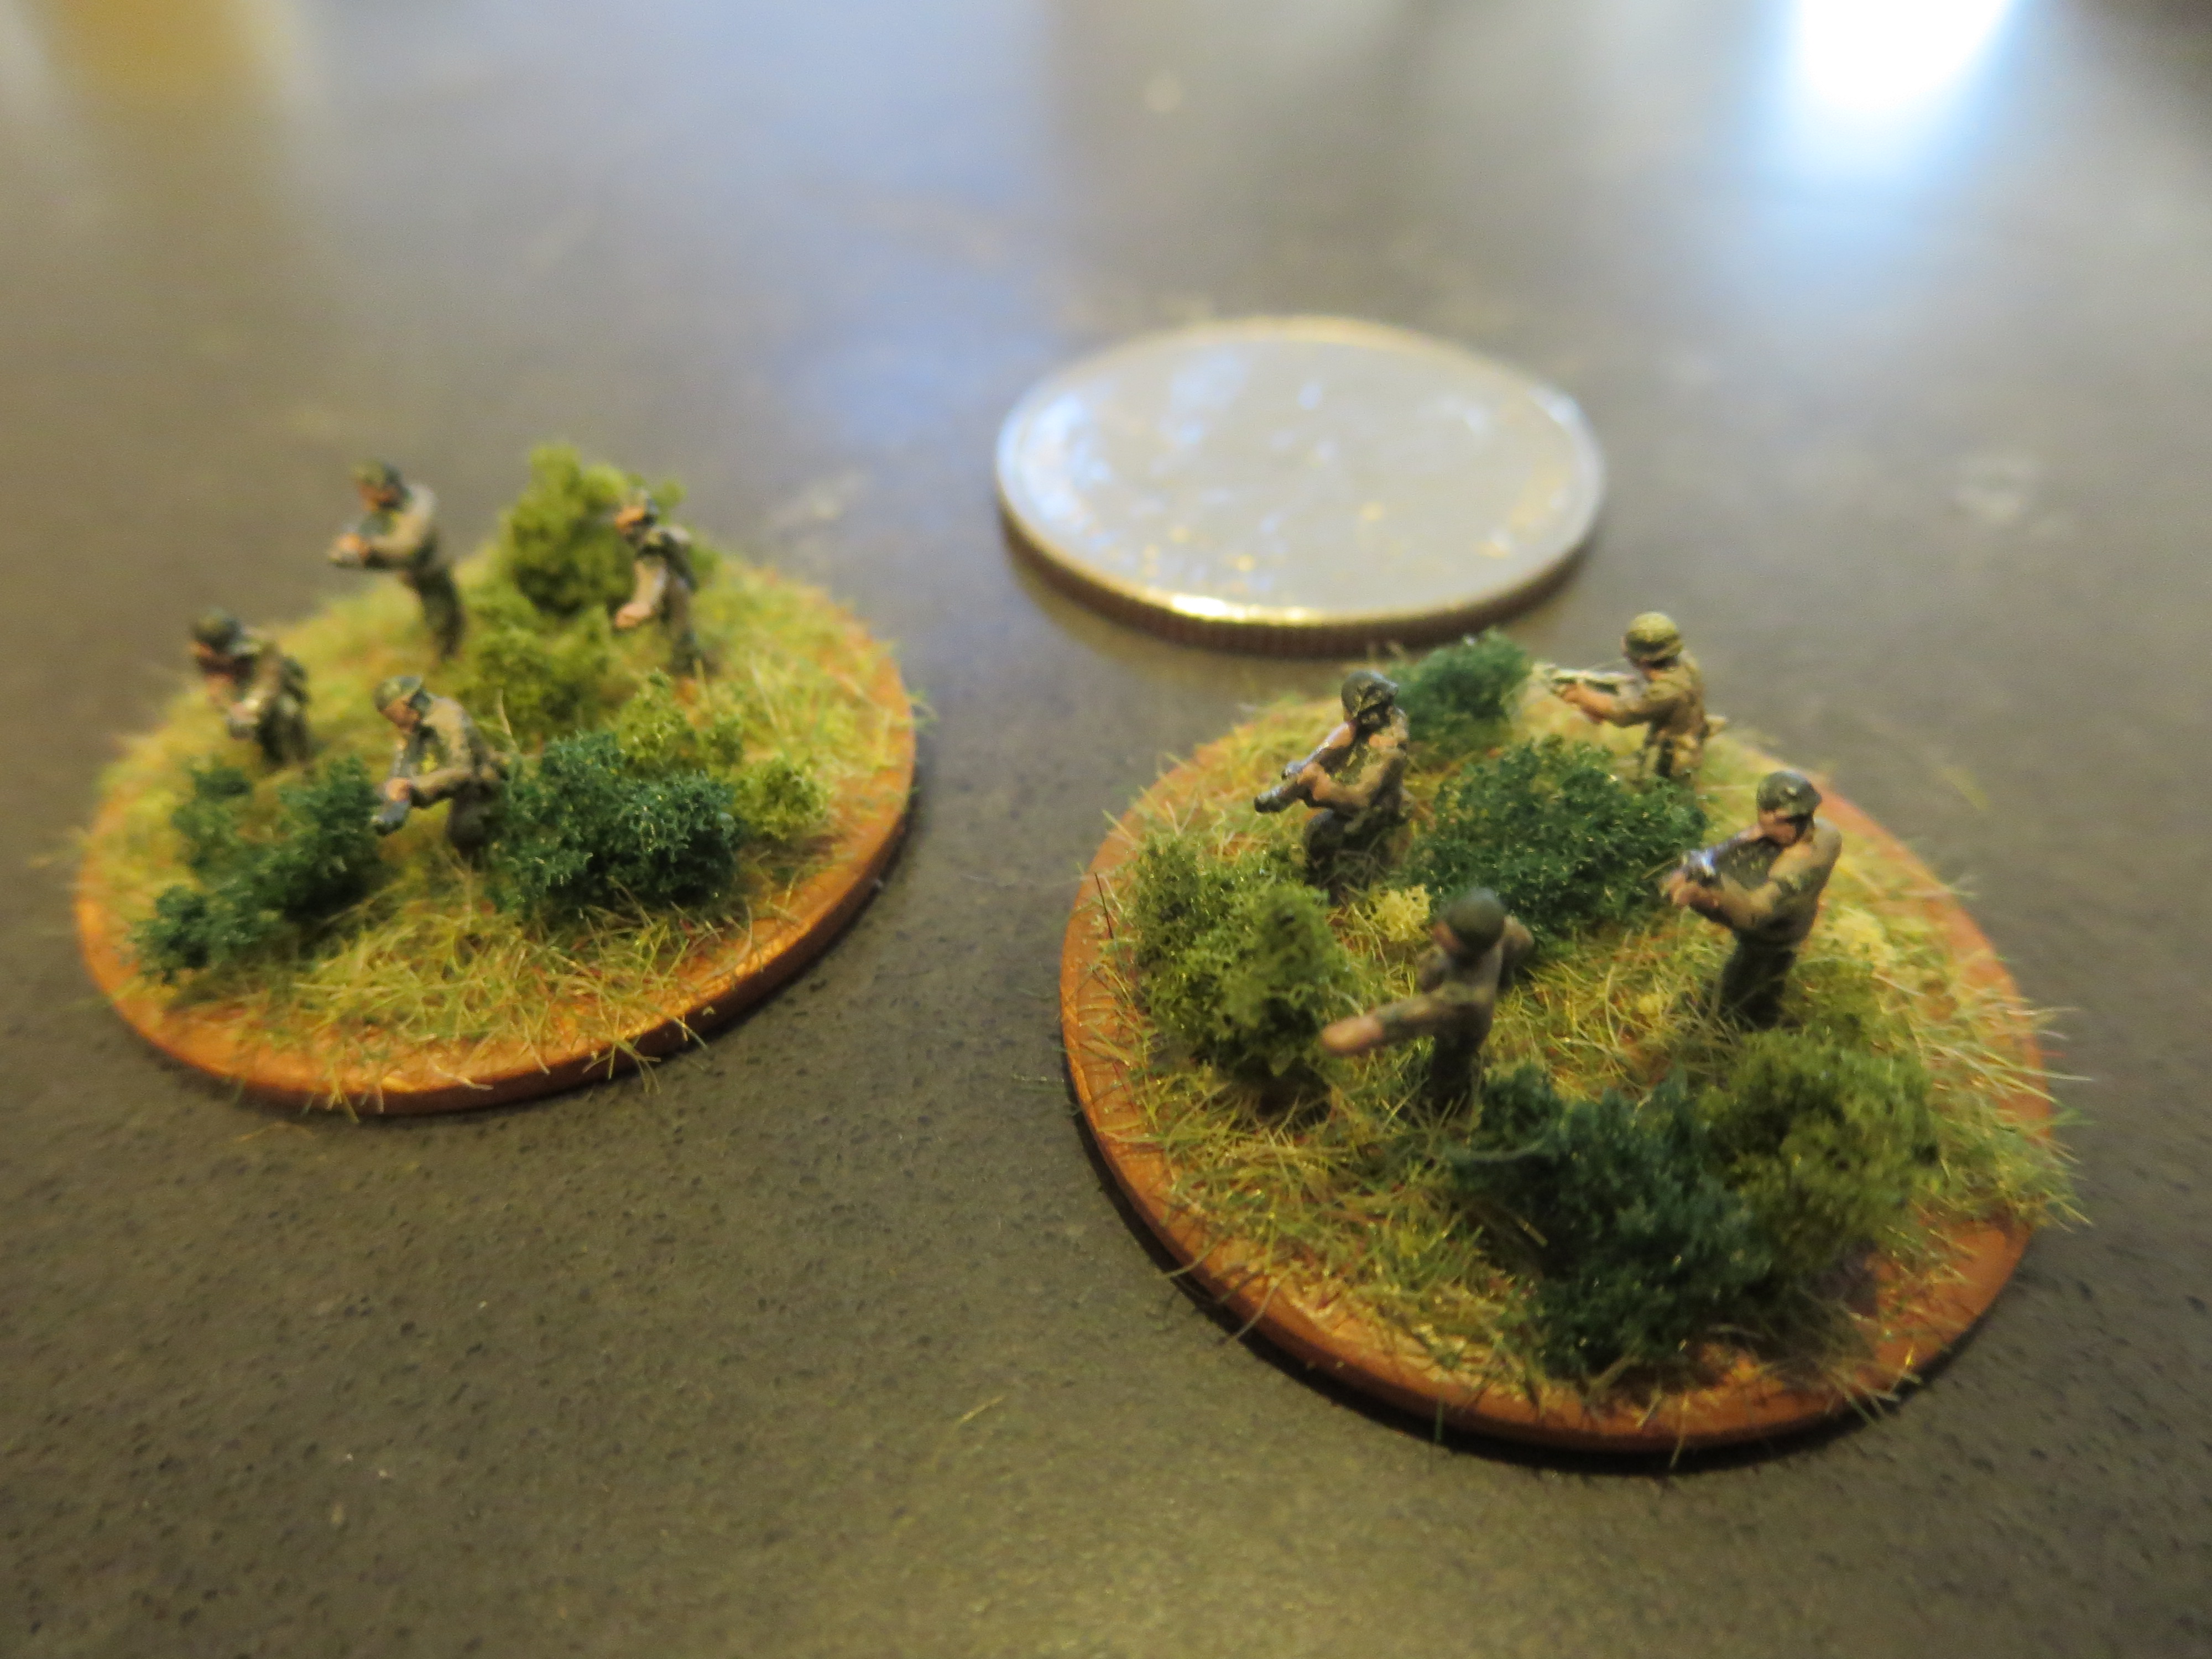
Two completed stands of GHQ US infantry
Painting US Infantry
- Glue a small piece of card over the center hole of washers.
- Glue models to washer bases.
- Basecoat models and bases with white spray primer.
- Wash models in a mix of 1 part dark green, 1 part light green and 5 parts water.
- Paint jackets tan.
- Paint boots, gun stocks and equipment details dark brown,
- Paint hands and faces flesh.
- Paint gun barrels and equipment details gun-metal silver.
- Paint bases dirt brown.
- Cover bases in white glue and cover in 50/50 mix of fine light green and dark green grass flock.
- Glue small pieces of clump foliage to base.
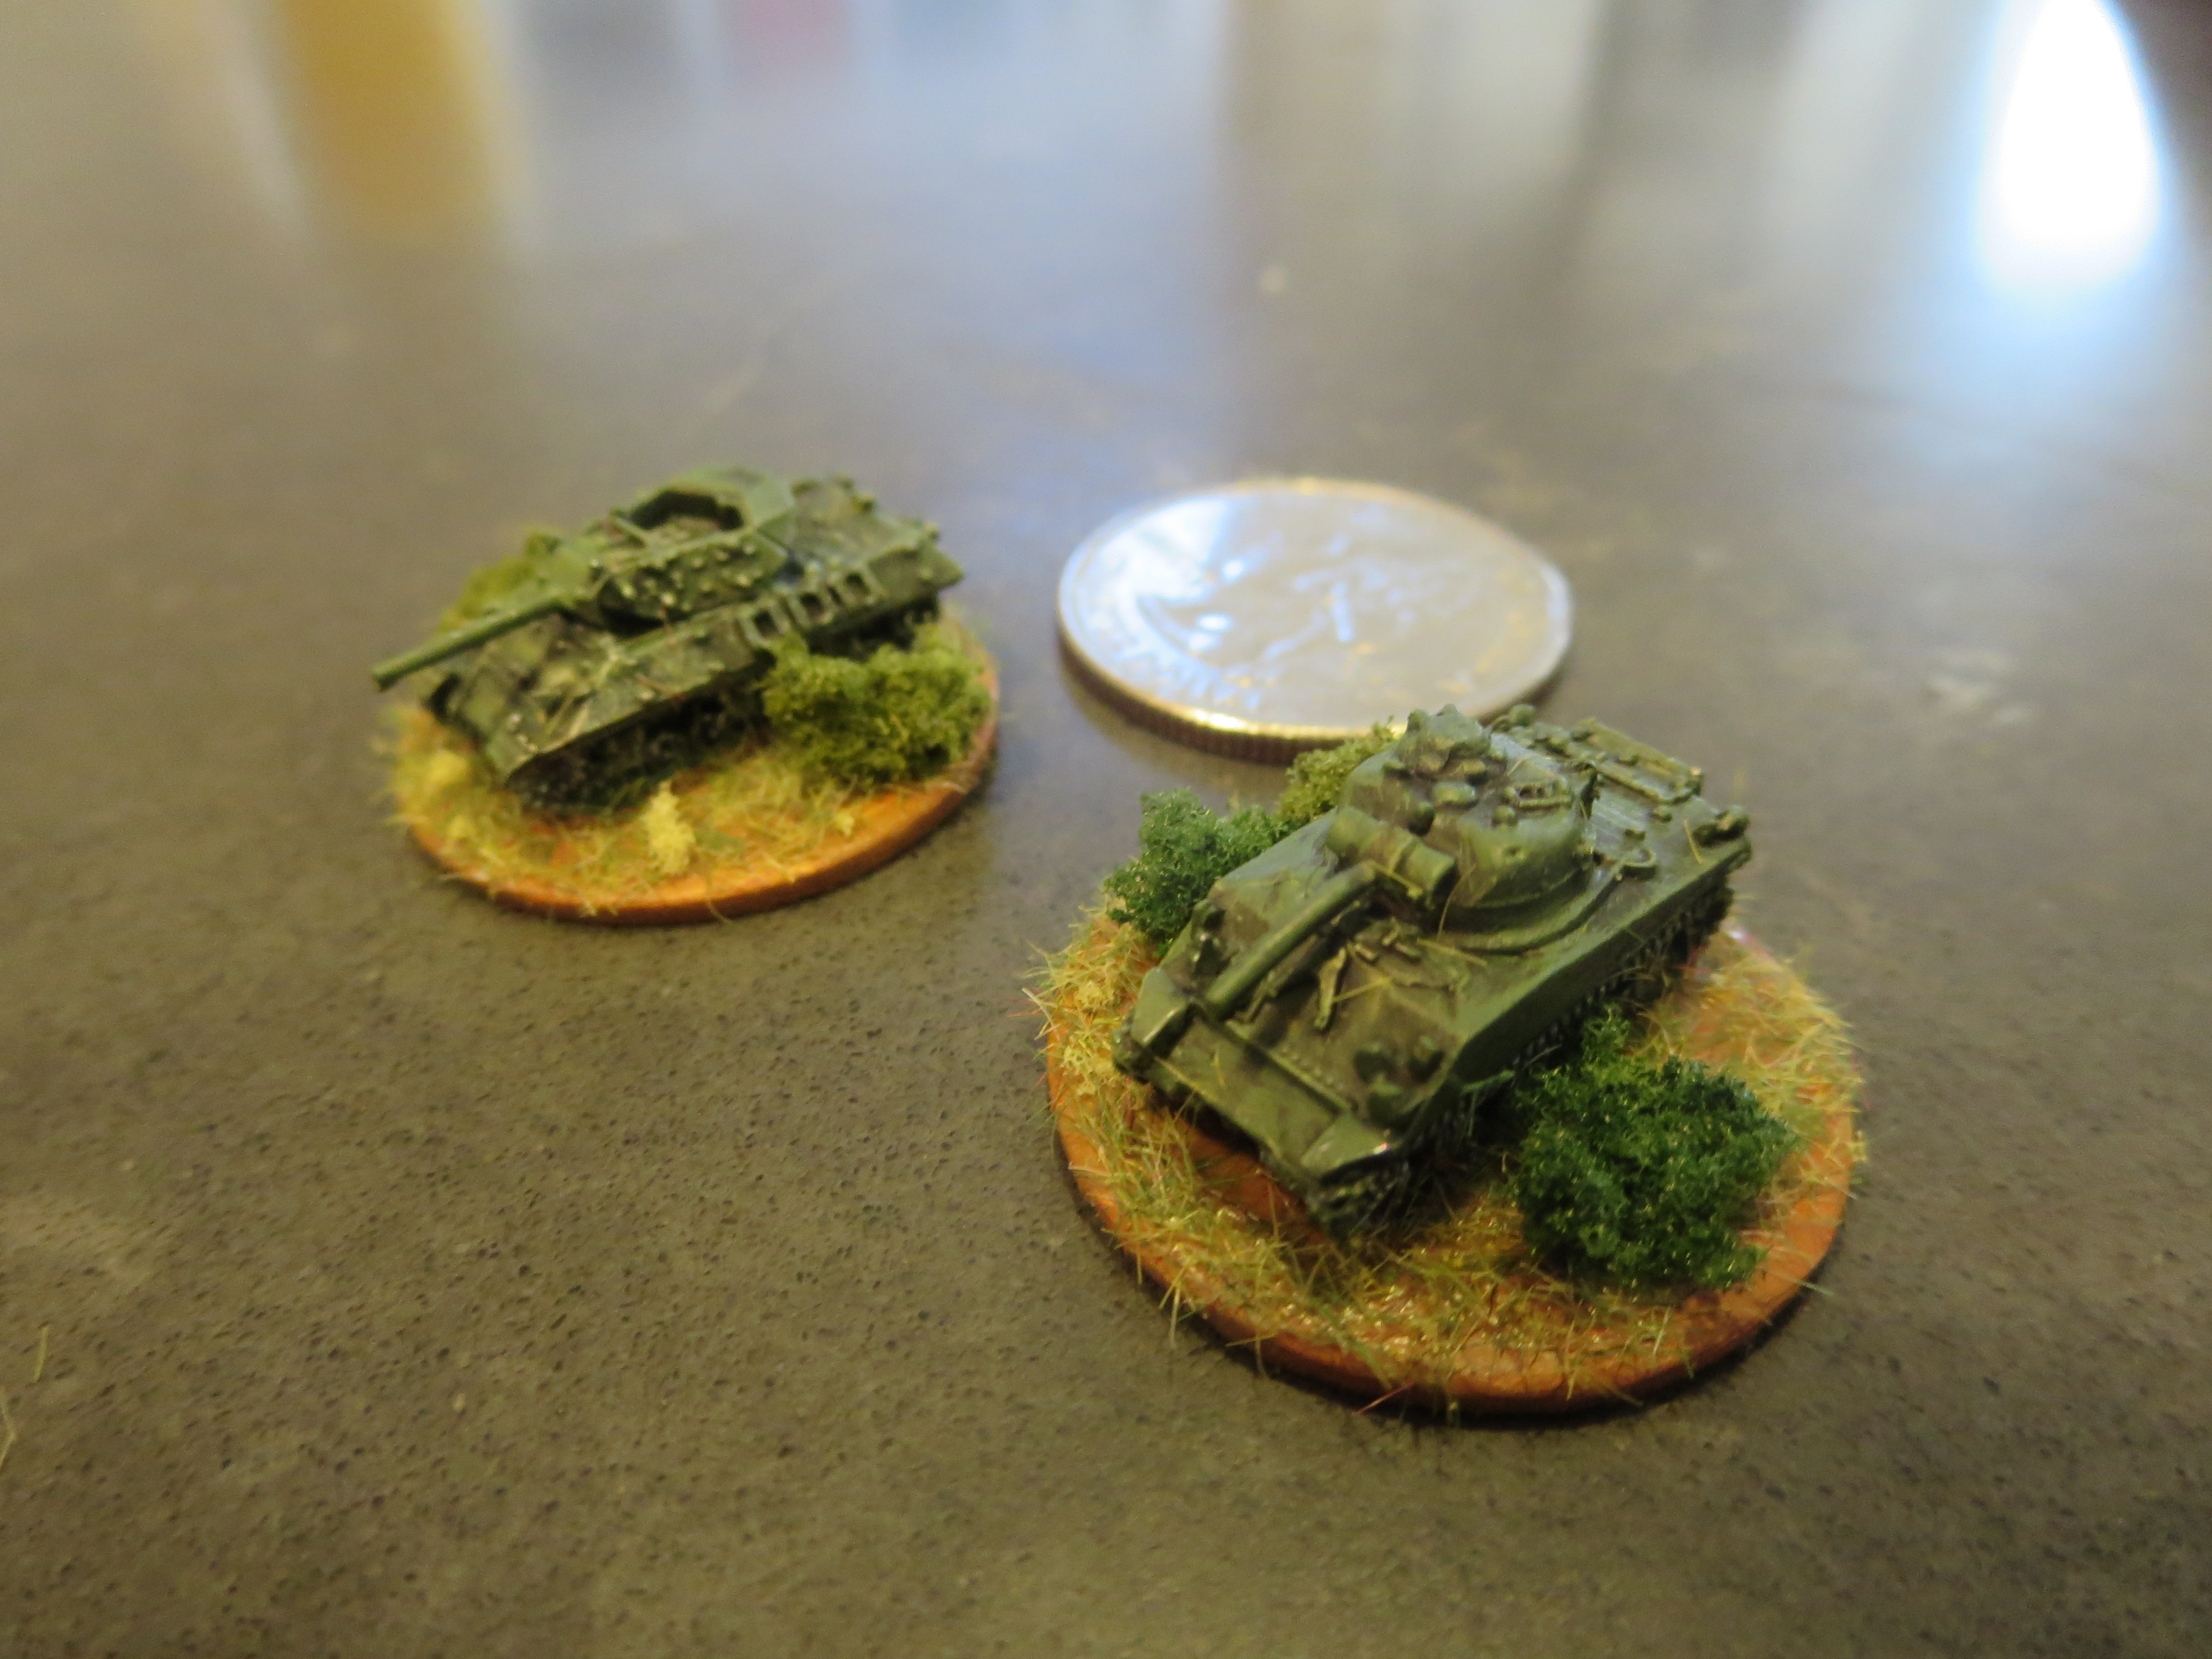
GHQ M10 Wolverine and Sherman tank
Painting US Armor and Transports
- Glue a small piece of card over the center hole of washers.
- Glue models to washer bases.
- Basecoat models and bases with white spray primer.
- Wash models in a mix of 1 part dark green, 1 part light green and 5 parts water.
- Lightly coat models in mud brown wash.
- Dry brush light green highlights to models.
- Dry brush tracks, machine guns and body details gun-metal silver.
- Paint bases dirt brown.
- Cover bases in white glue and cover in 50/50 mix of fine light green and dark green grass flock.
- Glue small pieces of clump foliage to base.
- Paint tire tracks on bases dark brown.
All that’s left now for my US force is to apply some tiny decals on my tanks, armored vehicles and transports. Up next, I’ve got my eye on some additional German armoured infantry to go along with the Panzer IVs I already have on hand. Once I have my Germans on the workbench I’ll get some pics and process notes on painting up my first Axis troops at this scale. Until then, have a look a more photos below of where I am so far on my wargaming project in 6mm.
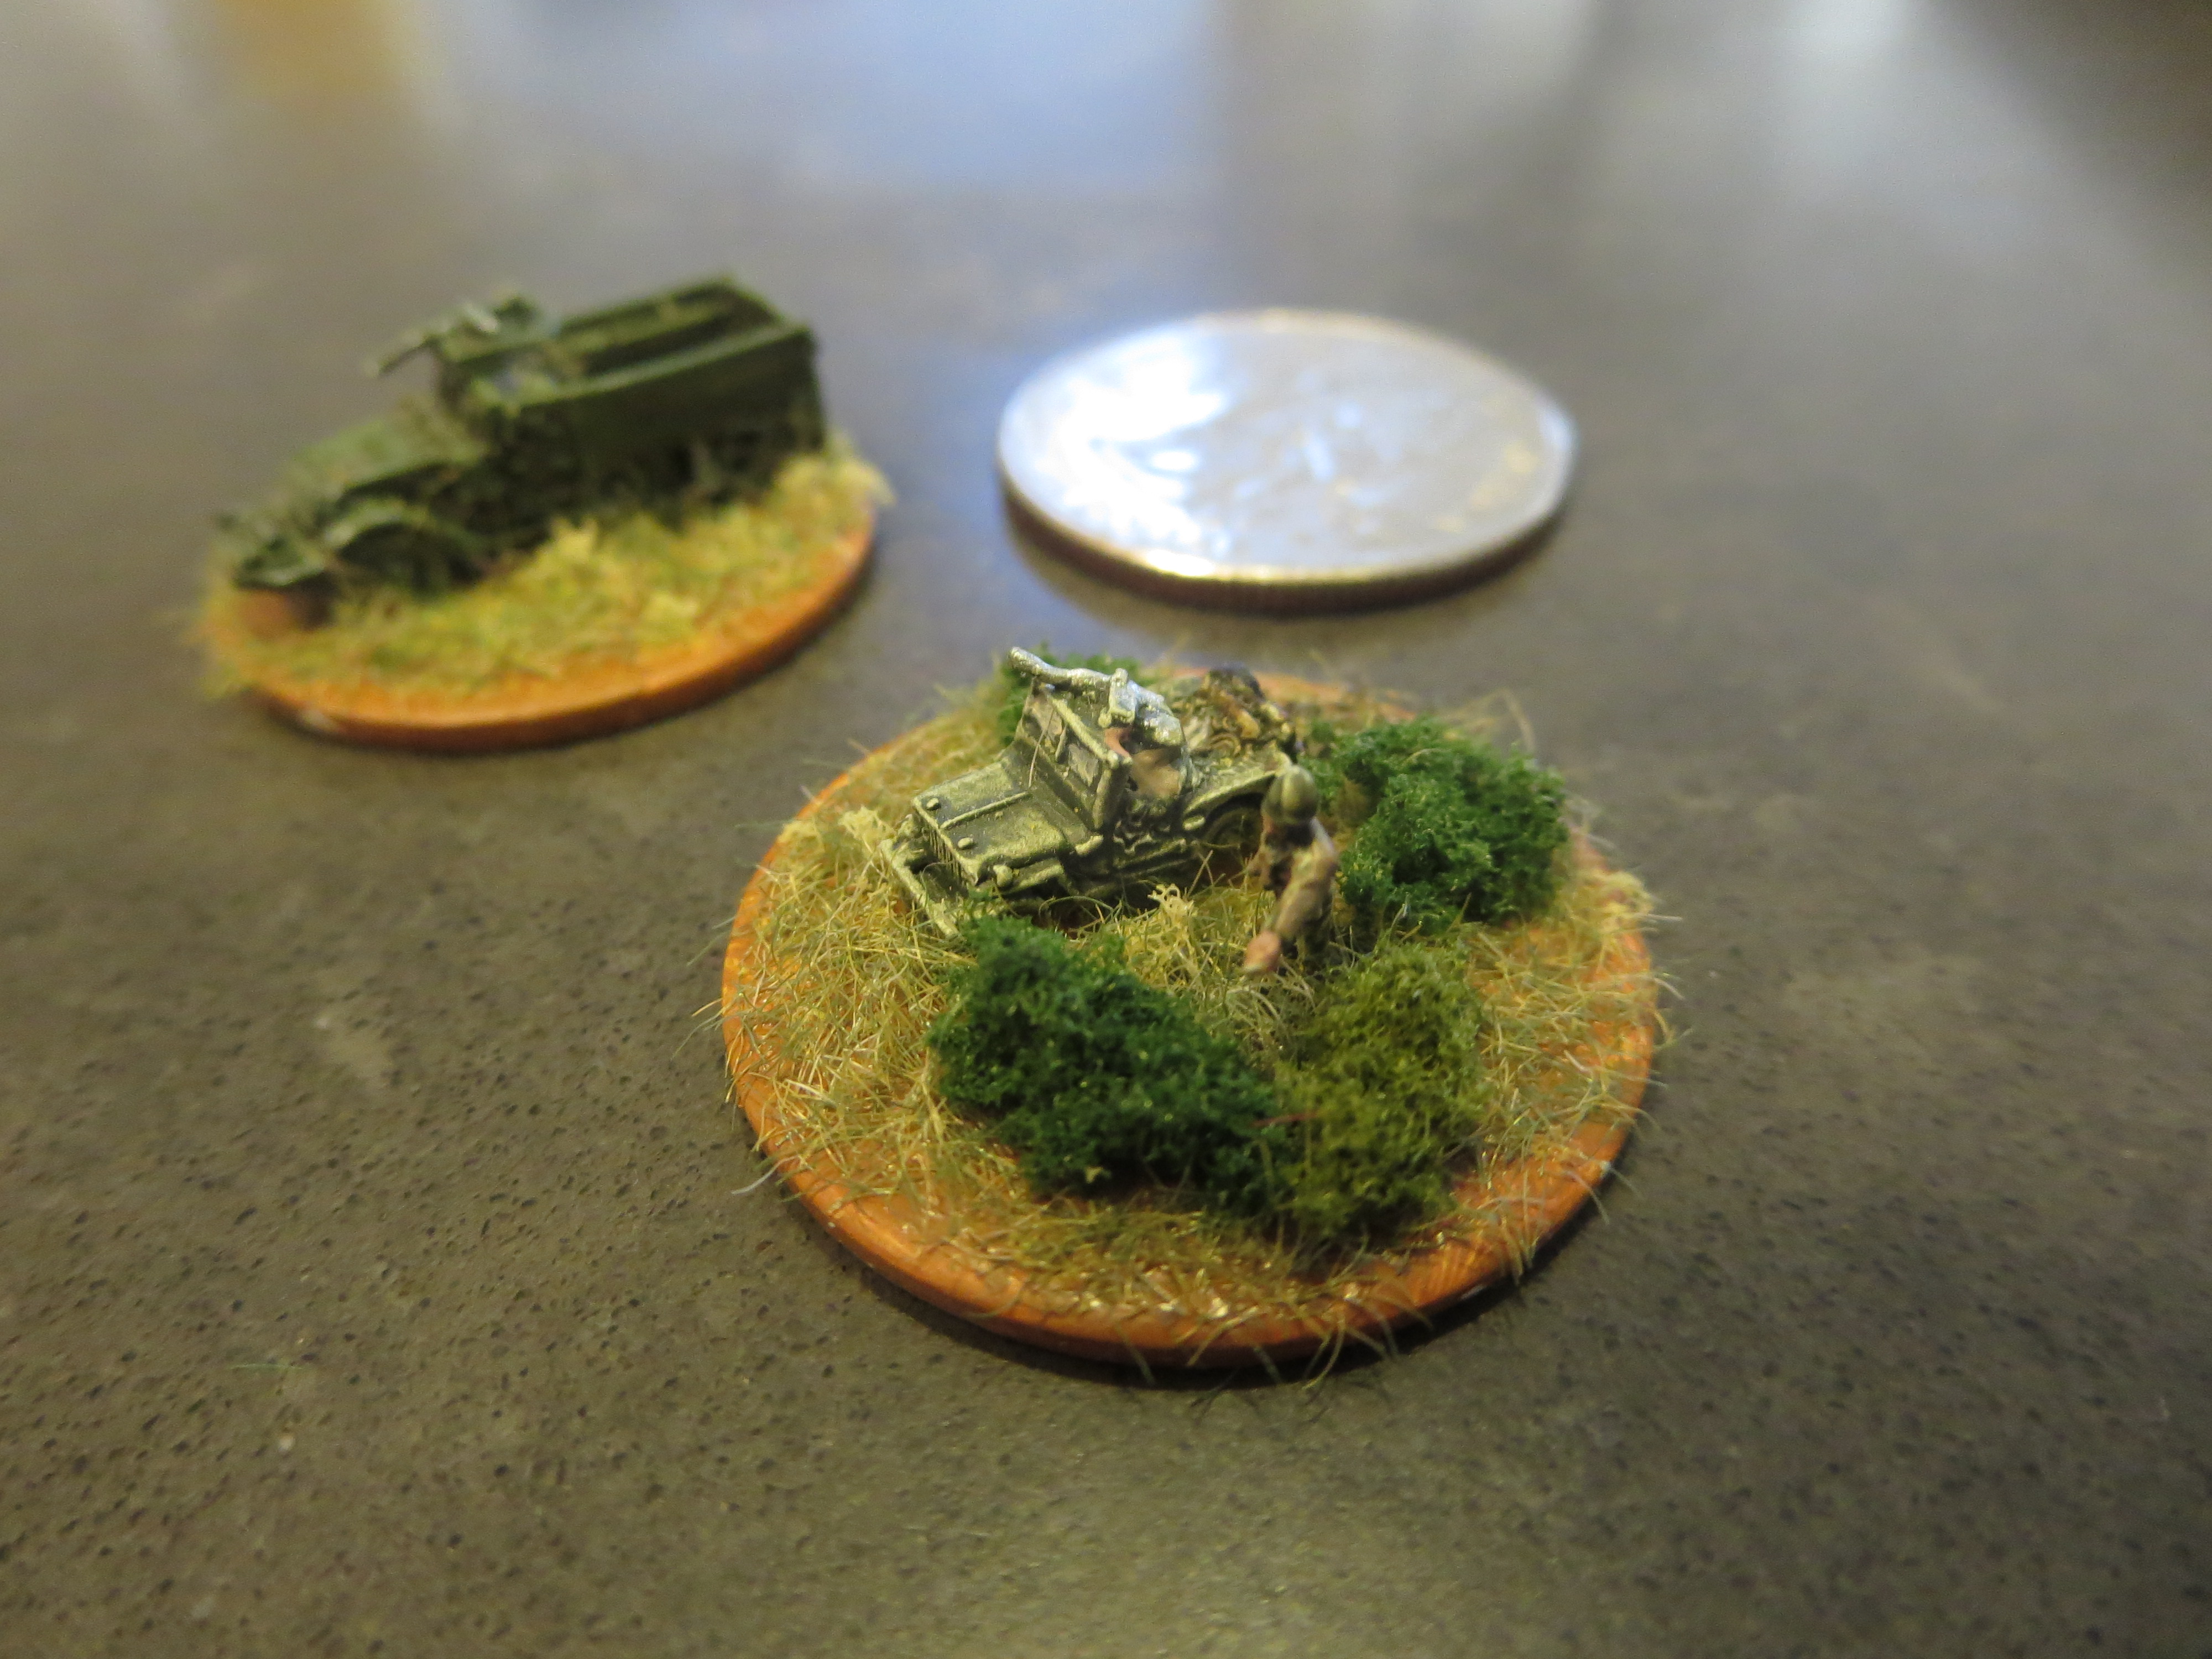
GHQ half track and command stand with Jeep and officer

GHQ M10 Wolverines

GHQ M8 and M20 armored cars
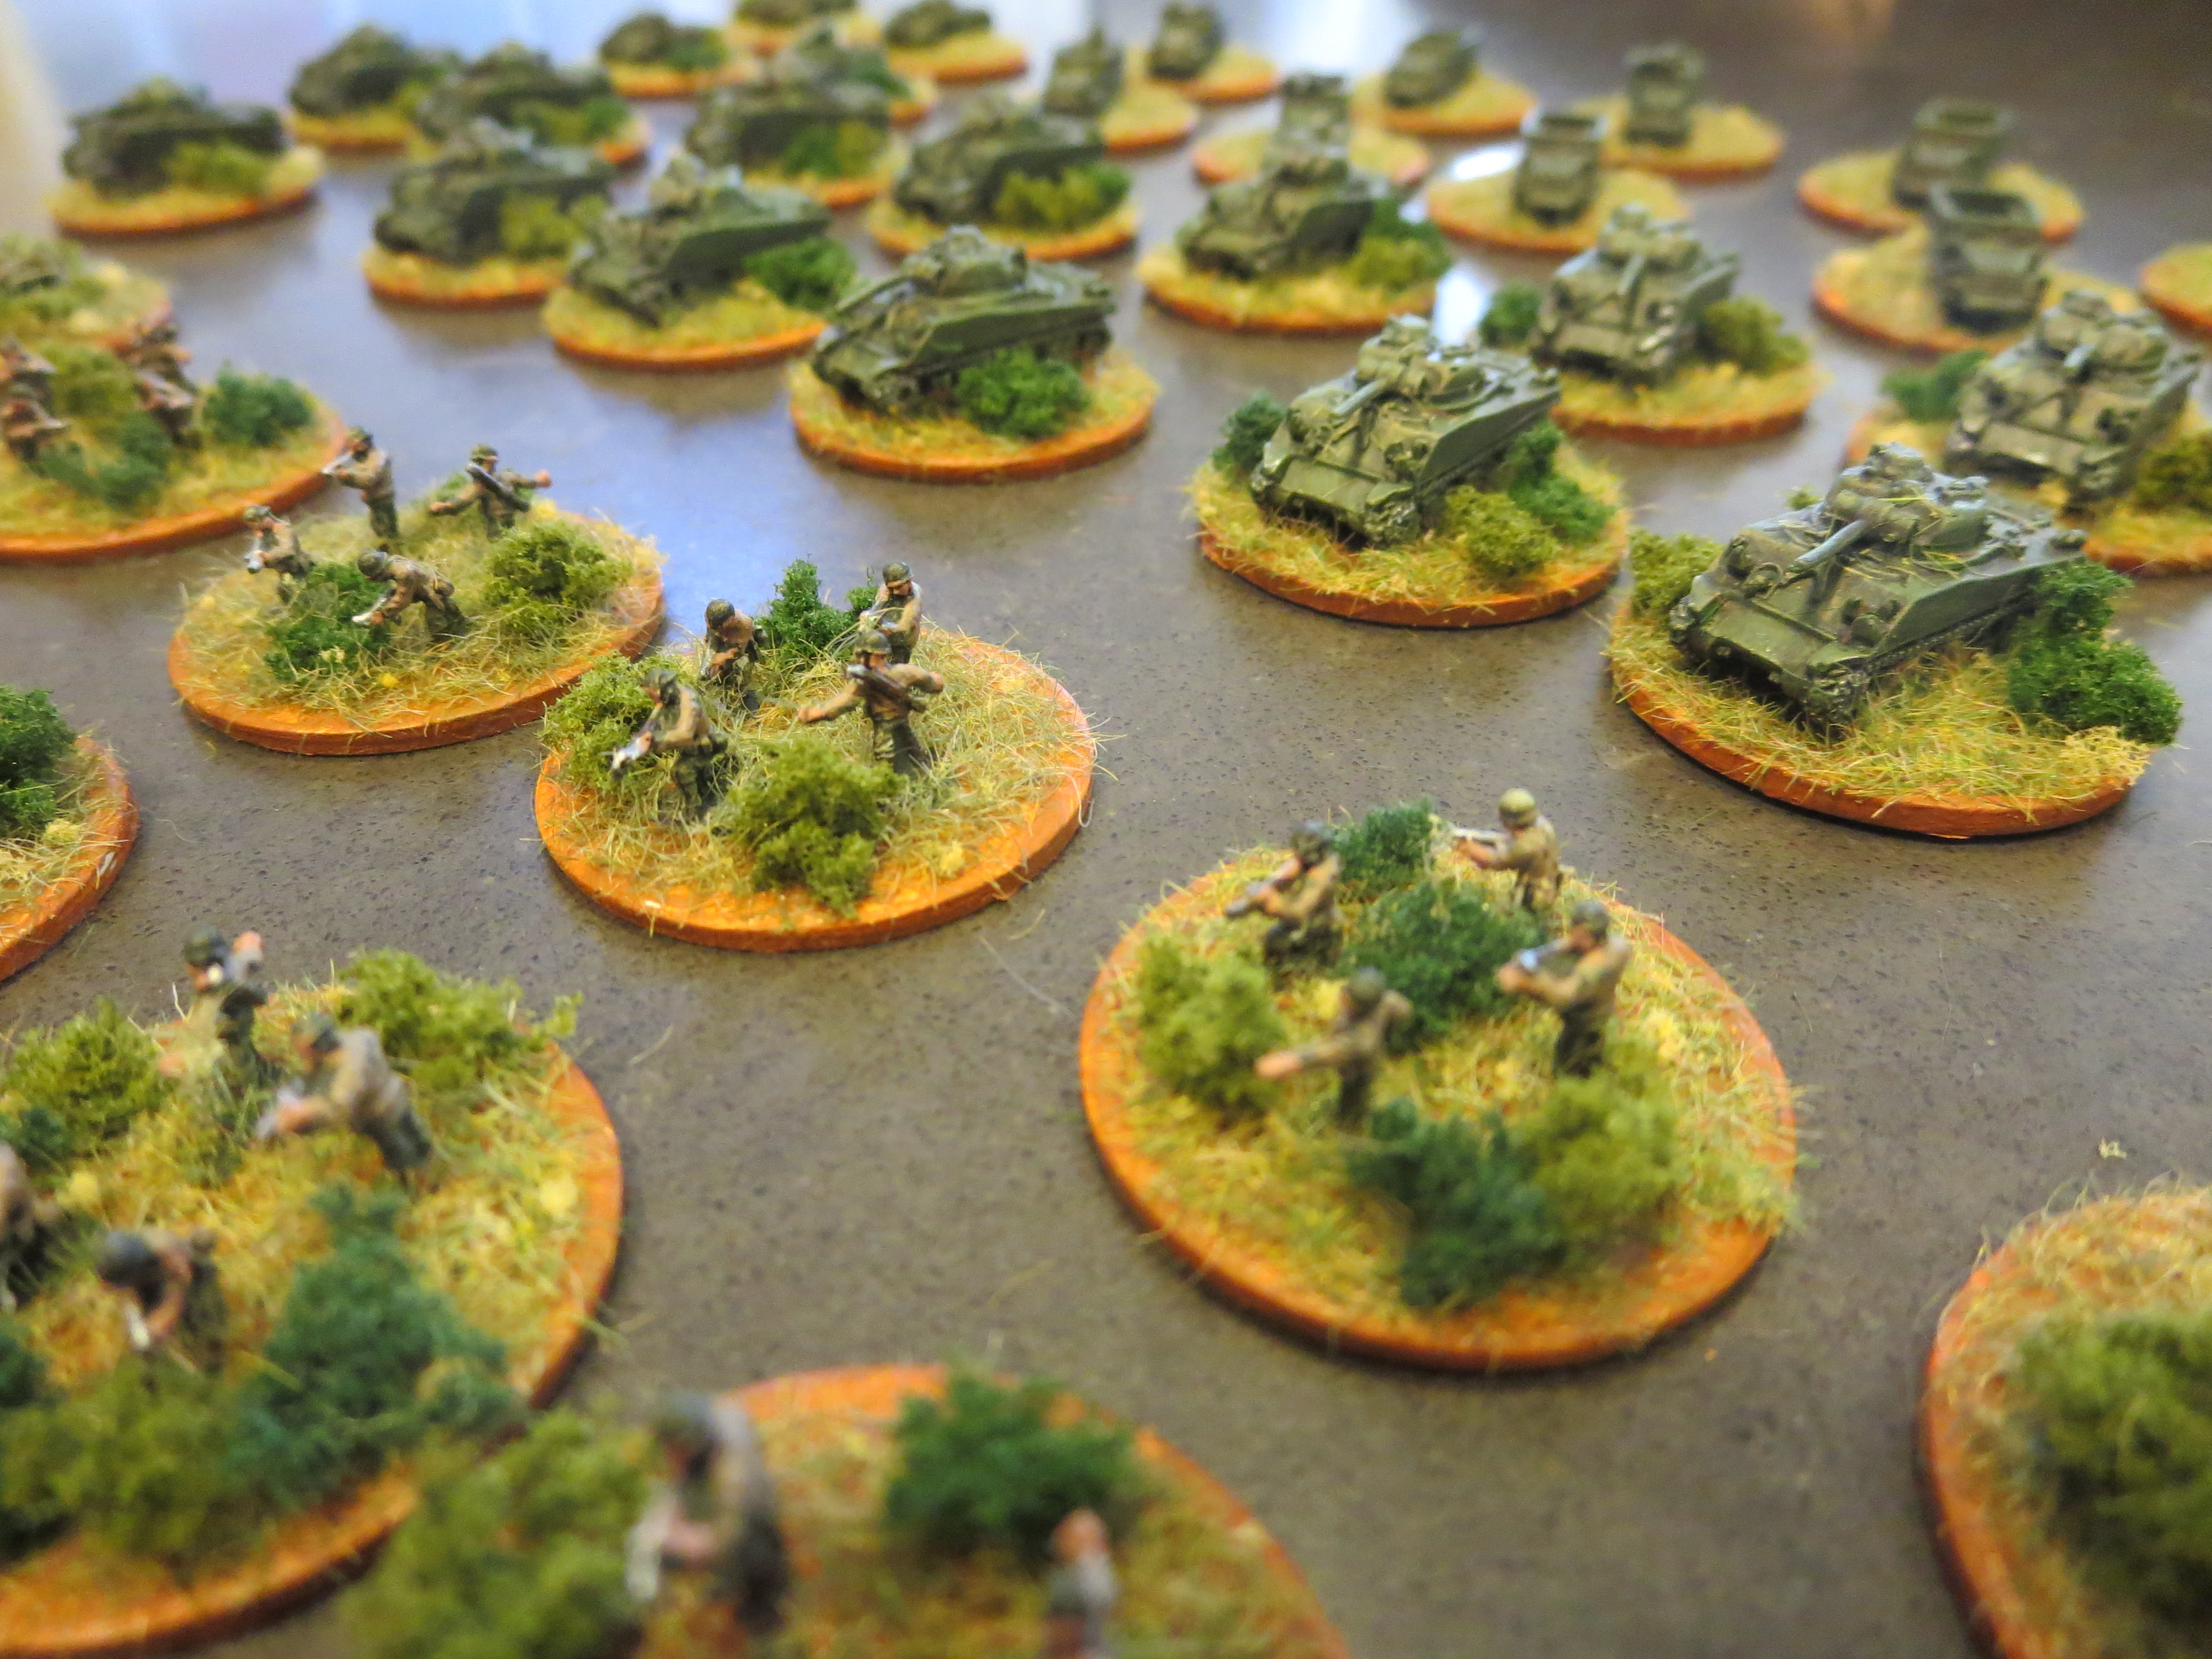
Close-ups of my completed GHQ US armored infantry and Sherman tank force
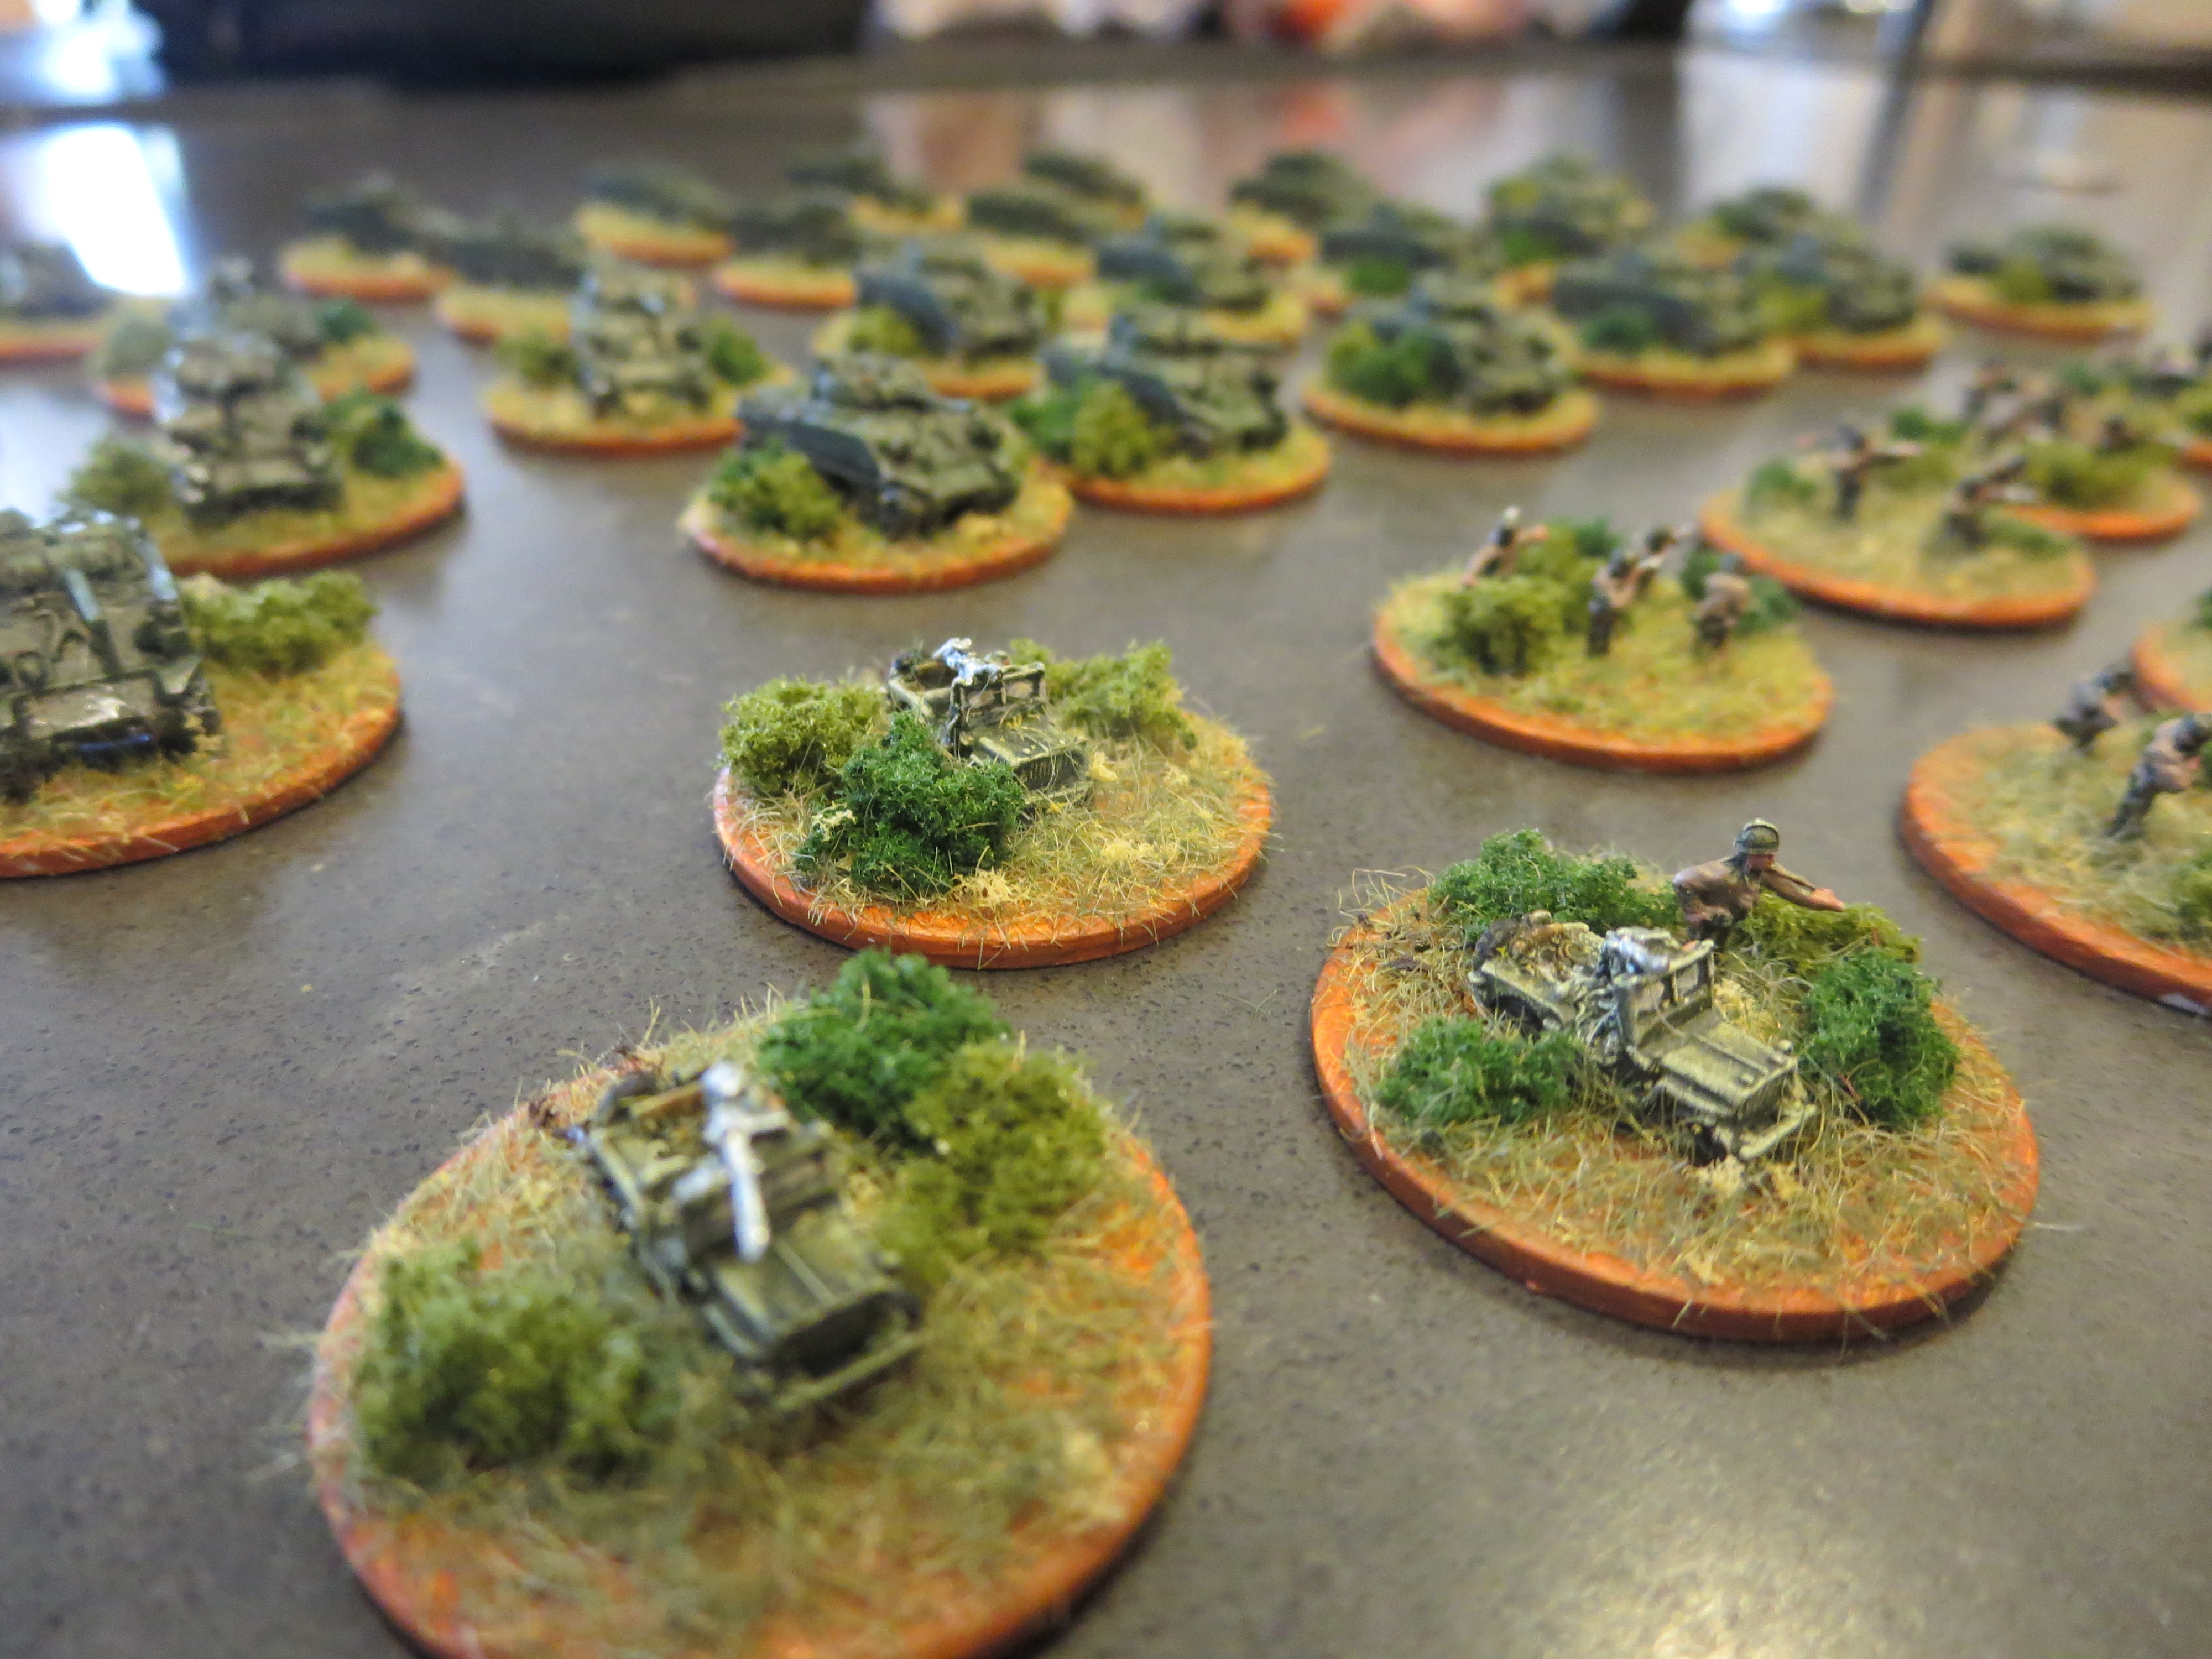
Another close-up of my completed GHQ US armored infantry and Sherman tank force

My first completed US micro armor force from GHQ

Great job! Thanks for sharing the photos!
Pingback: Micro Armour: Fielding the GHQ German Kampfgruppe and Panzer IV Tanks | Brooklyn Wargaming
Nice job on these! Your Shermans are my favourite! – cama
Pingback: Micro Armour: Fielding the GHQ M7 Priests and Infantry Heavy Weapons | Brooklyn Wargaming