Micro Armour: Fielding the GHQ M7 Priests and Infantry Heavy Weapons

m7priest

The 105mm Howitzer Motor Carriage M7 was a powerful invention to support infantry forces during World War II with a combination of a heavy artillery gun, tracked mobility and armor. Christened the ‘Priest’ by British forces due to its round pulpit-like machine-gunner’s ring, the M7 saw service in North Africa, Italy and Normandy and had a powerful showing during the Battle of the Bulge in the winter of 1944-1945.

GHQlogo

I’ve been wrapping up a bunch of lingering modelling projects at multiple scales for the past two months, and I found I still had a number of 6mm models from GHQ to wrap up. Every time I go back to 6mm from my usual 15mm and 28mm modelling, I’m reminded of how much I love working at the micro armour scale. I’m a big fan of how Priests look with their boxy profile and huge gun, and even at the micro scale the GHQ M7 models have a bunch of detail. Finishing these models involved just a quick shot of olive drab armor base coat spray was followed by a brown wash and some dry brushed highlights in a lighter green. Decals add that last bit of detail before the bases are flocked and the models get a matte coat finish.

IMG_0793GHQ M7 Priests

I also had a pack of GHQ US infantry heavy support weapons on hand to add to my other existing ground forces. The M2 mortars and M1919 light machine guns wound up with a pretty tiny, low profile on my flocked washer bases, but they fill out my infantry with flexible support. Along with my new Priests, my tiny US force is diversely equipped for some micro action.

IMG_0797GHQ M2 Mortars

IMG_0795GHQ M1919 Machine Guns

Bringing Modelling Into Focus

IMG_4465

As a wargamer and scale miniatures modeller working my way through the latter half of my 40s, eyesight has become more of an issue for me. It’s a reality of just getting older (I like to think, more experienced) as I’ve aged through about 30 years in the hobby.

Recently, I picked up the magnifying visor from Sharper Image and it’s become a welcome addition to my modelling tool kit. Retailing for about $60 (and less expensive with an additional 10% off for new customers), the visor brings a number of great features which separates it from other magnifiers I’ve seen. The adjustable visor comes with four lenses at  1.5x, 2x, 2.5x and 3x strengths stored in a separate small plastic case. Each lens snaps into the visor and flips up and down easily with a flick of the wrist while painting. Most visors or magnifying eyeglasses used by hobbyists come with just one fixed lens strength, so being able to adjust the level of magnification depending on the project adds a lot of use to the Sharper Image’s visor.

Living in an a Brooklyn apartment, I do most of my modelling projects in natural light at the dining table flanked by a tall set of large windows. For a lot of other hobbyists relegated to painting in basements or small, darker rooms, lighting is often supplemented with workbench lights or a separate camping-style headlamp. For hobbyists like me without a permanent workspace, tabletop lights just aren’t practical and adding a headlamp is just one more thing to store. With these factors in mind, the added feature of a powerful LED light on the Sharper Image visor is also a welcome addition. The light adjusts easily to angles which can direct a beam of cool, white light directly to the area needed. Again, this kind of thing just isn’t found on lesser magnifiers.

I got the Sharper Image visor just as I started going to a smaller scale with 6mm World War II microscale models from GHQ. Whether painting or applying decals, the visor makes details pop on these tiniest of models. At this scale, I found the 2.5x lens to be the best option. The smallest bits of equipment and other features on models practically jump out at me when wearing the visor, and I feel I could practically apply paint with a house painting brush if I had to. I’ve got some other 15mm projects coming up in the coming months, and I’ll be using the visor at that scale for the first time, too.

Regardless of the scale and veteran status in the miniatures hobby, the outlay for the magnifying visor from Sharper Image is a solid investment. As I soon head into another decade in the hobby, I’m grateful to have this new tool to keep my future projects in focus.

Micro Armour: Fielding the GHQ German Kampfgruppe and Panzer IVs

kampfgruppegerman

After getting my initial GHQ 6mm US armored infantry and tank force painted-up a few weeks ago, I’ve moved on to my Germans next. My Axis starter force comes from two GHQ box sets. Ten Panzer IV tanks are included in the Shermans vs. Panzer IVs Battle BoxTo this armor I’ve added the contents of the German Kampfgruppe 1944 box set which includes two towed 20mm Flak guns, two Marder IIIs, two 150mm Bisons, two Sdkfz 10/1 transports, a Kfz 15 command car, a couple horse-drawn wagons, infantry mortars, machine gun teams and a pile of infantry. All together, this gives me a pretty hefty late war German set of models with a solid mix of infantry weapons, tanks, transports and supporting heavy weapons.

IMG_4105GHQ’s Kampfgruppe 1944 Combat Command box set

As with my basic US force in 6mm, I’ve worked up a simple painting method for my Germans. The key is to get an even, thin base coat on the models so tiny details can show through as highlighted areas as I add subsequent colors. Using a magnifier is also a necessity at this scale, and staring at tiny models through the lenses makes painting a downright breeze.

IMG_4111Getting the models and workspace organized is key when working with 6mm

IMG_0599GHQ German infantry, machine guns, Sdkfz 10/11 and Marder IIIs

Painting German Infantry

  1. Glue a small piece of card over the center hole of washers.
  2. Glue models to washer bases.
  3. Basecoat models and bases with white spray primer.
  4. Wash models in a mix of 1 part dark grey, 1 part light grey and 5 parts water.
  5. Paint boots, gun stocks and equipment details dark brown,
  6. Paint hands and faces flesh.
  7. Paint gun barrels and equipment details gun-metal silver.
  8. Paint bases dirt brown.
  9. Cover bases in white glue and cover in 50/50 mix of fine light green and dark green grass flock.
  10. Glue small pieces of clump foliage to base.

 IMG_0603Completed GHQ Panzer IVs

Painting German Armor and Transports

  1. Glue a small piece of card over the center hole of washers.
  2. Glue models to washer bases.
  3. Basecoat models and bases with white spray primer.
  4. Wash models in a mix of 1 part dark grey and 5 parts water.
  5. Lightly coat models in mud brown wash.
  6. Dry brush light grey highlights to models.
  7. Dry brush tracks, machine guns and body details gun-metal silver.
  8. Paint bases dirt brown.
  9. Cover bases in white glue and cover in 50/50 mix of fine light green and dark green grass flock.
  10. Glue small pieces of clump foliage to base.
  11. Paint tire tracks on bases dark brown.

Getting decals applied to the Panzer IVs is finicky, but with some trial and error using my process I did get that last little bit needed to get my Germans rolling onto the table at a very small scale.

IMG_0607GHQ German machine guns

IMG_0605GHQ wagons and 20mm flak guns

IMG_0600GHQ German infantry and Kfz 15 command car

IMG_0601GHQ German infantry and mortar team

Micro Armour: 6mm Miniatures Storage Boxes

WWIIquartermaster

One of the constants of being a miniatures wargamer is the ongoing quest for solutions to store your models. After hours of painting, you’ve just got to have a way to safely store and transport your tiny soldiers and tanks to and from the tabletop battlefield. Models also need to stay in order so they are easily accessible when setting up a game.  Finally, living in cramped quarters in a Brooklyn apartment with a wife and two kids also makes neat, sturdy storage solutions a must if peace and organization is to be maintained on the homefront.

IMG_4179Storage for 6mm models using discarded plastic videotape cases

As a gamer of several decades, my eyes are constantly scanning store shelves, yard sales and piles on the curbside for discarded boxes, bins and packaging for just the right storage. On many an occasion I find myself wistfully rotating some neat container in my hands wondering if this is just the right thing to store models. Yes, storage is a bit of an obsession.

IMG_4178Magnetic sheets from an office supply store safely hold the miniatures on their metal washer bases

I work at one of the leading stock photography and film licensing companies in the world, and recently I came by two enormous rolling dumpsters sitting in a hallway by a freight elevator at the office. Spilling out of these bins were hundreds of plastic over-sized videotape cases destined for recycling. Pulling one case off the top of the pile, I realized what I was holding in my hands was just what I needed to store my newly-painted 6mm World War II micro armor models from GHQ.

IMG_4177Hinged lids and tight closure tabs make for handy access to the miniatures

After hauling a dozen of these cases home, I carefully removed old adhesive cataloging stickers and tabs before giving the cases a quick wash in the sink. A quick trip to an office supply store and about $15 later, I had some magnetic sheets and double-sided heavy-duty adhesive mounting squares. I cut a piece of magnetic sheeting to fit the bottom of each case and then affixed the sheets with the adhesive squares. Once I had a stack of boxes all made up, I labelled each case along one edge using a label maker. The labels not only clearly show what’s in each box but also help to indicate which end is up when opening the hinged lid.

IMG_4176Labels clearly mark what’s in case and allow them to be switched-out if needed

For a minimal cost, I’ve netted an easy storage solution for my 6mm models. The magnetic sheets are strong enough that I can carry the cases and even store them on end on a shelf without the models shifting around in the box. The one-piece cases with built-in hinged lids and closure tabs keep the boxes tightly closed. Everything is organized by nationality and unit type, and opening a box clearly displays the models when fielding a force for a game. As my collection grows (as any wargamer’s inevitably does), I can easily peel and replace the labels with new ones.

Cheap, sturdy and flexible — my new storage is a big victory for my little models.

Micro Armour: How To Apply Decals To 6mm Models

tankfactory

I’m working my way through my new 6mm micro armor modelling project using models from GHQ. After painting I arrived at the stage of applying decals which I also ordered from GHQ. Like many hobbyists, I have a love-hate relationship with decals at any scale. Cutting and applying decals can be frustrating as they fold, tear or wind up in the wrong positions on models. On the other hand, getting decals successfully applied to models adds a ton of personality to a paint job and can allow for easier identification during play on the tabletop.

An experienced micro armor modeller and player at Metropolitan Wargamers in Brooklyn, NY turned me on to his technique for applying decals to 6mm models which I’ve found to be fast and easy with great results. Being organized and methodical in an assembly line manner is key. Having the right equipment is also a necessity. Magnifying reading glasses keeps all the tiny decals and models in focus. Working off a clean, flat hobby mat provides an ideal surface to cut decals and also keeps things easy to see. A sharp hobby knife with a fresh blade, some very fine brushes, clean water, white glue, paper towels and a cotton swab round out the basic equipment. Finally, using a decal fixative (I use Walthers Solvaset) gives a good bond for decals once applied, nestling them into the uneven surfaces of the model.

Applying 6mm Decals

  1. Carefully cut around the shape of each decal with a very sharp hobby knife.
  2. Using a finger tip, dot several small beads of  clean water in a row on the work surface.
  3. Apply a small amount of watered-down white glue to the surface of the model where the decal will be applied.
  4. Carefully push a decal into a bead of water using a small brush.
  5. After a few seconds, roll the decal off its paper backing using a fine brush.
  6. Roll the decal onto the model’s surface and gently push it into position.
  7. After a few minutes of drying time, dab the decal area with a cotton swab to remove any excess water.
  8. Coat the decal and the immediate area with a decal fixative solvent.
  9. Once models are completely dry, spray with a protective matte finish.

IMG_4079Applying decals to 6mm American armor

Historic markings varied a lot during World War II, so I largely came up with my own simple plan for my decals. Each one of my half tracks got encircled white air-observation stars on the hood. My Shermans each received two stars, one plain star on the front hull and an encircled white star on the rear deck of the tank. The M10 Wolverines and armored cars likewise received white stars in circles on the rear deck area.

IMG_40776mm US armor and transports with decals applied

I was able to complete all my decals in just two evenings, totaling  just about two hours. I couldn’t be more pleased with the results, and I didn’t lose a single decal in the process. Now that I’ve got my newly-learned technique down, it’s on to my German armor and then the battlefield.

Micro Armour: Fielding the GHQ US Armored Infantry and Sherman Tanks

USArmoredInf

A few months back I jumped into World War II 6mm micro armour with a few initial purchases from GHQ and a general post on getting started with the scale. With some other 15mm Flames of War projects taking precedent, my 6mm project has been sitting on the back burner until this past week.

I started my US forces with models from the US Armored Infantry Command 1944 and Shermans vs. Panzer IVs Battle Box sets from GHQ. The infantry set gives me a bunch of infantry, bazookas, an M20 armored car, three M8 armored cars, eight half tracks, three M10 Wolverines, three 75mm Shermans and three jeeps. From the US/German box I get another ten Sherman tanks. All together, I’ve got a pretty sizable and inexpensive US force typical of the late war in Europe.

This was my first time painting 6mm models, so I worked out a quick technique for painting infantry, transports and armor that gave pretty great results. I picked up a pair of 1.5x strength reading glasses which really helped in bringing the models into focus as I dabbed paint to the models using an ultra fine brush. By gluing the models to metal washers I was able to affix the models to a strip of magnetic basing, allowing me to rotate the models easily to paint from every angle.

IMG_0552

Two completed stands of GHQ US infantry

Painting US Infantry

  1. Glue a small piece of card over the center hole of washers.
  2. Glue models to washer bases.
  3. Basecoat models and bases with white spray primer.
  4. Wash models in a mix of 1 part dark green, 1 part light green and 5 parts water.
  5. Paint jackets tan.
  6. Paint boots, gun stocks and equipment details dark brown,
  7. Paint hands and faces flesh.
  8. Paint gun barrels and equipment details gun-metal silver.
  9. Paint bases dirt brown.
  10. Cover bases in white glue and cover in 50/50 mix of fine light green and dark green grass flock.
  11. Glue small pieces of clump foliage to base.

IMG_0553

GHQ M10 Wolverine and Sherman tank

Painting US Armor and Transports

  1. Glue a small piece of card over the center hole of washers.
  2. Glue models to washer bases.
  3. Basecoat models and bases with white spray primer.
  4. Wash models in a mix of 1 part dark green, 1 part light green and 5 parts water.
  5. Lightly coat models in mud brown wash.
  6. Dry brush light green highlights to models.
  7. Dry brush tracks, machine guns and body details gun-metal silver.
  8. Paint bases dirt brown.
  9. Cover bases in white glue and cover in 50/50 mix of fine light green and dark green grass flock.
  10. Glue small pieces of clump foliage to base.
  11. Paint tire tracks on bases dark brown.

All that’s left now for my US force is to apply some tiny decals on my tanks, armored vehicles and transports. Up next, I’ve got my eye on some additional German armoured infantry to go along with the Panzer IVs I already have on hand. Once I have my Germans on the workbench I’ll get some pics and process notes on painting up my first Axis troops at this scale. Until then, have a look a more photos below of where I am so far on my wargaming project in 6mm.

IMG_0554

GHQ half track and command stand with Jeep and officer

IMG_0559

GHQ M10 Wolverines

IMG_0558

GHQ M8 and M20 armored cars

IMG_0556

Close-ups of my completed GHQ US armored infantry and Sherman tank force

IMG_0557

Another close-up of my completed GHQ US armored infantry and Sherman tank force

IMG_0555

My first completed US micro armor force from GHQ

Micro Armour: Getting Started

GHQlogo

After years of wargaming World War II with Flames of War, I’ve been looking for a change of pace for the period. I’ve recently caught up on the vast majority of my modelling projects, including fairly extensive American, British and German Late War forces as well as a bunch of terrain. I’ve also been interested in playing larger battles, something that becomes a bit unwieldy with FOW. In looking for a way to expand my WWII gaming experience, I’ve been weighing factors of scale, cost, storage and time. After a lot of thought, I’m going small and getting started with WWII in micro scale.

The standard in micro scale gaming is GHQ. Founded in the late 1960s and based just outside Minneapolis, Minnesota, GHQ manufactures an extensive line of pewter miniatures for WWII, Modern, Napoleonic, American Civil War and various naval eras. In the early 1990s, GHQ also began offering N and HO scale vehicles targeting model railroading enthusiasts. Along with their gaming models, the company has developed a number of rulesets and terrain-building supplies appropriate for various eras of combat at the micro scale level. For over 40 years GHQ’s models have been held in high regard by wargamers as well as the US military which uses the company’s products for training and planning excercises.

WWIIscales

World War II miniatures scale comparisons (from www.historicalwargames.net)

The 1/285th (6mm) scale of GHQ’s WWII models offers a number of differences and potential advantages to larger scales, such as 1/100th (15mm) FOW miniatures and 1/56 (28mm) models from the expanding Bolt Action game line from Warlord Games.

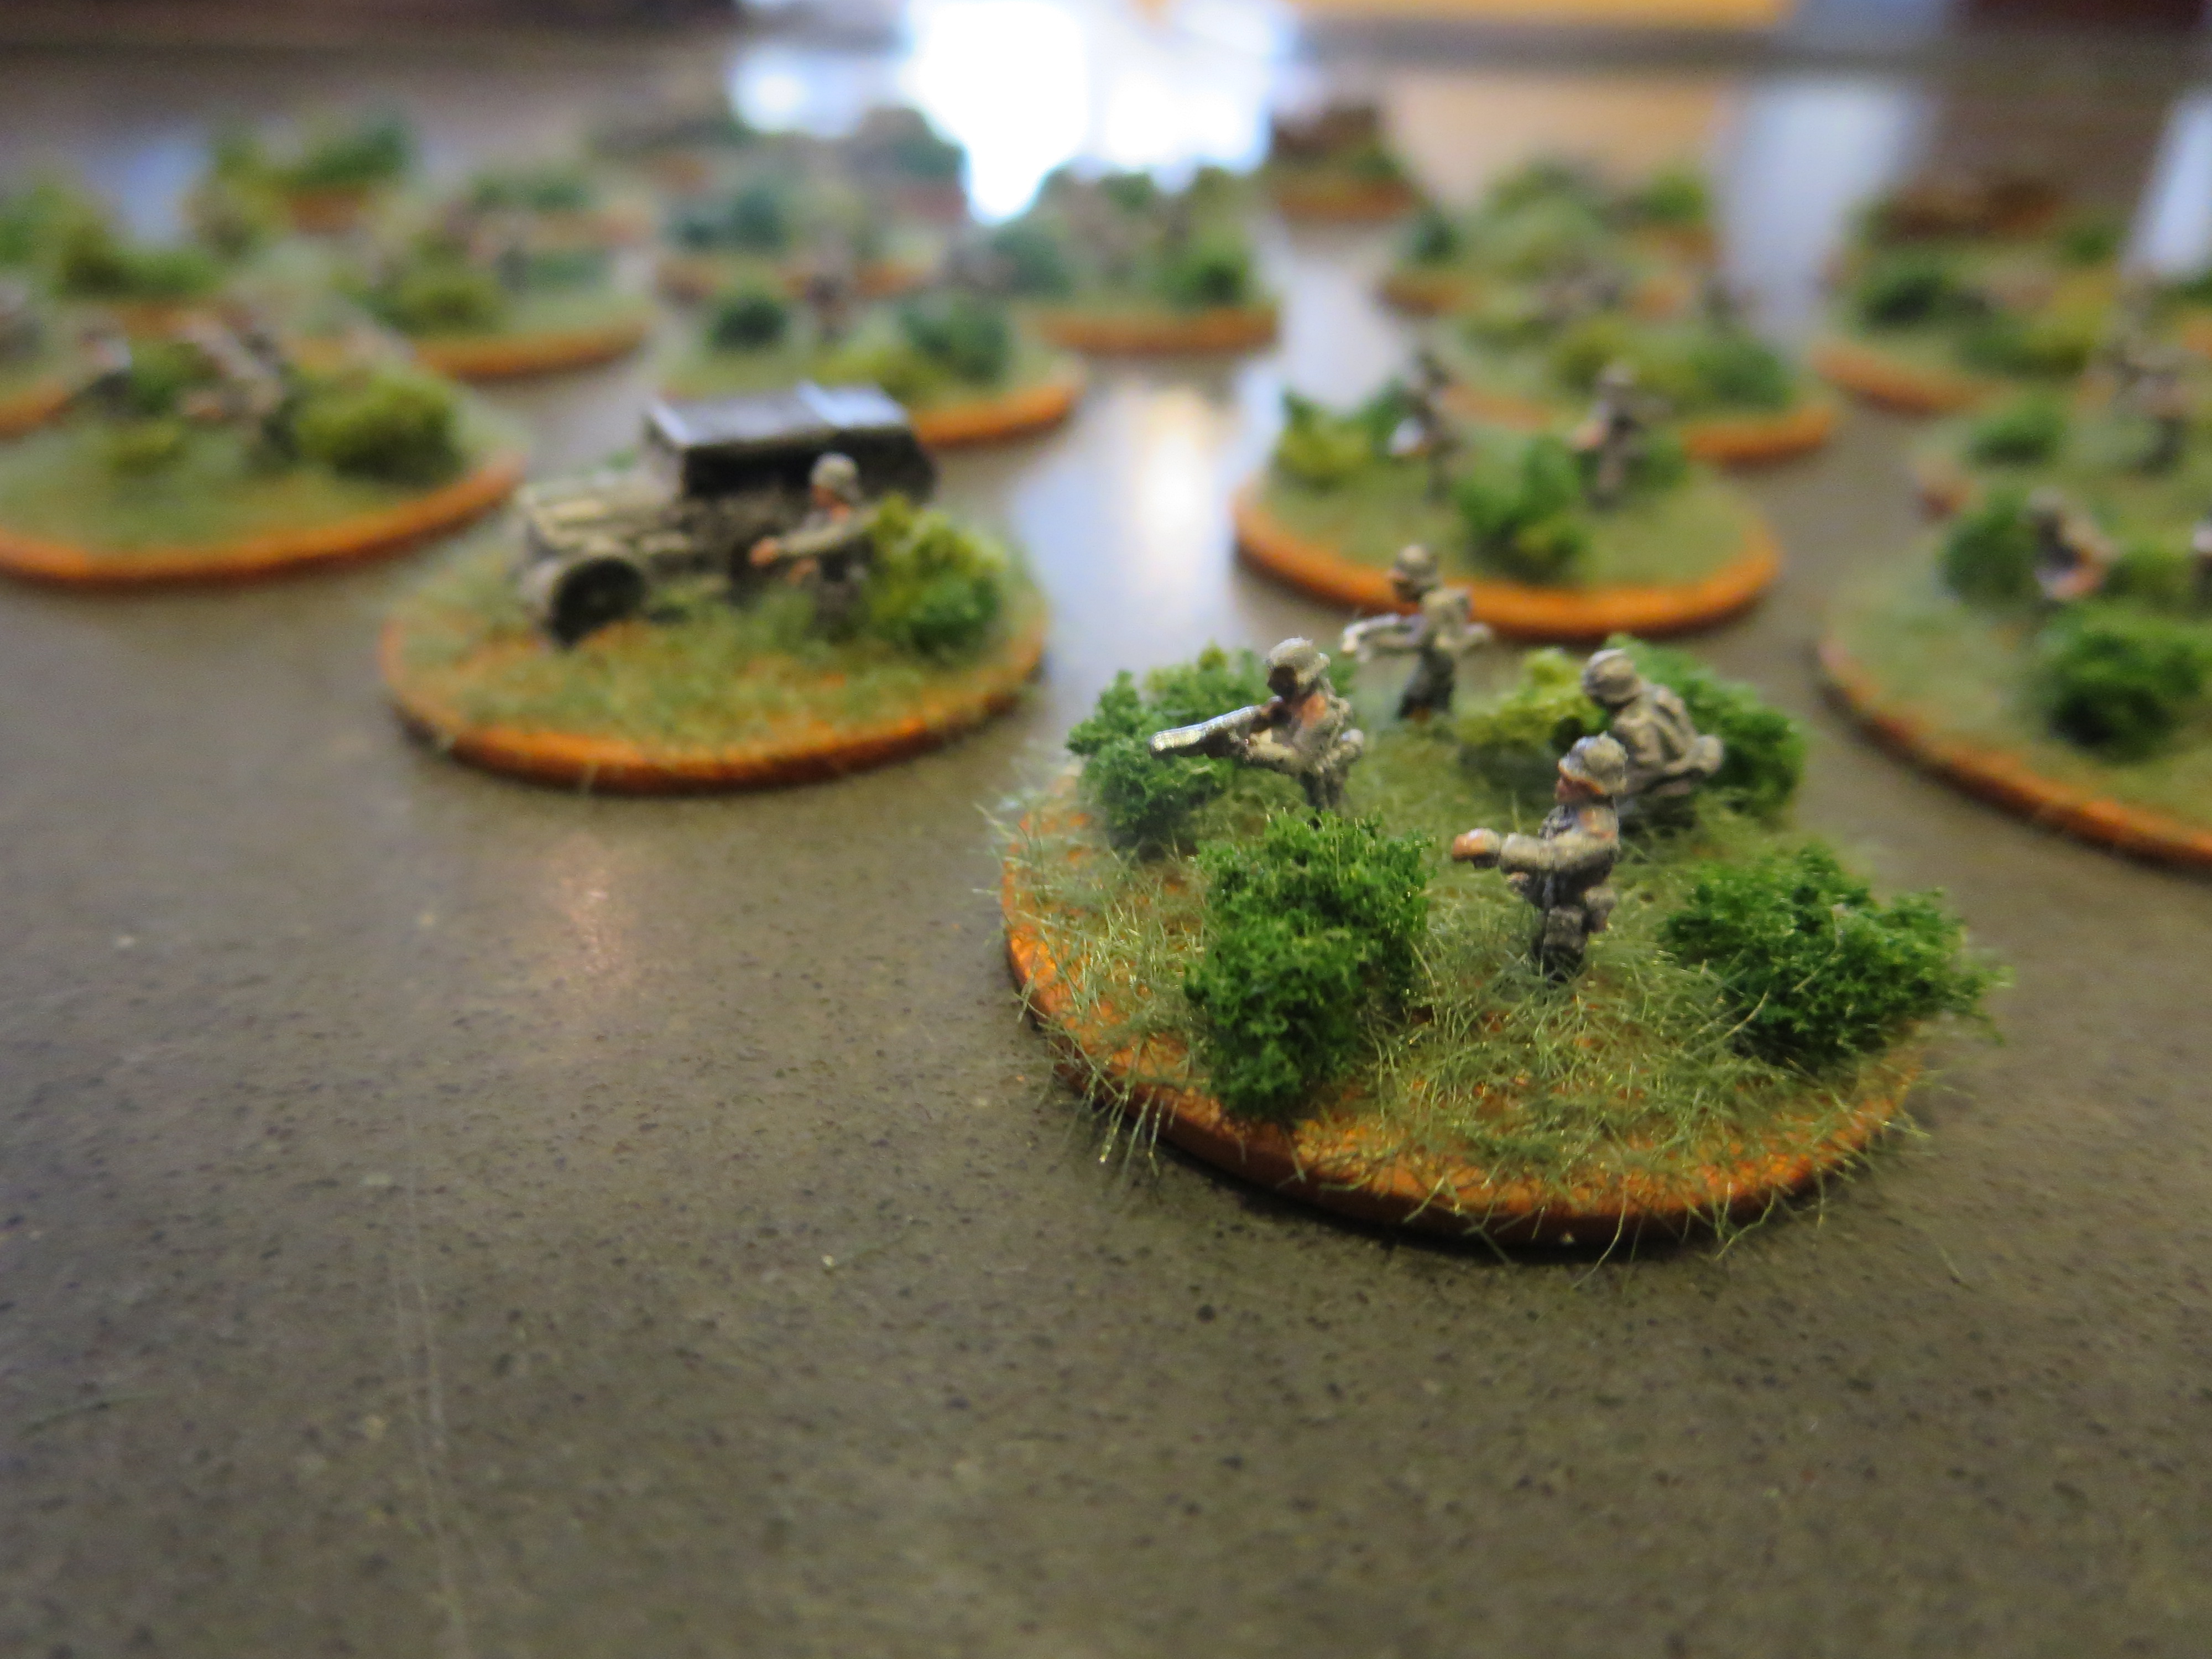
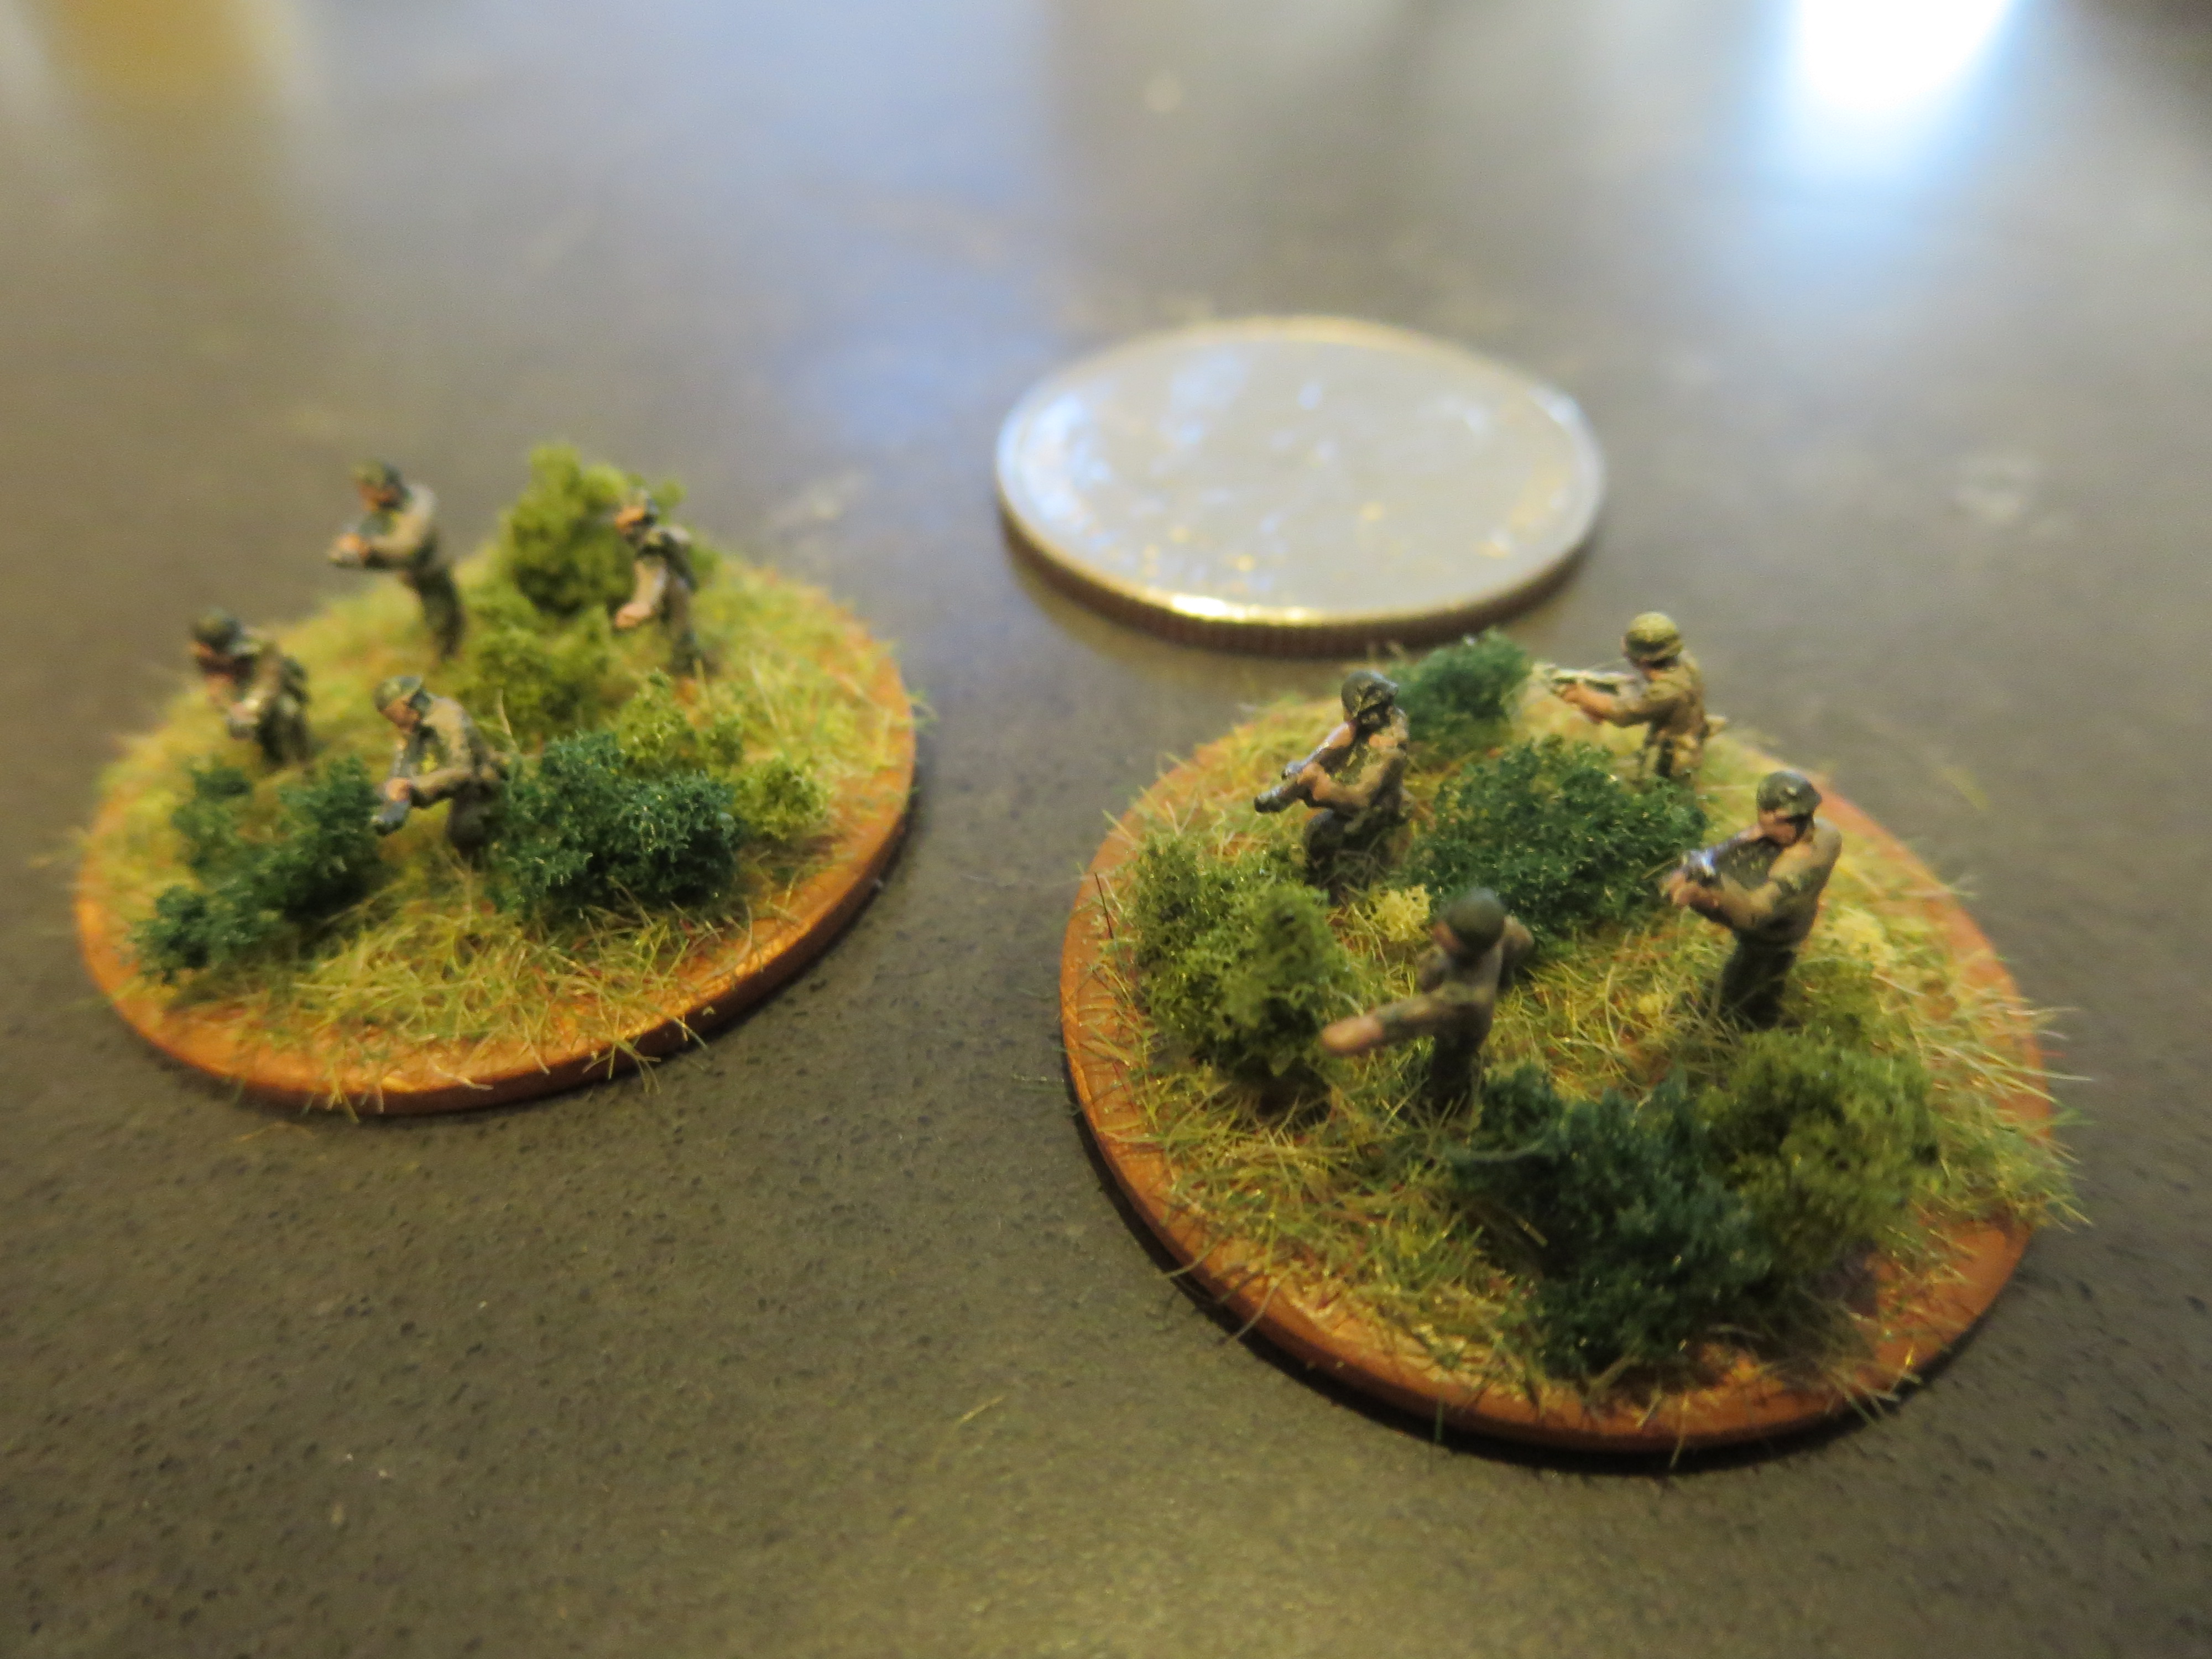
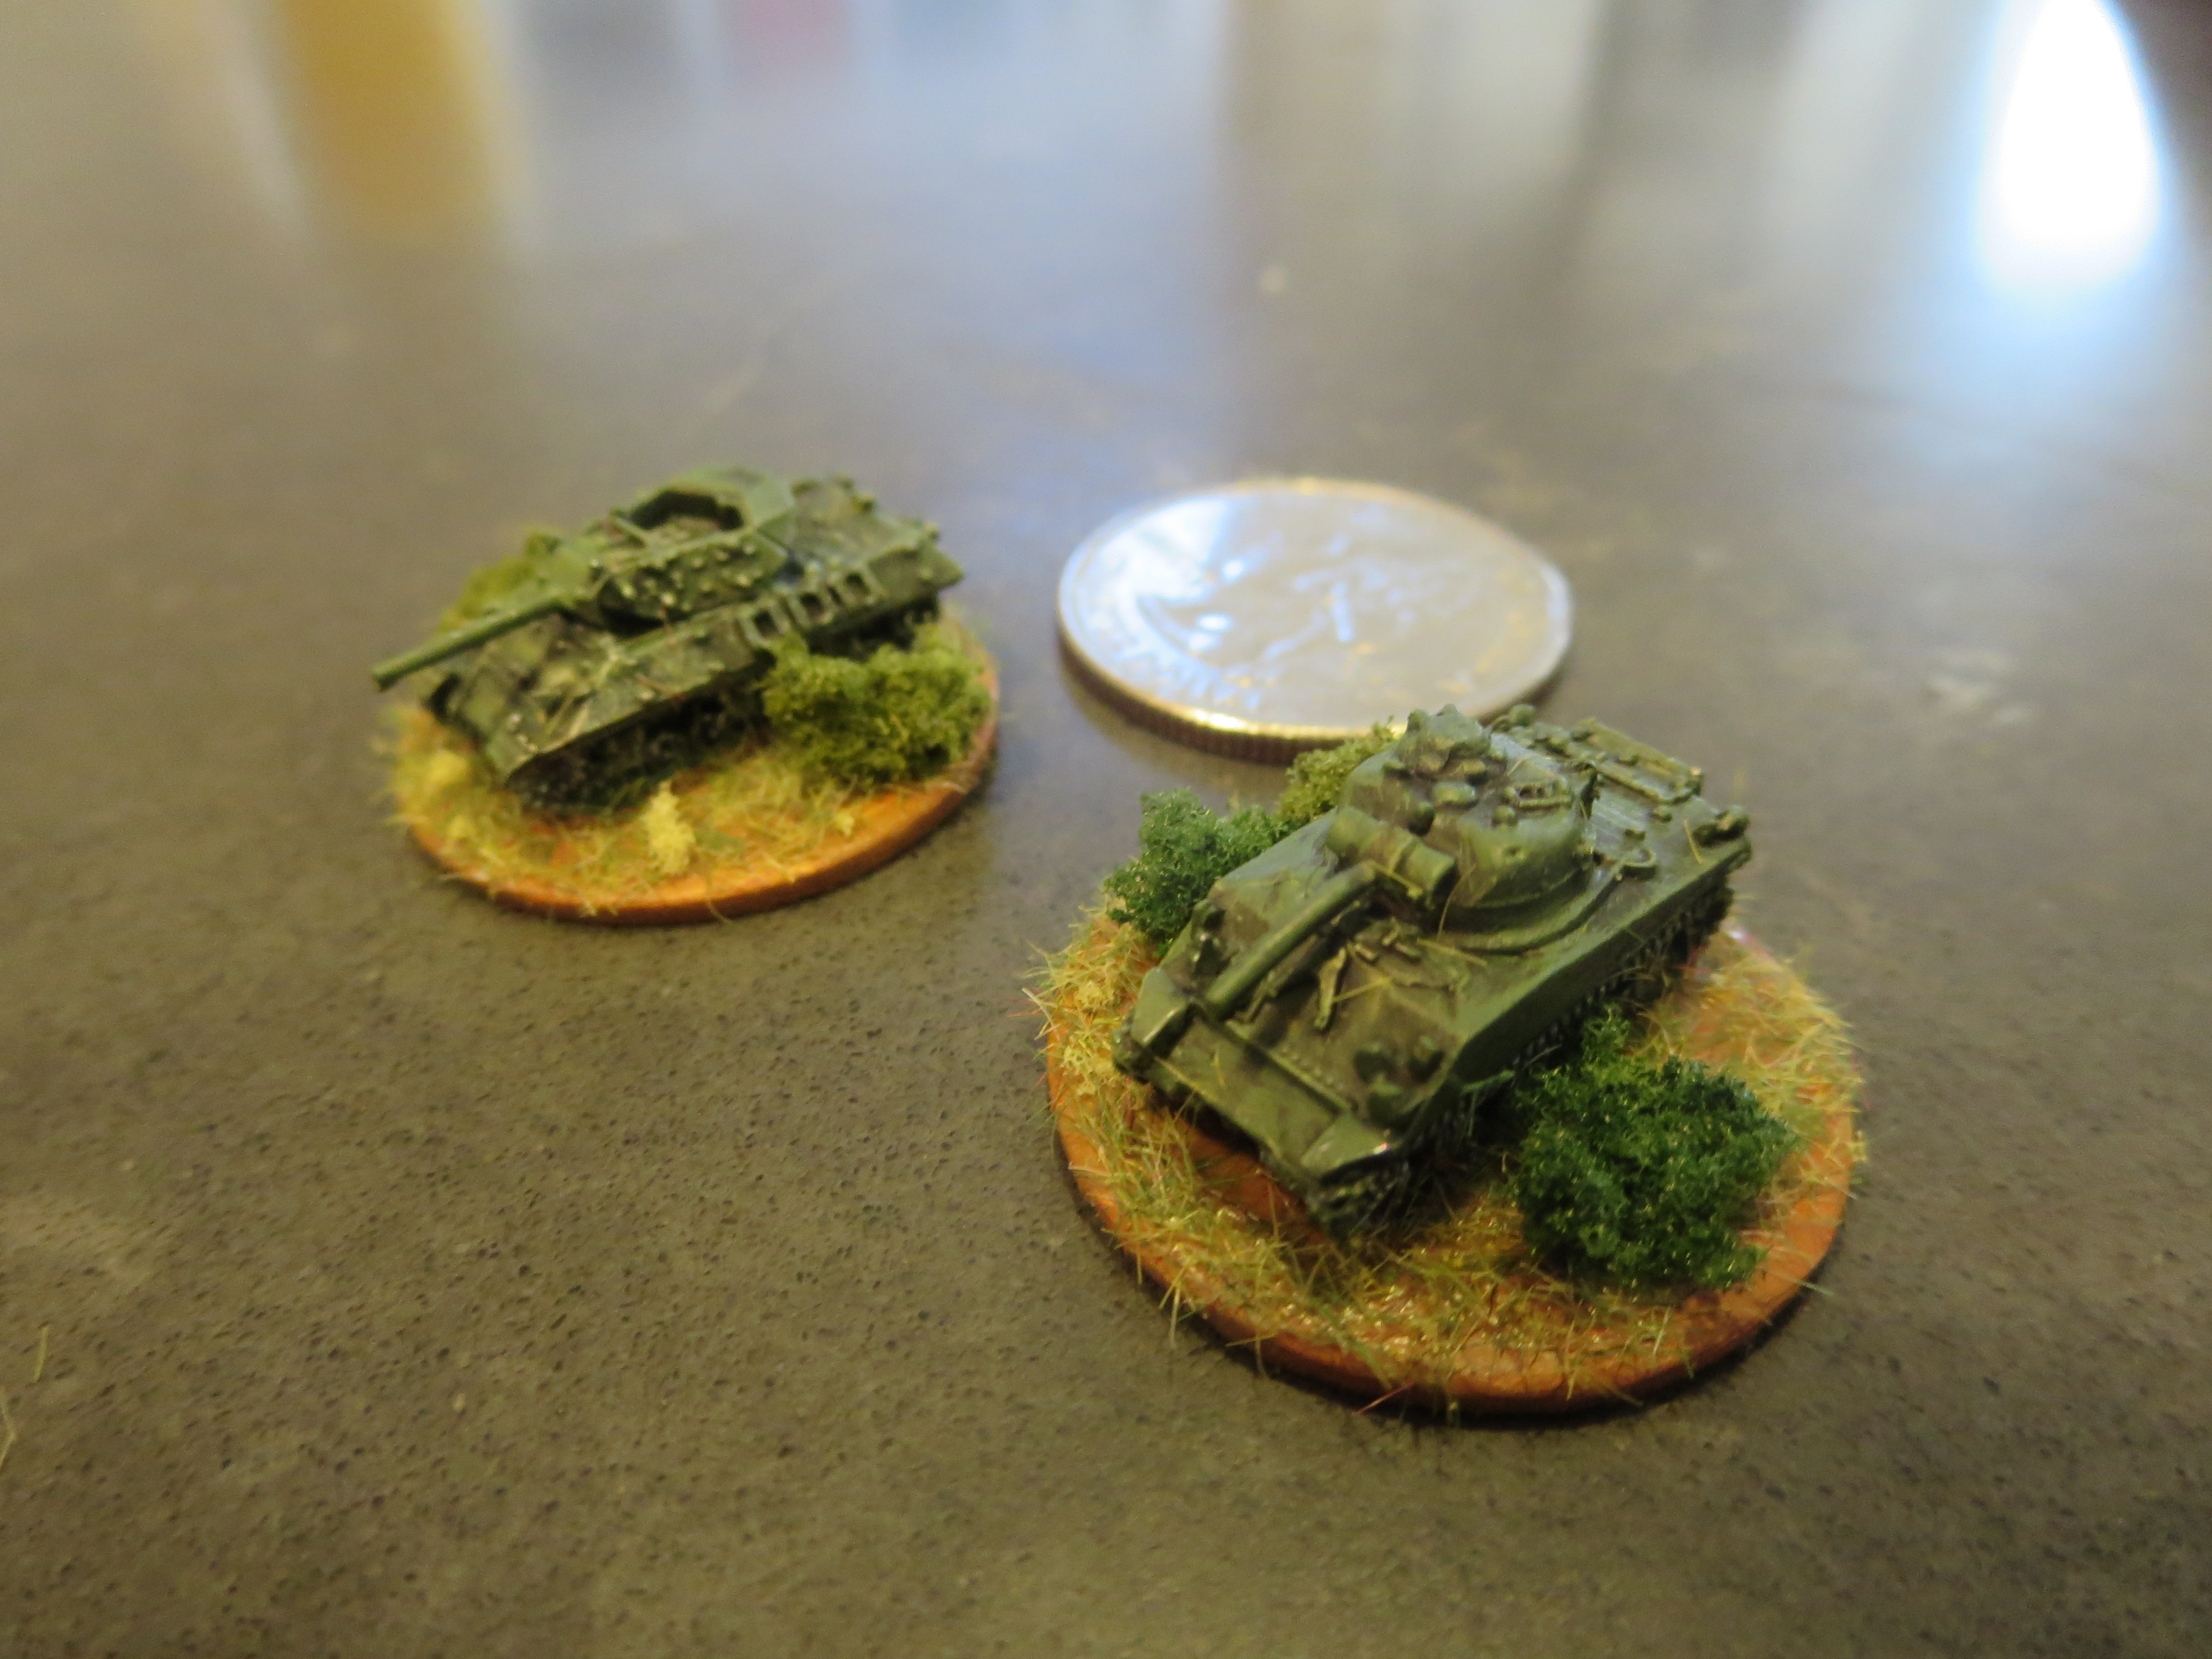
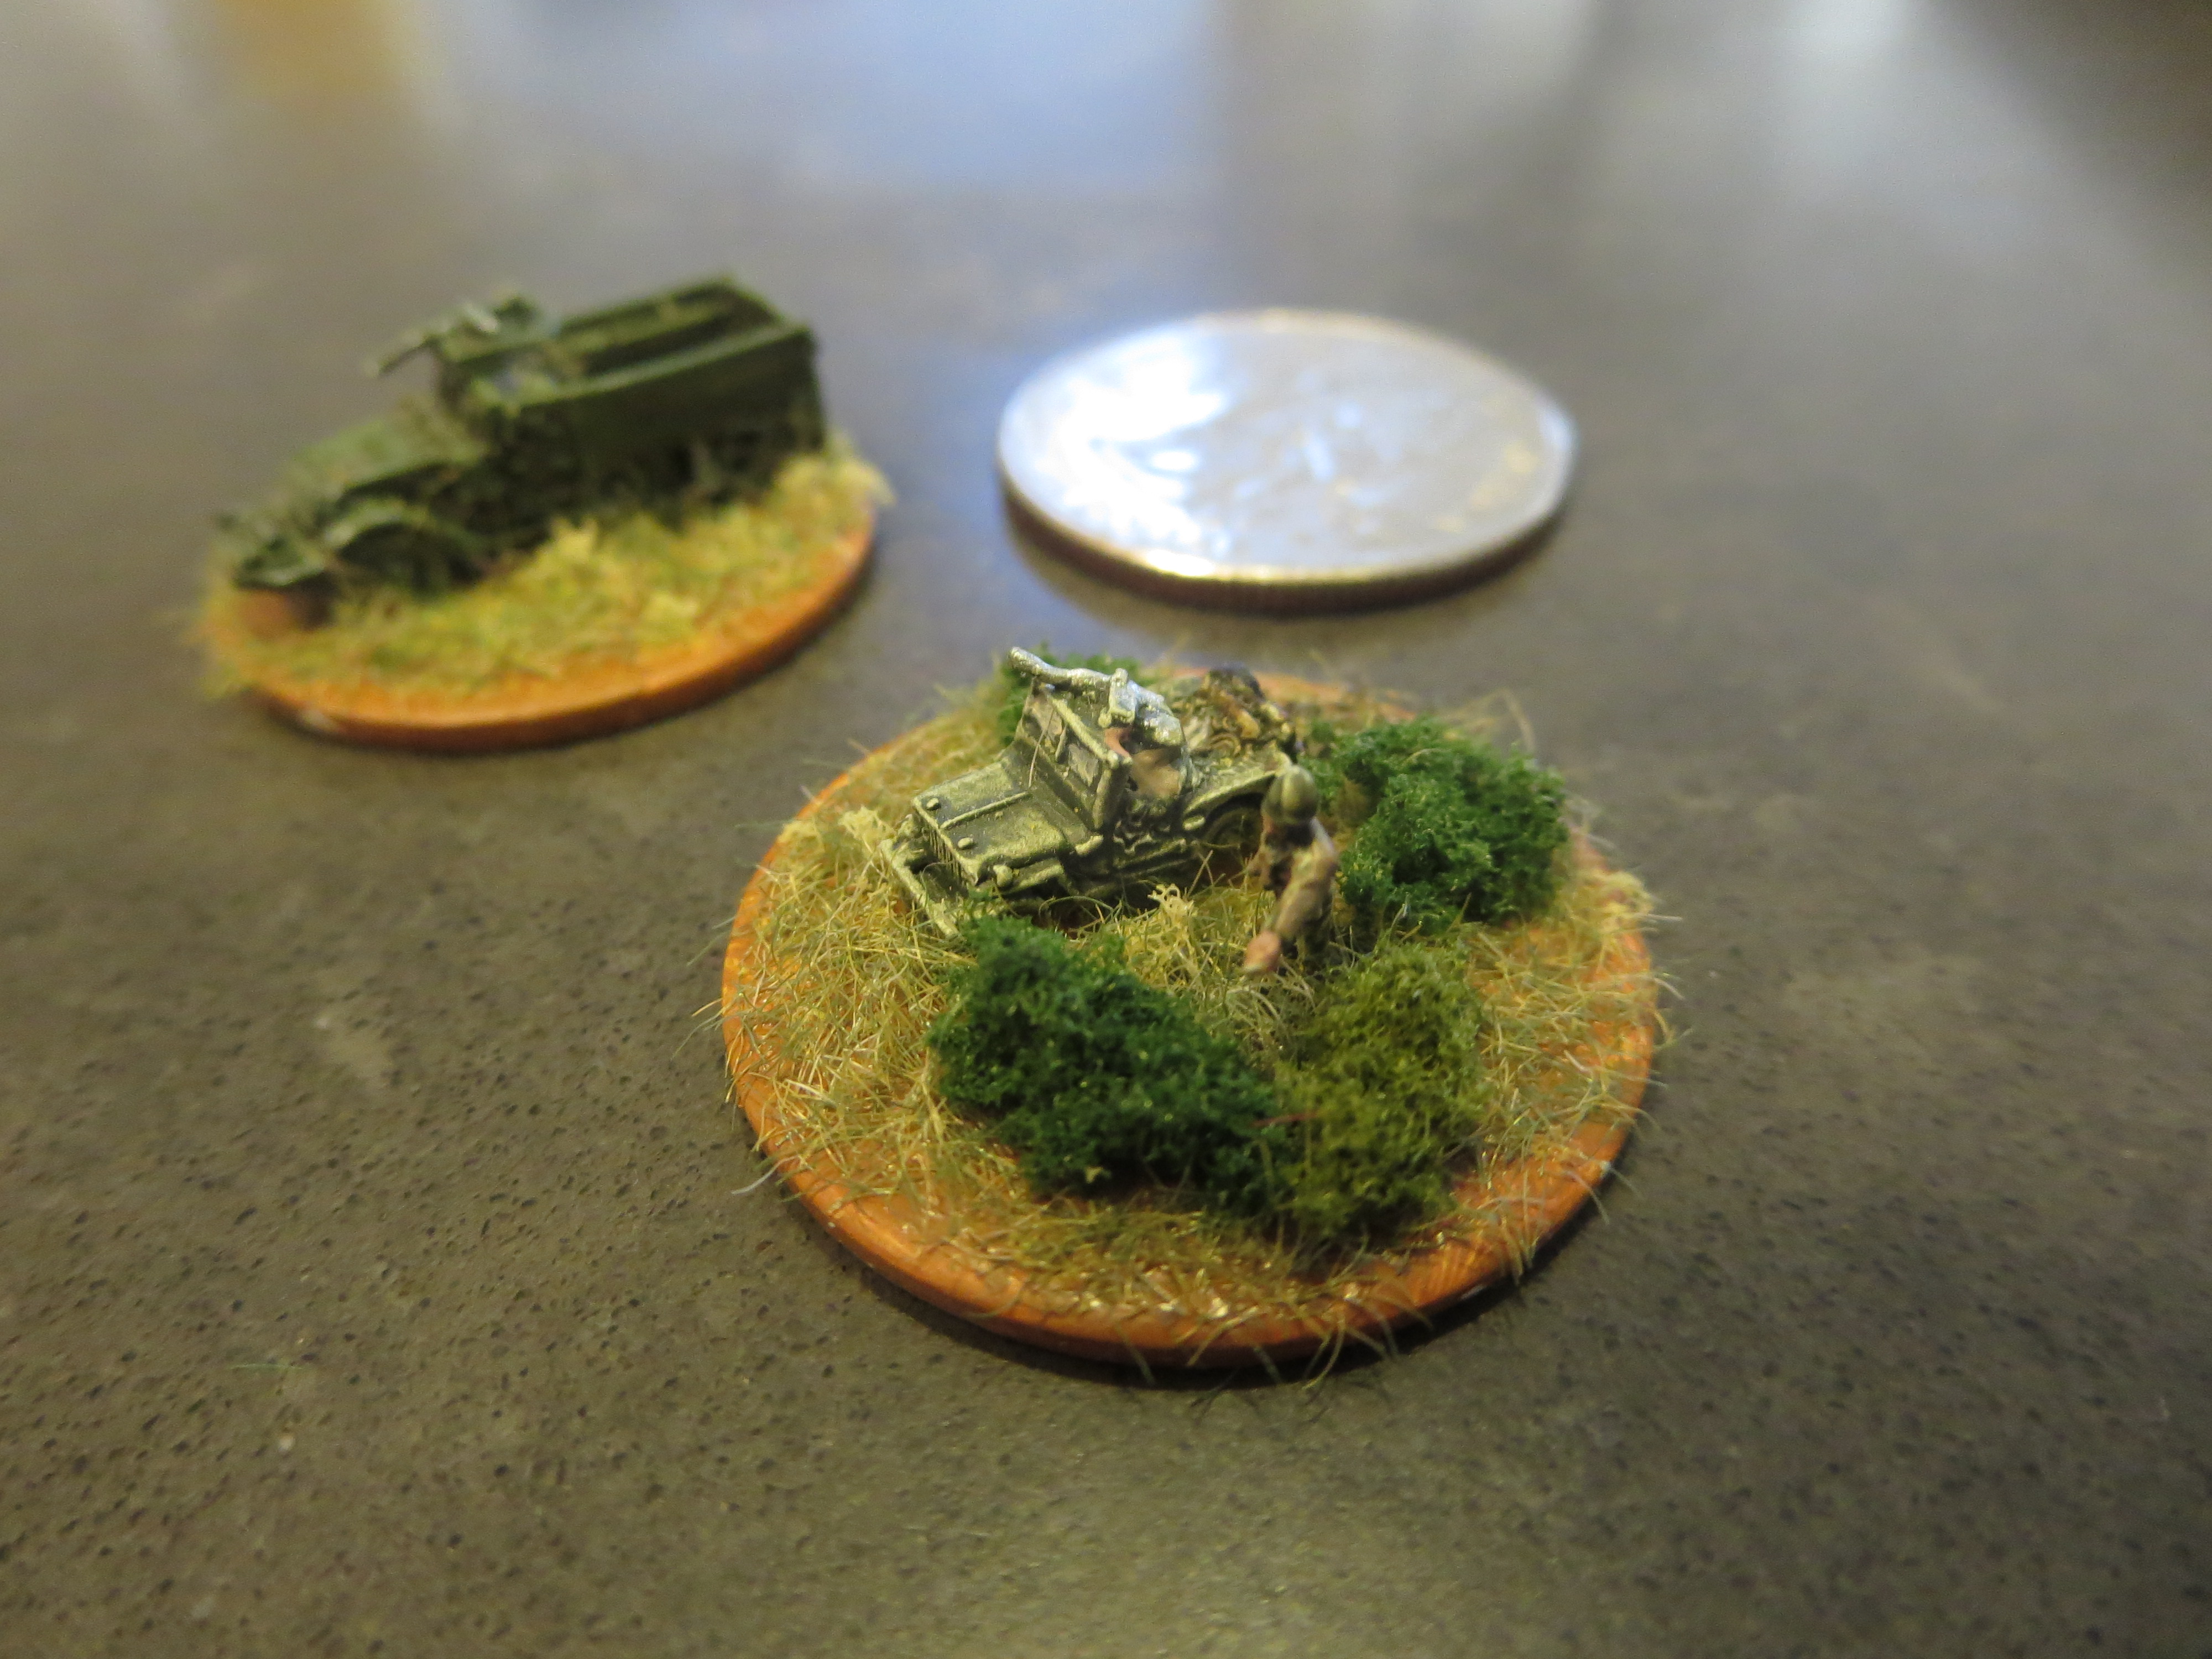
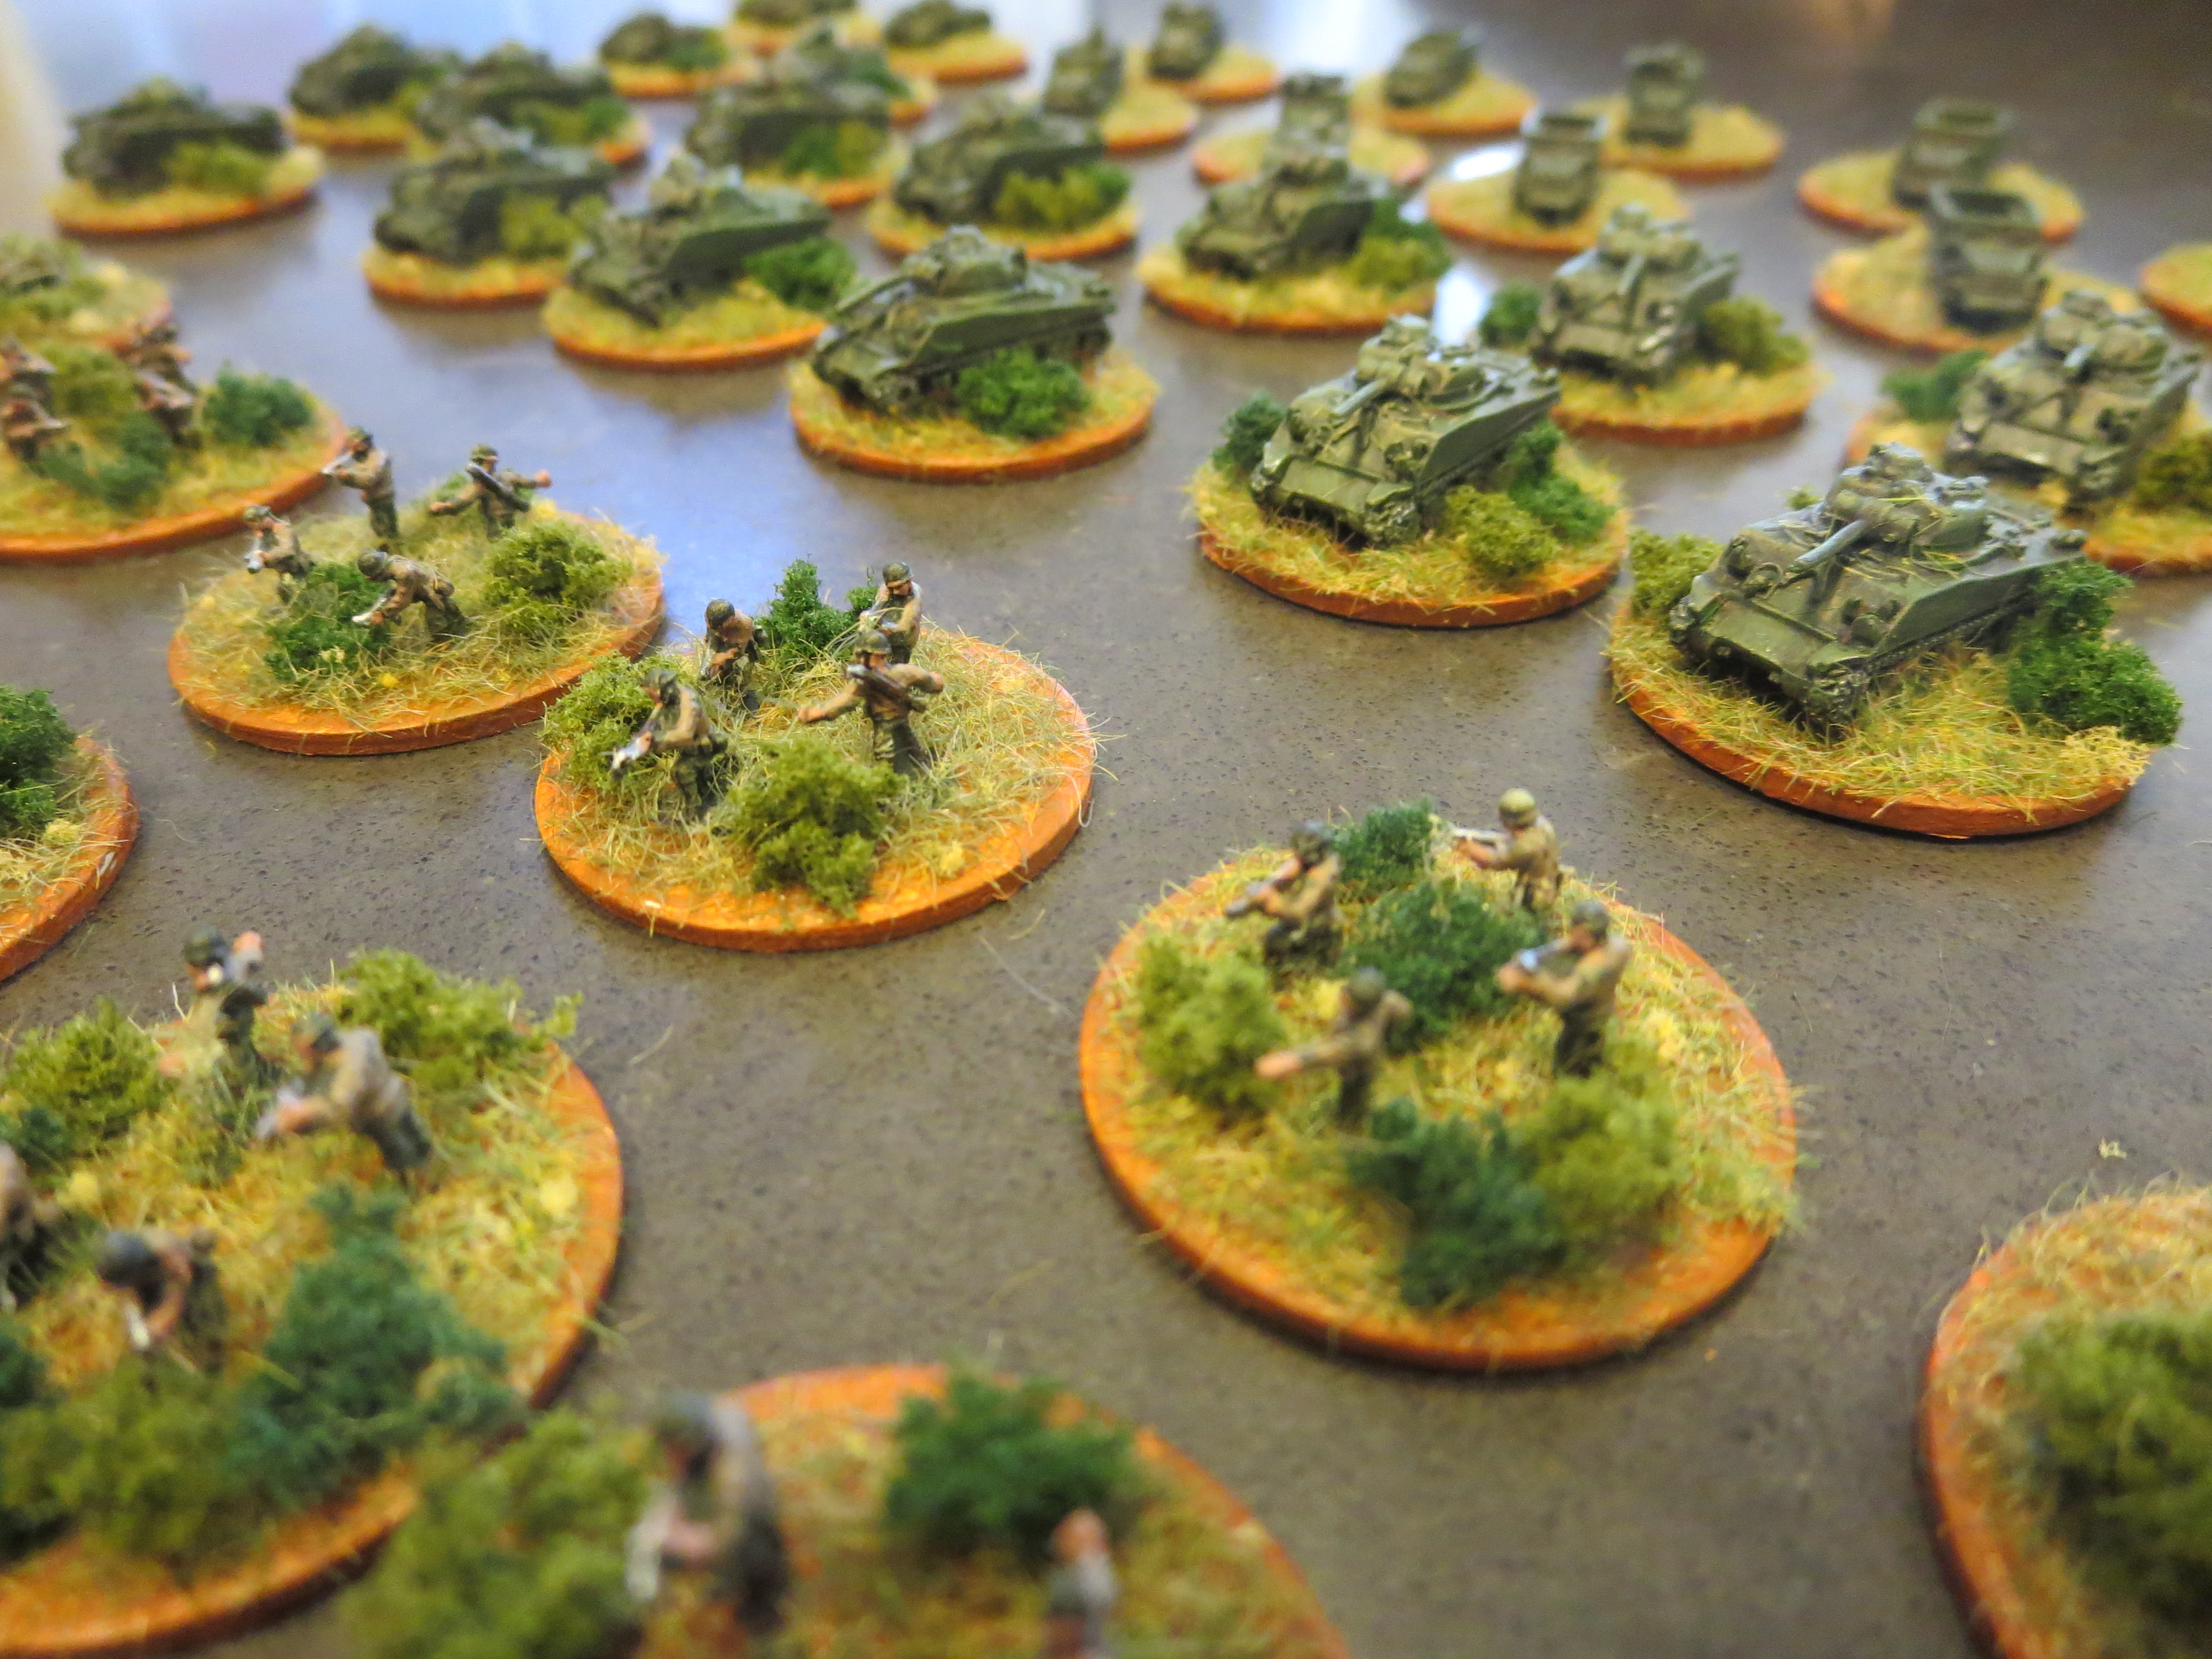
  • Scale: In 6mm micro scale, an entire infantry platoon can be represented with approximately 3-5 figures mounted to a small square or round base. An inch on the table approximates 100 yards on the battlefield. This allows for larger multi-company or battalion level games compared to smaller single company and platoon skirmish games at a 15mm or 28mm scales.
  • Cost: Wargaming at any scale is an investment, but micro scale allows for the depiction of large battles for a fraction of the cost of larger scales. The starter sets from GHQ provide around twenty tanks for $40, making individual armour models just a couple bucks each compared to the 15mm scale where tanks can run easily to triple that cost. Fielding an entire 6mm infantry and armor company might run just $10-20 while that same company at 15mm could run hundreds of dollars. And, since each micro scale tank represents a platoon and a platoon in FOW may run to maybe six tank models (or more), the game scales cheap and fast into grand scale engagements.
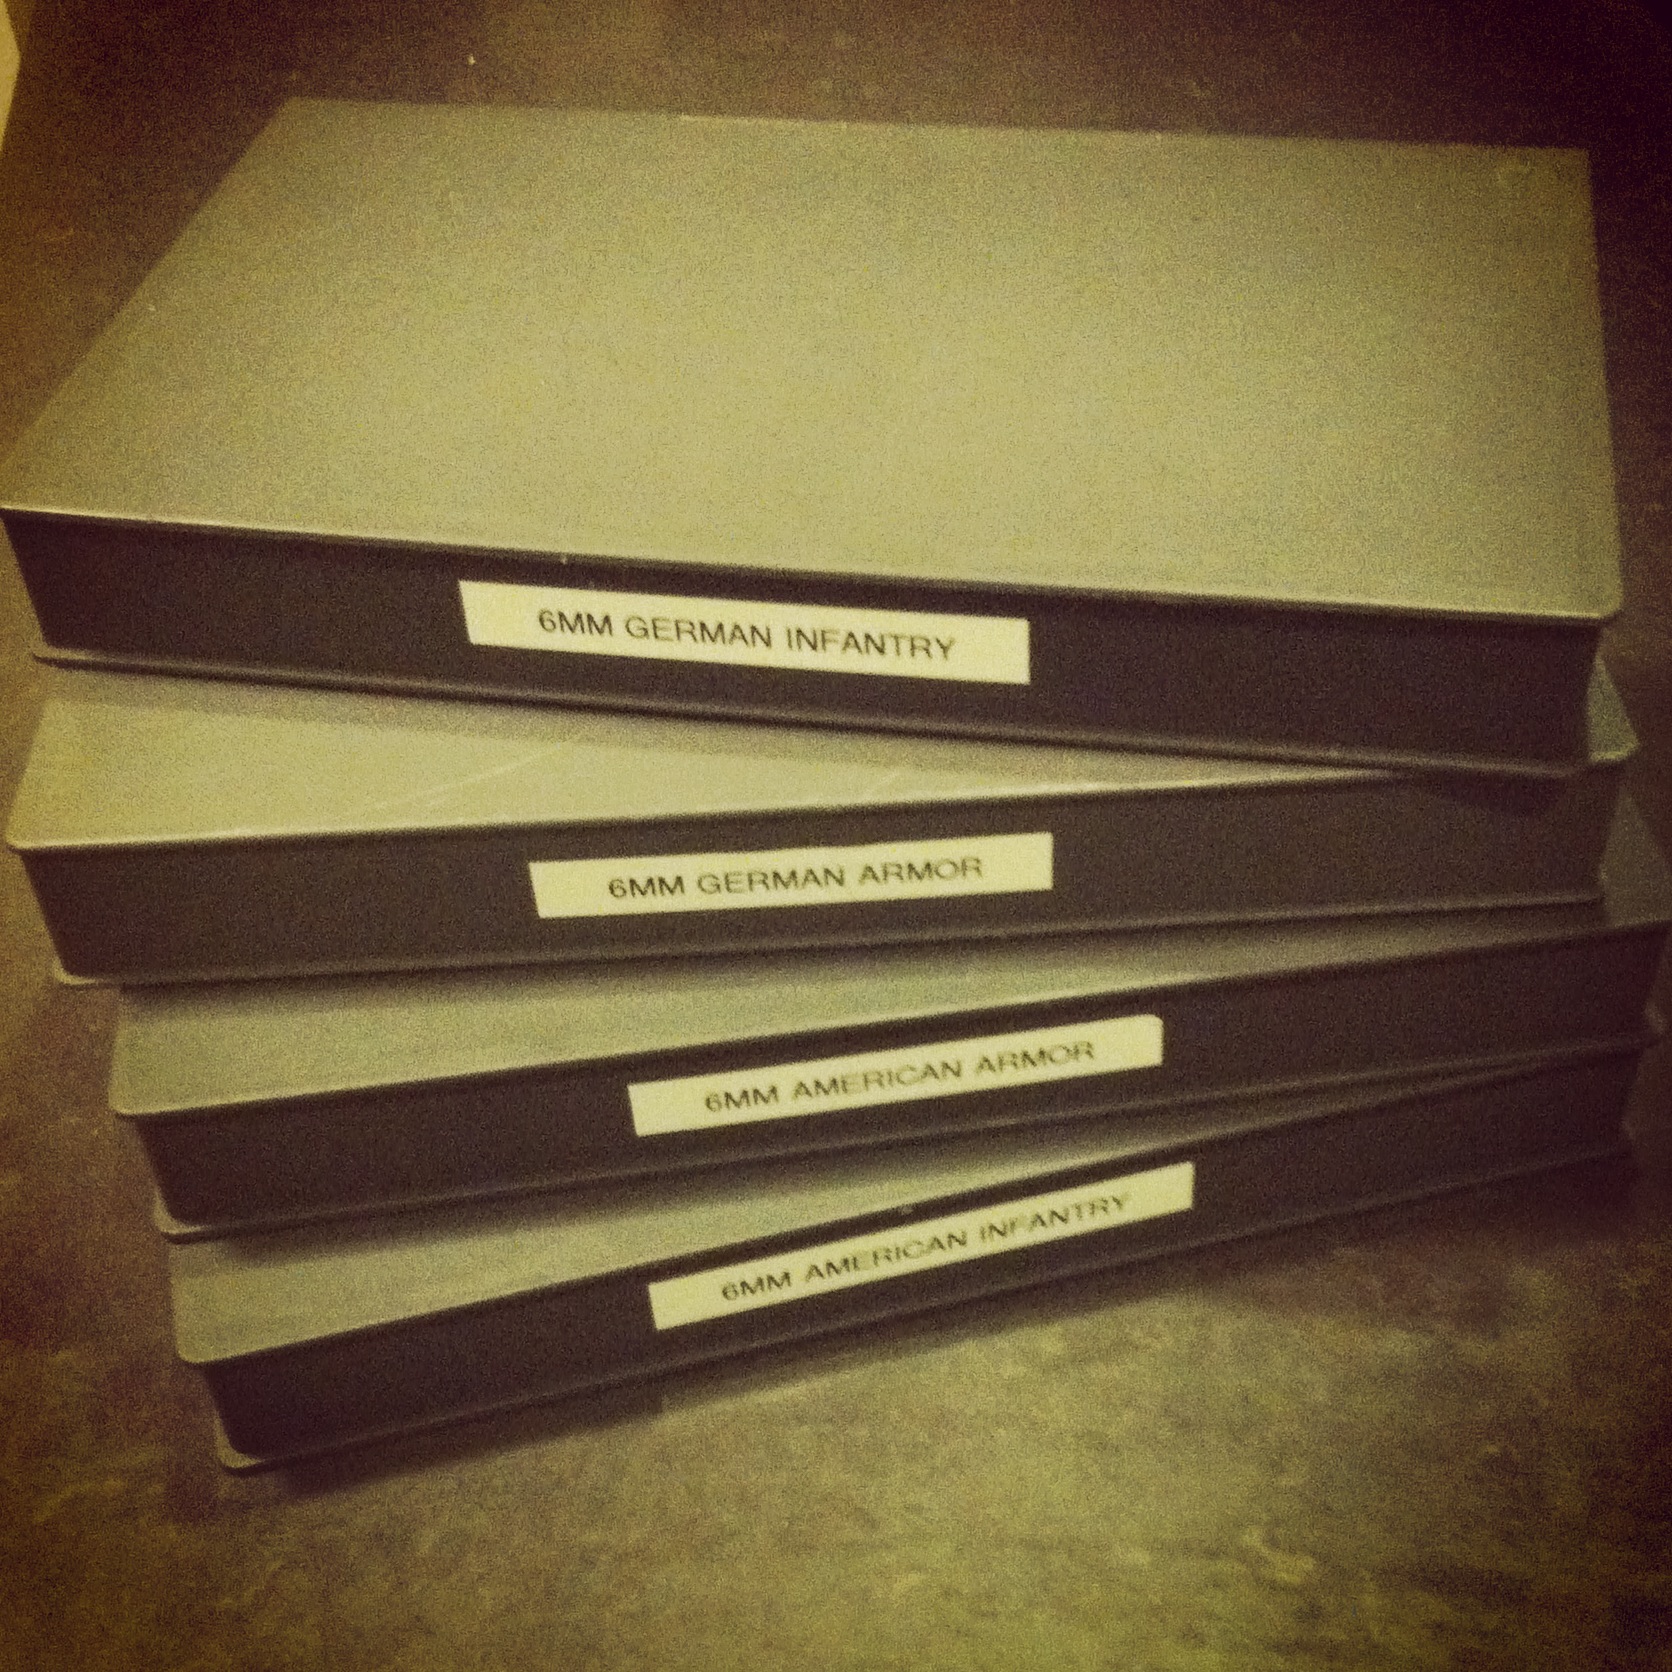
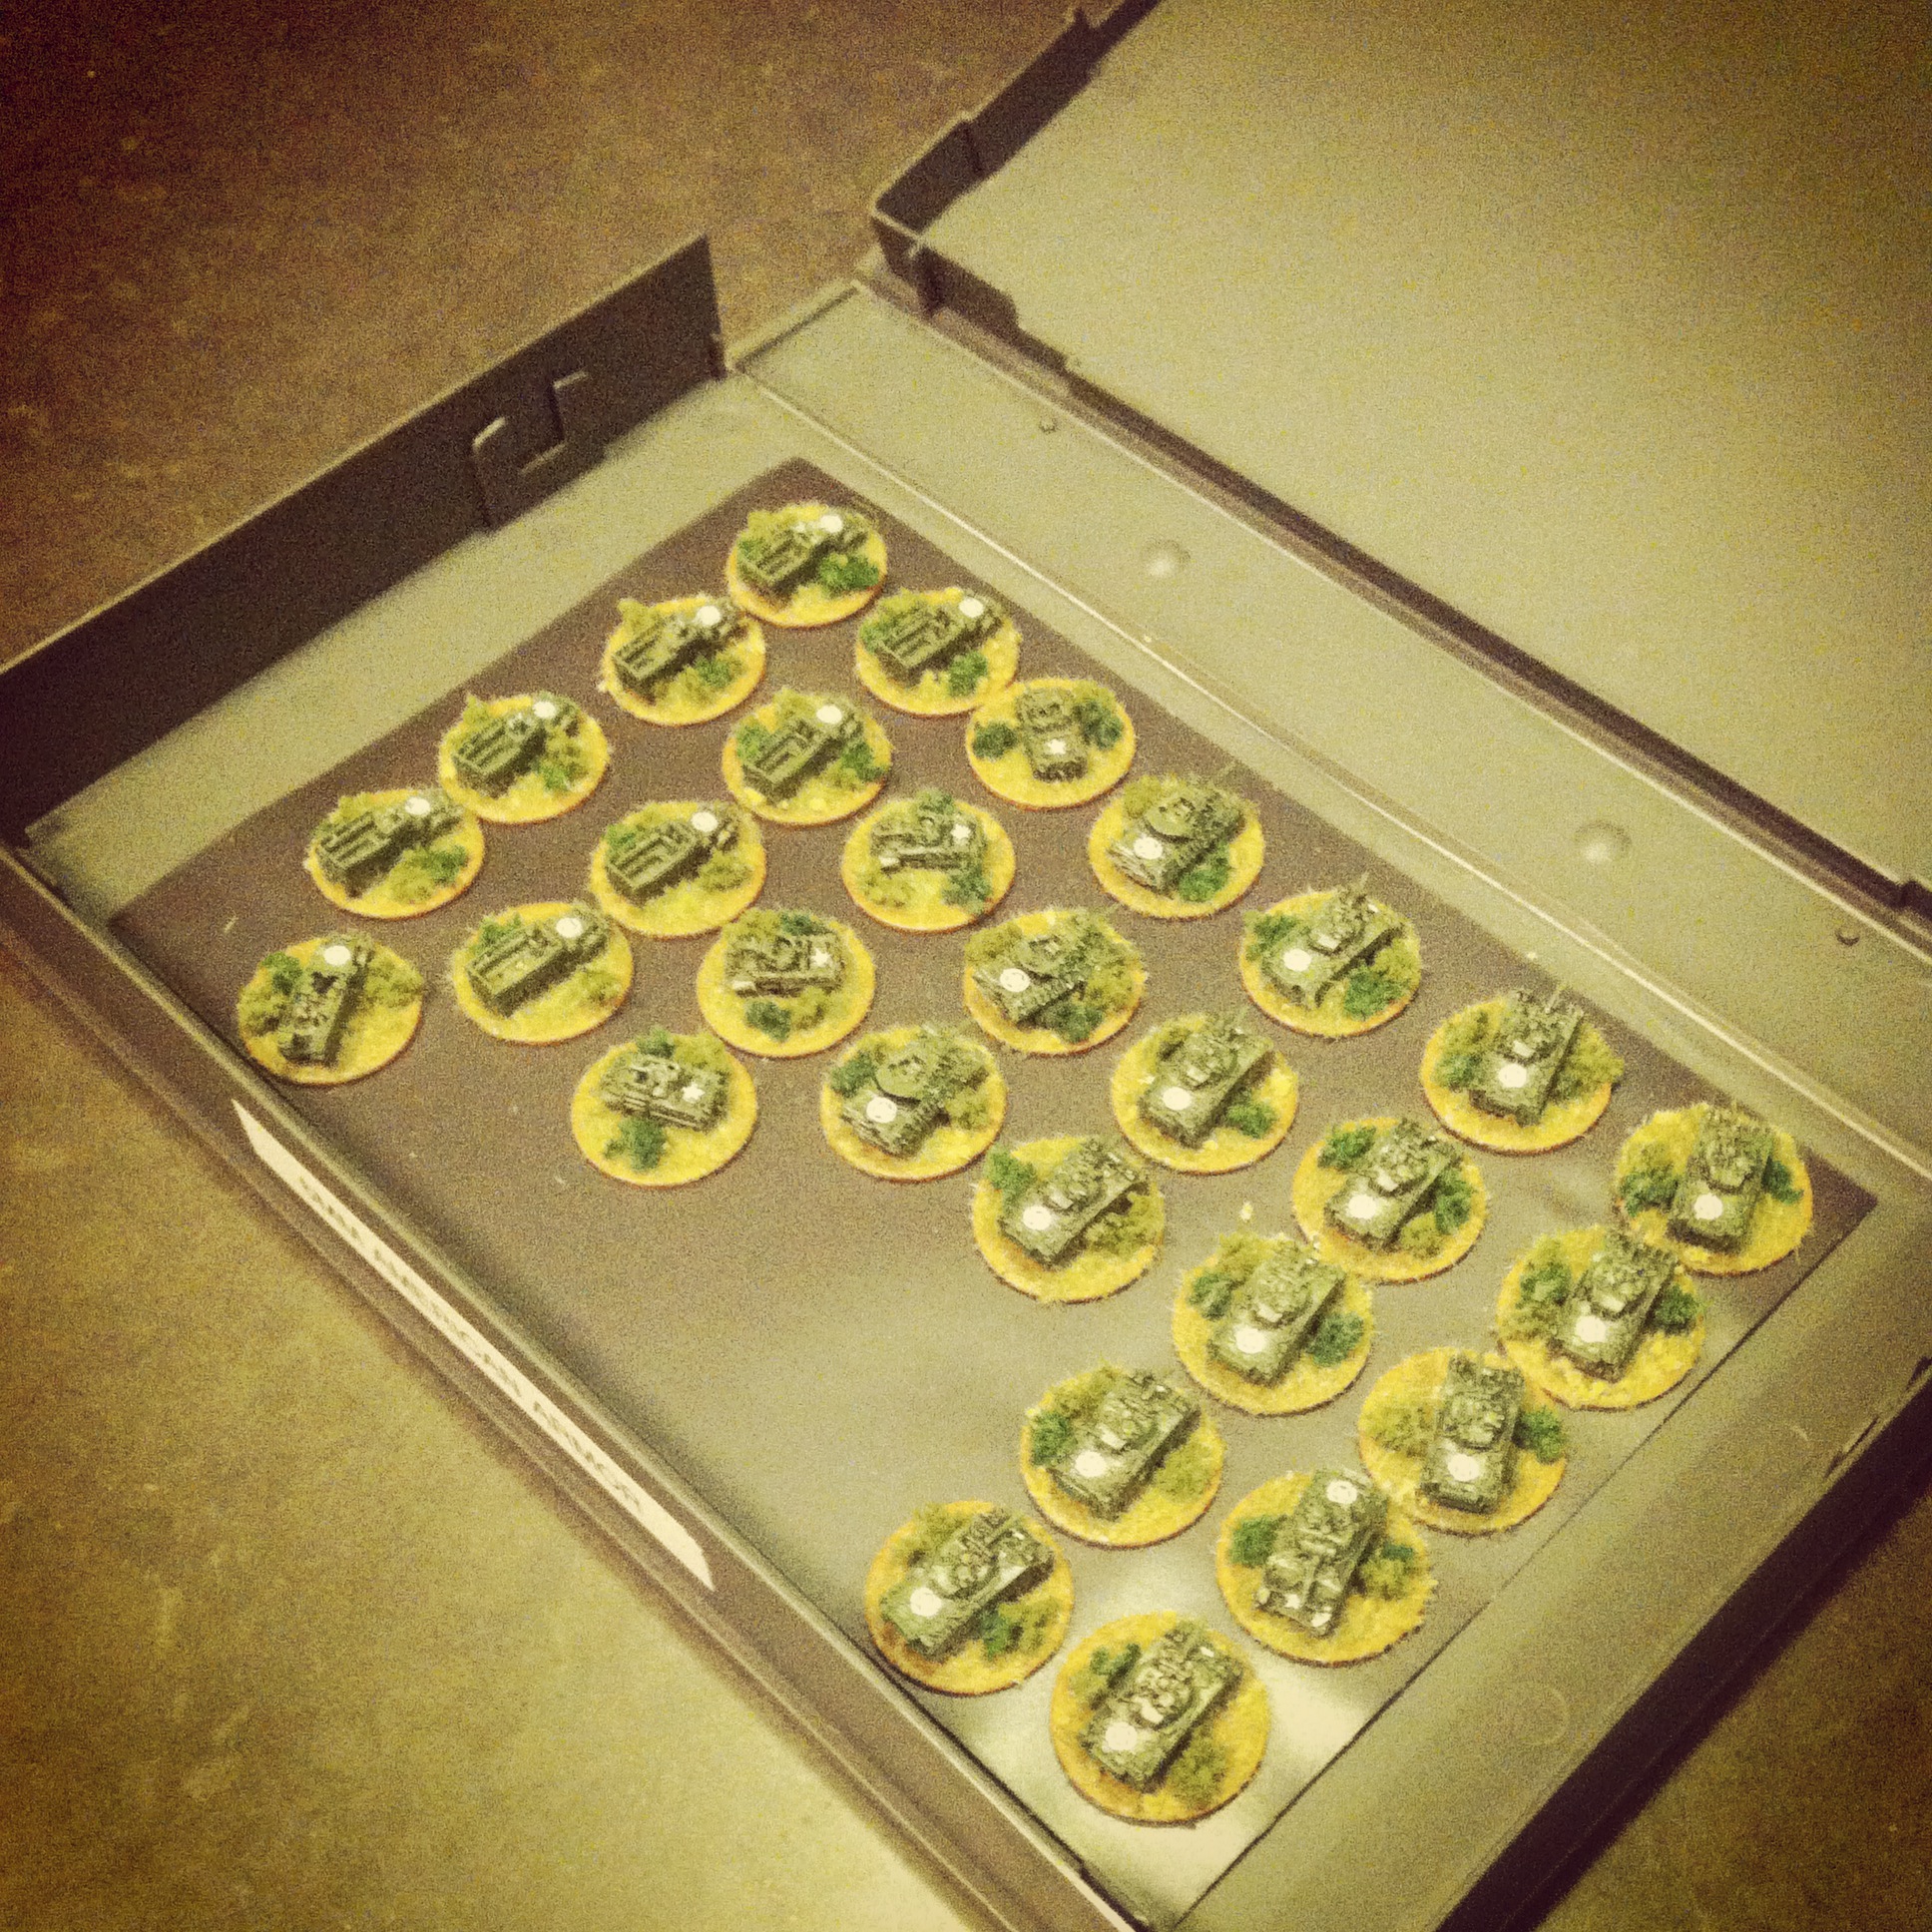
  • Storage: As the website says, I live in Brooklyn, NY, so storage is always an issue for my board games, cards games, miniatures, terrain and hobby supplies. I keep a lot of my miniatures at my local club, Metropolitan Wargamers, but I like having stuff around the apartment for when the gaming mood hits. At the micro scale level, dozens of tanks, infantry and vehicles can be carried in a shoulder bag or kept in a drawer. Compared to my FOW collection which sprawls over multiple bags and boxes, micro scale makes for some quick and easy game deployment just about anywhere.
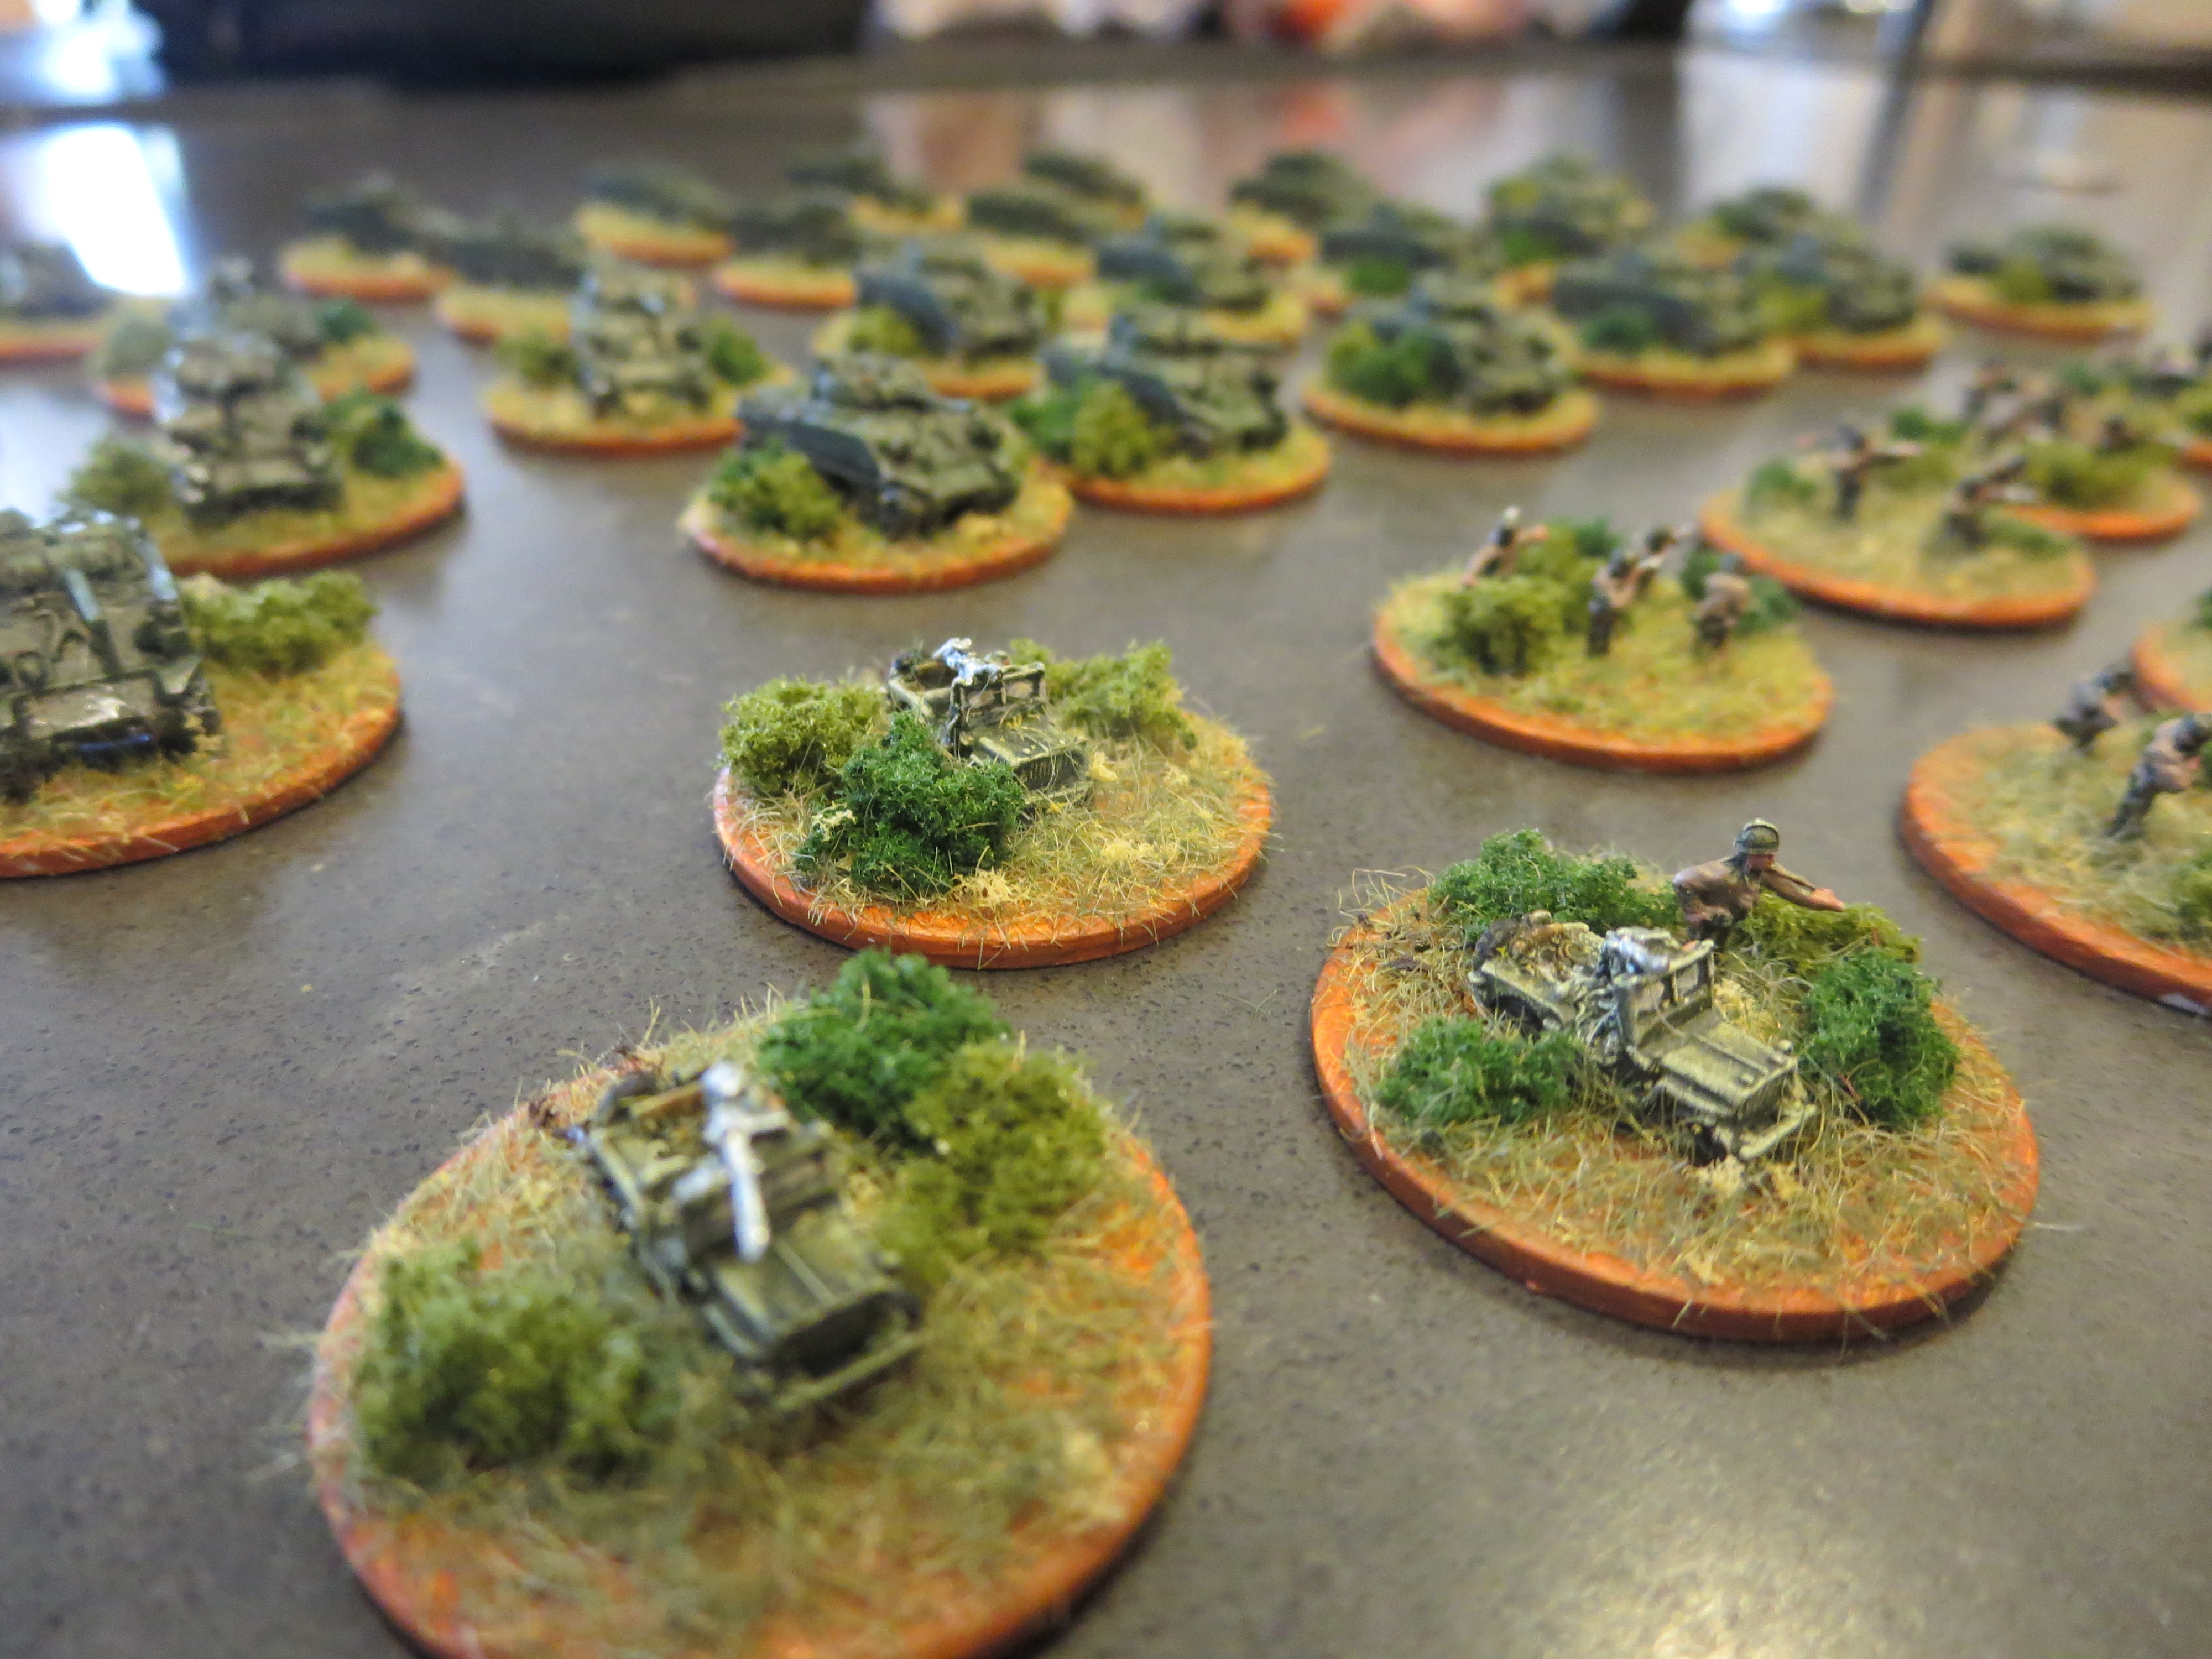
  • Time: Painting micro scale takes a fraction of time compared to larger scales. A quick spray of white primer followed by a thinned color basecoat, a couple dots of detail, a wash and maybe a tiny decal is all that’s needed to get forces on the table and ready to game.

IMG_3211
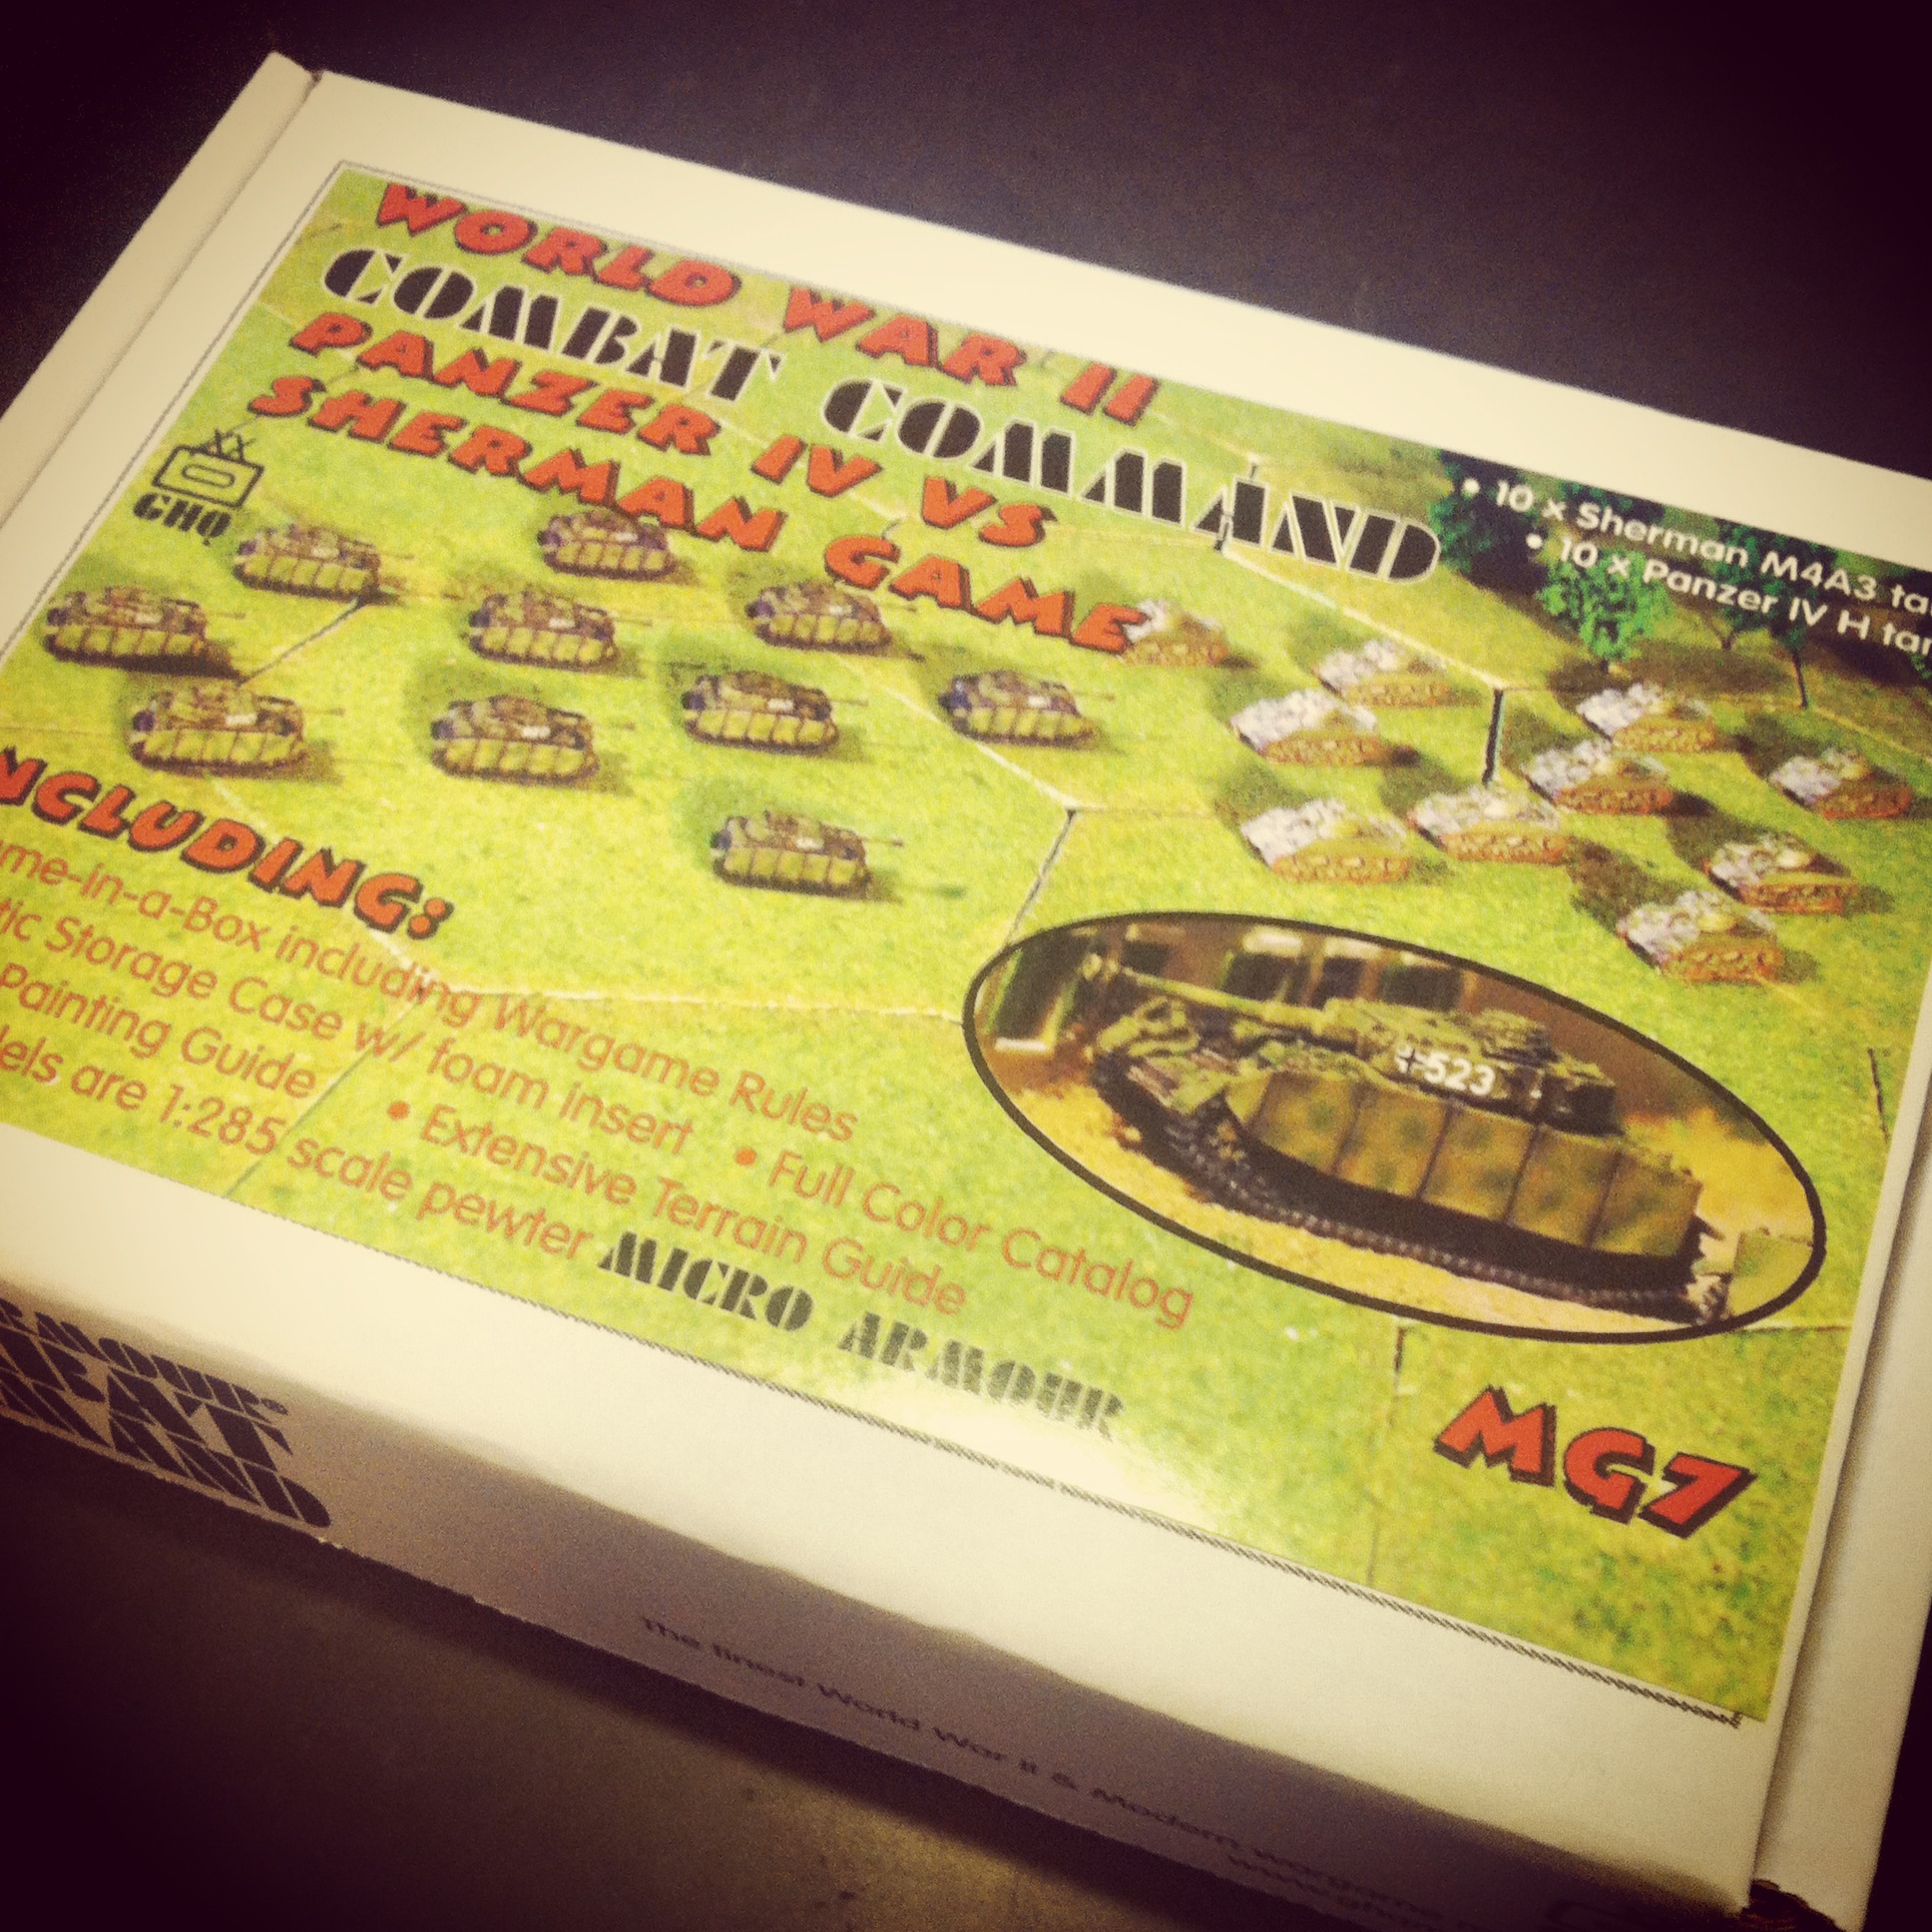
GHQ’s US Shermans vs. German Panzer IVs box set

IMG_3210GHQ’s US Armoured Infantry Command 1944 box set

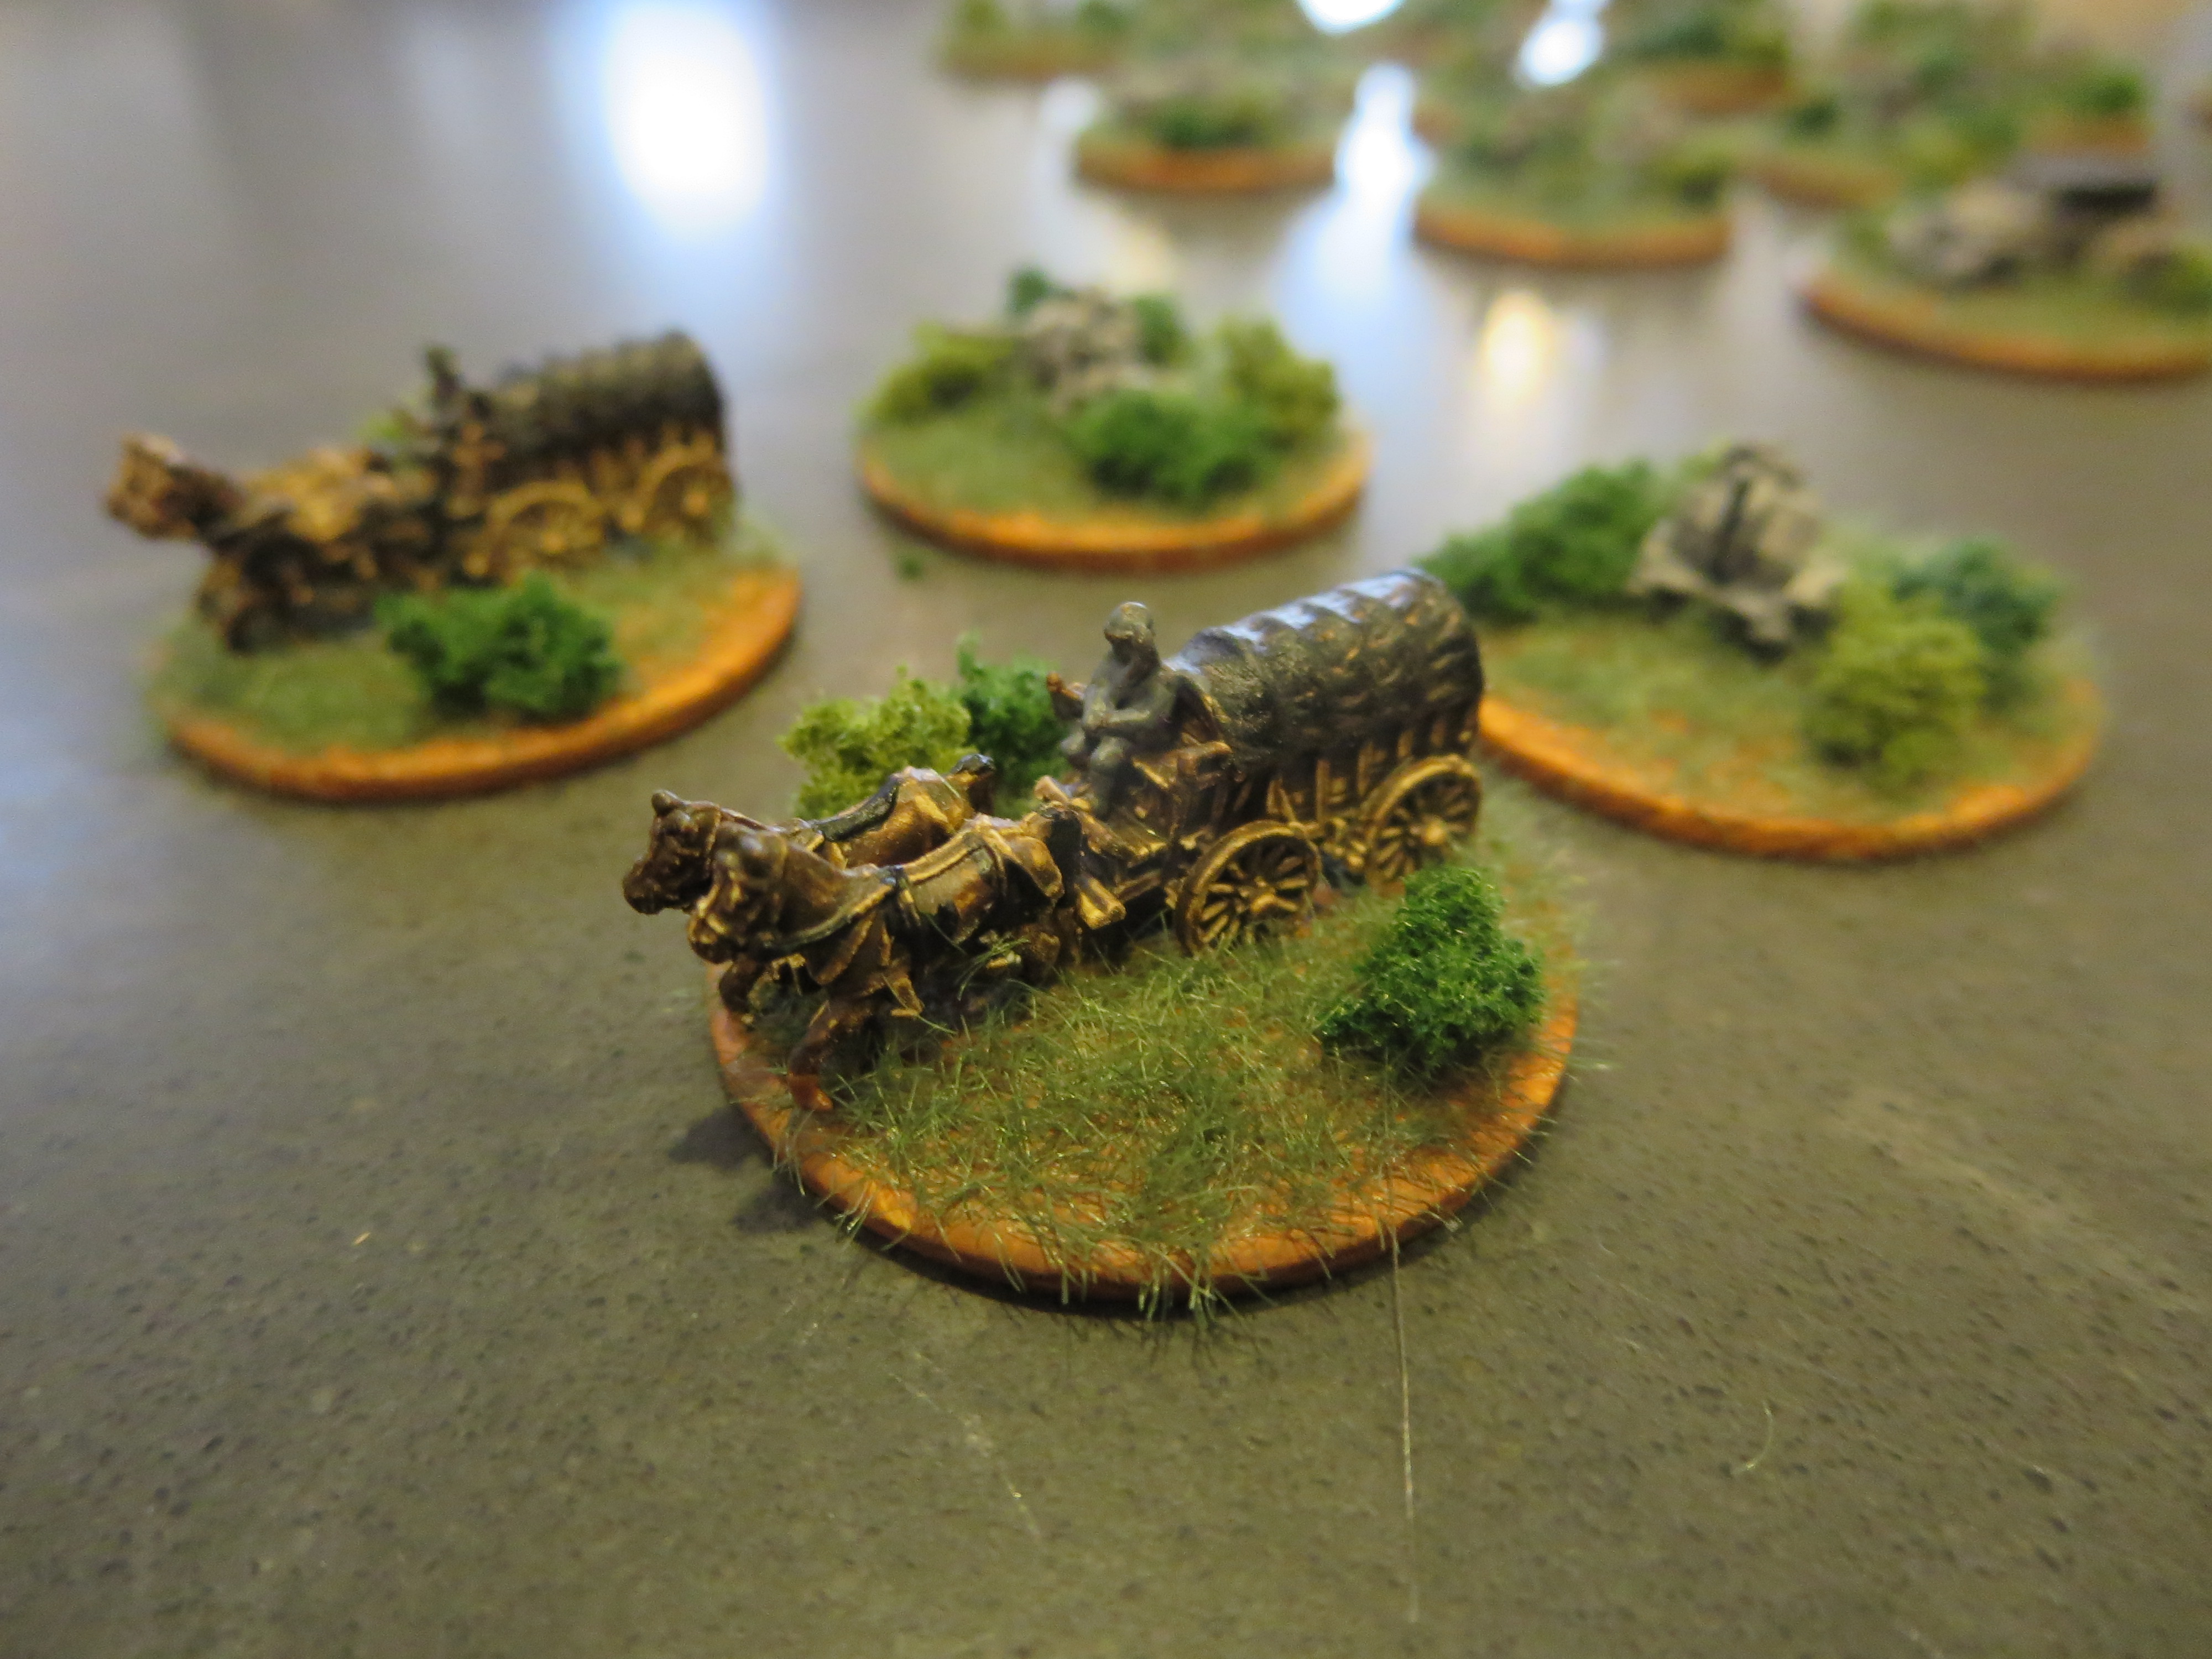
To get started at the micro scale, I ordered two sets from GHQ. The Shermans vs. Panzer IVs Battle Box comes with ten tanks per side, a storage case and a set of rules — everything needed to get a game started. To this, I added the US Armoured Infantry Command 1944 set with additional tanks, half-tracks, jeeps, armoured cars and a bunch of infantry. To get some Germans into action, I think I’ll be going for the German Kampfgruppe 1944 for a nice mix of infantry, transport, Marders and even some horse and wagon teams.

IMG_3214Assembly of my first GHQ micro armour sets

In well under less than an hour’s initial work, my first sets of micro armour glued up fast with some careful organization of parts and assembly with superglue and tweezers. Already I’m loving getting so many models ready for paint and then on to the table in no time at all. The saying is “go big or go home” but my new micro armour project looks like its already going to be a massive amount of fun in a very small package.