28mm: German 10.5cm leFH 18/40 Howitzers from Warlord Games

Pin on Artillery

I’ve had a project on my list for a long time to fully model a game of the Brecourt Manor Assault from June 6, 1944 (made famous by HBO’s Band of Brothers series) in 28mm. I’ve had all the individual German and American 101st Airborne figures for quite a while but on of the primary obstacles was modelling the four 10.5cm leFH 18/40 howitzers which were the objectives in the famed US assault.

Unassembled German Heer leFH 18/40 10.5cm howitzer (1943-45) from Warlord Games

I finally broke down and picked up four of the models from Warlord Games at about $30 USD each. As pure objectives, this was a high rice to pay for models that were going to serve no game purpose other than table decoration.

Assembled German Heer leFH 18/40 10.5cm howitzer (1943-45) from Warlord Games

I have a lot of Warlord’s metal (always metal) models from their Bolt Action line, and I’ve always found the casts to be detailed and clean. The package comes with the gun, four crew figures and a couple pieces of crates to add flavor to the set-up. Assembly of the howitzers is a bit finicky but Warlord offers a diagram online to guide gluing up the kit. My one knock is there is no option for variation in the crew, given I’m fielding four of these, but this is a minor complaint.

Primed German Heer leFH 18/40 10.5cm howitzer (1943-45) from Warlord Games

I mounted up the figures and extra pieces on washers, filled the bases and primed black. Once I got to the painting, the work went fast with simple color schemes and just a few details picked out on the crew. Assembled and painted, the howitzer and crew really pay off. With one done, I had three more to go to get another step closer to getting my vision for the scenario closer to a gaming reality.

28mm: Panzer IV By Rubicon Models

PzIVWWII

With 8000-9000 Panzer IV models rolling around over the course of World War II, this German tank was ubiquitous in engagements throughout. The tank itself went through a number of evolutions in terms of guns and armor, and the chassis wound up serving in many capacities as the carriage for other ant-tank and anti-aircraft guns. If you’re a wargamer like me fielding a WWII German force, chances are you’re eventually going to need a few Panzer IVs.

IMG_8768Unboxing the Rubicon Models Panzer IV kit

I’ve had a bit of experience in the past modelling the Panzer IV in 15mm with a kit from Plastic Soldier Company. For my 28mm models, I turned back to Rubicon Models which I had used in modelling a US M4A3 Sherman a while back. I chose Rubicon again for a consistency of scale, the clean casting of their kits and the deal I found on a pair of their Panzer IVs for under $50 USD. Unboxing their models is a real pleasure with separate sprues individually wrapped in protective plastic, clear instructions and decals included with the kits.

IMG_8776

Cutting and sorting pieces as construction begins

The clear step-by-step instructions make assembly a breeze as long as pieces are organized and the model is done in stages. The kit includes options for building the Panzer IV in its evolution from F2, G and H models. Uniquely, the kit allows the finished model to swap out the 75mm KwK L/43 and L/48 gun barrels with a friction fitting pin. The Schürzen on both the sides and turret are likewise removal, allowing you to effectively field two versions of the tank. For now I’m leaving the guns and Schürzen removable but I may decide to permanently glue them in the future.

Here’s my quick guide to getting the models assembled and painted:

Painting 28mm German Armor

  1. Carefully cut kit pieces from plastic sprues with small pliers.Keep pieces organized as you go and assemble the model in stages per manufacturer instructions
  2. Basecoat the model with flat black spray primer.
  3. Using three progressive coats of dry brushed greys, paint the entire model. I use Skavenlight Dinge, Mechanicus Standard Grey and Dawnstone (all from Citadel).
  4. Paint tracks Black.
  5. Paint wooden tool handles Dark Brown and metals parts with metallic Silver.
  6. Using a flat brush with only the very slightest amount of the same metallic Silver, dry brush the tracks. Use the same method on raised plates, hatches and edges of the entire model to create raised highlights.
  7. Paint the rear muffler a rust color by mixing Dark Brown and Red.
  8. Apply decals to the model and set the decals with Solvaset or some other decal sealer.
  9. Use a watered down Agrax Earthshade (Citadel) and add a muddy wash at edges, plate and hatch seams, muffler and on the Schurzen.
  10. Very, very lightly dry brush the entire model with Baneblade Brown (Citadel) to create a general muddied and weathered effect.
  11. Spray coat completed models with matte finish. Make sure you remove the turret so it does not stick to the main chassis during the spray coat.
  12. Rub pencil graphite on the edges where the turret meets the chassis to ensure free rotation.

IMG_8803

Dry brush coats of greys gradually lighter greys provide most of the color

IMG_8815

Included decals provide a lot of modelling options

IMG_8817

Watery mud is applied to the Schürzen

IMG_8814

Rubbing pencil graphite where the chassis meets the turret to ensure easy rotation

Aside from the drying time between steps, my tanks were finished in just a couple hours work over the course of a few week nights. I really love how slick the Rubicon Models kits assemble, paint up and look when completed. More views of the finished models are below, but I can’t wait to get these on the table at Metropolitan Wargamers in Brooklyn, NY and see how they perform in pushing back the Allies.

IMG_8821

IMG_8822

IMG_8823

IMG_8827

IMG_8825

28mm: German Veteran Grenadier Squad and Kubelwagen from Warlord Games

GermanGrenadiersLineUp

By 1942 the term Panzergrenadier was applied widely to German infantry. In support of Panzer divisions and then deploying on their own, the abbreviated Grenadier became the widely used term for World War II German forces. In mixed uniforms and organized into divisions utilizing combined arms, the Grenadiers were the main fighting force on the ground as Germany defended the eventual invasions by the Allies on the Eastern and Western fronts.

WGGrenadiersBox

To round out my metal German collections, I picked up the Warlord Games German Veteran Grenadiers boxed set with a gift voucher at a recent convention. The ten cast figures are each armed with the Sturmgewehr 44 (StG 44) assault rifle from late in the war. I like the variety in the uniforms and kit with a mix of camouflaged pants, ponchos and helmets making each a very unique model. I could be a little happier with the face detail which comes off a bit unrealistically exaggerated at times. That said, the models all scale nicely with my other Grenadiers from Artizan Designs.

paintgerman

Painting 28mm German Grenadiers

  1. Clean flash from metal models with a sharp knife and glue to metal washer or plastic bases.
  2. Apply filler putty to bases. When dry, scrape off excess with a sharp knife.
  3. Basecoat models and bases with flat black spray primer.
  4. Paint smocks and helmets with Tallarn Sand.
  5. Paint pants, soft hats, officer greatcoat and gas mask containers with Skavenlight Dinge.
  6. Paint camouflage on helmets and smocks with alternating Waaagh! Flesh and Dark Brown.
  7. Paint faces and hands with Tallarn Flesh.
  8. Paint packs with Baneblade Brown.
  9. Paint boots and equipment straps Black.
  10. Paint bases, gun stocks, water bottles and helmet straps with Dark Brown.
  11. Apply Agrax Earthshade wash to uniforms, helmet netting, webbing and packs.
  12. Mix 50/50 Baneblade Brown and Off White and lightly dry brush packs, webbing, socks and holsters.
  13. Dry brush pants, soft hats and officer great coat with Light Grey.
  14. Lightly dry brush bases and gun stocks with Baneblade Brown.
  15. Paint metal gun and water bottle parts with black and finish with a light dry brush of Metallic Silver.
  16. Dry brush gasmask containers with metallic Silver.
  17. Paint eyes with small dots of Off White and Dark Brown. Clean up around eyes with Tallarn Flesh.
  18. Mix 50/50 Tallarn Flesh and Off White and brush highlights on cheekbones, chins, forehead, nose and hands.
  19. Cover bases in white glue and cover in 50/50 mix of fine light green and dark green grass flock.
  20. Glue small pieces of clump foliage to base.
  21. Spray coat completed models with matte finish.

Aside from my  quick painting method of my new Grenadiers as per the above, I’ve added in the Kubelwagen model from Warlord. I love this neat little metal vehicle cast with some nice detailing and a variety of heads to choose from for the driver. The metal model glues of fast, but I was disappointed that the finicky machine gun mount broke during construction. I added a little bit of plastic to the windshield frame to add both some strength and a dash of realism to the car.

Despite a couple minor criticisms, my new Warlord Germans are a nice addition to my growing Axis force.

image1(1)

image2(1)

image3(1)

image4

image5

image6

image7

28mm: German PaK 40, Forward Observers and Command By Warlord Games

PaK40

The standard anti-tank gun of German forces in World War II was the 7.5 cm PaK 40. Used throughout the war in every theater, the some 20,000 guns produced were the bane of every Allied tank. As the modern video below shows, the PaK 40 was fearsome weapon.


Warlordlogo

After modelling so many German infantry figures over the past year, I very much wanted to mix things up. I picked up a deal on a few blister packs of 28mm Warlord Games Bolt Action metal miniatures at last year’s HMGS Fall In! 2015 convention, including a PaK 40, a forward observer team and a German high command set. As always, the 28mm metal models from Warlord go nicely with my other Germans in both scale and sculpting. The artillery piece and the high command set both allowed me to create little tabletop battlefield vignettes while deployed with other individual models.

paintgerman

My painting approach is pretty standard for my German forces. Individual figures get a little flash clean up before being glued to metal washers. The high command set went on a 60mm plastic base from Proxie Models. The PaK 40 and its crew went on two of the 60mm bases which I cut and glued together. From there, here were the steps in detail for painting my German infantry.

Painting 28mm German Infantry

  1. Clean flash from metal models with a sharp knife and glue to metal washer or plastic bases.
  2. Apply filler putty to bases. When dry, scrape off excess with a sharp knife.
  3. Basecoat models and bases with flat black spray primer.
  4. Paint smocks and helmets with Tallarn Sand.
  5. Paint PaK 40 with Tallarn Sand.
  6. Paint pants, soft hats, officer uniforms and gas mask containers with Skavenlight Dinge.
  7. Paint camouflage on helmets and smocks with alternating Waaagh! Flesh and Dark Brown.
  8. Paint faces and hands with Tallarn Flesh.
  9. Paint packs with Baneblade Brown.
  10. Paint boots and equipment straps Black.
  11. Paint bases, gun stocks, water bottles and helmet straps with Dark Brown.
  12. Apply Agrax Earthshade wash to uniforms, helmet netting, webbing and packs.
  13. Mix 50/50 Baneblade Brown and Off White and lightly dry brush packs, webbing, socks and holsters.
  14. Dry brush pants, soft hats and officer great coat with Light Grey.
  15. Lightly dry brush bases and gun stocks with Baneblade Brown.
  16. The high command table also gets painted Dark Brown followed by a a dry brushing of Baneblade Brown. The map on the table is painted in Off White with lines drawn on in varying colors with a very fine brush.
  17. Paint metal gun and water bottle parts with black and finish with a light dry brush of Metallic Silver.
  18. Dry brush gasmask containers with metallic Silver.
  19. Paint eyes with small dots of Off White and Dark Brown. Clean up around eyes with Tallarn Flesh.
  20. Mix 50/50 Tallarn Flesh and Off White and brush highlights on cheekbones, chins, forehead, nose and hands.
  21. Cover bases in white glue and cover in 50/50 mix of fine light green and dark green grass flock.
  22. Glue small pieces of clump foliage to base.
  23. Spray coat completed models with matte finish.

IMG_7025

 Figures are cleaned and glued to washers and plastic bases

FullSizeRender

 Primer and base coats to uniforms and the PaK 40 are applied

And here’s the finished results. With a new Brooklyn Bolt Action group holding their first event this weekend at Nu Brand Gaming with some of us from Metropolitan Wargamers in attendance I can’t wait for some of my 28mm models to march into battle.

IMG_7442

IMG_7444

IMG_7443

IMG_7445

IMG_7441

IMG_7437

IMG_7436

IMG_7435


Flames of War: Fielding the 15cm sFH18 Heavy Howitzer Battery

15cmsFH18wwii

The long-lived and commonly-found 15cm sFH18 howitzer was fielded by German forces from the 1930s and all through World War II. Tough to haul and a lesser weapon than many of the large artillery pieces fielded by Allied forces during the war, the German gun nevertheless went through several wartime design iterations and served multiple nations in post-war decades.

I’ve been in the home stretch of getting ready for my Flames of War Sint-Oedenrode scenario at the upcoming HMGS Fall In! convention, and getting some big German 15cm sFH18 howitzers finished was the last on my to-paint list. FOW offers a beautiful box set of the German heavy artillery battery, featuring four guns, crew, staff, command, spotting teams and individually-sculpted resin bases. The set of models is a bit pricey, but given the heft of models and their usefulness in so many German army lists, the battery is sure to pay off over time.

FOWGermanHowitzers

With so many parts in the box, getting organized from the get go is key. After cleaning up and dry-fitting all the pieces, I get everything glued up. After drying, I use wood filler to cover the spotter and command bases and to also hide any seams where the figures glue into the cast resin bases. From there, my usual German painting scheme in greys over flat black primer plus other details makes finishing the models move pretty quickly.

IMG_6818

Parts get cleaned and organized before assembly

IMG_6821

Glued models with filler being added to the bases

IMG_6862Base coats painted on the guns, uniforms, bases and ruins

As with most of the big sets of FOW models, the details on the models is a lot of fun. The intensely-posed four-figure vignette of the staff team in their little bombed-out bunker is a new favorite of mine. Even with repetitive gun crew figures, each unique base makes the whole battery just varied enough at arm’s length and are certain to make an impact when the Axis next hit the table.

IMG_0802

IMG_0808

IMG_0807

IMG_0809

IMG_0804

IMG_0803

IMG_0806

IMG_0805

IMG_0801

Flames of War: Fielding the 8.8cm FlaK 36 Platoon

8.8flak2

One of the most common, flexible and deadly weapons used by German forces in World War II was the 8.8cm FlaK 36 gun. Building on earlier models from the late 1920s and early 1930s, the piece could be used for both anti-aircraft and direct anti-tank fire. Known commonly as an “Eighty-Eight,” this iconic artillery was encountered on battlefields from Africa to the Eastern Front to the coast of Normandy in both fixed defensive positions or in support of mobile ground forces.

FOW88flakI’ve been away from modelling any Flames of War miniatures for a while, but I’m planning on running a couple historic beginner games at the HMGS Fall In! convention in Lancaster, PA in early November. One of the scenarios, Sint-Oedenrode, requires some 88s, and I’ve long relied on loaners from other members at Metropolitan Wargamers in Brooklyn, NY. I figured it was high time I add these weapons to my 15mm collection, so I ordered the set from my go-to supplier The Warstore and the box arrived in just over a day.

IMG_0777

IMG_0776

The models, including two metal 88s, a resin Sd. Kfz. 15 command car, two resin Sd. Kfz. 7 half-track tractors and a ton of crew and bits, glued up quickly on the marvelous cast scenic bases I’ve come to expect from FOW designers. My German painting goes pretty quickly with a black spray primer coat followed by some dark grey brushed on as base for uniforms, vehicles and guns.

IMG_0782

IMG_0783

Log emplacements, ammo boxes and equipment get painted up in coats of varying browns and greys. The gun and vehicle grey basecoat are washed in a dark brown and then followed up with some highlights in dry-brushed silver, light grey and brown muds. The huge shells scattered on the ground and fresh rounds in the arms of the crew are done in metallics, and the vehicles are detailed with decals. The final touches are done with static grass applied with white glue around the bases and a few sprays of matte finish to protect the models and dull down any remaining shine.

IMG_0779

IMG_0781In all, the entire platoon took me a couple hours. As with most FOW models, there’s a lot of personality, poses and details in this kit. I love the commander’s stance with binoculars aimed at the horizon and his junior officer reaching for his bag. The main gun bases and the extended separate bases of extra crew make each piece a little diorama of its own. By carefully applying grass to certain areas, I was able to blur the line between the bases, making them appear as one big piece with a quick look. Of course, along with the detail in the models does come some cost, but the usability of these models in so many FOW games makes adding the 8.8cm FlaK 36 platoon a fantastic long-term investment.

IMG_0780

28mm: German Wehrmacht By Black Tree Design

Wehrmacht

I recently got back to my 28mm World War II projects with some Wermacht from Black Tree Design. After painting up a bunch of German troops in camouflage smocks, I wanted to get some more Heer infantry into the mix. And so, on the back of a big sale this summer, I’ve just about doubled my Axis forces at this scale.

BTD

I was really pleased when I received my large order and marveled at all the detail on these figures. Lots of varied poses, weapons, equipment and personality make these casting from Black Tree Design stand as equals with all my other troops. As always, the customer service from the company was superb with nice hand-written notes included in each order boxed up in a little metal tin.

WehrDecalsGerman infantry decals from Company B

Along with my figure order, I also went back to Company B to order up some decals for the helmets. Even though it might not be as historical, I went with the national colors of the double decal helmet configuration which was phased out fairly early in the war. I really just wanted a bit more color on the otherwise monotone color scheme. And, while I’m on the subject of color, I really liked how the Skavenlight Dinge from Citadel Paint captured a nice mix of grey-green-blue tones of the standard German uniform.

IMG_6375A painted figure gets decals applied

Painting 28mm German Infantry

  1. Clean flash from metal models with a sharp knife and glue to metal washer or plastic bases.
  2. Apply filler putty to bases. When dry, scrape off excess with a sharp knife.
  3. Basecoat models and bases with flat black spray primer.
  4. Paint pants, helmets, soft hats, officer greatcoats and gas mask containers with Skavenlight Dinge.
  5. Paint faces and hands with Tallarn Flesh.
  6. Paint packs ans straps with Baneblade Brown.
  7. Paint boots and equipment straps Black.
  8. Paint bases, gun stocks, water bottles and helmet straps with Dark Brown.
  9. Apply Agrax Earthshade wash to webbing and packs.
  10. Dry brush pants, helmets, soft hats and officer greatcoats with Light Grey.
  11. Lightly dry brush bases and gun stocks with Baneblade Brown.
  12. Paint metal gun and water bottle parts with black and finish with a light dry brush of Metallic Silver.
  13. Dry brush gasmask containers with metallic Silver.
  14. Paint eyes with small dots of Off White and Dark Brown. Clean up around eyes with Tallarn Flesh.
  15. Mix 50/50 Tallarn Flesh and Off White and brush highlights on cheekbones, chins, forehead, nose and hands.
  16. Cover bases in white glue and cover in 50/50 mix of fine light green and dark green grass flock.
  17. Glue small pieces of clump foliage to base.
  18. Spray coat completed models with matte finish.

I really like how these models scale with all my previous 28mm miniatures from Artizan Designs and Warlord Games, and my Wermacht forces will fit nicely in the defense of Europe from the tabletop assault of my Allied troops.

IMG_0762

IMG_0767

IMG_0769

IMG_0771

IMG_0773

IMG_0764

IMG_0766

IMG_0768

IMG_0772

IMG_0770

IMG_0765

IMG_0774

IMG_0763

28mm: German Anti-Tank Weapons And Command By Artizan Designs

GermanAT

After a few months taking a break from painting, I came back to my 28mm World War II Germans by adding some anti-tank weapons and command figures.

ADlogo

I’ve been so pleased with the German infantry from my first and second platoons using models from Artizan Designs that I returned to their miniatures again to round out my collection. The panzerfaust and panzerschreck teams gave a nice mix of poses on the move and in firing positions. Likewise, the command molds make for a nice grouping including a radio operator and a stern officer with battle plans in one hand and the other hand planted confidently on his hip.

paintgerman

As always, the Artizan figures required little flash clean up before being glued to metal washers. Here’s my battle-tested steps in detail for painting my latest Germans.

Painting 28mm German Infantry

  1. Clean flash from metal models with a sharp knife and glue to metal washer or plastic bases.
  2. Apply filler putty to bases. When dry, scrape off excess with a sharp knife.
  3. Basecoat models and bases with flat black spray primer.
  4. Paint smocks and helmets with Tallarn Sand.
  5. Paint pants, soft hats, officer greatcoat and gas mask containers with Skavenlight Dinge.
  6. Paint camouflage on helmets and smocks with alternating Waaagh! Flesh and Dark Brown.
  7. Paint faces and hands with Tallarn Flesh.
  8. Paint packs with Baneblade Brown.
  9. Paint boots and equipment straps Black.
  10. Paint bases, gun stocks, water bottles and helmet straps with Dark Brown.
  11. Apply Agrax Earthshade wash to uniforms, helmet netting, webbing and packs.
  12. Mix 50/50 Baneblade Brown and Off White and lightly dry brush packs, webbing, socks and holsters.
  13. Dry brush pants, soft hats and officer great coat with Light Grey.
  14. Lightly dry brush bases and gun stocks with Baneblade Brown.
  15. Paint metal gun and water bottle parts with black and finish with a light dry brush of Metallic Silver.
  16. Dry brush gasmask containers with metallic Silver.
  17. Paint eyes with small dots of Off White and Dark Brown. Clean up around eyes with Tallarn Flesh.
  18. Mix 50/50 Tallarn Flesh and Off White and brush highlights on cheekbones, chins, forehead, nose and hands.
  19. Cover bases in white glue and cover in 50/50 mix of fine light green and dark green grass flock.
  20. Glue small pieces of clump foliage to base.
  21. Spray coat completed models with matte finish.

So, with some simple steps I’ve got a bit more punch and leadership for my Germans as they hit the table soon.

IMG_0739

IMG_0740

IMG_0737

IMG_0736

IMG_0743

I Ain’t Been Shot Mum: South East of Butera July 11, 1943 Scenario

SicilyJuly1943Operation Husky, the Allied invasion of the island of Sicily, commenced on July 9th 1943 with combined naval, air, airborne and amphibious forces from the United States, England and UK colonial nations attacking a largely Italian force backed by their German allies. Over the next five weeks, the Allies took the arid and rocky island of Sicily and opened up the Mediterranean for the eventual invasion of mainland Italy.

HuskyMapOperation Husky, July-August 1943 (area around Butera in green)

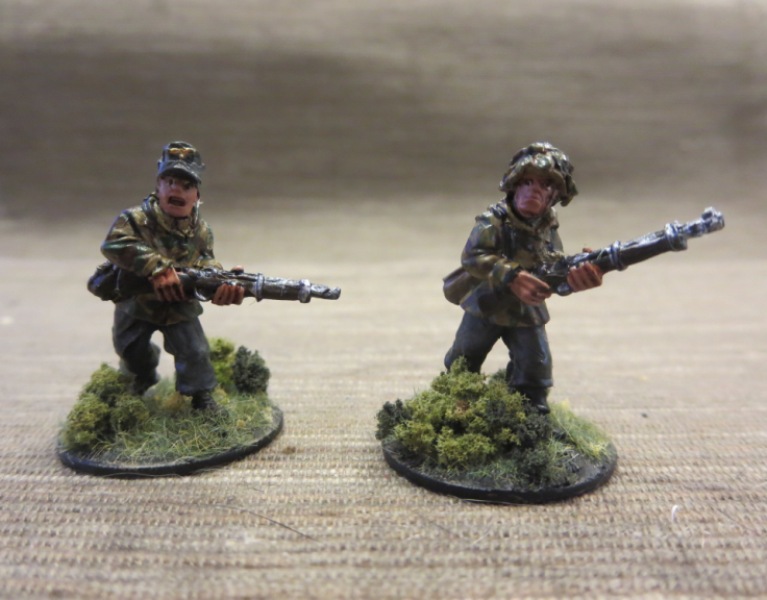
The Sicilian Weekend campaign guide for I Ain’t Been Shot Mum offers 24 scenarios from the opening days of Operation Husky on July 10th and 11th 1943. Like the other scenario books from IABSM publisher Too Fat Lardies, the Sicilian book presents solid historical background and maps, along with force lists and detailed briefings for each side easily adaptable to a number of lines of 15mm WWII miniatures. The scenarios may be played individually or as part of a linked campaign, and so we recently started playing through a few of the Sicily scenarios at Metropolitan Wargamers in Brooklyn, NY.

Sicilianweekendcover
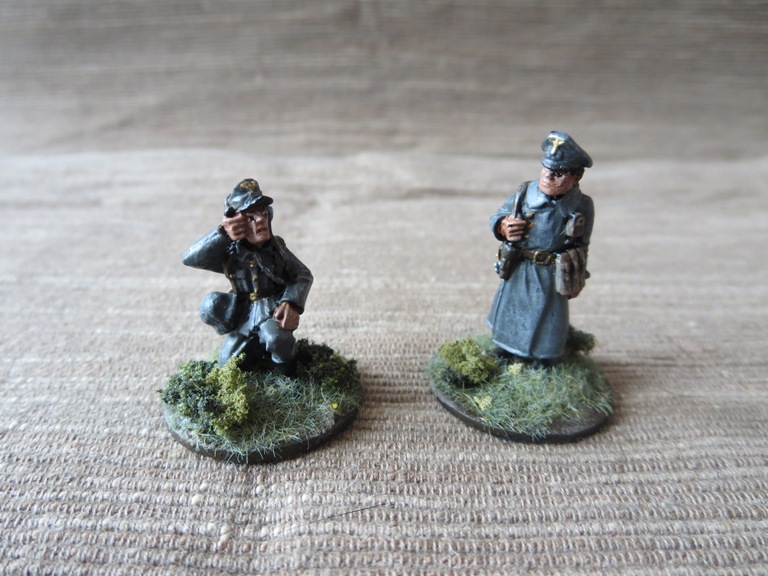
‘Sicilian Weekend’ by Too Fat Lardies for their I Ain’t Been Shot Mum WWII rules

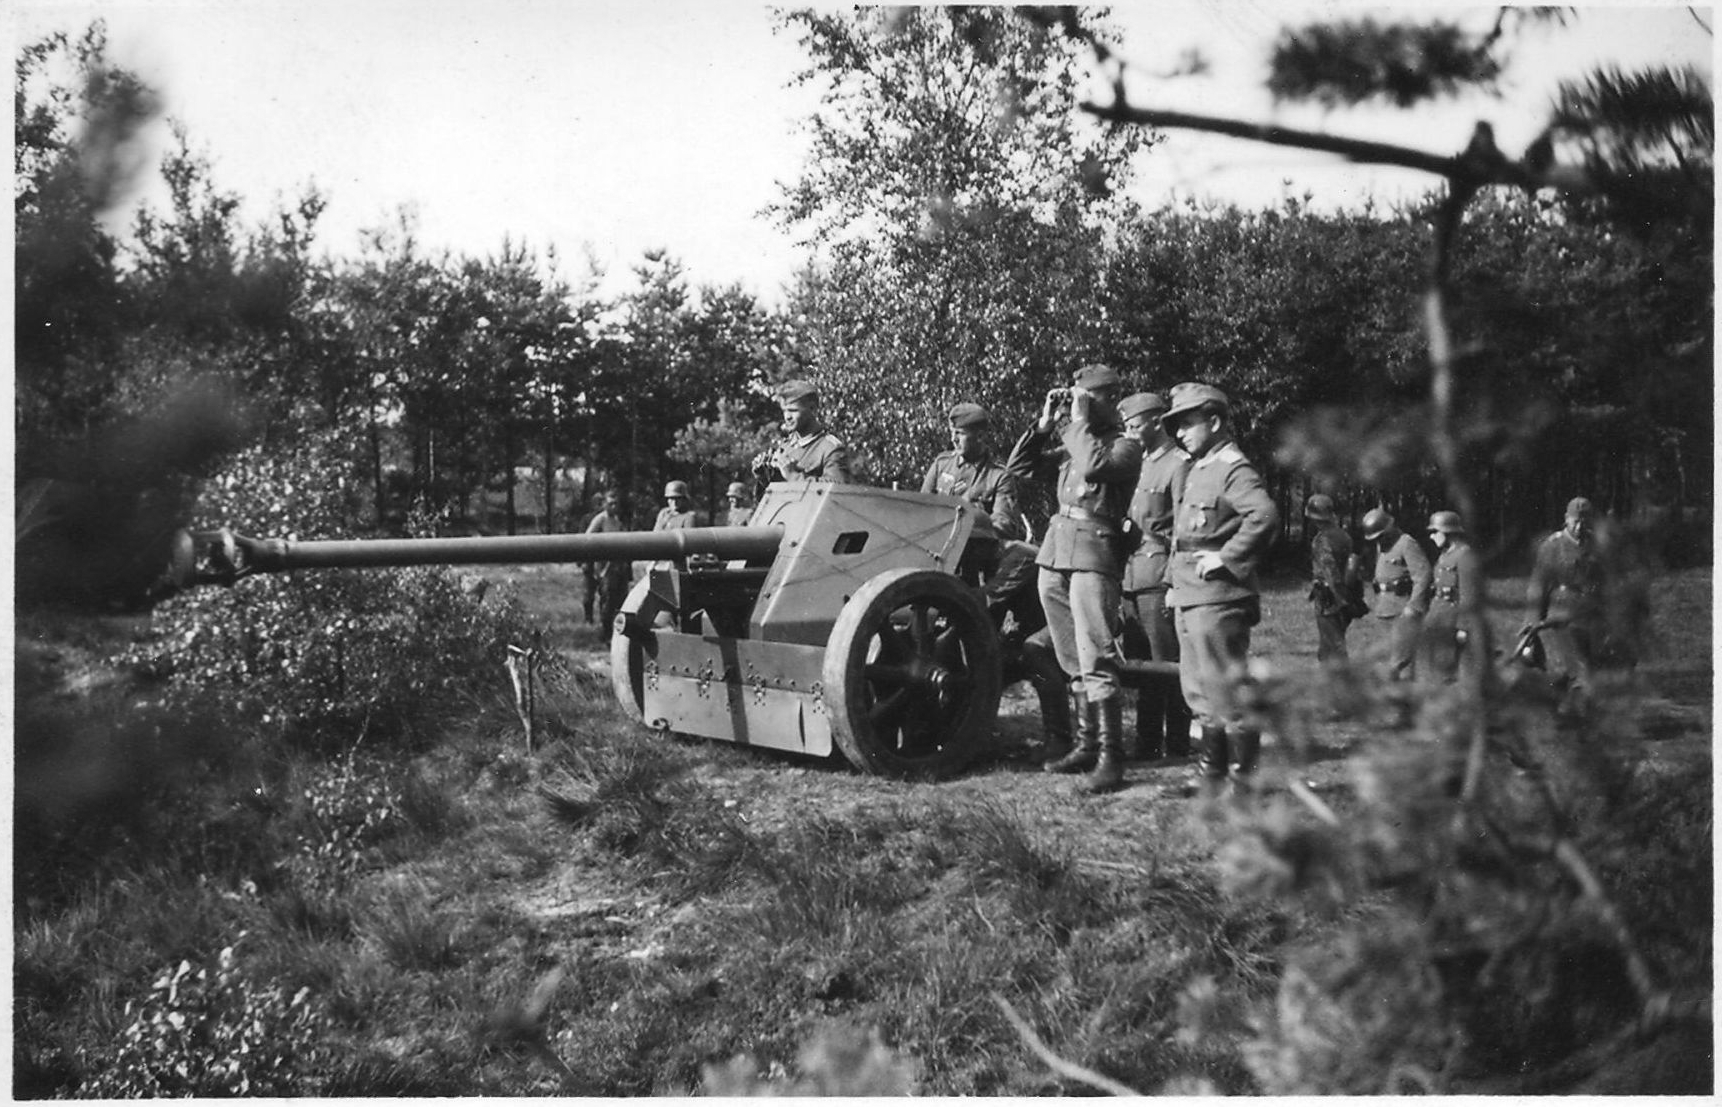
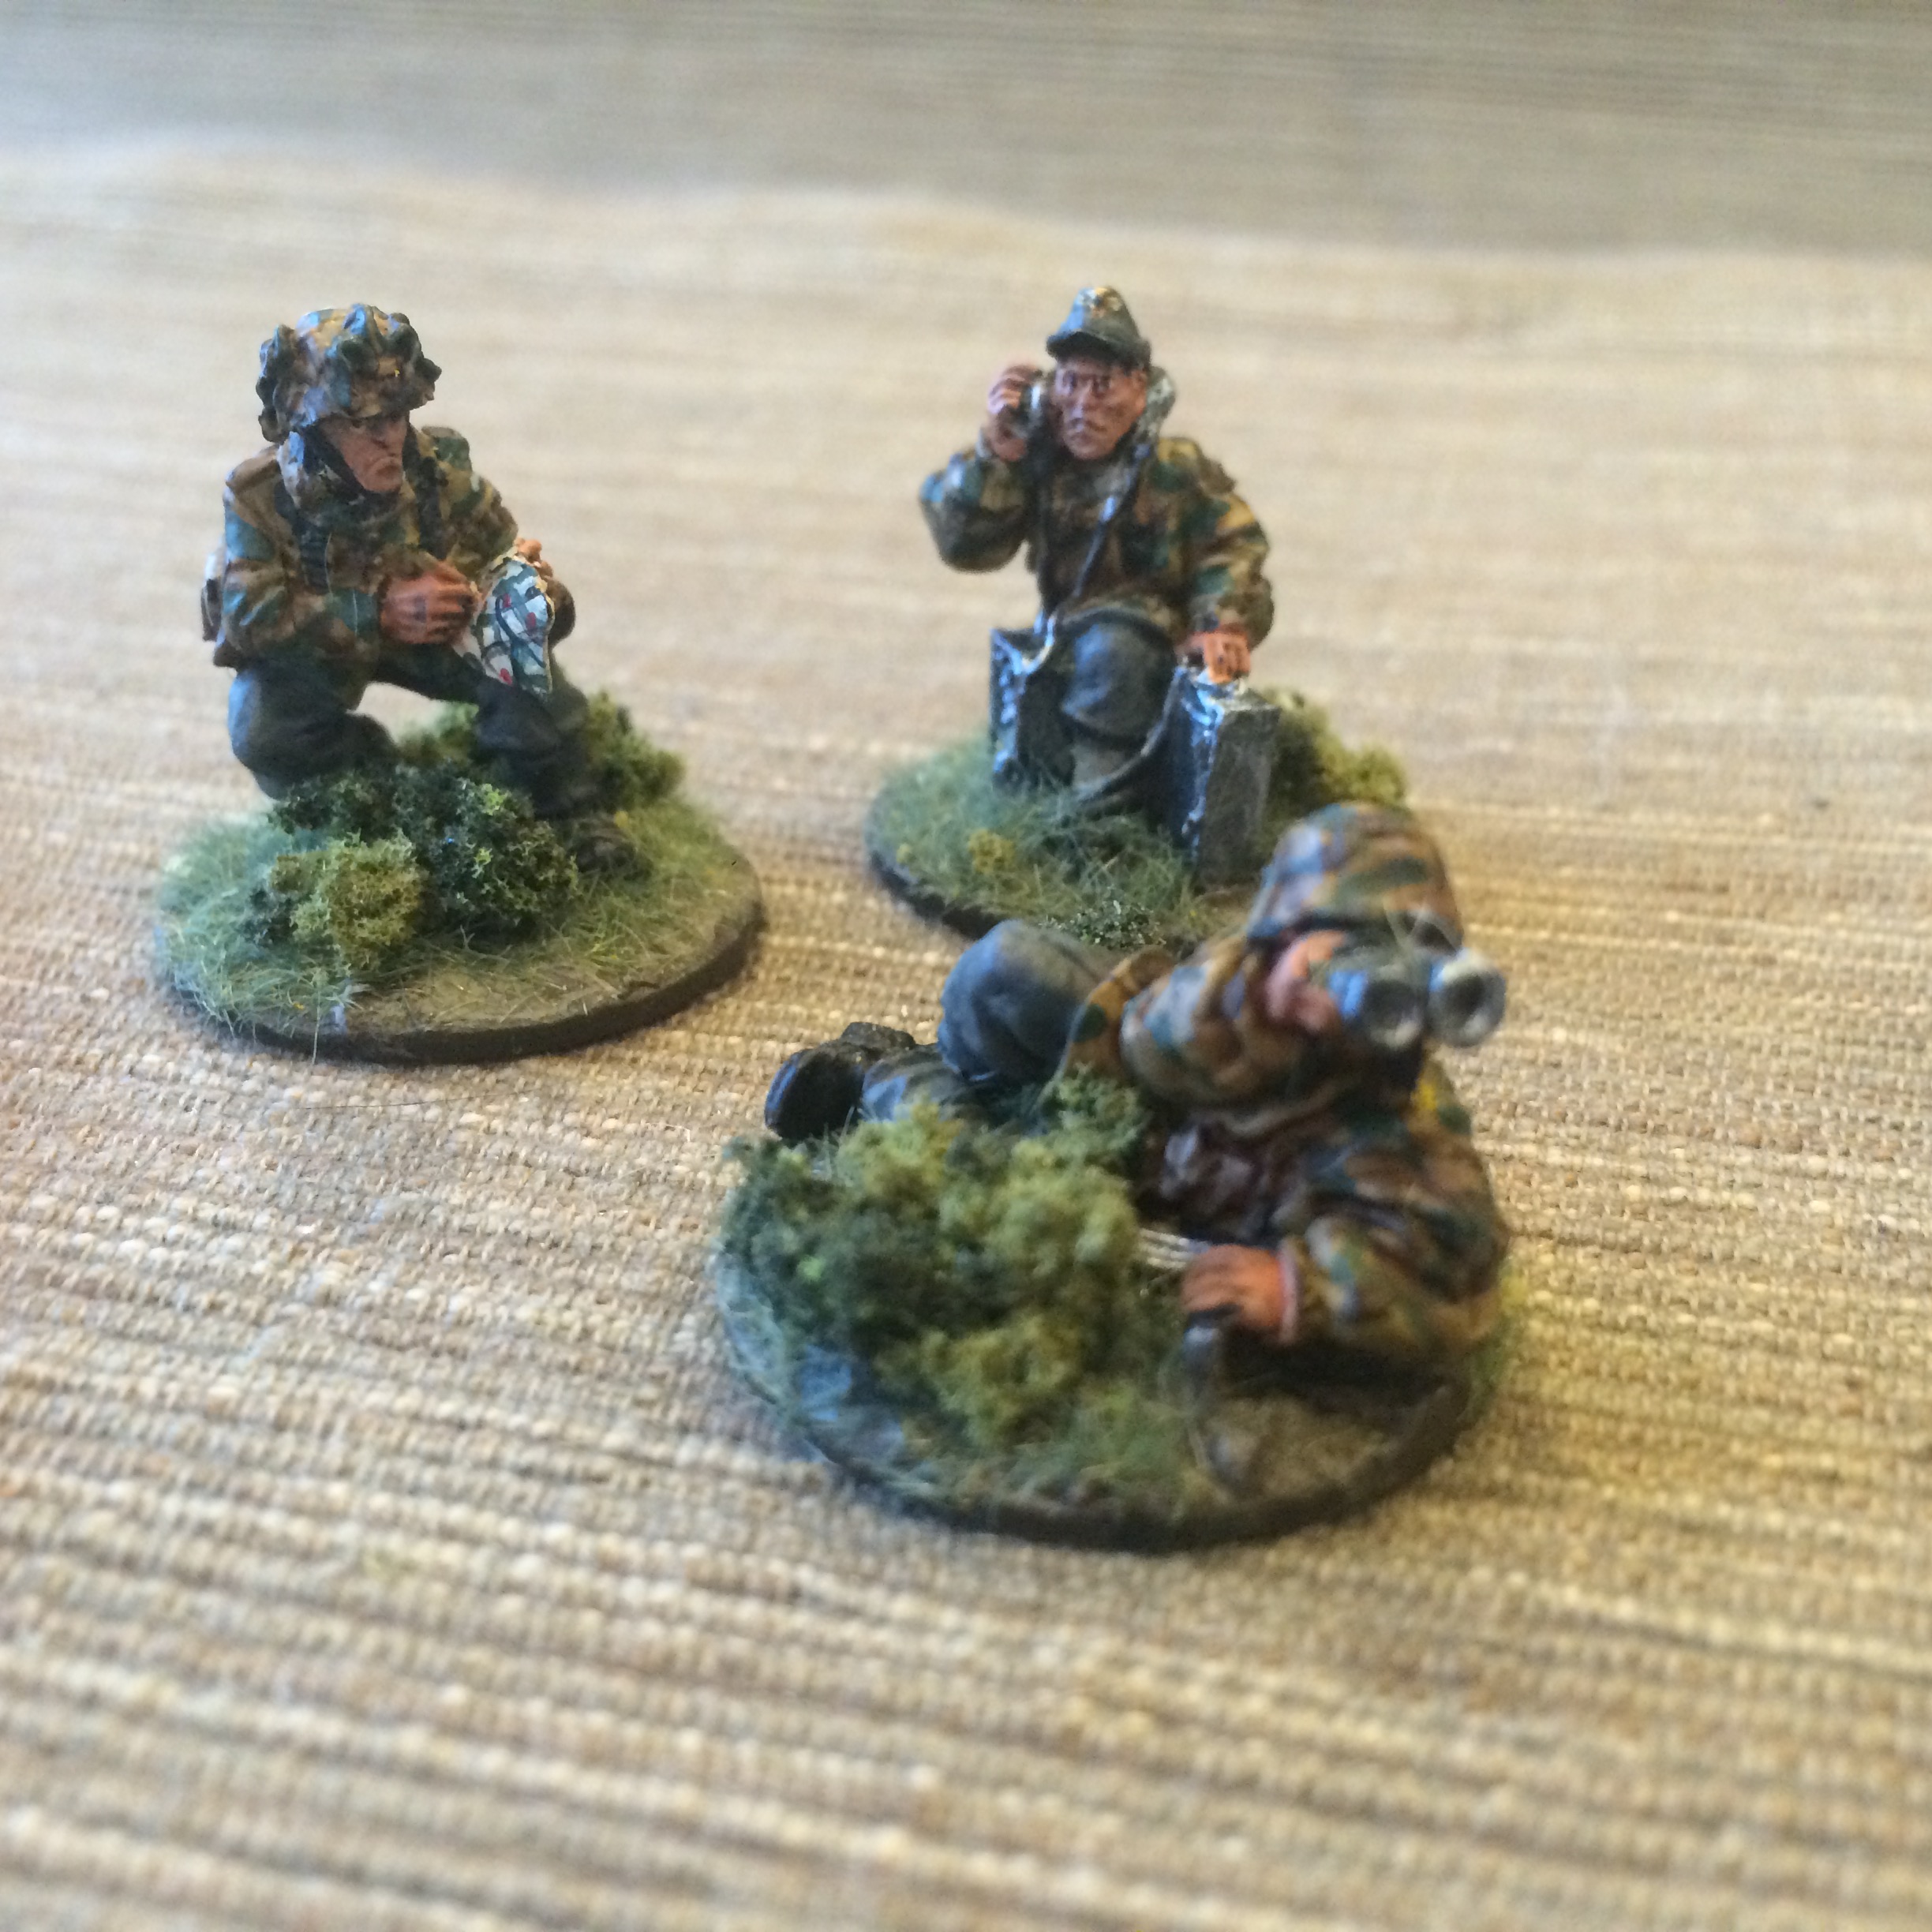
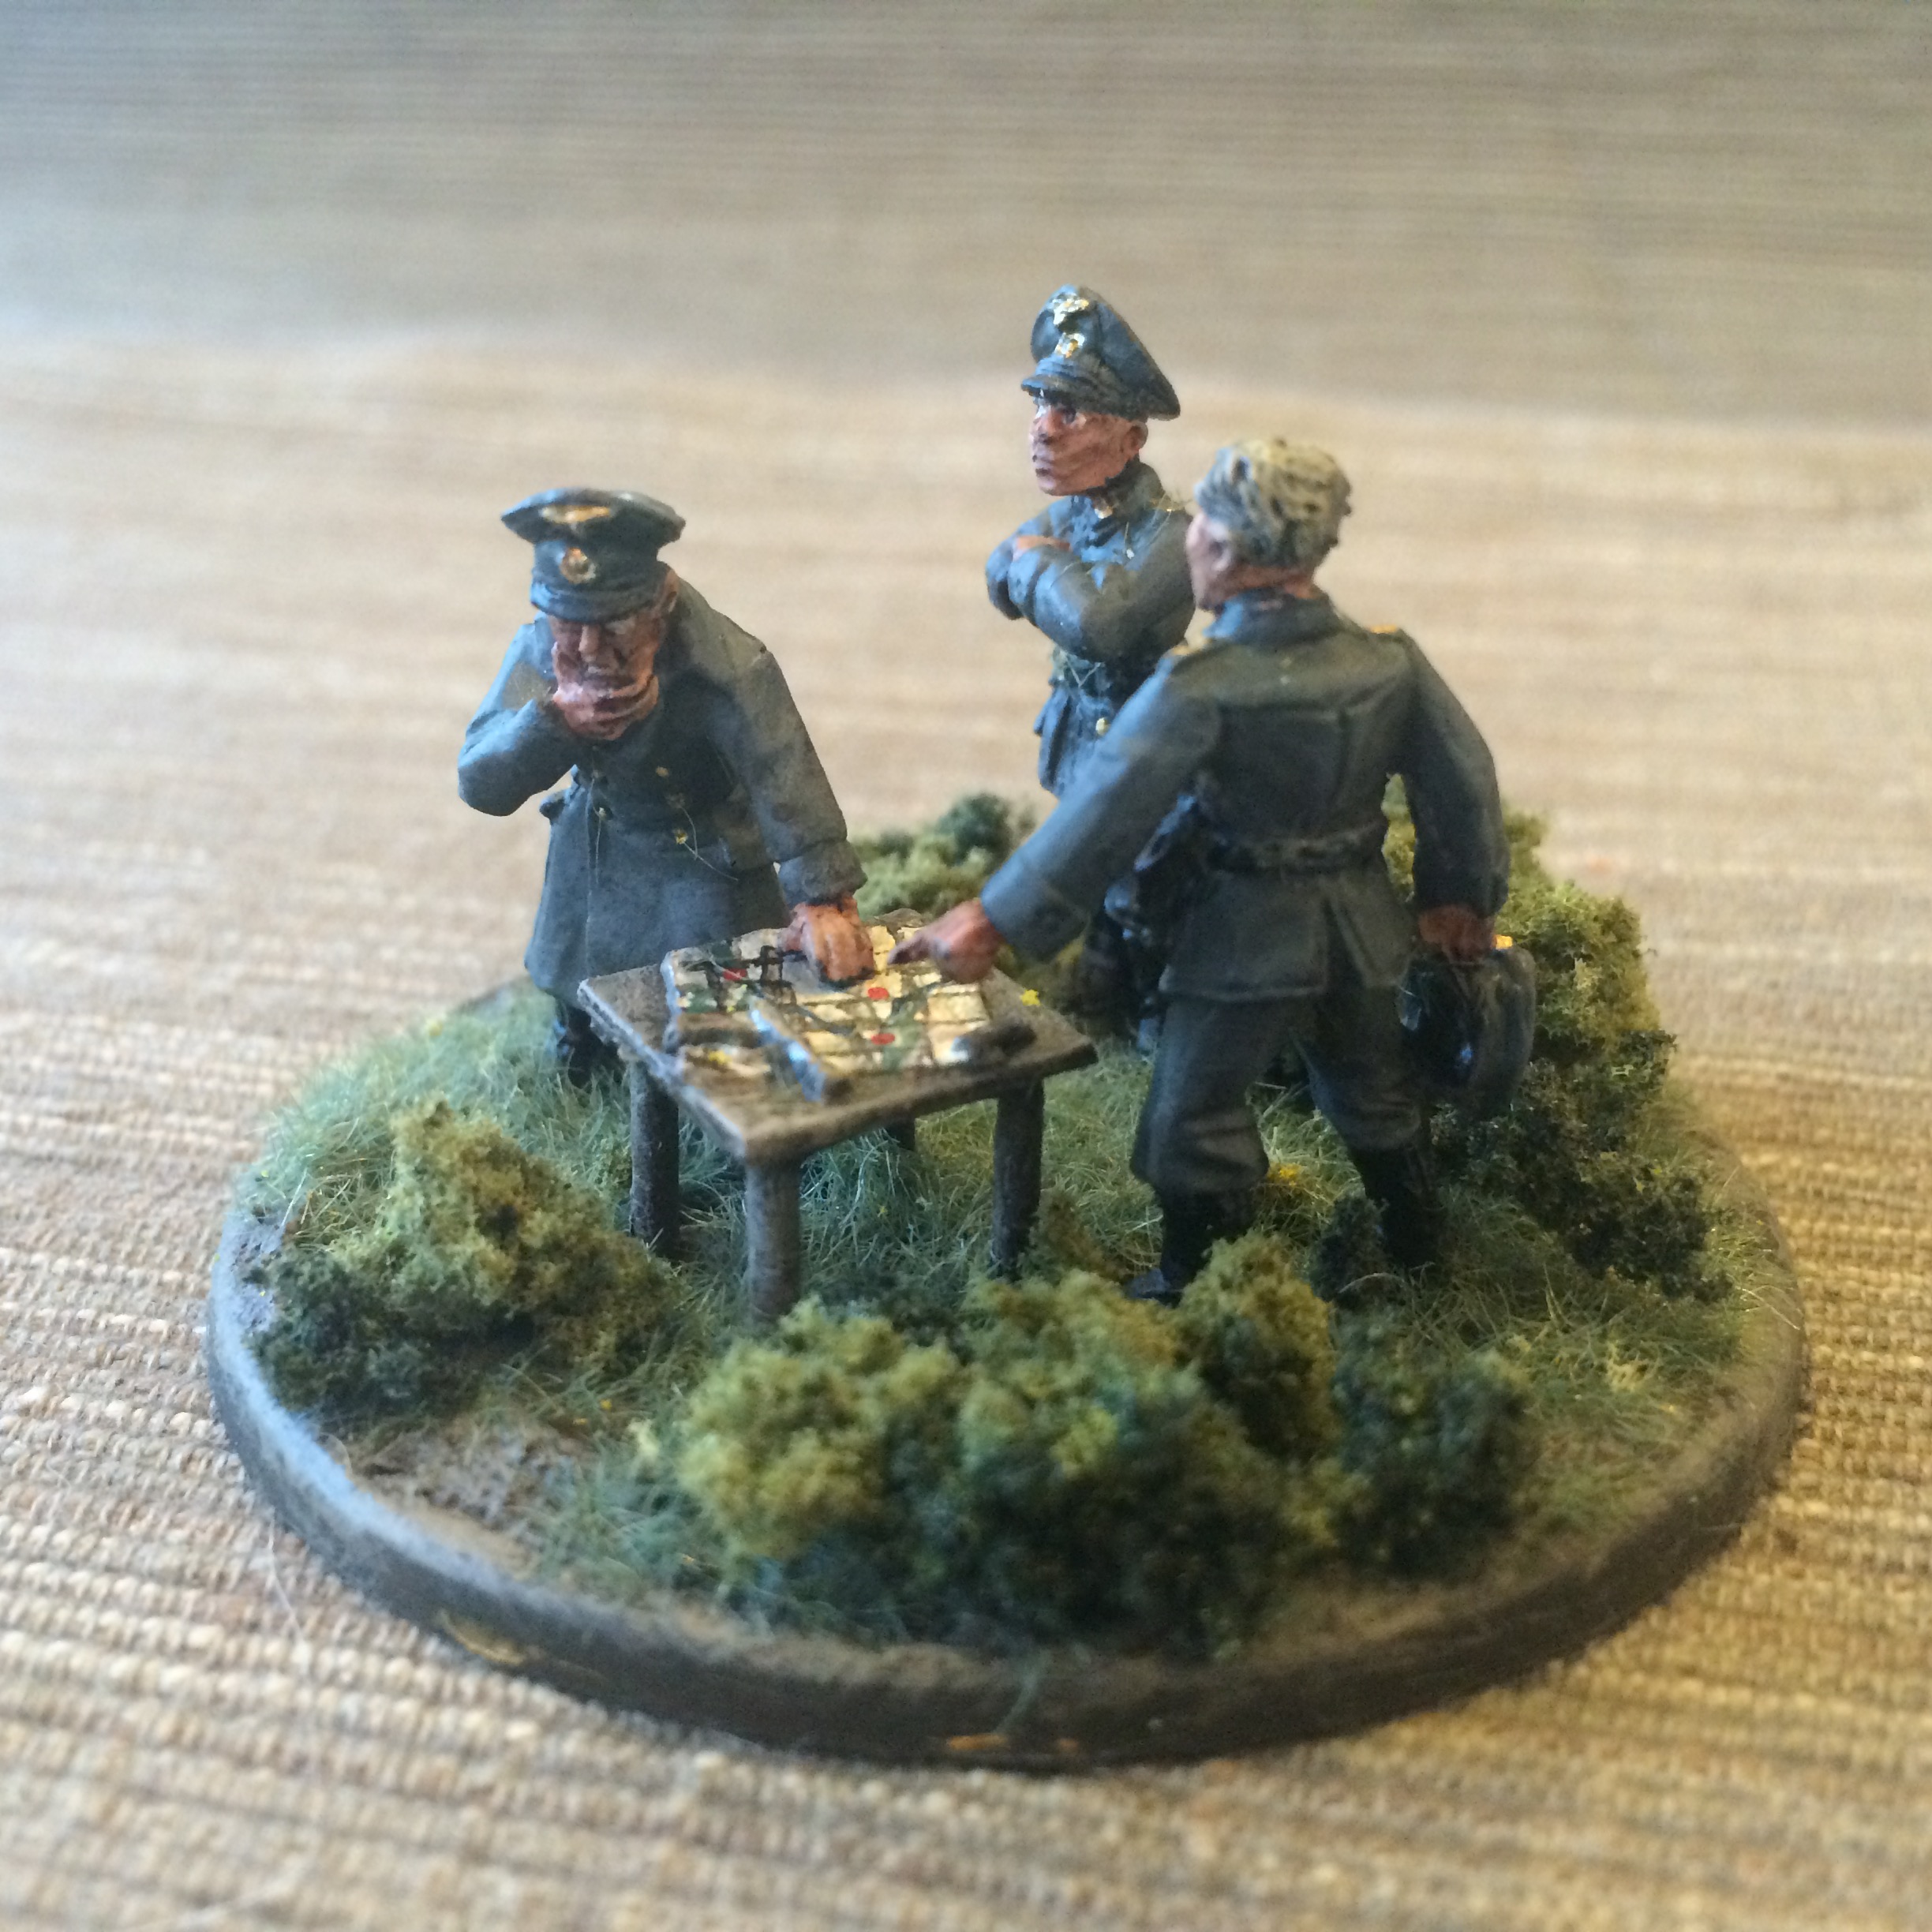
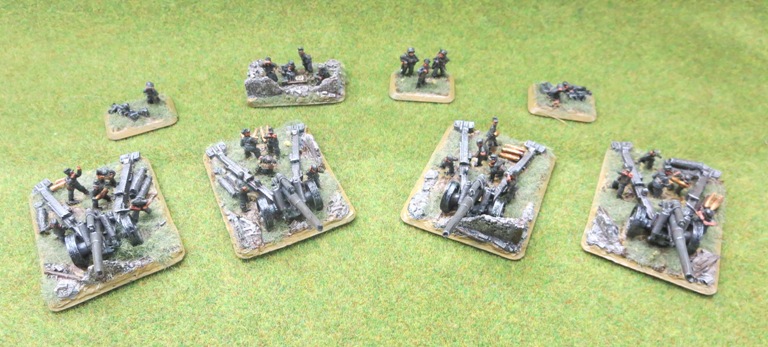
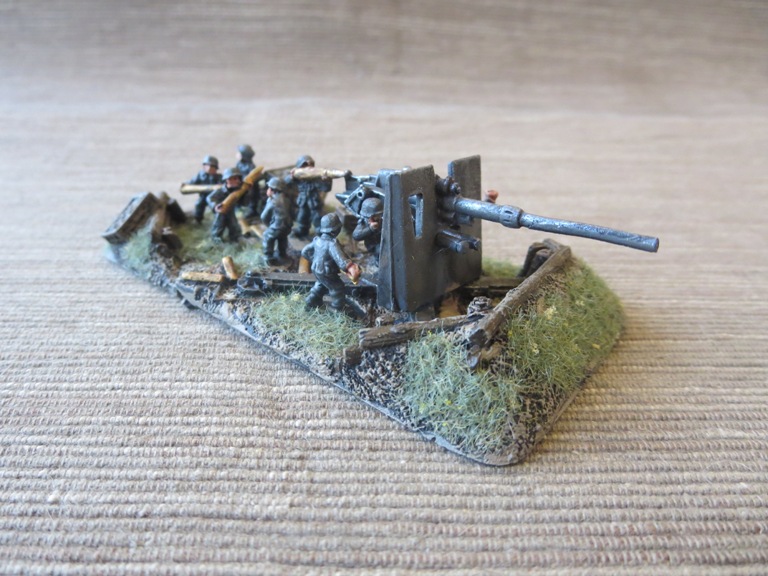
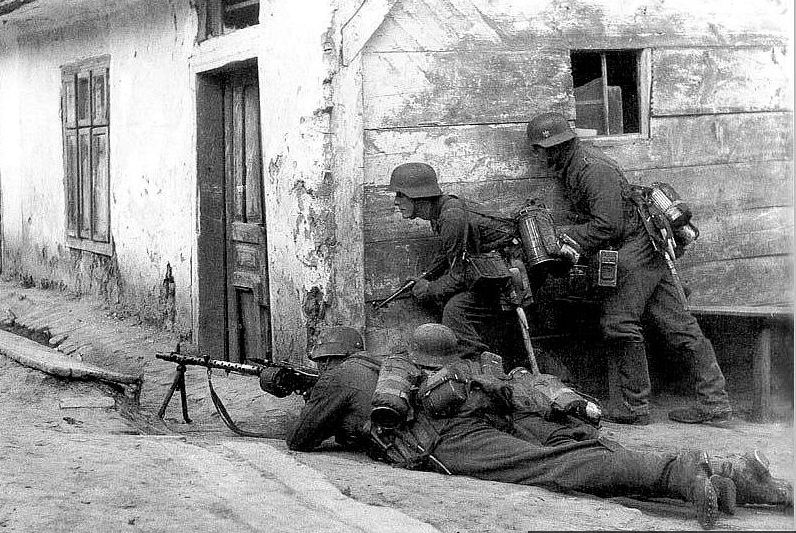
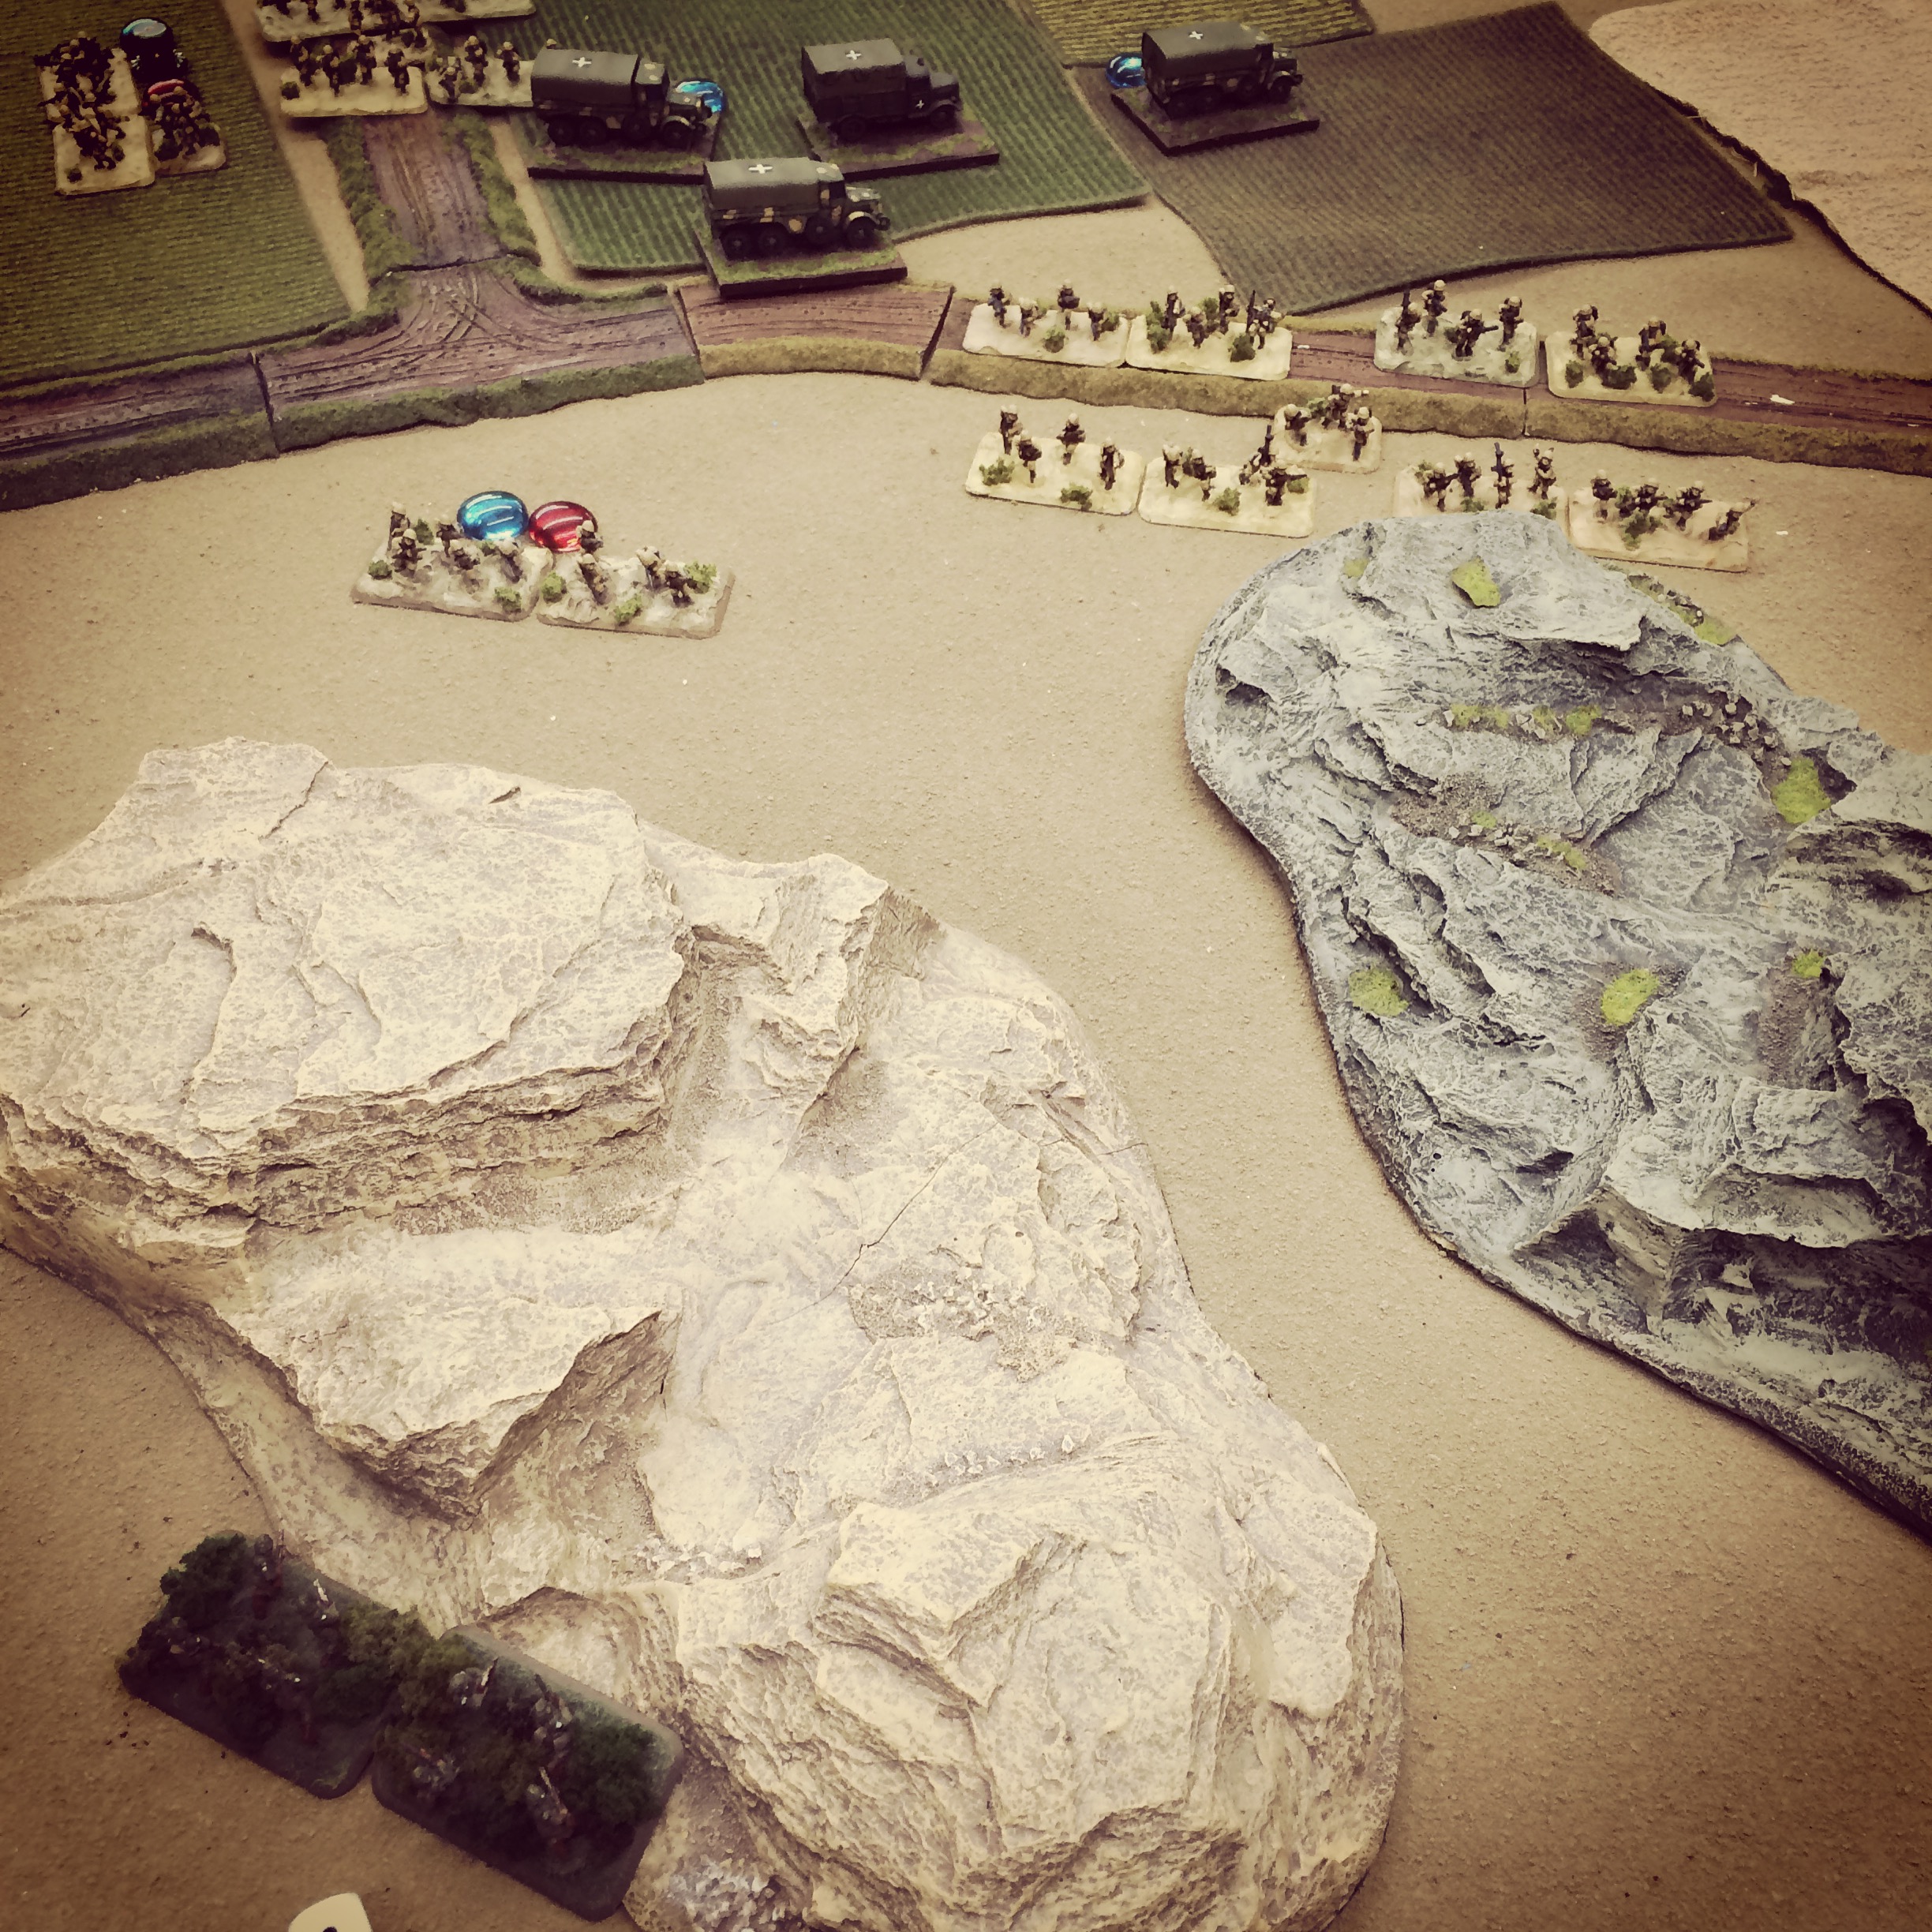
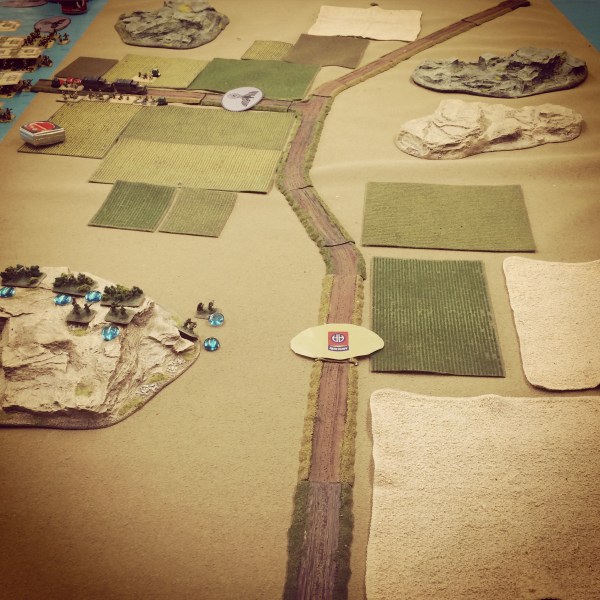
We began with the eighth scenario in the book, southeast of Butera on the morning of July 11th 1943. Members of US 3rd Infantry Division are presented with a simple mission of aggressively pushing through the field to link up with their fellow Americans at Gela. The Italian force from the 33rd Infantry Regiment of the Livorno Division, must hold the invading Americans back.The scenario presents the Italian and American forces each entering the table in column on blinds. The counter attacking Italians rolled in mounted in trucks at one road at the table edge, and the Americans arrived on foot at one end of the table.

IMG_5605
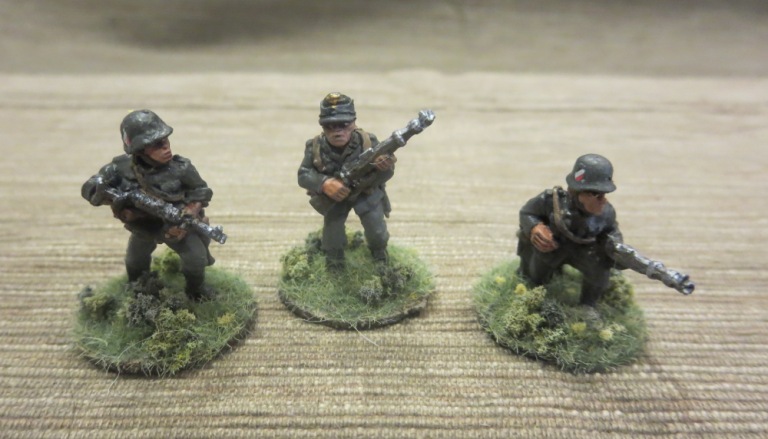
Initial forces arrive on the field in the early turns

IMG_5606
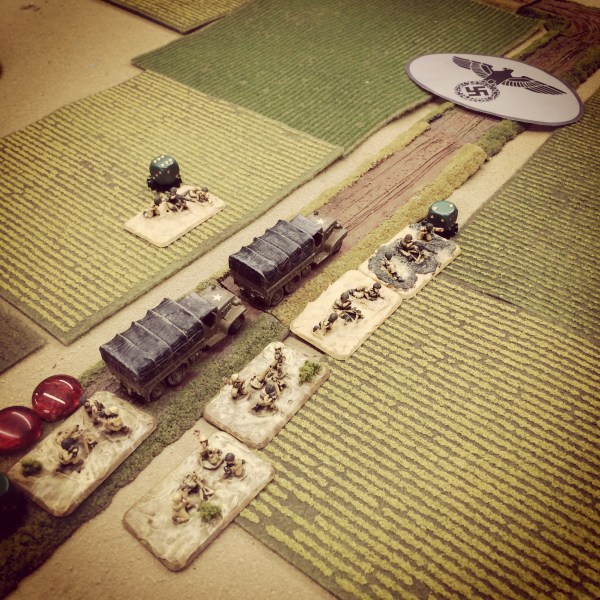
Italians rush to the battle and deploy from a column of trucks

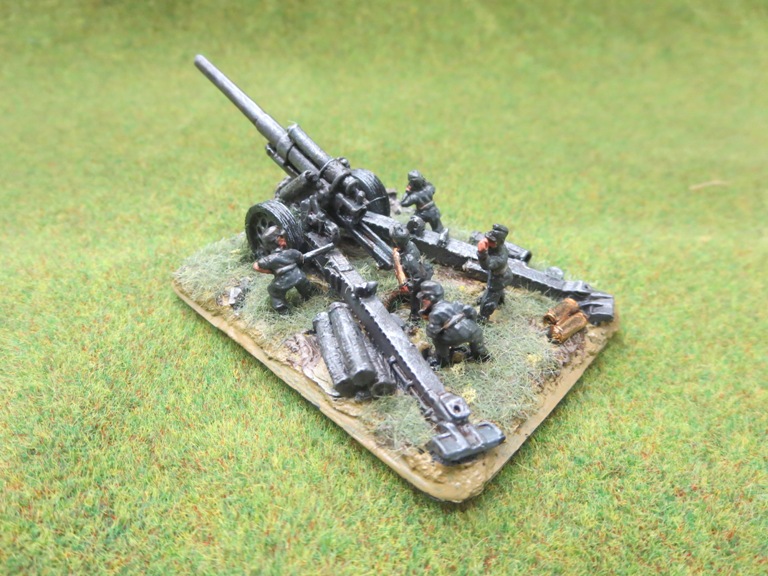
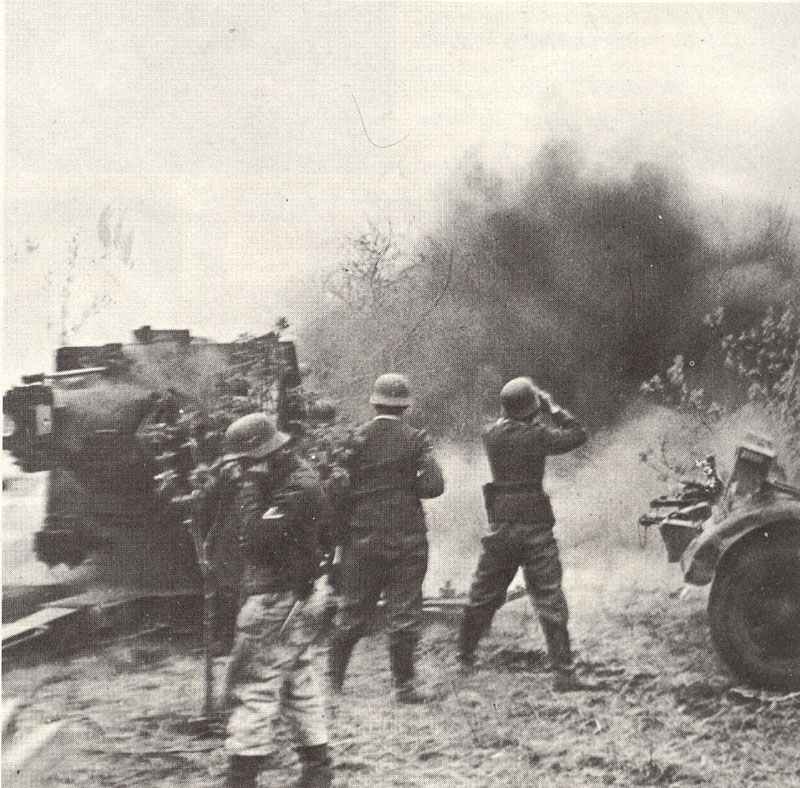
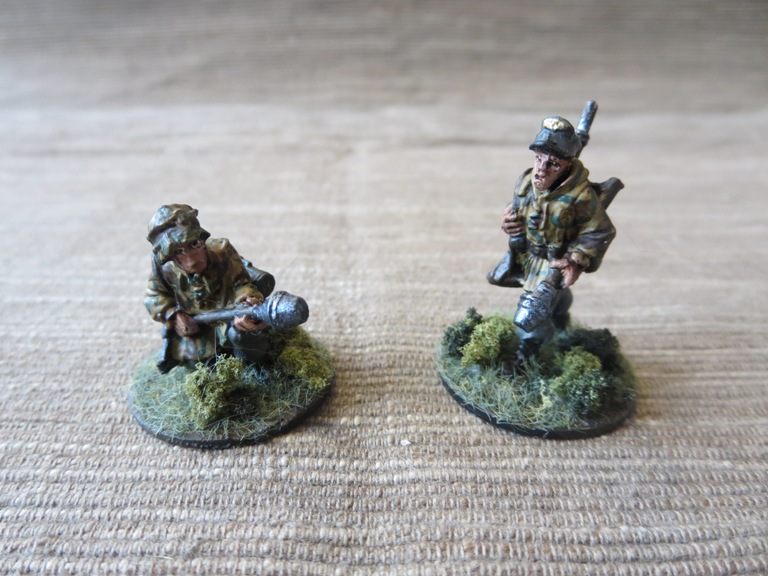
My first to arrive American machine gunners and bazookas quickly took up position on a rocky hill overlooking the road and a crossroads in the distance. Italian trucks moved in with their heavy weapons likewise leading the away with machine guns and 81mm mortars deploying at the road edge. Initial long range fire from the US machine guns pushed some of the Italian line back over the road. The Italians offered several rounds combined of direct mortar and machine gun fire in return, spraying bullets and landing rounds amid the bunched-up US machine guns. The Americans scooted back over the crest of the hill and the bazookas ran off to meet the other Americans arriving by the road to their right.

IMG_5608American machine guns take Italian mortar fire and fall back

IMG_5607
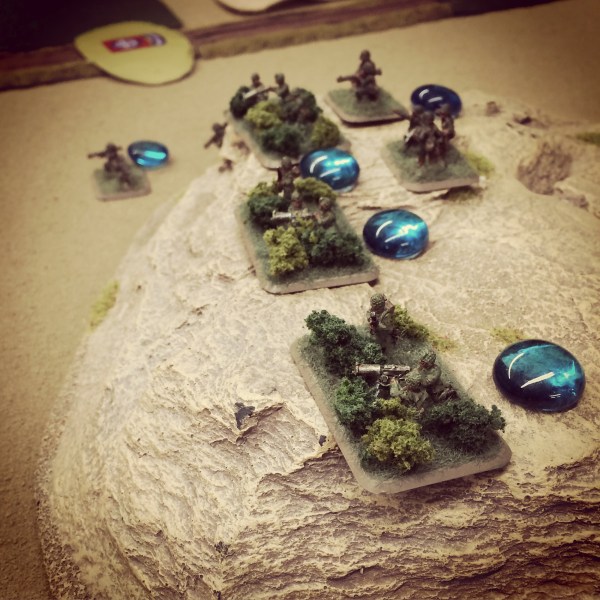
US machine gunners rally back to their positions and pour fire into the Italian lines

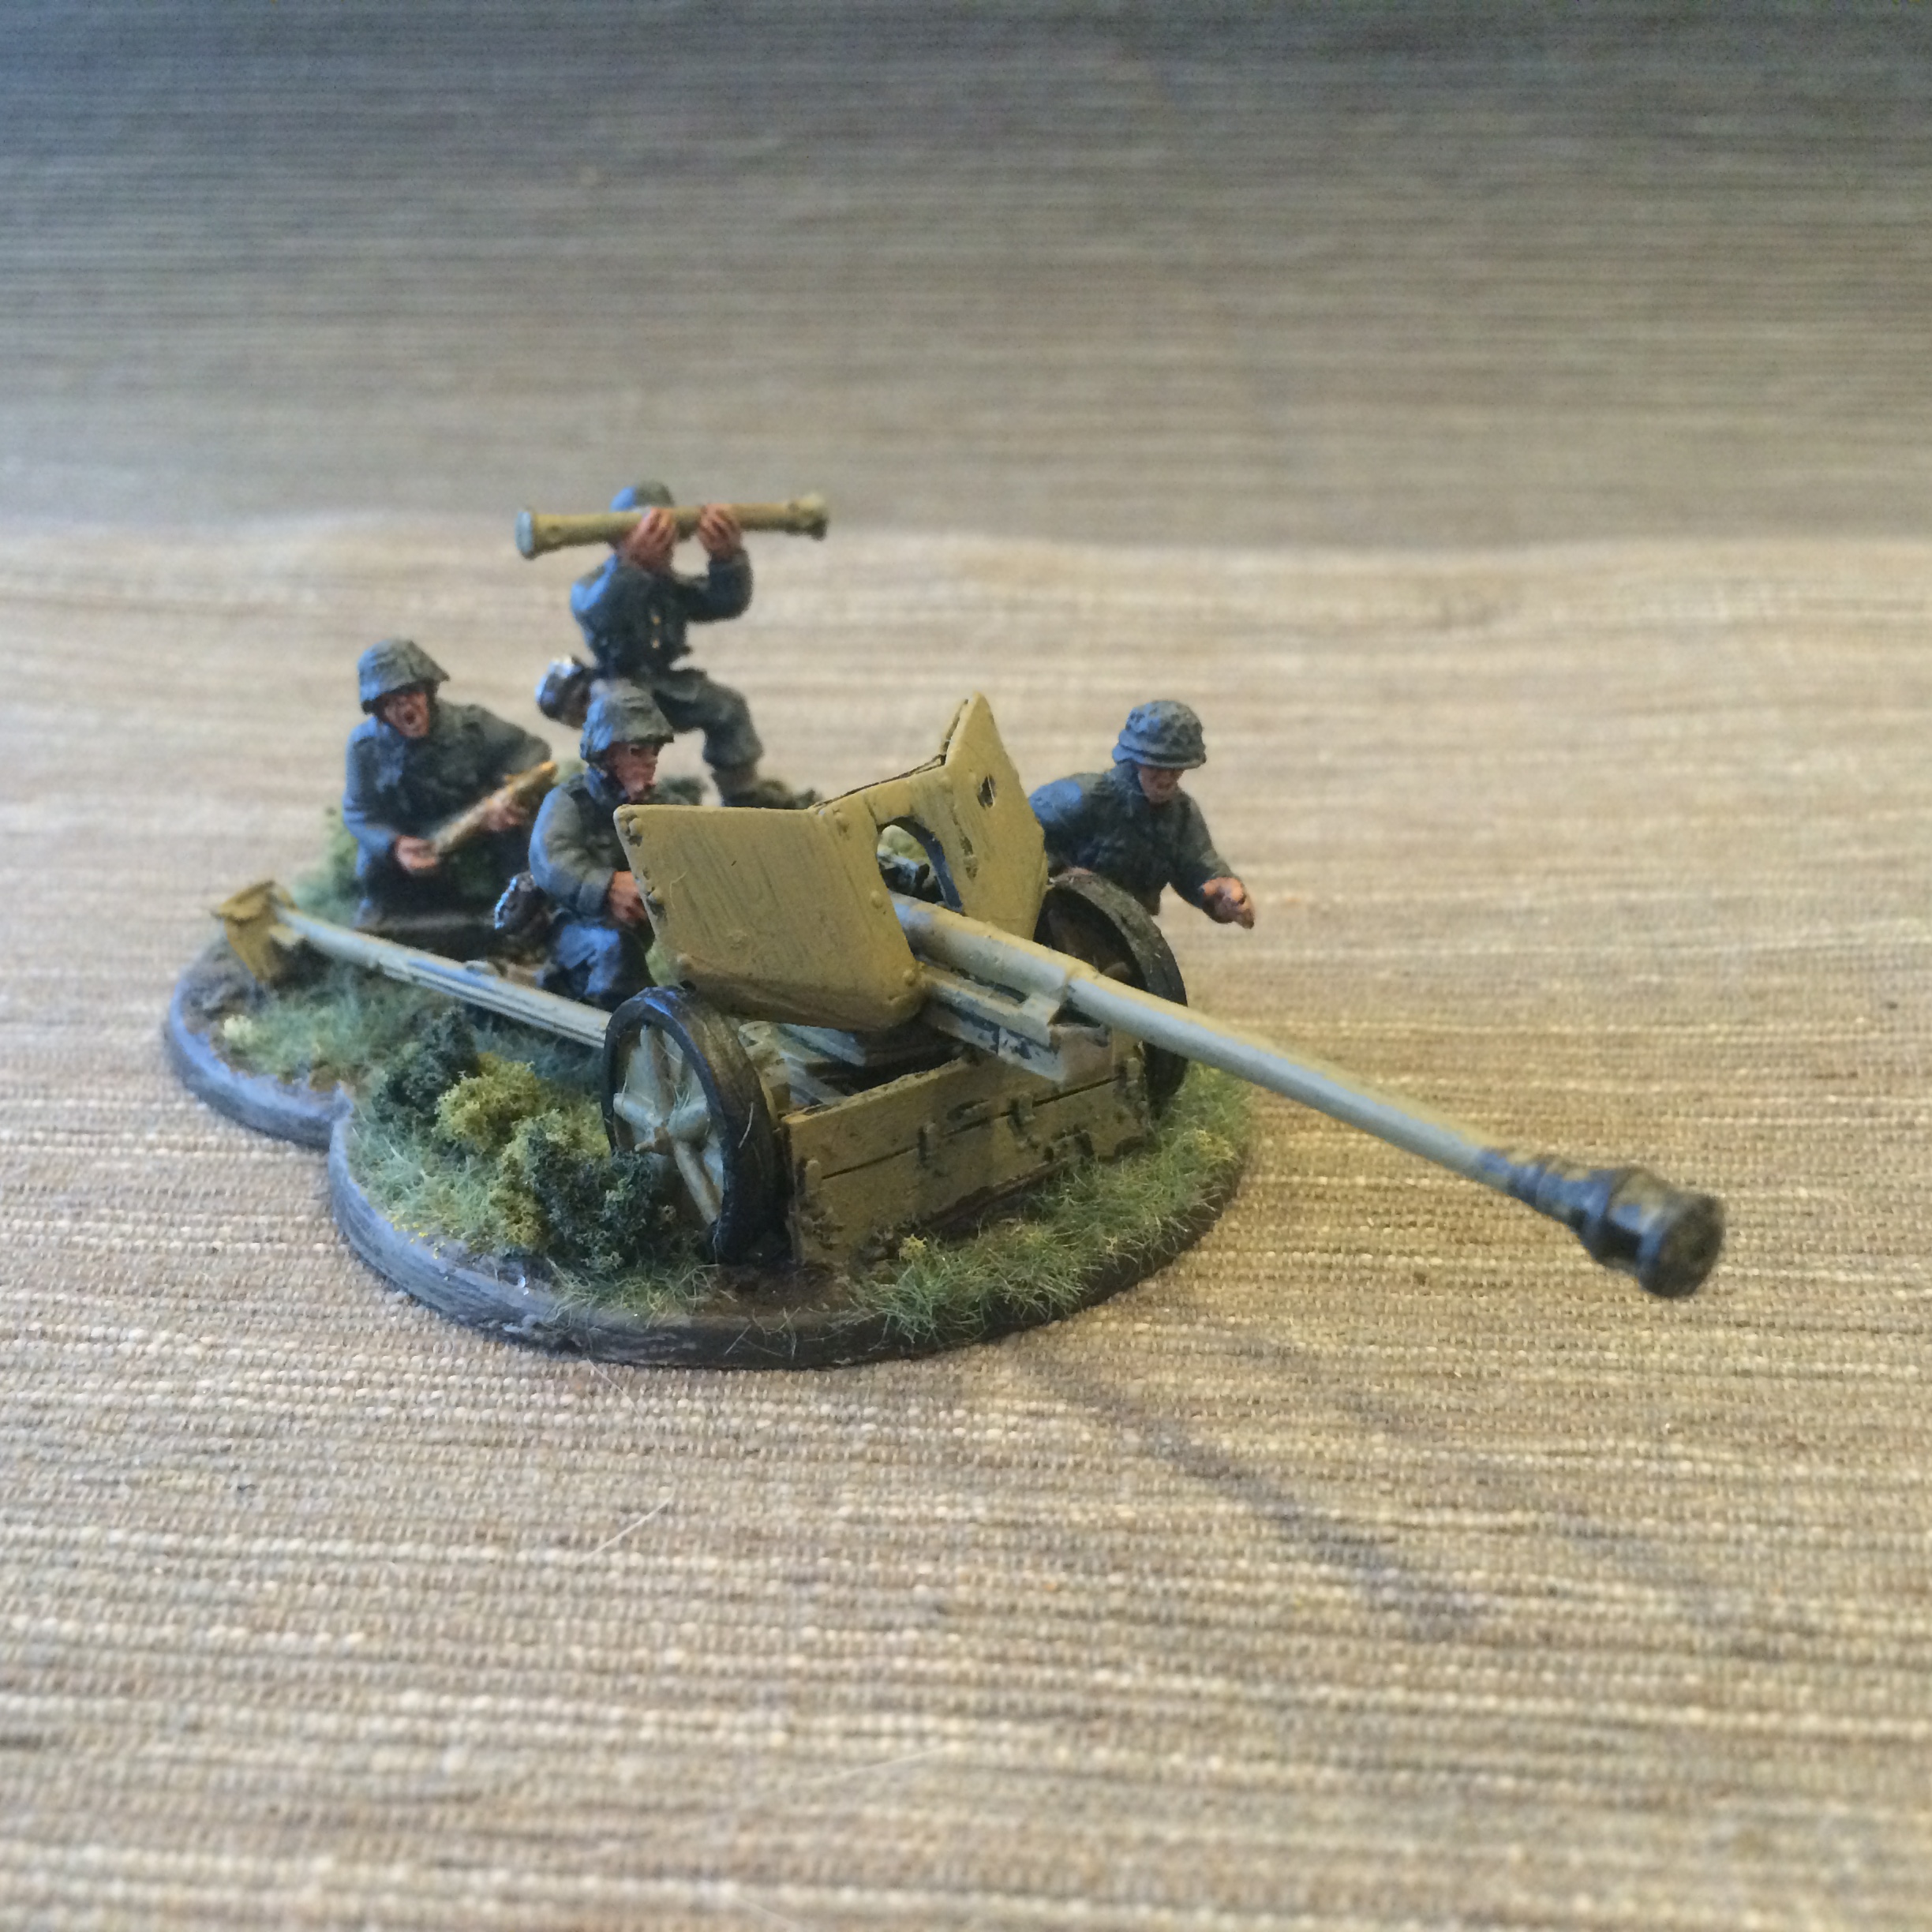
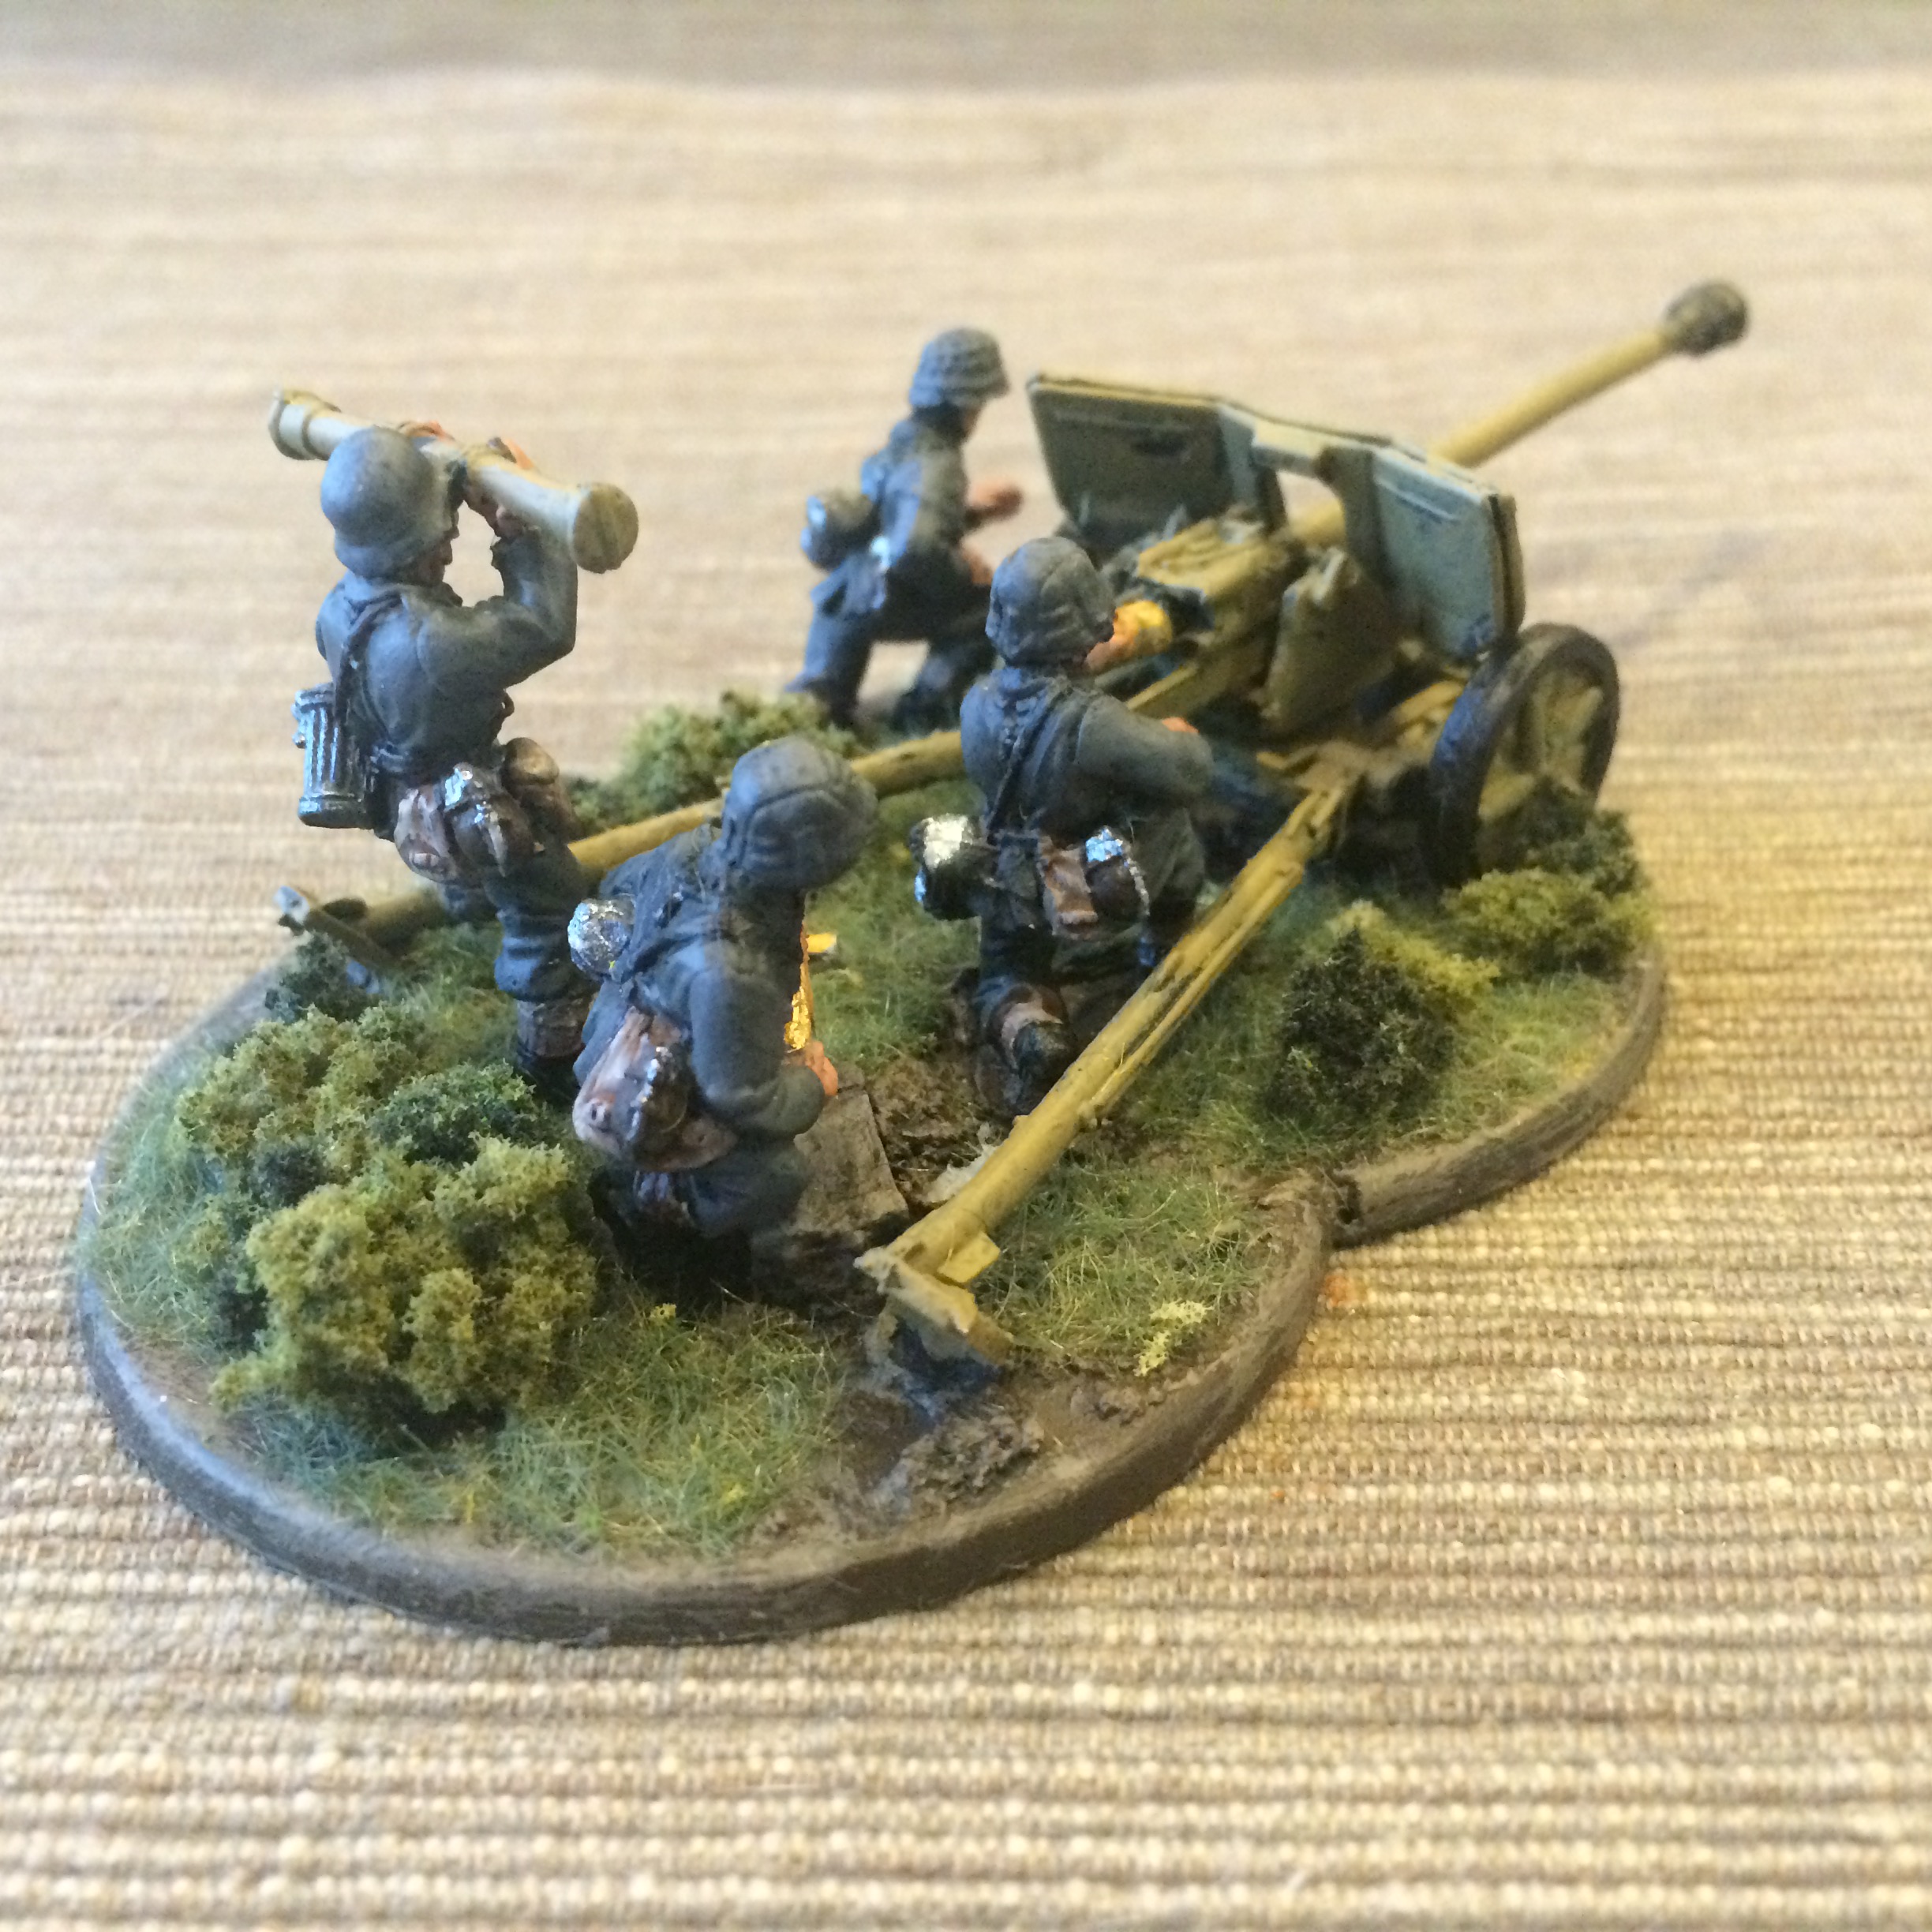
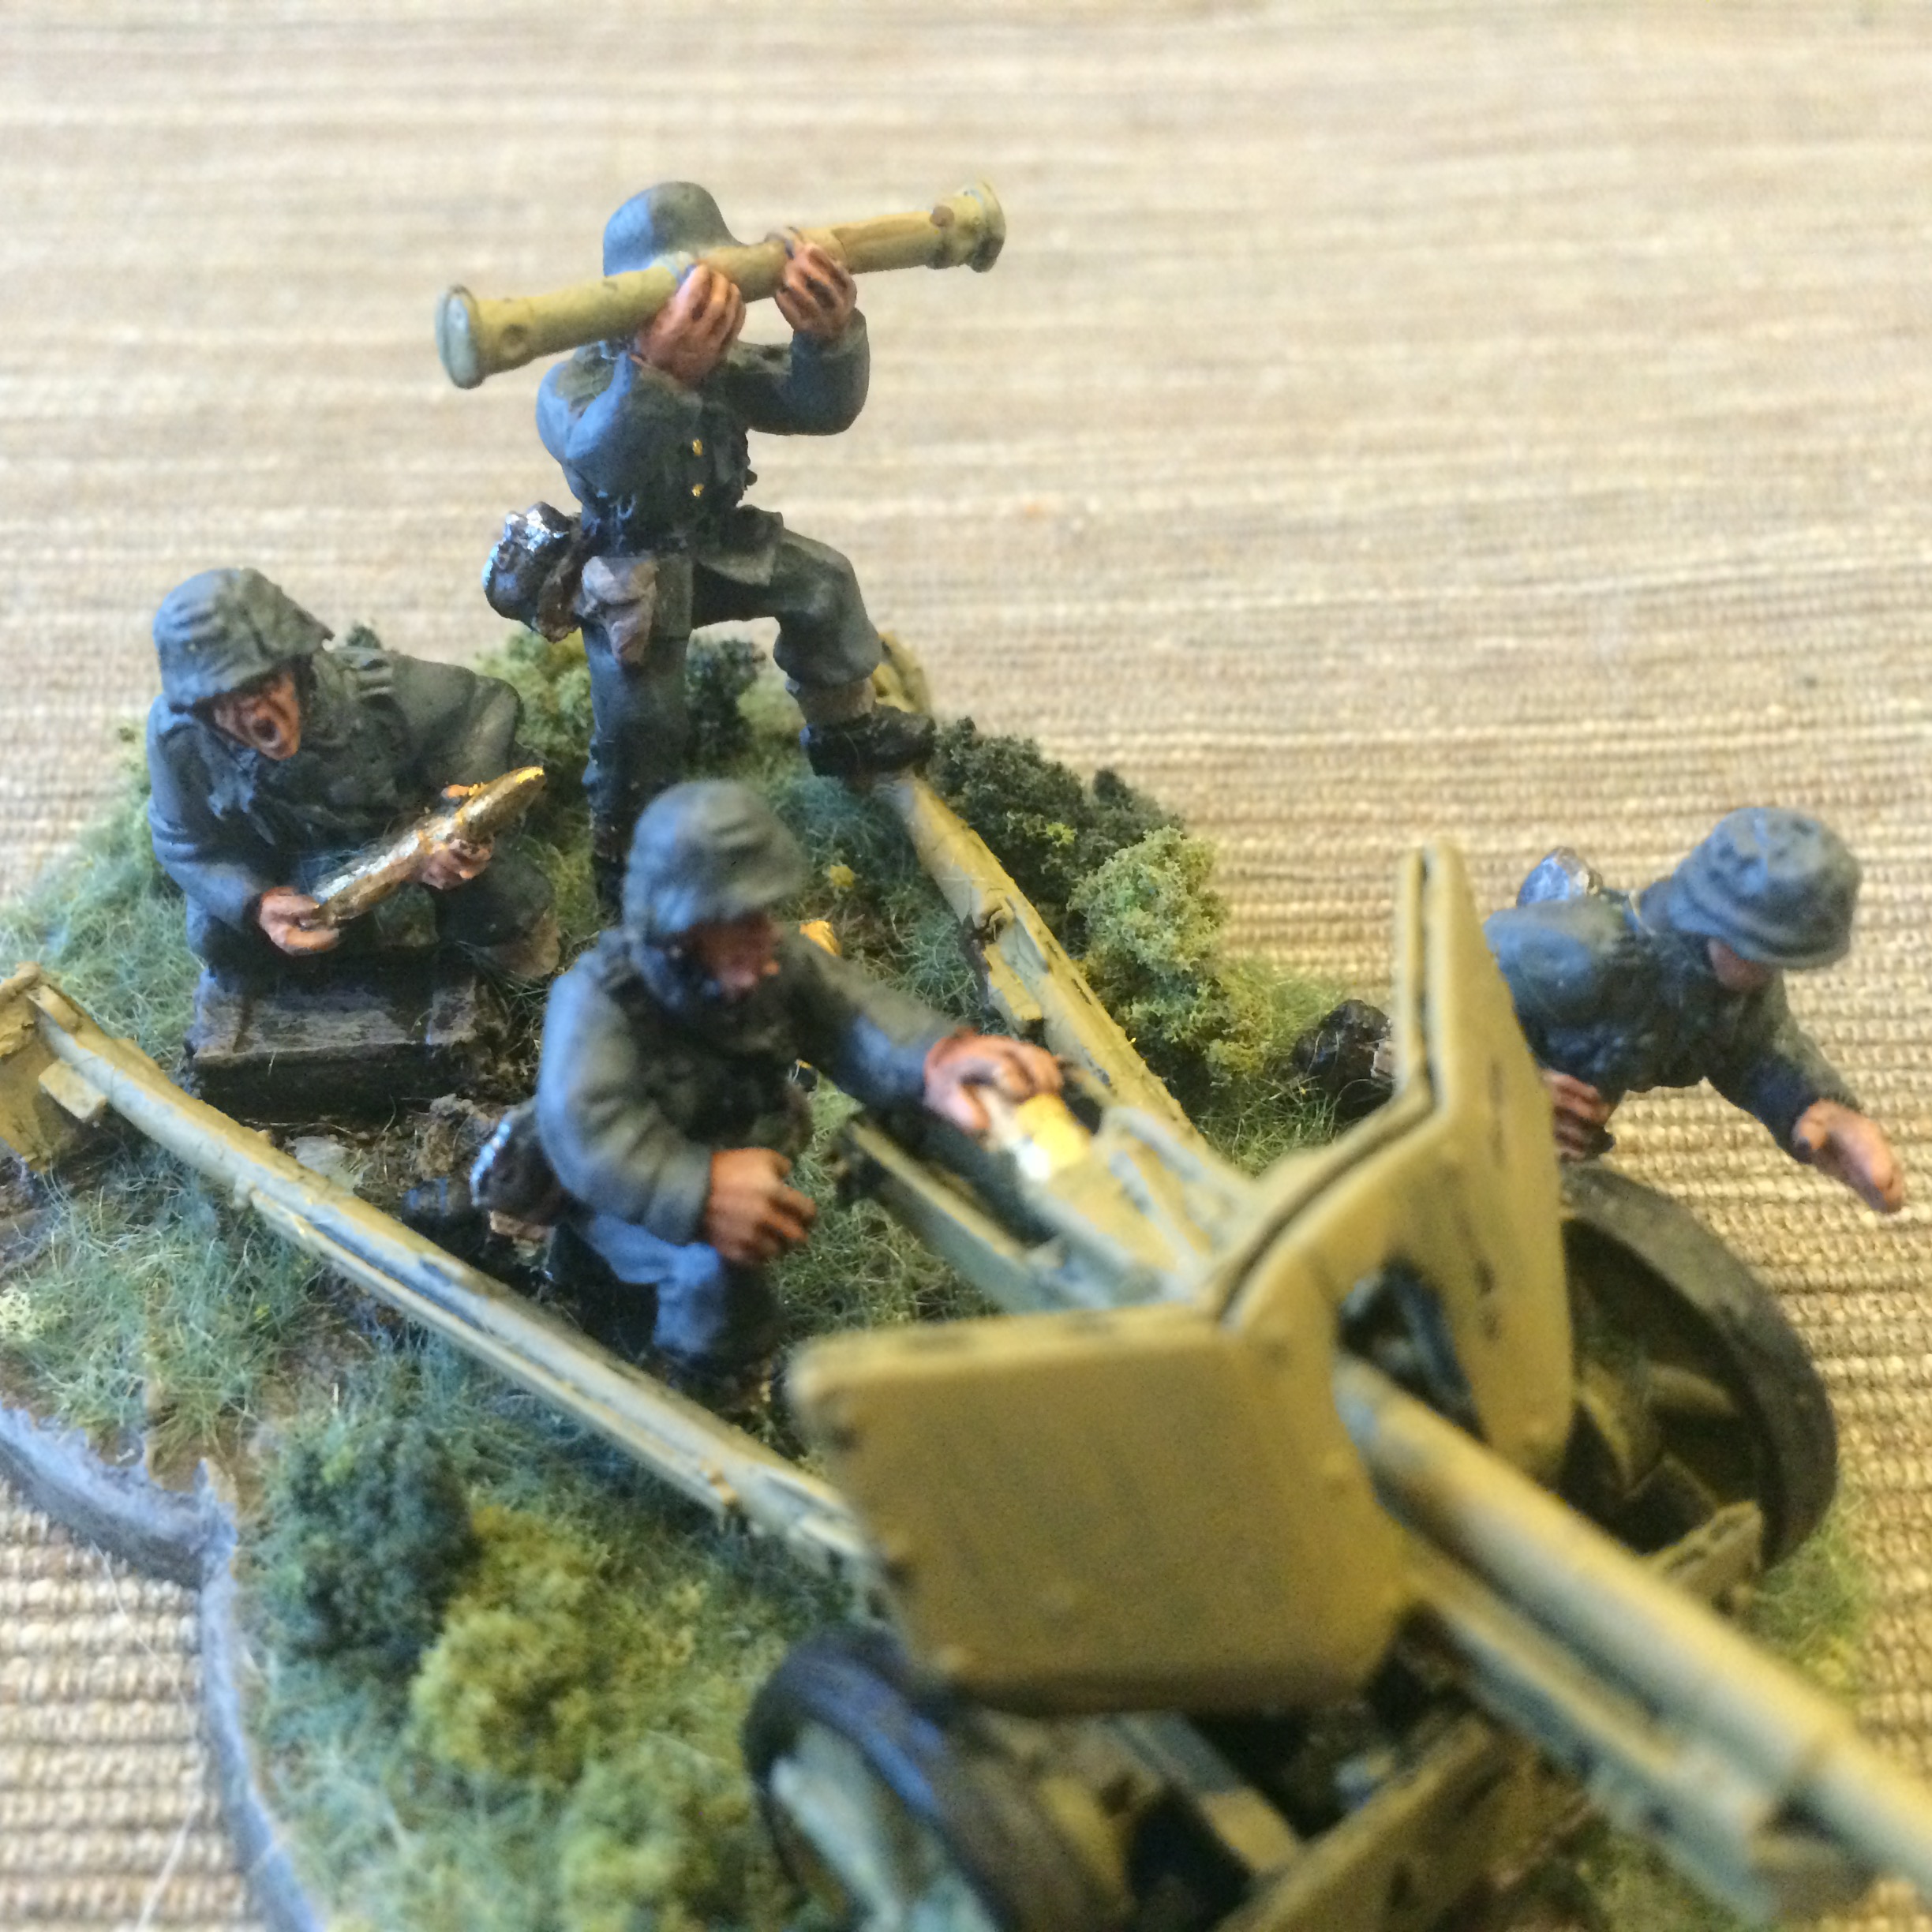
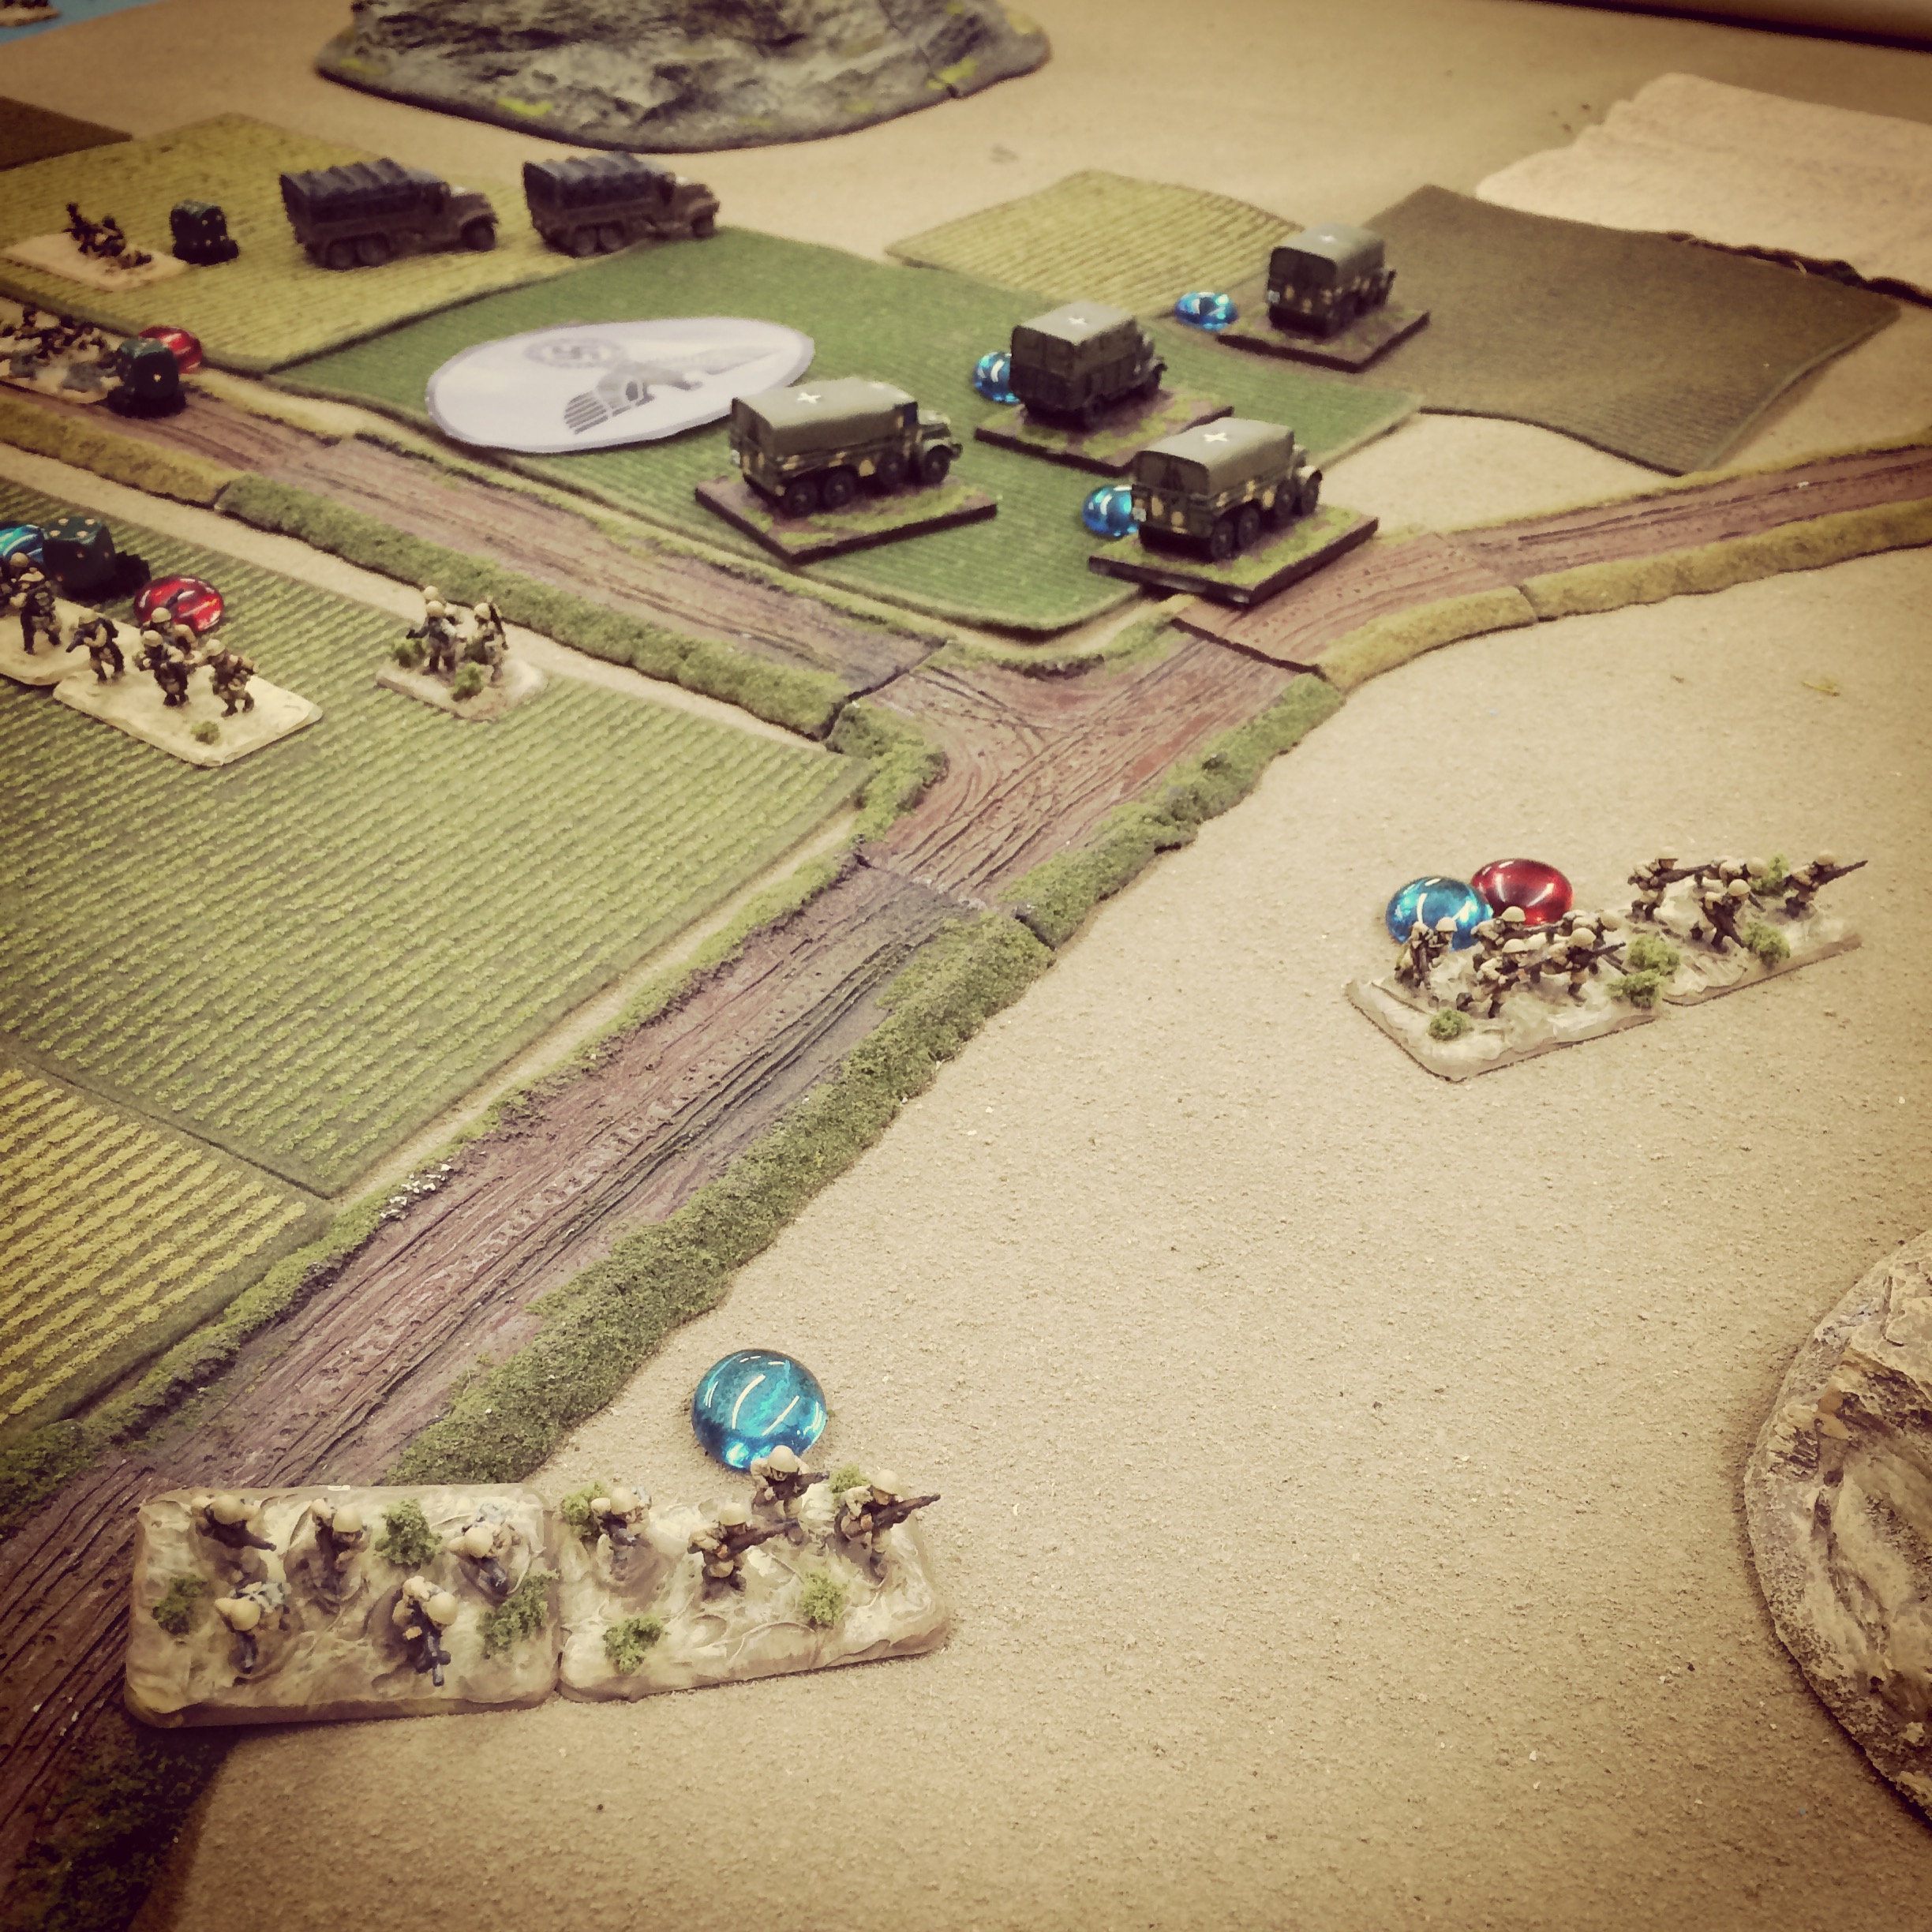
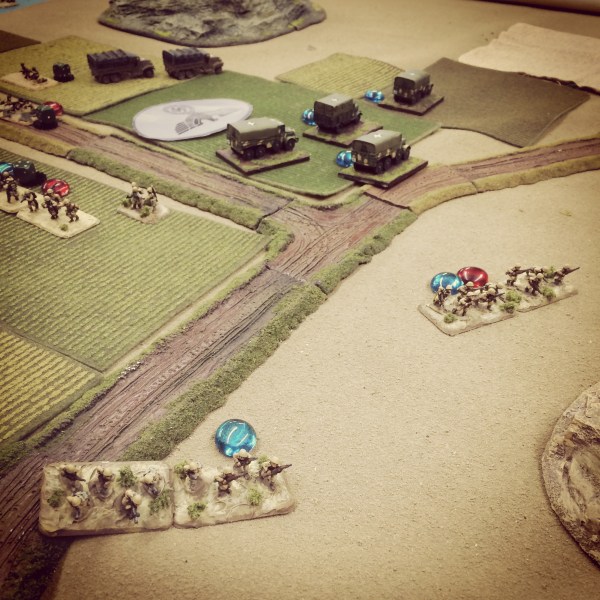
 As the heavily-damaged US machine guns rallied, the Italian column continued to advance on the board in force. Four Italian rifle platoons spread out from the road to run at the advancing American column ahead and to cover the crossroads overlooked by two rocky hills. As the Americans moved straight on to meet the Italian front line, a recon platoon accompanied by four bazookas made way for the hills and the Italian flank.

IMG_5609
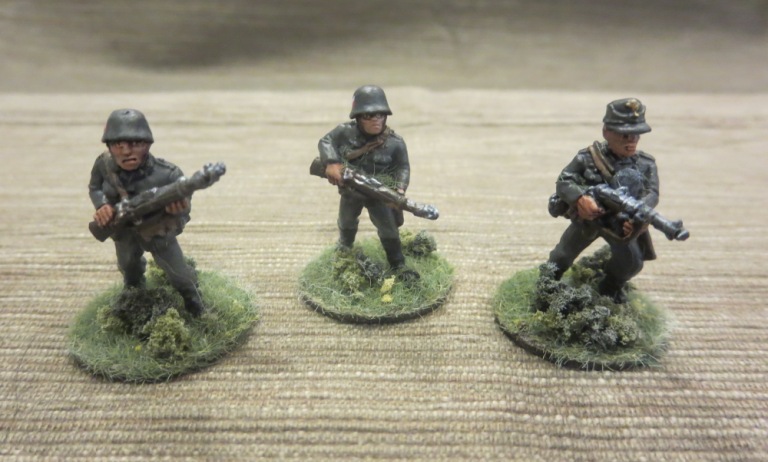
Italian rifle platoons sprint ahead through the open field

IMG_5611A US recon platoon moves to take position atop a hill as Italians deploy at the crossroads

IMG_5612
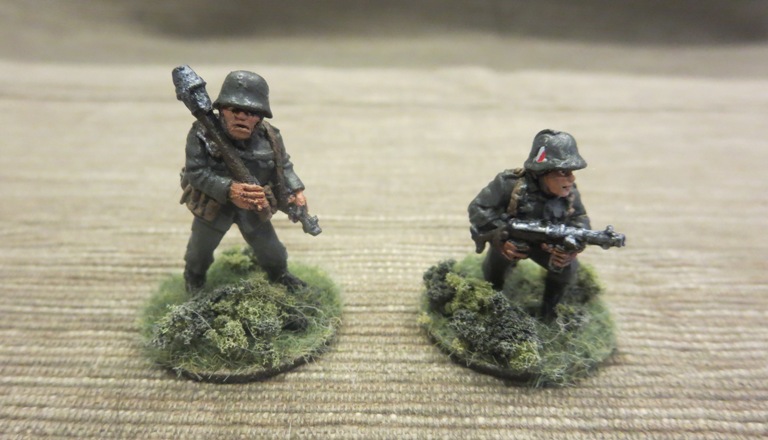
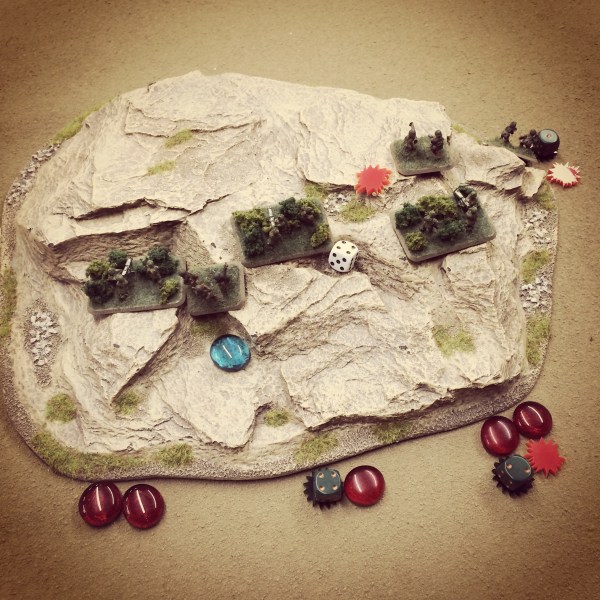
A firefight erupts between two hills as American bazookas hump their way around the Italian flank

IMG_5613The Italian line folds back toward the road under US fire in the field

With an Italian front deployed across the field in several lines and more rifles rushing into the hills at their left, the battle settled into two main firefights. American rifles at the center gradually pushed through the field toward the overwhelming number of Italians. Between the two hills on the Italian left, Italian and American rifles echoed back and forth. As gunfire was exchanged across the lines, US bazookas attempted to run to engage the Italian trucks which had made their way to safety beyond the battle at the rear. Despite moderately mounting Italian casualties, the Americans just could not break through.

The US forces ultimately ceded the field to the Italians. Even with superior command quality, the initial deployment of the US machine guns had been a bit premature and was not met by the quick arrival of supporting rifle platoons. Rushing them to the hills at the crossroads might have made a difference. The Italians had also managed to get the vast majority of their troops on the board early in the game, and their neatly arranged front line allowed them to angle directly over a defense of the road. In our refighting of the early hours of July 11th, 1943 the massed Italian counterattack had stalled the US invaders southeast of Butera. What awaited at Gela later in the day would unfold in our next battle.

28mm: German Infantry and MG 42 HMG By Artizan Designs

GermanwithMG42

With my first set of German infantry and MG 42 machine gun complete, I’ve doubled my 28mm Axis force with more models from Artizan Designs. In just a few words, I’m loving the models from AD and my only complaint is that I’m quickly working my way through their figures so I’ll soon have a complete selection of their basic late war Germans.

ADlogo

paintgermanThis time around, there are a number of animated infantry figures in a mix of helmets and soft caps plus another MG 42 machine gun to supplement my arsenal. My German paint scheme has remained consistently fast and satisfying as per the below.

Painting 28mm German Infantry

  1. Clean flash from metal models with a sharp knife and glue to metal washer or plastic bases.
  2. Apply filler putty to bases. When dry, scrape off excess with a sharp knife.
  3. Basecoat models and bases with flat black spray primer.
  4. Paint smocks and helmets with Tallarn Sand.
  5. Paint pants, soft hats, officer greatcoat and gas mask containers with Skavenlight Dinge.
  6. Paint camouflage on helmets and smocks with alternating Waaagh! Flesh and Dark Brown.
  7. Paint faces and hands with Tallarn Flesh.
  8. Paint packs with Baneblade Brown.
  9. Paint boots and equipment straps Black.
  10. Paint bases, gun stocks, water bottles and helmet straps with Dark Brown.
  11. Apply Agrax Earthshade wash to uniforms, helmet netting, webbing and packs.
  12. Mix 50/50 Baneblade Brown and Off White and lightly dry brush packs, webbing, socks and holsters.
  13. Dry brush pants, soft hats and officer great coat with Light Grey.
  14. Lightly dry brush bases and gun stocks with Baneblade Brown.
  15. Paint metal gun and water bottle parts with black and finish with a light dry brush of Metallic Silver.
  16. Dry brush gasmask containers with metallic Silver.
  17. Paint eyes with small dots of Off White and Dark Brown. Clean up around eyes with Tallarn Flesh.
  18. Mix 50/50 Tallarn Flesh and Off White and brush highlights on cheekbones, chins, forehead, nose and hands.
  19. Cover bases in white glue and cover in 50/50 mix of fine light green and dark green grass flock.
  20. Glue small pieces of clump foliage to base.
  21. Spray coat completed models with matte finish.

And now, more photos of my Germans as my force builds up and looks toward hitting the table soon.

IMG_0670

IMG_0668

IMG_0672

IMG_0674

IMG_0675

IMG_0676