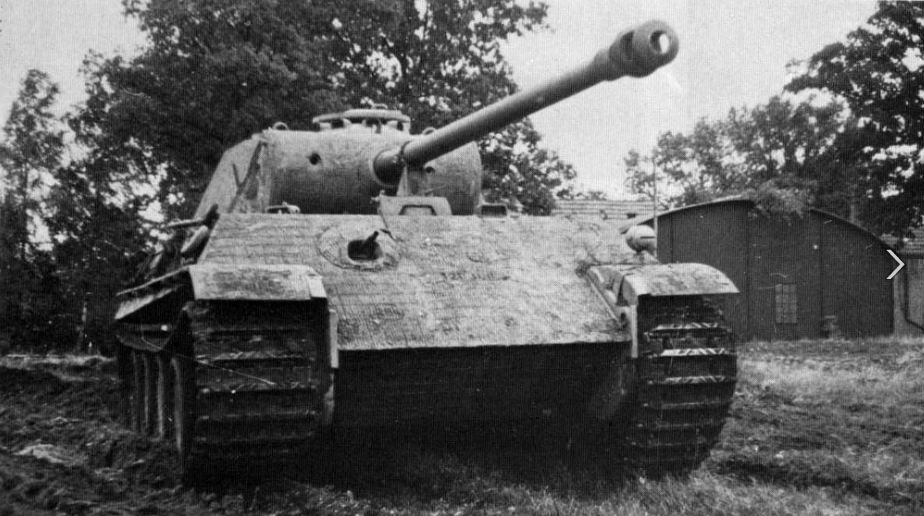
Ernst Barkmann was one of the top German tank aces to fight in World War II. Commanding a Panther tank, Barkmann served throughout the entire war on both the Eastern and Western Fronts. Not only was he deadly while at the command, but his crew became adept at making on-the-fly field repairs and getting back into action. By the time he surrendered to British forces in the spring of 1945, Barkmann had become one of the most decorated German tank commanders of the war. He was not yet 26 years of age.
 Flames of War offers a special Ernst Barkmann warrior set which includes Barkmann commanding his Panther plus a separate mobile repair shop. FOW also provides free scenario rules for the famed “Barkmann’s Corner” engagement from July 27, 1944. Fought in the Normandy region of France, the small battle is a classic in which Barkmann’s single tank went up against a column of over a dozen US Sherman tanks. In the end, nine Shermans and other vehicles were destroyed before Barkmann was able to slip away to safety. I’ve had the Barkmann model painted up for a few years, but I had never fielded it in a game of his most famed run-in with the Americans. With a frequent summer guest of the Metropolitan Wargamers club leaving NYC for home in Florida this coming week, the two of us got together this past weekend to have a go at the scenario.
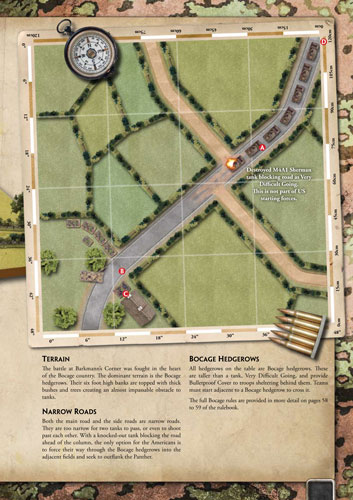
As per the rules, the small 4′ x 4′ playing area is set with fields and roads heavily crisscrossed with the high bocage hedgerows of Normandy in which I love to set my games. Barkmann’s tank and his supporting Panzergrenadier platoon begin dug into positions around a small farm at one end of the board. In the opposite corner, the US tank command group and their first platoon of M4A1s begin the game slowly rolling down the narrow road but blocked by a burning tank. The first platoon is strengthened by the presence of Staff Sgt. Lafayette Pool, another special figure offered from FOW. Historically, Pool wasn’t at this engagement but the inclusion of the hard-charging tank ace from Texas helps balance the scenario a bit. Two larger platoons of Shermans lie in the column off the board but enter on turn two and three. The Americans need to keep things moving and Barkmann’s there to stop them.
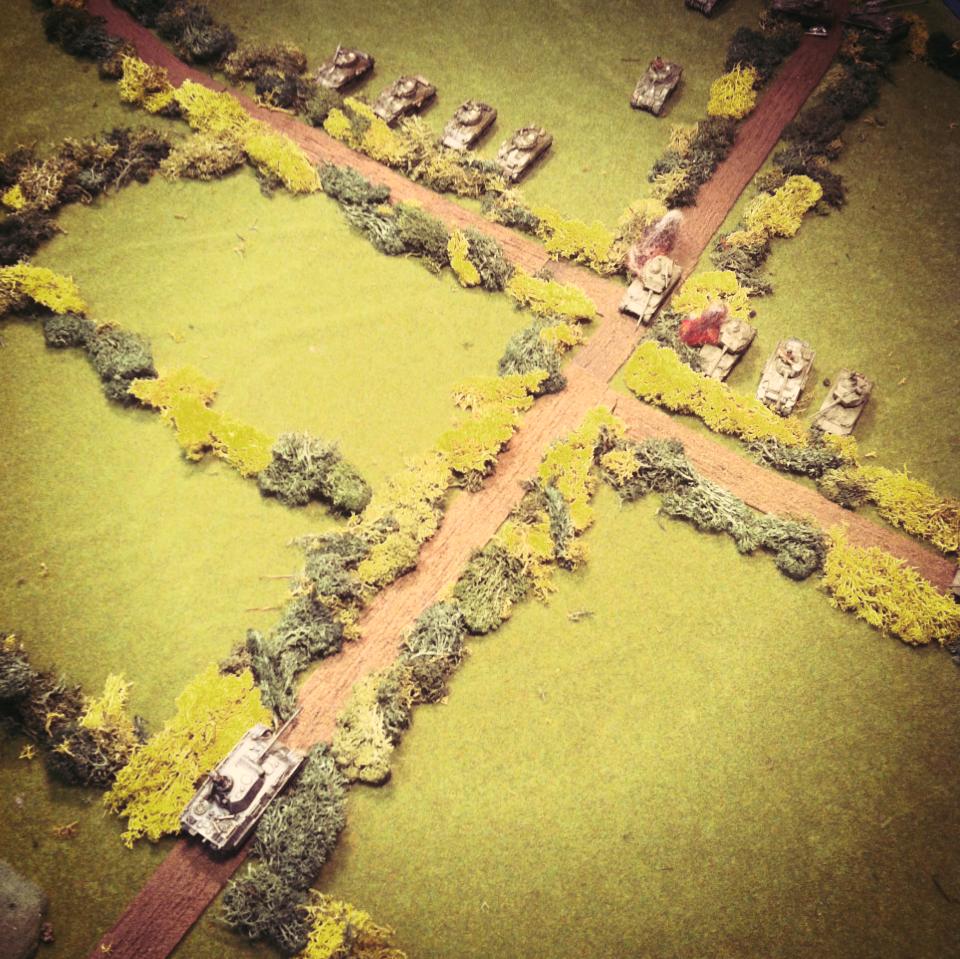
With the first turn, the US armor column begins down the road toward the farm objective in the near distance.
 Barkmann lies in wait behind a small copse of trees with the Panzergrenadiers gone to ground behind the bocage.
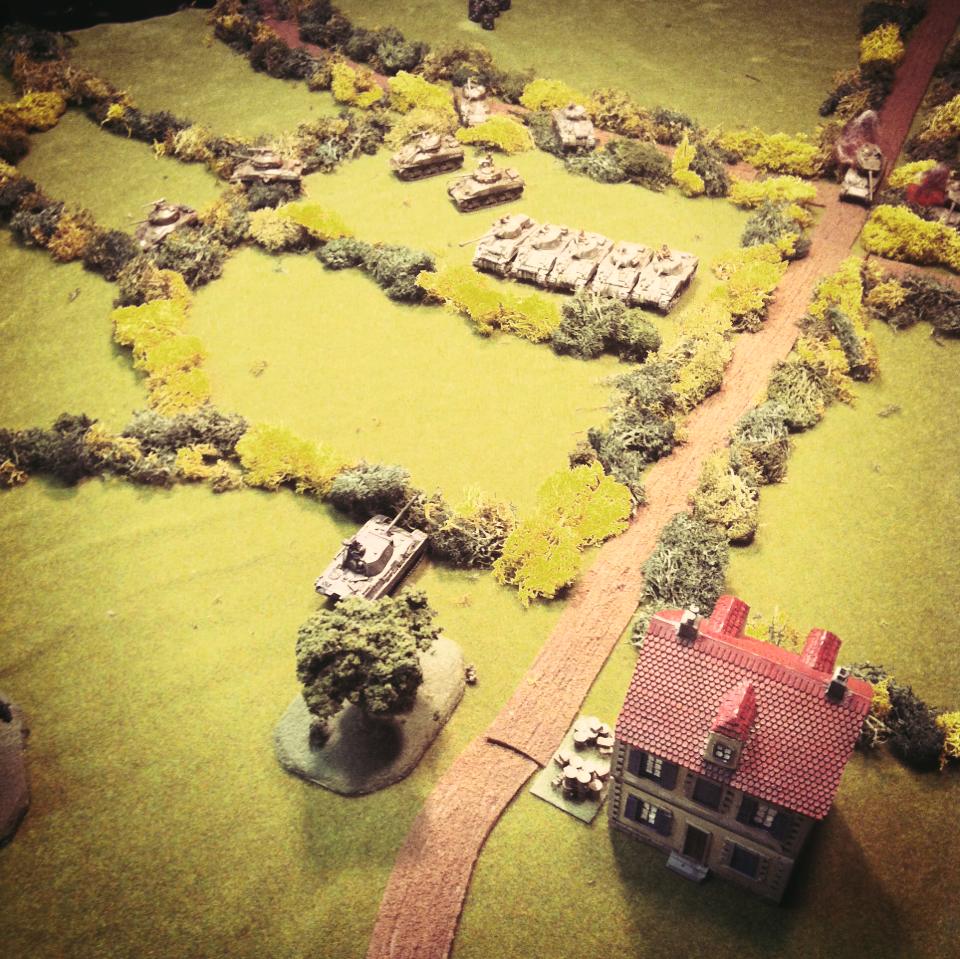
 In the next few turns as the Americans slowly moved over the dense bocage lining the roads, the US plan became clear. The command tanks and Pool’s platoon headed toward the house and the German right flank. The remainder of the Shermans broke toward the German center and left, bogging repeatedly along the way. In the meantime, Barkmann moved to the far side of the farm house to protect his side and line up several shots on Pool’s platoon.

 With the Americans splitting in two directions and the German infantry safely in the house, Barkmann took several side shot’s at Pool’s platoon and then rode bravely to the road to begin taking shots at the approaching center Shermans. As Pool became the final survivor of his platoon, Barkmann swung his attention back to his left flank and the bulk of the closing US force which had freed itself from a series of challenging bogged turns.


 As the two largely-intact surviving Sherman platoons continued to attempt a flanking move on Barkmann, his Panther was forced into movement each turn to align shots and stay covered. Pool also managed to pour fire into the farmhouse with his main gun, eliminating some of the Panzergrenadiers before fleeing the table on a failed motivation test. With the twelfth and final turn, Barkmann had backed himself up to the house to protect the objective and eliminated a couple more tanks along the way. Had there been one more turn and roll of the dice, and the game would’ve gone for the Americans.
 After the large Total War scenarios at the club the previous weekend, it was a welcome break to play a small yet engaging battle with a limited amount of models to command. The bocage is the great equalizer in the scenario, providing alternate turns of benefit and frustration to each side as movement is stalled and lines of sight are blocked. Having read a number of historic accounts of the field-to-field fighting throughout Normandy in the spring and summer of 1944, the Barkmann’s Corner scenario went a long way in showing that choosing where you fight can be one of the most important factors in the outcome.
Related articles
- Flames of War: Hunner Park 1944 Scenario (brooklynwargaming.com)
- Flames of War: Foy 1945 Scenario (brooklynwargaming.com)
- Flames of War: Metropolitan Wargamers Summer 2013 FOW Day (brooklynwargaming.com)

Pingback: Flames of War: Fielding the M3 Stuart Tank | Brooklyn Wargaming
Pingback: Flames of War: Singling 1944 Scenario | Brooklyn Wargaming
Pingback: Flames of War: Modelling European Western Front Buildings | Brooklyn Wargaming
Pingback: Flames of War: La Fiere Causeway 1944 Scenario | Brooklyn Wargaming
Pingback: Flames of War: Fielding the PSC German Heavy Weapons and FOW Artillery Command | Brooklyn Wargaming
Pingback: Flames of War: Fielding the FOW Cromwell and Firefly Tank | Brooklyn Wargaming
Pingback: 2014: Opening New Fronts | Brooklyn Wargaming
Pingback: Flames of War: Sint-Oedenrode 1944 Scenario | Brooklyn Wargaming
Pingback: Getting Ready For HMGS Fall In! 2015 | Brooklyn Wargaming