A friend of the club and organizer of the campaign has created a special Infantry Aces blog to track the campaign’s progress throughout the summer. The site will be updated weekly as the battle unfolds with after action reports, lots of photos and tracking of each player’s progress in the campaign.
While the battle rumbles on, here’s a brief look at the forces we’ve had fun researching, modelling and painting specifically for our campaign for Italy.
Allied Forces
(clockwise from top left) 504th Parachute Infantry, 92nd Infantry “Buffalo Soldiers,” Gurkha Rifles and members of the 2nd New Zealand Division
Our Allied forces are a mixed group from the Road To Rome book and reflect the mutlinational forces which came together in the late war Italy campaign to break the Axis lines. From the United States, the 504th Parachute Infantry Regiment is bringing their experience to the field after having fought for years from North Africa and Sicily in 1943 to Operation Market Garden to The Battle of The Bulge in 1944. Joining them, are the untested 92nd Infantry Division “Buffalo Soldiers,” the first African-American infantry to fight as wholly-segregated unit in the war.
Allied with the US troops are some unique UK Commonwealth forces. The Indian Gurkha Rifles had a long history in service of the British dating back to the mid-19th-century, and their skill in close combat and rocky terrain would serve them well in Italy. The 2nd New Zealand Division served most of the war in North Africa and hopping around the islands of the Mediterranean until joining the Allied effort to break the Axis lines severing Italy from the rest of Europe.
Axis Forces
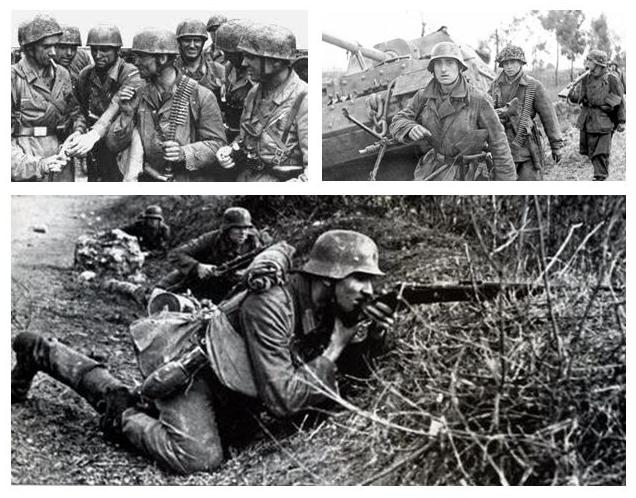
(clockwise from top left) Fallschirmjagers, Hermann Göring troops and Grenadiers
Using the updated Fortress Italy book, our Axis players have fielded some of the classic, war-hardened forces whose mission it was to hold the line against the Allied push up the Italian Peninsula. The 1. Fallschirmjägerdivision in Italy had already proven themselves throughout Europe with wide-ranging early war operations in Denmark and Norway, the Netherlands, Crete and the invasion of the Soviet Union with Operation Barbarossa.
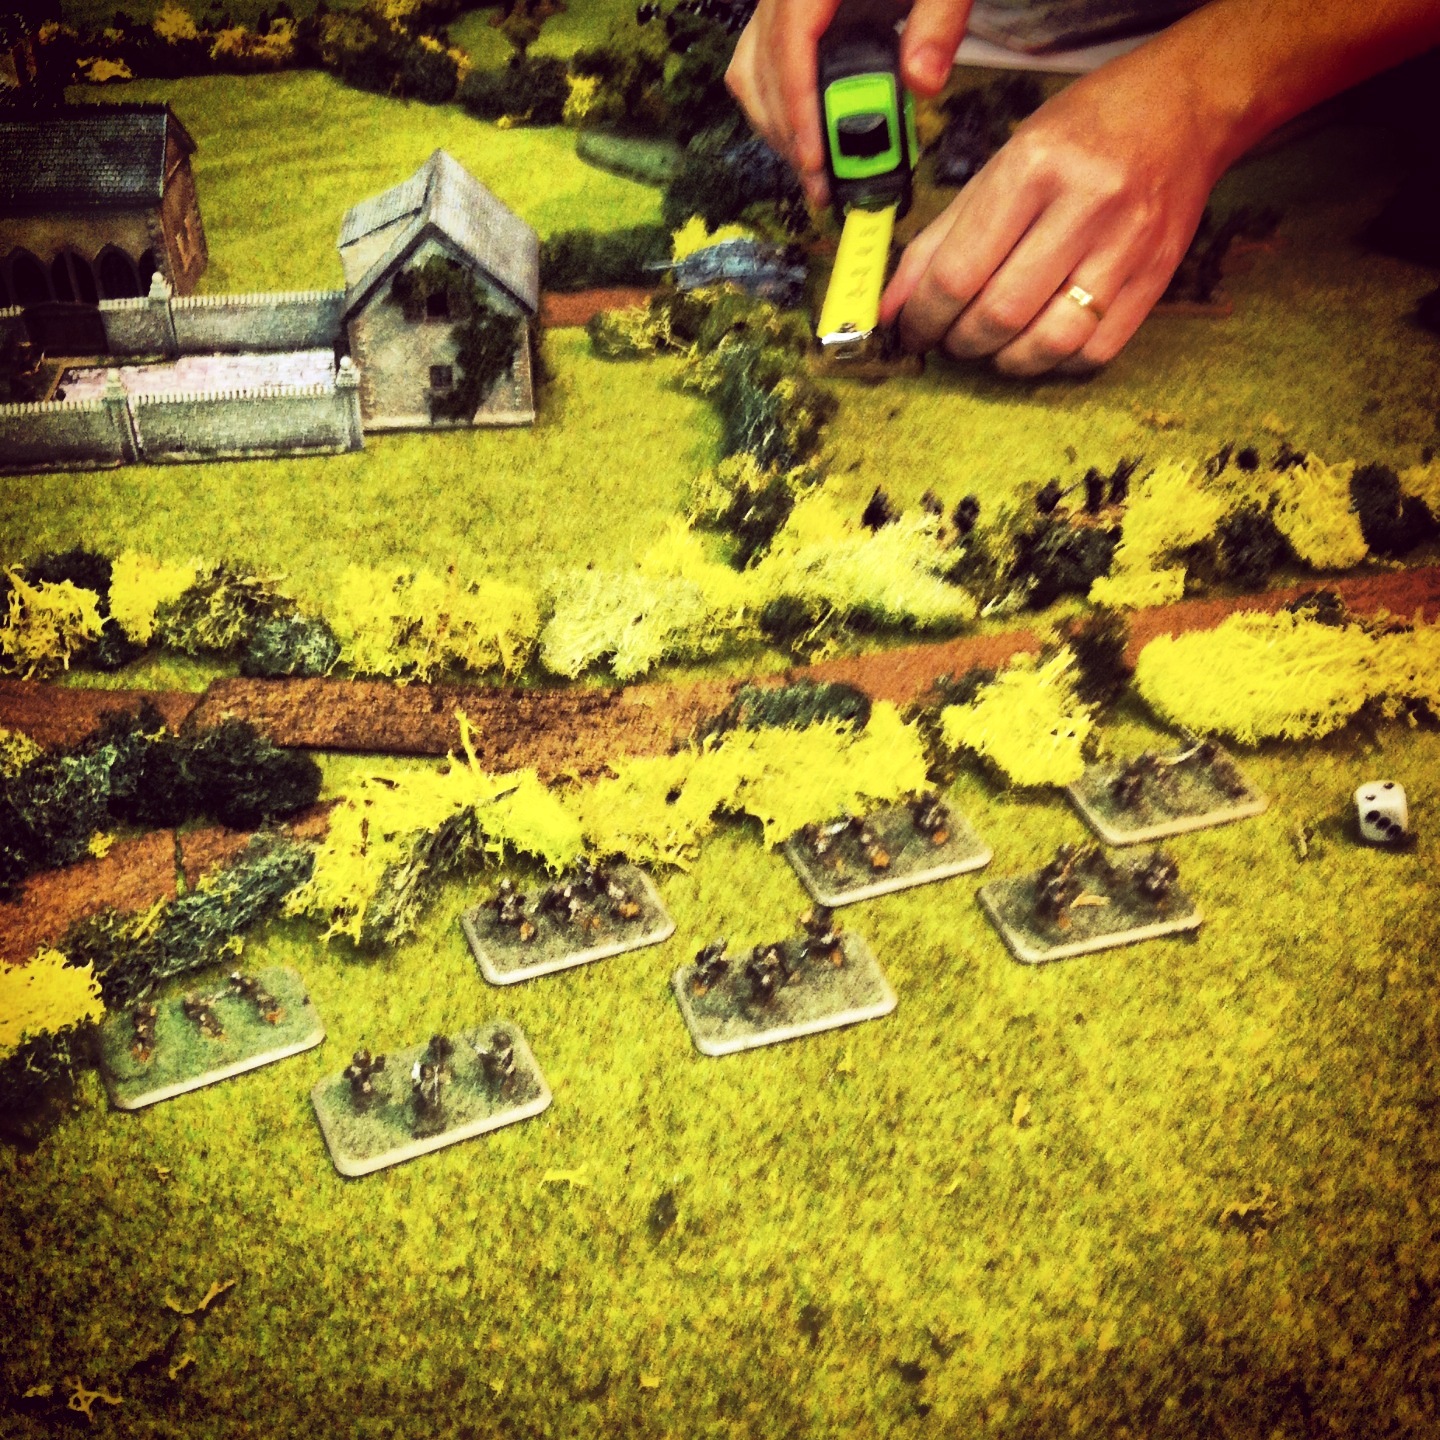
Recent FOW Infantry Aces campaign action at Metropolitan Wargamers
We’ve got two weeks of campaign games in so far, and playing with small infantry forces of 500 points has been a refreshing break from the larger FOW games in which we all usually play. Special rules, varying troop ratings and small tables clogged with Italian terrain have also added to the challenges and enjoyment we’ve all had so far. There’s a lot of gaming to do as the campaign escalates over the coming weeks to 700 and 900 point companies with added support. Check back frequently for more of the action over at the Infantry Aces Metropolitan Wargamers Italian Flames of War site.
Although African-Americans have fought in every war in US history, their fight has often come on multiple fronts of prejudice and acceptance at home and abroad. Segregated units such as the famed 54th Massachusetts during the American Civil War and the 369th Infantry Regiment Harlem Hellfighters in World War I have received their due in popular culture in recent years, as have the WWII pilots of the Tuskegee Airmen.
On the ground, African-Americans in WWII were most often relegated to support roles early in the war as truck drivers, stevedores and cooks. By late in the war with reserves of Allied soldiers dwindling throughout the European campaigns, black soldiers were pressed into service at the front lines of the Battle of the Bulge and the Italian Campaign. It was in the actions in Italy where the famed 92nd Infantry Buffalo Soldiers added another chapter to their service history.
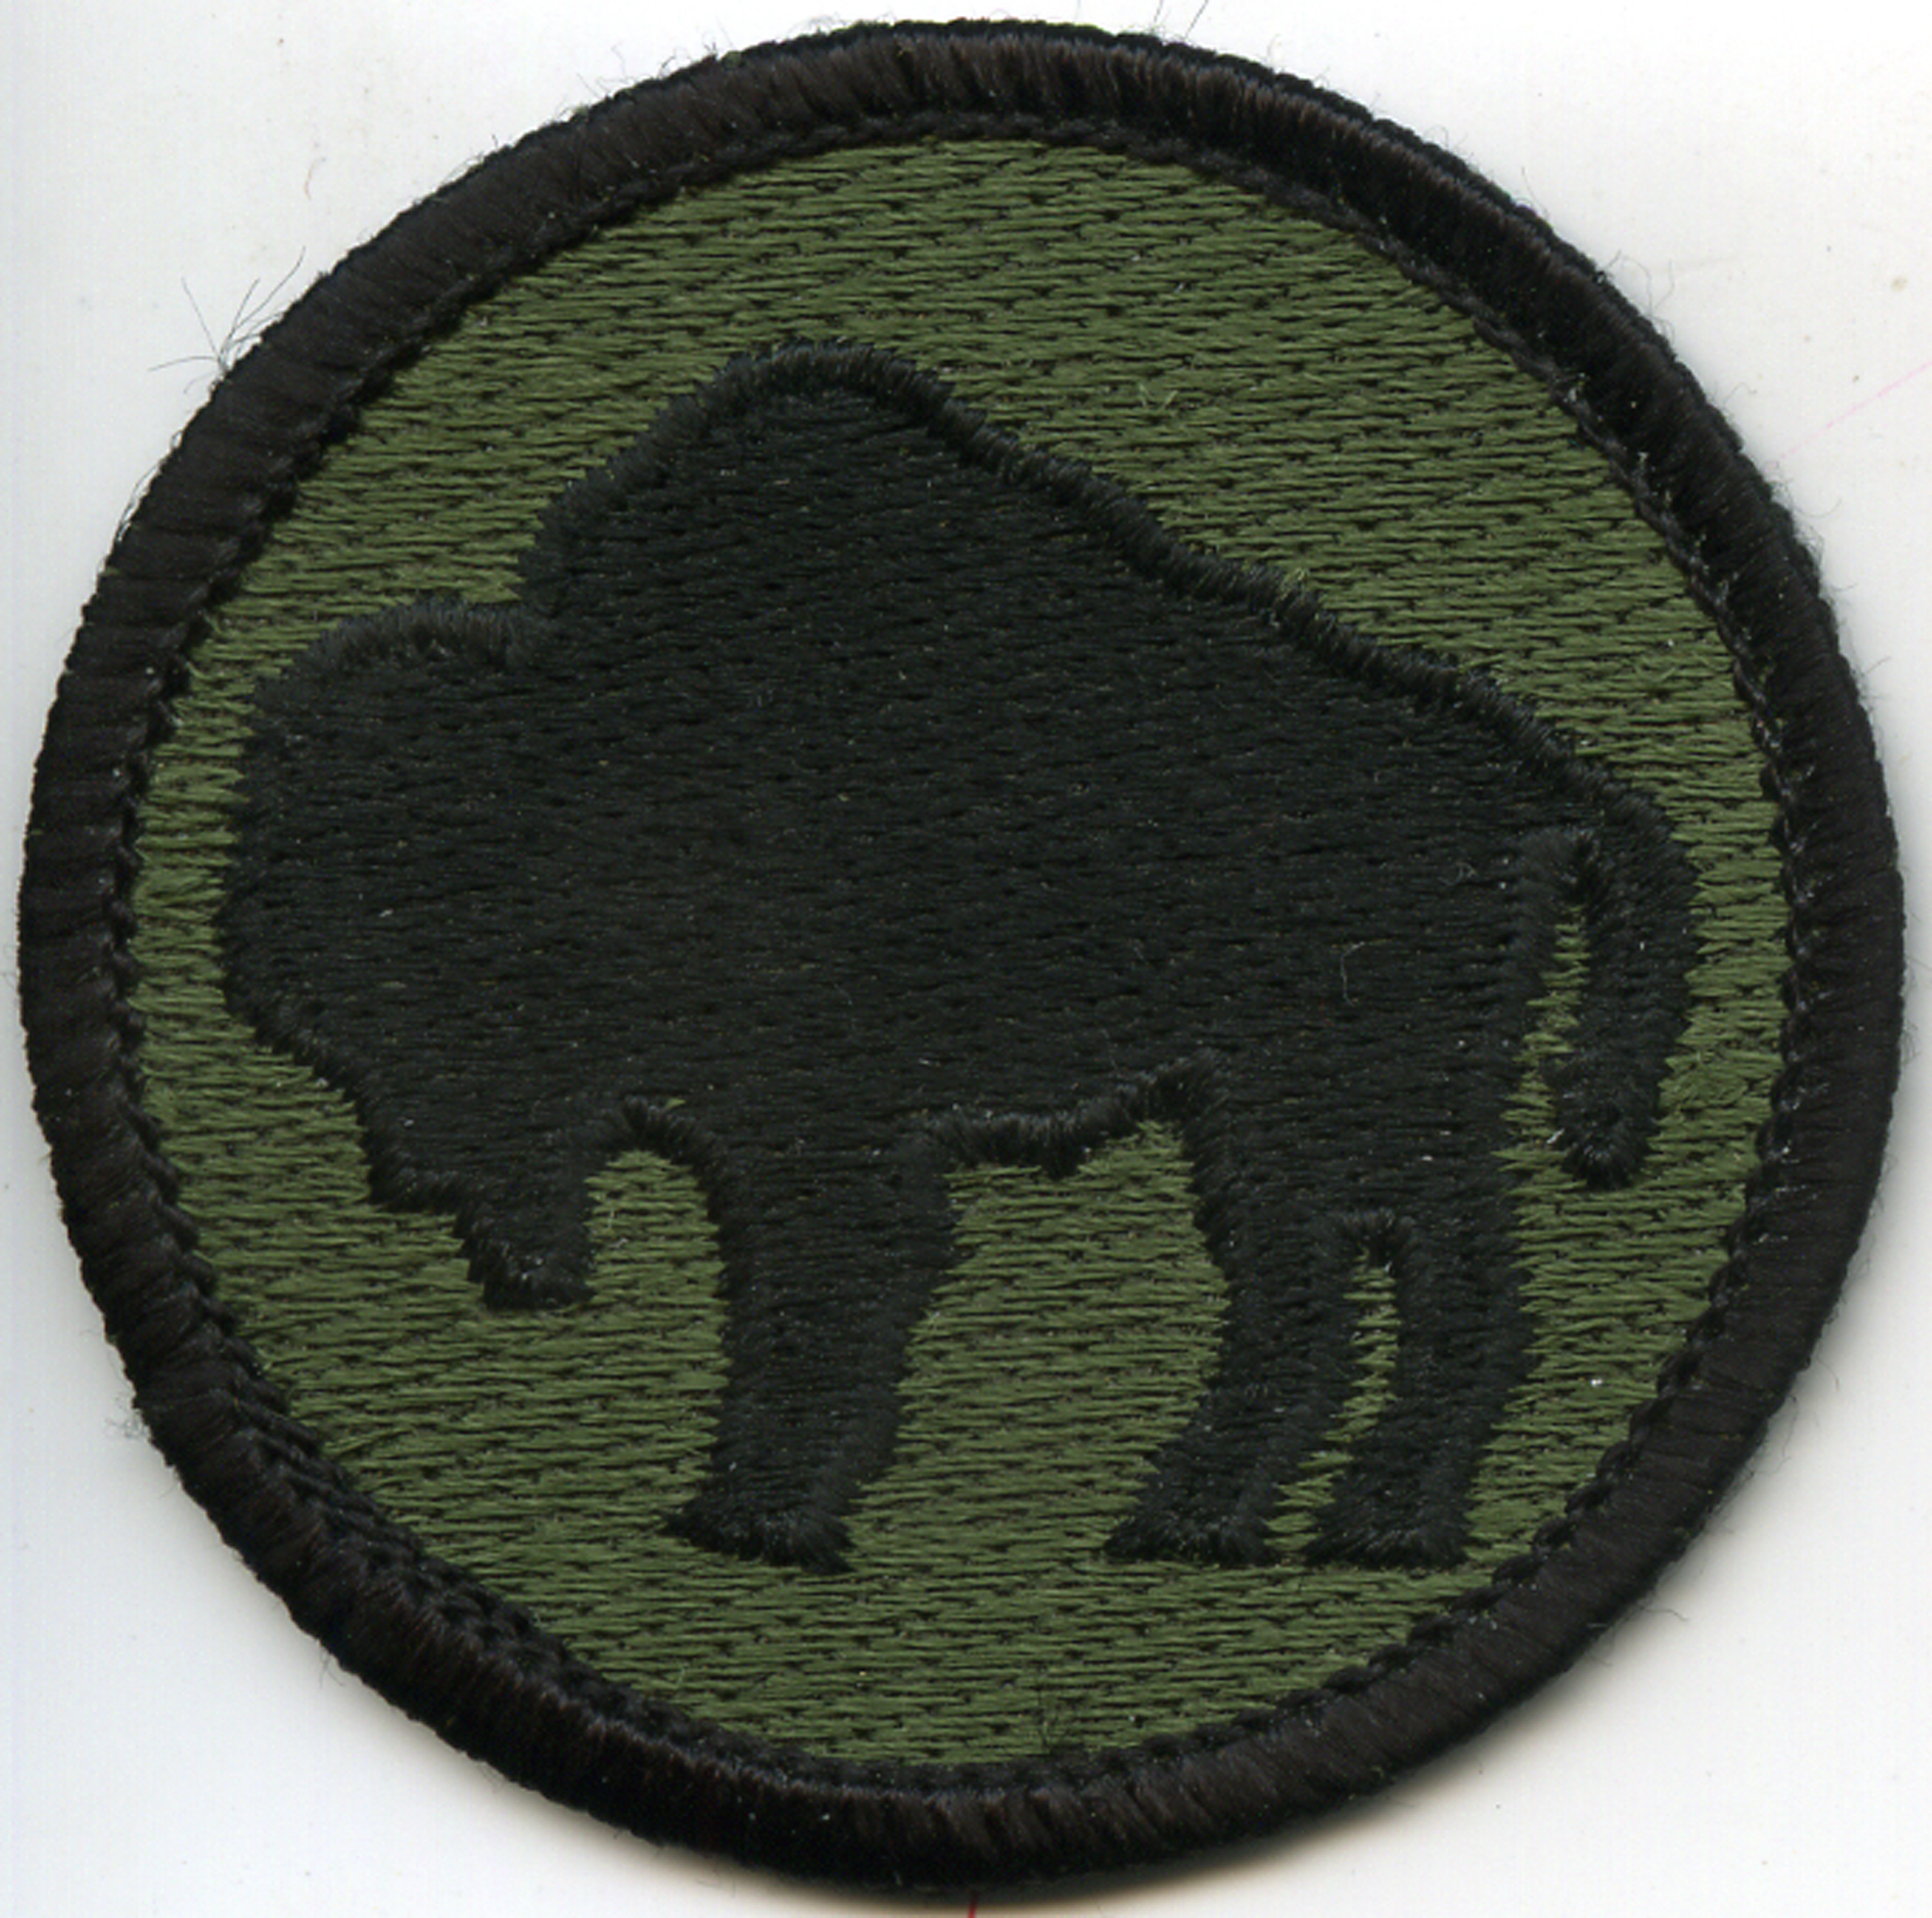
Shoulder insignia of the 92nd Infantry Division ‘Buffalo Soldiers’
The Buffalo Soldiers in the Italian Campaign
The name “Buffalo Soldiers” dates back to the frontier Indian Wars of the 19th-century when post-Civil War free blacks volunteered for service in various US army capacities in the West. Later, these units continued serving in various capacities through the Spanish-American War and into WWI. Reactivated in 1942, the Buffalo Soldiers of the 92nd Infantry Division finally made their way to the war via Italy in the fall of 1944.
Video of the 92nd Infantry arriving in Italy in October 1944
As part of the US 5th Army, the 12,000 men of the 92nd Infantry made up part of the multinational Allied coalition of US, Brazilian, British and UK Commonwealth forces which sought to break the Gothic Line. Cutting across Italy, the Axis hoped to hold off any further Allied progress north to meet with other Allied forces pressing through Europe from Normandy inland toward Berlin.
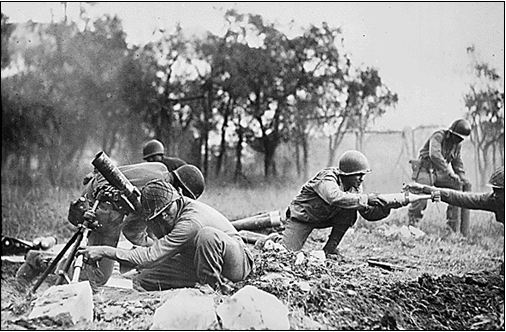
A 92nd Infantry Division mortar crew firing near Massa, Italy
Led by senior white officers in otherwise segregated units, the 92nd Infantry made up a key element of the left flank of the Allied push up through the Italian peninsula. Crossing the Arno River and proceeding north, the 92nd made its way up the Mediterranean coast through Lucca, Massa and on to La Spezia and Genoa by the time of Axis surrender in May 1945.
The legacy of the contributions of the 92nd Infantry Division’s effectiveness in Italy has been much-debated. A paper from the 1950s does what I read to be a good job in explaining the challenges the Buffalo Soldiers faced — delays in reinforcements, shortages in re-supply and a lack of training for the kind of terrain encountered in Italy. I believe much of this can be chalked-up to the ingrained organizational racism against the segregated units. Post-war, the members of the Buffalo Soldiers also returned to a United States still entrenched in racial discrimination. It was not until the late 1990s that two members of the 92nd were recognized with Medal of Honor commendations, some fifty years after the war’s end.
Spike Lee’s Miracle At St. Anna
As a wargamer and film fan, I often turn to the movies to cross-pollinate my interest in a period. Spike Lee’s Miracle At St. Anna from 2008 tells the story of four soldiers from the 92nd Infantry who hide out in a small Tuscan village and bond with its residents amid the oppression and danger of German occupiers. Lee’s movies often run hot and cold, and Miracle at St. Anna met with mixed reviews, poor box office results and a fair amount of criticism over the lack of historical accuracy. All that said, the Italian locations and strong individual performances makes the movie worth a view for a rare glimpse of African-American soldiers in WWII cinema.
Modelling the 92nd Infantry Division for Flames of War
In late February 2014, the revised Flames of WarRoad To Rome and Fortress Italy compilation was released as an updated and expanded guide to the Italy campaign of 1944 and 1945. The Fortress Italy book covers the German and Italian defenders, and Road To Rome outlines the Allied US, British, Polish, French and lesser-known UK Commonwealth forces from Canada, New Zealand, India and South Africa. A third book, Italy Battles, provides special mission rules, battle scenarios and campaign notes for Anzio (aka “Operation Shingle”) and Monte Cassino.
Having dedicated years of my FOW modelling and gaming to Western Europe, these books provided a great opportunity for myself and other members of Metropolitan Wargamers in Brooklyn, NY to dive into a club-wide Italian project. I’ve also been wanting to put together a unique company for my FOW collection, and I was pleased to find the 92nd Infantry Regiment outlined in the Road To Rome book. With all our focus on the Italy theater, we’ve decided to dive headlong into a multi-month FOW Infantry Aces campaign, and there will be more to come with updates on our new Infantry Aces blog.
For my 92nd Infantry I decided to snap up the two sets from the Plastic Soldier Company – Late War US Infantry 1944-45 and US Infantry Heavy Weapons. At about $26 a box from my favorite online dealer The Warstore, the PSC kits are a huge value in fielding an entire infantry company along with bazooka, machine gun and mortar supporting weapons. Assembly involves lots of small parts and bases must be purchased separately, but getting a whole company on the table for a fraction of the costs of FOW models can’t be beaten.
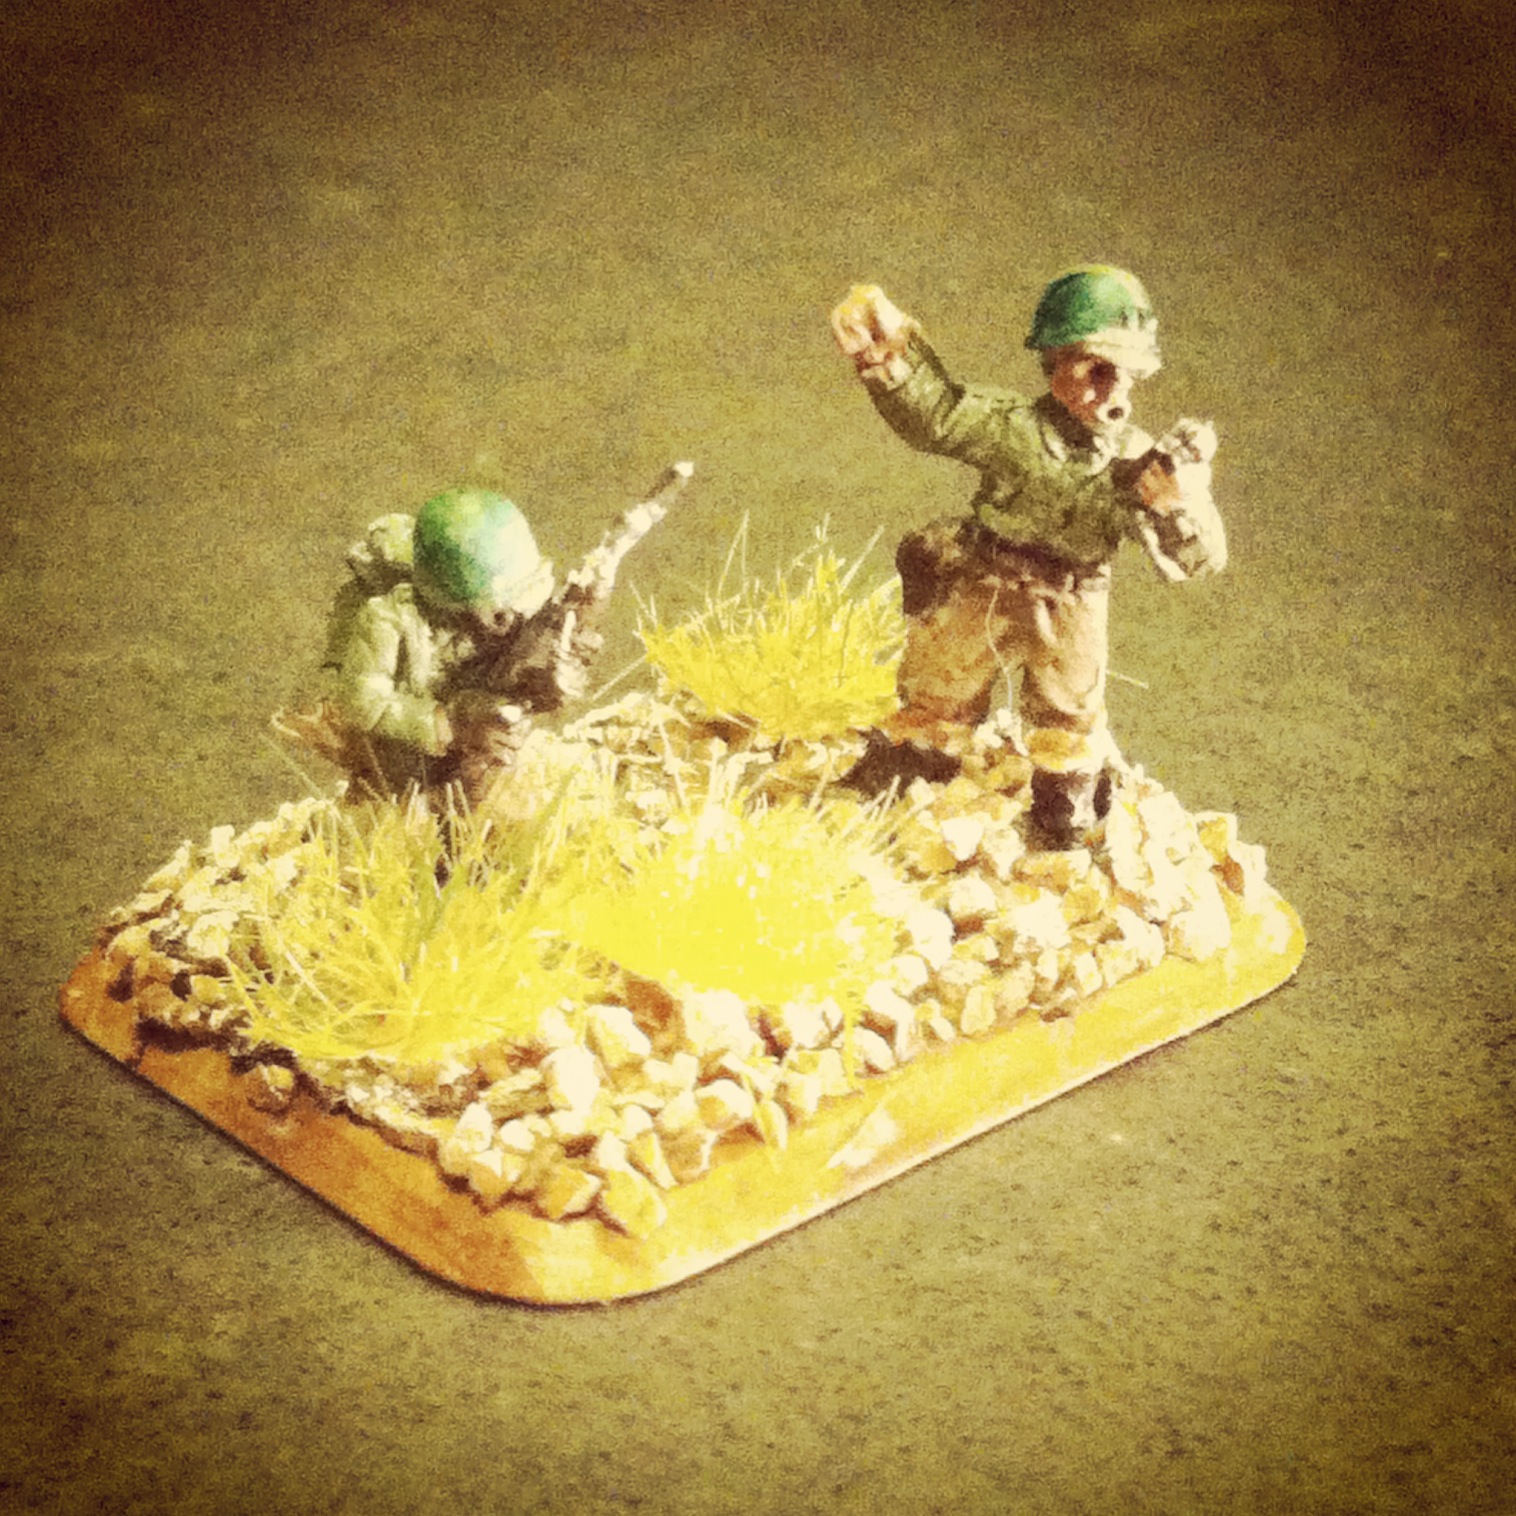
Pvt. Fred “Radio” Rogers and Lt. Daniel McFeeley
To fill out my force, I picked of the FOW Infantry Aces set for about $12. The pack gives you nine stands of character models to create special Infantry Ace command stands for use in the Infantry Aces campaign. The blister pack includes general US, British and German models with special Fallschirmjäger, Japanese-American Nisei, Kiwi and turbaned Indian characters. I shared the models with my fellow players at our club, and modelling these guys really adds some nice personality to the game. For my Command Ace stand, I’ve modeled the fictional Pvt. Fred “Radio” Rogers and Lt. Daniel McFeeley leading the way for my company.
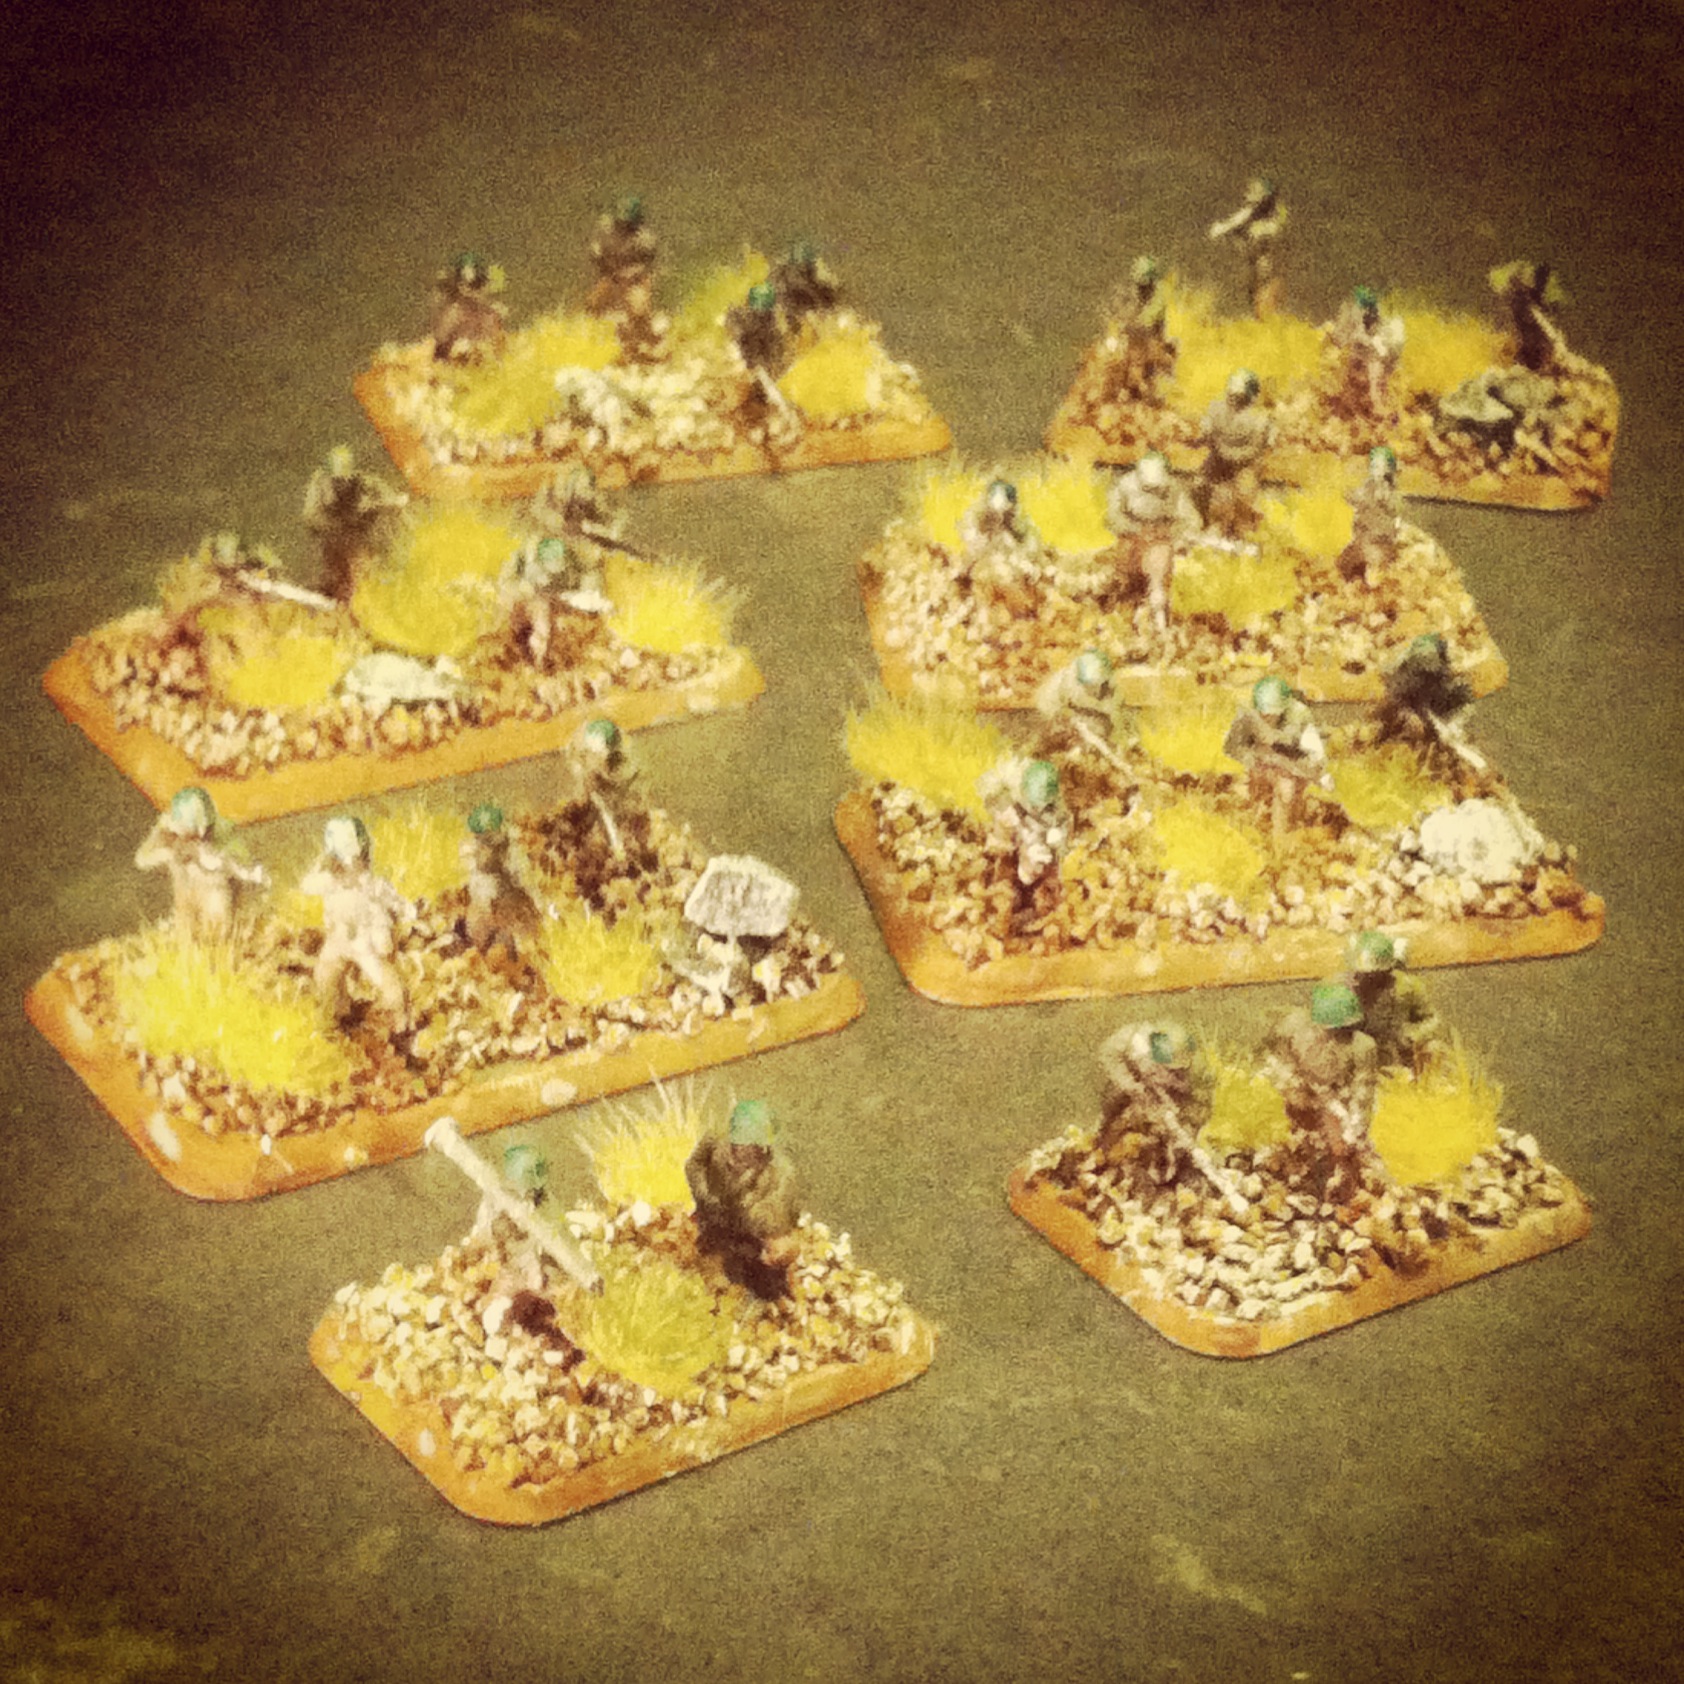
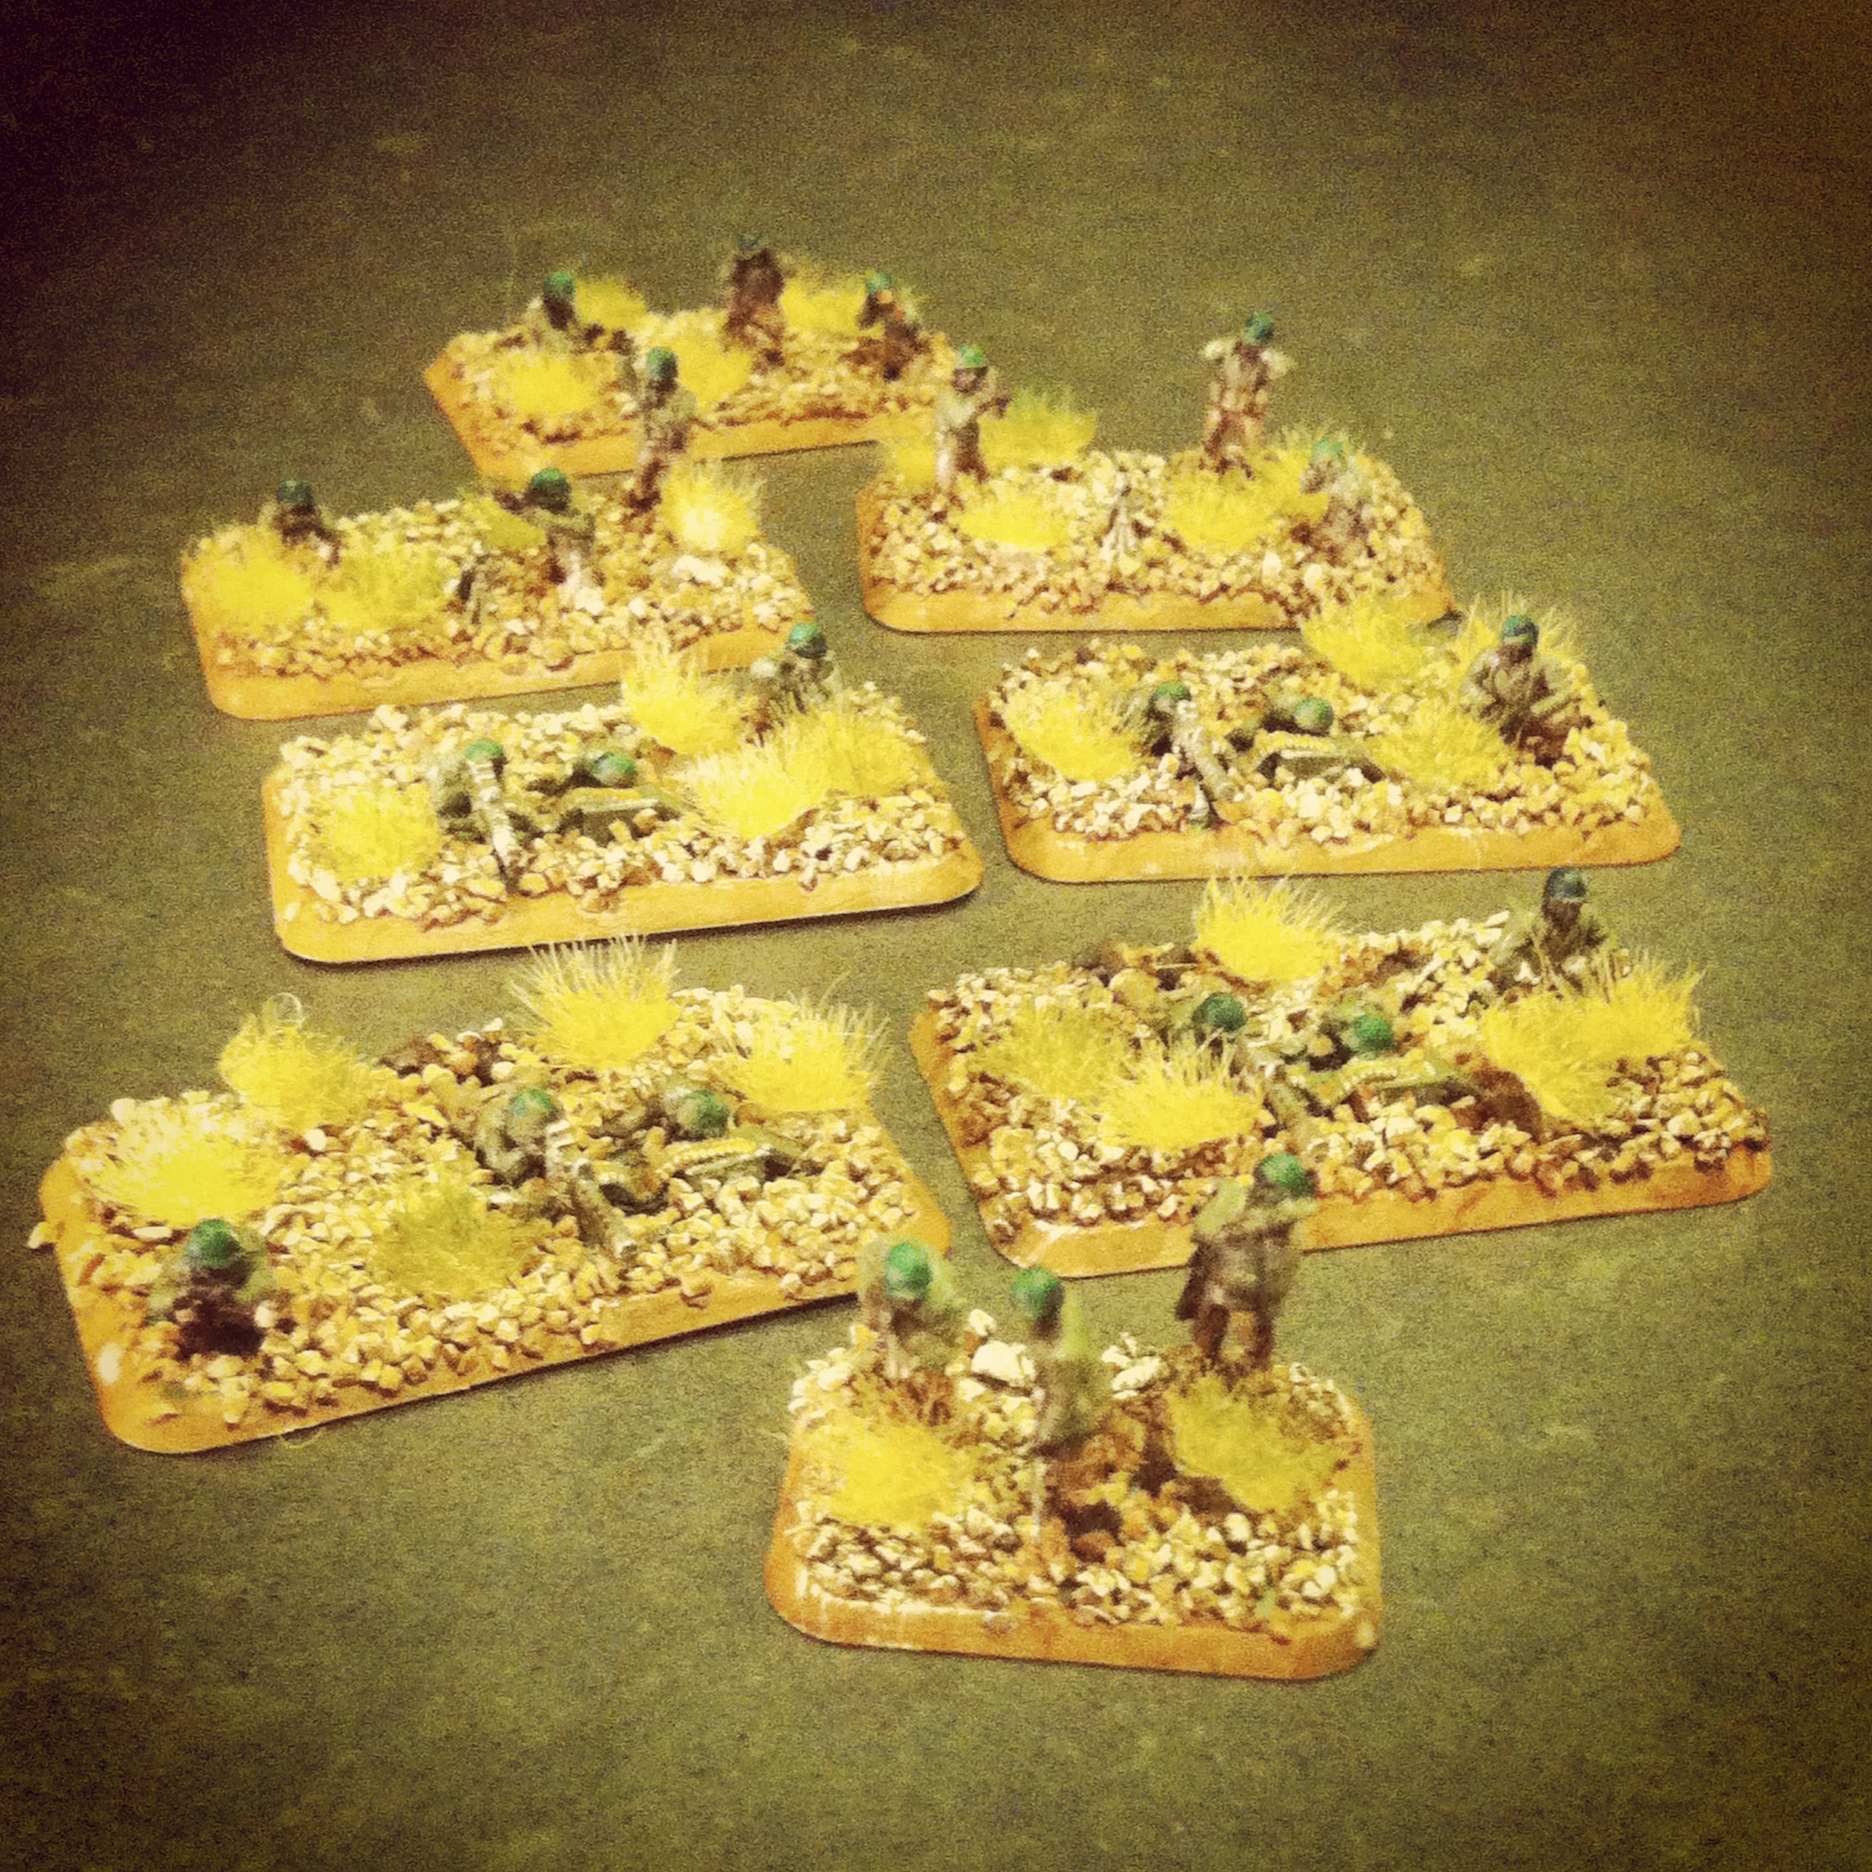
One of my three rifle platoons for the 92nd Infantry Division
In the FOW Italy campaign, the 92nd Infantry Division is rated as Confident-Trained making my force cheap and numerous. To start, I’ve constructed three rifle platoons with two rifle squads each plus a platoon command and bazooka in support. Along with my rifles and McFeeley and Rogers leading the way, I’m also bringing a weapons platoon in support. The platoon packs a punch with three 60mm mortars and four M1919 machine gun crews.
My Buffalo Soldiers mortar and machine gun weapons platoon
For all my models, I glued the PSC soldiers and equipment onto FOW bases and then hit them with an army green spray coat base. Boots, equipment, rifle stocks and flesh got a dark brown. Pants were done in a tan paint and leggings got a brownish off-white color. Guns were finished off in a metal coat. Basing involved a layer of fine gravel and larger rocks coated in a brown wash and then dry-brushed in a grey-white. Finally, tufts of brown-green grass completed the Mediterranean look of the models.
The beginnings of my platoon will be hitting the tabletop shores of Italy this coming weekend in their first round of our club’s Infantry Aces campaign. In the coming weeks I’ll be adding additional infantry weapons support with additional mortars, machine guns and more infantry. Even before these guys see their first action, I’m pretty thrilled to have put in the time to create some pretty unique models that I haven’t found modeled anywhere else at this scale. As in WWII years ago, I think the 92nd Infantry Buffalo Soldiers have been too often forgotten by mainstream history and many gamers alike. With my soldiers hitting the field again, I hope to bring a bit more glory back to these men who not only contributed to the fight against Axis fascism but also stood bravely against the tide of so much history against them.
The ultimately unsuccessful week-long Operation Market Garden commenced on September 17, 1944 with an Allied push toward Germany. The ground “Market” portion of the campaign saw the British Guards Armoured Division taking point on the push into the Low Countries.
On the second day of the operation, a column of the Guards Armoured had rolled to the southern outskirts of Aalst, a Belgian town occupied by German forces since 1940. Led by Col. Joe Vandeleur, the division’s tanks encountered the remnants of German troops and guns which were dug in but heavily-damaged by the previous day’s Allied air bombings and artillery barrages. For the Germans, Aalst was a line in the sand protecting the Allied advance northeast to Antwerp and the Netherlands beyond. For the Allies, keeping the long column of armour moving was key to reinforcing the Allied airborne troops already engaged with German forces along several bridges.
This past weekend at Metropolitan Wargamers in Brooklyn, NY we ran the Aalst scenario for Flames of War with 2000-point forces on either side of the table. We pulled our British and German lists from the Market Garden and Bridge By Bridge books. As a jumping off point for the game’s outline, we referenced an Aaalst scenario originally designed for Battlefront. We planned a 10-turn game with points scored for destroyed platoons and an immediate end to the game when the British rolled a platoon off the German-defended north end of the table.
German set-up at Aalst
As per the actual situation at Aalst in 1944, the Germans began setting up with half their force heavily dug in just north of the town’s center. Deadly 8.8 cm Flak guns were positioned on roads to their right and left flanks, and 7.5 cm PaK 40 anti-tank guns stood closer to town. Infantry and heavy machine gun platoons hunkered down in the fields just outside of town, and a single Jagdpanther idled nearby. Expecting both ground and possible air forces, the German guns were well-prepared for the arriving British.
German 88’s dug in at the northeast and northwest ends of town
British set-up at Aalst
The British laid out their 8-gun 25 pdr battery at the rear of the table and rolled on two platoons from the Guards with Joe Vandeleur attached. Spotters for the artillery were deployed in Shermans to the right and left hoping to provide eyes across the entire table for. Towed 6 pdr anti-tank guns, infantry, machine gunners and additional tanks lay in reserve off-table to follow the initial wave of armour. The plan was to use Vandeleur’s special rules to rush tanks to the center of the table, saturate the Germans with artillery fire and pave the way from additional supporting platoons.
Vandeleur leads the Guards into position behind the town
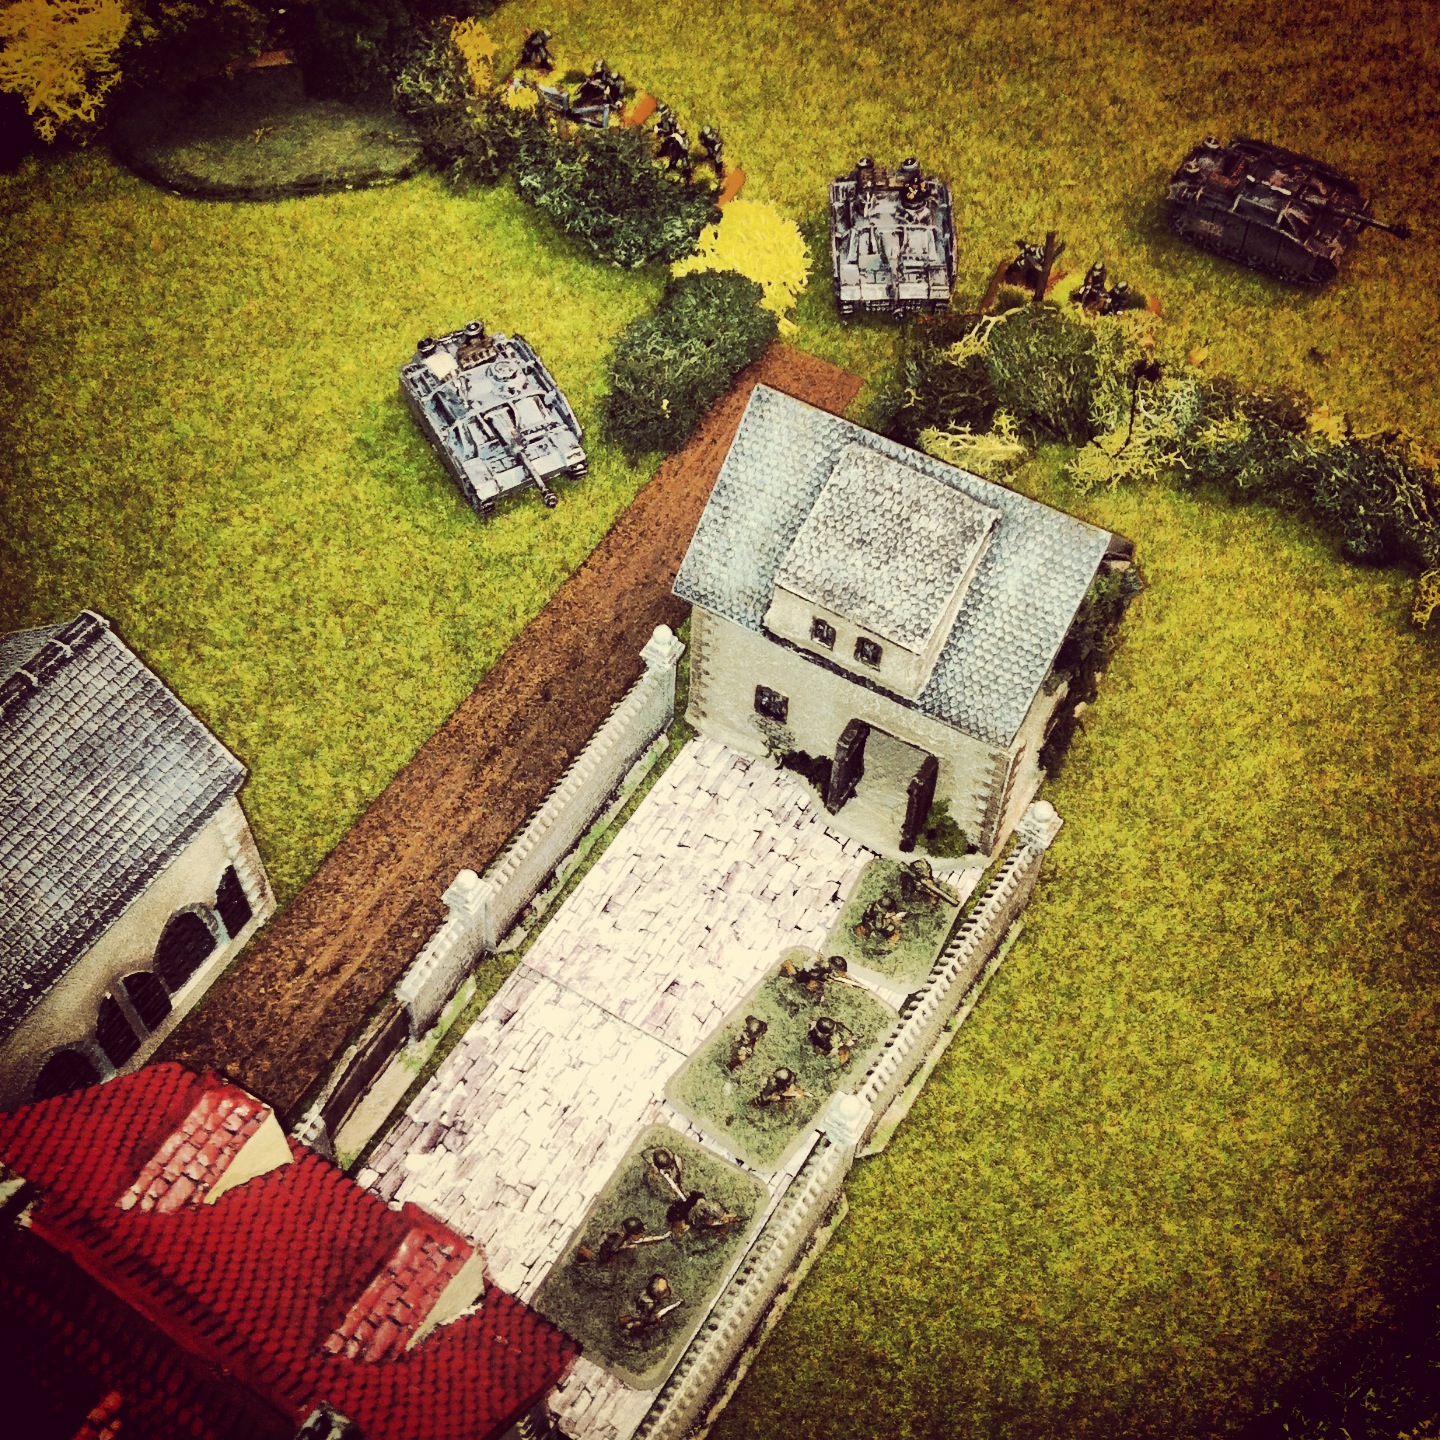
German infantry and Pagdpanther make for the church at the center of Aalst
In the first two turns, the Guards quickly rolled up to take position behind the town to the south with their Vickers machine gun platoon riding on the tanks. The British artillery spotter hopped from his Sherman tank and ran for back door of a building. The Germans made way to the north of town with infantry looking to occupy the church at Aalst with a lone Jagdpanther in support.
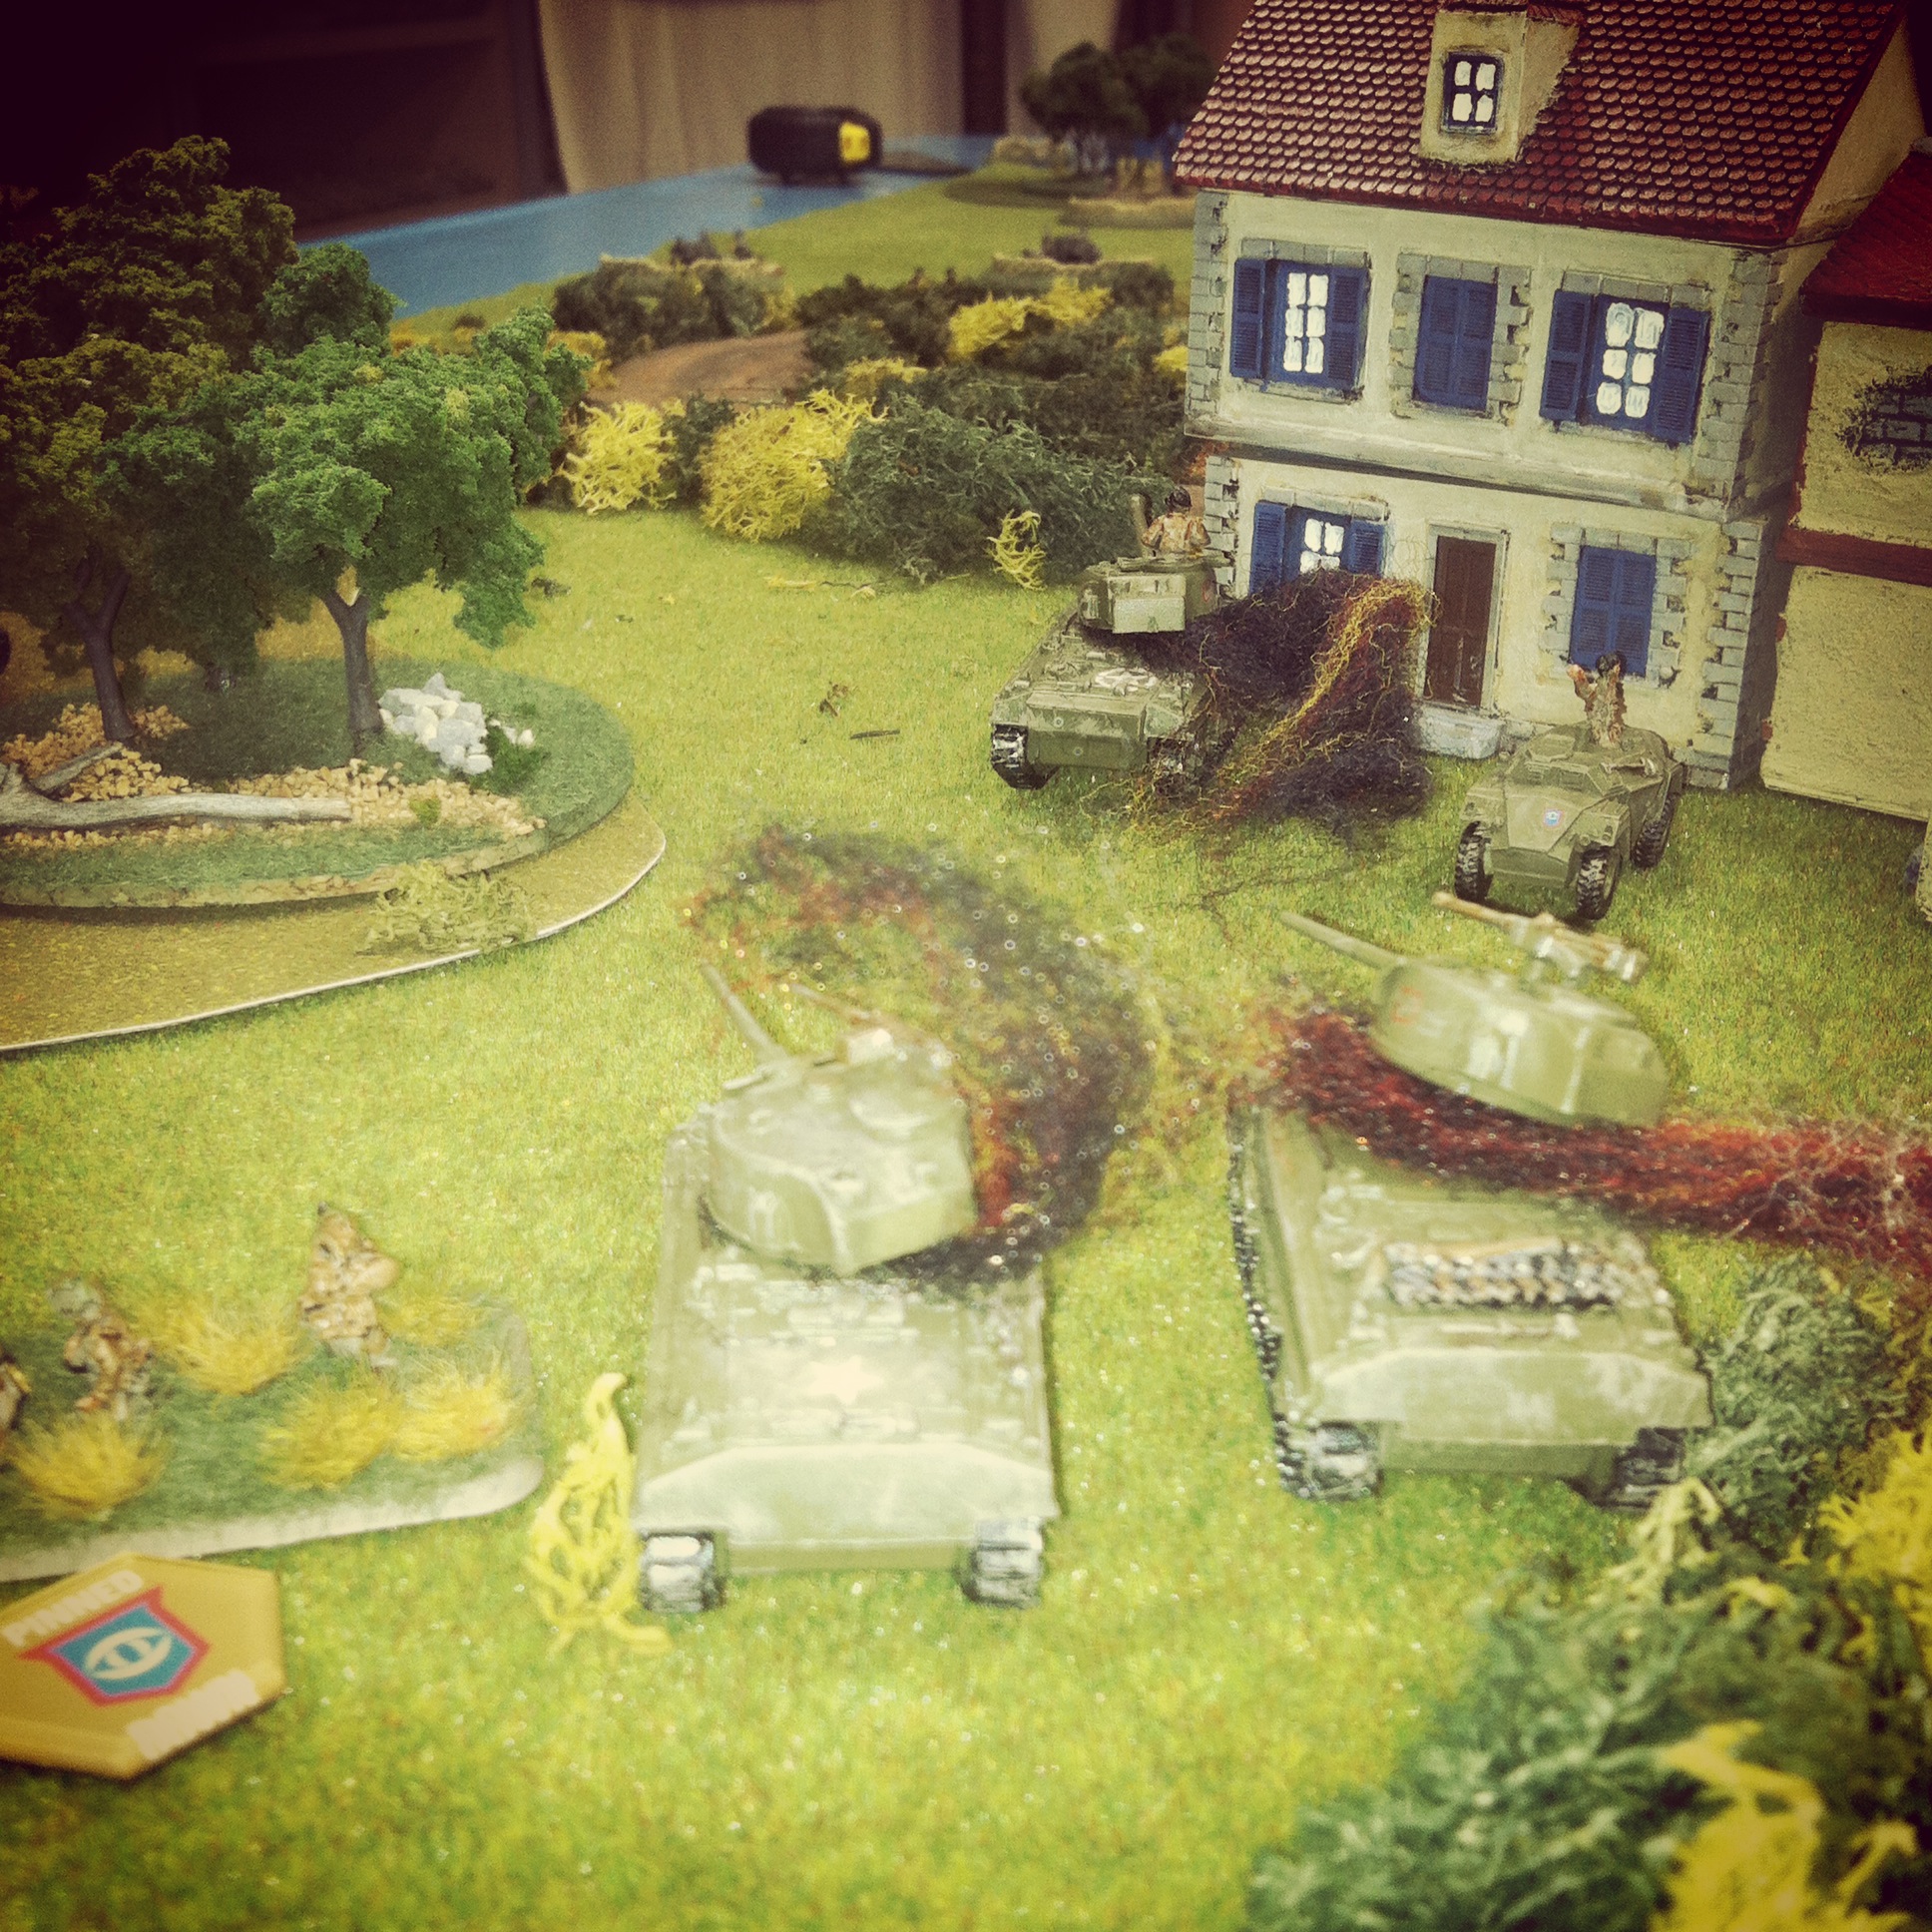
A Firefly lays waste to the approaching Jagdpanther with its first shot
The Guards take heavy fire and two Shermans and a Firefly sit in flames
Fire opened up in the next two turns with a well-positioned Firefly scoring a kill on the nearing Jagdpanther. Returning fire, German 88s destroyed the Firefly and PaK 40s bailed and subsequently wrecked two other Shermans. Machine gunners made their saves, jumped off their tanks and made way for cover in a nearby building at the town’s intersection. Meanwhile, British artillery lobbed a volley over the town hoping to slow down the German infantry and machine guns looking to take hold of the town’s buildings. The barrage resulted in a destroyed PaK 40 just to the north of the church, but the German infantry pressed on to take up positions in the church.
British infantry move to assault the church as reserve armor rolls to the town center
With British infantry reserves moved at the double to the town and then moved in a subsequent turn to assault the church. At the same time, a reinforcing Guards tank platoon raced to the town center. Shots from the Shermans failed to destroy nearby PaK 40s but fire from the Vickers guns in a nearby building pinned the Germans in the church ahead of the assault. Despite all the British fire lighting up the center of town, the assault failed and the British infantry fell back to the other side of the street.
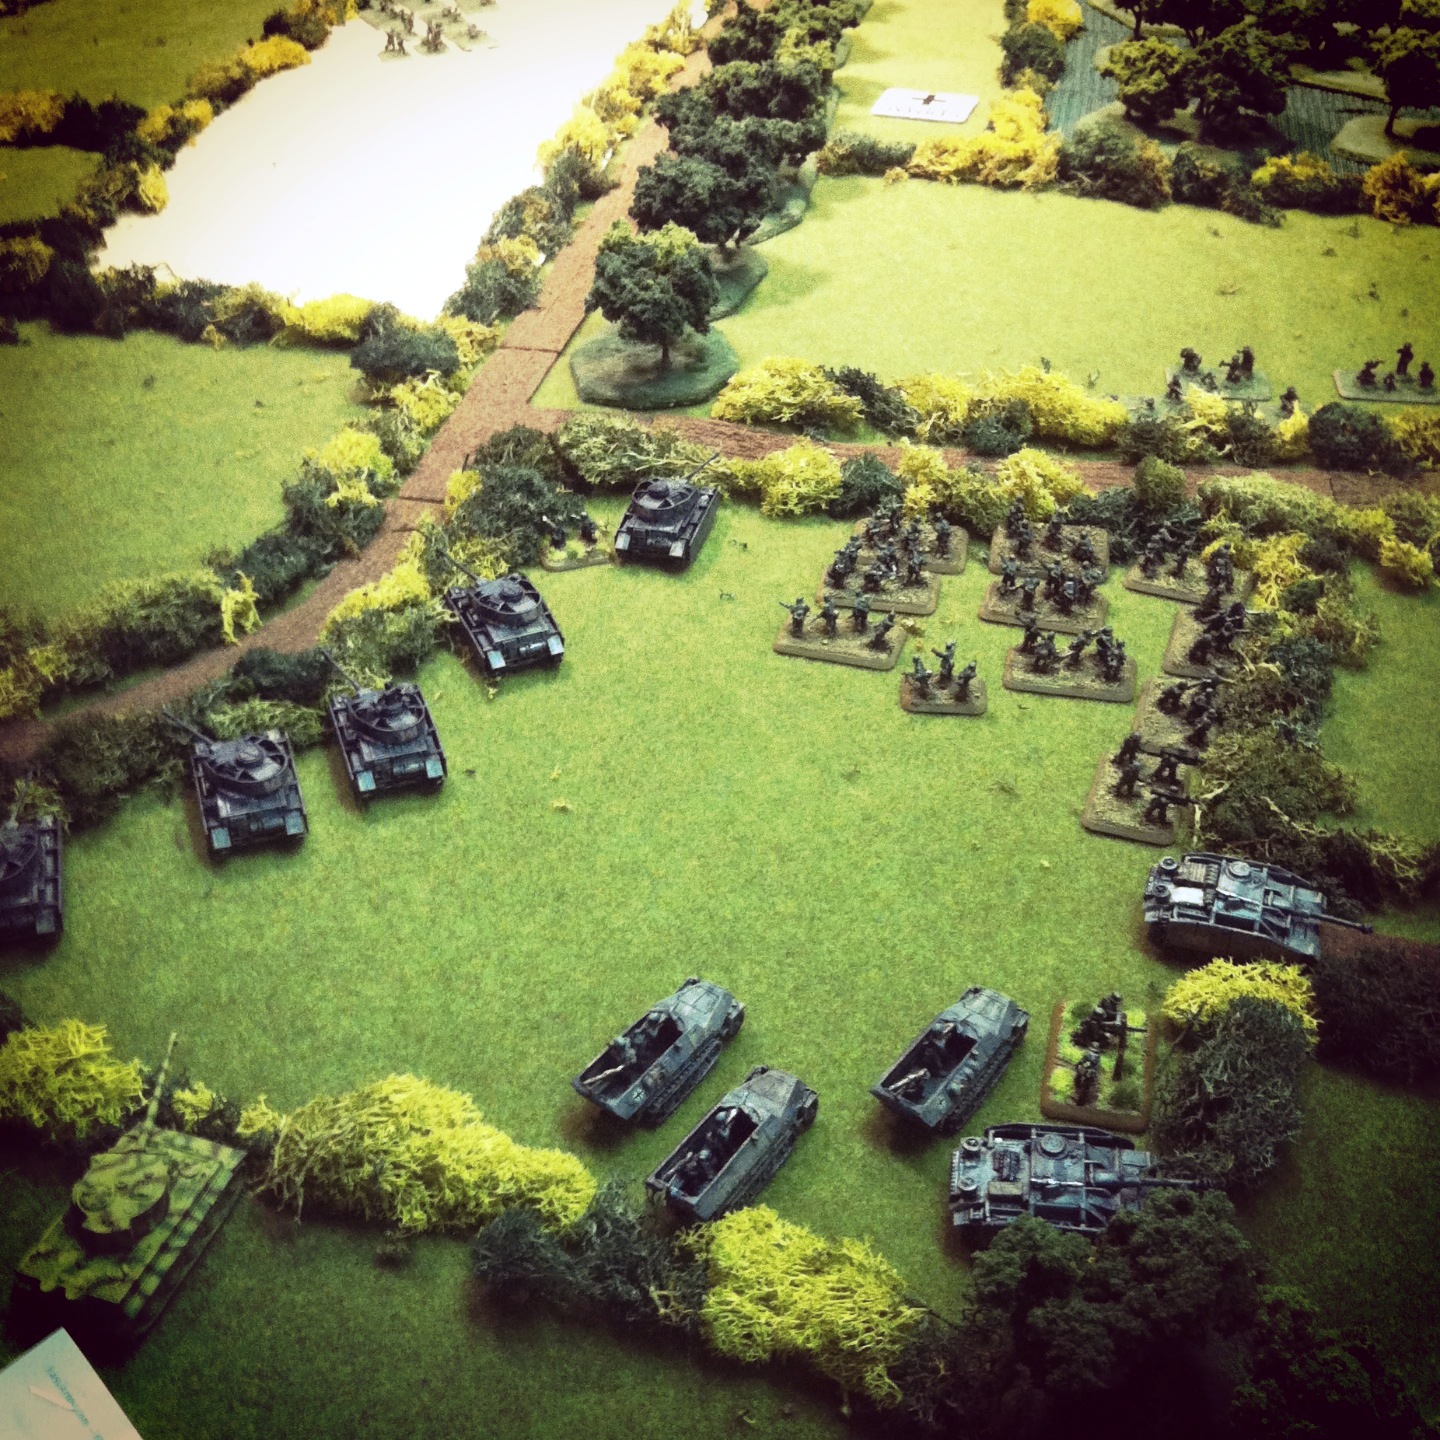
German armored reserves arrive
With the British stalled at the crossroads in Aalst, German reserves moved onto the table. A Stug platoon, Wirbelwinds and a fresh Jagdpanther began closing in from the northwest of town, drawing fire from the British battery looking to slow their advance. Volleys from the 25-pound guns blew up an 88 and a PaK 40, but the mass of German hardware kept rolling forward.
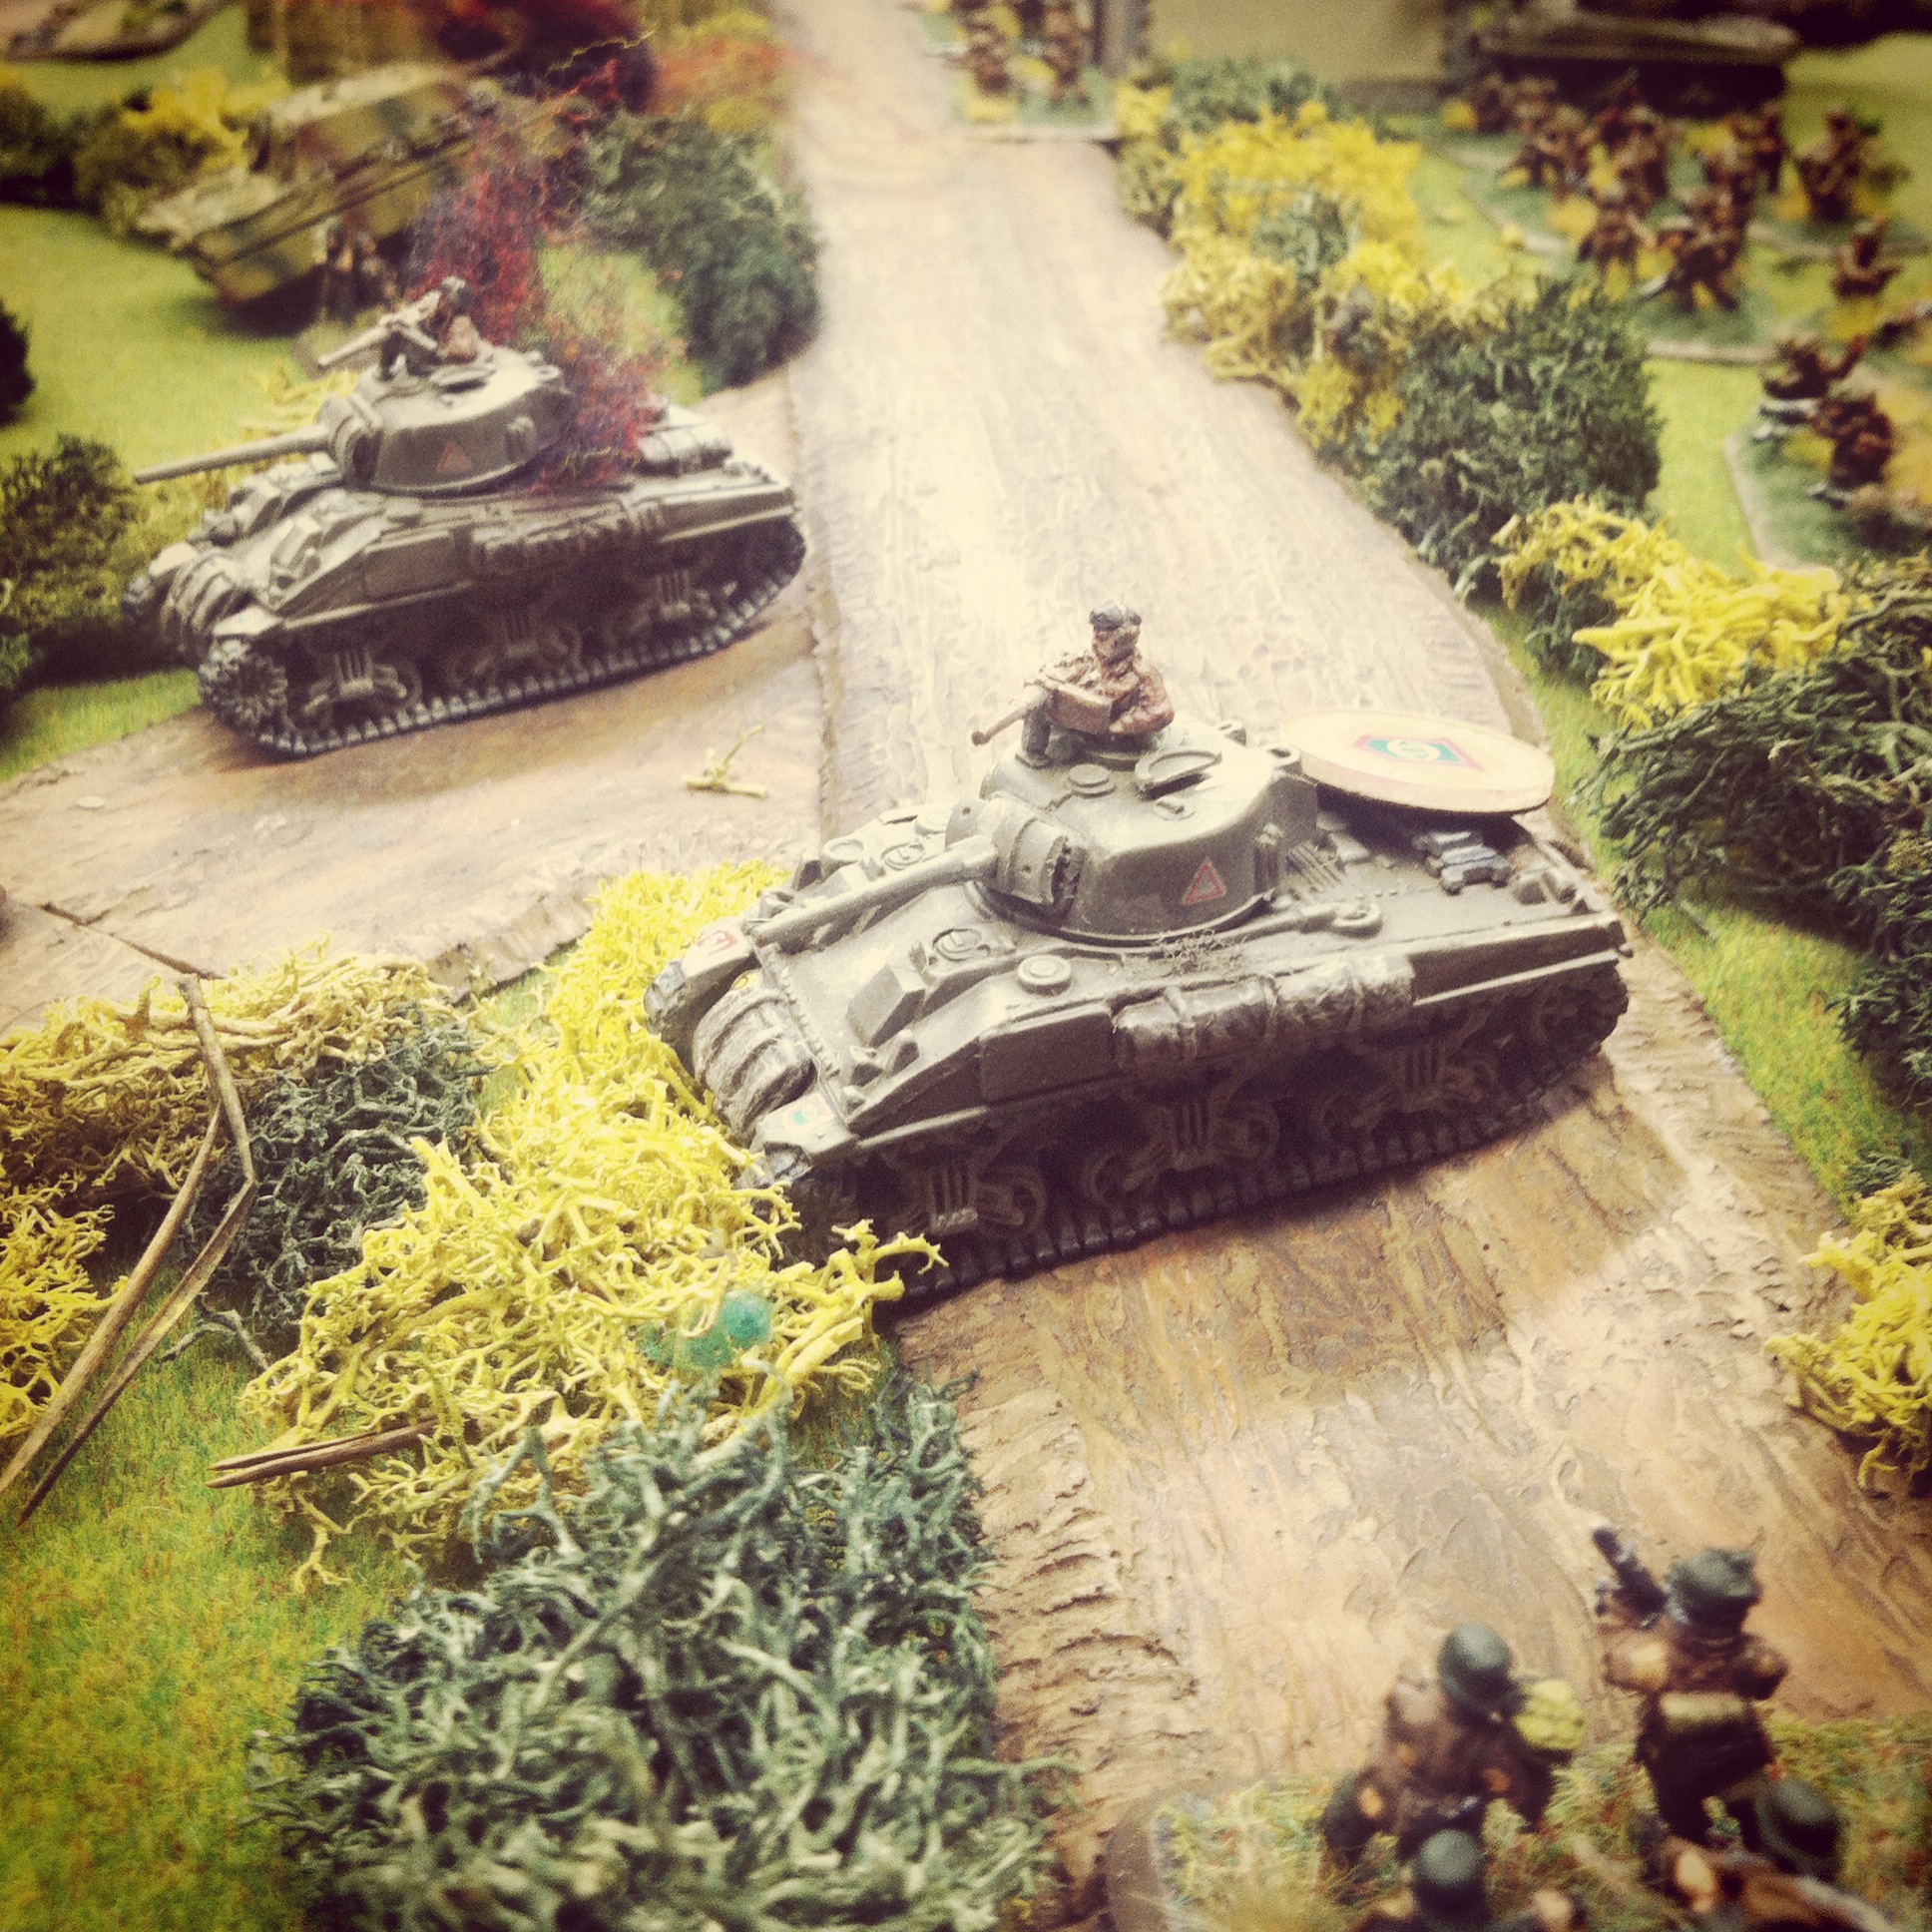
British command tanks move to engage the Germans
A swarm of German armor and troops push forward under British artillery fire
A Panzerfaust lights up a British command tank
Hoping for a hard push of combined arms on the German right, British command tanks followed by two platoons of infantry pressed forward from a nearby woods. The British tankies proved to be tough, surviving a turn of fire from nearby Stugs and an attempted infantry assault with Panzerfaust-wielding infantry as British guns continued to range in and rain shells on the Germans to no effect.
The lone surviving command British tank awaits its fate from the German onslought
Back at the center of town, the last tank platoon took fire from the 88s, PaK 40s and a Panzerfaust in the church steeple and was destroyed. The one lone command tank on the western outskirts of town was surrounded and destroyed by combined tank and artillery fire. With only the remnants two rifle platoons and the Vickers left spread through the town, the game was lost for the British. As the sun set in the west, Aalst remained in Axis hands.
In our discussion after, the British artillery had only been effective only about 50% of the time and only eliminated a few units throughout the game. Too many British tanks burned too quickly against overwhelming crossfire from German guns, and reinforcing British infantry could never make headway beyond Aalst’s crossroads. More British tank platoons with Fireflies might have gone a long way toward at least pushing through the town.
Fortunately for the people of Aalst, the engagement during Market Garden resulted in the liberation of the town by the British. Pictures from the victory show a very different outcome from our game with smiling faces all around. The very nature of wargaming sometimes just makes things go a different way, and this past weekend the dice rolled against the tide of history with a victory for the Germans at Aaalst.
Like many cities in the Low Countries, the Dutch city of Sint-Oedenrode was occupied by German forces after their invasion of France, Belgium and the Netherlands in the spring of 1940. The southern Netherlands and Belgium were the area of focus for the Allied Operation Market Garden in September 1944 which hoped to take several river crossings before the push on to Germany. At Sint-Oedenrode, the famed US 101st Airborne Division seized the bridge over the Dommel River but were met with a counterattack by German Fallschrimjäger regiments and other supporting forces. The battle that would take place at the crossing of the Dommel was typical of the action of the Allied push along what became known as Hell’s Highway. While Market Garden would ultimately prove to be a fiasco for the Allies overall, the grateful people of Sint-Oedenrode were liberated by US troops after a week of brutal fighting against the German occupiers.
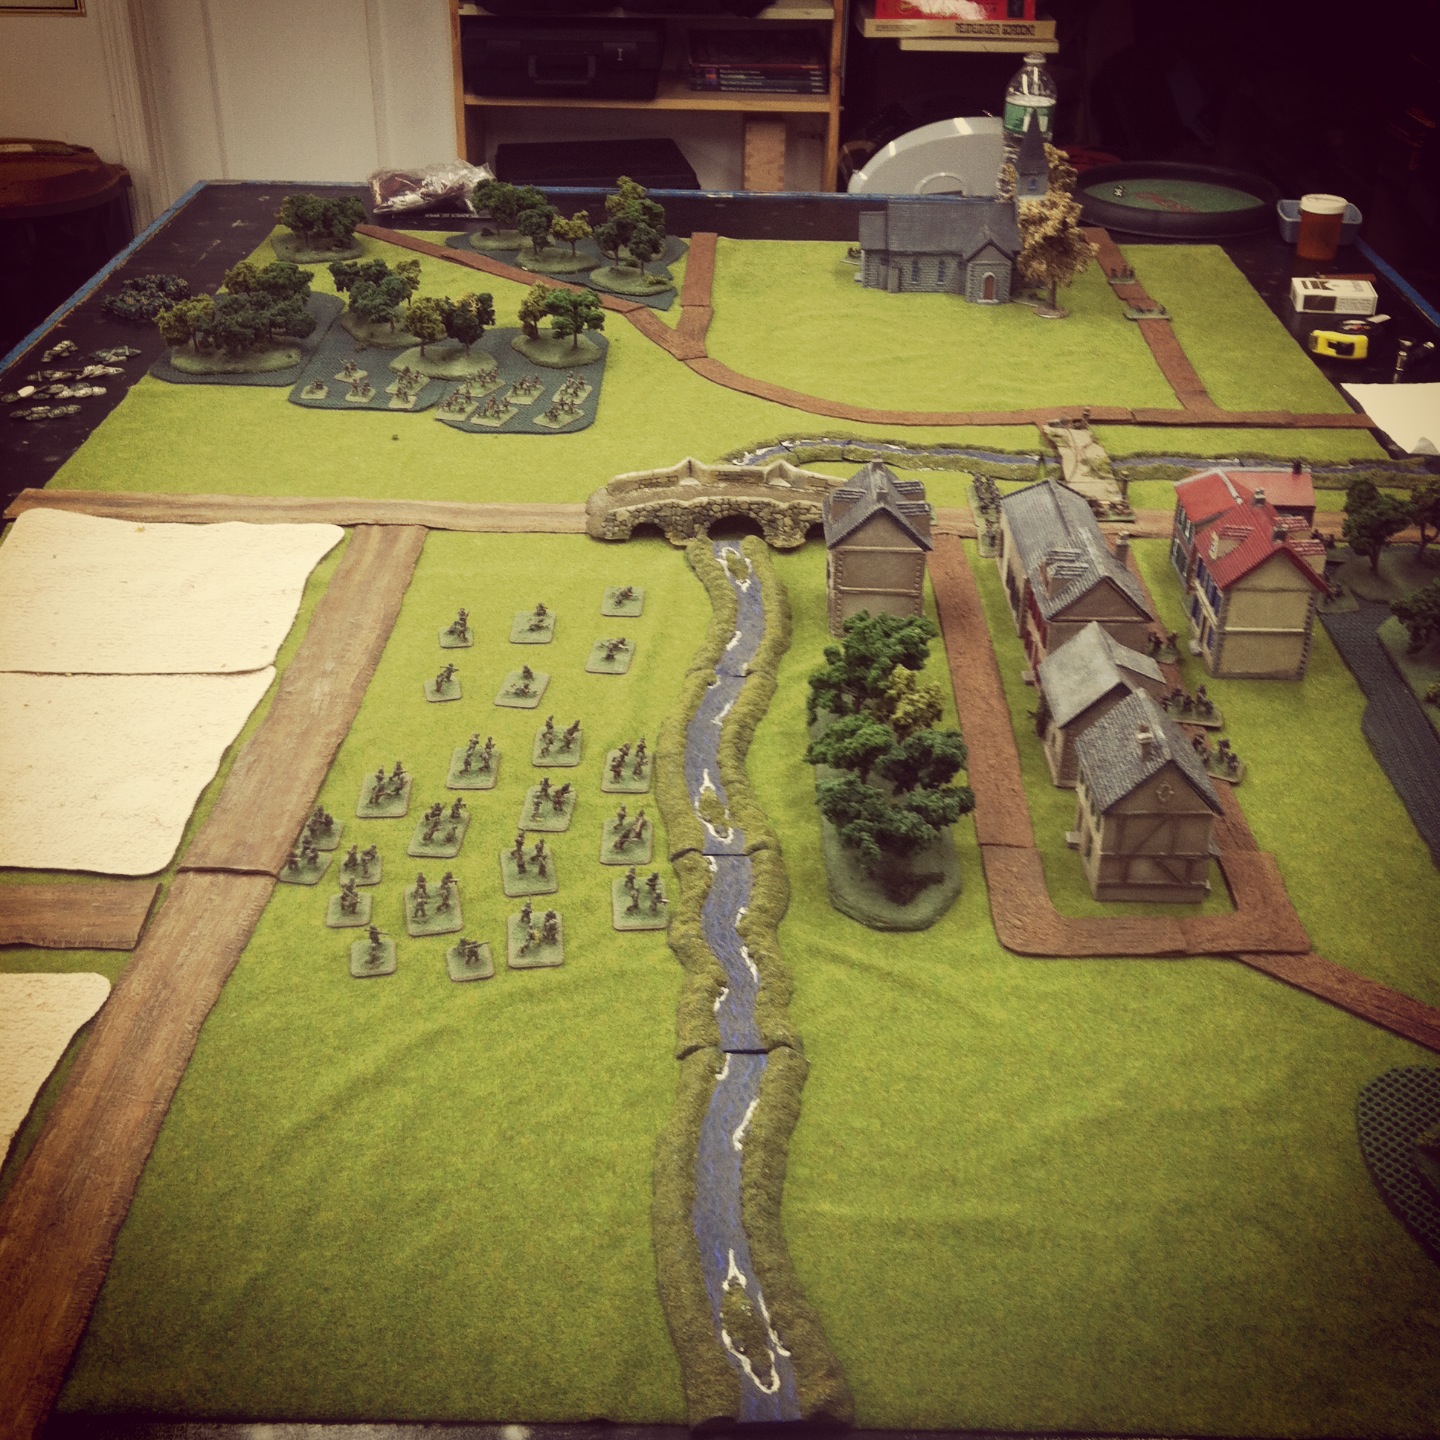
This past weekend at Metropolitan Wargamers in Brooklyn, NY we ran a modified Sint-Oedenrode scenario with the US 101st Airborne facing off against the German Fallschirmjägers. My paratroopers deployed in the fields and woods across the river with two rifle platoons and a light machine gun platoon. In reserve were US mortar and parachute howitzer platoons along with a delayed reserve Sherman and Firefly tank platoon from the Guards Armoured Division. The Germans started defending the two objectives at the bridges with a mortars, heavy machine guns and a rifle-machine gun platoon dug in around the town buildings.
In the first two turns, the Airborne units made way for the river and first bridge while avoiding shots coming from the defending Germans. The US light machine guns poured fire into the houses across the river, but shots missed on all accounts but did manage to pin the units. With little US progress toward the objectives, my German opponent remained solidly in control of the bridge points in the early third of the game.
By the third turn, the Germans successfully rolled on their a reserve rifle-machine gun platoon as well as their PaK 40 anti-tank guns. While the US lacked tanks of the board, the US platoon crossing the bridge took heavy combined arms fire from the German artillery outside of the town and the infantry platoons hidden among the town’s houses. Another US platoon made their way across the Dommel, through a small wood and attempted a quick assault on the Germans defending from the nearby buildings. Under heavy fire, the US charge was repulsed with some losses pushing them back into the treeline.
With the Airborne rifle companies pinned on the bridge and in the trees over the river, I finally threw a successful roll for reserves on the fourth turn and brought in my mortars and howitzers. Firing at a distance from the fields, all my artillery missed their hard-to-hit German targets hidden in the buildings across the river. The platoon on the bridge took an additional round of combined German fire and fled the field. The US light machine guns to one side of the bridge likewise encountered heavy fire, finding themselves pinned and still unable to effectively knock the Germans from their defending positions in the town.
By turn four, things went from bad to worse for the Allies. With the Guards Armoured forces finally rolling in, they did quickly take out one of the German anti-tank guns. This was unfortunately quickly answered with two Allied tanks being destroyed with return fire from the crack shots from the German PaK 40s. With the beginning of the fifth turn, the US attempted a final series of artillery barrages and tank fire to chase the Germans from the town. Still at nearly full strength, the Germans had clearly overwhelmed the US and I conceded the game.
Even without their Panzer IVs on the table, the German position within the town proved hard to route. In retrospect, a concentrated Airborne end-run over the river and through the town might’ve proved more effective in chasing the Germans out of their defending positions near the bridge entry points. A lack of armoured and artillery reserves until late in the game also left the 101st outgunned and running on their own as German reserve strength mounted. Luckily for the Dutch people of Sint-Oedenrde things went much better for the Allies in 1944, but my replay of the attack just didn’t go my way this day.
Shortly after fighting ashore and in the iair drop zones on D-Day, the Allies quickly discovered a new enemy awaiting them: bocage.
Lacing the Normandy countryside, bocage was a tight overgrown network of hedgerows of shrubbery, stone walls and copses of trees lining the rural French fields. All but impassable by Allied armor and difficult to fight through for infantry, bocage slowed the push inland and delayed the taking of key objectives. It was only through the quick-thinking and inventiveness of the Allies that new tactics were hastily developed. To free-up the passage of tanks, hedgerow cutters were welded to the front of armored platoons and demolition crews blasted gaps to continue the forward march. Fighting amidst the bocage would prove to be deadly for both sides, as recounted in the 1988 paper by Captain Michael Doubler. It’s required reading for anyone interested in the tactics of bocage warfare.
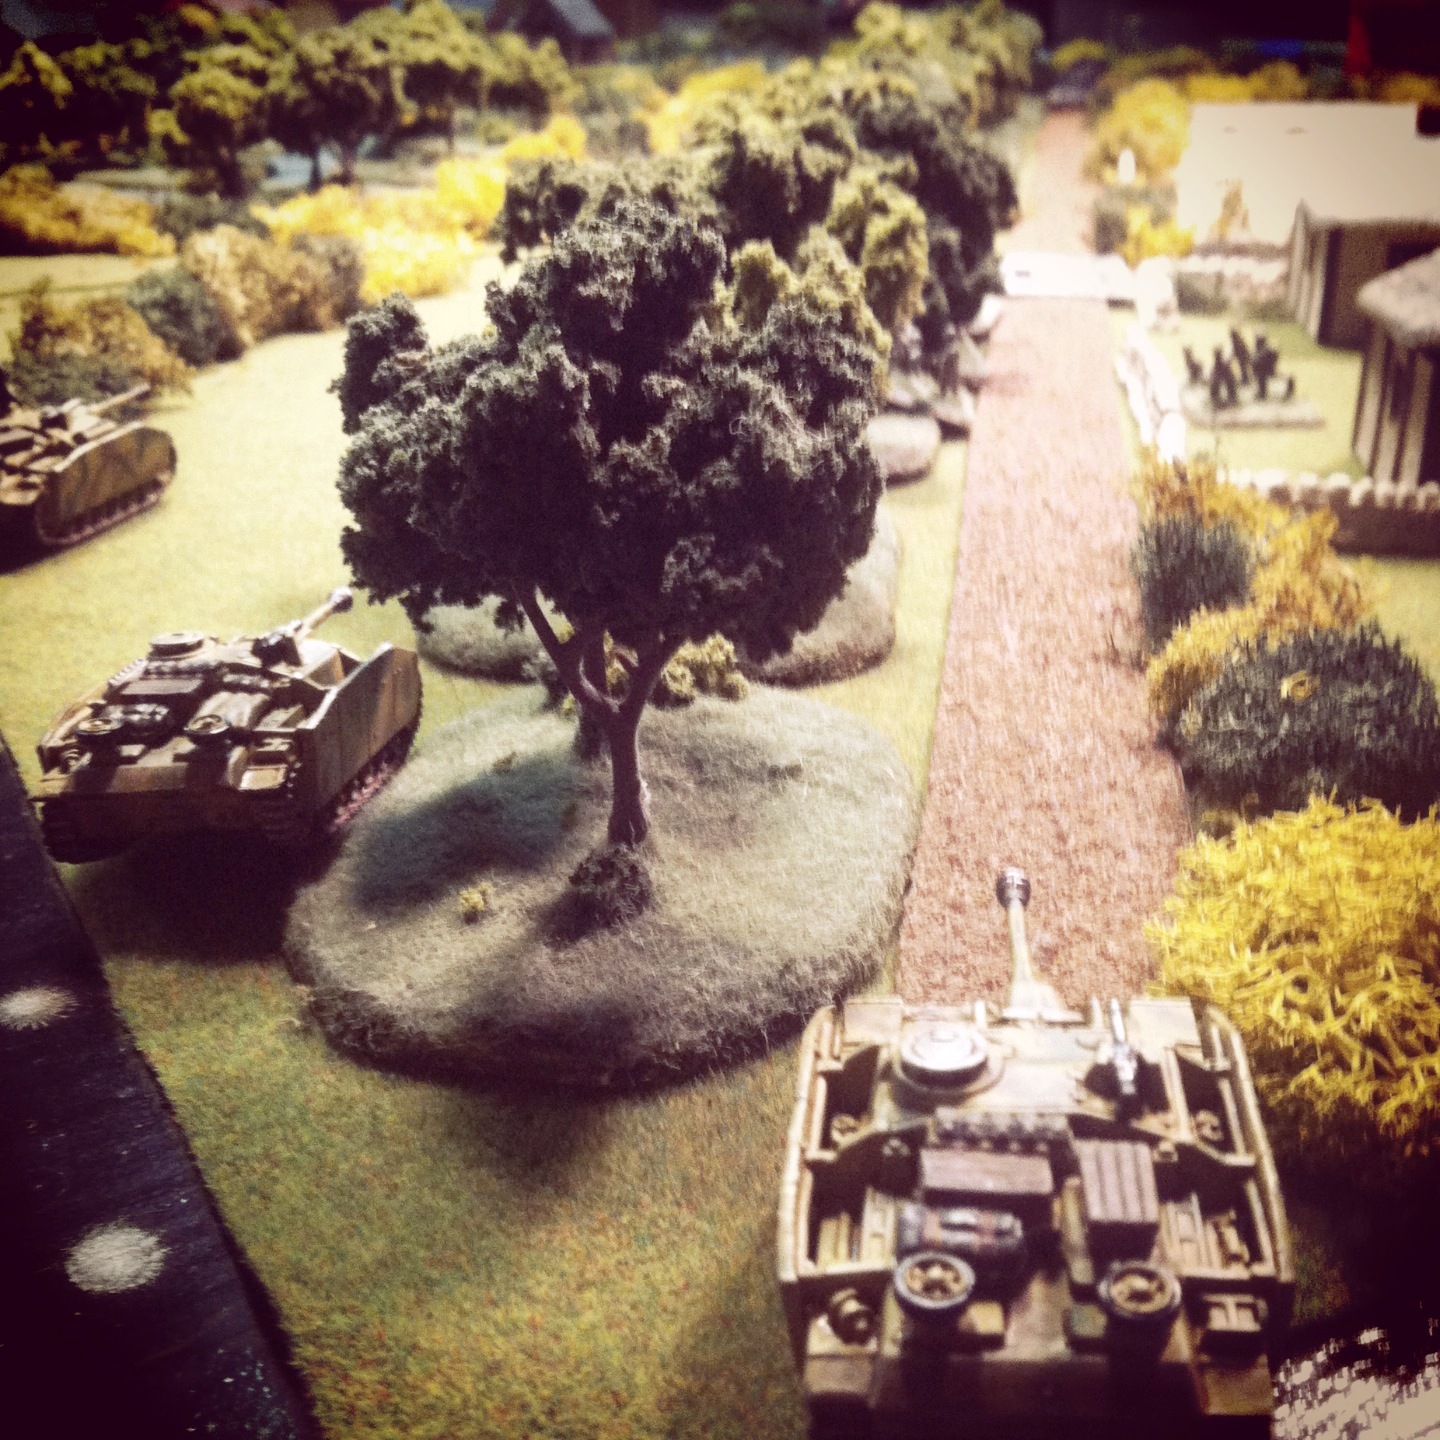
This past weekend at Metropolitan Wargamers in Brooklyn, four of us got together to slog it out in the bocage tabletop of a Breakthrough Mission as provided in the Flames of Wars rules. The mission scenario calls for use of the Mobile Reserves rule for the defenders and the Delayed Reserves rule for the attackers. The Germans chose to field a 1250-point Fallschirmjager company backed with heavy machine guns, a Nebelwerfer rocket battery, Stugs and Pak 40 anti-tank guns plus a 1250-point tank company armed with mechanized infantry, Panzer IVs, Stugs and one imposing Tiger tank. We Americans also fielded two companies beginning with a 1250-point rifle company with three infantry platoons, Shermans, a weapons platoon of light machine guns and mortars and a P-47 Thunderbolt for air support. The other US company was pulled from the 82nd Airborne with a Priest mobile artillery battery and Stuart light tanks. To aid in navigation of bocage, the US armor were outfitted with hedgerow cutters. The Germans had six turns to take an objective and it would be the Americans’ job to stop them.
The table was laid out thick with bocage surrounding a small village and a nearby farm. Americans rolled as the defenders meaning all our mobile units — all the tanks and artillery we had — were going to be held off the board as reserves. I hid all my rifle platoons in the town’s buildings and stuck the machine guns and mortars in the field between the Germans and their nearest objective. In the opposite corner, the Airborne platoons deployed near the farm hoping to camp out on the German objectives for the duration of the game.
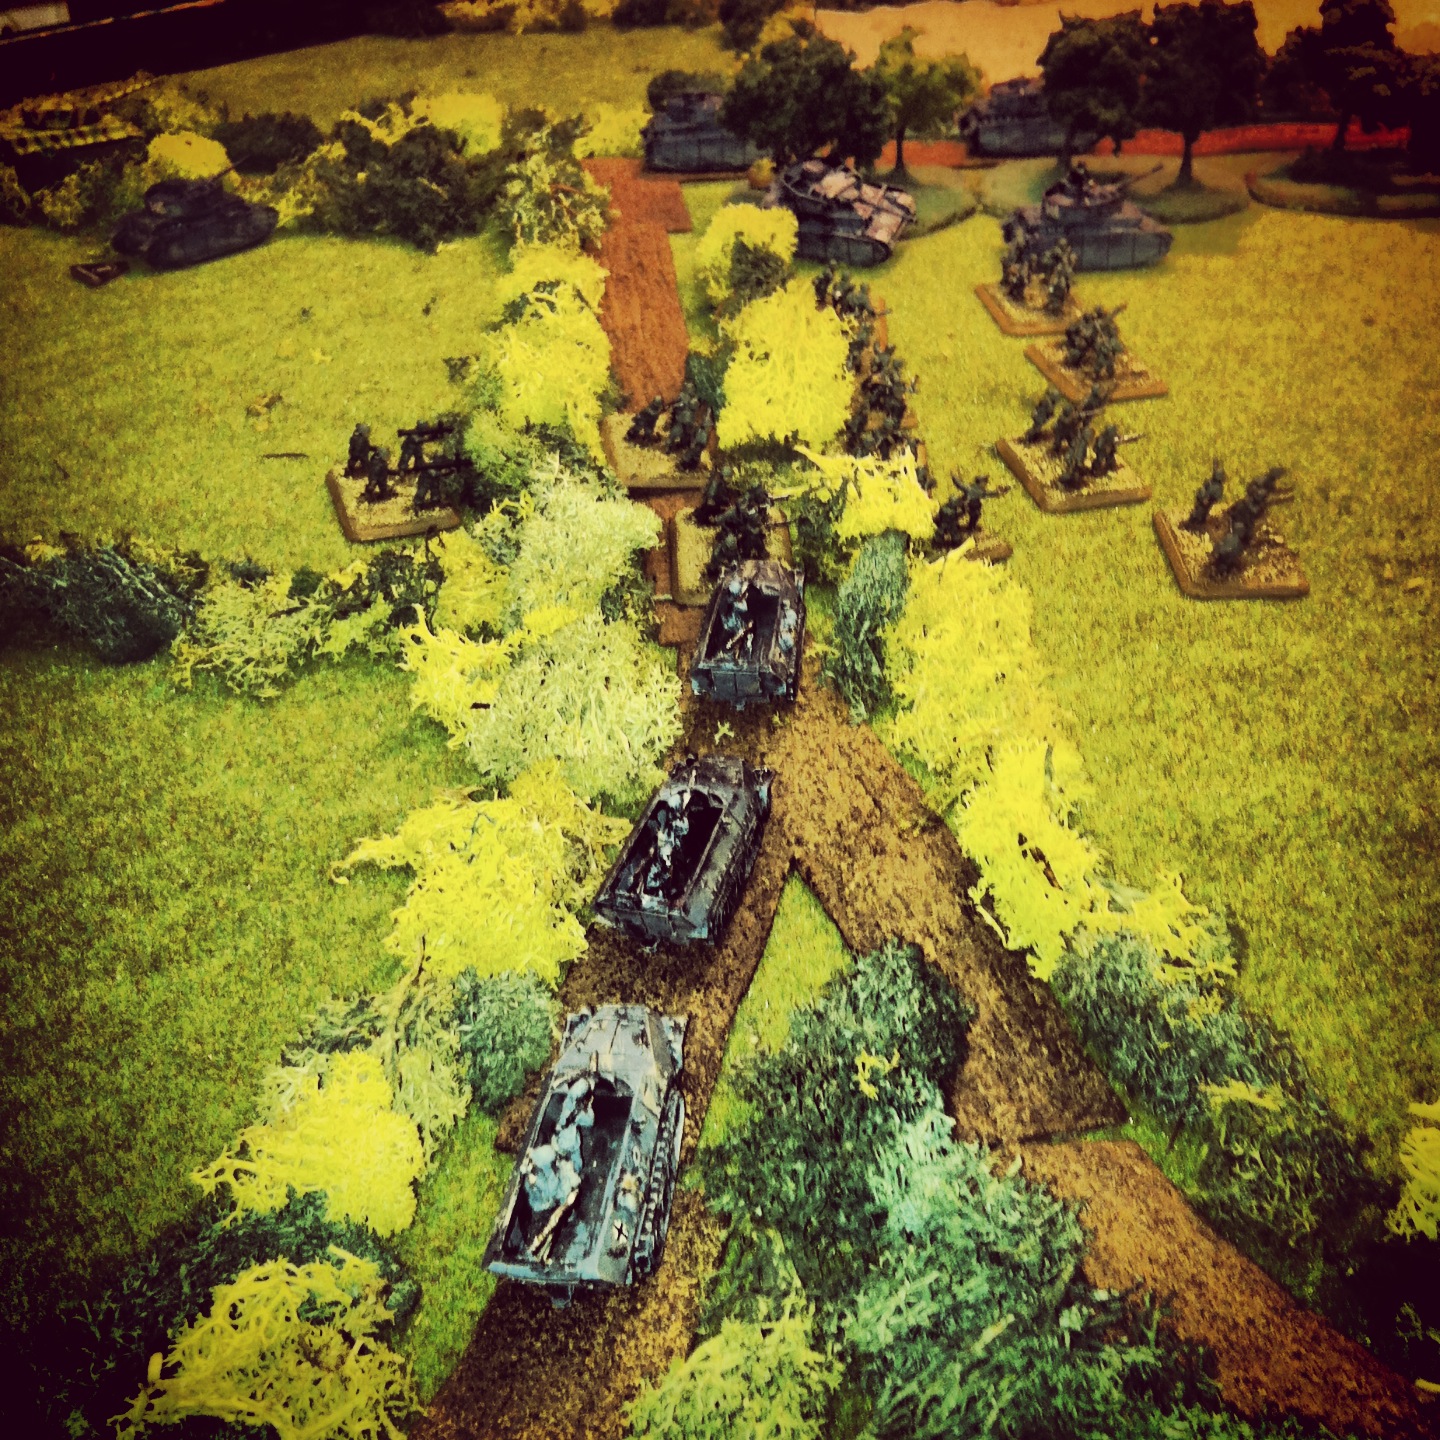
As the attackers, the Germans deployed in their assigned corner of the table. Their rocket battery, anti-tank guns, heavy machine guns and the majority of their infantry dug into the field outside of the town. The large tank company deployed in the adjacent field. Held off-table was a Stug and a Fallschirmjager platoon, hoping for the a delayed reserves roll beginning on the third turn to put them right on top of one of their objectives at the opposite corner.
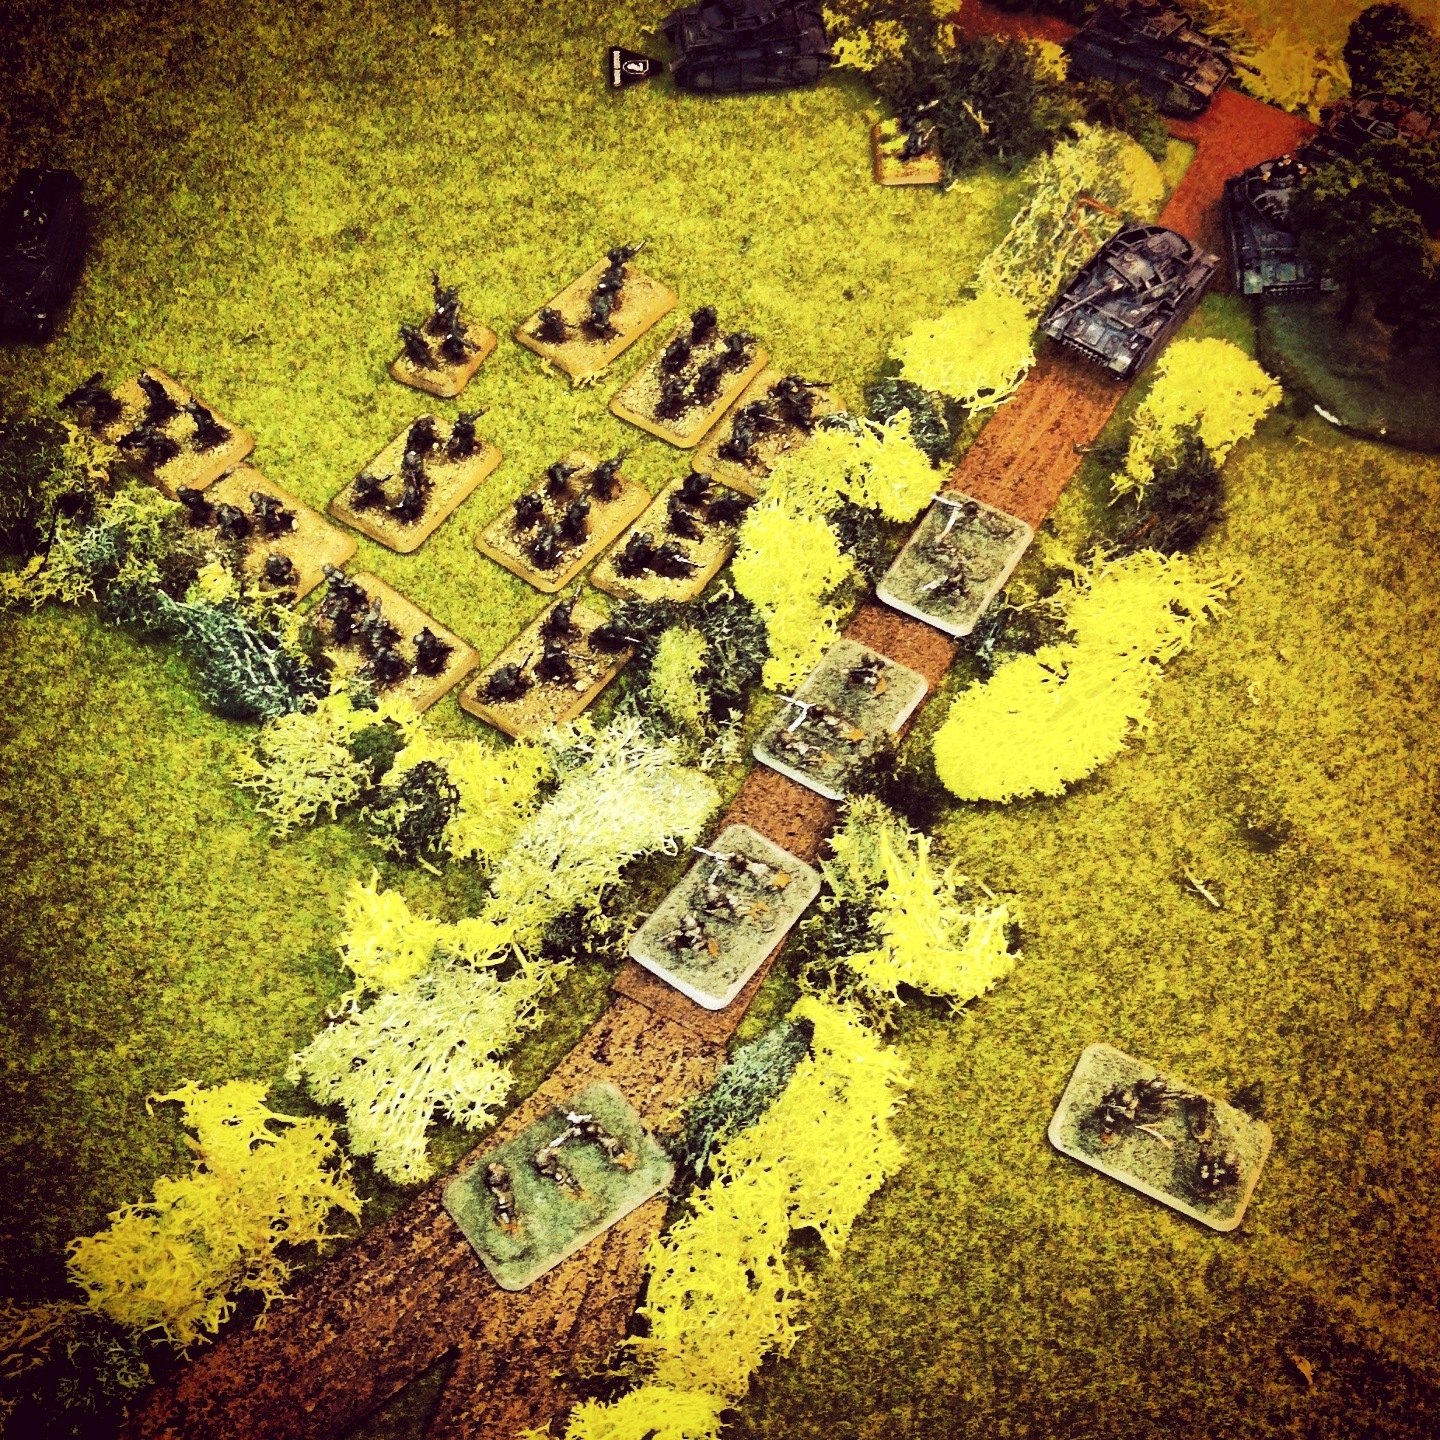
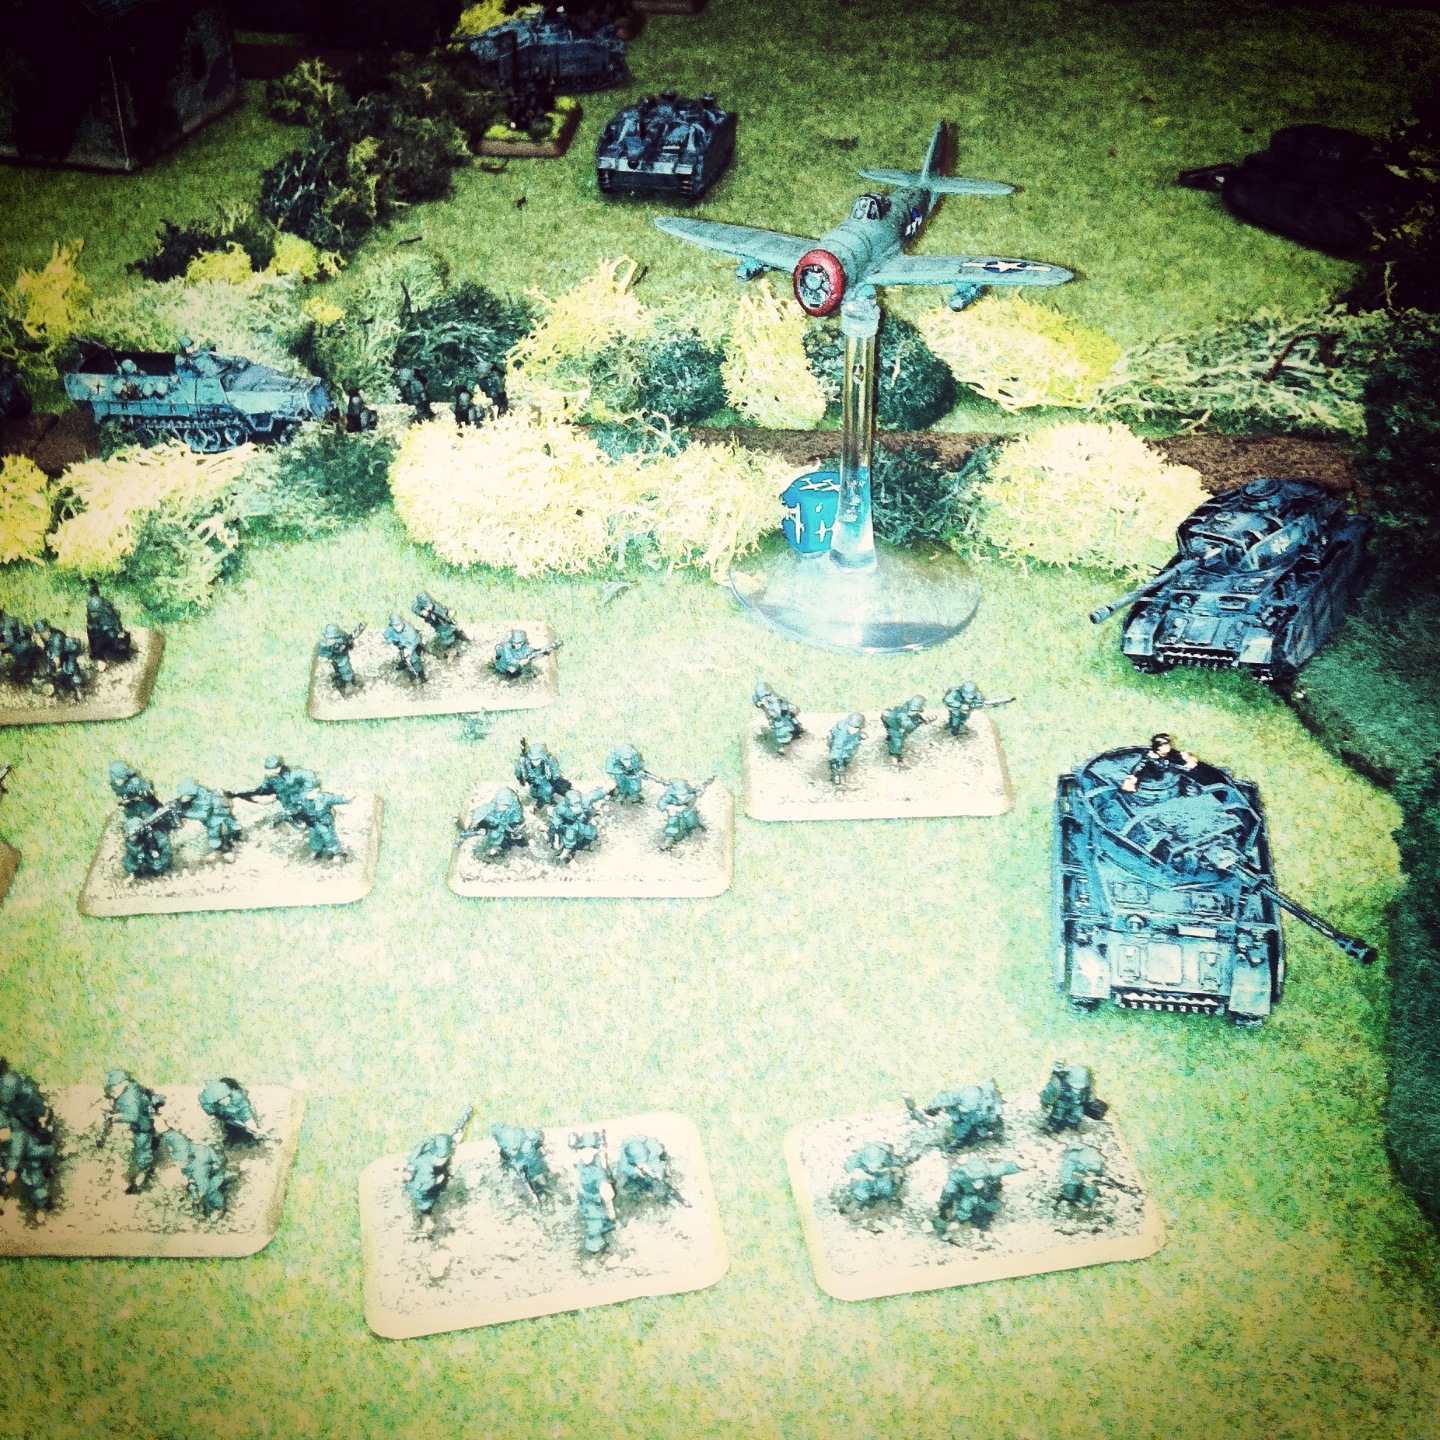
As the attackers, the Germans got the first turn, quickly pressing their armor toward the center of the table while the rocket battery, heavy machine guns and anti-tank cannons poured fire into the town, pinning one US platoon. Reserves failed to arrive on the first US turn and the P-47’s first run came up empty. As per the plan, the US Airborne pushed into the farm buildings to hold the nearest objective.
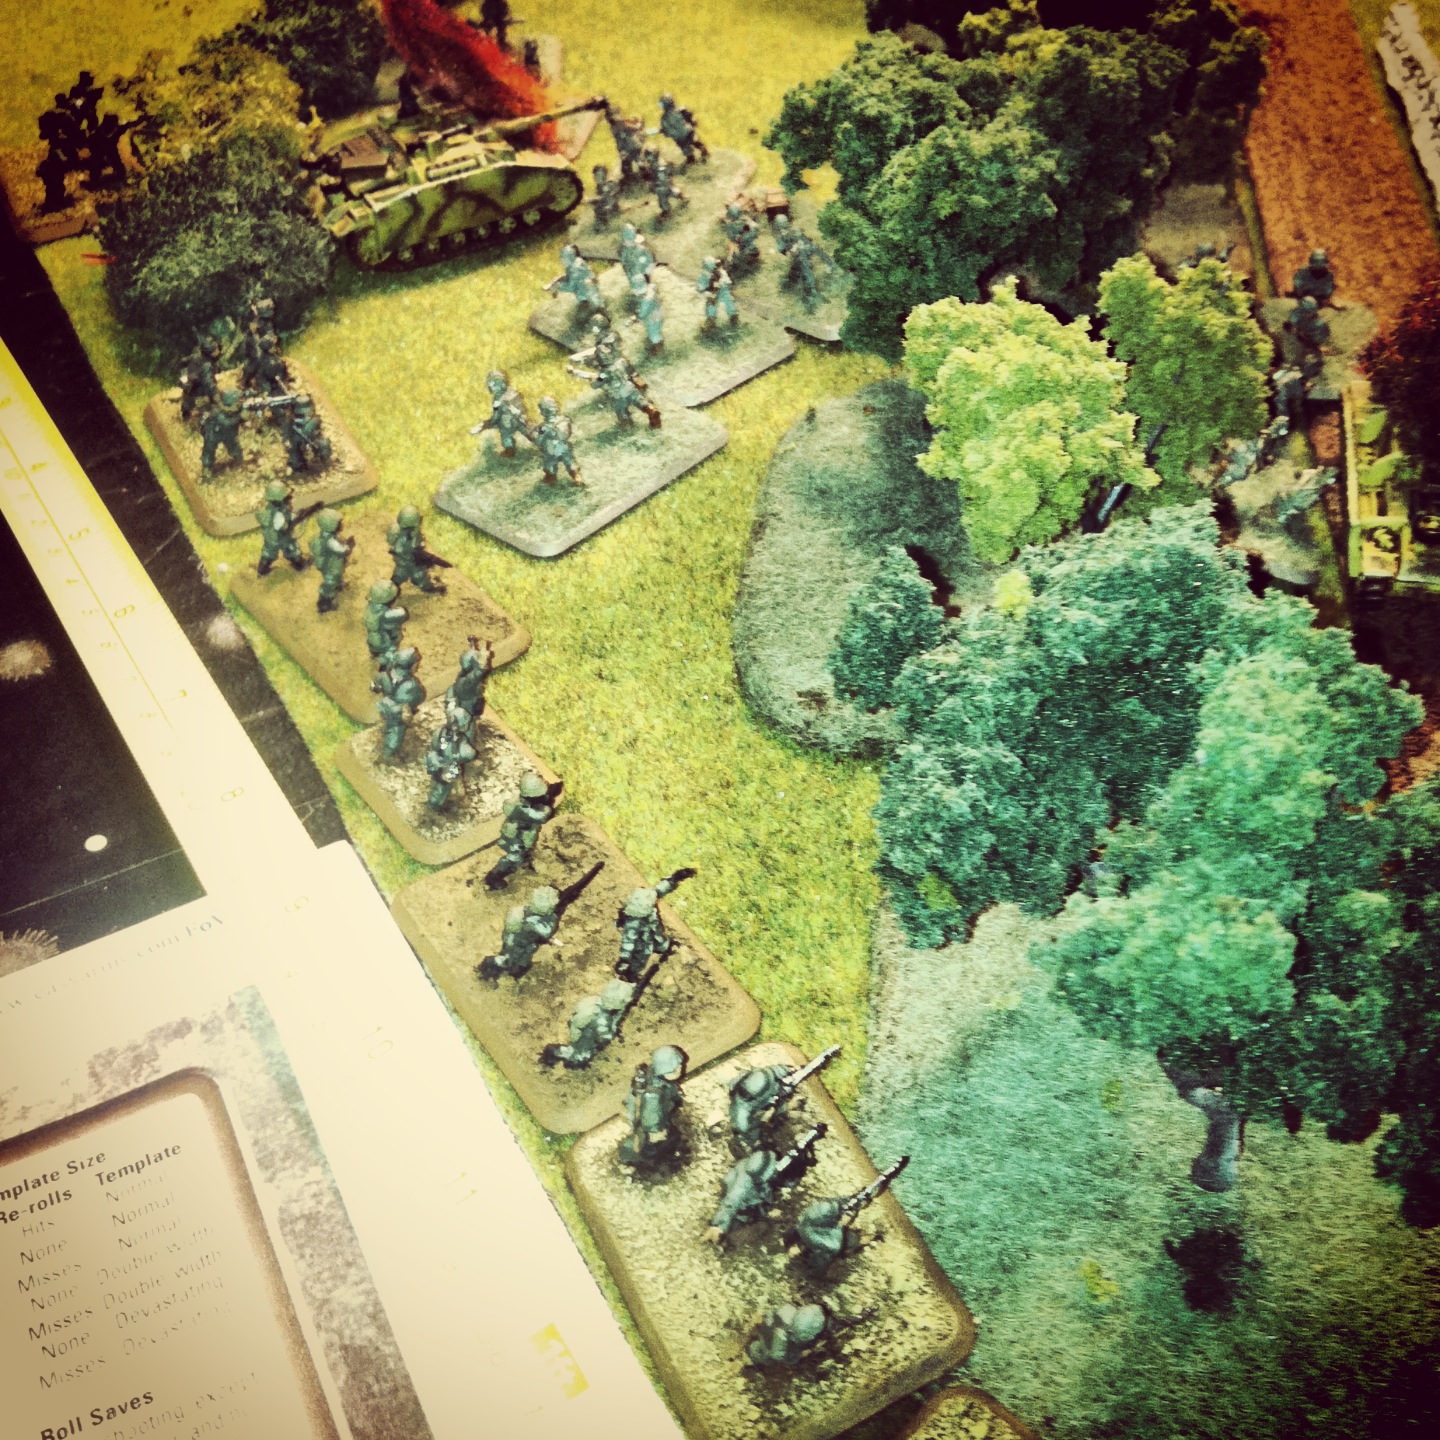
In the second turn, the Germans continued to light up the town with the US companies pinned in the buildings. A Stug opened fire down a lane but the Americans avoided being hit. US bazooka teams moved into the barn at the edge of town and took shots on the a German Stug and approaching half tracks but to no effect. The US machine gunners attempted to fire and then assault the nearing Germans but were thwarted by the thick bocage and failed terror test against a nearby Panzer. The Thunderbolt once again on did nothing its second run while the Airborne units at the farm ran across the road into the treeline, securing the second German objective.
In turn three, the German players thankfully failed their first attempt at calling in reserves. Pressing on, German half tracks raced through the town toward the American weapons platoon which took heavy casualties and lost the machine gunners to fire from both sides. Stugs and artillery continued to pound the American rifle platoons in the town. At the top of their turn, the Shermans arrived and made a hasty path to cut a hole in the bocage standing between the rest of their reserves and the nearby road.
Things really heated up in turn four as the Germans rolled on their first reserved Stug platoon near one of the objectives and the awaiting US Airborne. German infantry and Panzers pushed into the next field, knocking out the US mortars and eliminating their first platoon. The Americans pulled in the rest of their reserves but immediately created a bottleneck of Shermans and Stuarts as paths were cleared through the bocage. The P-47 came in hard on the Germans in the field, knocking out several units and destroying a Panzer. Finally, the fearless Airborne did what they’re trained to do and burst from the treeline to assault the newly-arrived Stug platoon. Two Stugs were destroyed and the third fled the field after a failed morale test. The objective was still held by the Americans but things were looking dicey with Germans coming in from all sides.
The fifth turn started with the final German reserve platoon arriving amid their burning tanks and assaulting the US Airborne. Through a series of attacks and counterattacks, the two groups whittled each other down. The Germans were eventually ground down to two remaining stands, lost their morale check and were destroyed. The victory for the Americans was short-lived, however, and the heavily-damaged Airborne platoon also failed a morale save and likewise fled the battle. With the game nearing it’s end, a Sherman was destroyed and blocked the road. All the US armor and artillery was effectively shut-out of the game. As the Germans covered an objective, the American P-47 made one final run to force a German morale check but to no avail. The Germans had won the day.
There were a number of things that had gone wrong for the Americans. The rifle platoons never got out of the town, contributing almost nothing to the battle. Had they hauled their way toward the forest in the middle of the board, pressure would been greater on one of the objectives. The restrictions on the reserves also hurt the Americans, with nearly half their force never getting a chance to get in the fight. The US Airborne were typically deadly in their assaulting enemy armor and ground troops and proved to be the one positive for the Allies. On the German side of the table, much of its large armor platoon, including the Tiger, was sidelined for much of the battle as they navigated the hedgerows and roads.
The game was a new experience for one of the German players who typically games in the wide-open spaces of the Northern Africa theater from earlier in the war. As in 1944, bocage played the role of a third unmovable enemy on the table. The bocage was frustrating for all players but this time sided more with the Germans in their breakthrough victory.


 (clockwise from top left) Fallschirmjagers, Hermann Göring troops and Grenadiers