Flames of War: Metropolitan Wargamers Tanksgiving 2014

Tanks2014

For the second year in a row, we’ll be hosting a day of armored Flames of War tank battles on Sunday November 30th at noon at Metropolitan Wargamers in Park Slope, Brooklyn. At last year’s Tanksgiving 2013 we hosted about ten players stretched over two tables participating in Early War Africa and a Late War Europe scenarios. This year we’ll be running multiple Late War Europe games using 1500 points of armored forces on a side. We’ll have plenty of US, British, Germand and Russian models on some gorgeous tables, so experienced players can bring their own forces or newcomers are welcome to just come along, move some armor, roll some dice learn the game.

The event will be held at Metropolitan Wargamers at 522 5th Street in Park Slope, Brooklyn (enter through basement level). Visitors pay just $15 and regular club members are free. The event will be a great opportunity for new people to meet some of us at the club and experience the best and oldest wargaming community in New York City. If you’d like to come, RSVP via our club’s Yahoo group.

I Ain’t Been Shot Mum: Panzer Lehr Counterattack Campaign – ‘Morning of the 902nd’ July 11, 1944 Scenario

OLYMPUS DIGITAL CAMERA

The battle near Hauts-Vents was a two-day affair between the US infantry and armored forces and German Panzer Lehr Division. After a day of intense combat on July 10, 1944, US forces were warned of local movements of the 902 Panzer Grenadier Regiment toward Hauts-Vents. With a German counterattack expected in the early morning hours of the next day, American infantry and armor prepared for a defensive fight under the cover of darkness and foggy, damp weather among the dense bocage hedgerows and under cover of the strong French buildings.

HVJuly44MapMap of the battle at Hauts-Vents, July 11, 1944

(via US Army Center of Military History)

After a first game loss at Hauts-Vents by the Germans, we continued our campaign at Metropolitan Wargamers in Brooklyn, NY this past week. The second game from the “Panzer Lehr Counterattack” mini campaign from the Heroes of Omaha and Panzer Lehr scenario book from Skirmish Campaigns is called ‘Morning of the 902nd.’ The game uses the same terrain set-up as the first scenario, but this time focuses on the German attempt to recapture Hauts-Vents on July 11 after losing key objectives to the Americans the day before. The game begins under pre-dawn darkness over wet ground with US platoons in hidden positions at the north end of the table and the Germans advancing under blinds from the hill position to the south. The Germans must retake the field by capturing two of the three objective buildings at the center town.

IMG_4251Germans deploy on blinds looking to take back the town

IMG_4253Germans blinds rush forward and immediately hit a minefield

IMG_4254A German platoon encounters a minefield and takes heavy casualties

The German advanced on blinds from Hill 91, making a hasty frontal push straight for the town. On the German left, mechanized Grenadiers mounted in Sd. Kfz 251s roared their engines and drove straight into a minefield at the bocage at the bottom of the valley outside town. Making matters worse, American machine guns hiding in the dense hedge sprayed the German line with fire. German infantry and half tracks fired back, destroying one US machine gun team and forcing a retreat of the other to the center of town. At the end of the firefight, the German commanding officer escaped but three fire teams in one platoon took heavy damage, forcing them to fall back.

IMG_4256The German Panzer IV column exposes two Shermans behind a farmhouse

IMG_4255The lead German Panzer IV is destroyed, blocking the road

IMG_4312Panzer IVs switch routes, making for the American flank

On the German right, things didn’t go much better. A column of Panzer IVs drove on the main road for town, accompanied by a a Grenadier platoon closing in on a farmhouse they had lost the previous day. Waiting hidden at the stone cottage were two M4 Shermans which opened fire at the lead Panzer at close range , leaving it a burning hulk blocking the road forward. Closing in from behind, Grenadiers ran to engage the tanks with a Panzerfaust shot on their rear armor. Several turns of fire were exchanged between the Shermans and Panzer IV second in line as the two rear Panzers reversed direction back to the fork in the road. A few rounds later both Shermans were destroyed, and the surviving three Panzer IVs and the unharmed Grenadiers were heading for the east side of the town.

IMG_4313Panzer IVs and Grenadiers move on the US left and expose a Sherman platoon at an objective

The Germans continued their advance up the road on the US left, looking to flank the town. The three Panzer IVs were slowed over the barbed wire blocking the road, and one bogged for the remainder of the action in soggy ground. German infantry spotted a Sherman platoon camped out around one of the objectives and then ran over and around the bocage looking to avoid fire in the field beyond.

IMG_4314US Wolverines take aim at a German Panzer III flame tank in the open

IMG_4316US and German armor exchange fire, leaving a Wespe, Panzer III and M10 Wolverine in flames

Two remaining German blinds rolled to the field as US tank destroyer M10 Wolverines appeared behind the bocage at the town. The blinds revealed themselves as a Panzer III flame tank and Sd. Kfz. 124 Wespe and both turned to engage the Wolverines. Two quick shots from the flame tank failed to harm the open-topped Wolverines which returned fire and blew up the Panzer III. The German’s mobile gun fired back, destroying one of the Wolverines before subsequently being wrecked by US anti-tank fire. With German armor burning in the field, the Grenadiers continued to sprint over the open area and looked to swing into the town from the rear.

IMG_4317Flares illuminate the town objectives and German mechanized Grenadiers push forward

Back on the German left, several Grenadier platoons on foot and mounted in their half tracks moved to the US left in the town as the early morning darkness was lit up with a flare. Two fresh American rifle platoons revealed their positions in two of the objective buildings and gunfire was exchanged with the German platoons moving toward the town. Despite their cover in the stone building, the combined arms fire from the Germans ousted one US platoon from their building and the other took steady damage.IMG_4318Panzer IVs destroy the final M10 Wolverine as German infantry rush to flank the town from the rear

On the other side of town the two functioning Panzer IVs rolled across the field, shooting at and destroying the last American tank killer. Under continued cover from their Panzers, the Grenadier platoon continued slipping across the field, climbing over the bocage and looping around to the American rear.

IMG_4319A direct hit from Germany artillery arrives in the middle of the American position

With German infantry looking to encircle the town and two Panzers wheeling to engage the Shermans at the center of town, a German artillery barage hit dead center amid the objective buildings. As the smoke cleared, only two Shermans remained fully operational and the surviving US rifle platoons were on the run. As early morning light began to break, the Americans heard encroaching German voices from the hedgerows from every side of the town. The Panzer Lehr counterattack had been a success, and the Americans chose to cut their losses, regroup and fight again.

Flames of War: Fielding the CD and FOW M13/M16 MGMC AA

M1650cal AA

One of my favorite blogs, War Is Boring, recently ran an article about the famed Browning M2 machine gun. Introduced in the 1930s, the .50 cal machine gun went on to become one of the most common heavy weapons used in the field by US infantry, mounted on ground vehicles and installed in aircraft. Whether used on the ground or against air targets, the gun is beloved by troops for its ferocious stopping power. Installed in combinations in half tracks as anti-aircraft guns, the weapon earned affectionate nicknames like the “Ma Deuce,” the “Quad 50” or simply “The Fifty.” To this day, the .50 cal is still in wide use wherever US forces deploy.

IMG_4295M13/M16 MGMC AA model comparisons with Flames of War (left) and Command Decision (right)

My recent projects for  my 15mm World War II gaming have focused on filling in extra support units, and adding some AA was key to filling a gap in my forces. Needing four models for a full platoon, I was faced with a choice of manufacturers. Flames of War sells their M13 MGMC models separately for about $13 each. Old Glory Miniatures offers a 3-pack of M16 Quad AA SP Halftracks for $25. So, I was looking at choices of purchasing four of the FOW models for $52, buying two of the CD sets for $50 (and having two leftover, unused models) or ordering from each manufacturer and getting exactly the four models I needed for $38.

I opted for the economical route and wound up with some pretty different models. Side-by-side, the FOW resin and plastic truck is taller, longer and wider than the CD all-metal castings. Everything glued-up nicely, but the guns for both companies proved to be very delicate and prone to bending. The FOW model has crisper lines, but the rougher CD half tracks have a fair amount more detail.

IMG_4296My completed M13/M16 MGMC AA platoon

With four half tracks in the platoon, the larger FOW model literally stands out among the other three smaller CD models. With its bigger profile, I’ve decided to take advantage of its differences and use the FOW half track as the command model in the unit. Since I won’t be fielding the platoon all the time, the delicate gun barrels are less of concern as they are bound to sit comfortably in one corner of the table and blaze away at any Axis aircraft or unfortunate ground forces who dare get too close.

Flames of War: Fielding the FOW L-4 Grasshopper AOP

L4Grasshopper1944

Piper Aircraft was founded in the late 1920s with an eye toward building planes for general civilian use. From 1938 to 1947, Piper sold nearly 30,000 of their relatively inexpensive J-3 Cub models, making the plane one of the most ubiquitous non-commercial planes soaring over the United States by the mid-20th-century.

1943 industrial film of the building of a Piper Aircraft J-3 Cub

During World War II, Piper supplied the US Army Air Forces with nearly 6000 of their J-3 Cub planes in a modified military version known as the L-4 Grasshopper. The main modification of the light plane was the installation of wide banks of plexiglass windows, making it usable as a radio observer and reconnaissance plane during key missions like the Allied invasion of Normandy in June 1944. The Grasshopper also found varied service transporting supplies to the front, carrying wounded to the rear and ferrying military and political dignitaries. In rare cases later in the war, the plane was also equipped with light weapons for use as an air-to-ground attack platform.

IMG_4250My completed Flames of War US AOP Grasshopper

My modelling for Flames of War has been focusing as of late on filling in some odd little gaps in my forces. Since I run some US artillery from time to time, adding an air observation plane not only allowed me to add to my gaming but also take a break to model another plane. This time around I also decided to pay a bit more attention to basing my plane to add a bit of visual interest to an otherwise simple model. I like the quick work on the base so much that I’m going to go back and add the same to my US P-47 Thunderbolt and British Hawker Typhoon models. While relatively inexpensive and easy to assemble and paint like my other aircraft, my one criticism of the FOW Grasshopper model is the lack of decals.

Even with the one shortcoming in markings, my new Grasshopper will be a welcome addition to my FOW games. In most American army lists, adding an AOP is a cheap point spend while also greatly expanding the effectiveness of the already devastating US 105mm howitzer battery. Getting this little plane zipping over the heads of my Axis opponents on the tabletop battlefield may not prove to be a total game changer. It is, however, going to give the enemy one more thing to worry about and may just provide an edge like this classic of American engineering did some 70 years ago in the skies of Europe.

I Ain’t Been Shot Mum: Panzer Lehr Counterattack Campaign – ‘Hauts-Vents’ July 10, 1944 Scenario

NearStLo

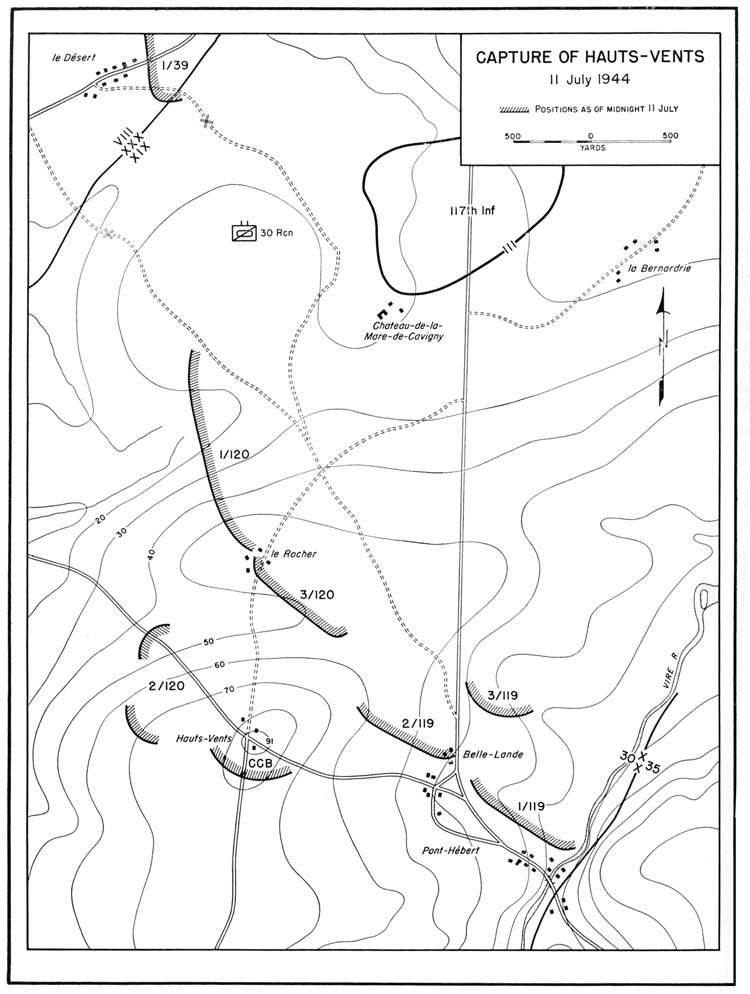
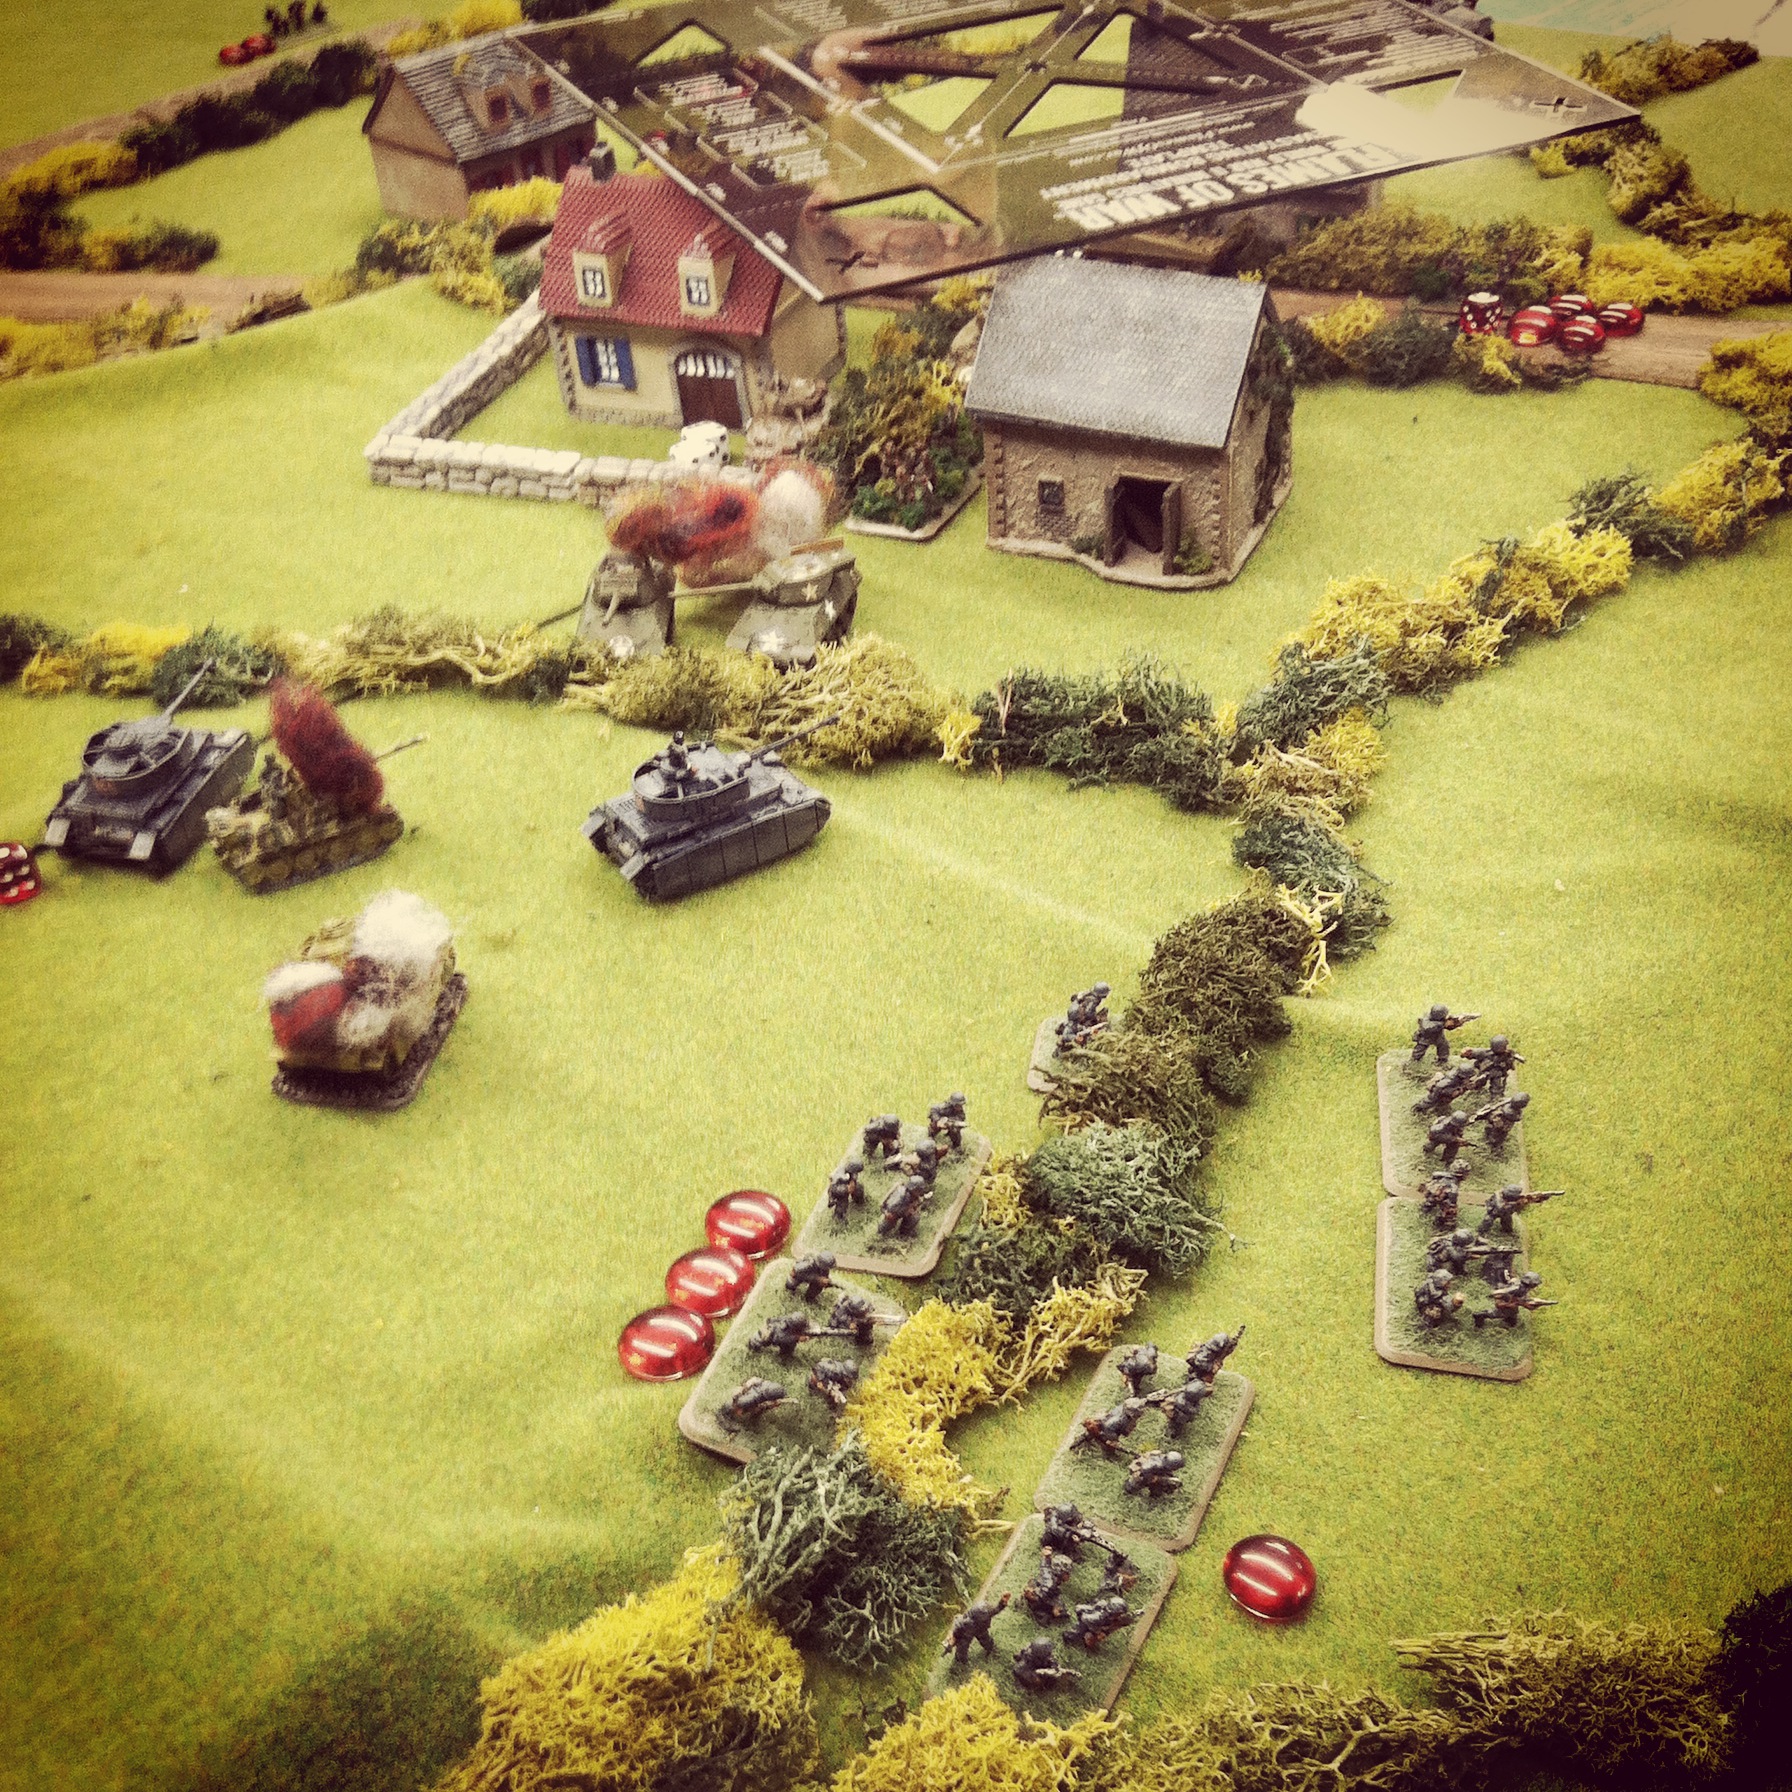
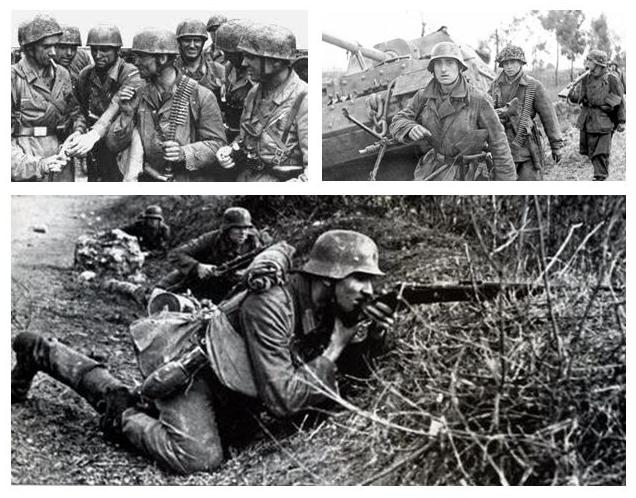
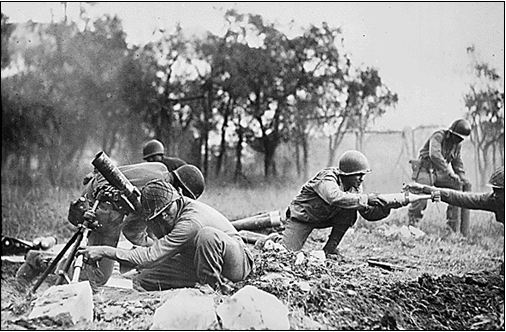
Although the Panzer Lehr Division was held out of action during the Allied D-Day landing at Normandy in June 1944 , they would go on to provide a number of important defensive, delaying and counterattack actions in the months following. They first distinguished themselves in the days immediately after, throwing up a hasty defense at Caen against encroaching British and Canadian forces. After battles at Tilly-sur-Seulles and Villers Bocage in mid-to-late June, the vastly depleted Panzer Lehr Division was called out of the fight. With only a short time to regroup, the war-worn division was ordered west to countetattack he Allied inland progress toward Saint-Lo. While the June battles had run the Germans up against British Commonwealth forces, the July engagements in the hilly fields and bocage-lined roads would be against the armored and infantry forces of the United States.

PLCounterattackJul44Map

Map of the Panzer Lehr Division counterattack in July 1944

(via US Army Center of Military History)

For a few months now at Metropolitan Wargamers in Brooklyn, NY, we’ve been playing a fair amount of I Ain’t Been Shot Mum rules system for World War II. After a number of one-offs and our recent North of Caen game, we finally decided to jump into a mini campaign focusing on the Allied push inland toward St Lo and the German defense following the D-Day landings in  Normandy in June 1944.

SCHeroesofOmaha
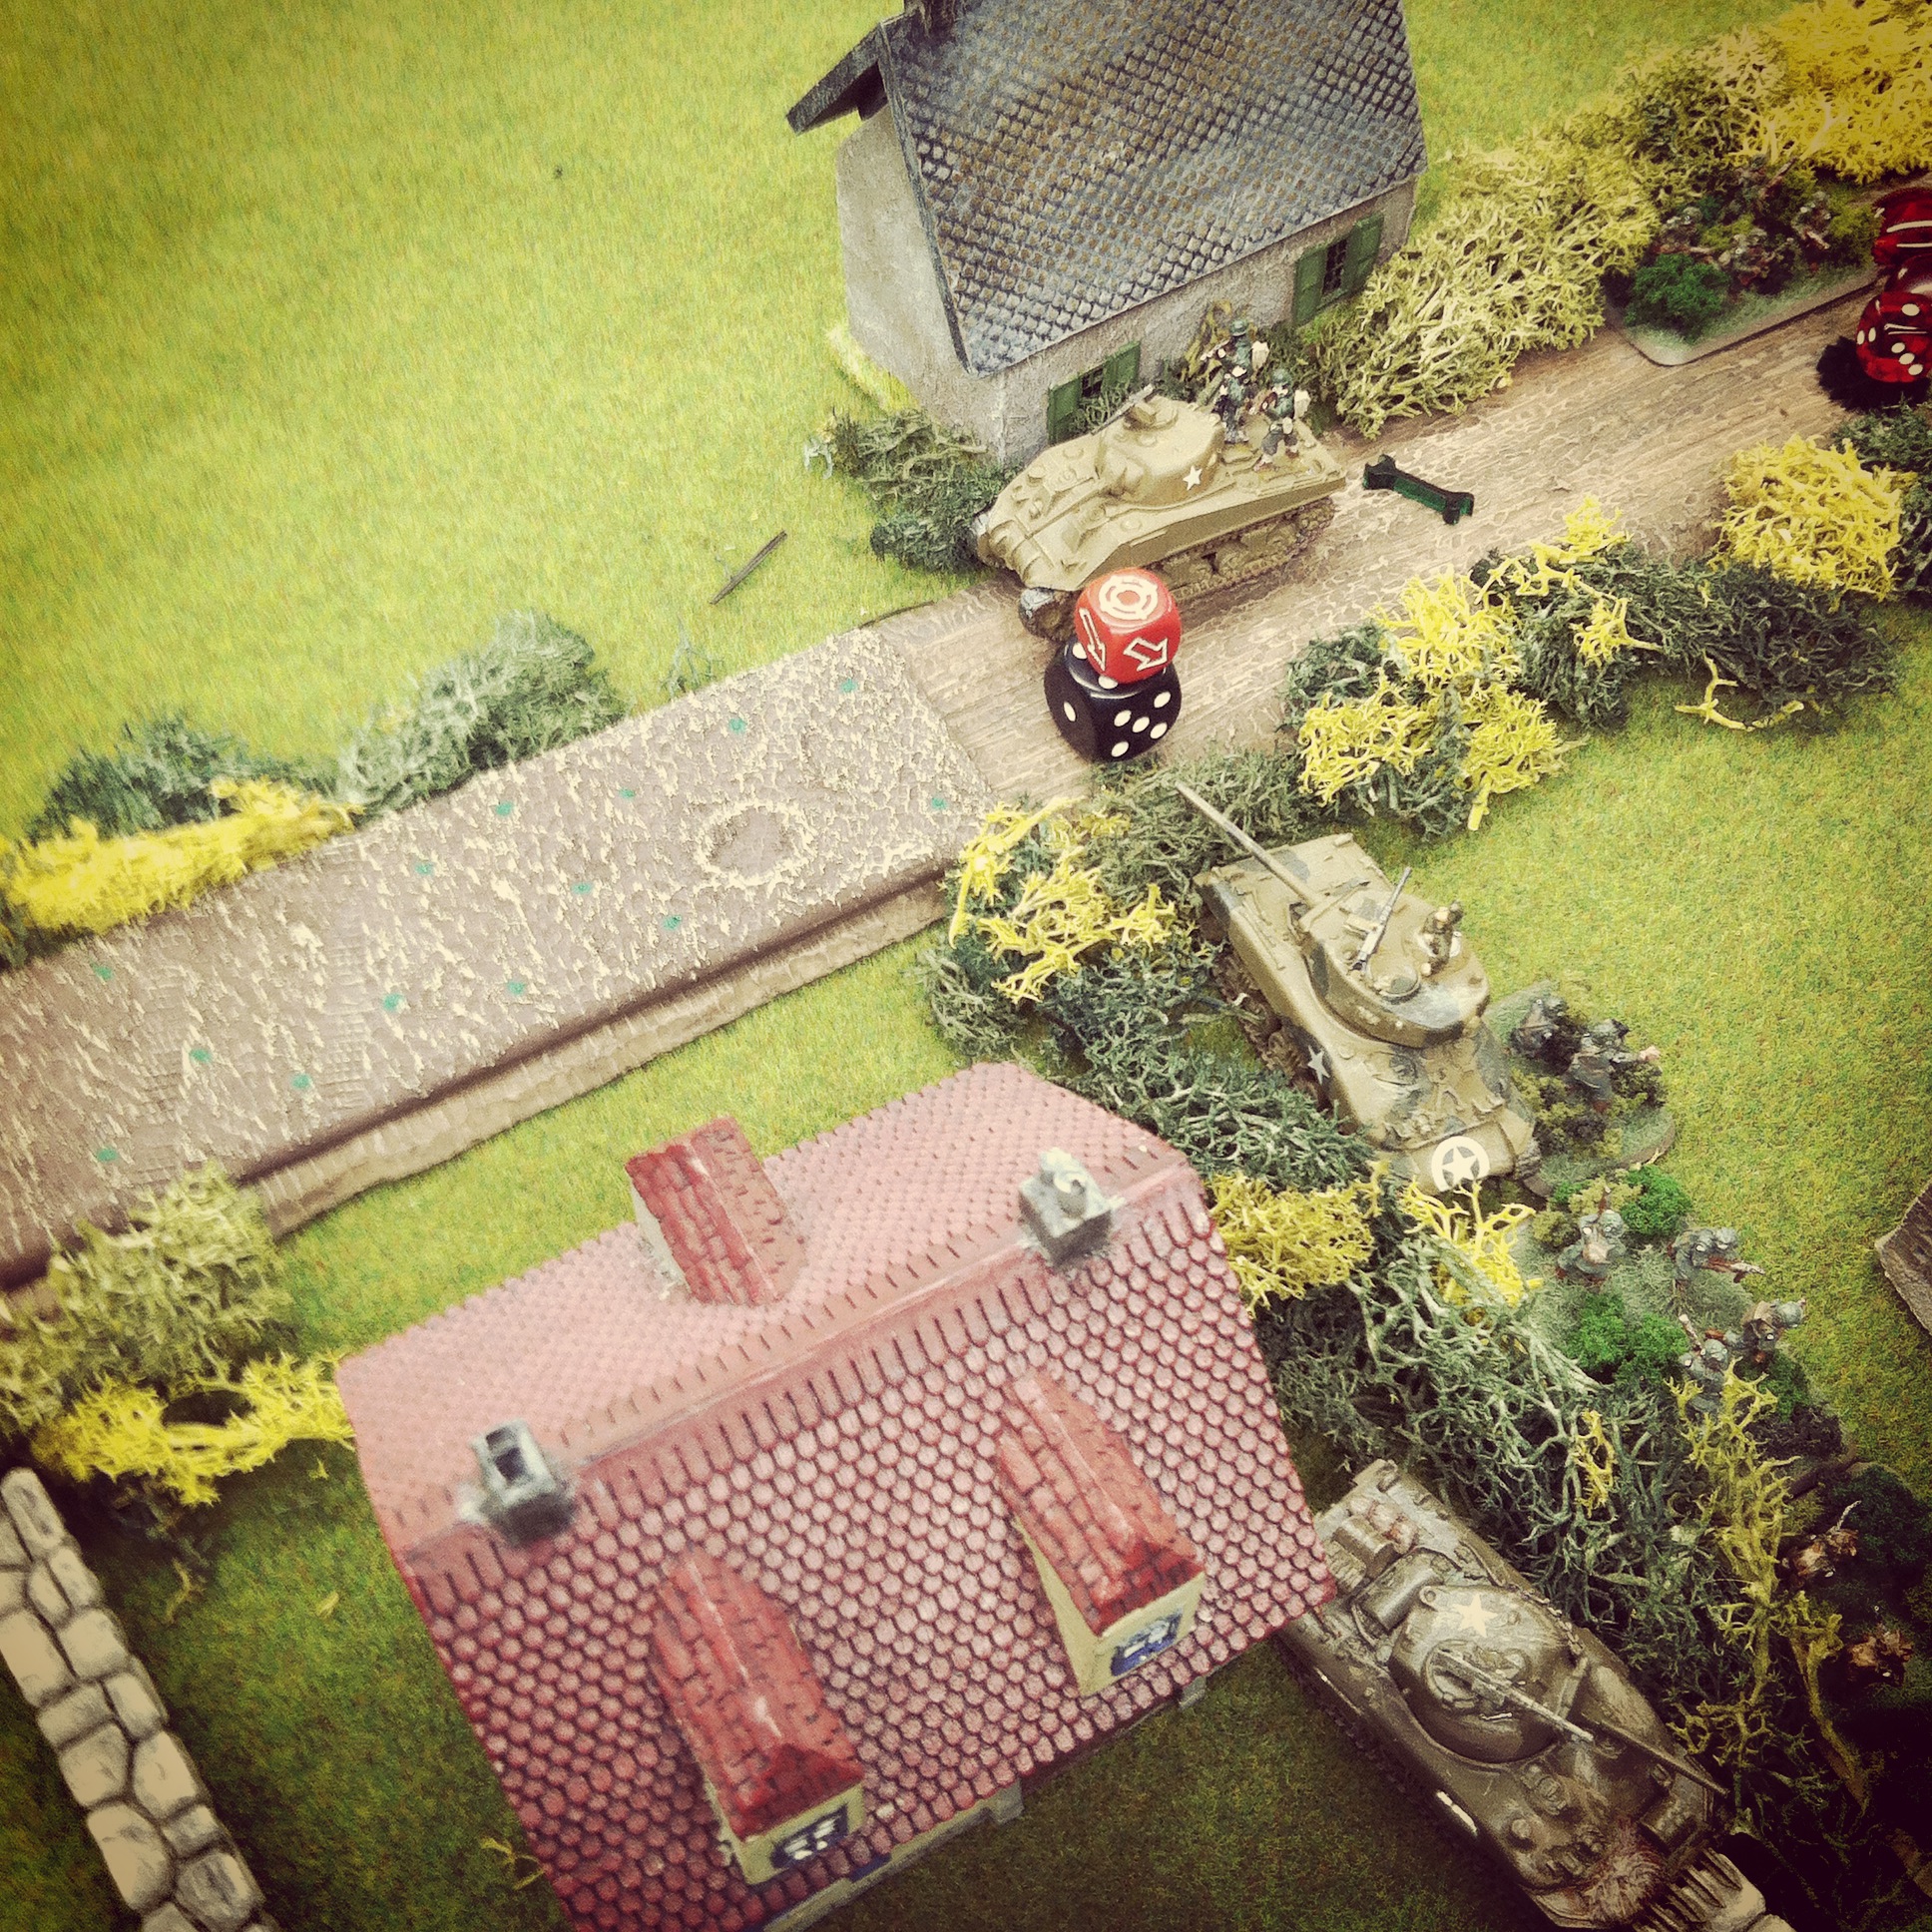
Skirmish Campaigns  “Heroes of Omaha and Panzer Lehr” scenario book

For our campaign, we’re using the classic Heroes of Omaha and Panzer Lehr scenario book from Skirmish Campaigns. The Skirmish Campaigns series of books offers well-researched and detailed campaign scenarios full of detailed orders of battle, terrain layout maps and deeply descriptive narrative of how actual engagements unfolded during World War II. With just a little bit of work, the Skirmish Campaigns scenarios are easily adaptable to a variety of wargaming rules and scales including Battleground, Bolt Action, Flames of War and I Ain’t Been Shot Mum.

IMG_4207

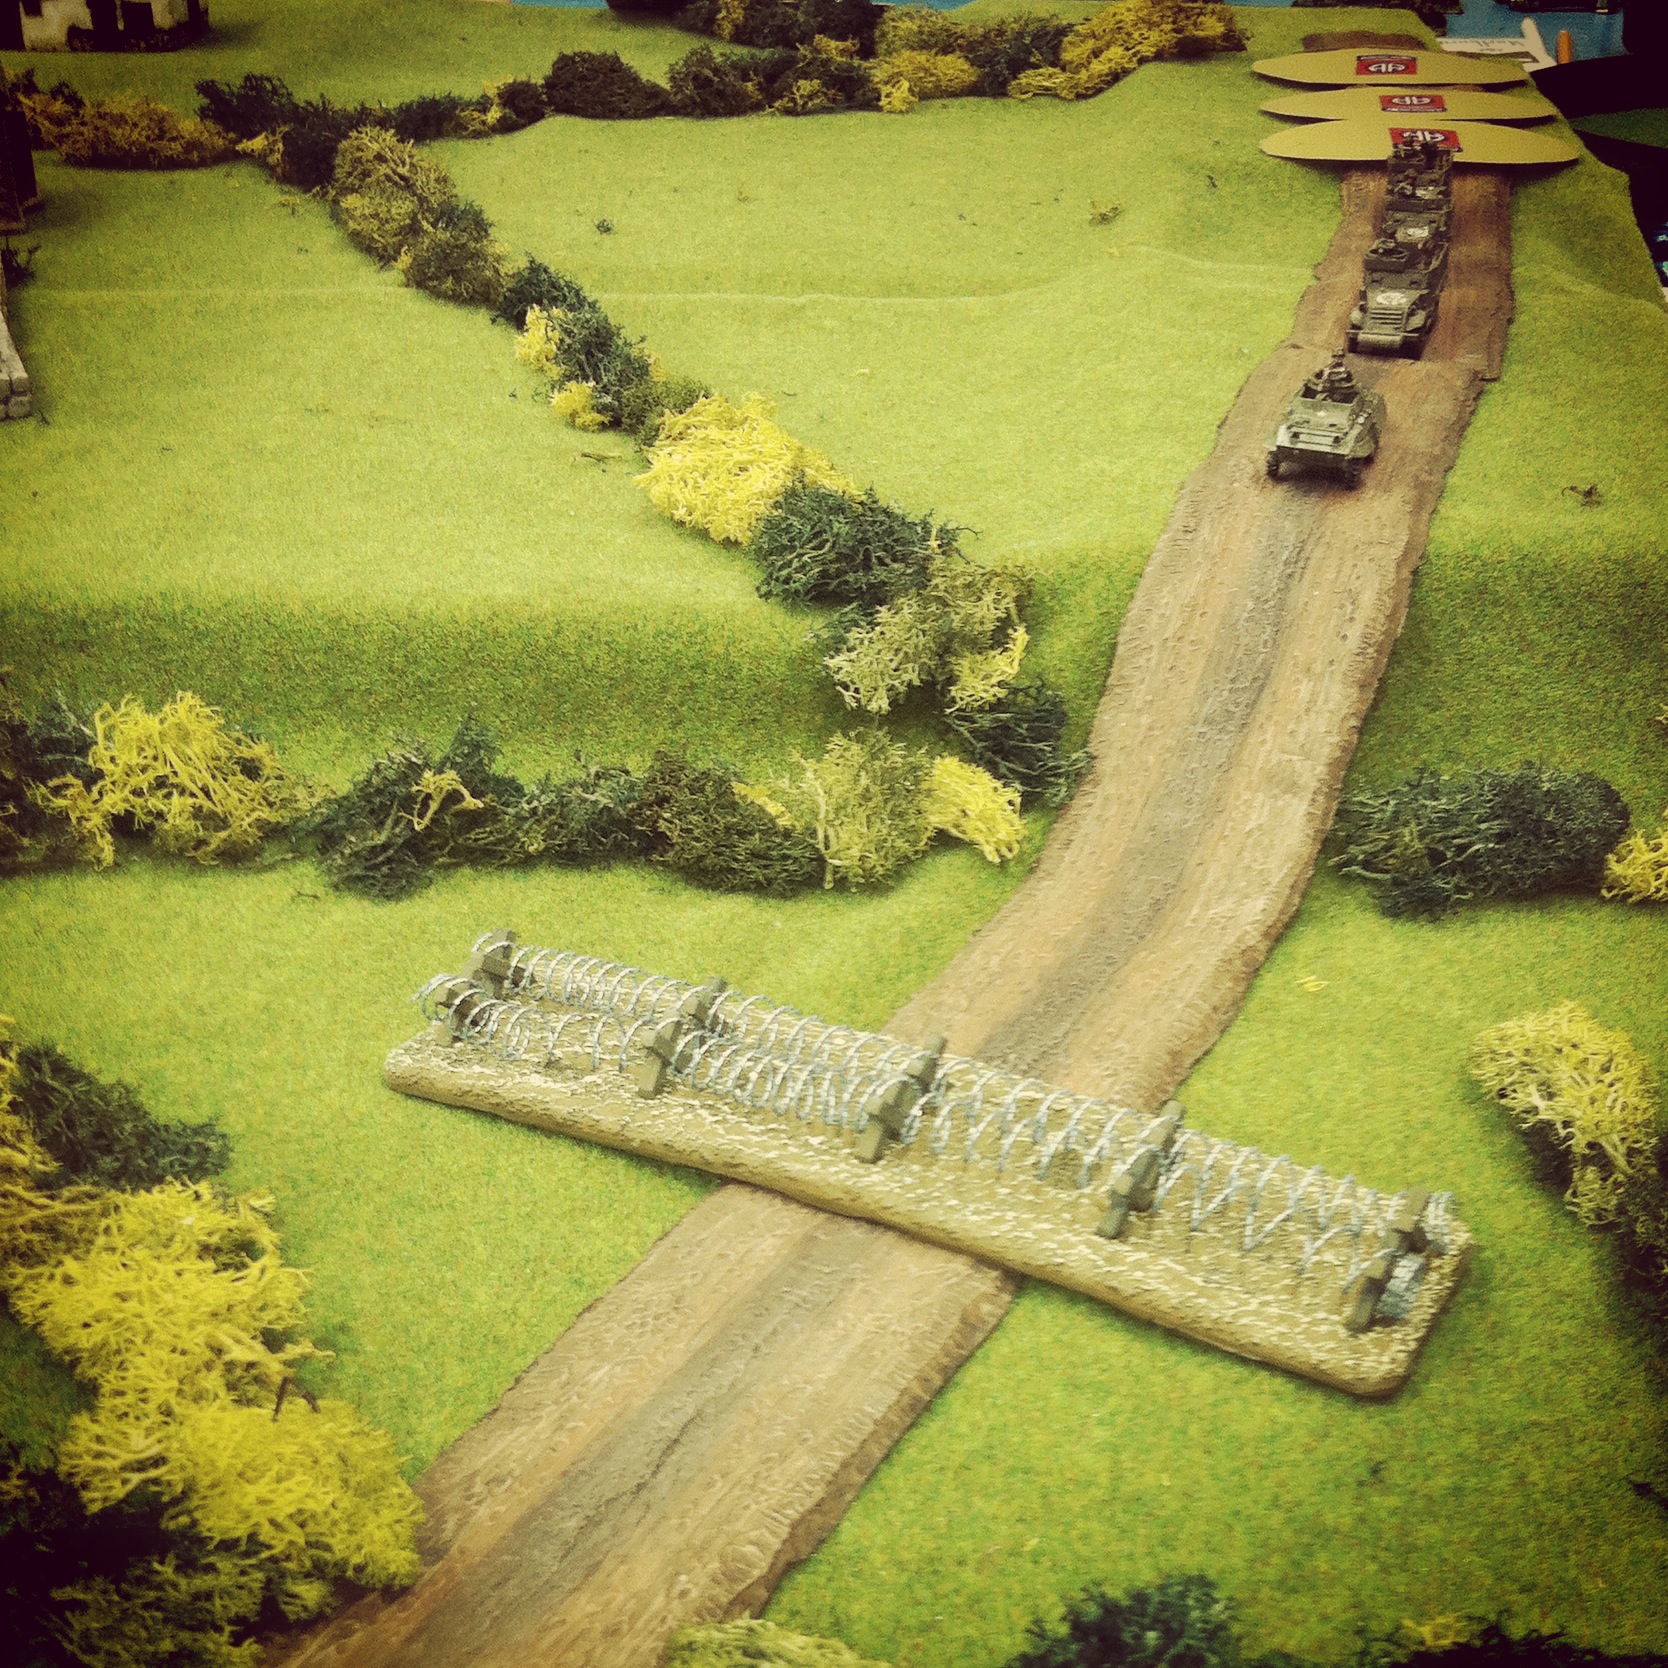
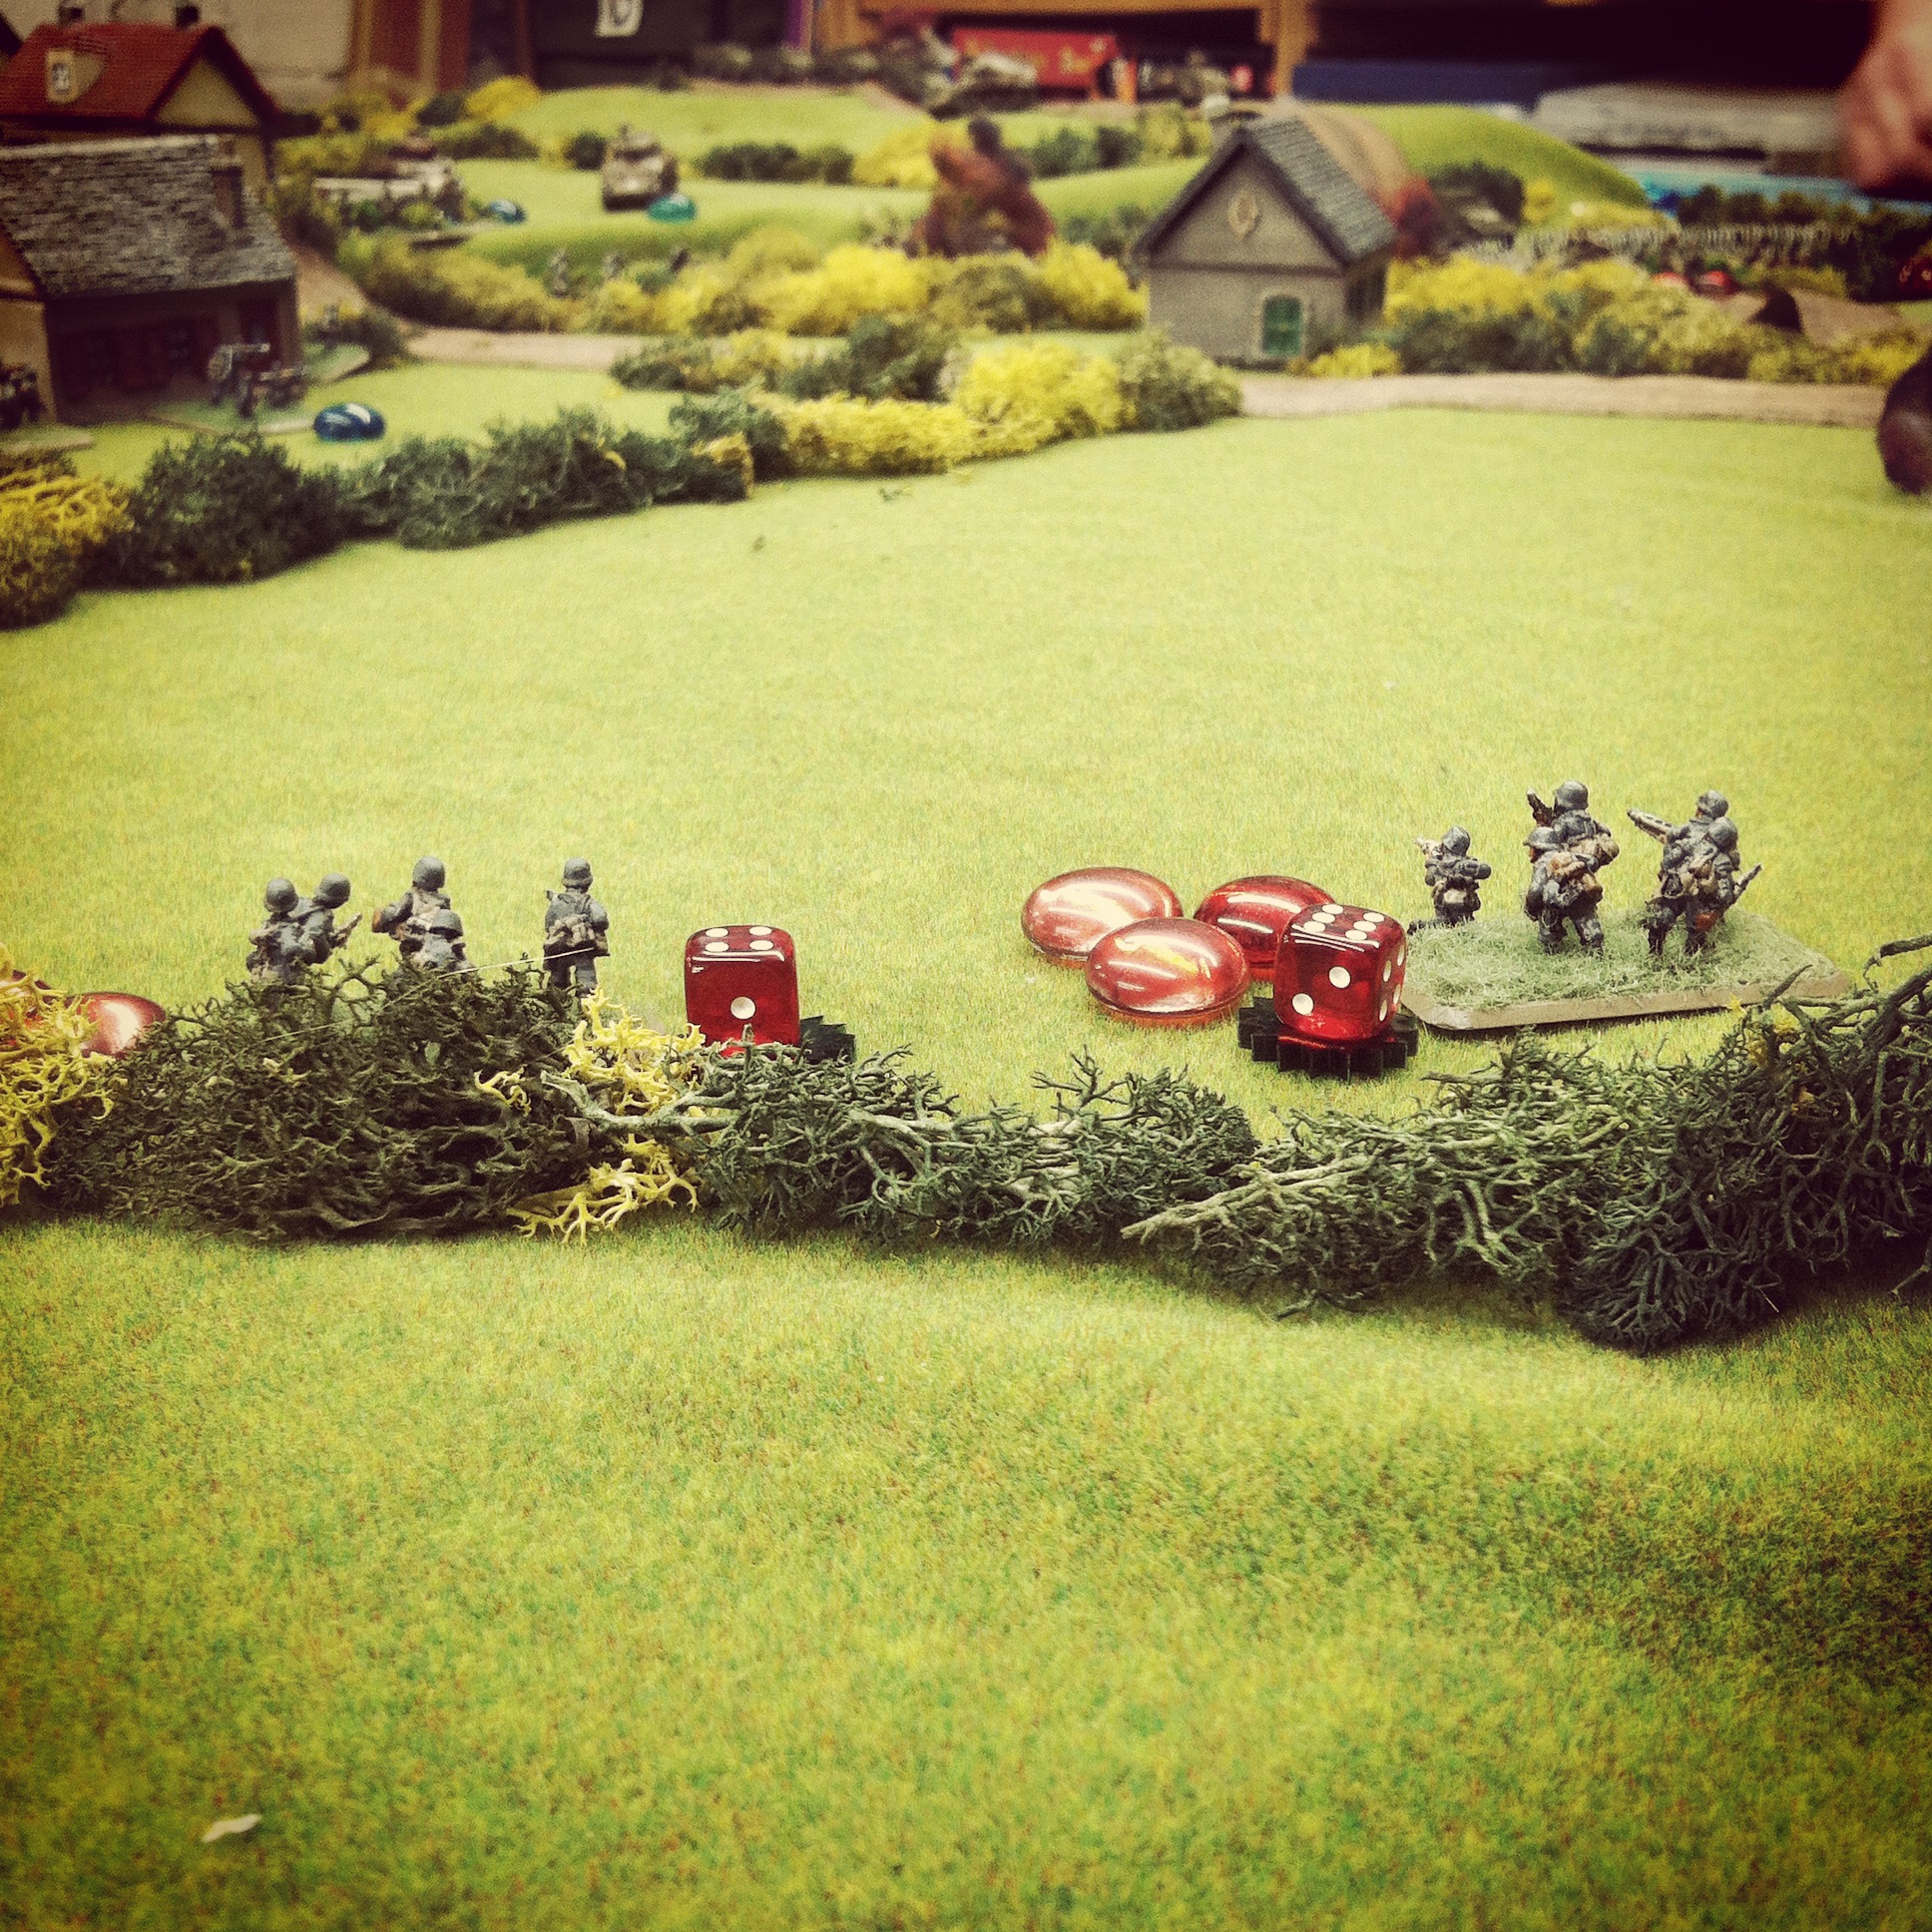
Scenario set-up with two small houses as objectives at the middle of the table set amid rolling hills, small farms and thick bocage

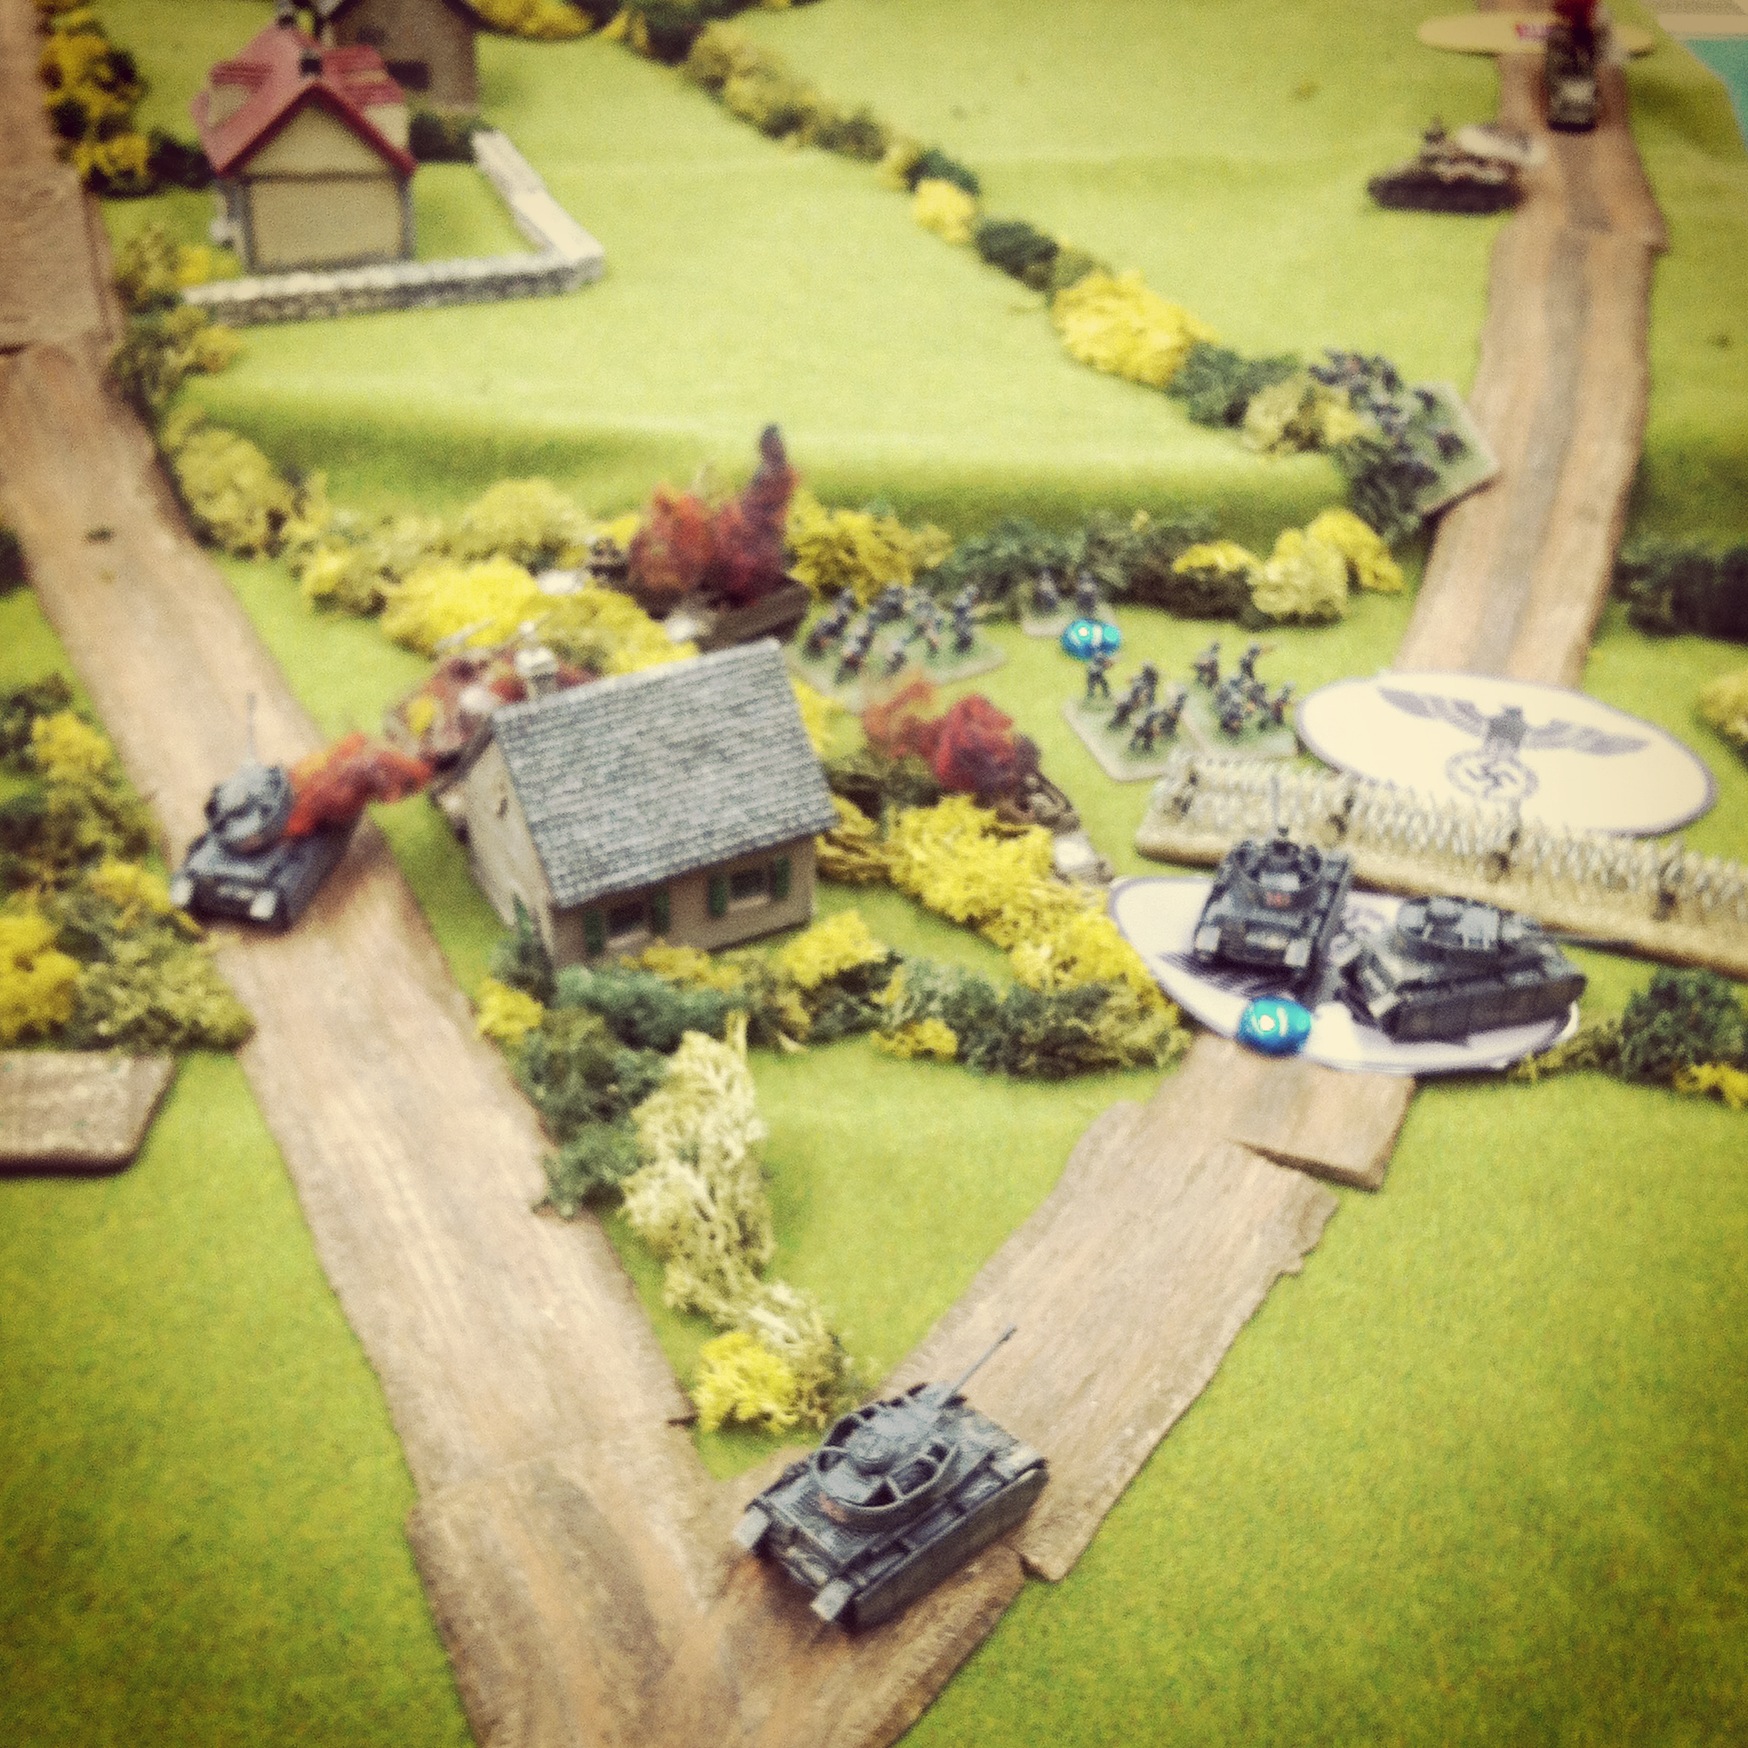
The scenario at Hauts-Vents is set up on a long table with hills rolling into a valley from either end. Roads cross the table among fields lined with heavy bocage hedgerows. At the center of the table are two farmhouse objectives that are the focus of the US mission. All German platoons are deployed on blinds nearly everywhere on the table, accepting the northeast corner from which the US advance begins.

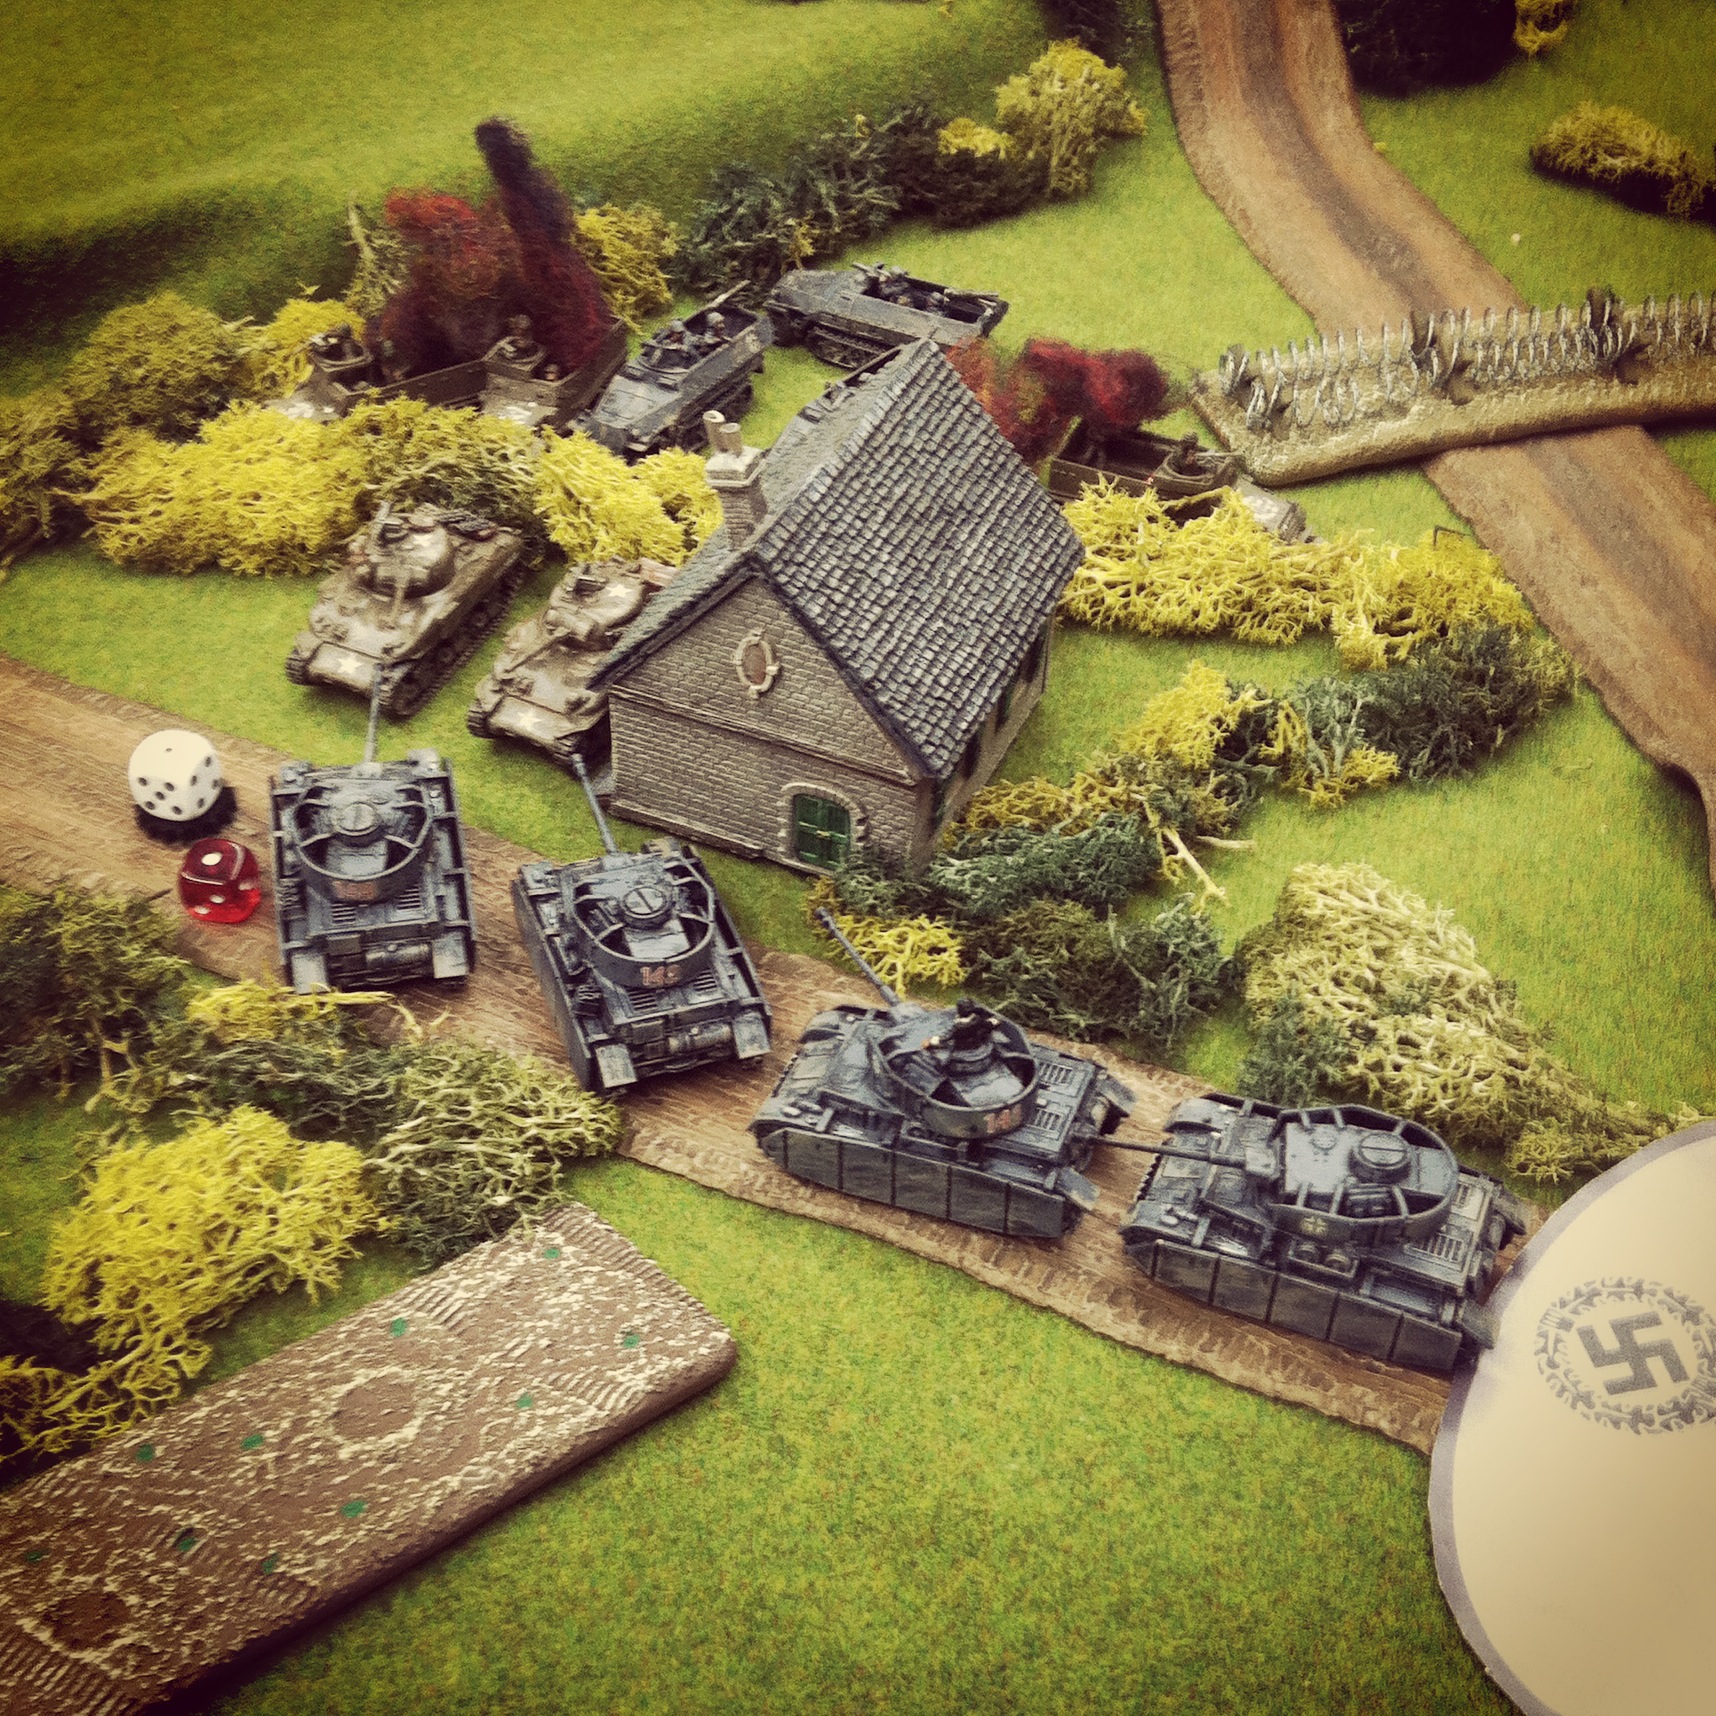
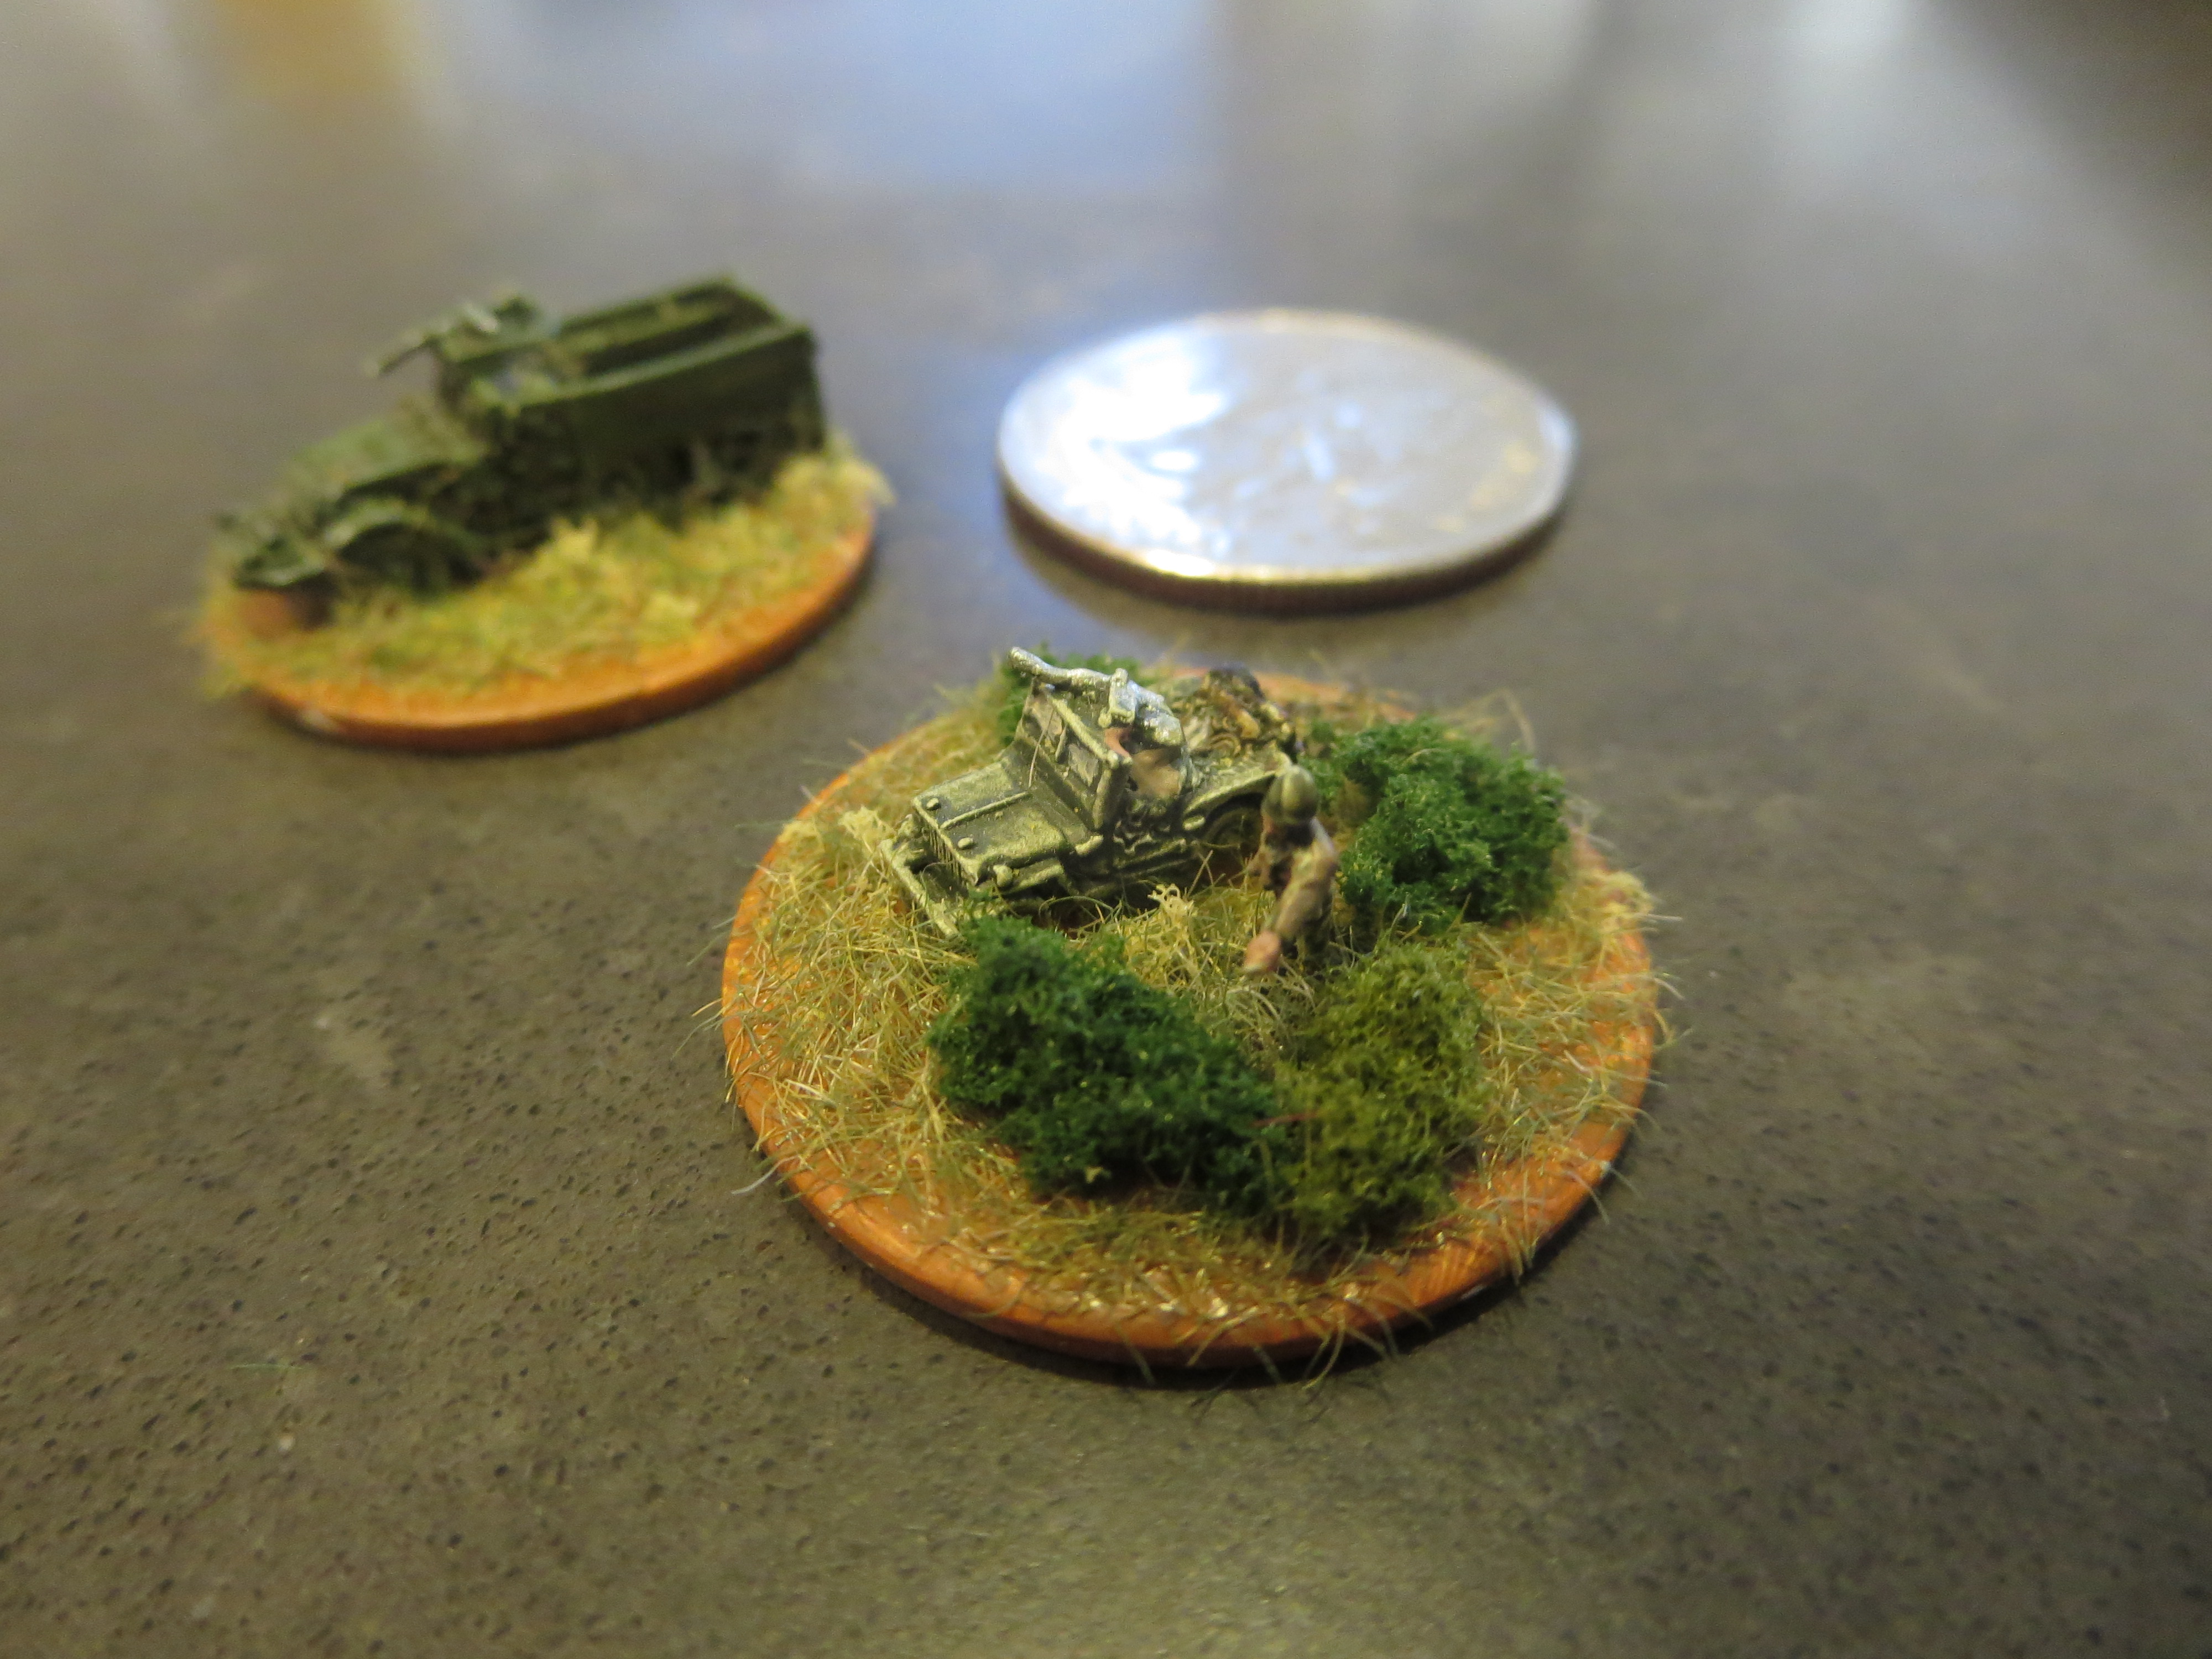
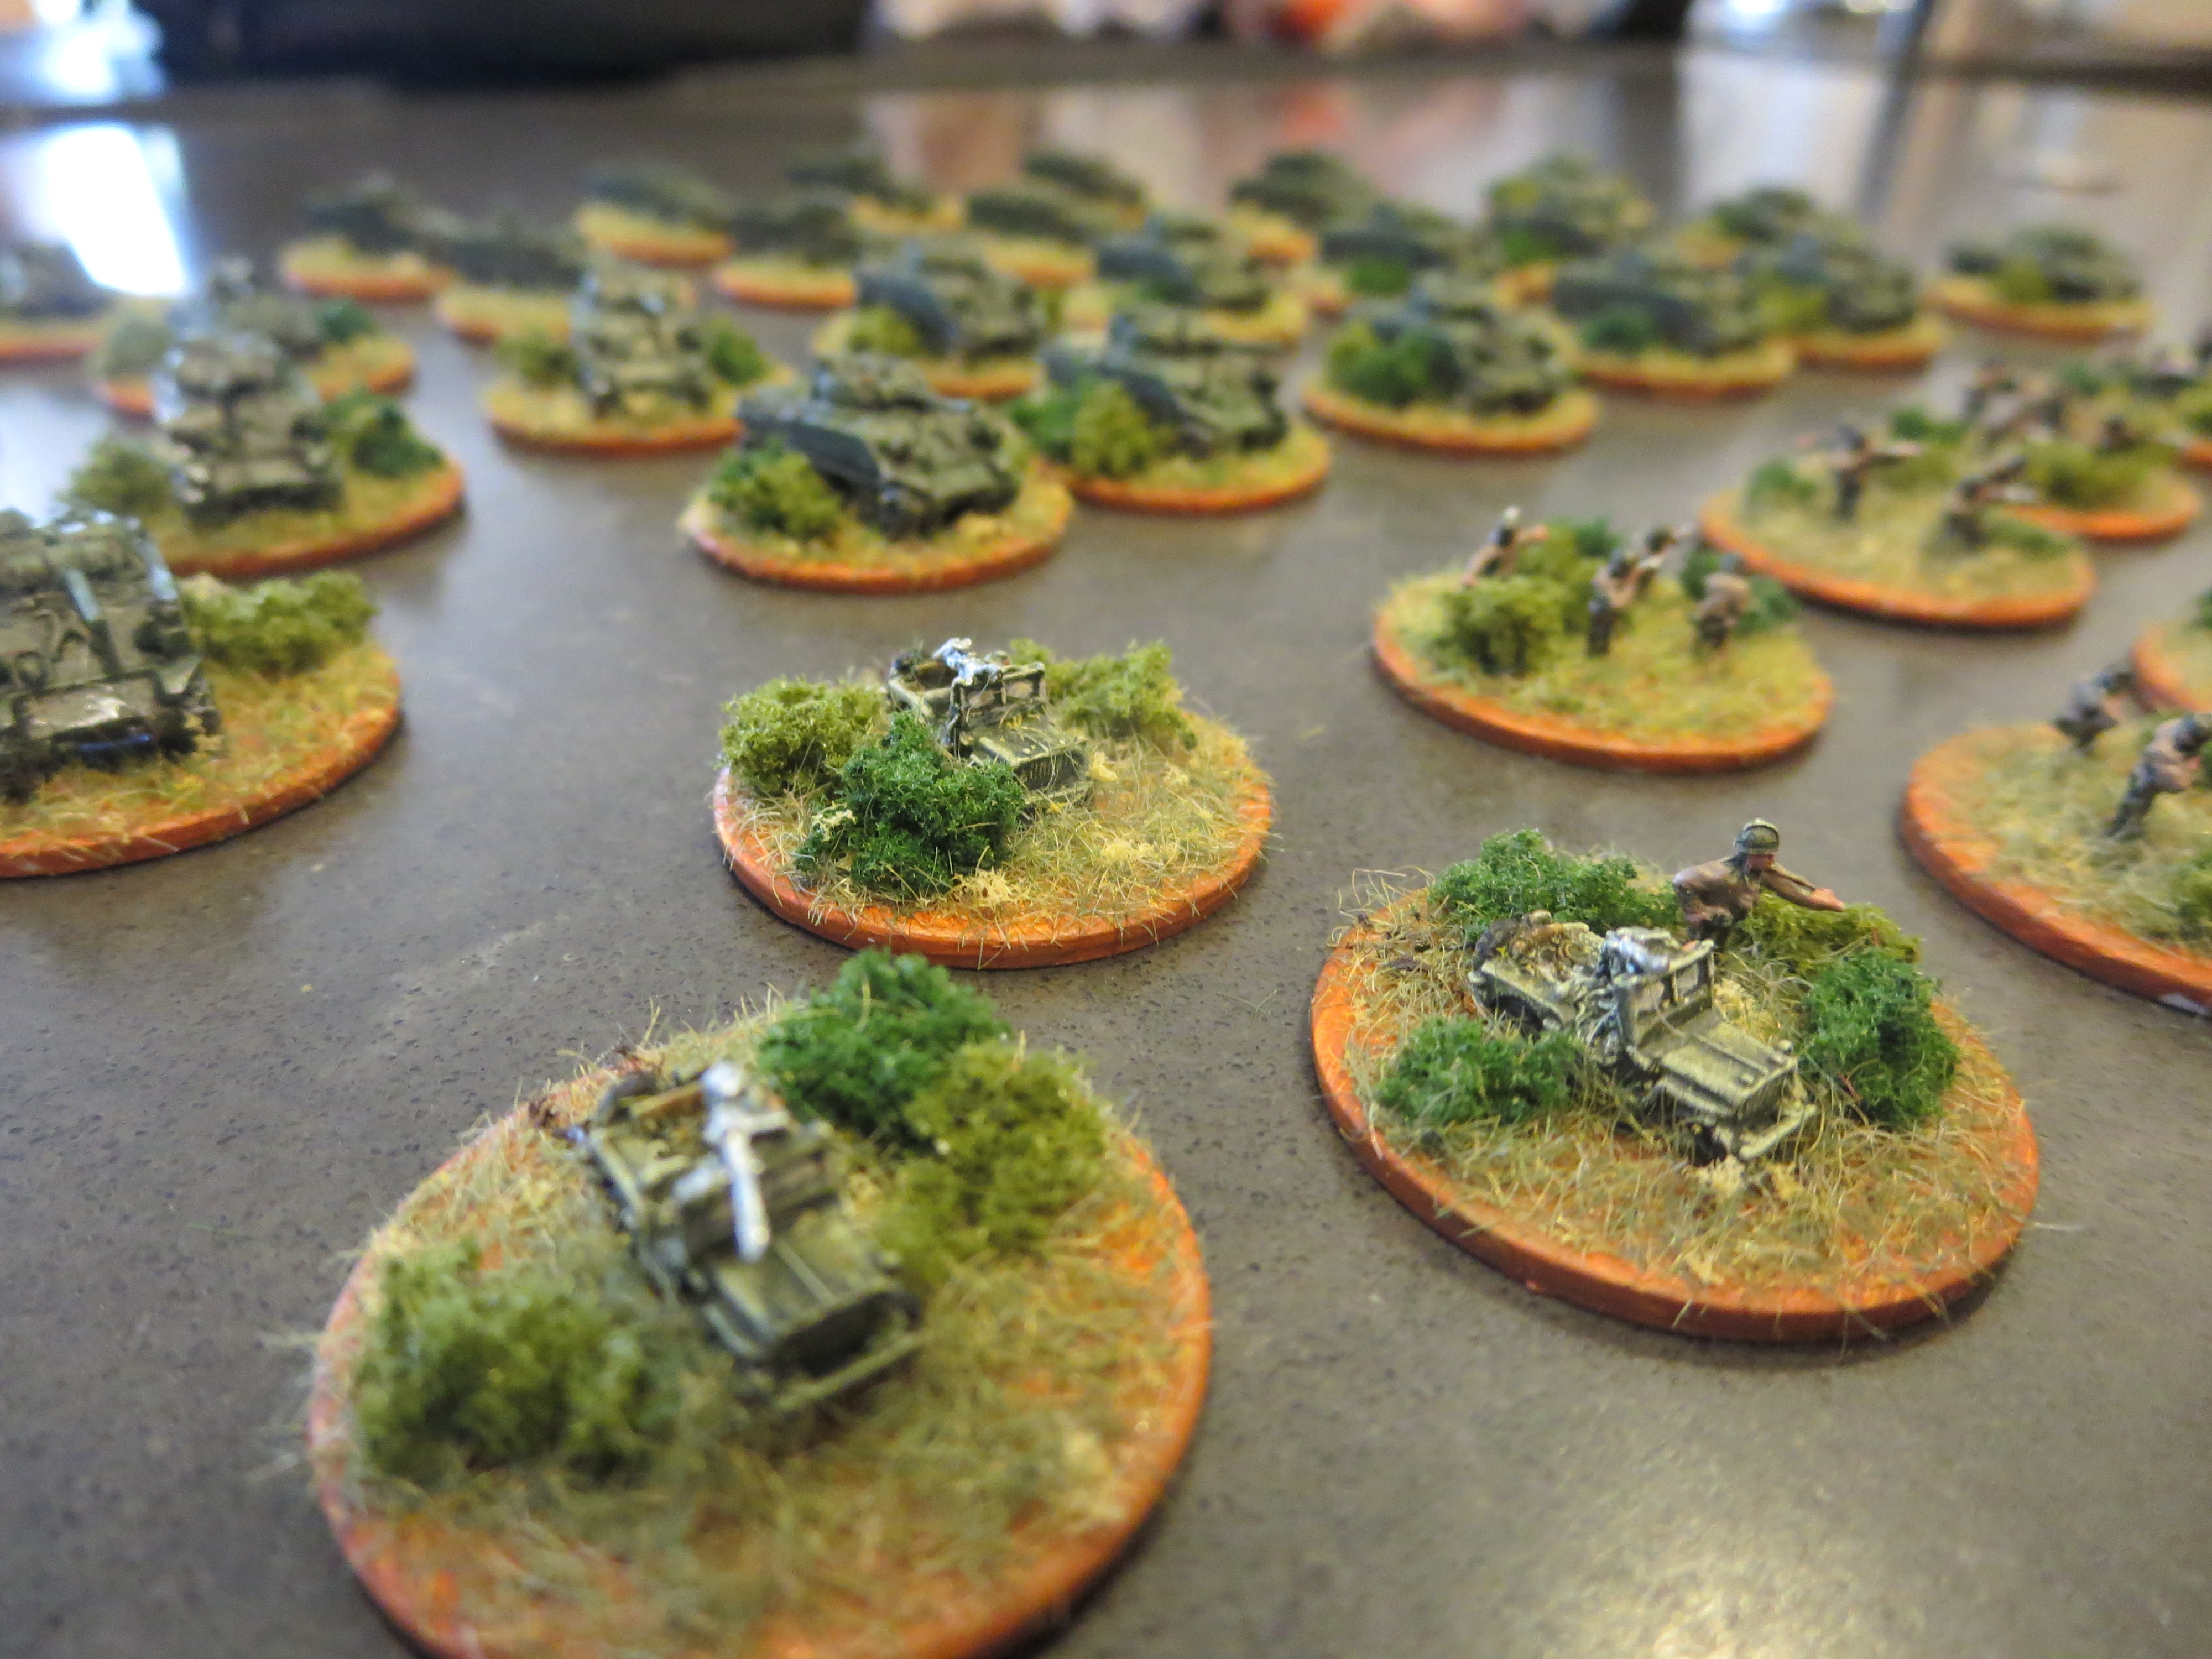
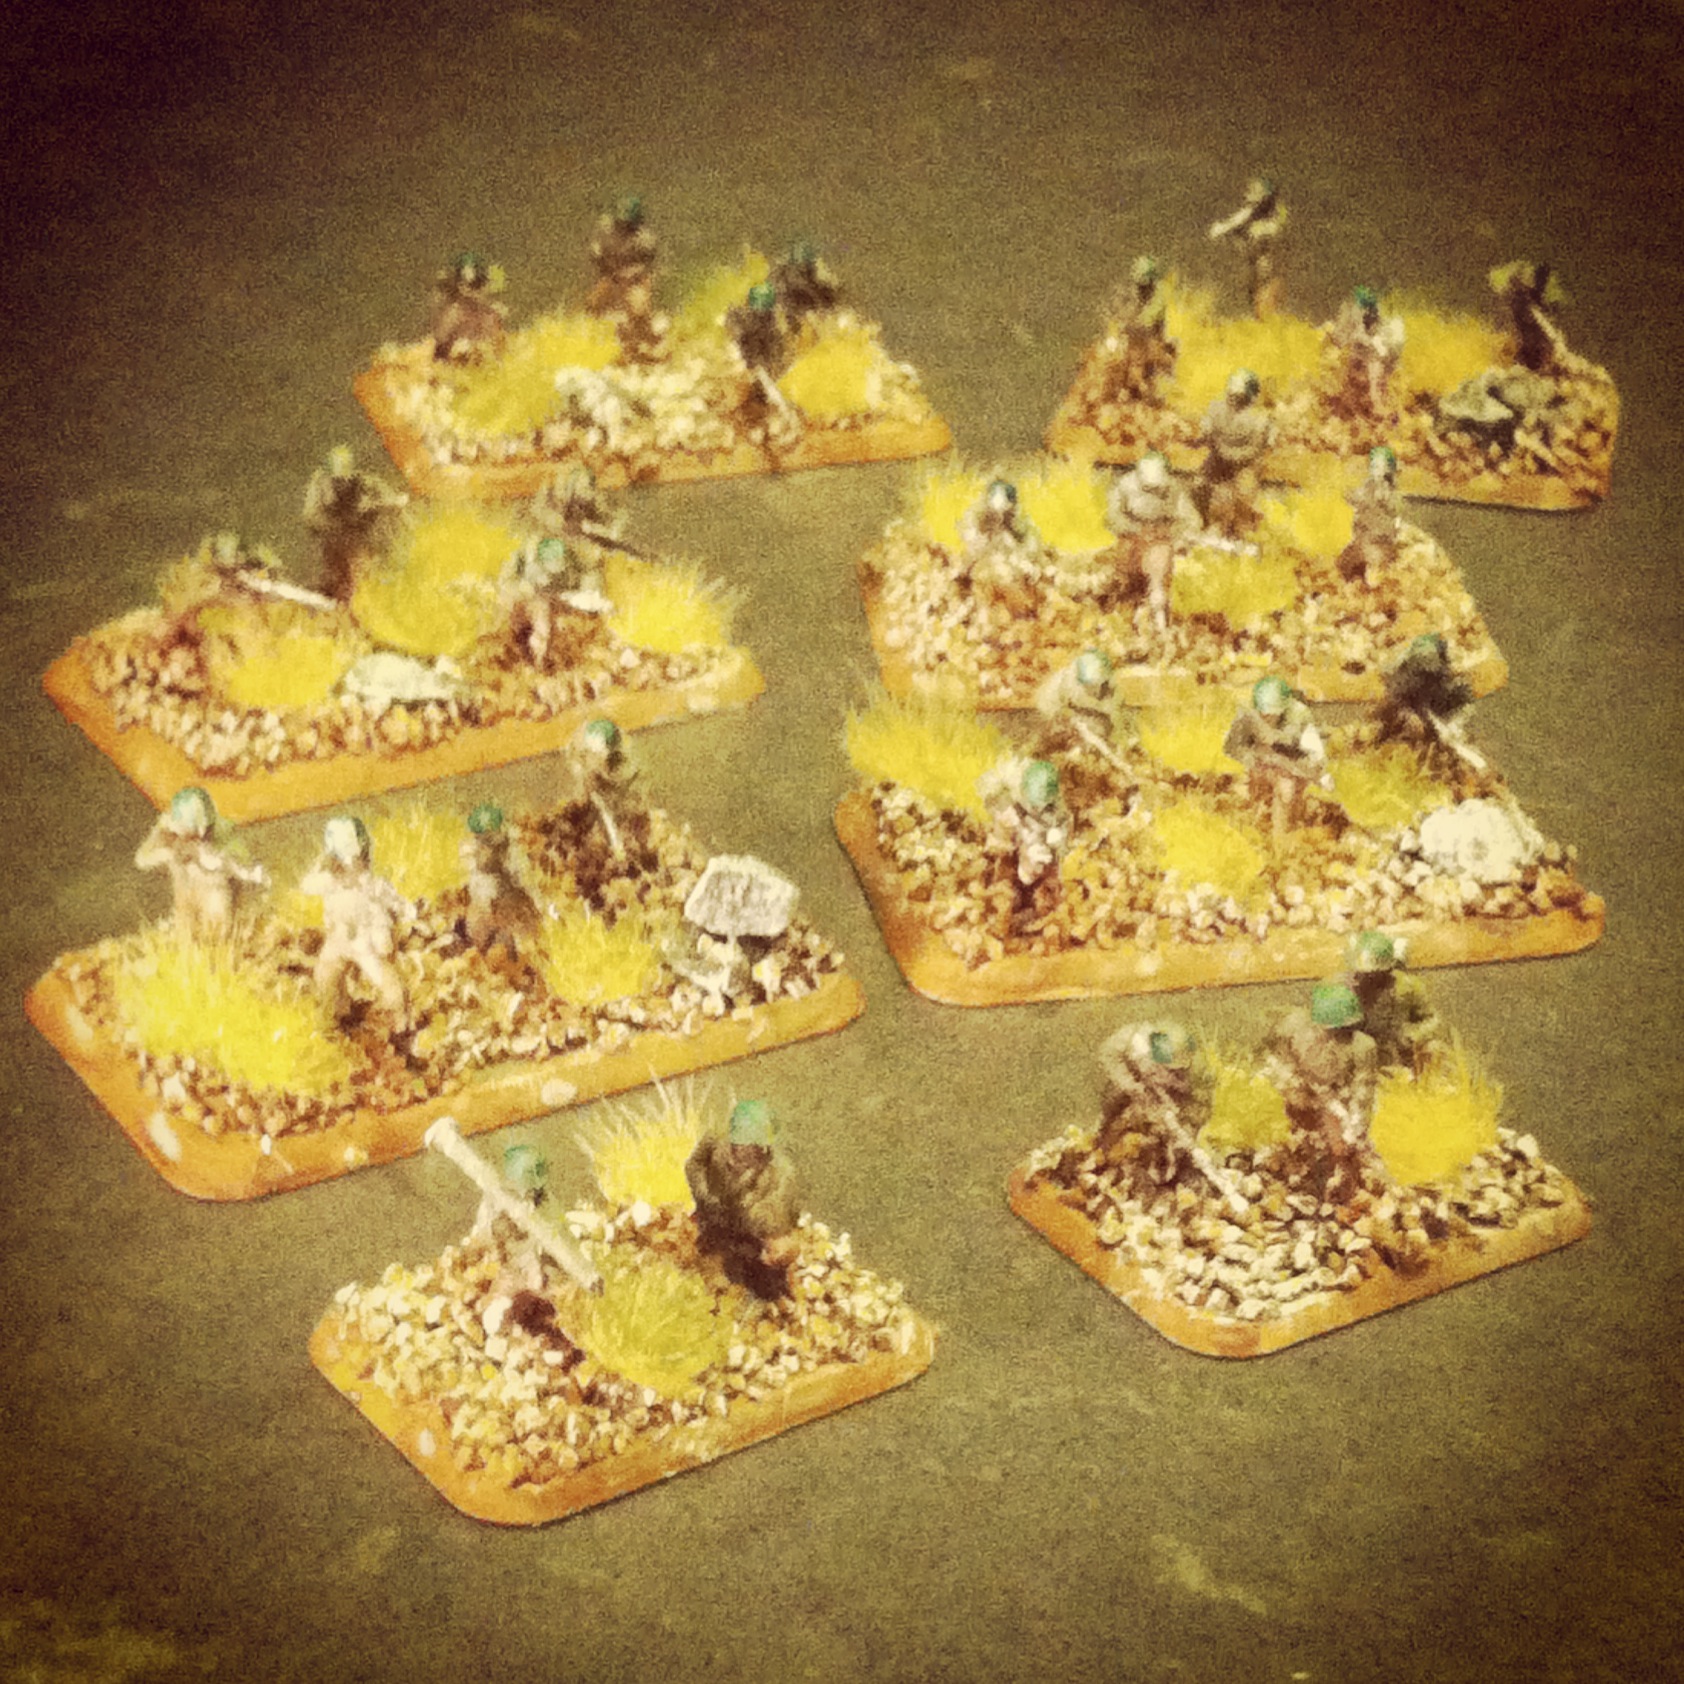
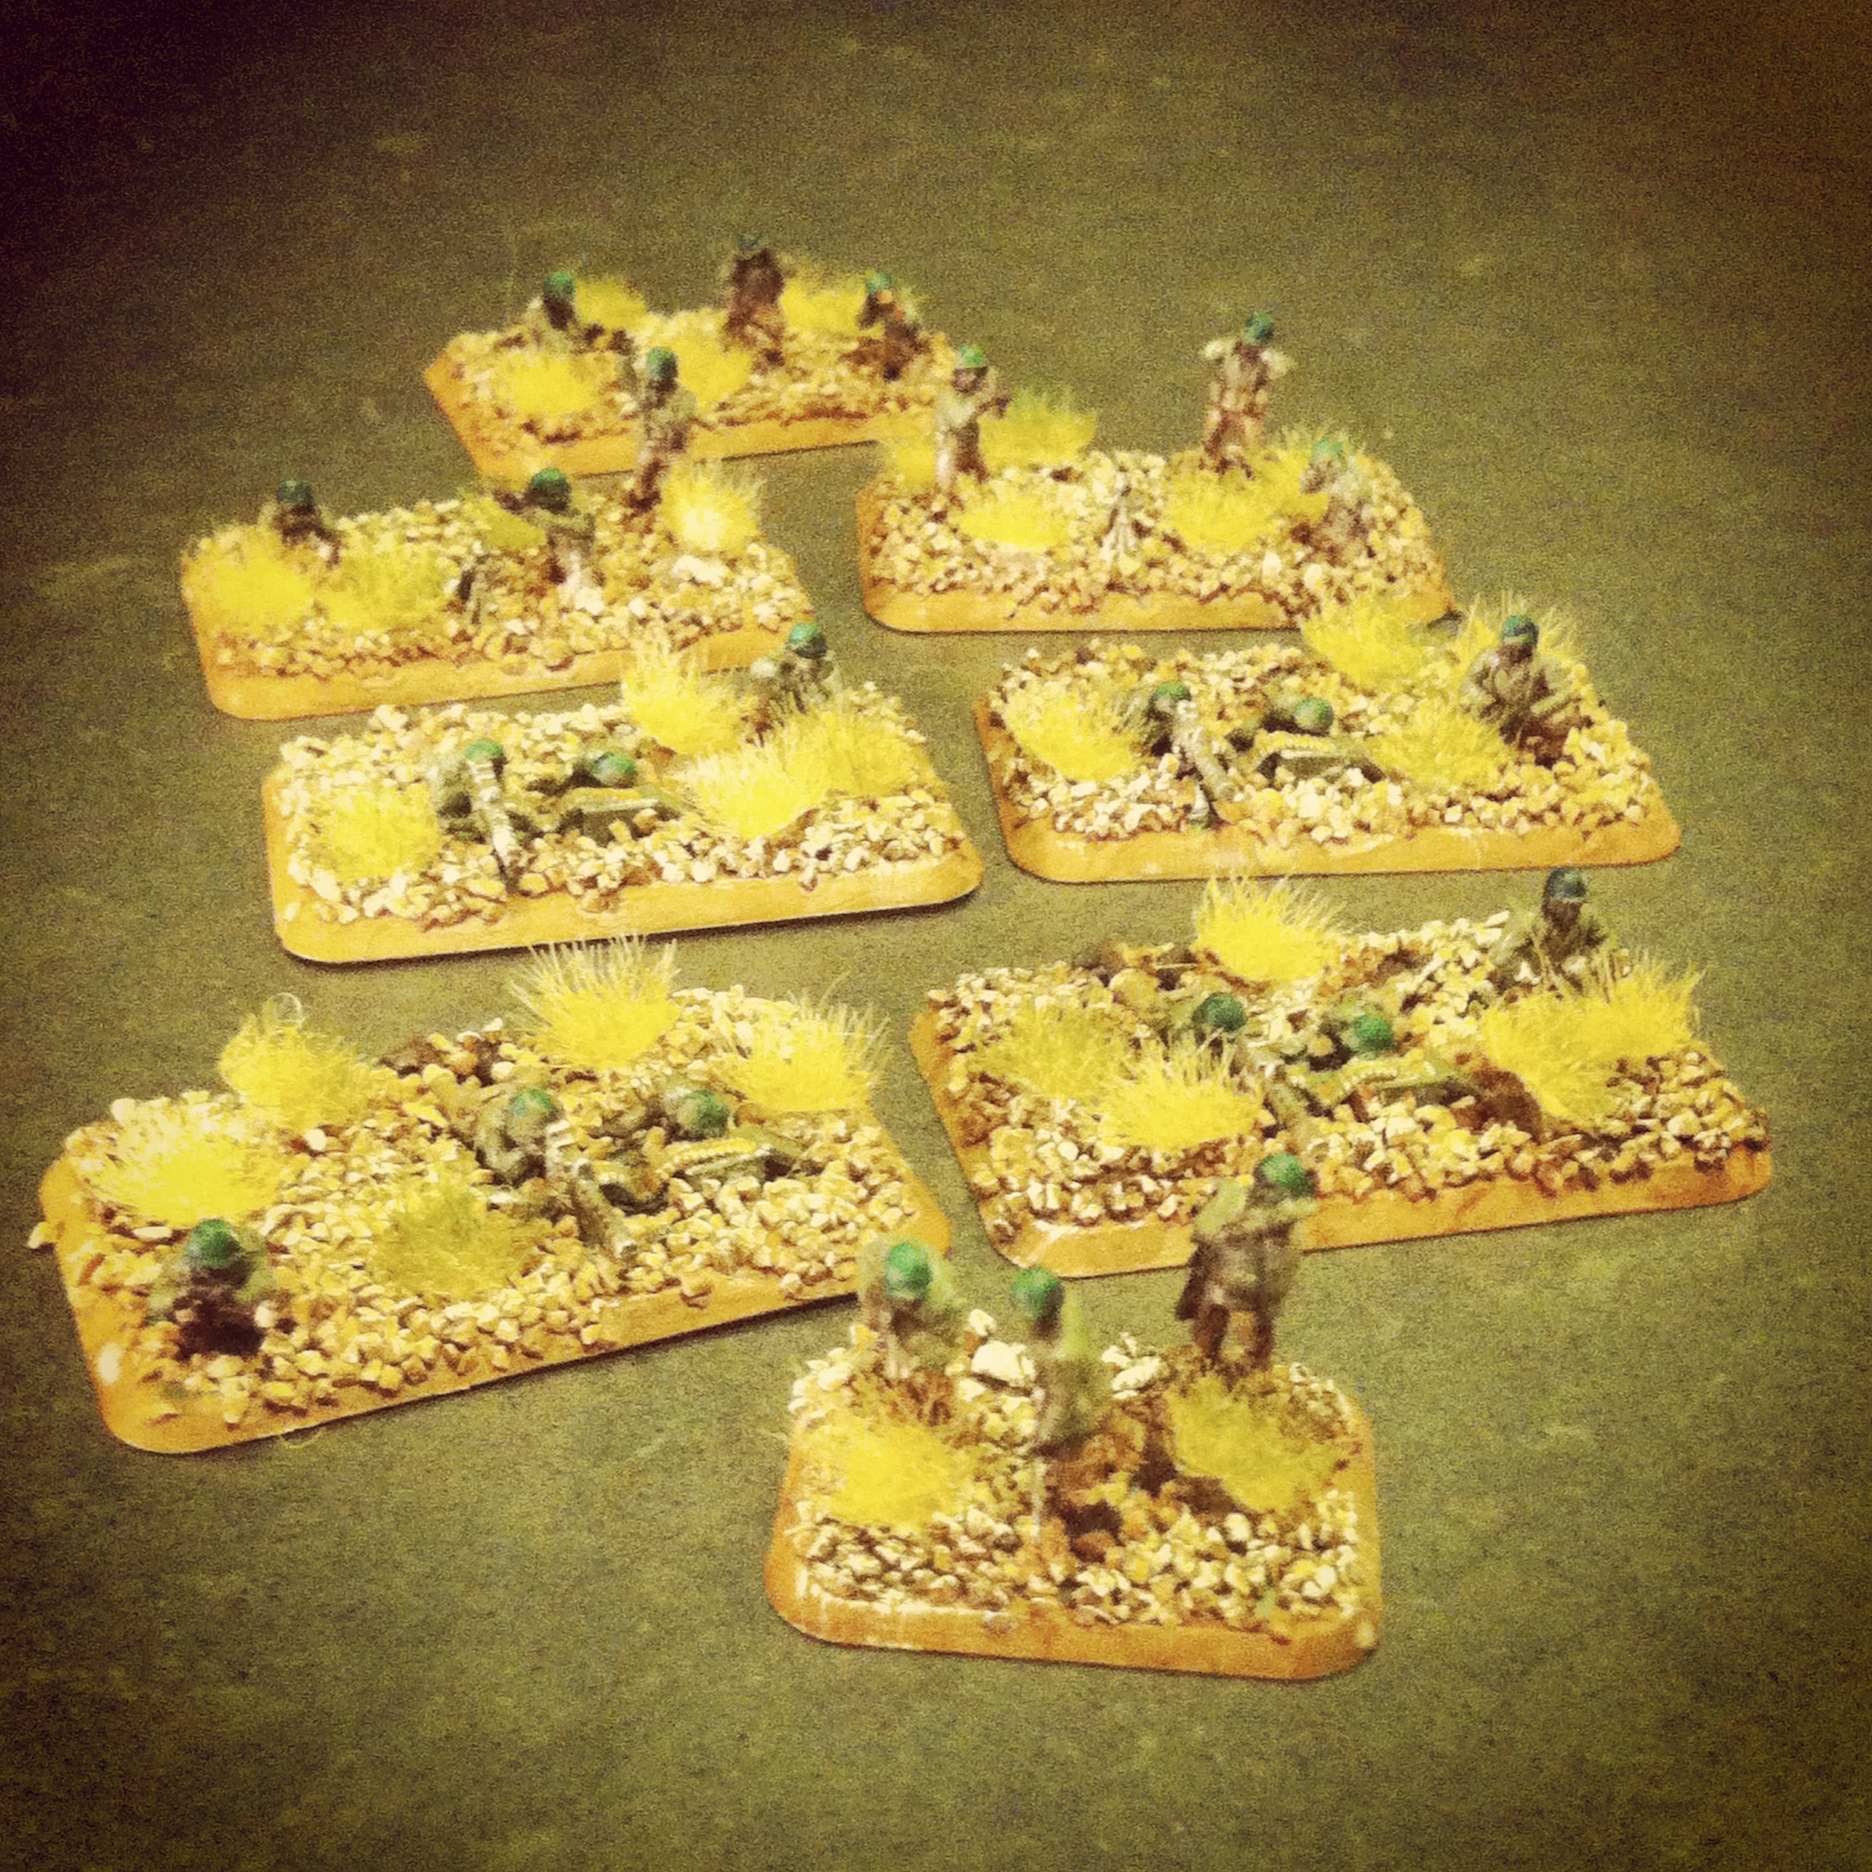
My Germans deployed on blinds with a Pak 40, a Sdkfz 10/1 and an artillery spotter for the off-board 105mm artillery deployed around a farmhouse atop Hill 91 on the southern end of the table. German rifle platoons armed with Panzerfausts deployed in blinds in and around the objective farmhouses. One platoon also had a MG42 and another contained a Panzerschrek anti-tank team. To block the predicted US advance, one road was blocked with barbed wire and another was laid with mines.

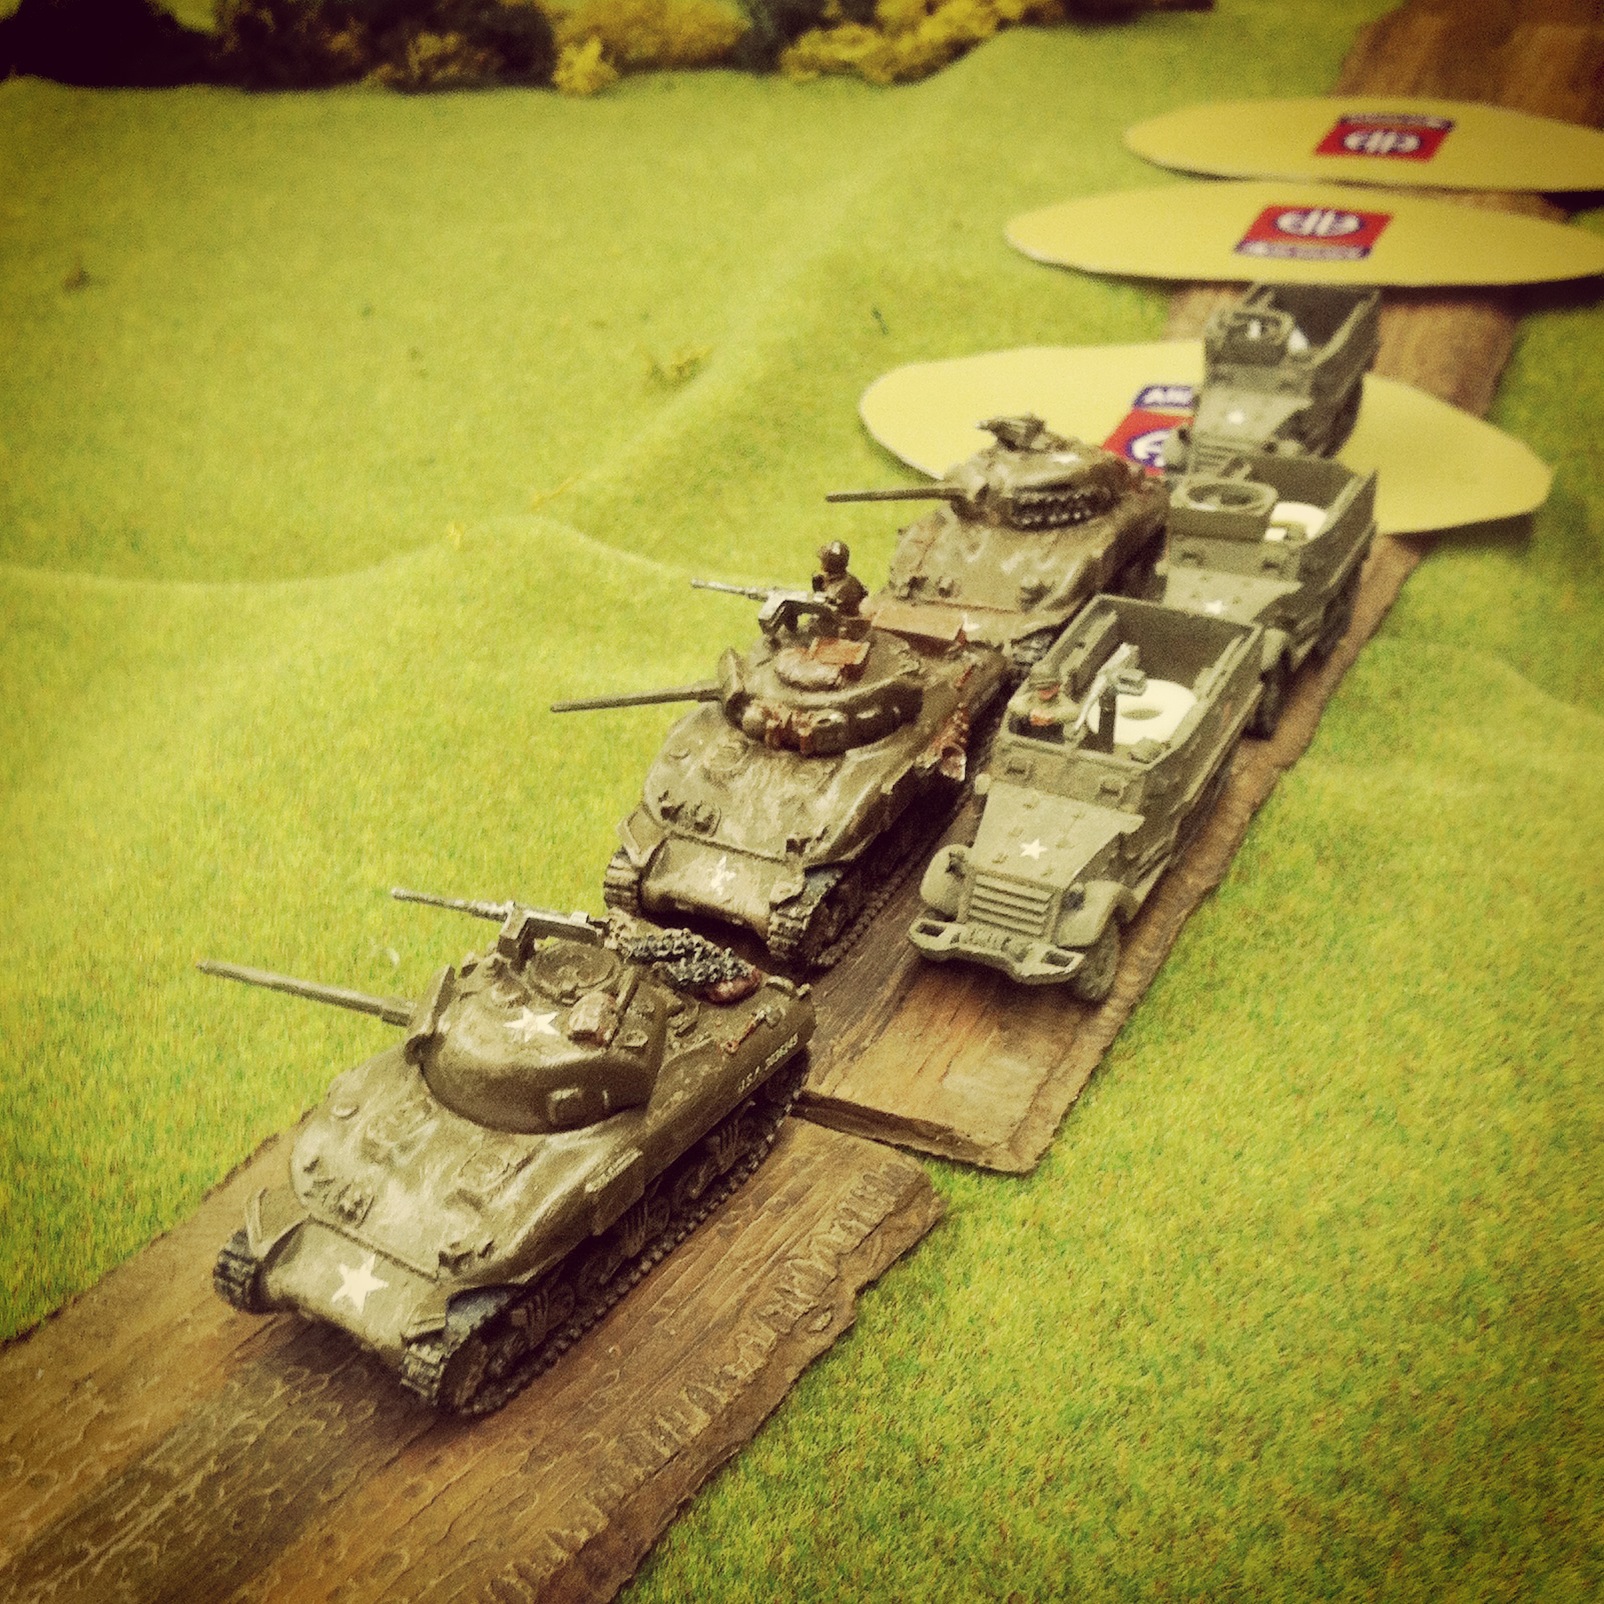
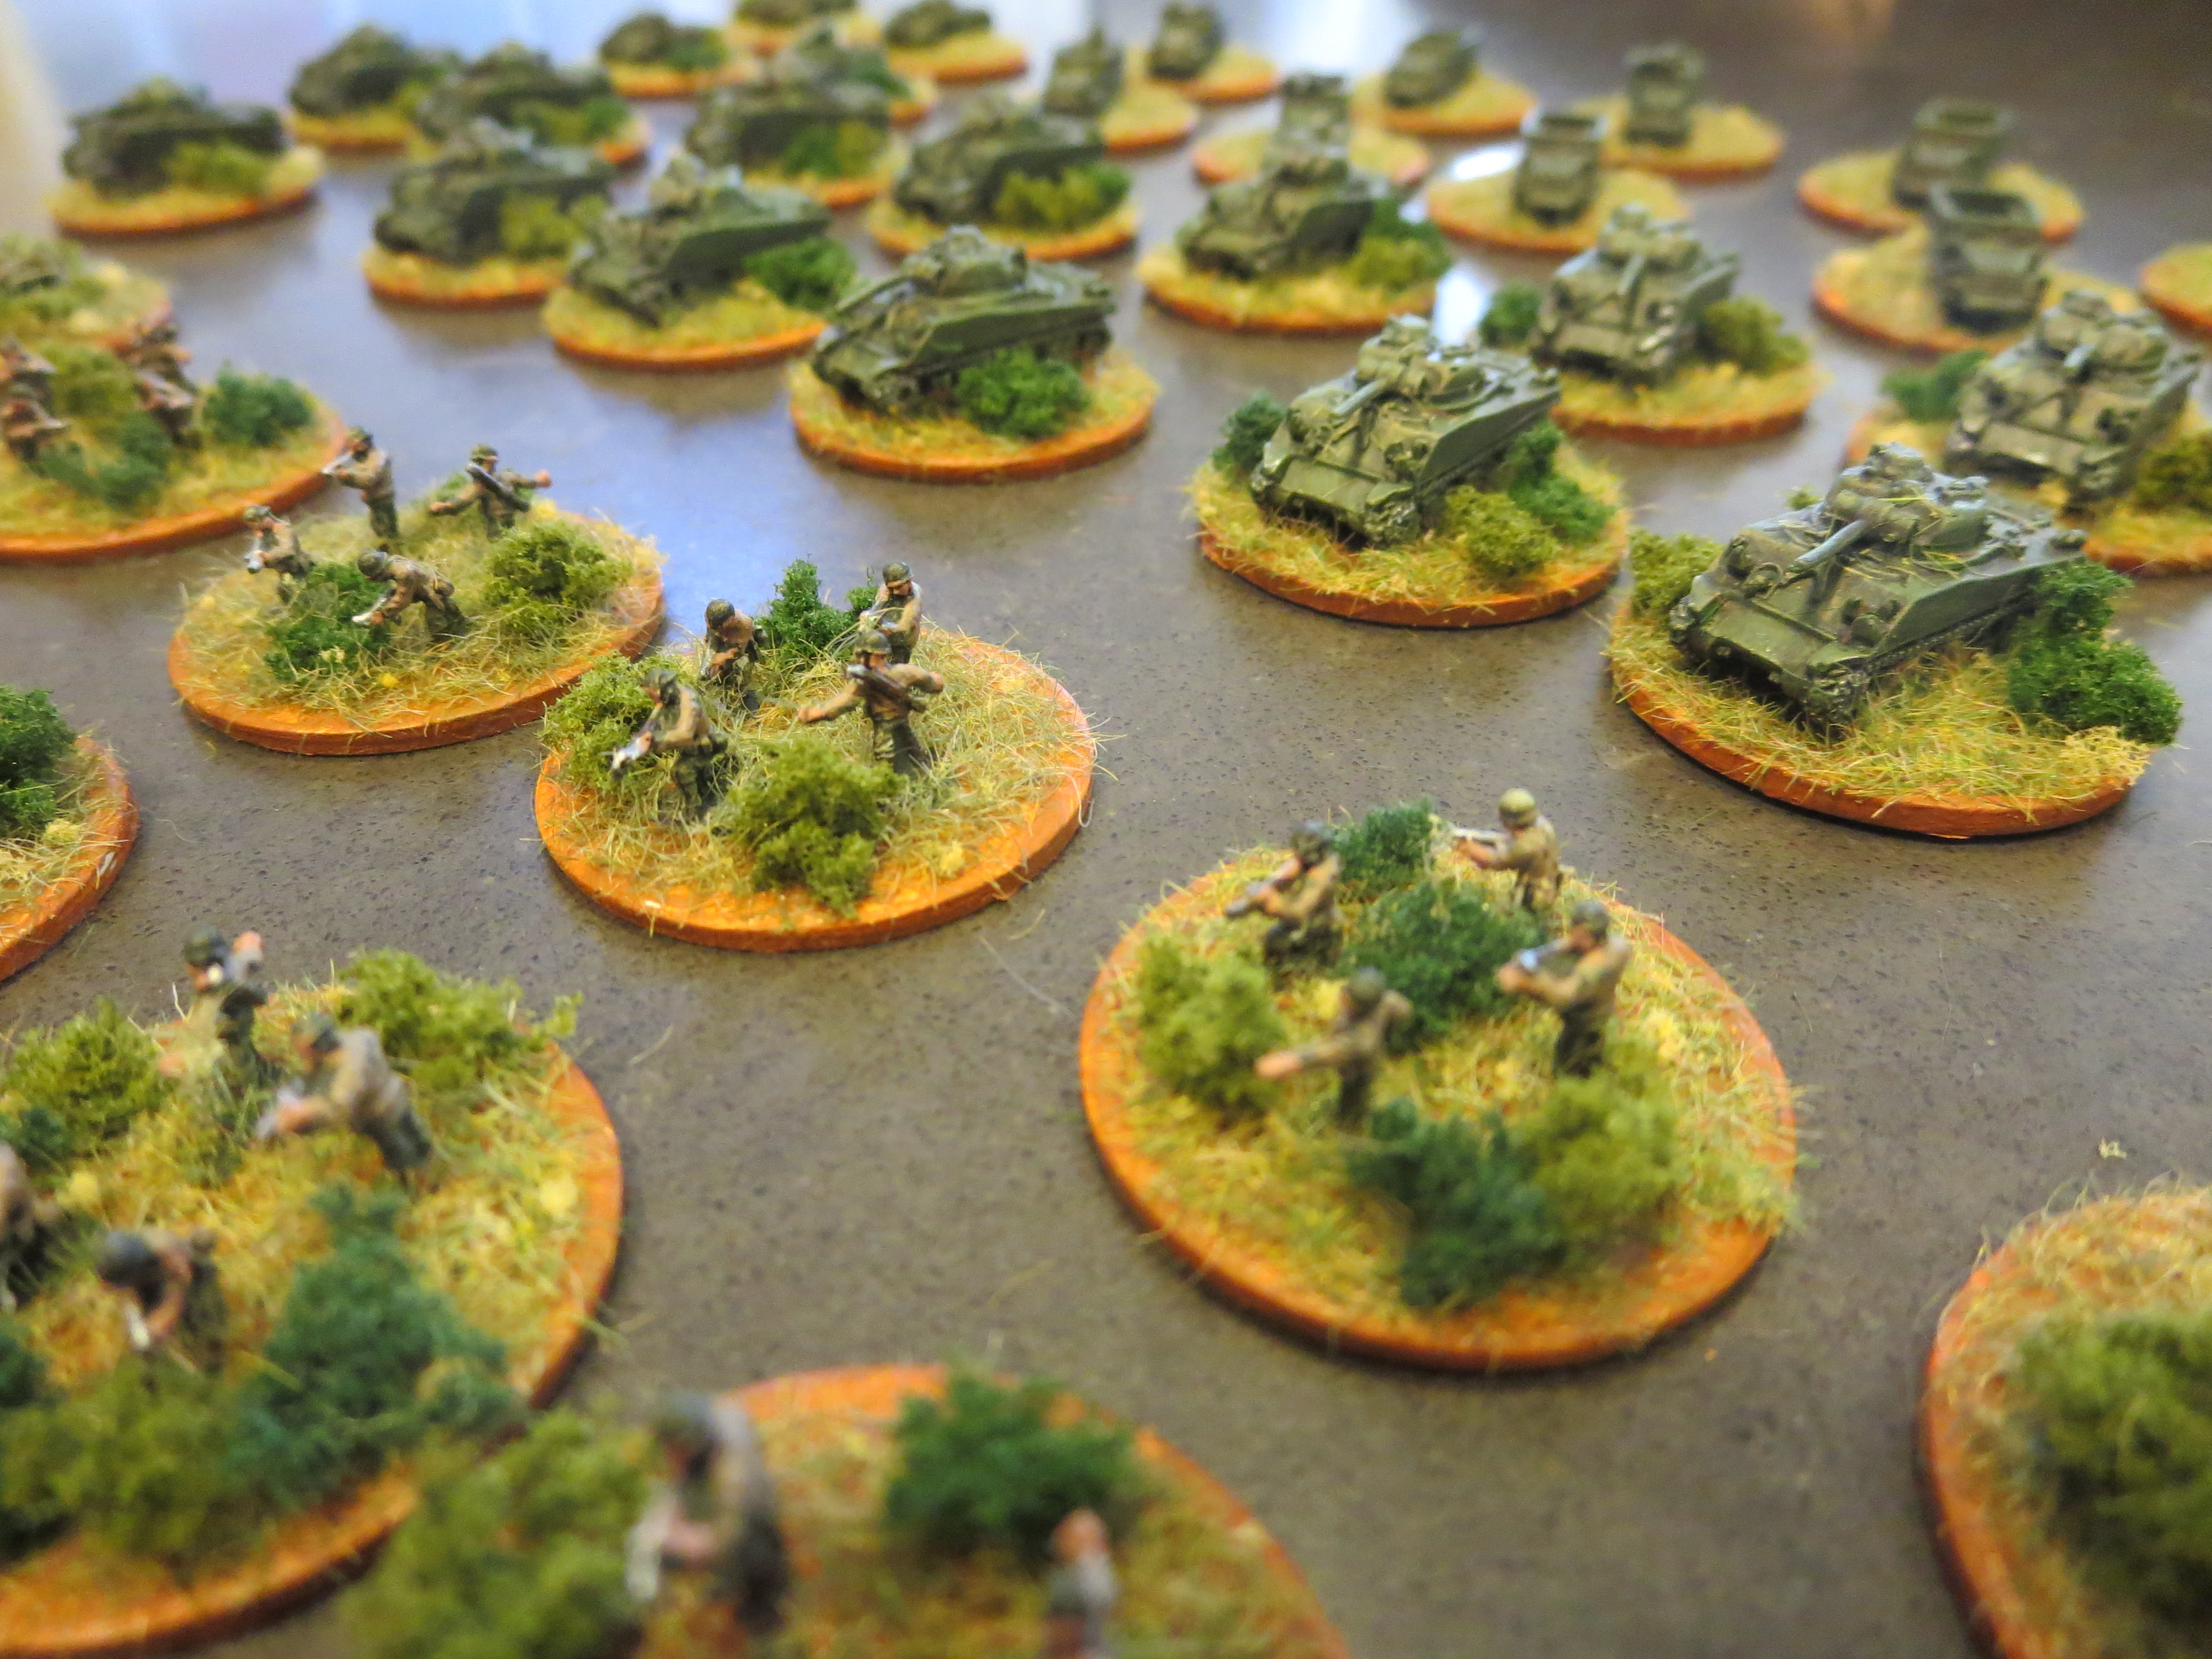
The American blinds moved in straight in column along the road sloping down toward the valley. Heading the advance was a US recon platoon led by an M8 Greyhound armored car. Three platoons of mechanized infantry loaded up in half tracks and a platoon of Sherman tanks fell into line behind.

IMG_4210

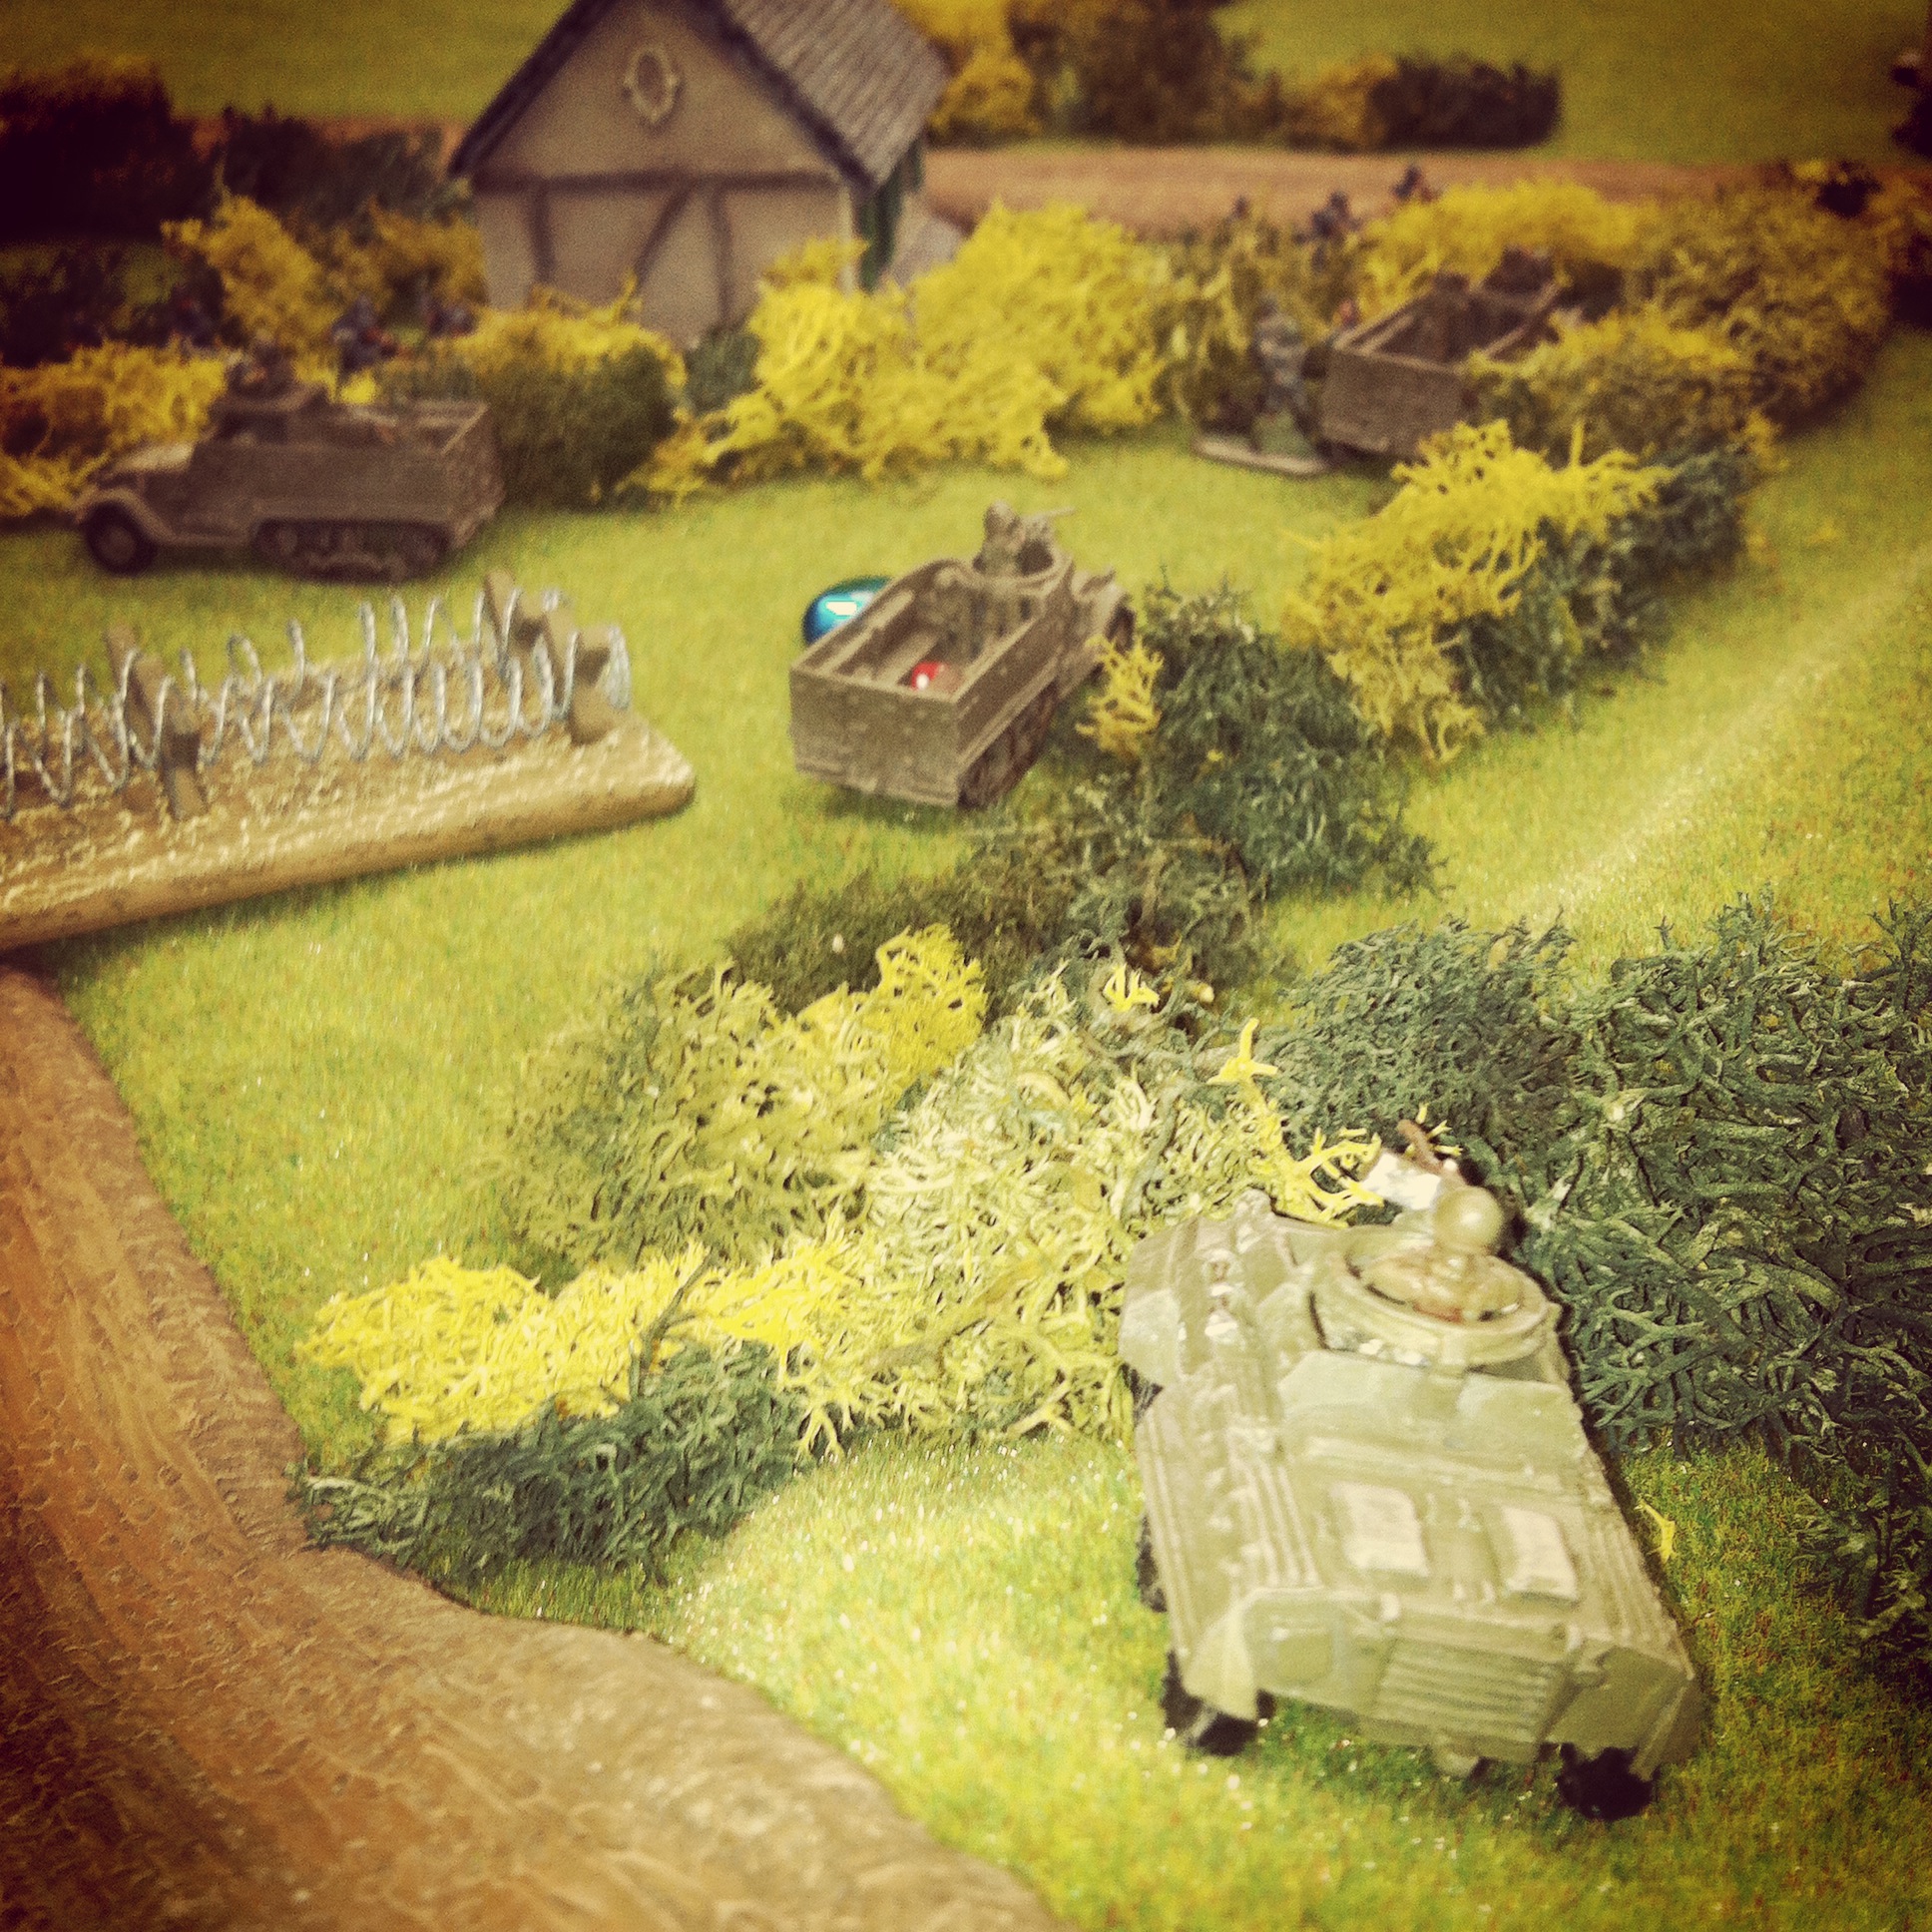
A US recon Greyhound at the head of the column exposes barbed wire laid to block passage on the road to the objectives

IMG_4212

The recon unit moves to overlook the German position near the objective house as US half tracks roll into position

IMG_4211

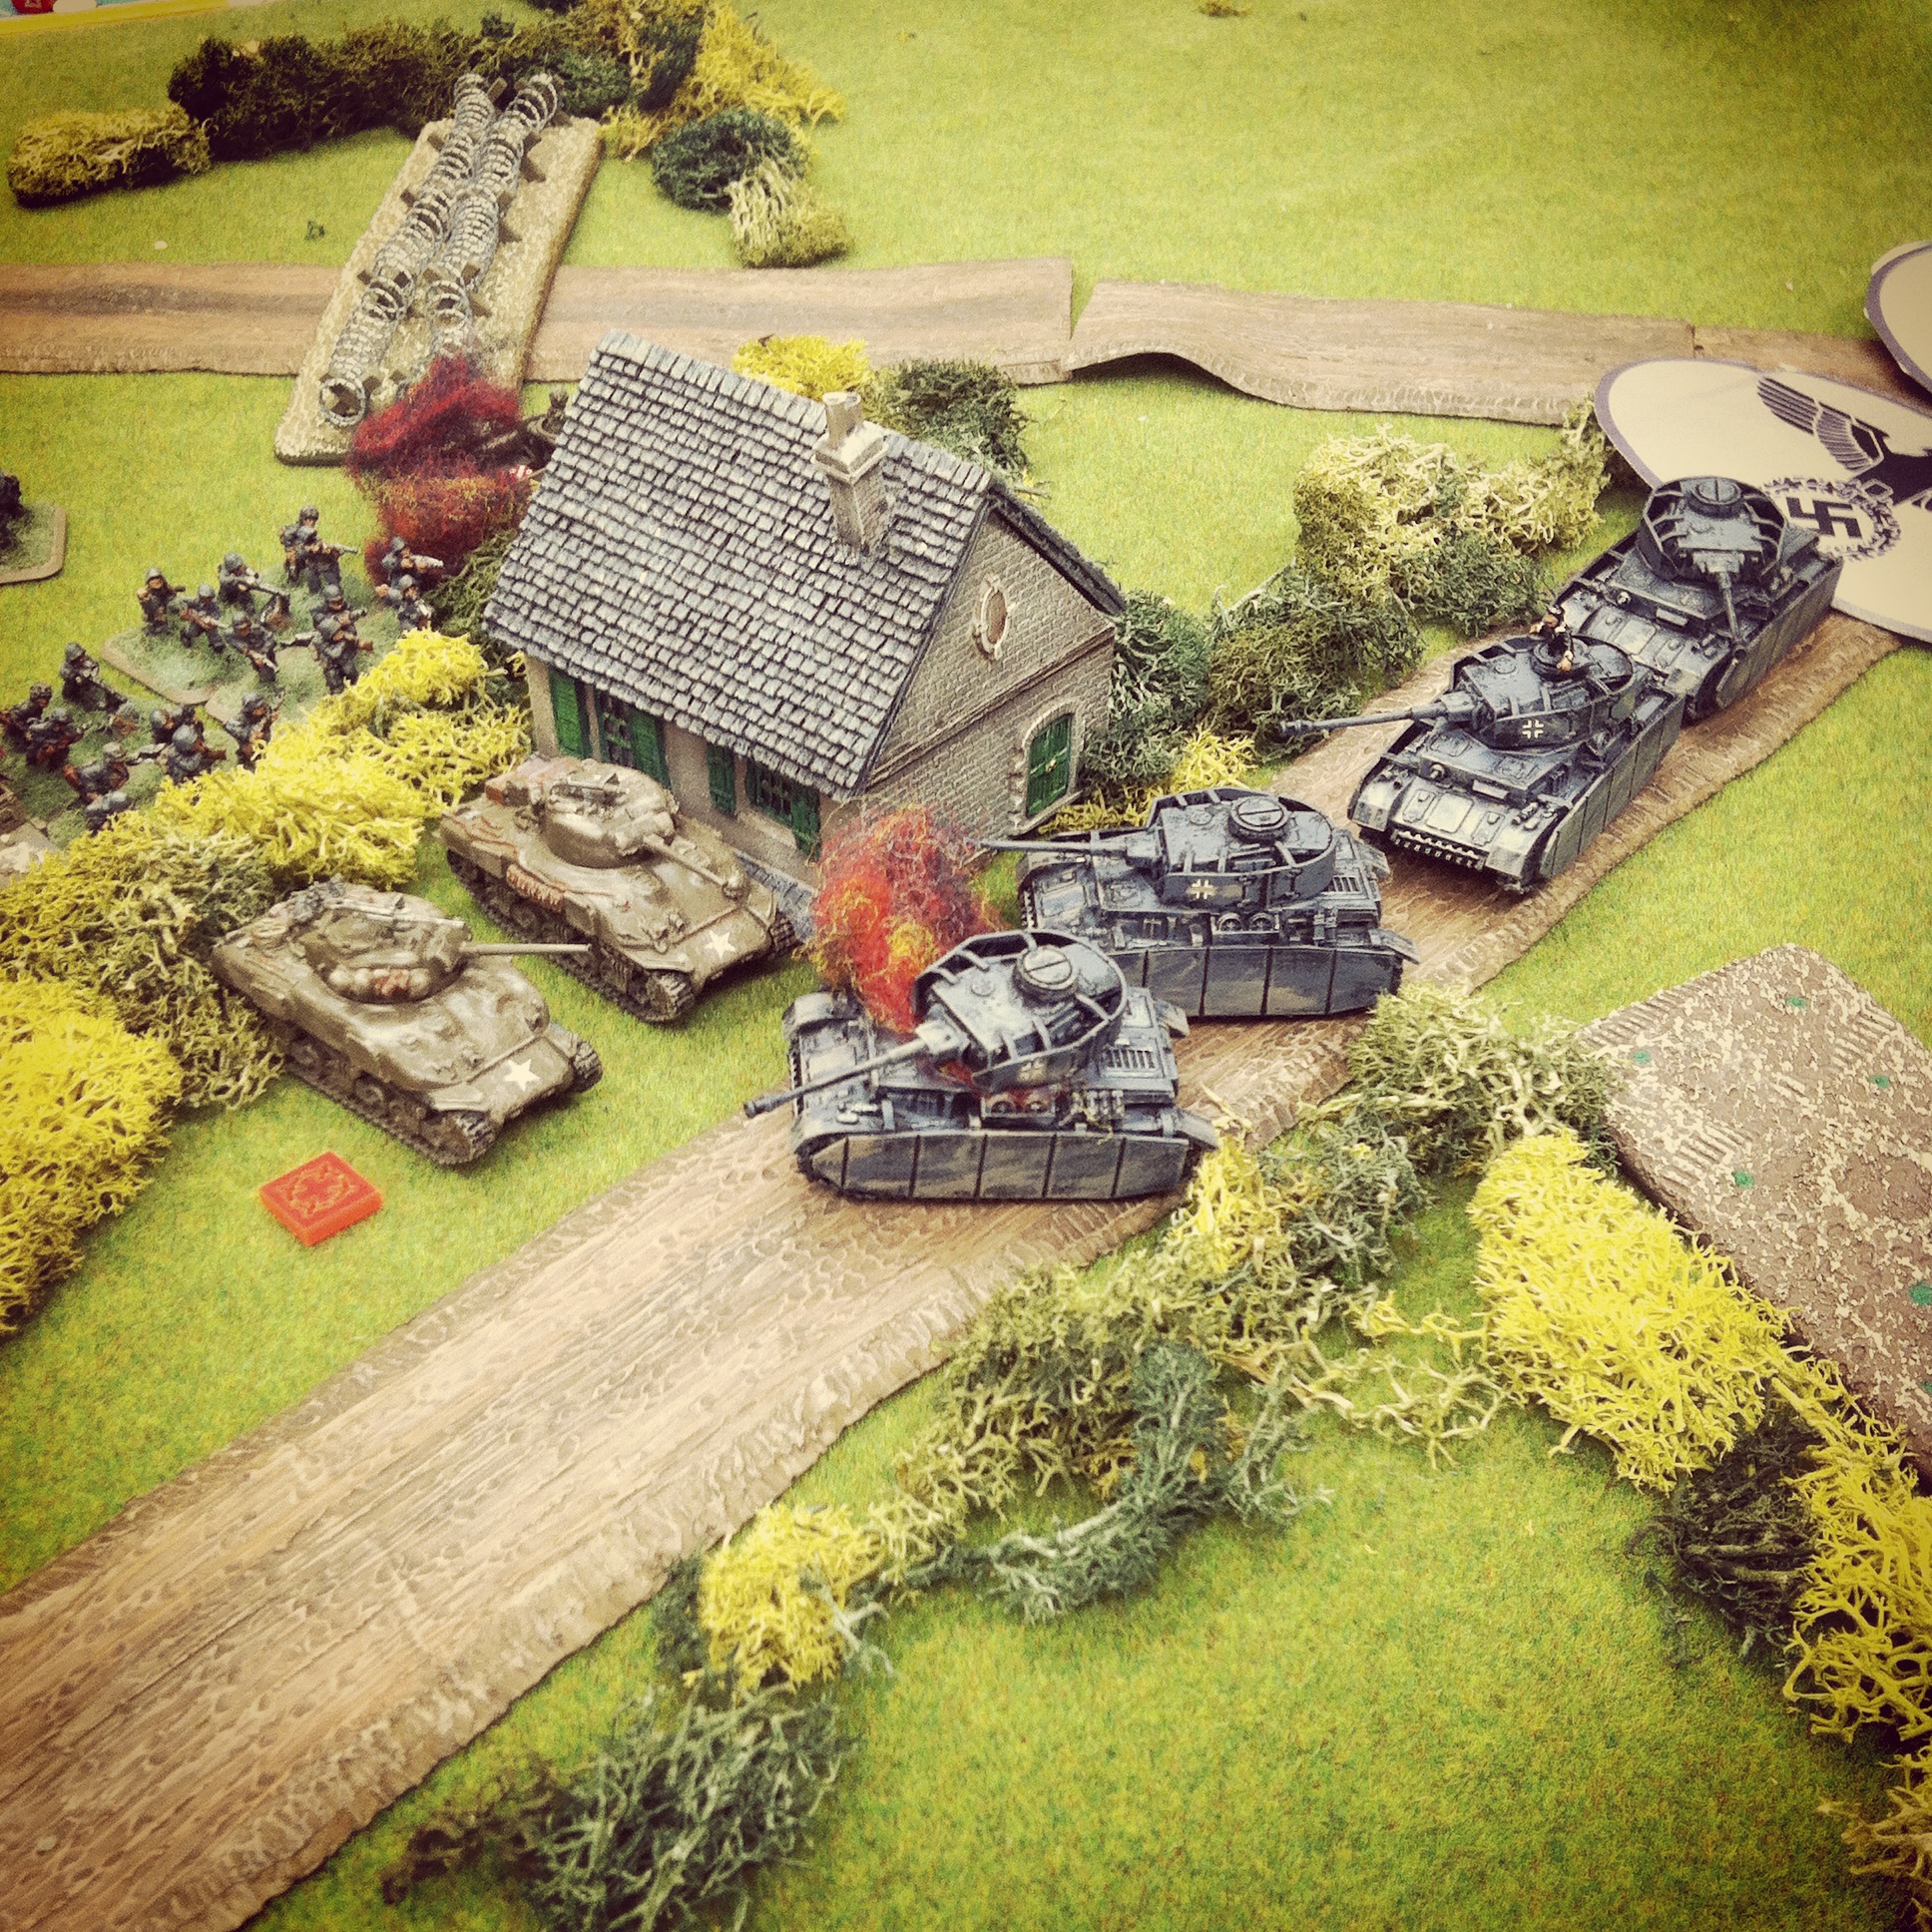
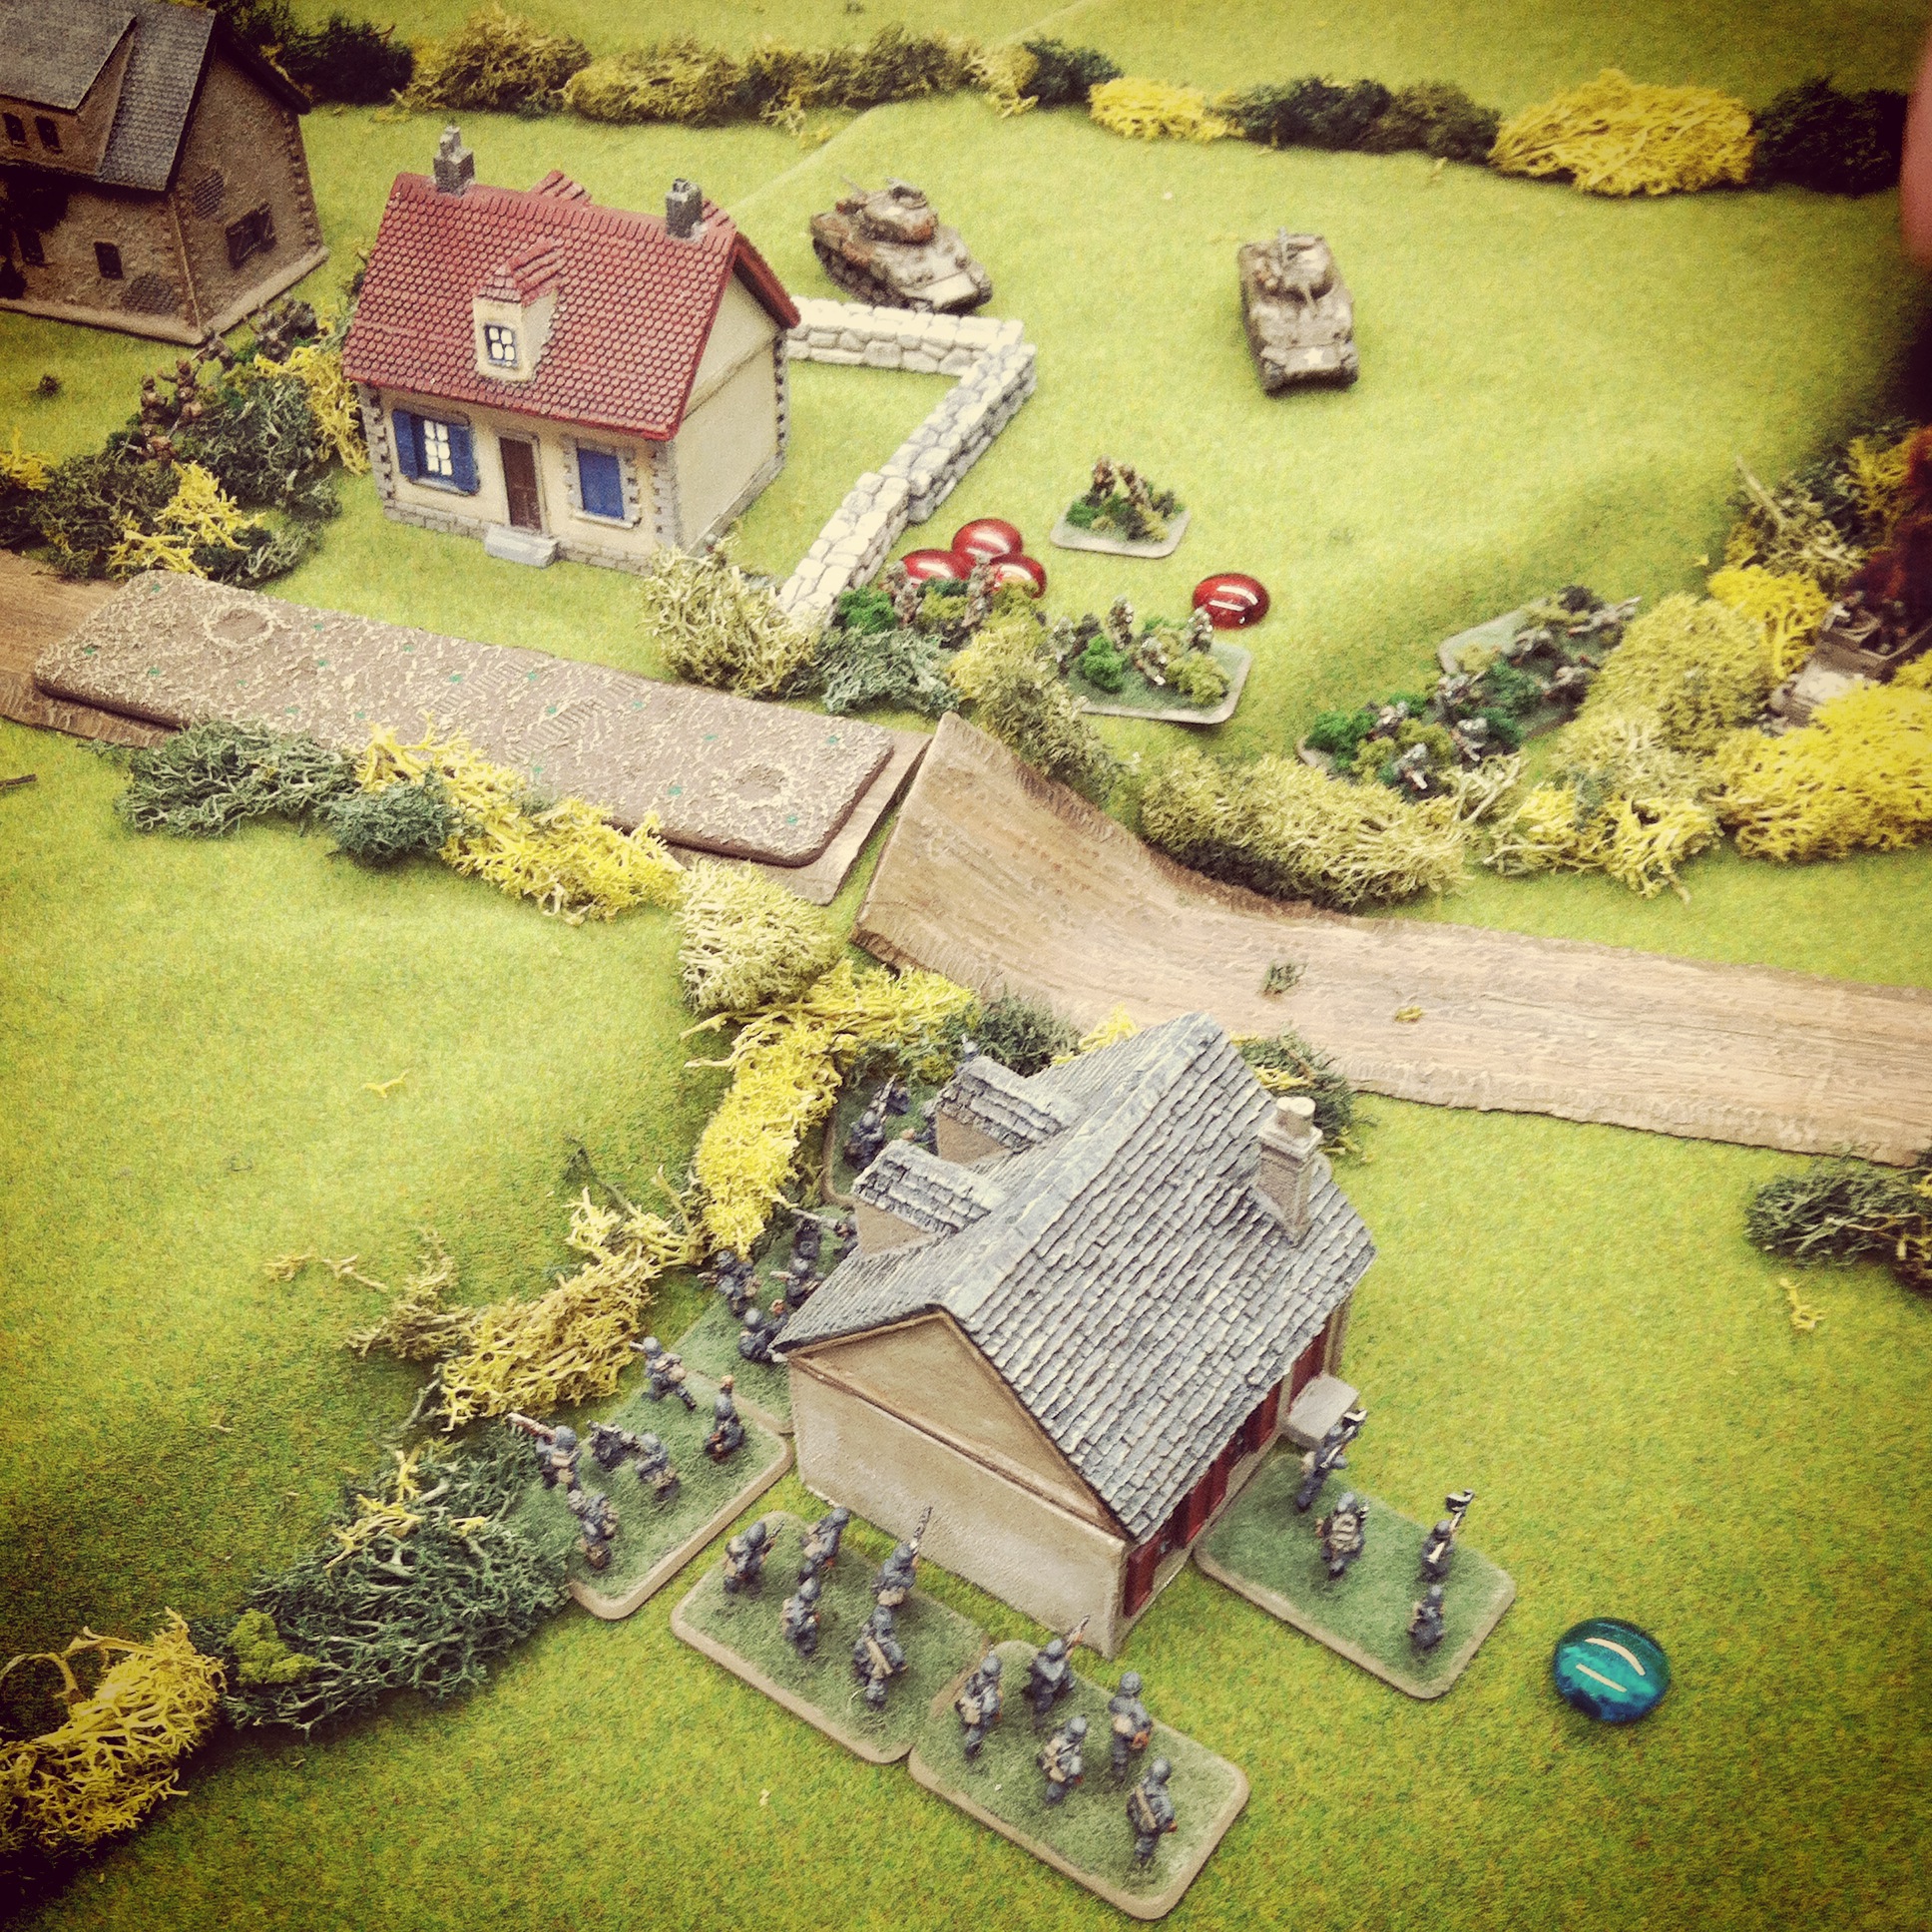
 German infantry move out of the house to engage the US infantry

IMG_4213Fire from German Panzerfausts destroy two half tracks and their passengers

IMG_4215

Germans use their last Panzerfausts to destroy the remaining half track and its crew

The first few turns progressed quickly with the US column moving down the road under blinds while the Germans quietly defended from concealed positions. The lead Greyhound revealed the barbed wire blocking the road, forcing the first platoon of half tracks off the road toward the first objective. Closing in on the house, the German position was revealed and the Germans quickly destroyed two half tracks and their mounted infantry with shots from Panzerfausts. In subsequent turns, the US commander jumped from his vehicle and was followed in by the final half track which was also destroyed. With the lone US commander in the position, the Germans assaulted taking casualties before eliminating all Americans from the disastrous head-on assault on the objective.

IMG_4214

 The column of US Shermans and infantry mounted in half tracks rush down the road

IMG_4216

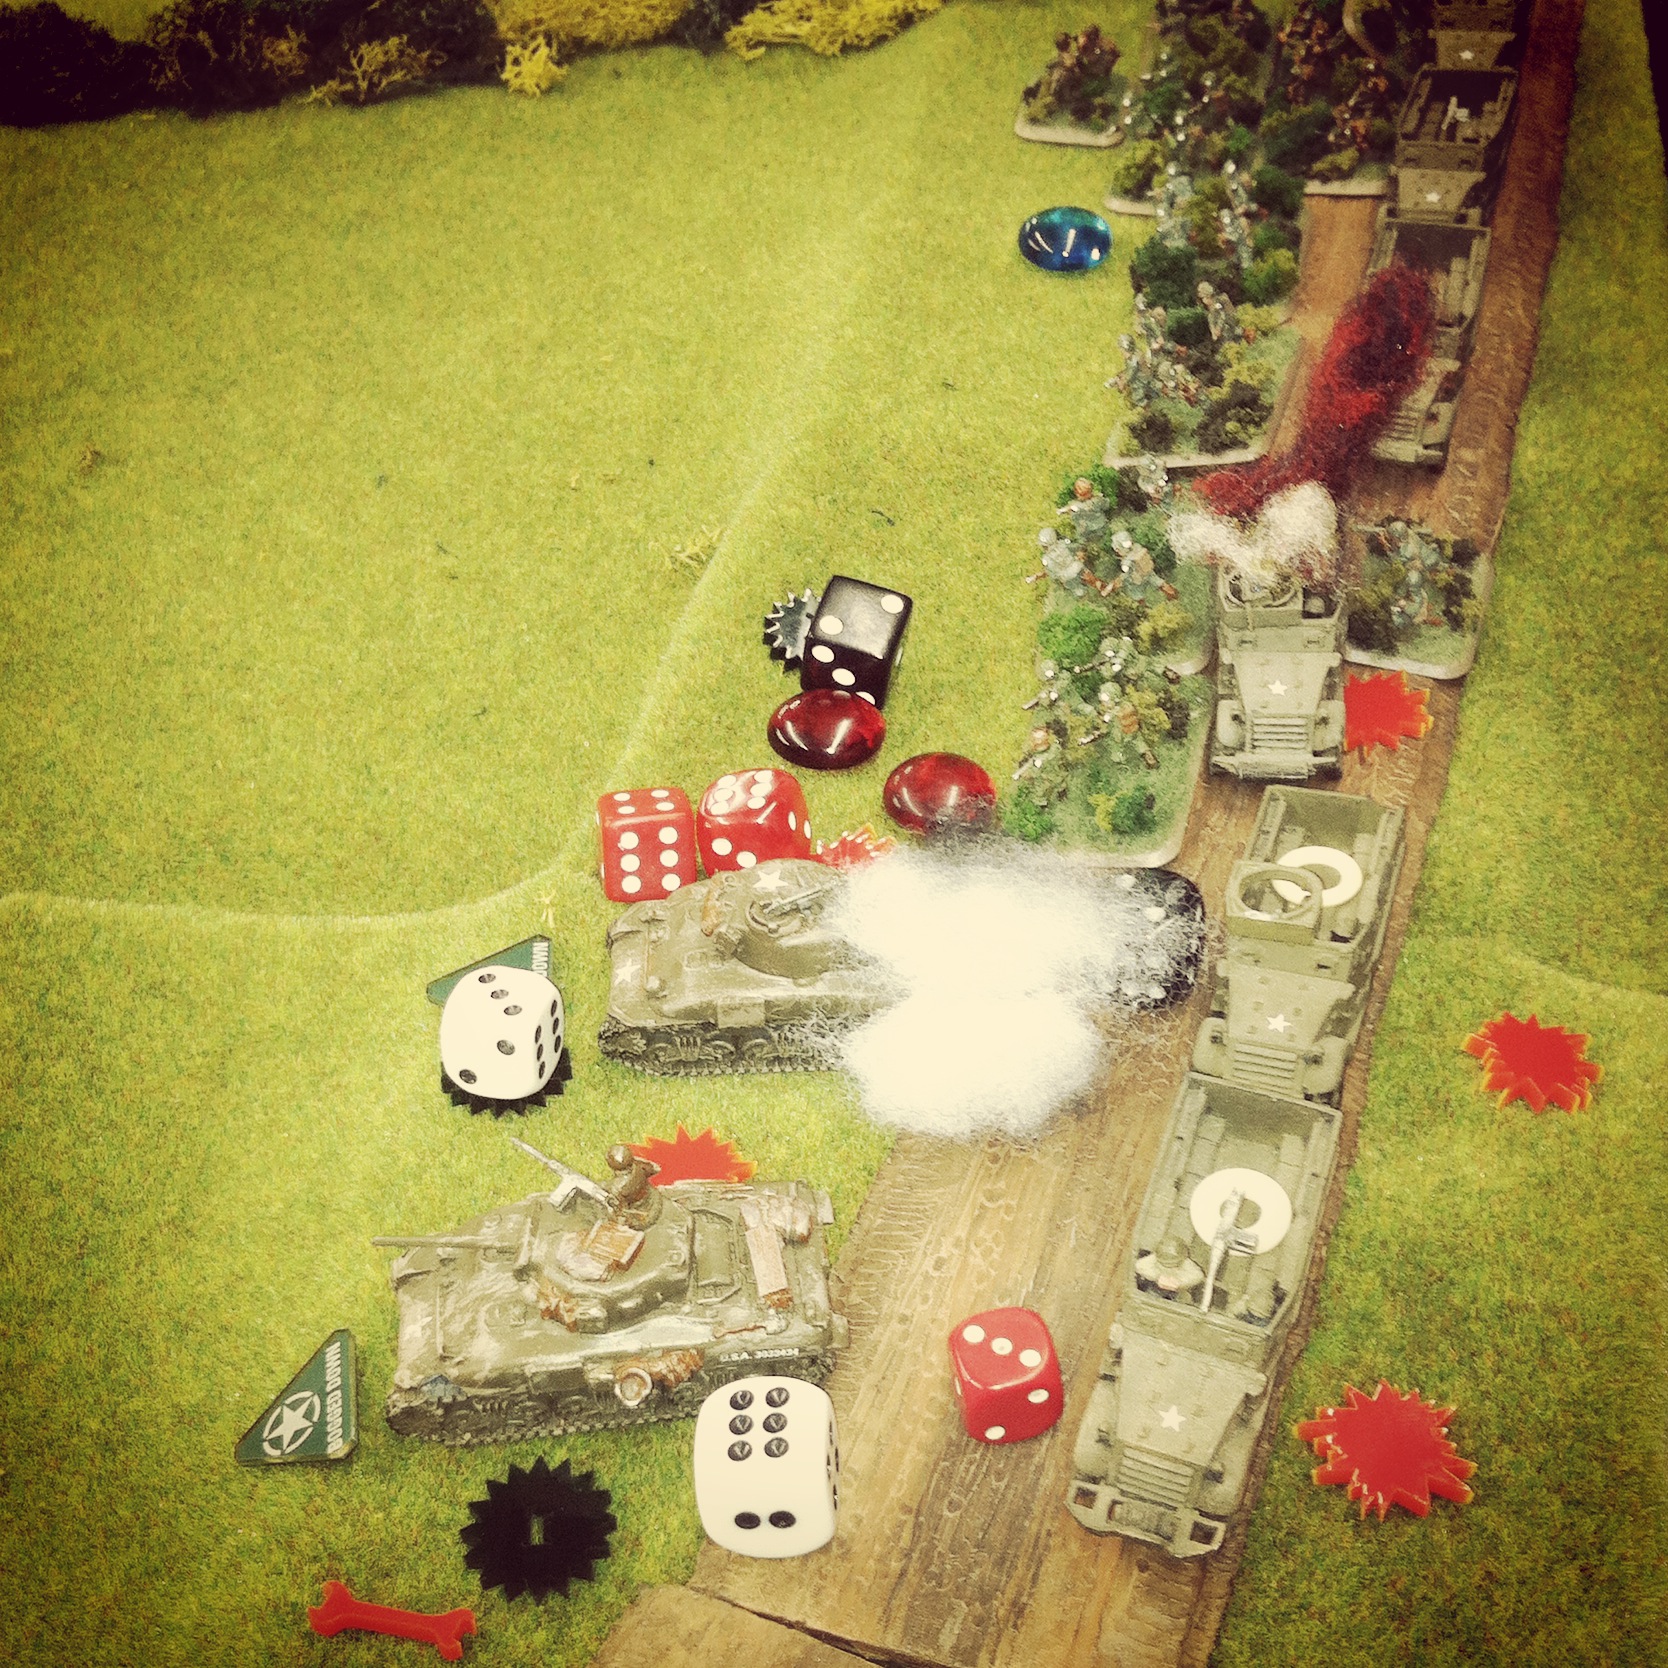
German 105mm artillery rains in from off the table wreaking havoc on the US column

IMG_4217

A German Pak 40 and Sdkfz 10/1 break their cover on Hill 91 to engage the paralyzed American column

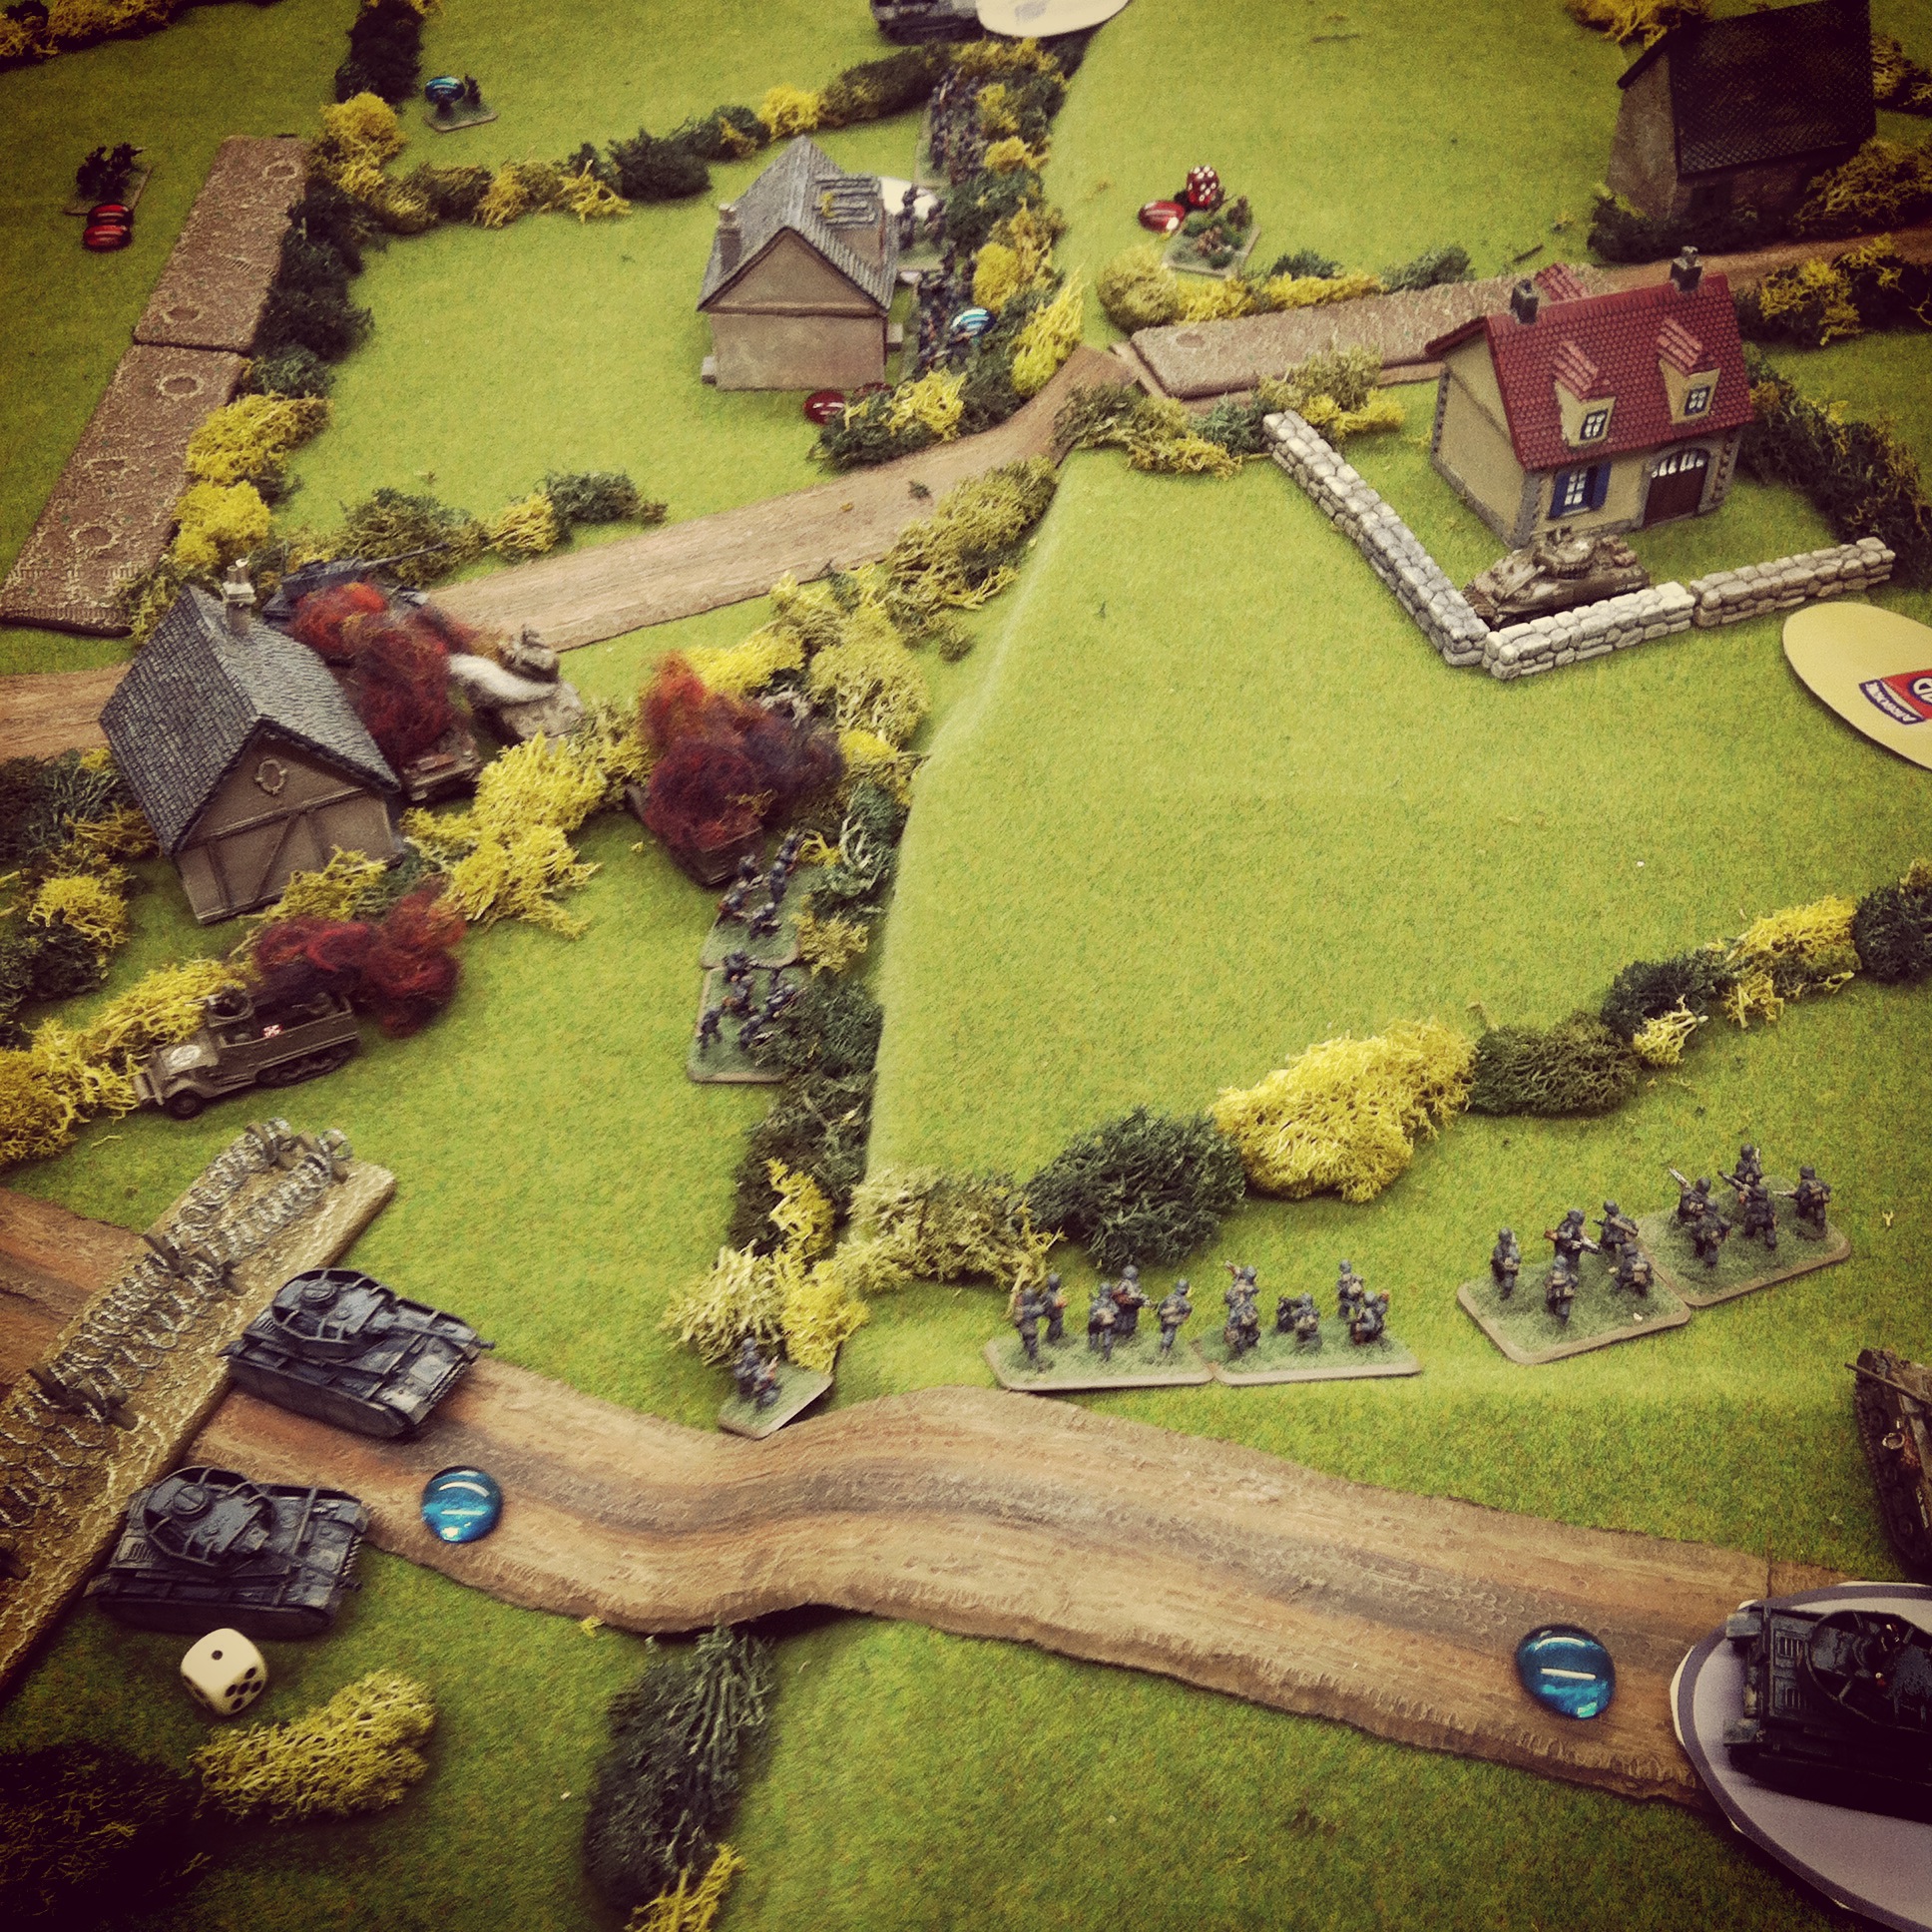
As the first platoon of US infantry fell, the remainder of the column ran into problems of their own. The Shermans attempted a push into the field off the road but two of the three quickly bogged in the rain-soaked ground. With the Shermans stalled and the rest of the column bunched-up on the road, an off-board German 105mm artillery barrage made a direct hit to the US line. As a result, the tanks took severe damage to their sights, main guns and mobility. Infantry jumped from their half tracks and one platoon took immediate fire from German MG42s hidden in the bocage across the nearby field. As the Americans desperately attempted to spread out and move to cover, additional rounds of fire from the Pak 40 and Sdkfz 10/1 on the far hill continued to pour shots into the remnants of the burning US column.

IMG_4218

 US reinforcements arrive at the house and advance on the defending German left

IMG_4220

Germans attempt to hold the flank at the objective

IMG_4219

Smoke is laid down in front of the German position on Hill 91 to cover the US advance

IMG_4245A late game push up Hill 91 by the US Greyhound leaves it in flames

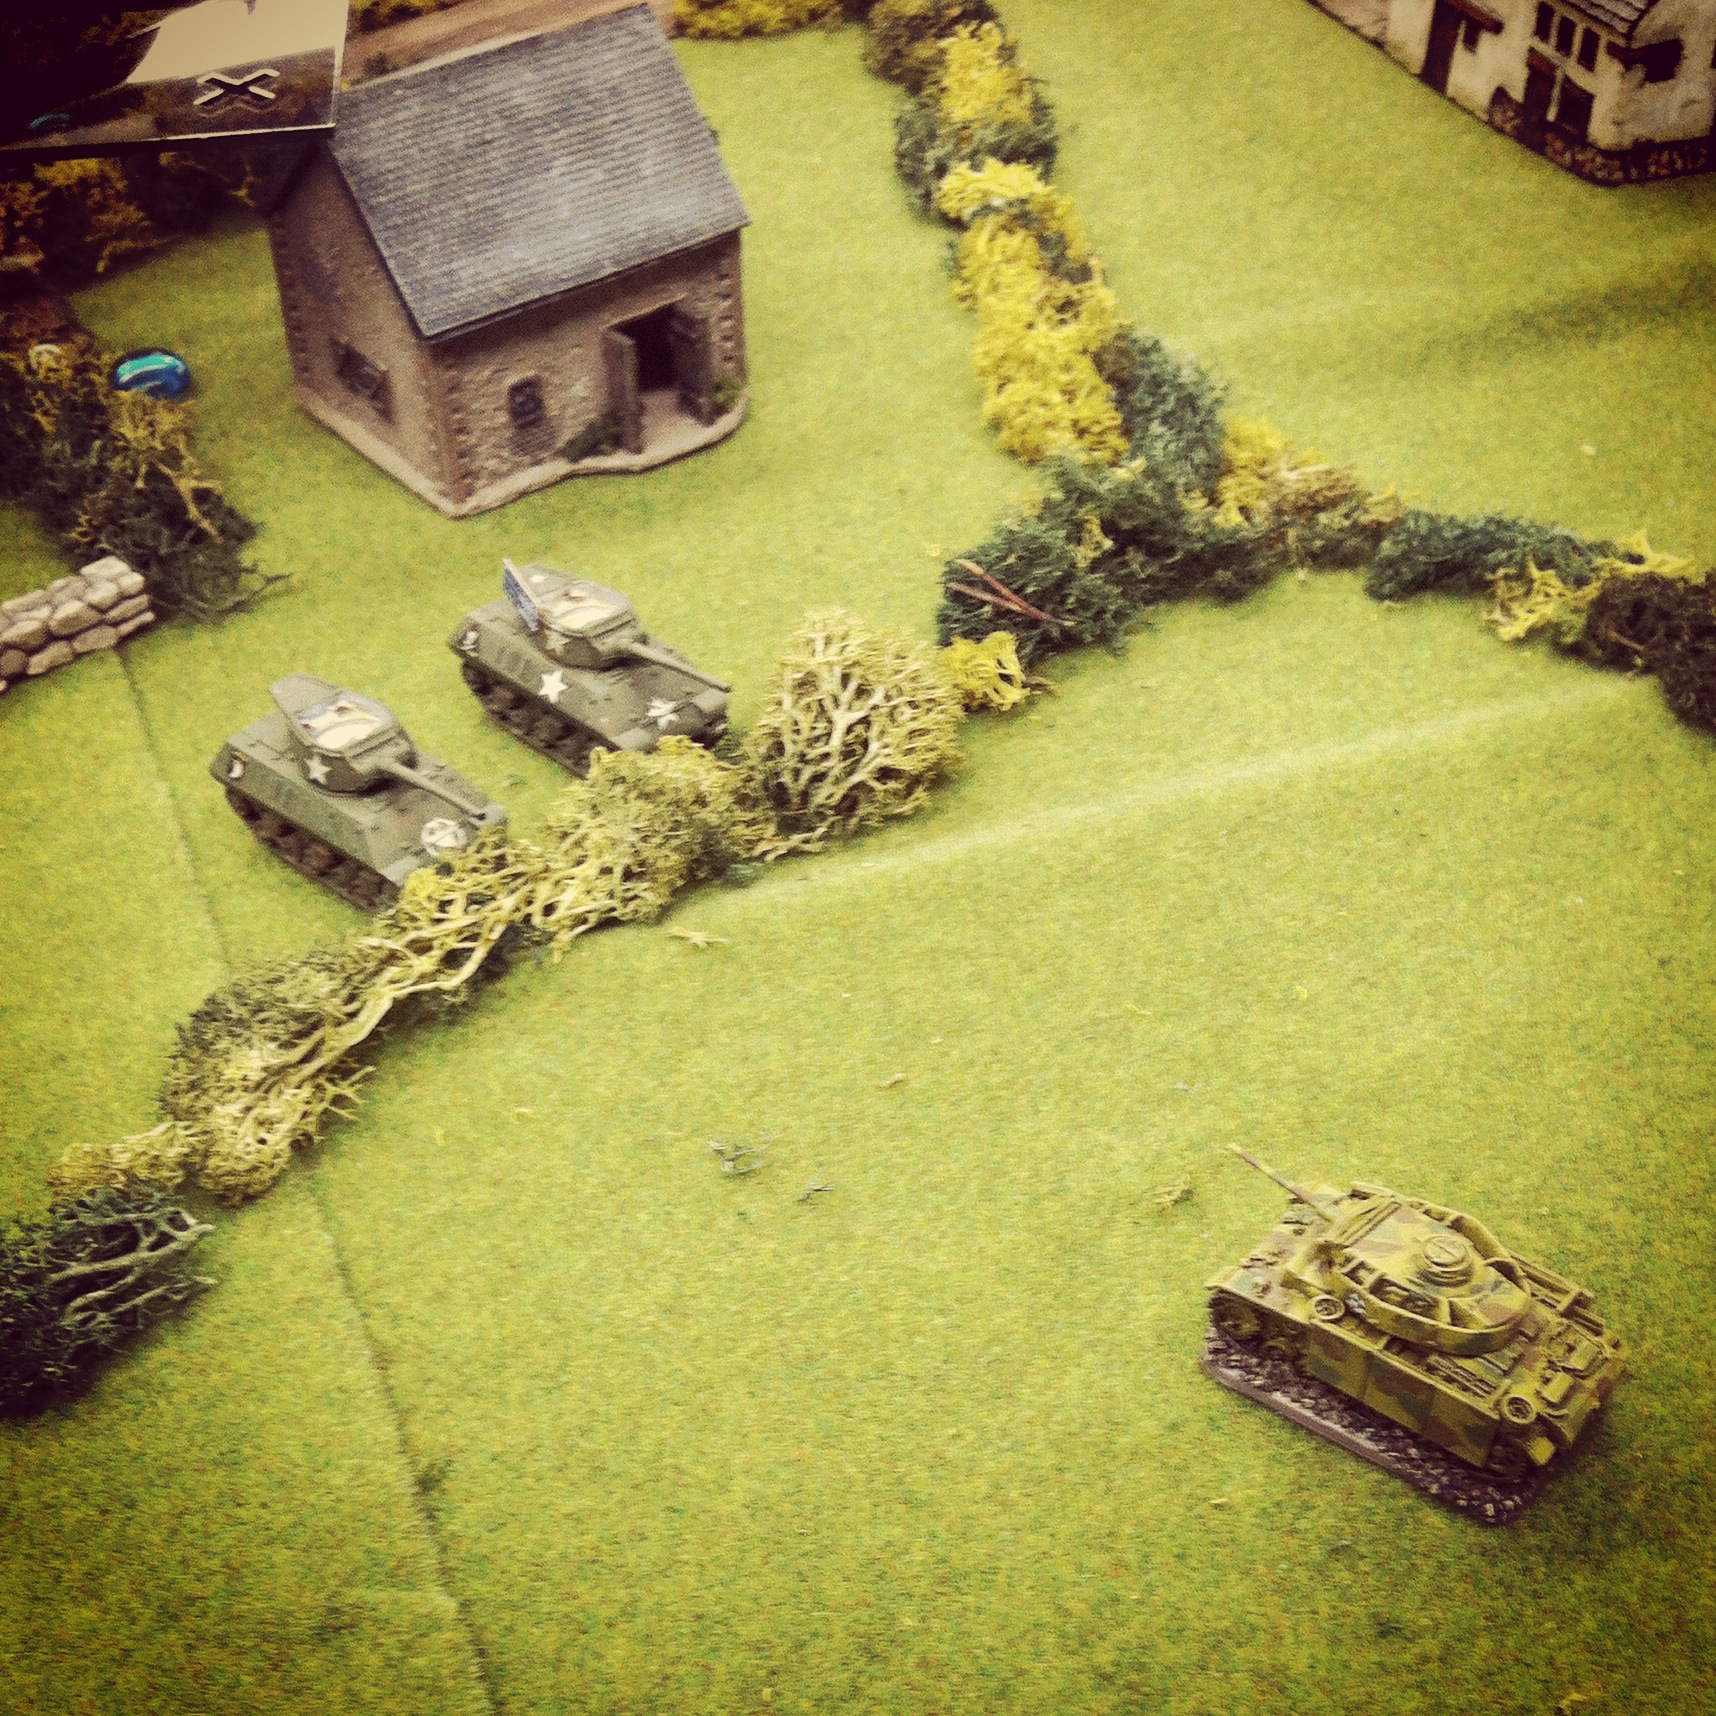
The survivors from the US column swiftly moved to position themselves for another round of assaults on the German position. Two surviving Shermans unbogged and rolled to position along the bocage, destroying the MG42 positions along the way. US infantry rushed in along both flanks of the German survivors at the farmhouse who were quickly reduced to a single operable fire team. US mortars followed up with a directly aimed smoke bombardment in front of the German guns on the hill, providing invaluable cover for the American ground advance. Pressure from the advancing Greyhound forced the Sdkfz 10/1 to fall back late in the game. As the armored car breached the crest of the hill, a quick shot from the Pak 40 eliminated it. Unfortunately for the Germans, this was one of their last bits of glory for the game.

IMG_4242German defenders get routed at the first objective during close assault and fall back

IMG_4243The last platoon of German defenders get spotted at the second objective

IMG_4244The final objective falls to the Americans as the German defenders are caught in combined infantry and artillery fire

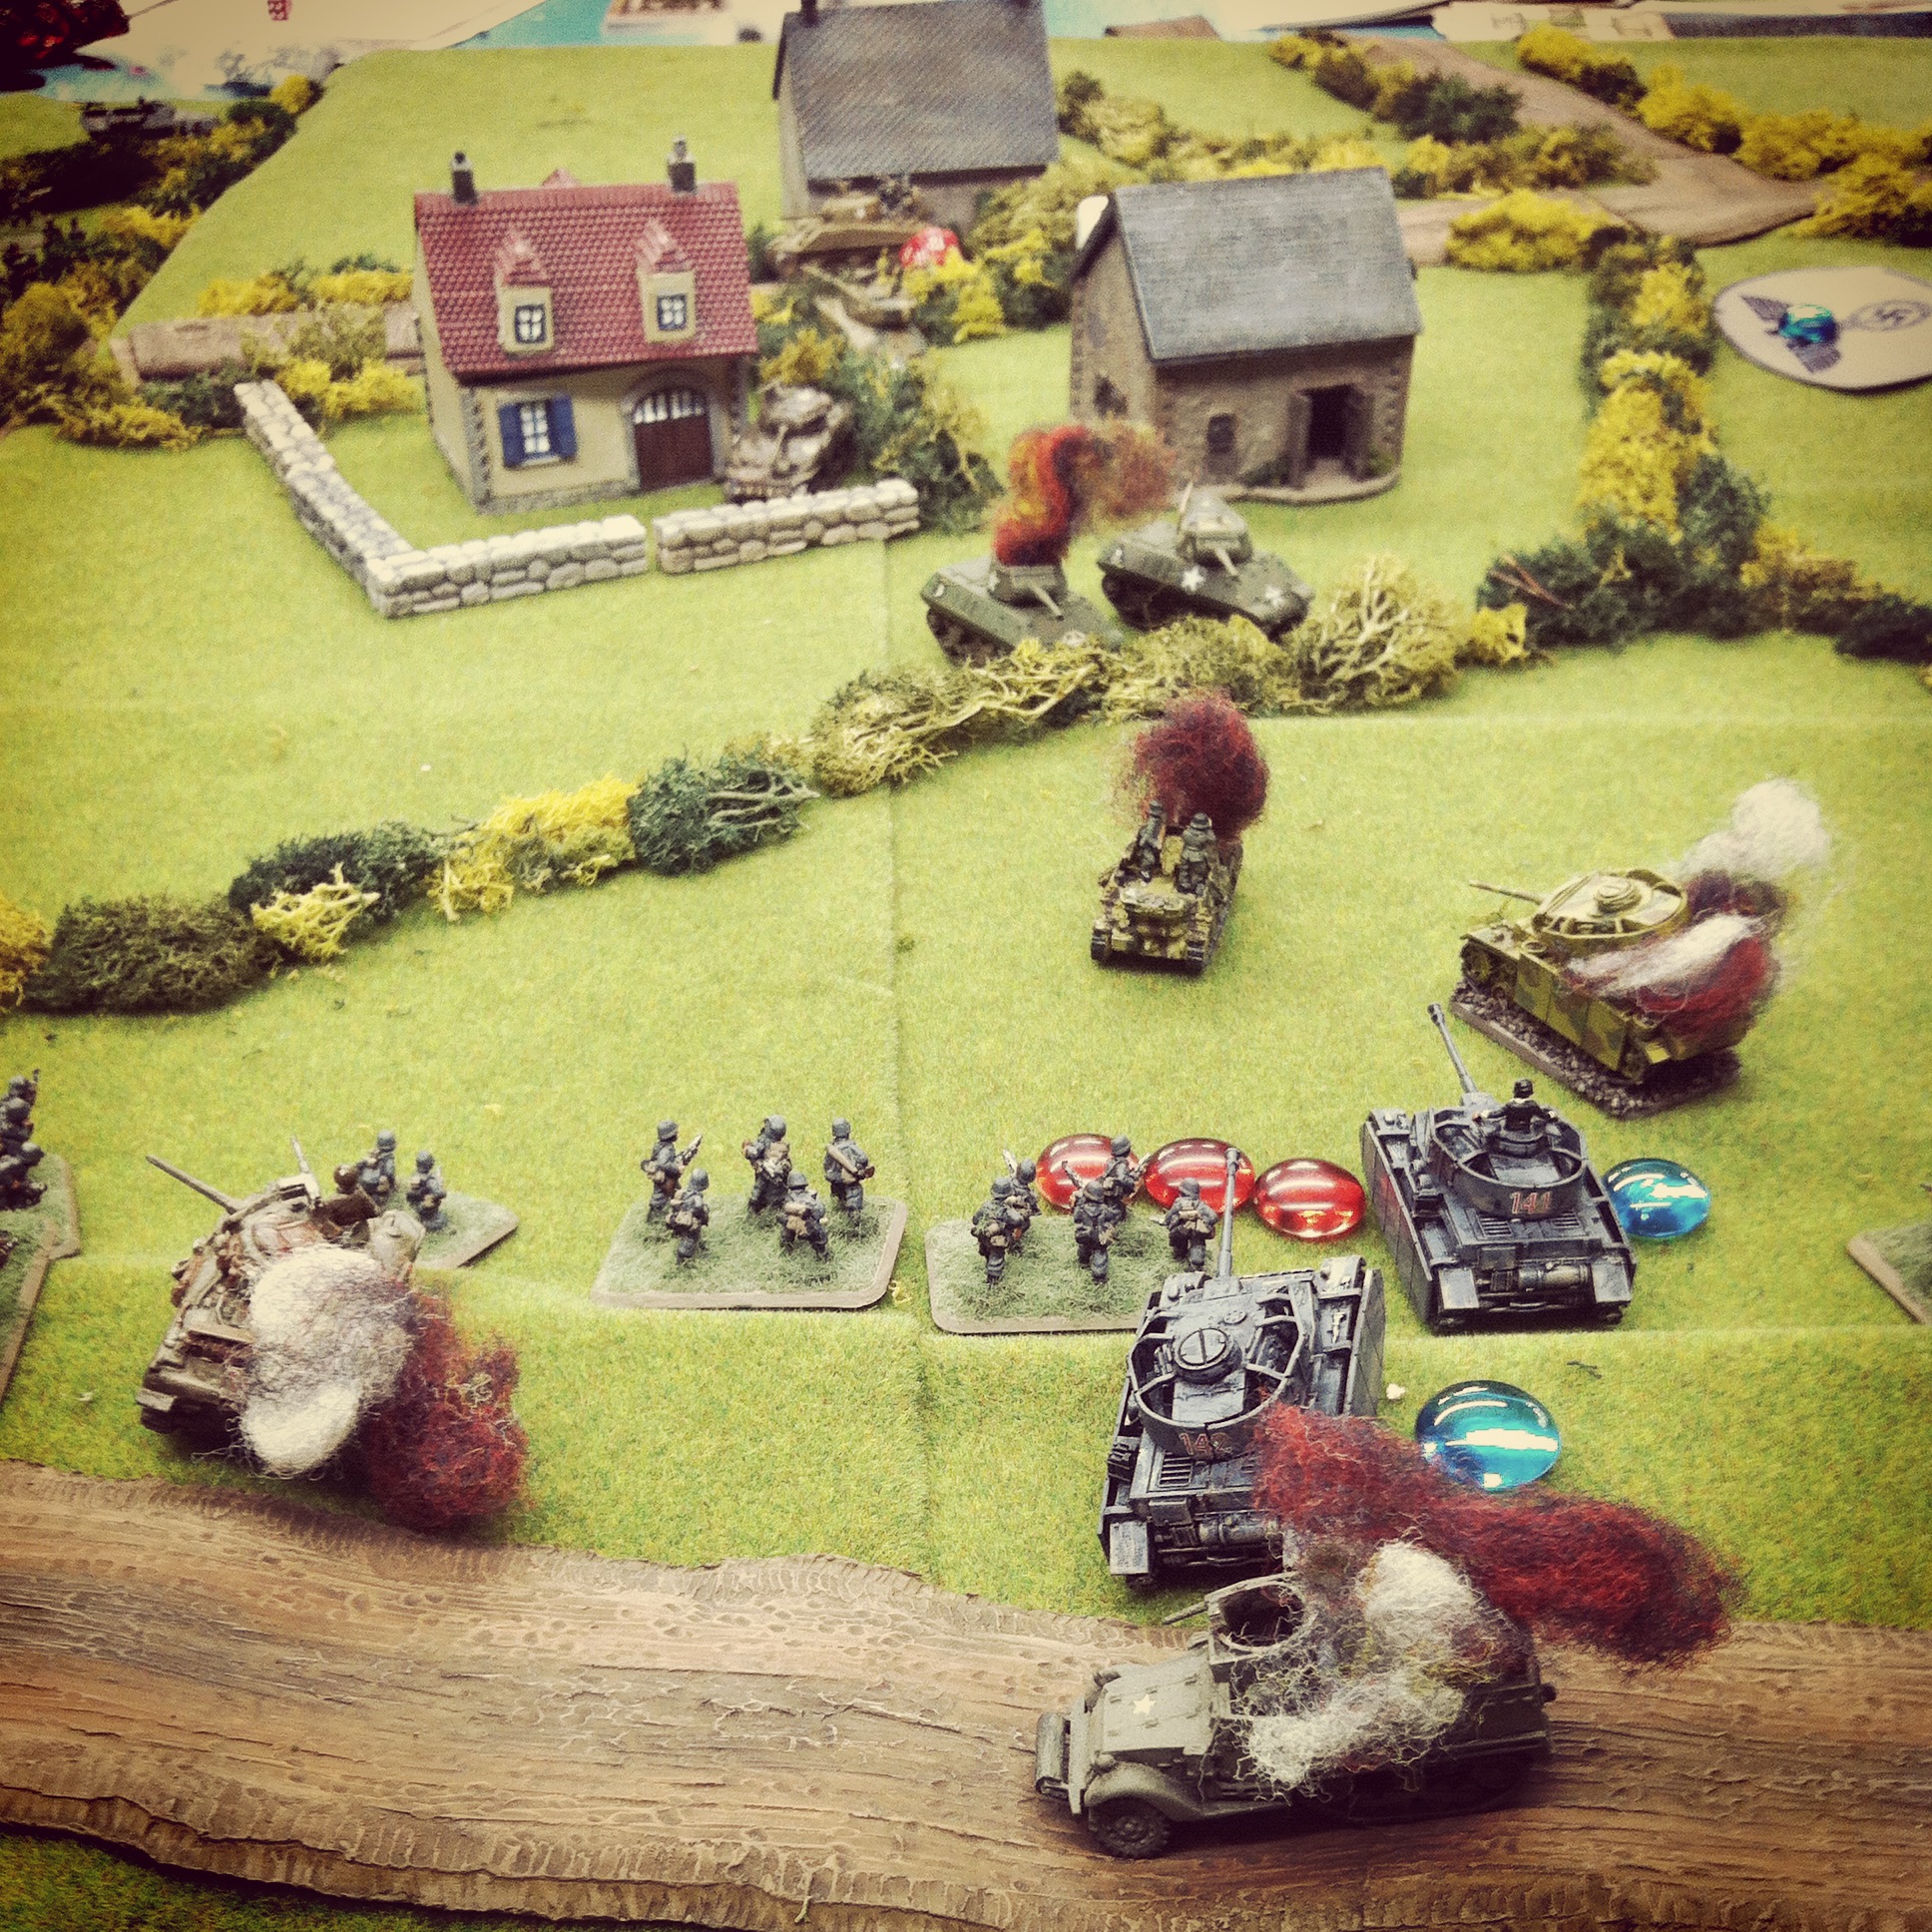
Back at the two objectives, the US moved hard toward victory. A close assault at the first house sent the survivors of two German fire teams running for the rear with heavy casualties and all but eliminated from the game. With that, one lone German platoon was exposed at the second house objective, and all US focus turned toward them. Two turns of heavy US artillery strikes and small arms fire from the bocage across the road laid waste to all but a few of the last Germans holding out. With the US Shermans still working their way on the German left and US infantry closing on the front, my Germans threw up their hands in defeat.

The first day of battle at Hauts-Vents went to the Americans, but as dark was drawing near, another battle was already looming before dawn as more Germans rushed to the defense.

Micro Armour: Fielding the GHQ US Armored Infantry and Sherman Tanks

USArmoredInf

A few months back I jumped into World War II 6mm micro armour with a few initial purchases from GHQ and a general post on getting started with the scale. With some other 15mm Flames of War projects taking precedent, my 6mm project has been sitting on the back burner until this past week.

I started my US forces with models from the US Armored Infantry Command 1944 and Shermans vs. Panzer IVs Battle Box sets from GHQ. The infantry set gives me a bunch of infantry, bazookas, an M20 armored car, three M8 armored cars, eight half tracks, three M10 Wolverines, three 75mm Shermans and three jeeps. From the US/German box I get another ten Sherman tanks. All together, I’ve got a pretty sizable and inexpensive US force typical of the late war in Europe.

This was my first time painting 6mm models, so I worked out a quick technique for painting infantry, transports and armor that gave pretty great results. I picked up a pair of 1.5x strength reading glasses which really helped in bringing the models into focus as I dabbed paint to the models using an ultra fine brush. By gluing the models to metal washers I was able to affix the models to a strip of magnetic basing, allowing me to rotate the models easily to paint from every angle.

IMG_0552

Two completed stands of GHQ US infantry

Painting US Infantry

  1. Glue a small piece of card over the center hole of washers.
  2. Glue models to washer bases.
  3. Basecoat models and bases with white spray primer.
  4. Wash models in a mix of 1 part dark green, 1 part light green and 5 parts water.
  5. Paint jackets tan.
  6. Paint boots, gun stocks and equipment details dark brown,
  7. Paint hands and faces flesh.
  8. Paint gun barrels and equipment details gun-metal silver.
  9. Paint bases dirt brown.
  10. Cover bases in white glue and cover in 50/50 mix of fine light green and dark green grass flock.
  11. Glue small pieces of clump foliage to base.

IMG_0553

GHQ M10 Wolverine and Sherman tank

Painting US Armor and Transports

  1. Glue a small piece of card over the center hole of washers.
  2. Glue models to washer bases.
  3. Basecoat models and bases with white spray primer.
  4. Wash models in a mix of 1 part dark green, 1 part light green and 5 parts water.
  5. Lightly coat models in mud brown wash.
  6. Dry brush light green highlights to models.
  7. Dry brush tracks, machine guns and body details gun-metal silver.
  8. Paint bases dirt brown.
  9. Cover bases in white glue and cover in 50/50 mix of fine light green and dark green grass flock.
  10. Glue small pieces of clump foliage to base.
  11. Paint tire tracks on bases dark brown.

All that’s left now for my US force is to apply some tiny decals on my tanks, armored vehicles and transports. Up next, I’ve got my eye on some additional German armoured infantry to go along with the Panzer IVs I already have on hand. Once I have my Germans on the workbench I’ll get some pics and process notes on painting up my first Axis troops at this scale. Until then, have a look a more photos below of where I am so far on my wargaming project in 6mm.

IMG_0554

GHQ half track and command stand with Jeep and officer

IMG_0559

GHQ M10 Wolverines

IMG_0558

GHQ M8 and M20 armored cars

IMG_0556

Close-ups of my completed GHQ US armored infantry and Sherman tank force

IMG_0557

Another close-up of my completed GHQ US armored infantry and Sherman tank force

IMG_0555

My first completed US micro armor force from GHQ

Flames of War: Fielding the PSC US Mortar Support Platoons

USmortaritaly

As with so many armies past and present, the infantry man was the backbone of the US Army during World War II. Armed with the M1 rifle, his training and an enormous line of supply to the rear, the American soldier was arguably one of the most formidable combatants in the history of warfare.

That said, even the most effective foot soldier often needs support. Along with machine gun crews, US infantry companies commonly contained the M2 60mm mortar. Crewed by just two men, the M2 added explosive punch in a highly portable weapon which could move swiftly with ground advances through varied terrain.

wwIIchemmortar M2 4.2 inch chemical mortar in use during World War II

At the battalion level, larger mortars with more diverse ammunition, longer ranges and greater effectiveness were also available. The M1 81mm mortar (pictured at the top of this post) was used throughout the war with its 3000 yard range and mix of explosive shells. The larger mortar, weighing in at about 150 pounds, required a larger team and was commonly transported by cart or mounted in the back of a halftrack.

By the time of the Allied invasion of Italy in 1943, the even heftier M2 4.2 inch chemical mortar was added to the American arsenal. Designed but never used for lobbing various weaponized chemical payloads like poison gas, the M2 was set on a large rectangular base plate with a pinion-like stand to stabilize firing large explosive or smoke payloads over 4000 yards. The weight and over-sized shells of the M2 did limit its portability significantly, but even so, it helped to very effectively fill out the small artillery arsenal at the infantry level.

pscusheavyinstr

Sprue detail for the PSC US Heavy Weapons set with 60mm, 81mm and 4.2 inch chemical mortars

I’ve been diversifying my mortar support when building my US force for our Flames of War Infantry Aces Campaign at Metropolitan Wargamers in Brooklyn, NY. The Plastic Soldier Company’s Late War US Heavy Weapons 1944-45 box offers a whole host of extra weapons for my infantry, including three types of mortars. My 92nd Infantry Division started out with a weapons platoon containing a few standard 60mm mortars along with some M1919 machine guns.

To my initial force, I’ve recently added both 81mm and 4.2 chemical mortar platoons (photos below). I continue to be impressed by the PSC sets both for their sculpting as well as their value. I love the mortar crews holding their ears as the mortars fire and the guys crouching with binoculars. The tiny arms can often be a bit wonky when gluing the figures up, but this also allows some flexibility in poses. I set up one pair of figures in a little vignette of one guy reaching over to console his comrade who has been rattled by all the noise.

IMG_4003Completed 81mm mortar platoon

IMG_4002Detail of 81mm mortar and command

IMG_3998Completed 4.2 chemical mortar platoon

IMG_4004Chemical mortar platoon observer and command stands

IMG_3999Detail of a 4.2 chemical mortar squad

MWGInfantry Aces

I’m putting my new mortar support platoons to use already in the Infantry Aces Campaign we’ve been running at the club for more than a month now. Although their first outing this past weekend wasn’t very successful, I’ve been studying up on FOW mortar smoke tactics. With strength only in numbers with my relatively inexperienced Confident/Trained riflemen, I’m going to be giving my force another try soon with mortars raining smoke and pinning fire on my German opponents. My hope is the mortars will provide just the support my American infantry need to fight to another tabletop victory.

Downloading: Valiant Hearts: The Great War

Valiant-Hearts-Logo

World War I has quickly moved from news to memory to history in the past 100 years, especially in the United States. While there are certainly plenty of grand remembrances being made of the lingering historical and political ripples of the Great War, the best parts of historical memory often continue to ring truest to us through personal stories. This is the reason why a classic book like All Quiet On The Western Front or the more recent graphic novel The Harlem Hellfighters resonate still in telling the story of WWI.

So, in this centenary year it’s a pleasure to have the distant memory of WWI retold in a vivid modern way with Valiant Hearts: The Great War from Ubisoft. Like any good war story, Valiant Hearts isn’t really about guns and glory, but more about love, friendship, connection and dedication humans strive to maintain when faced with the most hugely catastrophic events.

ValiantHeartsCharactersMain cast of characters from Valiant Hearts: Ana, Walt (dog), Karl, Emile, Freddie and George

The cast of characters presented in Valiant Hearts represents a cross-section of nationalities swept up in the European conflict. The main character is Emile, a French farmer who is pressed into service at the outbreak of the war. His daughter is in a relationship with Karl, a German who is exiled from France at the beginning of the war and subsequently compelled into service with the German army. Just after completing basic training, Emile meets Freddie, an American ex-patriot living in Paris and volunteer in the fight against Germany. Once in the trenches, Emile befriends a military service dog named Walt. A fast-driving Belgian nurse named Ana completes the main cast of characters, although a British pilot named George does make a cameo later on in the game.

vhtraining

Emile completing basic training in Valiant Hearts

With a minimal amount of introductory back story of the outbreak of WWI, the game begins with Emile marching off to some quick basic training which introduces a player to the basic climbing, attacking, picking-up and throwing actions. Once at the front, the game quickly moves into the more familiar trench warfare settings which were the hallmark of the war.

For gamers looking for WWI first-person combat wielding a bayonetted rifle or driving a clattering tank through No Man’s Land, there will be disappointment. Although death and destruction surrounds the game, there is surprisingly little direct combat experienced by the player. The entire WWI setting and all its trappings of planes, tanks, artillery and machine guns become tools to propel the characters to action, more like a violent ghostly hand lurking in the background than the main focus of the action.

vhgp6

A typical puzzle challenge in Valiant Hearts

As a game, the main focus of Valiant Hearts is at its core a platform, puzzle and adventure game. It is a game set within the war, but the playable characters are not working on racking-up body counts. More typically, a character will work their way through completing a series of tasks to progress to the next level– break down a wall, crouch in a trench, dig a tunnel, climb a ladder, crank a wheel, set a charge and blow up a bridge.

Different characters in the game also work in combination to get puzzles solved and sometimes work with non-player characters. For instance, the burly Freddie is good at smashing down walls, doors and barriers with his bare fists while Emile is handy at digging and Ana provides care to wounded soldiers on and off the field. Characters can also order commands to Walt to move and fetch objects from areas unreachable by the other human characters, such as crawling under clouds of poisonous gas.

vhgp1

Richly accurate artwork of the Western Front and equipment such as tanks and biplanes set the scene in Valiant Hearts

Beyond the entertainment of the puzzle adventure gameplay, Valiant Hearts is rich in historic detail. A number of short behind-the-scenes developer videos on the game’s website show the depths to which the team at Ubisoft went to paint a vivid picture of WWI using primary documents. Even within the cartoonish game animation, there’s a ton of detail in the flags, uniforms, weapons, vehicles and settings throughout the game. The diversity of nations participating in the war is well-represented, so we not only see the typical British, German, United States and French soldiers but also those from countries like India. To keep the nationalities with their mix of languages consistent, dialogue among characters is limited to emotive symbols and vaguely accented but recognizable foreign mumbles.

Valiant Hearts: The Great War_20140625183402

Historical photos and background fill out the detail in Valiant Hearts

As Valiant Hearts progresses, gamers and would-be historians will find a wealth history laced within the action. Brief cut-scenes do well to set chapters within regional maps and shifting events throughout the war. Pop-up screens provide historical facts and beautifully color-tinted period photographs of life, equipment and stories from WWI. Players who complete puzzles within the game also collect historic artifacts such as identification tags, a whistle, a helmet or actual letters from soldiers of multiple nations. Again, additional pop-up windows takes a player back to the primary sources from which each object is drawn.

Both my 14-year-old son and I have spent time playing through Valiant Hearts this week. As a hardcore gamer, my son found the play pretty rudimentary by modern standards but my greener fingers did find at least some initial challenge to the puzzles. What we both equally delighted in was the art and historical documentation which was wrapped up around the simple human story unfolding throughout the game.

Far away from the politics, grand plans and horrors of combat, every war throughout history has come down to humans and relationships torn asunder or brought together in wartime. This is the journey of the characters in Valiant Hearts: The Great War and one well worth the trip back a century in time.

Valiant Hearts: The Great War is available for PS3, PS4, Xbox 360, Xbox One and Windows PC.

Flames of War: Metropolitan Wargamers Infantry Aces Campaign

MWGInfantry Aces

Two weekends ago we kicked off a Flames of War Infantry Aces campaign at Metropolitan Wargamers in Brooklyn, NY.

A friend of the club and organizer of the campaign has created a special Infantry Aces blog to track the campaign’s progress throughout the summer. The site will be updated weekly as the battle unfolds with after action reports, lots of photos and tracking of each player’s progress in the campaign.

While the battle rumbles on, here’s a brief look at the forces we’ve had fun researching, modelling and painting specifically for our campaign for Italy.

Allied Forces

FOWIAAllies

(clockwise from top left) 504th Parachute Infantry, 92nd Infantry “Buffalo Soldiers,” Gurkha Rifles and members of the 2nd New Zealand Division

Our Allied forces are a mixed group from the Road To Rome book and reflect the mutlinational forces which came together in the late war Italy campaign to break the Axis lines. From the United States, the 504th Parachute Infantry Regiment is bringing their experience to the field after having fought for years from North Africa and Sicily in 1943 to Operation Market Garden to The Battle of The Bulge in 1944. Joining them, are the untested 92nd Infantry Division “Buffalo Soldiers,” the first African-American infantry to fight as wholly-segregated unit in the war.

Allied with the US troops are some unique UK Commonwealth forces. The Indian Gurkha Rifles had a long history in service of the British dating back to the mid-19th-century, and their skill in close combat and rocky terrain would serve them well in Italy. The  2nd New Zealand Division served most of the war in North Africa and hopping around the islands of the Mediterranean until joining the Allied effort to break the Axis lines severing Italy from the rest of Europe.

Axis Forces

germanyia (clockwise from top left) Fallschirmjagers, Hermann Göring troops and Grenadiers

Using the updated Fortress Italy book, our Axis players have fielded some of the classic, war-hardened forces whose mission it was to hold the line against the Allied push up the Italian Peninsula. The 1. Fallschirmjägerdivision in Italy had already proven themselves throughout Europe with wide-ranging early war operations in Denmark and Norway, the Netherlands, Crete and the invasion of the Soviet Union with Operation Barbarossa.

Two other veteran companies fill out the Axis forces. The Hermann Göring Fallschirmpanzerdivision saw action throughout Europe and Africa before fighting in Italy. Finally, the 362.Infanterie-division had seen a long war (including the Battle of Stalingrad) by the time they joined the final Axis defense of Italy.

The Campaign Begins…

IMG_3685

Recent FOW Infantry Aces campaign action at Metropolitan Wargamers

We’ve got two weeks of campaign games in so far, and playing with small infantry forces of 500 points has been a refreshing break from the larger FOW games in which we all usually play. Special rules, varying troop ratings and small tables clogged with Italian terrain have also added to the challenges and enjoyment we’ve all had so far. There’s a lot of gaming to do as the campaign escalates over the coming weeks to 700 and 900 point companies with added support. Check back frequently for more of the action over at the Infantry Aces Metropolitan Wargamers Italian Flames of War site.

Flames of War: Fielding the 92nd Infantry Division Buffalo Soldiers

buffalsoldierscmnd

Although African-Americans have fought in every war in US history, their fight has often come on multiple fronts of prejudice and acceptance at home and abroad. Segregated units such as the famed 54th Massachusetts during the American Civil War and the 369th Infantry Regiment Harlem Hellfighters in World War I have received their due in popular culture in recent years, as have the WWII pilots of the Tuskegee Airmen.

On the ground, African-Americans in WWII were most often relegated to support roles early in the war as truck drivers, stevedores and cooks. By late in the war with reserves of Allied soldiers dwindling throughout the European campaigns, black soldiers were pressed into service at the front lines of the Battle of the Bulge and the Italian Campaign. It was in the actions in Italy where the famed 92nd Infantry Buffalo Soldiers added another chapter to their service history.

92ndpatch

Shoulder insignia of the 92nd Infantry Division ‘Buffalo Soldiers’

The Buffalo Soldiers in the Italian Campaign

The name “Buffalo Soldiers” dates back to the frontier Indian Wars of the 19th-century when post-Civil War free blacks volunteered for service in various US army capacities in the West. Later, these units continued serving in various capacities through the Spanish-American War and into WWI. Reactivated in 1942, the Buffalo Soldiers of the 92nd Infantry Division finally made their way to the war via Italy in the fall of 1944.

Video of the 92nd Infantry arriving in Italy in October 1944

As part of the US 5th Army, the 12,000 men of the 92nd Infantry made up part of the multinational Allied coalition of US, Brazilian, British and UK Commonwealth forces which sought to break the Gothic Line. Cutting across Italy, the Axis hoped to hold off any further Allied progress north to meet with other Allied forces pressing through Europe from Normandy inland toward Berlin.

92mortar

A 92nd Infantry Division mortar crew firing near Massa, Italy

Led by senior white officers in otherwise segregated units, the 92nd Infantry made up a key element of the left flank of the Allied push up through the Italian peninsula. Crossing the Arno River and proceeding north, the 92nd made its way up the Mediterranean coast  through Lucca, Massa and on to La Spezia and Genoa by the time of Axis surrender in May 1945.

The legacy of the contributions of the 92nd Infantry Division’s effectiveness in Italy has been much-debated. A paper from the 1950s does what I read to be a good job in explaining the challenges the Buffalo Soldiers faced — delays in reinforcements,  shortages in re-supply and a lack of training for the kind of terrain encountered in Italy. I believe much of this can be chalked-up to the ingrained organizational racism against the segregated units. Post-war, the members of the Buffalo Soldiers also returned to a United States still entrenched in racial discrimination. It was not until the late 1990s that two members of the 92nd were recognized with Medal of Honor commendations, some fifty years after the war’s end.

Spike Lee’s Miracle At St. Anna

StAnna

As a wargamer and film fan, I often turn to the movies to cross-pollinate my interest in a period. Spike Lee’s Miracle At St. Anna from 2008 tells the story of four soldiers from the 92nd Infantry who hide out in a small Tuscan village and bond with its residents amid the oppression and danger of German occupiers. Lee’s movies often run hot and cold, and Miracle at St. Anna met with mixed reviews, poor box office results and a fair amount of criticism over the lack of historical accuracy. All that said, the Italian locations and strong individual performances makes the movie worth a view for a rare glimpse of African-American soldiers in WWII cinema.

Modelling the 92nd Infantry Division for Flames of War

fowroadtorome

In late February 2014, the revised Flames of War Road To Rome and Fortress Italy compilation was released as an updated and expanded guide to the Italy campaign of 1944 and 1945. The Fortress Italy book covers the German and Italian defenders, and Road To Rome outlines the Allied US, British, Polish, French and lesser-known UK Commonwealth forces from Canada, New Zealand, India and South Africa. A third book, Italy Battles, provides special mission rules, battle scenarios and campaign notes for Anzio (aka “Operation Shingle”) and Monte Cassino.

infantry aces

Having dedicated years of my FOW modelling and gaming to Western Europe, these books provided a great opportunity for myself and other members of Metropolitan Wargamers in Brooklyn, NY to dive into a club-wide Italian project. I’ve also been wanting to put together a unique company for my FOW collection, and I was pleased to find the 92nd Infantry Regiment outlined in the Road To Rome book. With all our focus on the Italy theater, we’ve decided to dive headlong into a multi-month FOW Infantry Aces campaign, and there will be more to come with updates on our new Infantry Aces blog.

PSCUSinf

For my 92nd Infantry I decided to snap up the two sets from the Plastic Soldier Company – Late War US Infantry 1944-45 and US Infantry Heavy Weapons. At about $26 a box from my favorite online dealer The Warstore, the PSC kits are a huge value in fielding an entire infantry company along with bazooka, machine gun and mortar supporting weapons. Assembly involves lots of small parts and bases must be purchased separately, but getting a whole company on the table for a fraction of the costs of FOW models can’t be beaten.

IMG_3669

Pvt. Fred “Radio” Rogers and Lt. Daniel McFeeley

To fill out my force, I picked of the FOW Infantry Aces set for about $12. The pack gives you nine stands of character models to create special Infantry Ace command stands for use in the Infantry Aces campaign. The blister pack includes general US, British and German models with special Fallschirmjäger, Japanese-American Nisei, Kiwi and turbaned Indian characters. I shared the models with my fellow players at our club, and modelling these guys really adds some nice personality to the game. For my Command Ace stand, I’ve modeled the fictional Pvt. Fred “Radio” Rogers and Lt. Daniel McFeeley leading the way for my company.

IMG_3670One of my three rifle platoons for the 92nd Infantry Division

In the FOW Italy campaign, the 92nd Infantry Division is rated as Confident-Trained making my force cheap and numerous. To start, I’ve constructed three rifle platoons with two rifle squads each plus a platoon command and bazooka in support. Along with my rifles and McFeeley and Rogers leading the way, I’m also bringing a weapons platoon in support. The platoon packs a punch with three 60mm mortars and four M1919 machine gun crews.

IMG_3671My Buffalo Soldiers mortar and machine gun weapons platoon

For all my models, I glued the PSC soldiers and equipment onto FOW bases and then hit them with an army green spray coat base. Boots, equipment, rifle stocks and flesh got a dark brown. Pants were done in a tan paint and leggings got a brownish off-white color. Guns were finished off in a metal coat. Basing involved a layer of fine gravel and larger rocks coated in a brown wash and then dry-brushed in a grey-white. Finally, tufts of brown-green grass completed the Mediterranean look of the models.

The beginnings of my platoon will be hitting the tabletop shores of Italy this coming weekend in their first round of our club’s Infantry Aces campaign. In the coming weeks I’ll be adding additional infantry weapons support with additional mortars, machine guns and more infantry. Even before these guys see their first action, I’m pretty thrilled to have put in the time to create some pretty unique models that I haven’t found modeled anywhere else at this scale. As in WWII years ago, I think the 92nd Infantry Buffalo Soldiers have been too often forgotten by mainstream history and many gamers alike. With my soldiers hitting the field again, I hope to bring a bit more glory back to these men who not only contributed to the fight against Axis fascism but also stood bravely against the tide of so much history against them.