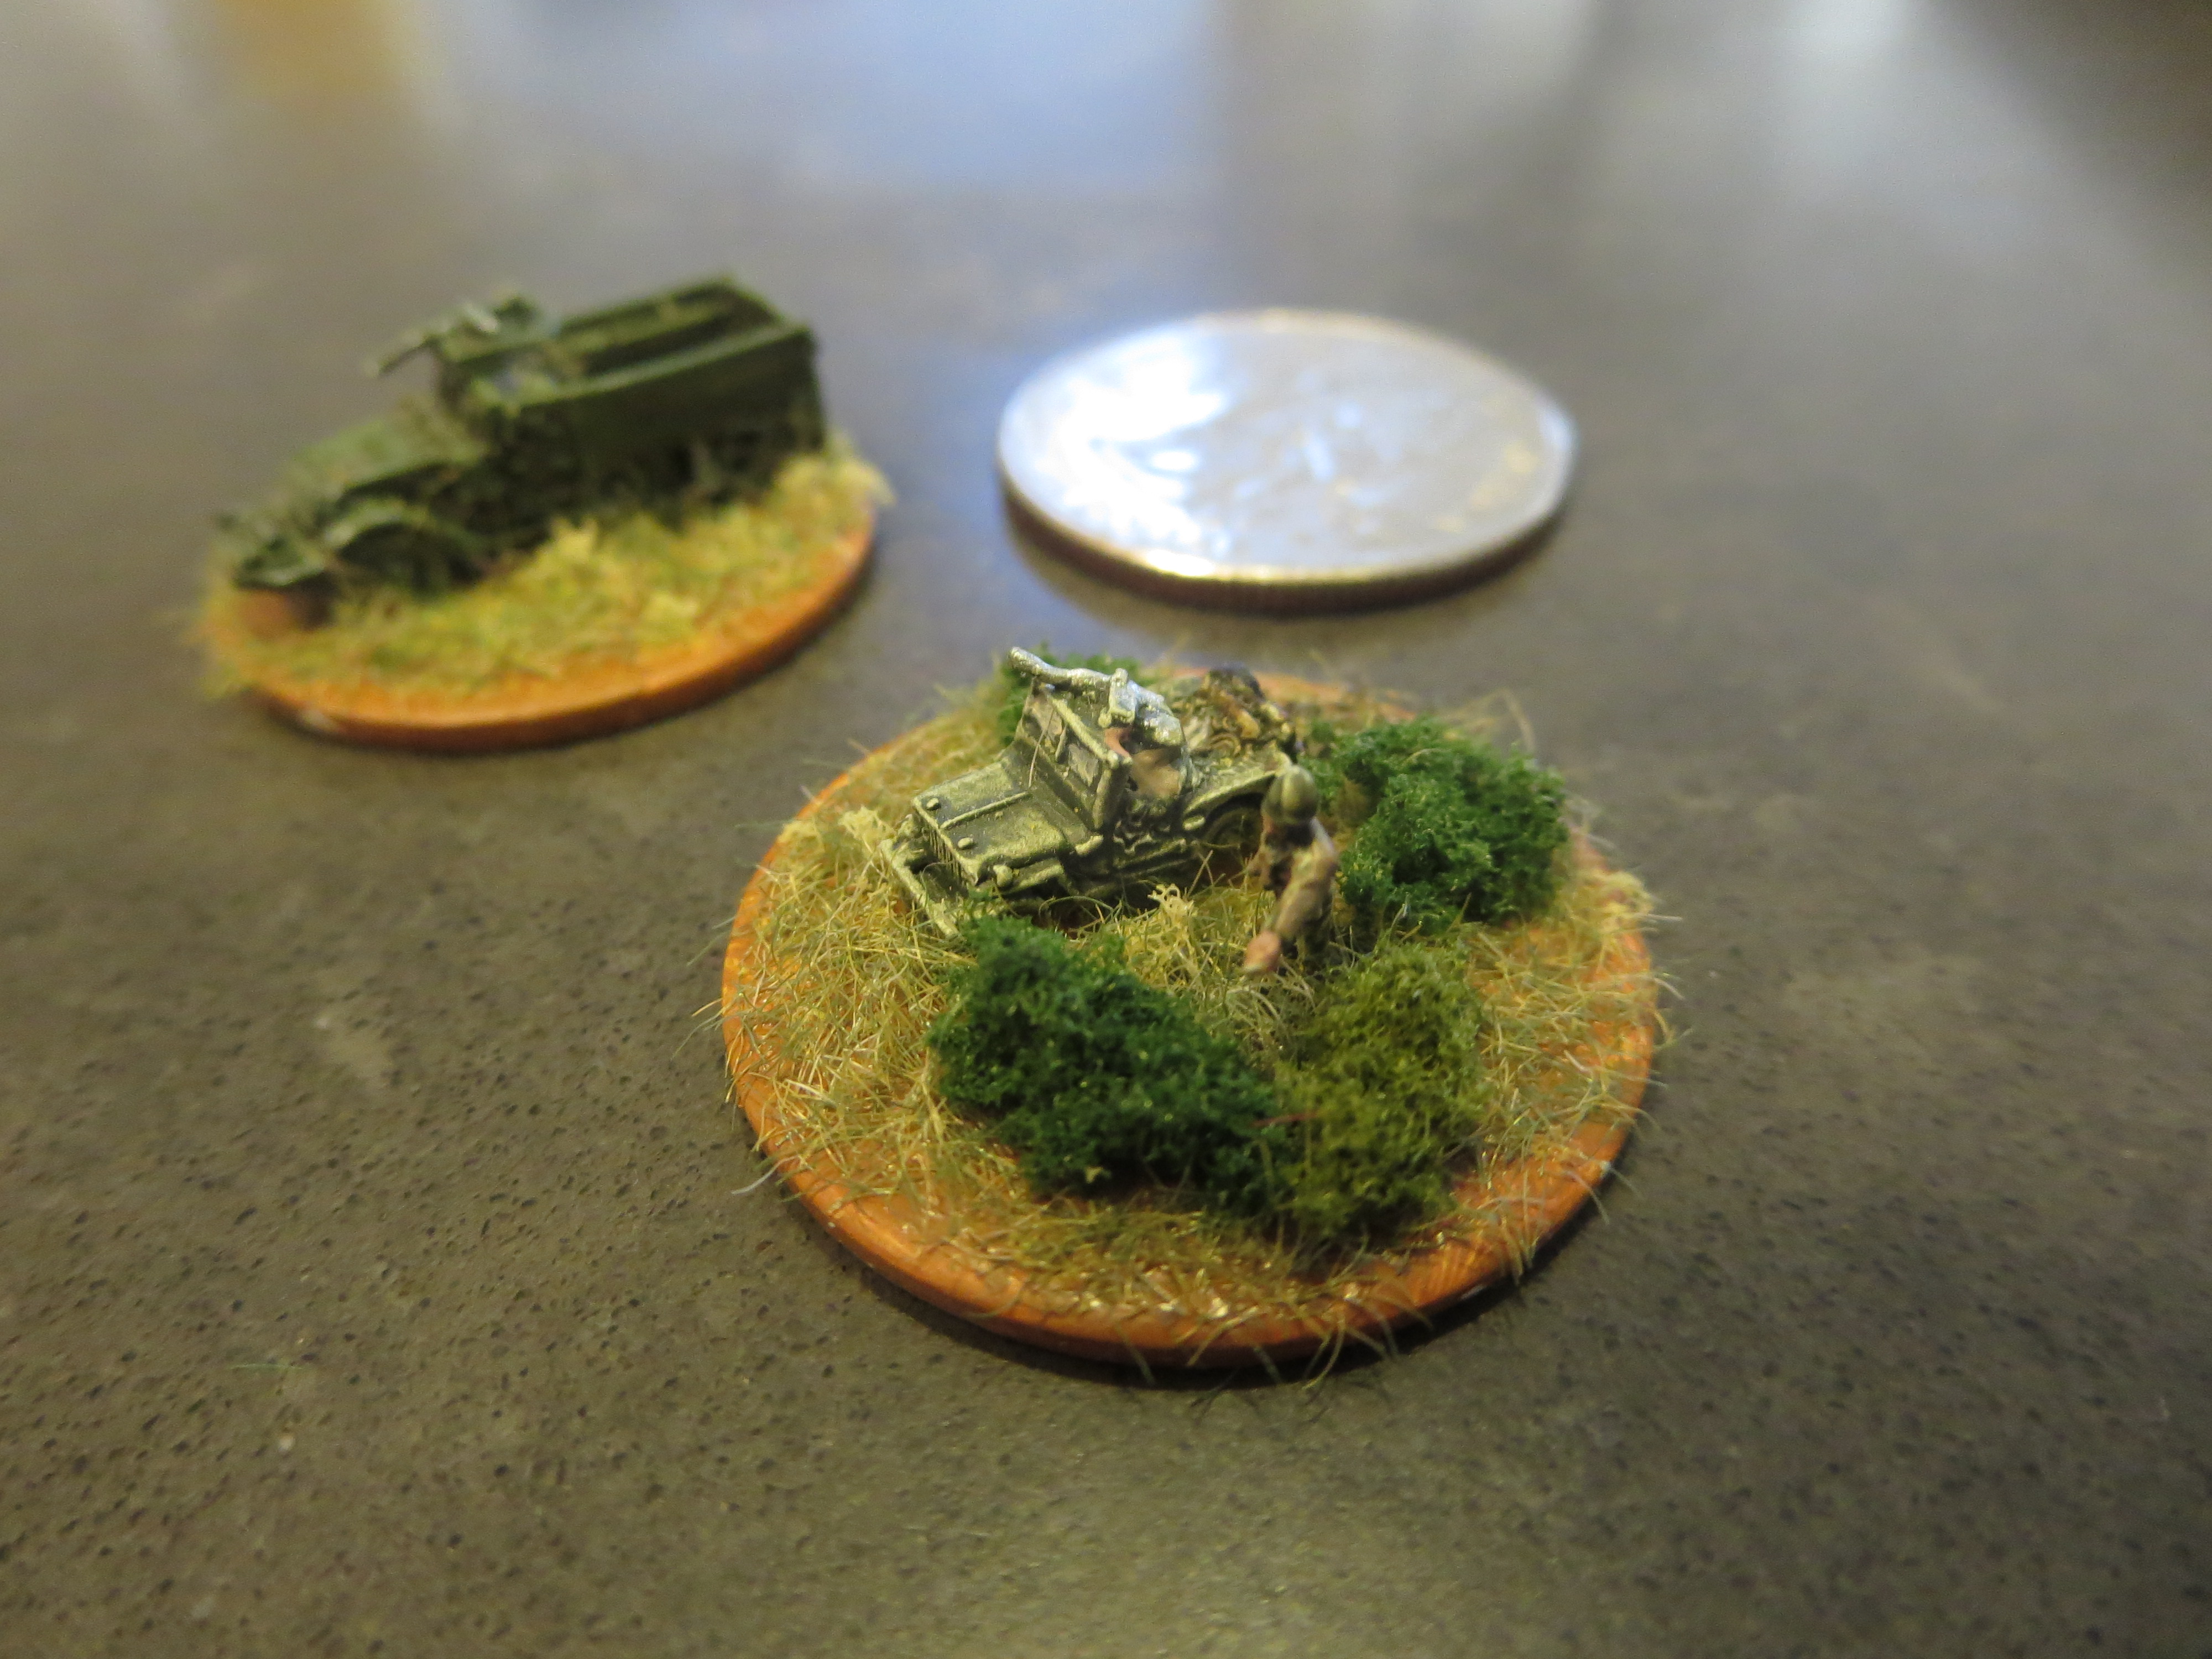
After a few months taking a break from painting, I came back to my 28mm World War II Germans by adding some anti-tank weapons and command figures.

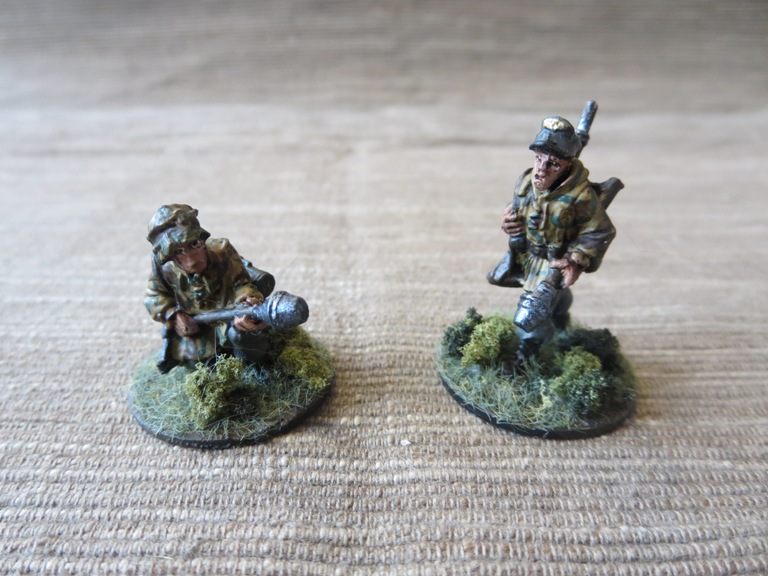
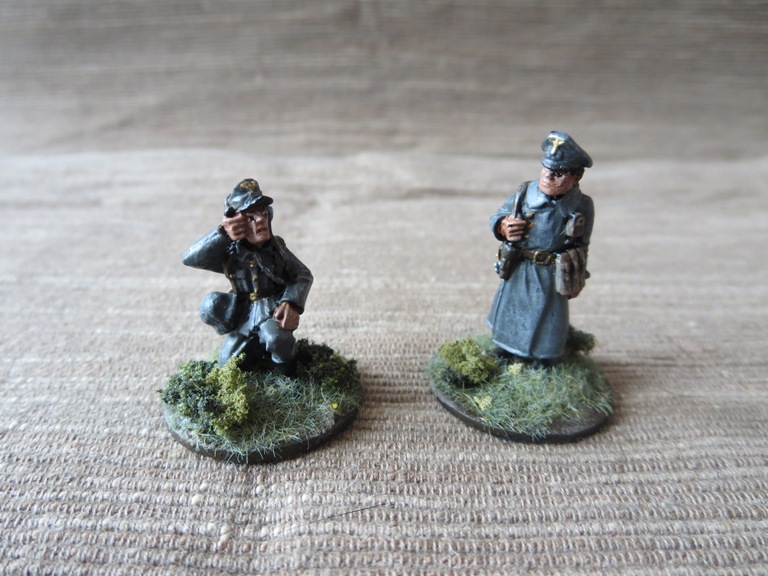
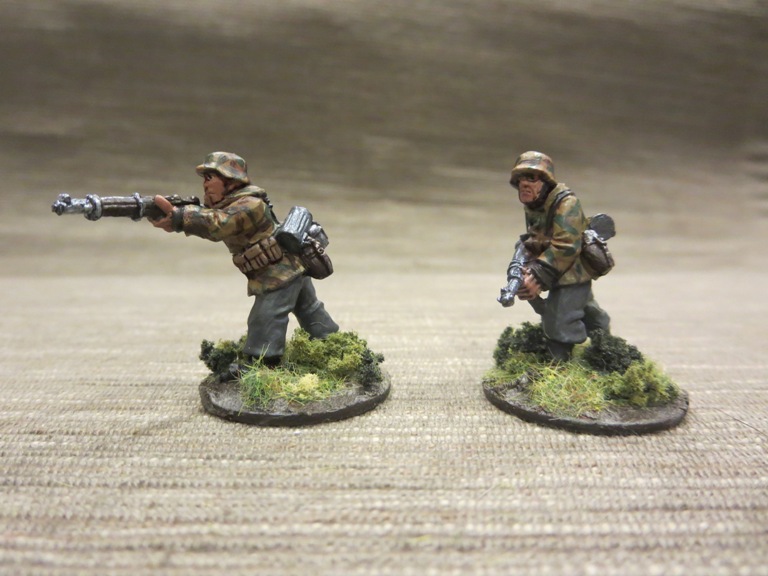
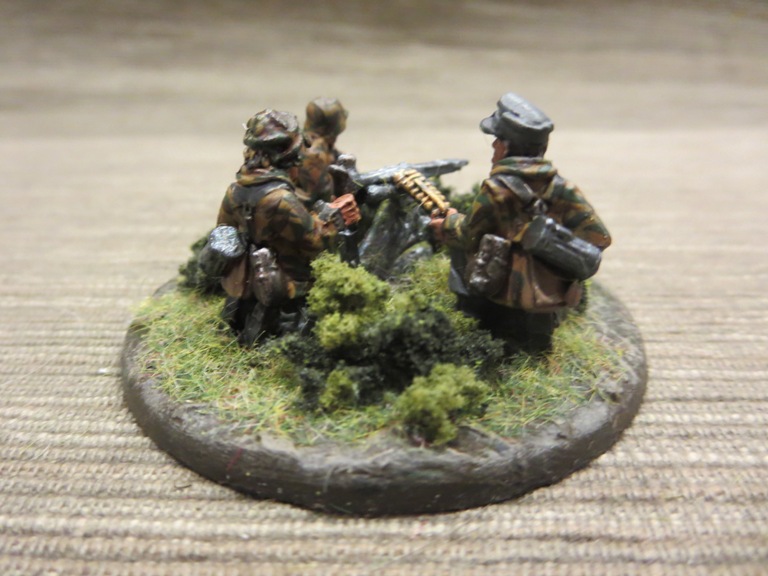
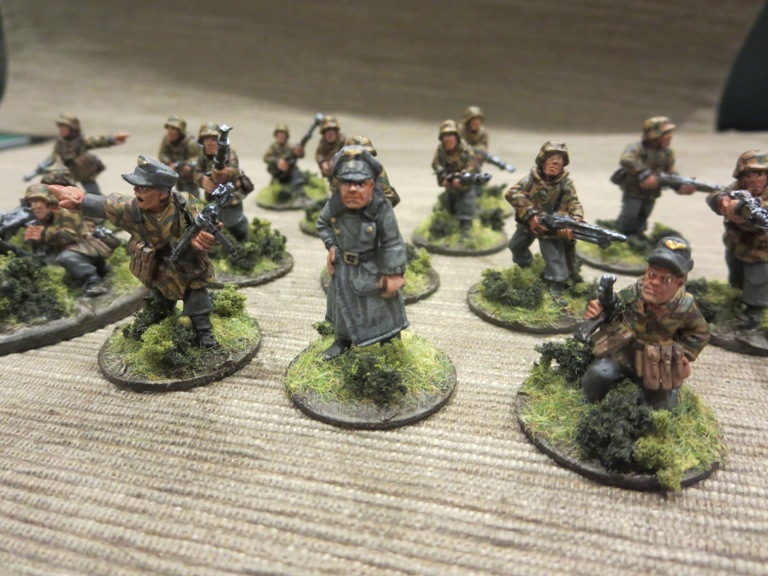
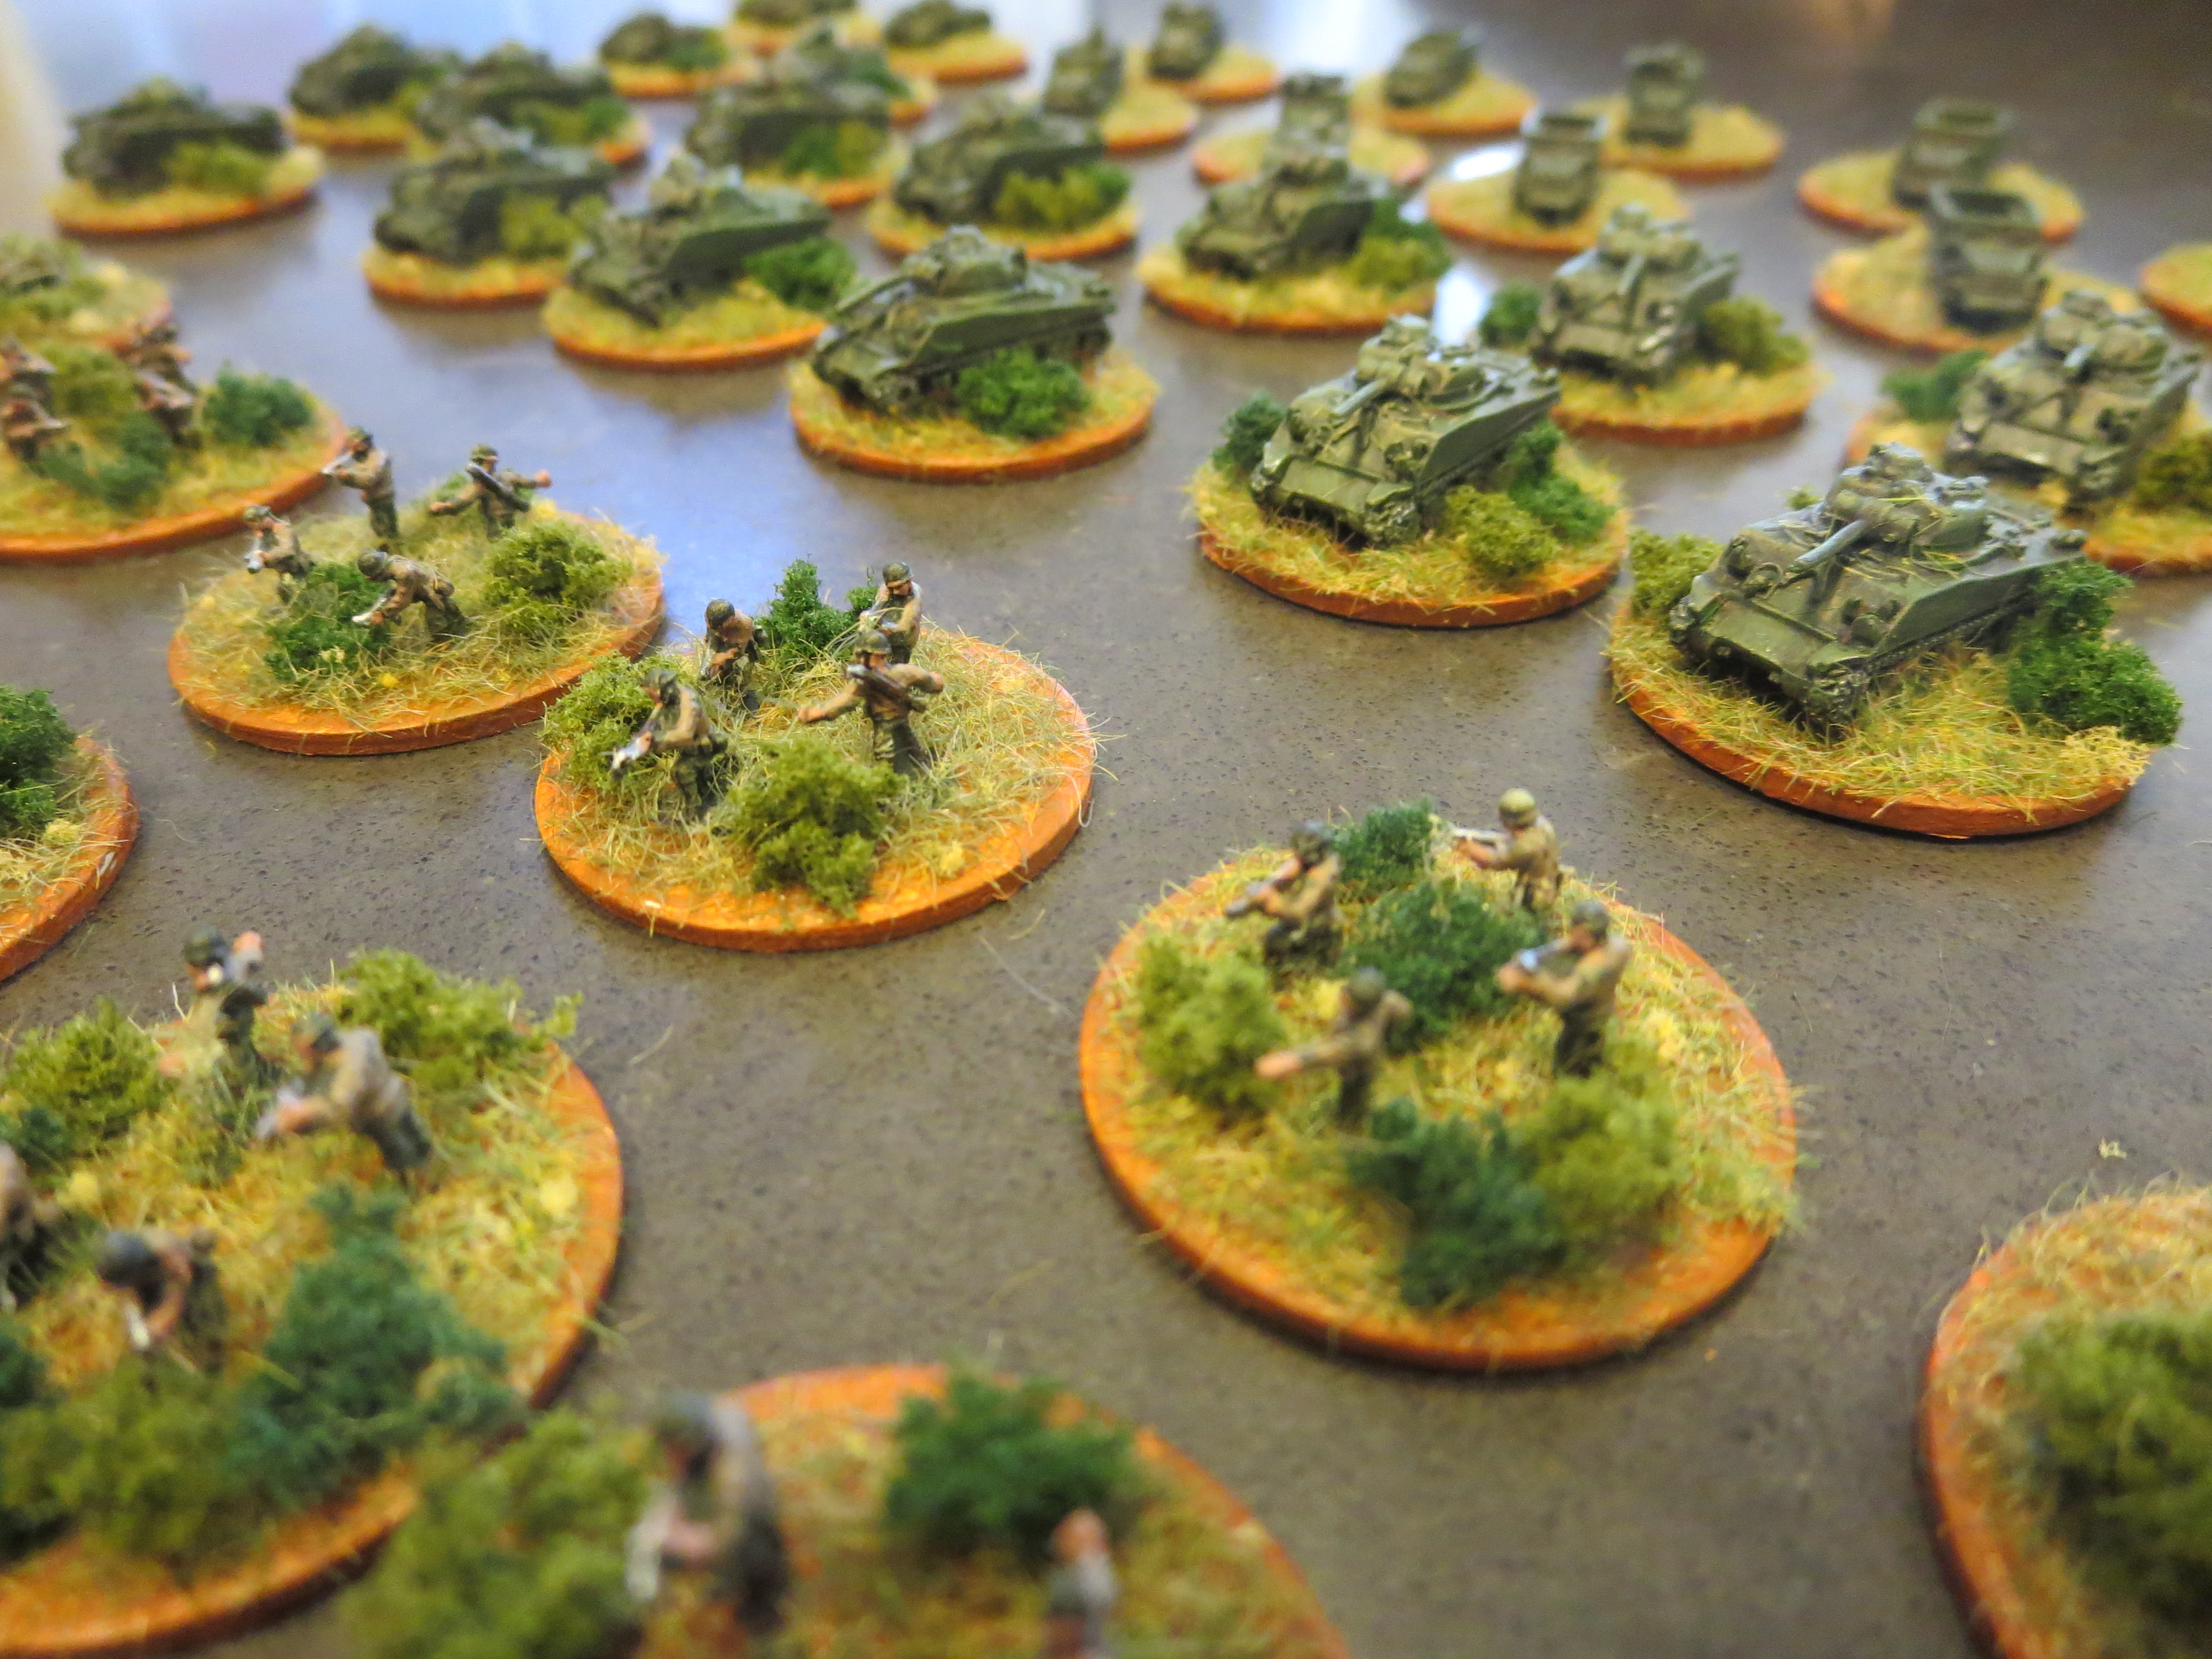
I’ve been so pleased with the German infantry from my first and second platoons using models from Artizan Designs that I returned to their miniatures again to round out my collection. The panzerfaust and panzerschreck teams gave a nice mix of poses on the move and in firing positions. Likewise, the command molds make for a nice grouping including a radio operator and a stern officer with battle plans in one hand and the other hand planted confidently on his hip.

As always, the Artizan figures required little flash clean up before being glued to metal washers. Here’s my battle-tested steps in detail for painting my latest Germans.
Painting 28mm German Infantry
- Clean flash from metal models with a sharp knife and glue to metal washer or plastic bases.
- Apply filler putty to bases. When dry, scrape off excess with a sharp knife.
- Basecoat models and bases with flat black spray primer.
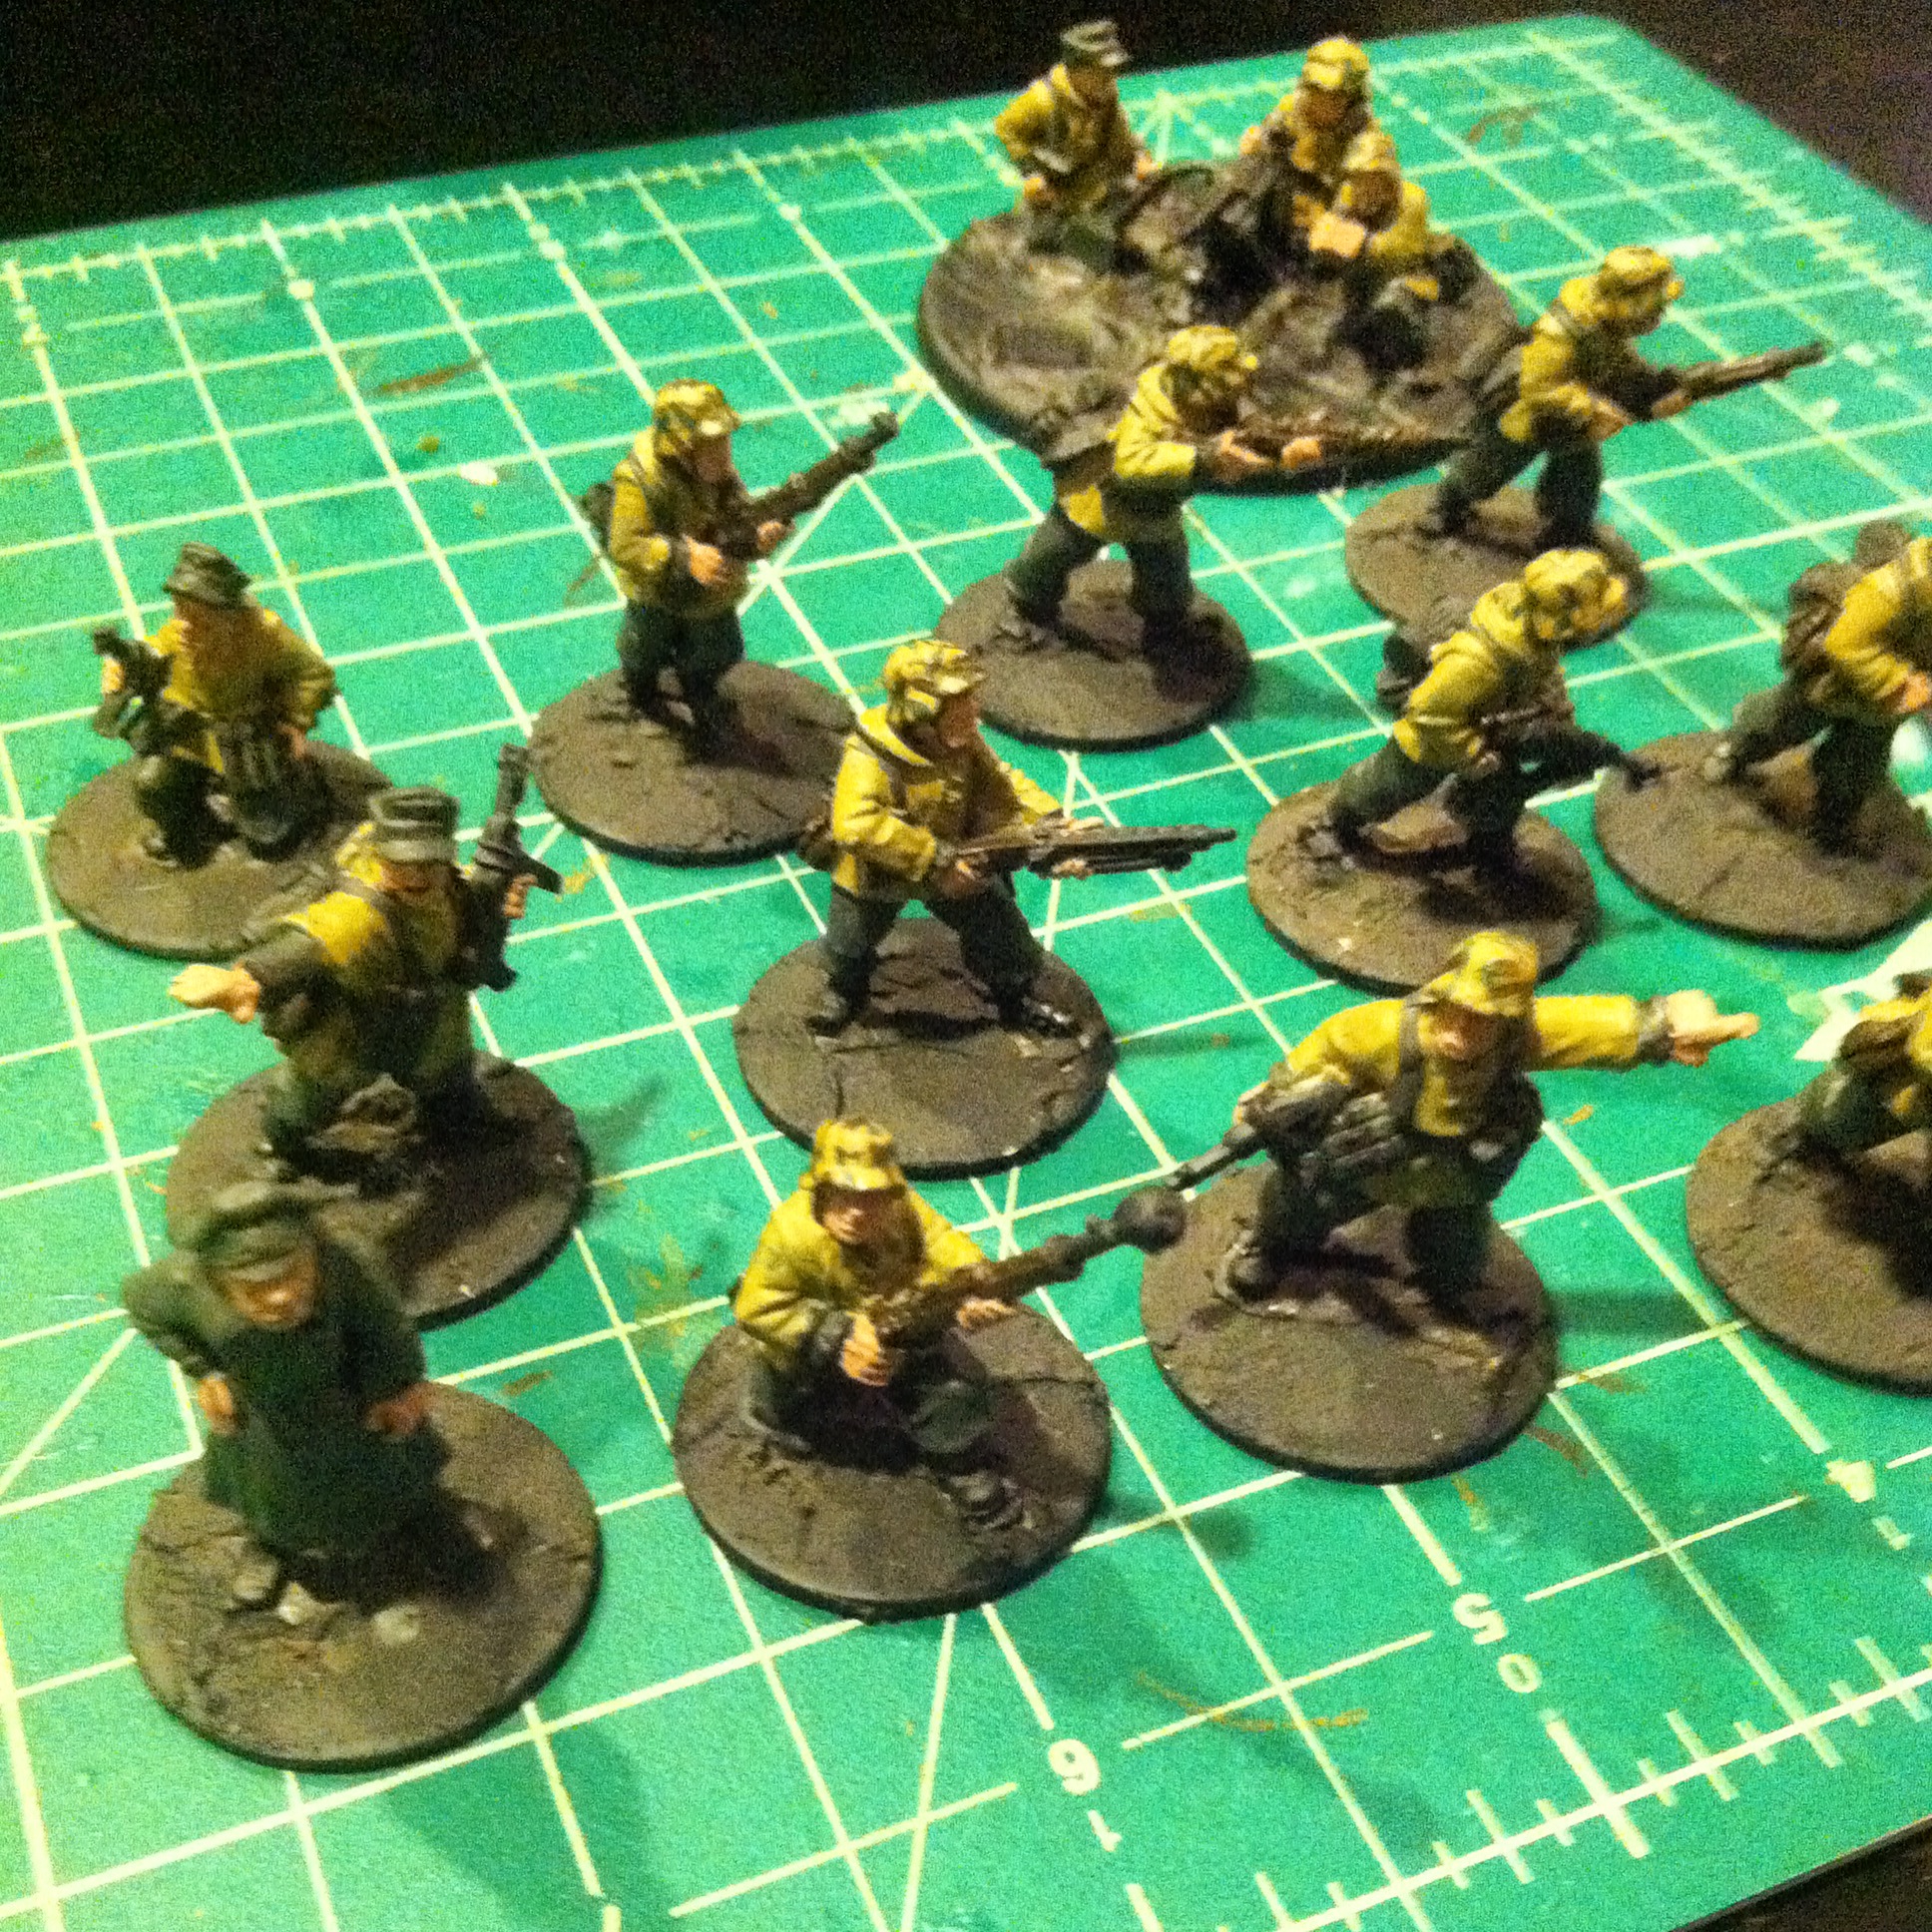
- Paint smocks and helmets with Tallarn Sand.
- Paint pants, soft hats, officer greatcoat and gas mask containers with Skavenlight Dinge.
- Paint camouflage on helmets and smocks with alternating Waaagh! Flesh and Dark Brown.
- Paint faces and hands with Tallarn Flesh.
- Paint packs with Baneblade Brown.
- Paint boots and equipment straps Black.
- Paint bases, gun stocks, water bottles and helmet straps with Dark Brown.
- Apply Agrax Earthshade wash to uniforms, helmet netting, webbing and packs.
- Mix 50/50 Baneblade Brown and Off White and lightly dry brush packs, webbing, socks and holsters.
- Dry brush pants, soft hats and officer great coat with Light Grey.
- Lightly dry brush bases and gun stocks with Baneblade Brown.
- Paint metal gun and water bottle parts with black and finish with a light dry brush of Metallic Silver.
- Dry brush gasmask containers with metallic Silver.
- Paint eyes with small dots of Off White and Dark Brown. Clean up around eyes with Tallarn Flesh.
- Mix 50/50 Tallarn Flesh and Off White and brush highlights on cheekbones, chins, forehead, nose and hands.
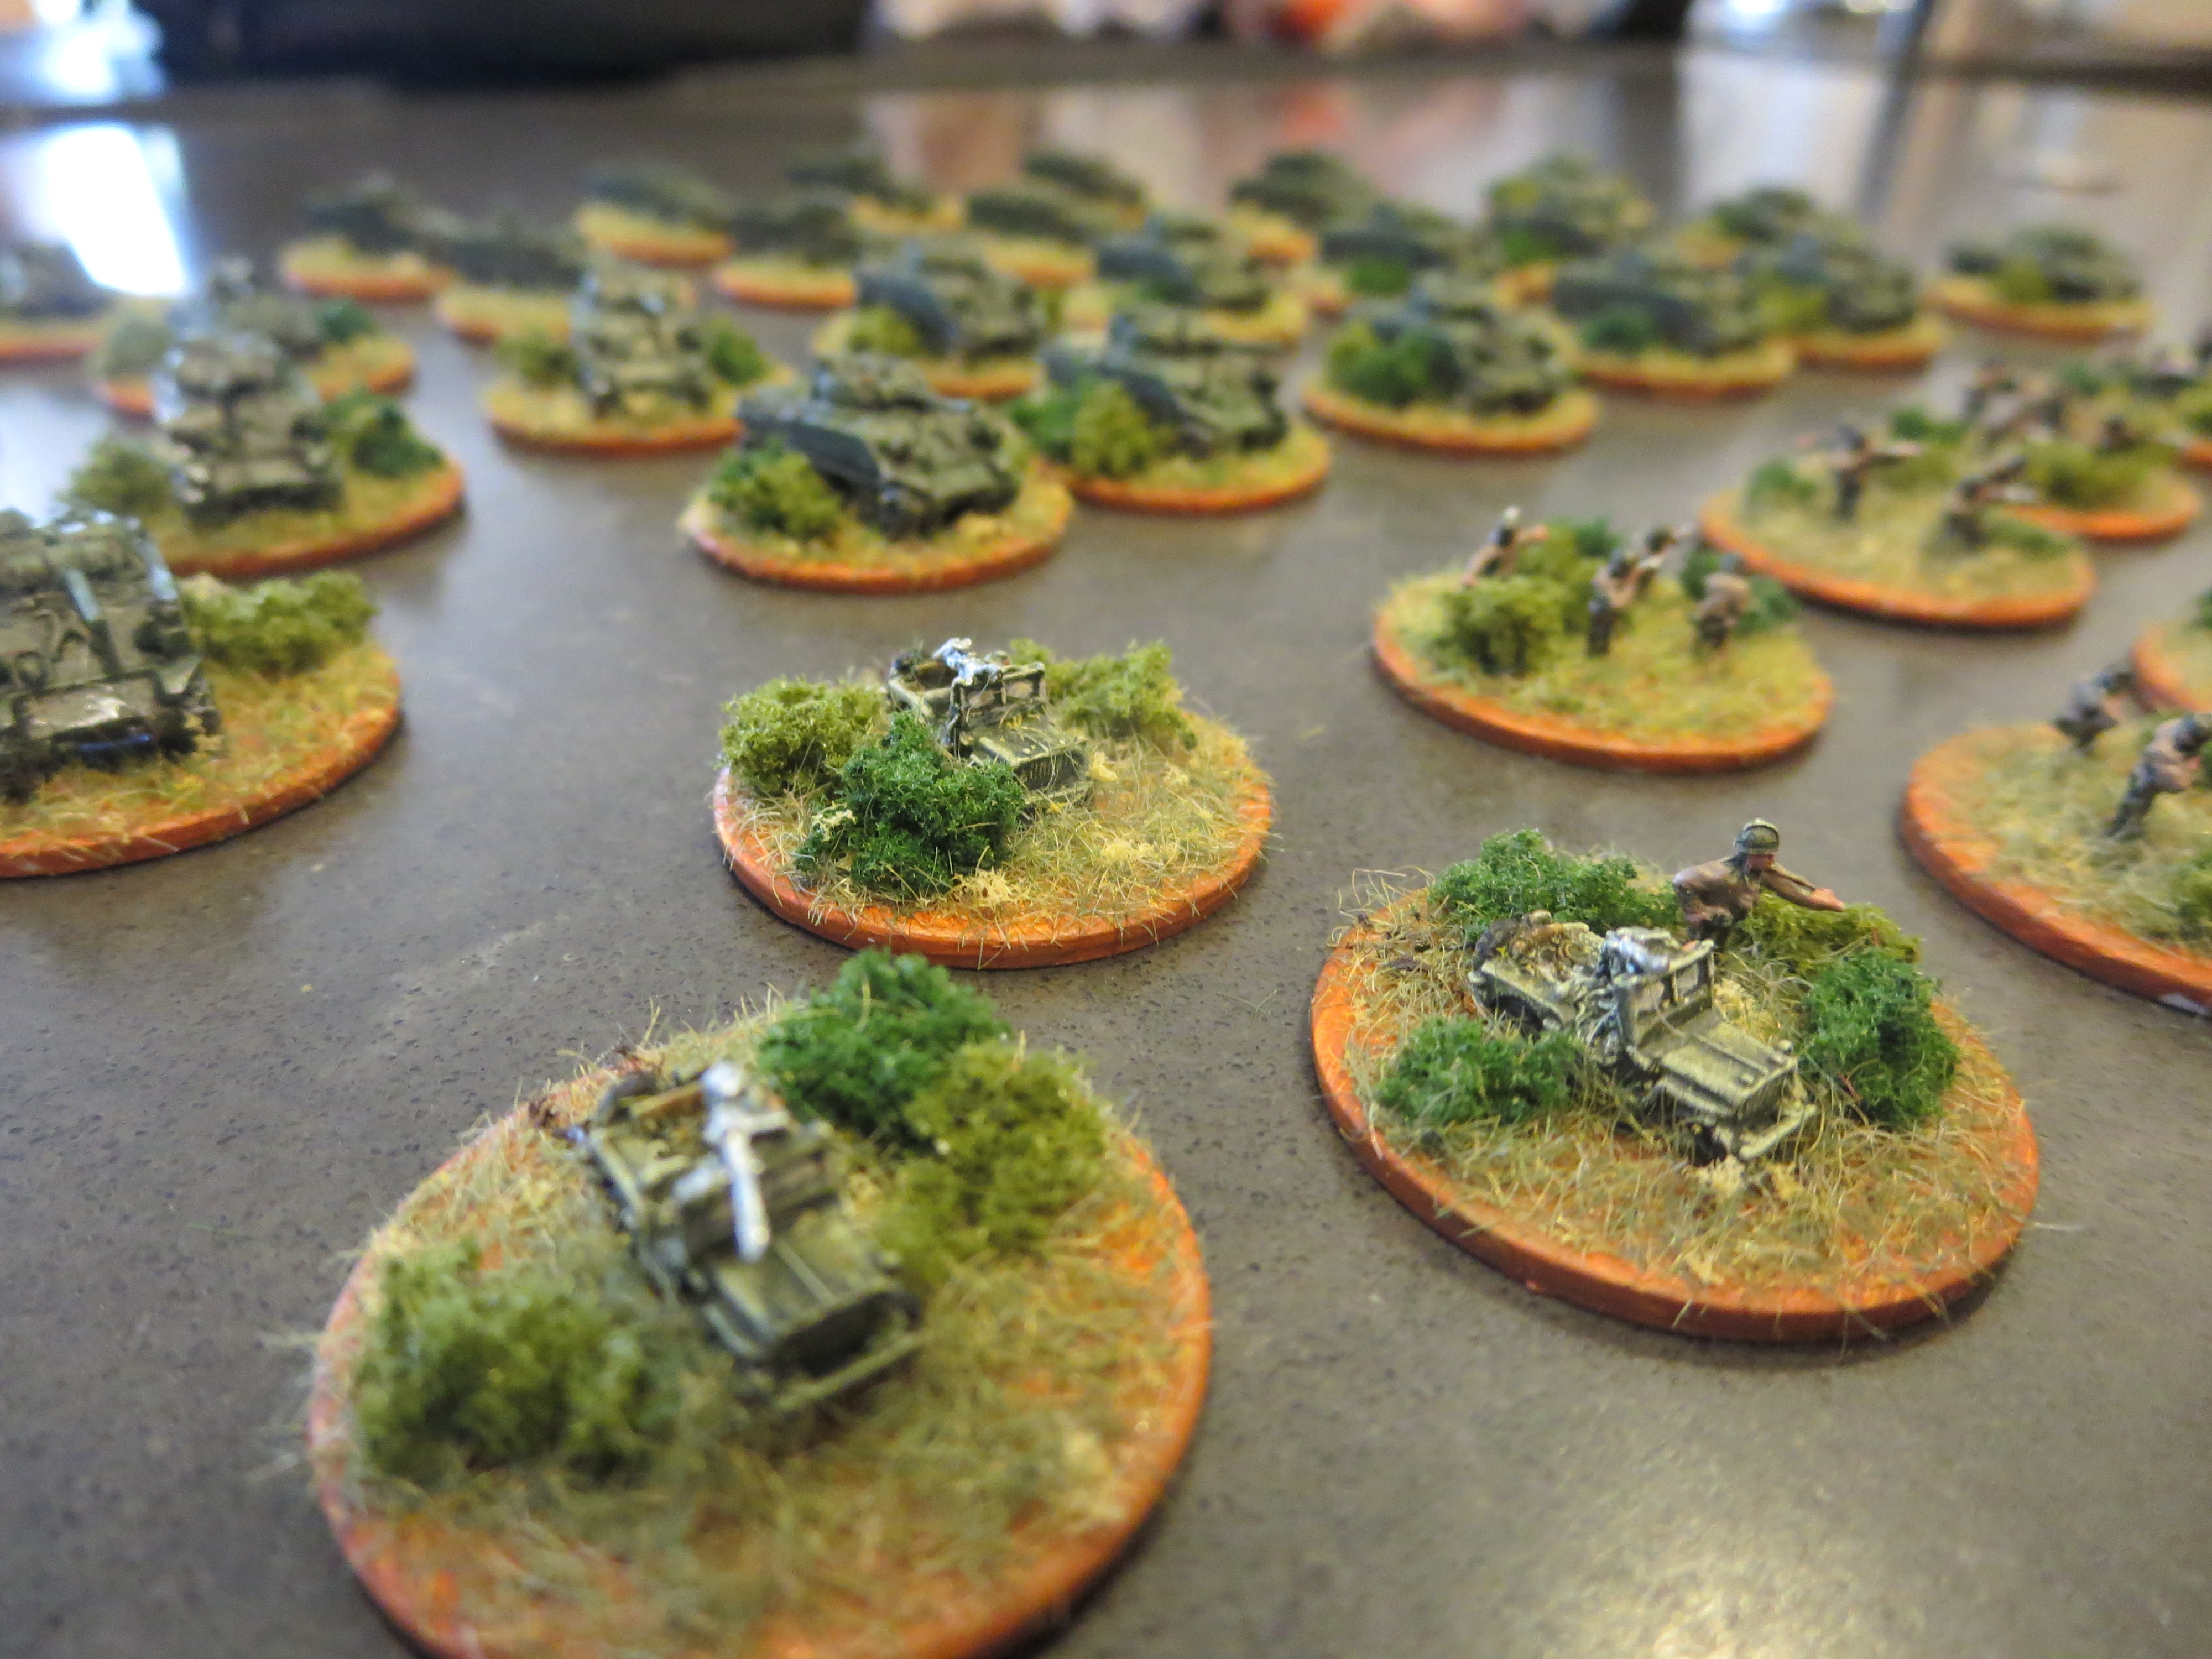
- Cover bases in white glue and cover in 50/50 mix of fine light green and dark green grass flock.
- Glue small pieces of clump foliage to base.
- Spray coat completed models with matte finish.
So, with some simple steps I’ve got a bit more punch and leadership for my Germans as they hit the table soon.