28mm: Artizan Designs US Airborne Support Weapons

Bazooka
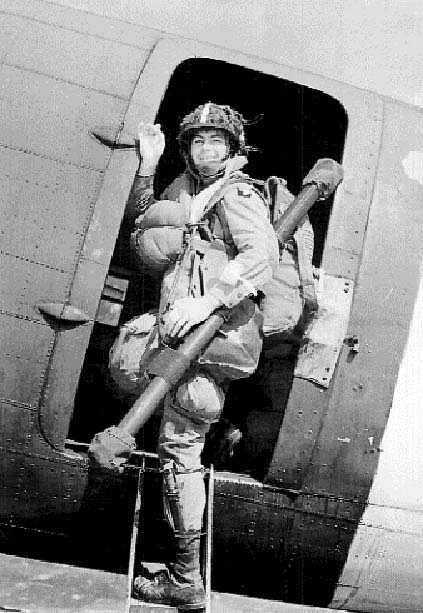
One of my favorite blogs, War Is Boring, had a very timely article this past week on the history of the M-9 bazooka. I had just sat down to work on a small project of outfitting my growing US 101st Airborne 28mm force with some additional support weapons, and the article provided some great inspiration for getting my force outfitted with more explosive back-up with some two-man bazooka crews and a 60mm mortar from Artizan Designs.

ADlogo
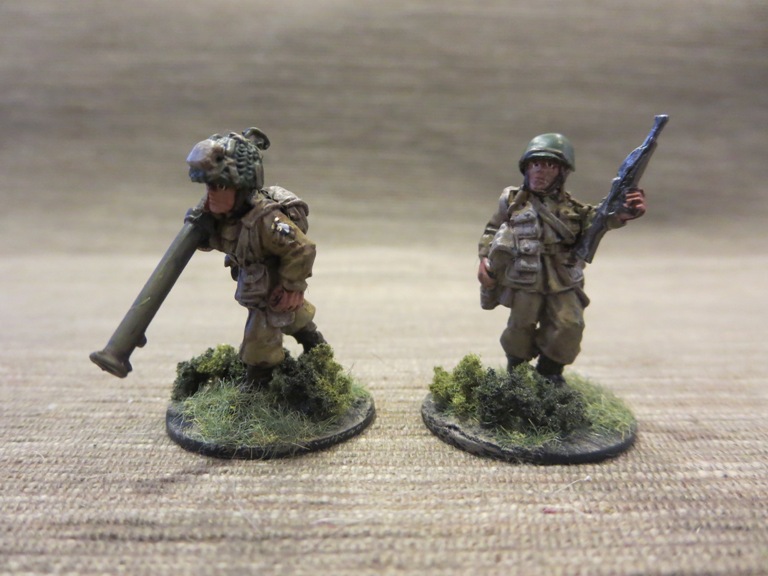
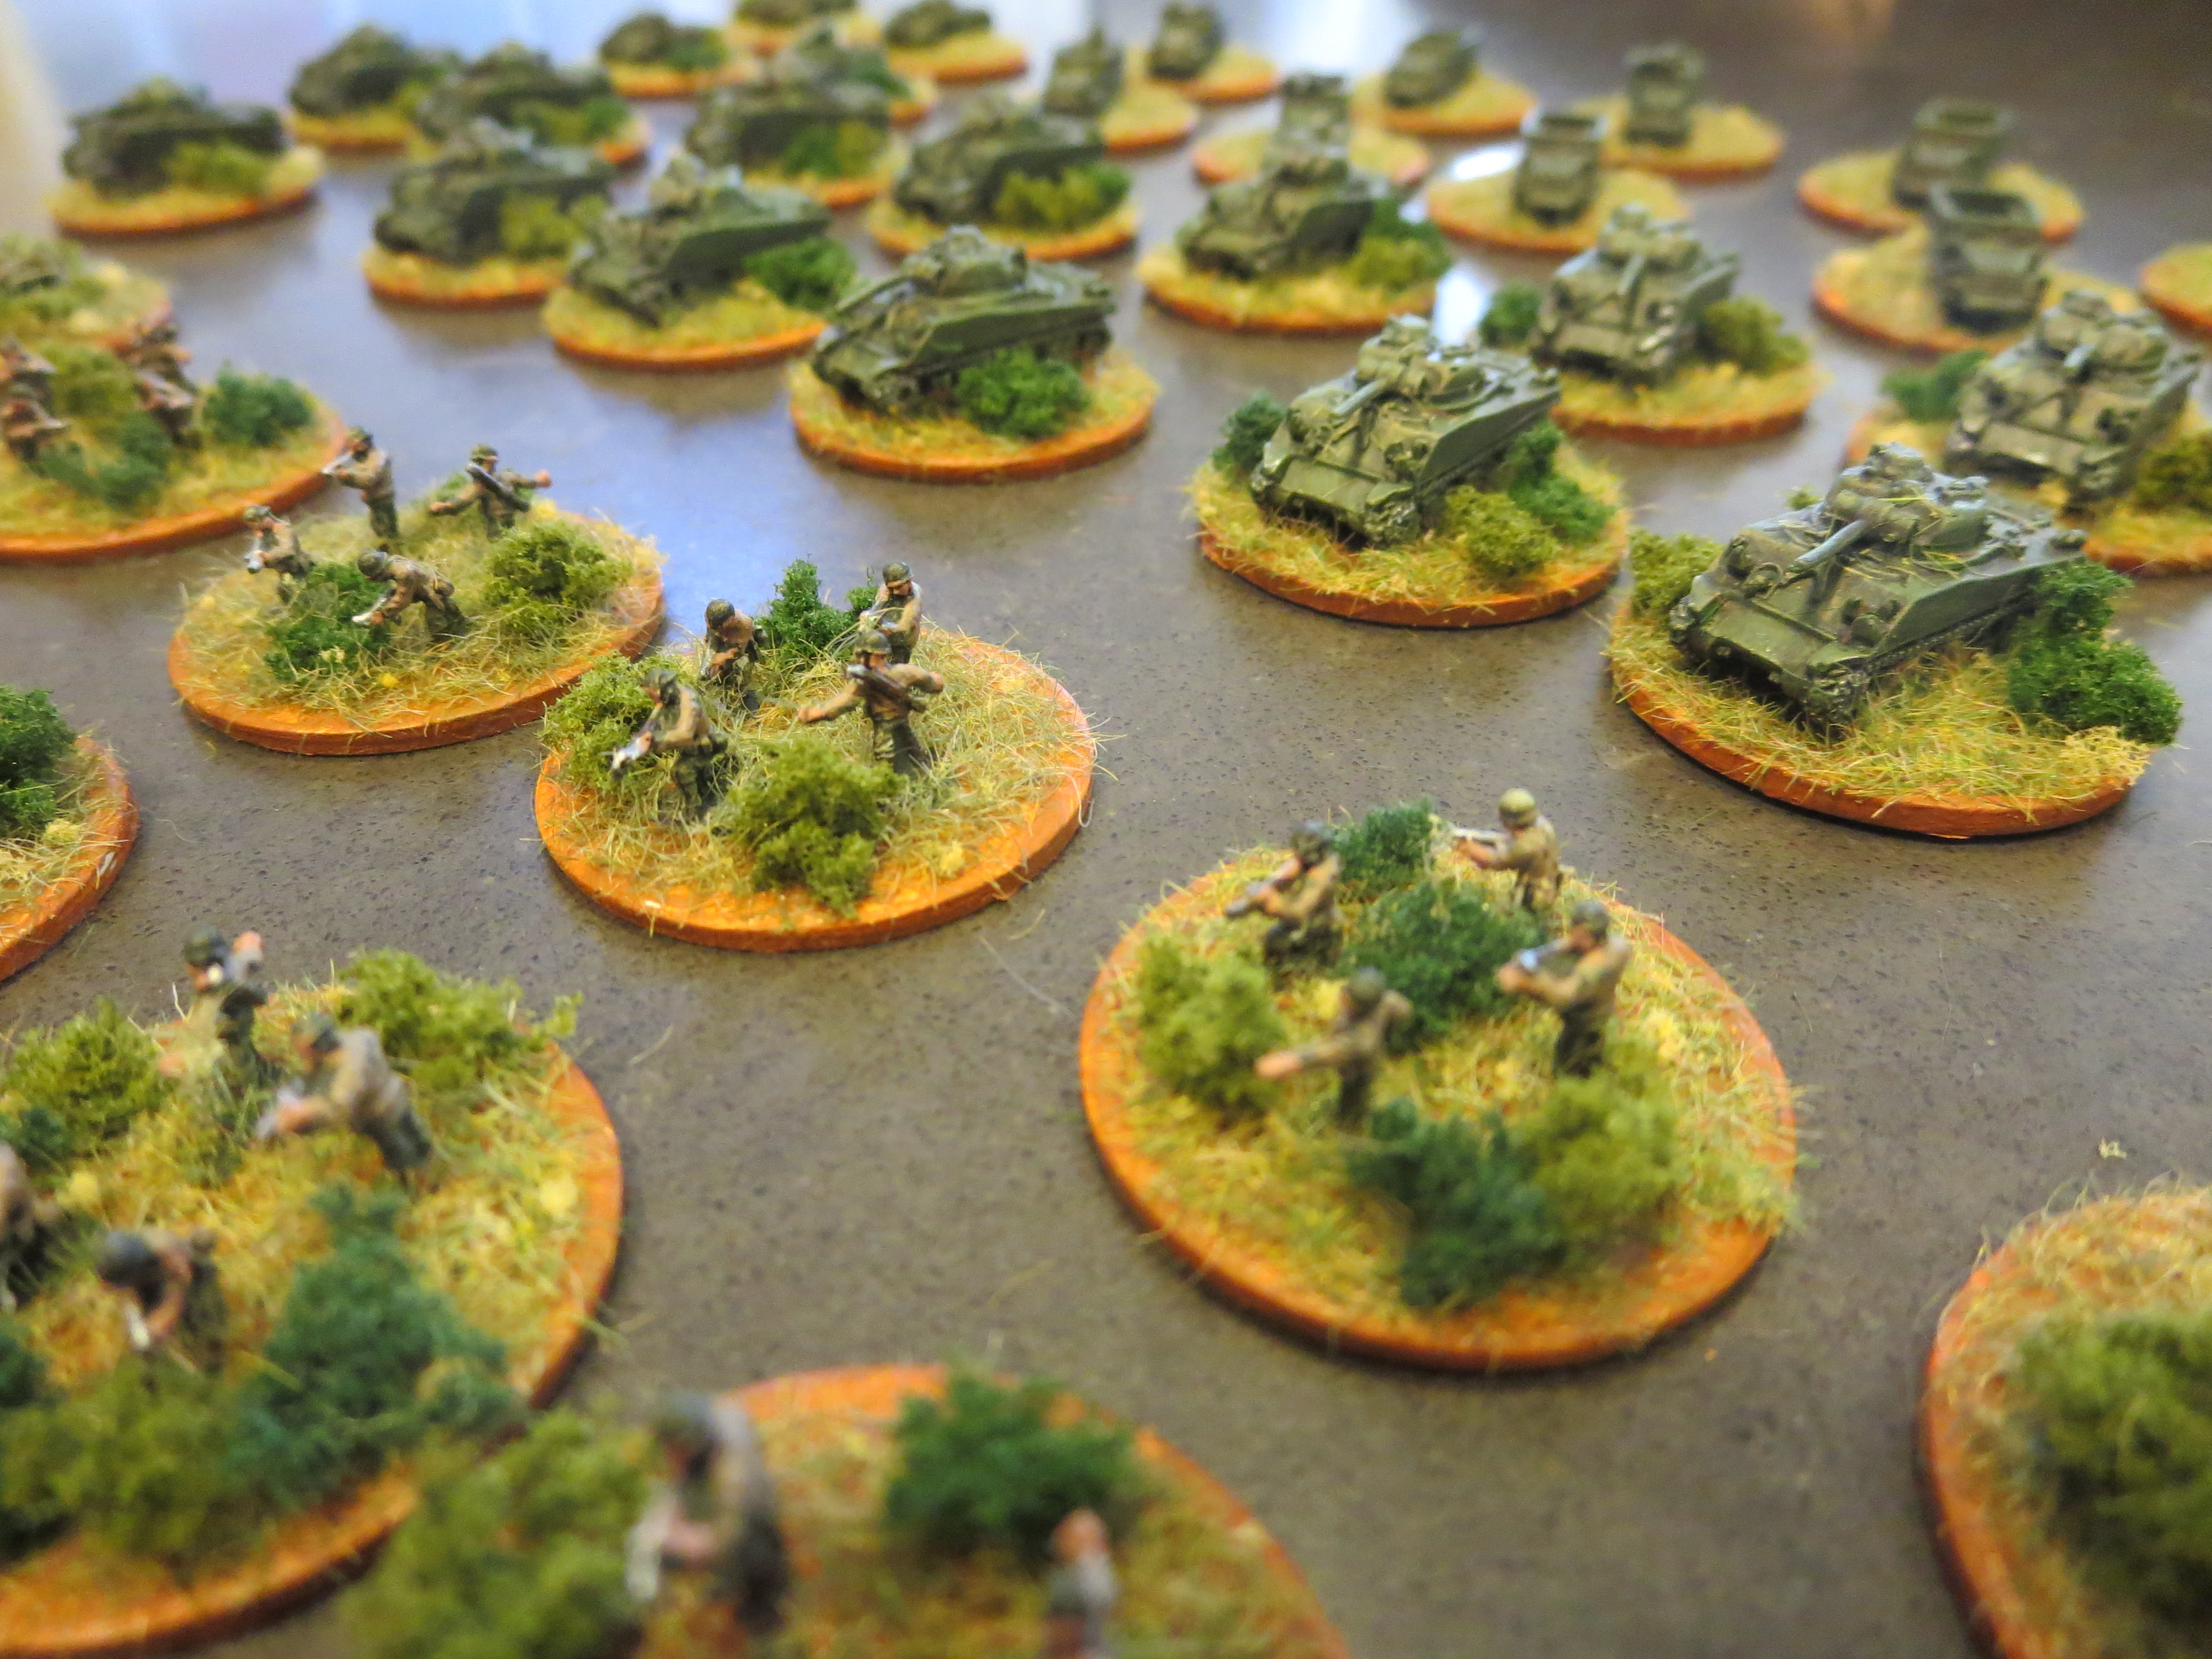
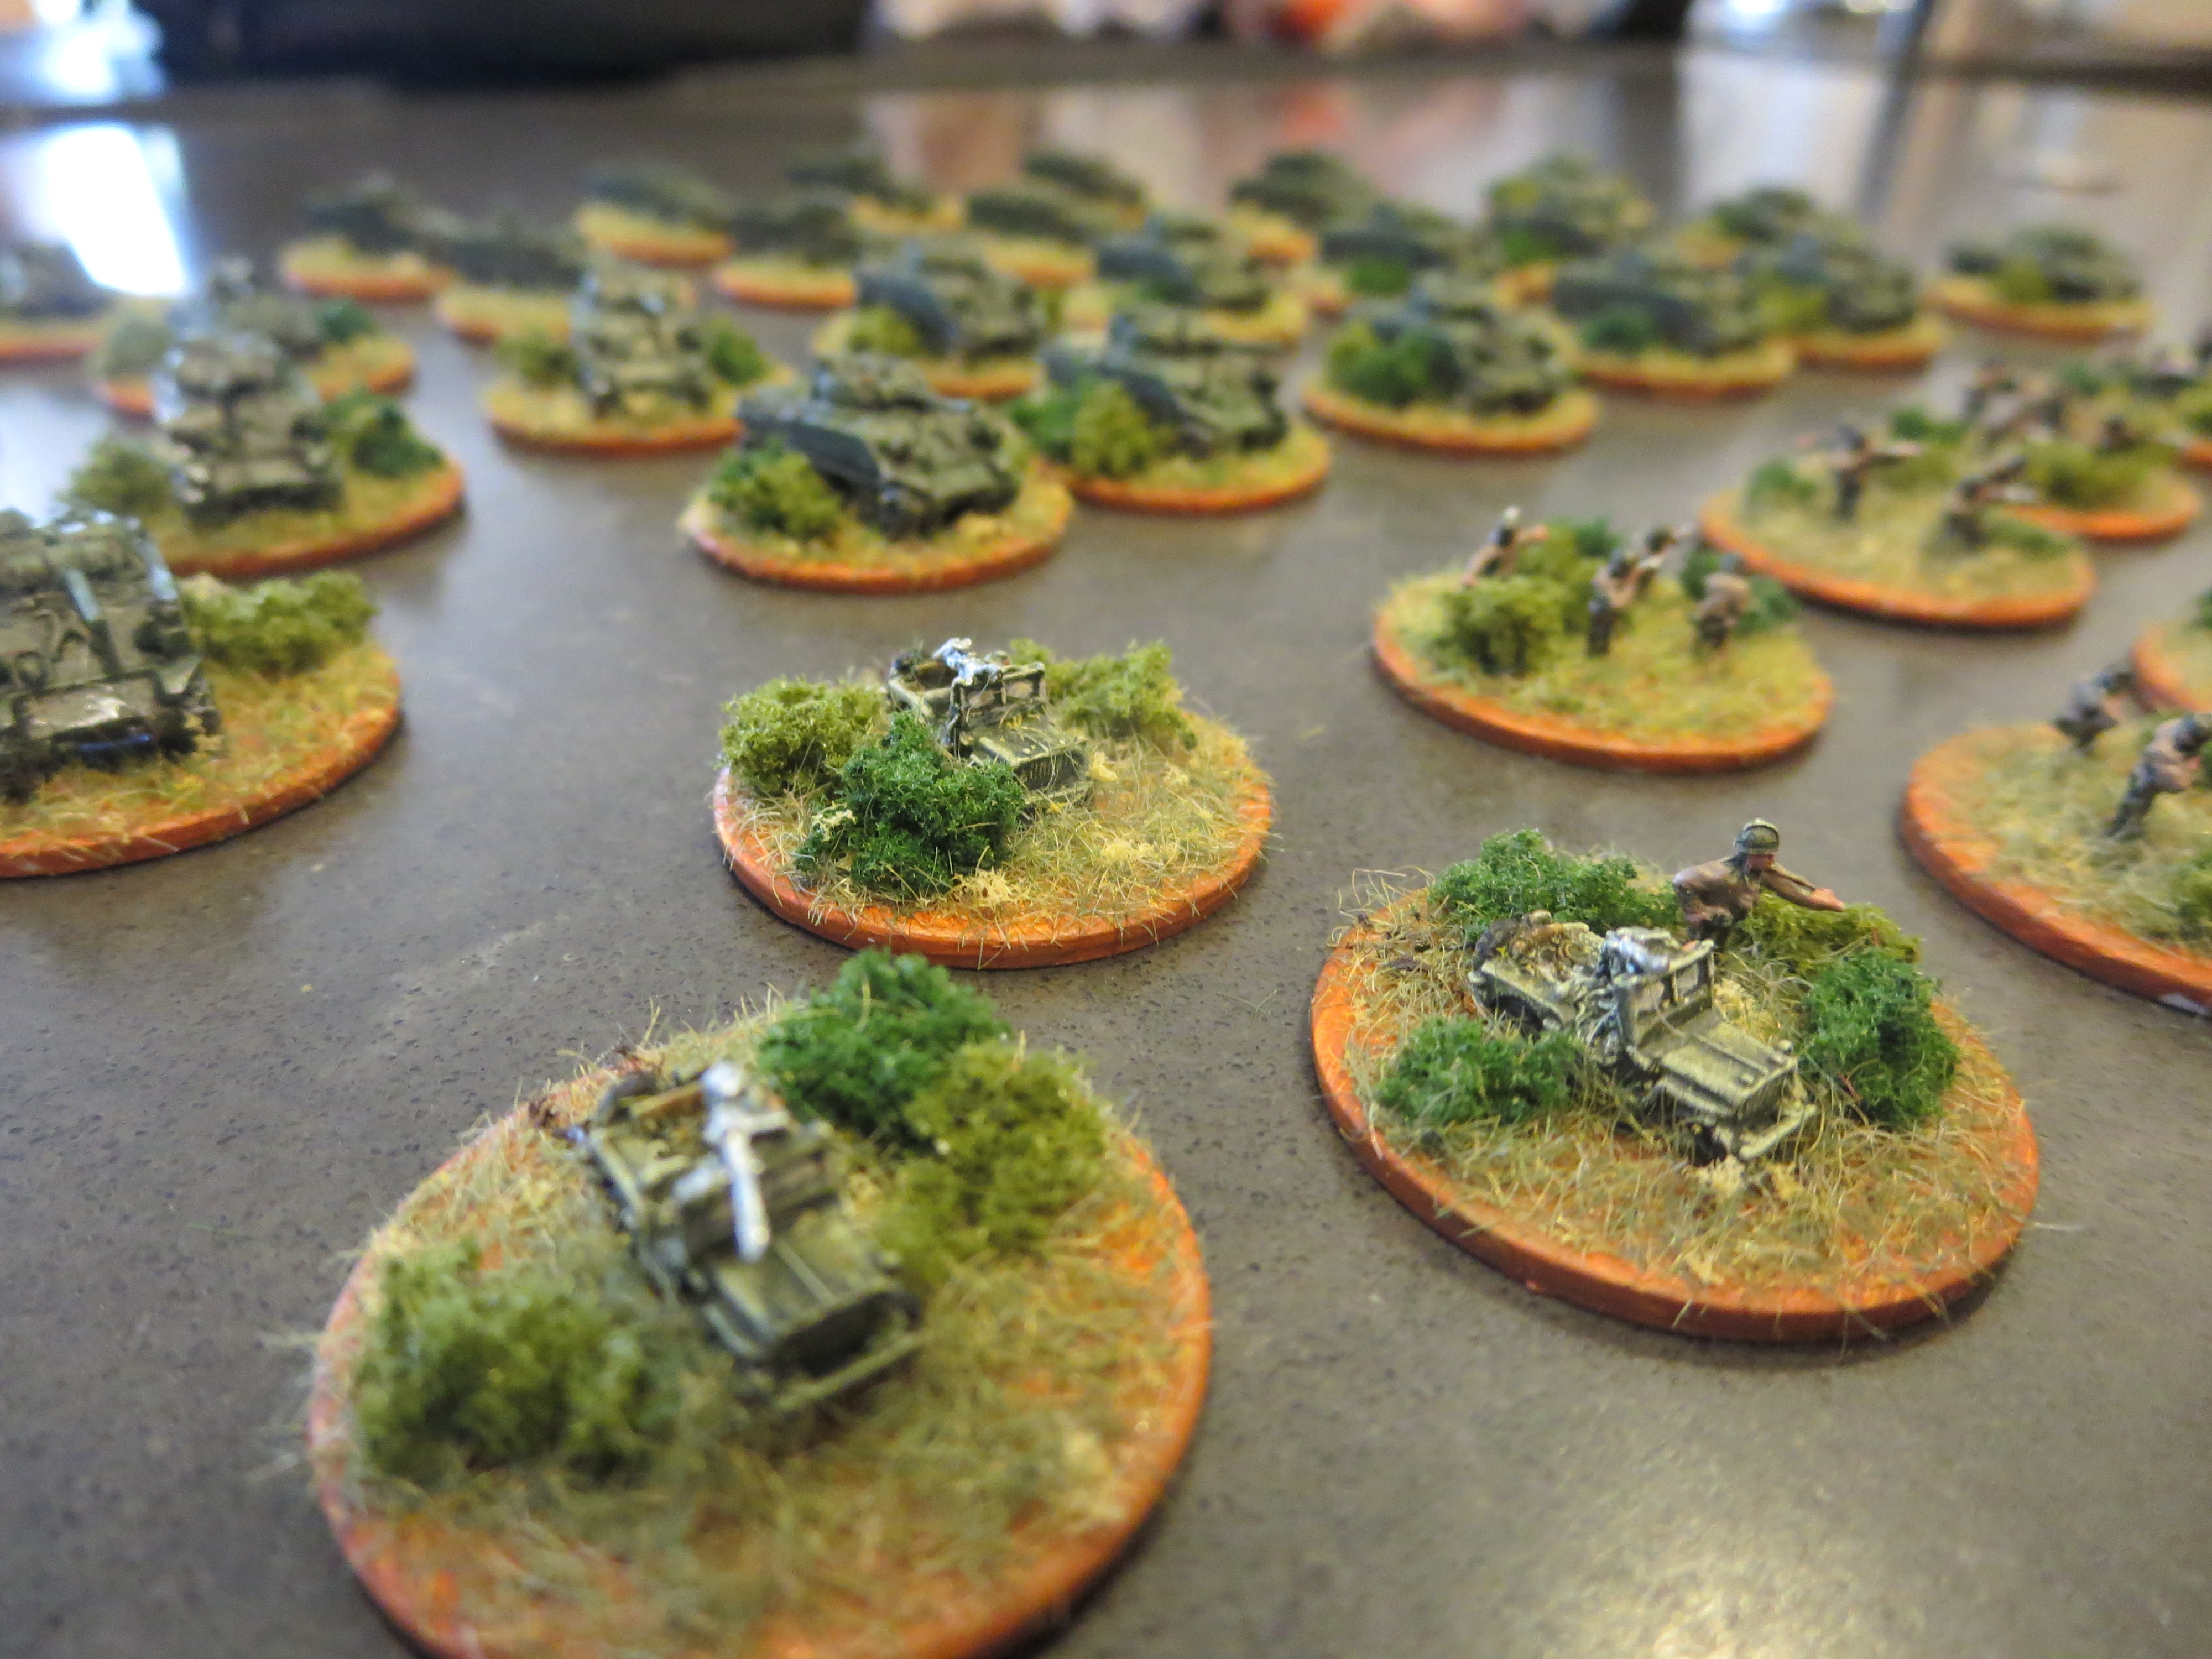
I’d recently finished a bazooka team and mortar from Warlord Games, so two more bazookas and another mortar from AD not only fills out my gaming options but also allowed me to compare the metal models from two great manufacturers. The mortar stands look nearly indistinguishable side by side. As for the bazookas, the Warlord weapon is a bit thinner than the bulkier AD sculpts but the soldiers themselves look perfect together when painted using the consistent process below.

AB Paint Scheme

Painting 28mm US Airborne Support Weapons

  1. Clean flash from metal models with a sharp knife and glue to metal washer or plastic bases.
  2. Apply filler putty to bases. When dry, scrape off excess with a sharp knife.
  3. Base coat models and bases with flat black spray primer.
  4. Paint uniforms and bandages on helmets with Tallarn Sand.
  5. Paint helmets and knee and elbow patches with Waaagh! Flesh.
  6. Paint faces and hands with Tallarn Flesh.
  7. Paint webbing and packs with Baneblade Brown.
  8. Paint bases, boots, gun stocks and helmet straps with Dark Brown.
  9. Apply Agrax Earthshade wash to uniforms, helmet netting, webbing and packs.
  10. Mix 50/50 Baneblade Brown and Off White and lightly dry brush packs, webbing and socks.
  11. Lightly dry brush bases, gun stocks, helmet netting, holsters and elbow and knee patches with Baneblade Brown.
  12. Paint metal gun, bazooka and mortar parts with black and finish with a light dry brush of metallic silver.
  13. Paint eyes with small dots of Off White and Dark Brown. Clean up around eyes with Tallarn Flesh.
  14. Mix 50/50 Tallarn Flesh and Off White and brush highlights on cheekbones, chins, forehead, nose and hands.
  15. Apply Company B decals to shoulders and helmets, followed by a coat of Solvaset decal fixative from Walthers.
  16. Cover bases in white glue and cover in 50/50 mix of fine light green and dark green grass flock.
  17. Glue small pieces of clump foliage to base.
  18. Spray coat completed models with matte finish.

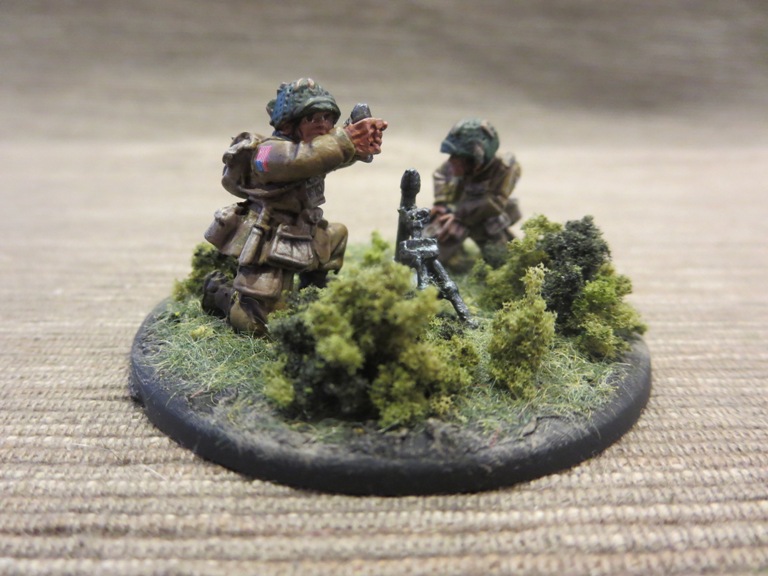
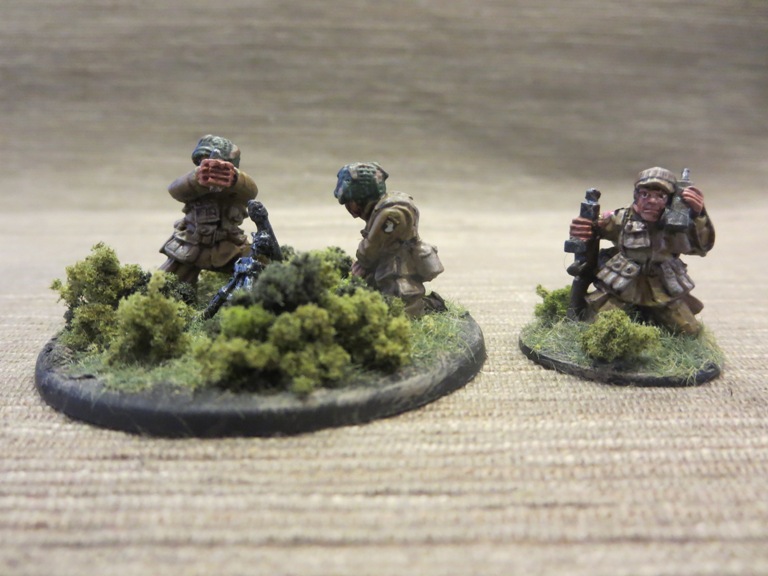
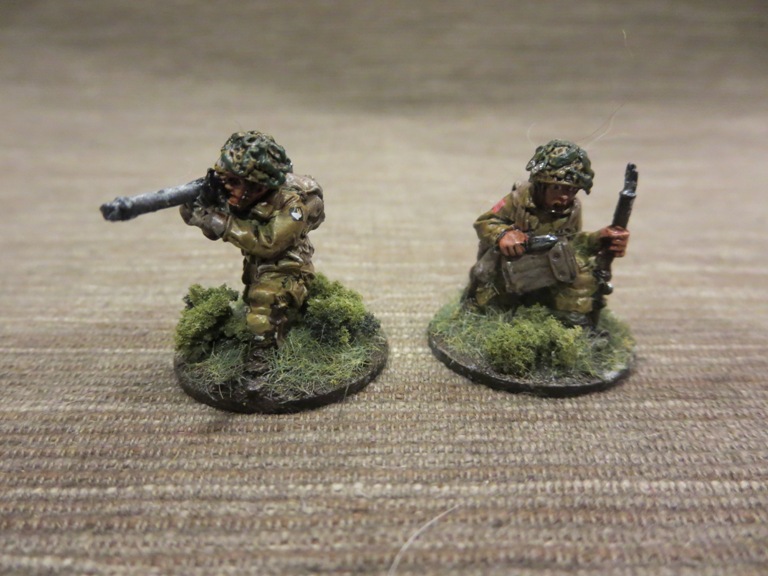
I really love the detail in the AD miniatures. The two bazooka teams each uniquely portray guys on the move or ready to fire. The figure kneeling with a radio to his ear is a new favorite of mine and will probably be used as a spotter to call in mortar support. Check out all the photos below for the results from the AD miniatures waiting to provide additional back-up to my US Airborne troops.

IMG_0678

IMG_0679

IMG_0681

IMG_0682IMG_0680

IMG_0683

28mm: US Airborne Support Weapons By Warlord Games

usairborneweapons

With my first 101st Airborne troops completed in 28mm, I’ve moved on to adding some support weapons. As a relative newcomer to World War II at this scale, I’ve also taken the opportunity to try another manufacturer’s miniatures for the sake of comparison.

WarlordlogoIn 2008, Warlord Games launched a small selection of WWII miniatures acquired from another manufacturer. To compliment the line of models, about three years ago Bolt Action came to the game scene with a slickly-designed rule set published by Osprey Publishing and a now vastly-expanding line of miniatures from multiple nations and combat theaters of WWII. The Warlord Games plastic and metal line of soldiers, artillery, transports and armor, along with the Bolt Action game system, have come to dominate the market and tournament scene for gamers playing tactical-level WWII in the larger 28mm scale.

For my first figures from Warlord Games, I stuck with a few metal models which scale nicely with my figures from Artizan Designs. The castings display a lot of exaggerated poses, animated facial expressions and detailed equipment which look great on a wargaming tabletop and reveal the influence of the designers who hail from the world of Warhammer and Warhammer 40,000 from Games Workshop.

AB Paint SchemeIn painting my first Warlord Games miniatures, I went with my same quick and simple painting scheme I’ve been using so far:

Painting 28mm US Airborne Support Weapons

  1. Clean flash from metal models with a sharp knife and glue to metal washer or plastic bases.
  2. Apply filler putty to bases. When dry, scrape off excess with a sharp knife.
  3. Base coat models and bases with flat black spray primer.
  4. Paint uniforms and bandages on helmets with Tallarn Sand.
  5. Paint helmets and knee and elbow patches with Waaagh! Flesh.
  6. Paint faces and hands with Tallarn Flesh.
  7. Paint webbing and packs with Baneblade Brown.
  8. Paint bases, boots, gun stocks and helmet straps with Dark Brown.
  9. Apply Agrax Earthshade wash to uniforms, helmet netting, webbing and packs.
  10. Mix 50/50 Baneblade Brown and Off White and lightly dry brush packs, webbing and socks.
  11. Lightly dry brush bases, gun stocks, helmet netting, holsters and elbow and shoulder patches with Baneblade Brown.
  12. Paint metal gun, bazooka and mortar parts with black and finish with a light dry brush of metallic silver.
  13. Paint eyes with small dots of Off White and Dark Brown. Clean up around eyes with Tallarn Flesh.
  14. Mix 50/50 Tallarn Flesh and Off White and brush highlights on cheekbones, chins, forehead, nose and hands.
  15. Apply Company B decals to shoulders and helmets, followed by a coat of Solvaset decal fixative from Walthers.
  16. Cover bases in white glue and cover in 50/50 mix of fine light green and dark green grass flock.
  17. Glue small pieces of clump foliage to base.
  18. Spray coat completed models with matte finish.

To begin, I’ve painted up a 60mm mortar team and a bazooka crew. here’s a few photos of the final results:

IMG_0649

IMG_0648

IMG_0646

IMG_0647

I’ll probably add a light machine gun and some other models from Warlord Games soon, but for now my US Airborne forces will be able to pack a bit more punch in upcoming games.

Micro Armour: Fielding the GHQ US Armored Infantry and Sherman Tanks

USArmoredInf

A few months back I jumped into World War II 6mm micro armour with a few initial purchases from GHQ and a general post on getting started with the scale. With some other 15mm Flames of War projects taking precedent, my 6mm project has been sitting on the back burner until this past week.

I started my US forces with models from the US Armored Infantry Command 1944 and Shermans vs. Panzer IVs Battle Box sets from GHQ. The infantry set gives me a bunch of infantry, bazookas, an M20 armored car, three M8 armored cars, eight half tracks, three M10 Wolverines, three 75mm Shermans and three jeeps. From the US/German box I get another ten Sherman tanks. All together, I’ve got a pretty sizable and inexpensive US force typical of the late war in Europe.

This was my first time painting 6mm models, so I worked out a quick technique for painting infantry, transports and armor that gave pretty great results. I picked up a pair of 1.5x strength reading glasses which really helped in bringing the models into focus as I dabbed paint to the models using an ultra fine brush. By gluing the models to metal washers I was able to affix the models to a strip of magnetic basing, allowing me to rotate the models easily to paint from every angle.

IMG_0552

Two completed stands of GHQ US infantry

Painting US Infantry

  1. Glue a small piece of card over the center hole of washers.
  2. Glue models to washer bases.
  3. Basecoat models and bases with white spray primer.
  4. Wash models in a mix of 1 part dark green, 1 part light green and 5 parts water.
  5. Paint jackets tan.
  6. Paint boots, gun stocks and equipment details dark brown,
  7. Paint hands and faces flesh.
  8. Paint gun barrels and equipment details gun-metal silver.
  9. Paint bases dirt brown.
  10. Cover bases in white glue and cover in 50/50 mix of fine light green and dark green grass flock.
  11. Glue small pieces of clump foliage to base.

IMG_0553

GHQ M10 Wolverine and Sherman tank

Painting US Armor and Transports

  1. Glue a small piece of card over the center hole of washers.
  2. Glue models to washer bases.
  3. Basecoat models and bases with white spray primer.
  4. Wash models in a mix of 1 part dark green, 1 part light green and 5 parts water.
  5. Lightly coat models in mud brown wash.
  6. Dry brush light green highlights to models.
  7. Dry brush tracks, machine guns and body details gun-metal silver.
  8. Paint bases dirt brown.
  9. Cover bases in white glue and cover in 50/50 mix of fine light green and dark green grass flock.
  10. Glue small pieces of clump foliage to base.
  11. Paint tire tracks on bases dark brown.

All that’s left now for my US force is to apply some tiny decals on my tanks, armored vehicles and transports. Up next, I’ve got my eye on some additional German armoured infantry to go along with the Panzer IVs I already have on hand. Once I have my Germans on the workbench I’ll get some pics and process notes on painting up my first Axis troops at this scale. Until then, have a look a more photos below of where I am so far on my wargaming project in 6mm.

IMG_0554

GHQ half track and command stand with Jeep and officer

IMG_0559

GHQ M10 Wolverines

IMG_0558

GHQ M8 and M20 armored cars

IMG_0556

Close-ups of my completed GHQ US armored infantry and Sherman tank force

IMG_0557

Another close-up of my completed GHQ US armored infantry and Sherman tank force

IMG_0555

My first completed US micro armor force from GHQ