Flames of War: Fielding the FOW British Rifle Company, Machine Gun Platoon and 6-Pdr Anti-Tank Platoon

BritSoldiers

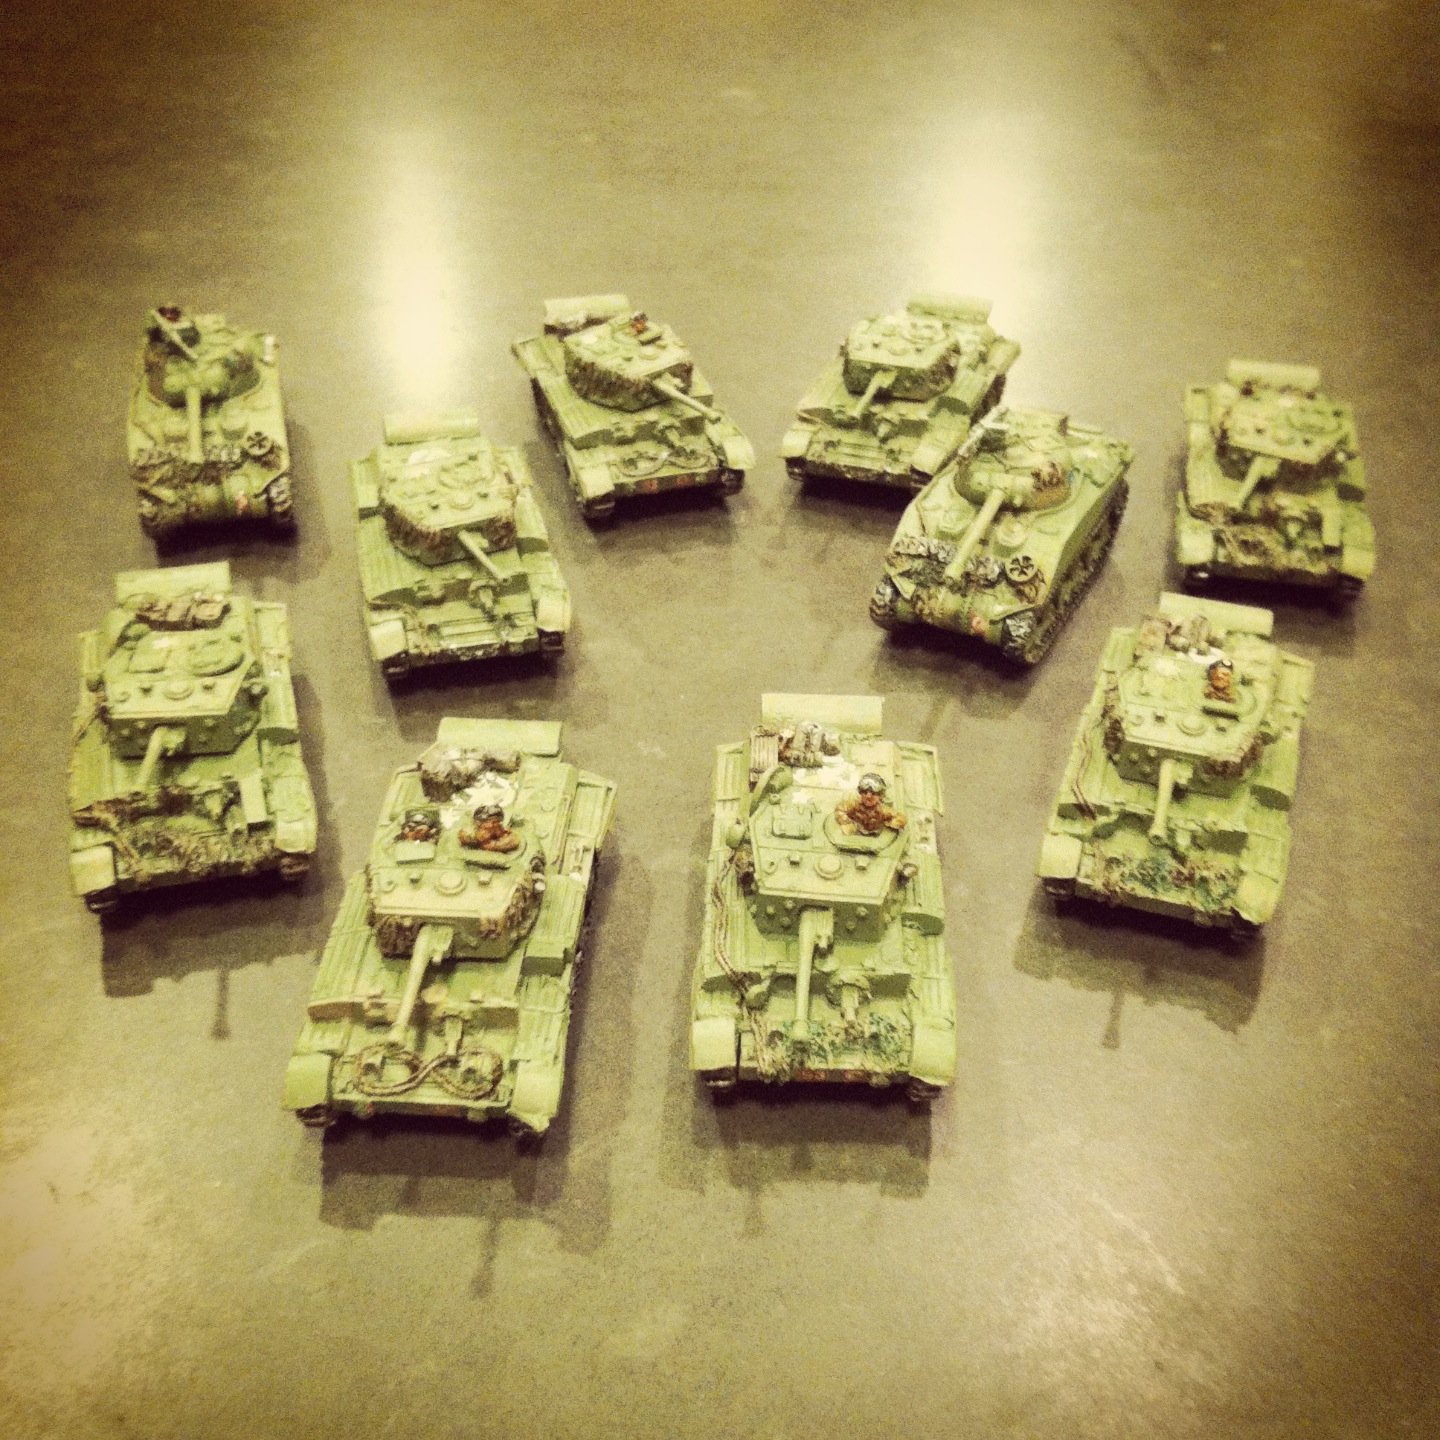
At long last, my months-long build of my British forces for Flames of War was wrapped up this week (at least for now). Starting with the Guards Armoured Division this past summer, my British collection now contains a fair amount of armor, artillery, transport and now, infantry platoons. With most of my WWII gaming focused on the late war period from D-Day onward in Western Europe, having a solid British base to supplement my Americans provides me with a lot of playability for my Allies in any number of scenarios and campaigns.

fowbritinf

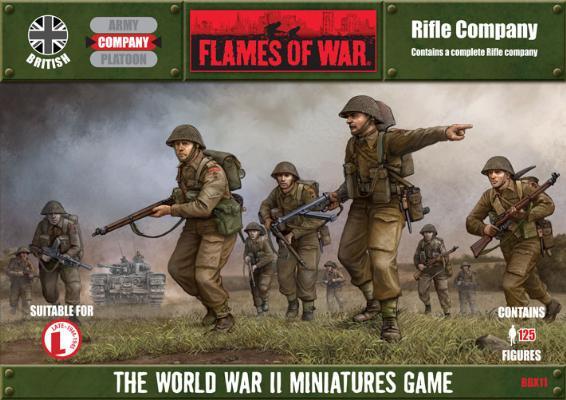
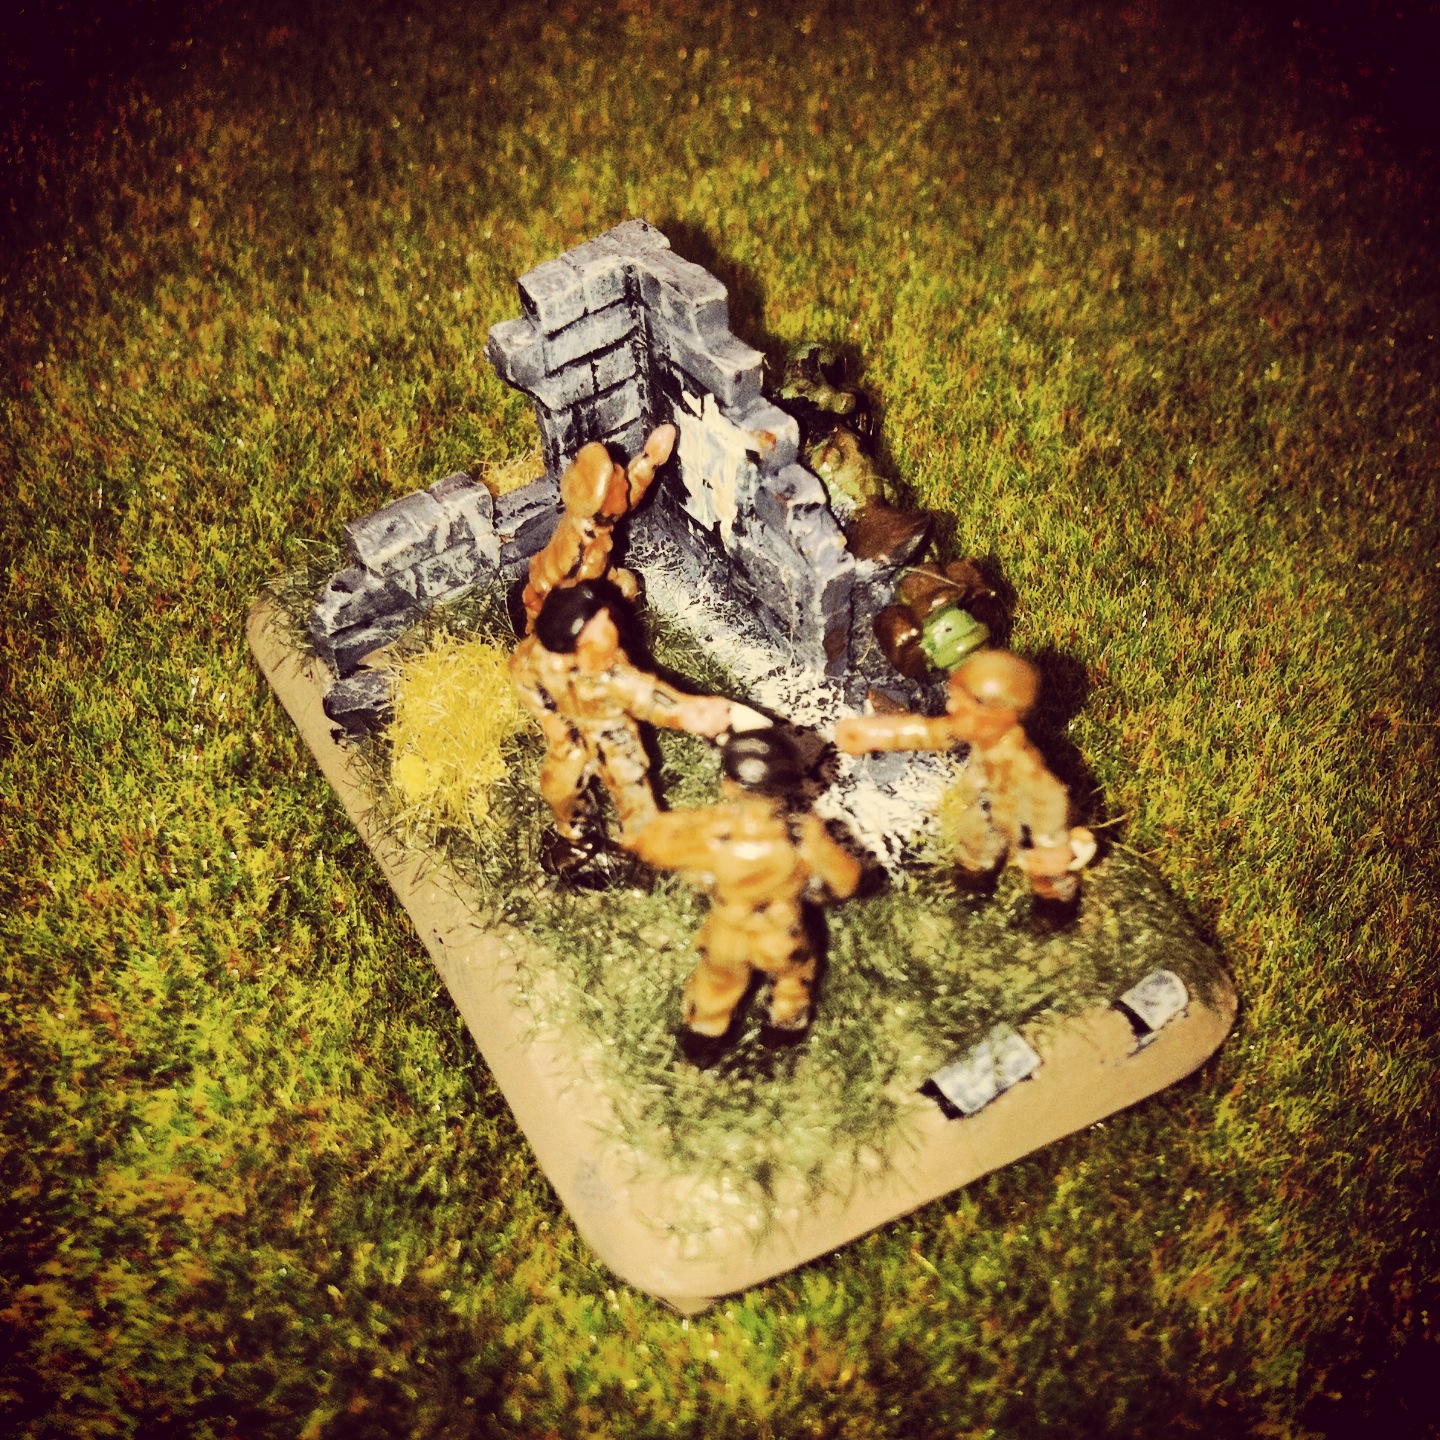
With nearly 3.8 million soldiers serving for the British army in WWII, the “PBI” (Poor Bloody Infantry”) led the war for the Allies from its earliest days right up until the bitter end in Western Europe and the Pacific. The FOW British Rifle Company box provides gamers the basic backbone for fielding a core group of British infantry. The FOW rifle company comes armed with the standard kit of WWII British infantry, including the Bren light machine gun, Sten submachine gun, 2-inch mortar and PIAT anti-tank weapon. The set also includes a few snipers and a hero figure of Stanley Hollis, whose heroic actions on D-Day earned him the only Victoria Cross awarded on that historic day.

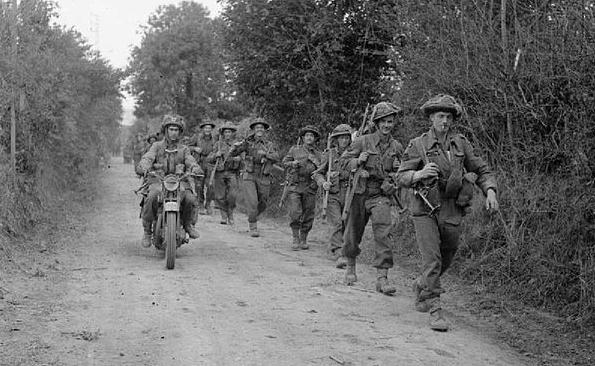
For inspiration during my hours of painting, I looked to a lot of photos of Commonwealth forces from the period and have included some below.

britinfBritish infantry with their Bren light machine gun

BritStenBritish soldiers loading Sten submachine gun magazines

Brit2inchBritish 2-inch mortar crew

BritPiat
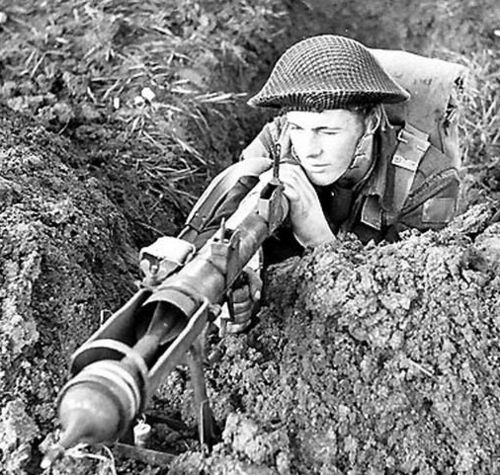
A British soldier with his PIAT

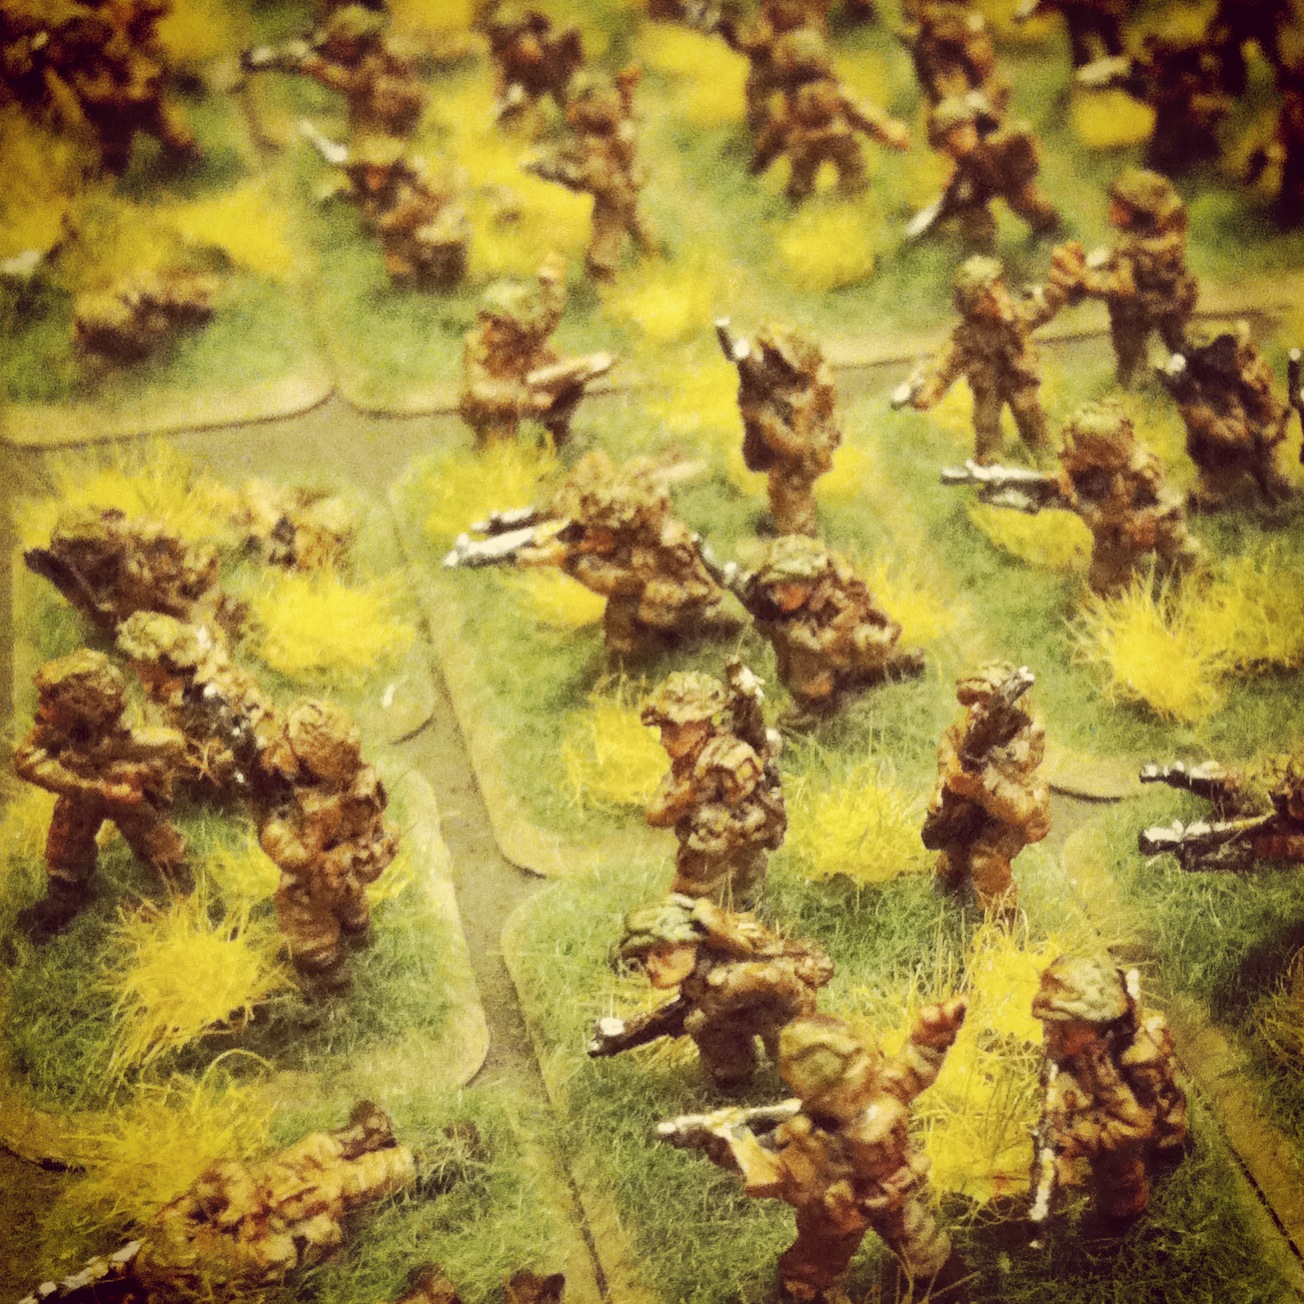
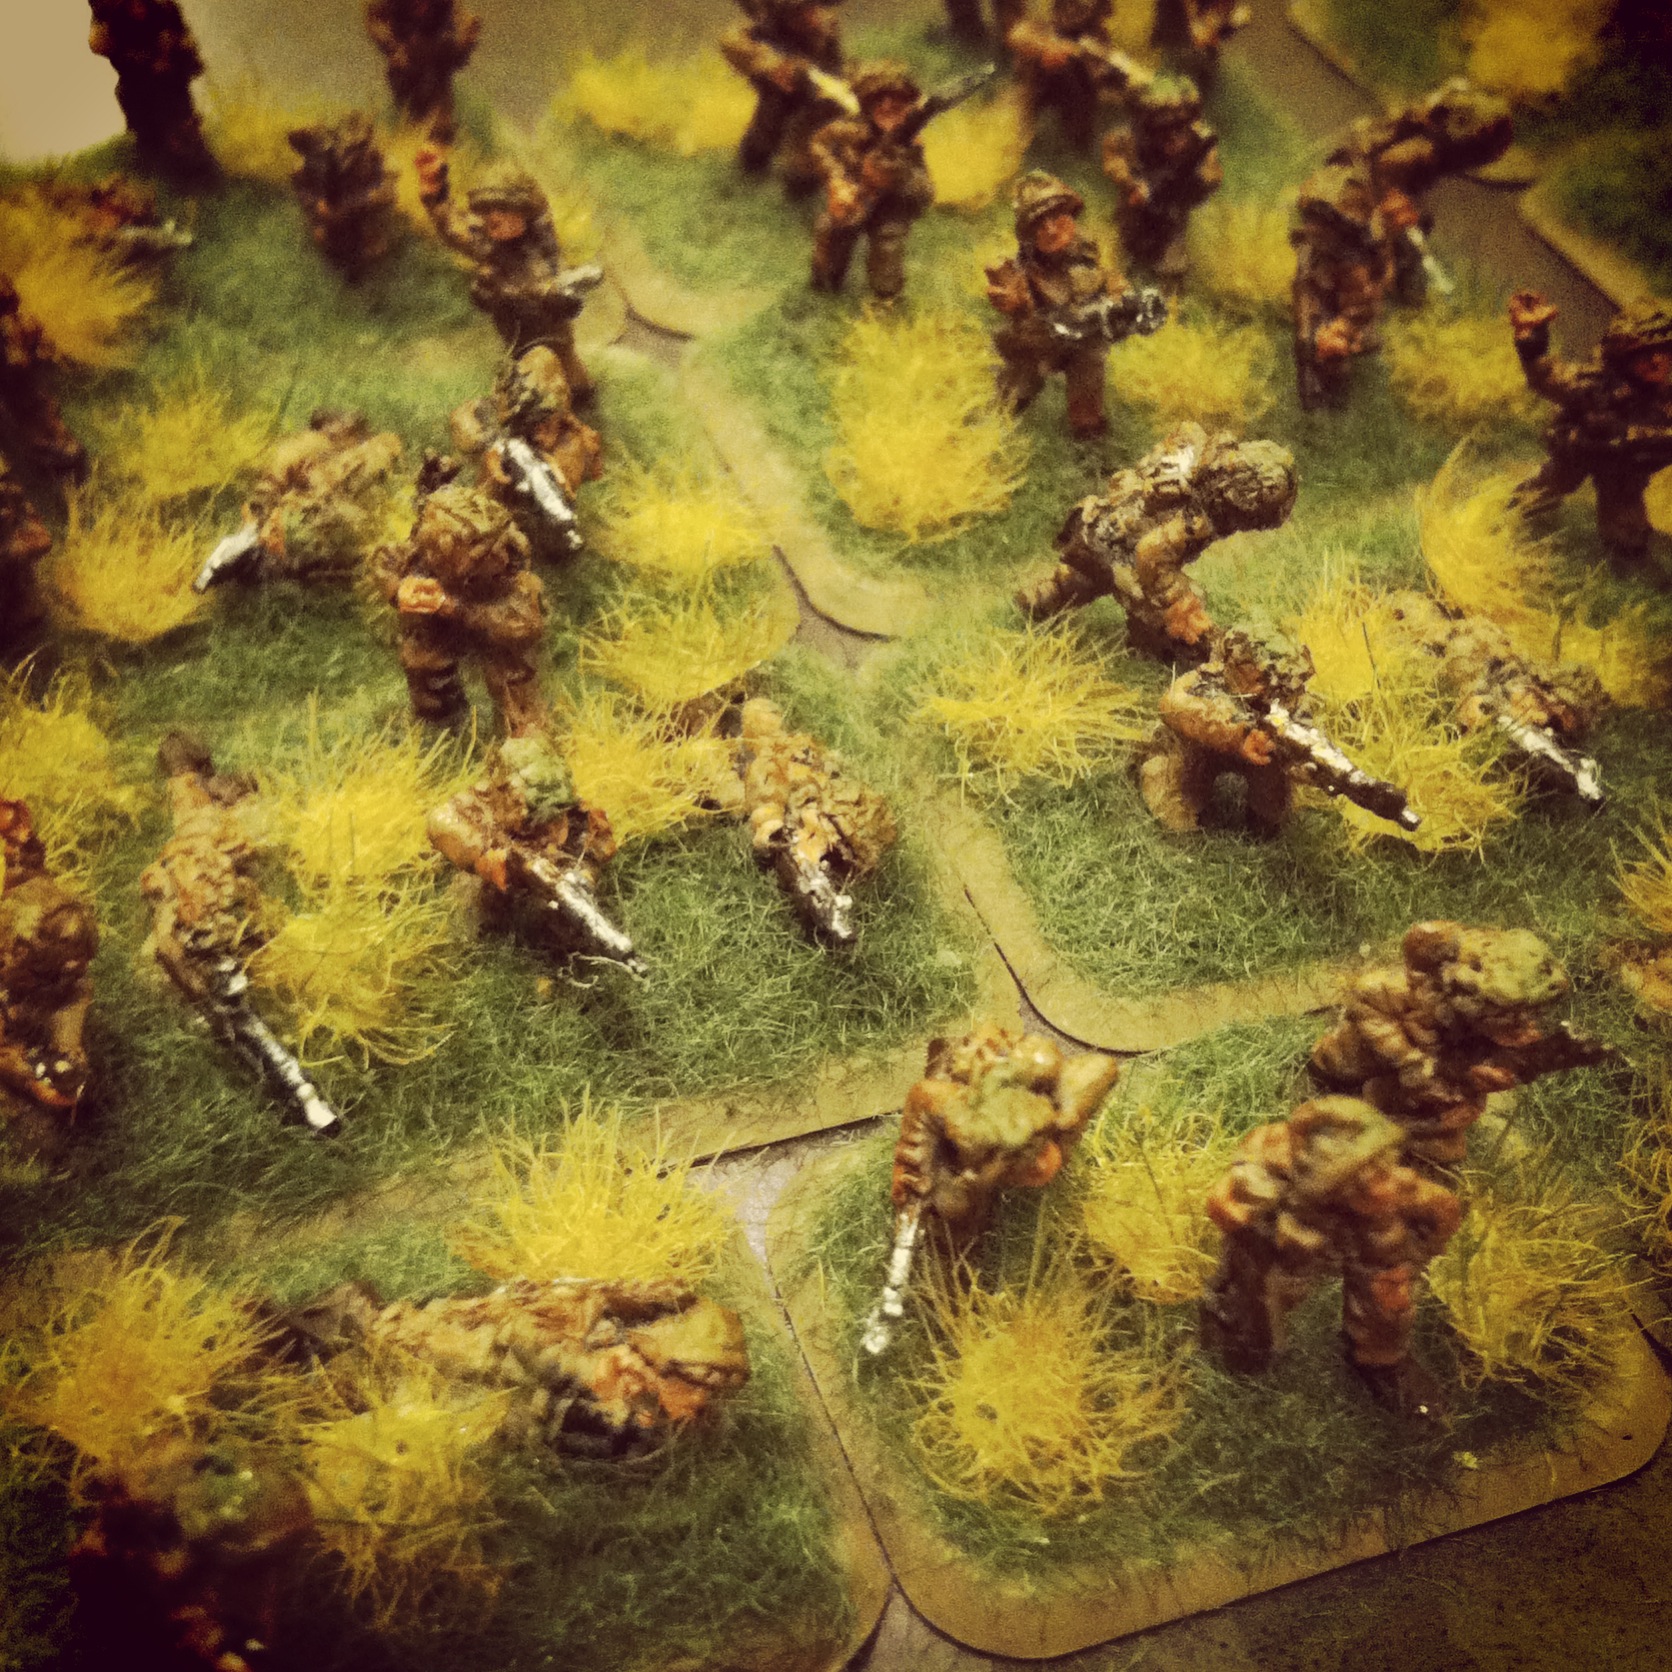
I keep my painting simple with a brownish-drab uniform, brown boots and a bit of green lightly brushed on the helmet netting. The FOW models offer a nice variety of weapons and poses, plus little details like trench shovels tucked on the backs of many of the figures. I’m usually pretty spare with my basing of basic green flock over a light brown base. That said, I’ve recently discovered easy-to-apply grass tufts from Walthers, a model railroading hobby supplier, and so I added a bunch of those to really make the bases come a bit more alive.

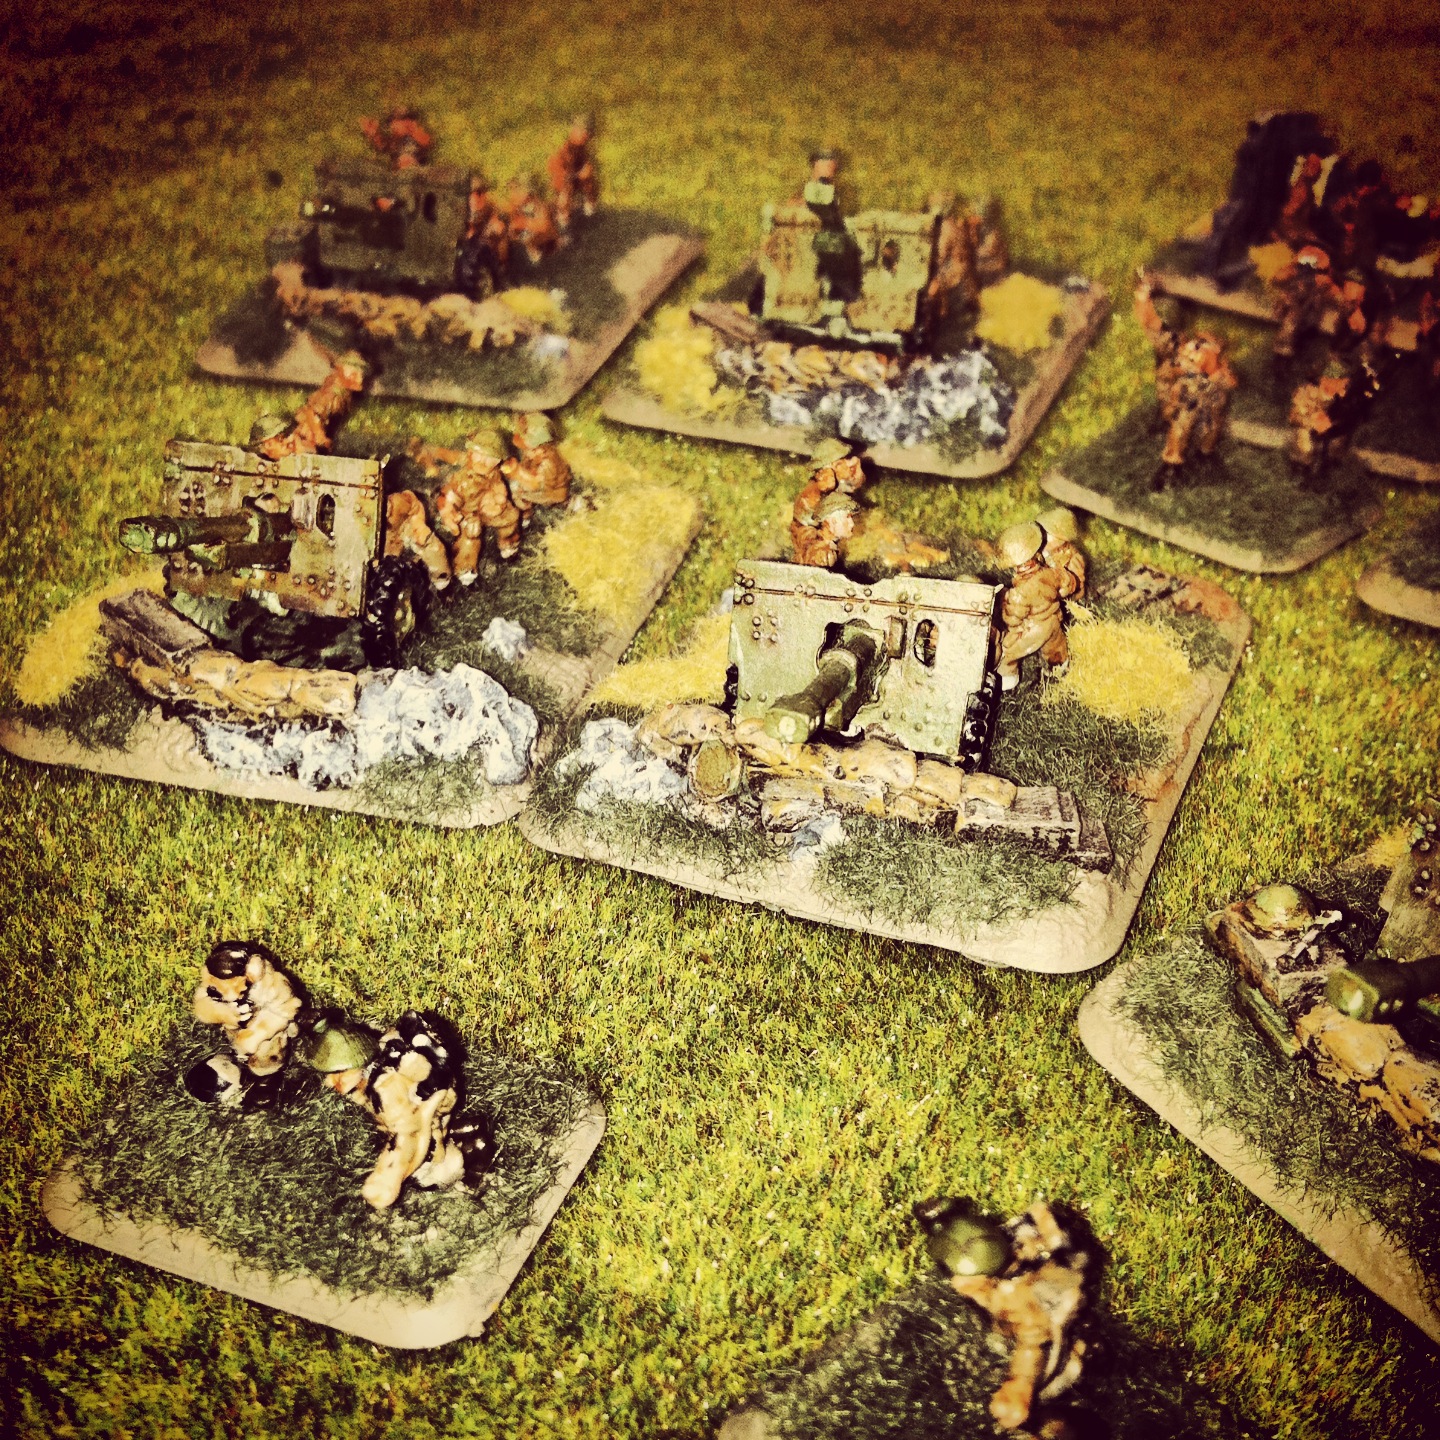
I’ve included a few photos below of my completed British three-platoon infantry company:

IMG_2990

IMG_2988

IMG_2991

IMG_2989

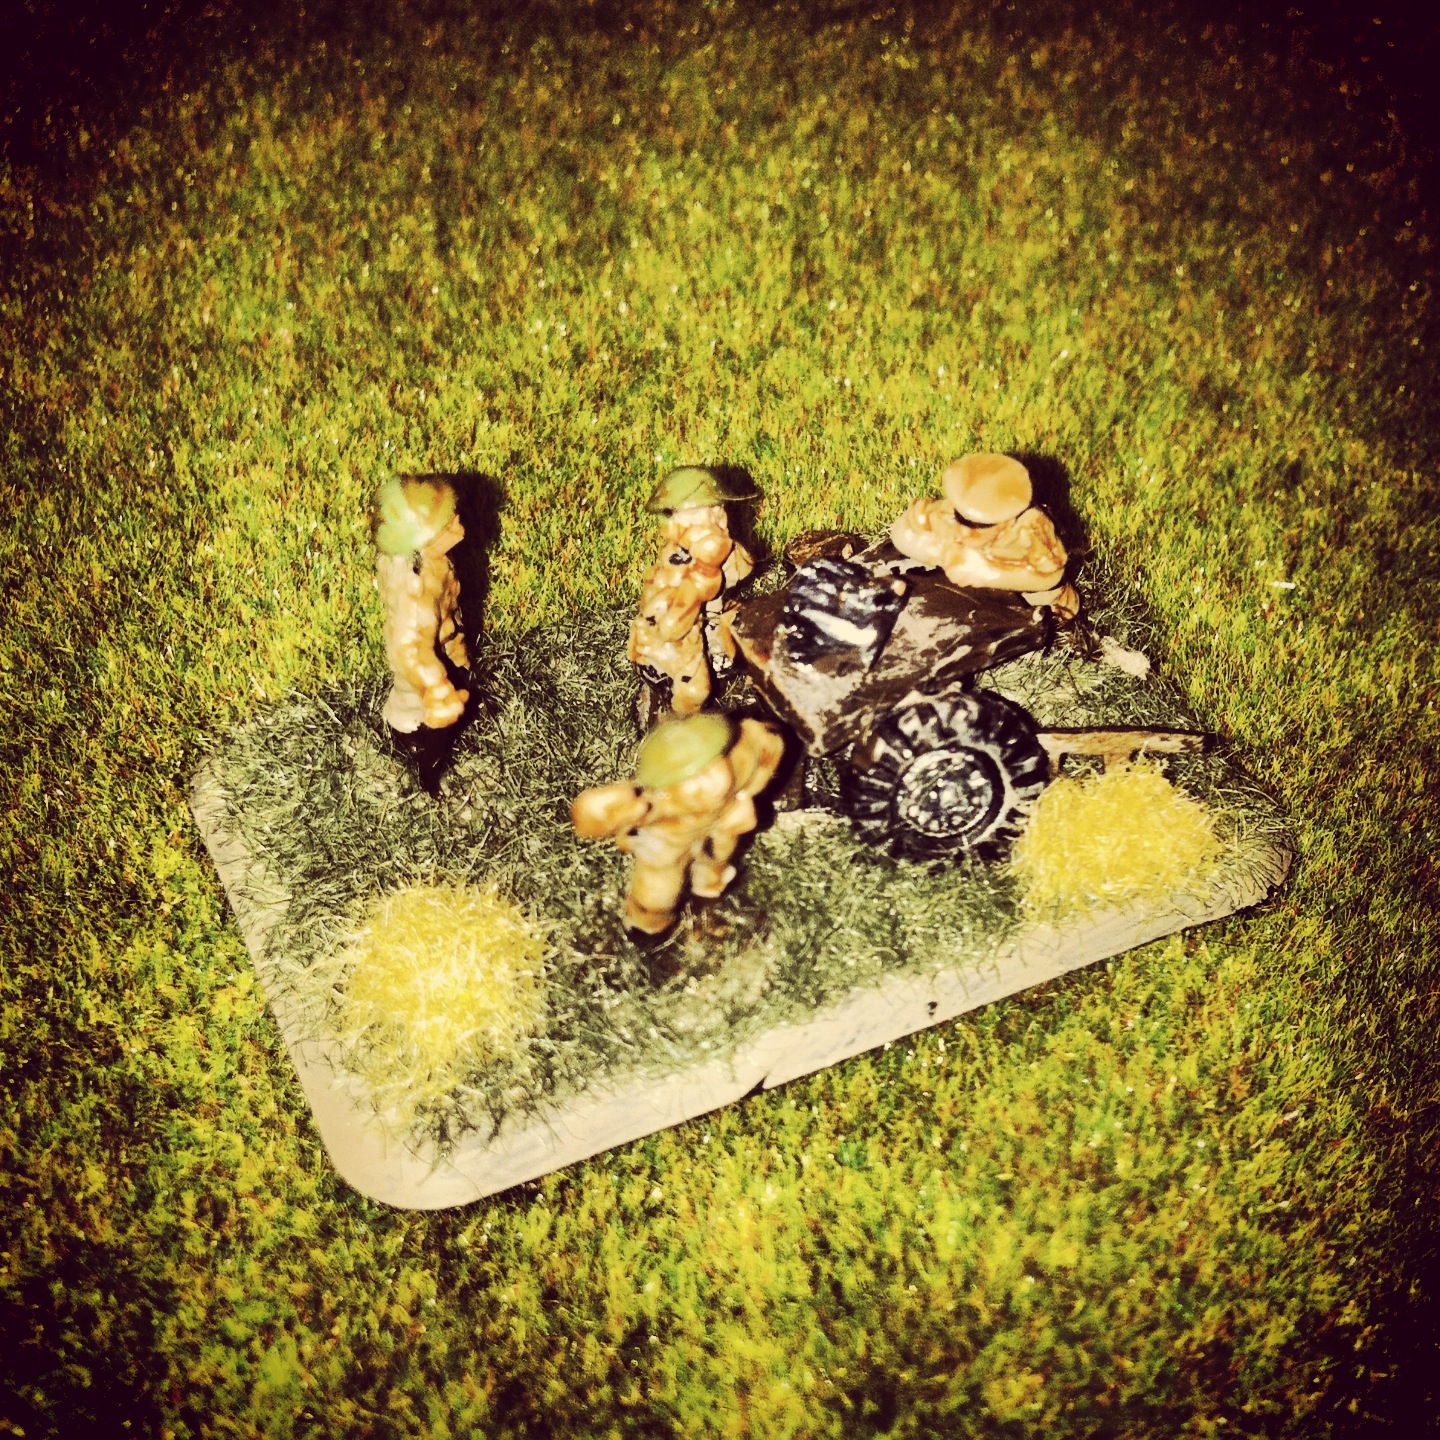
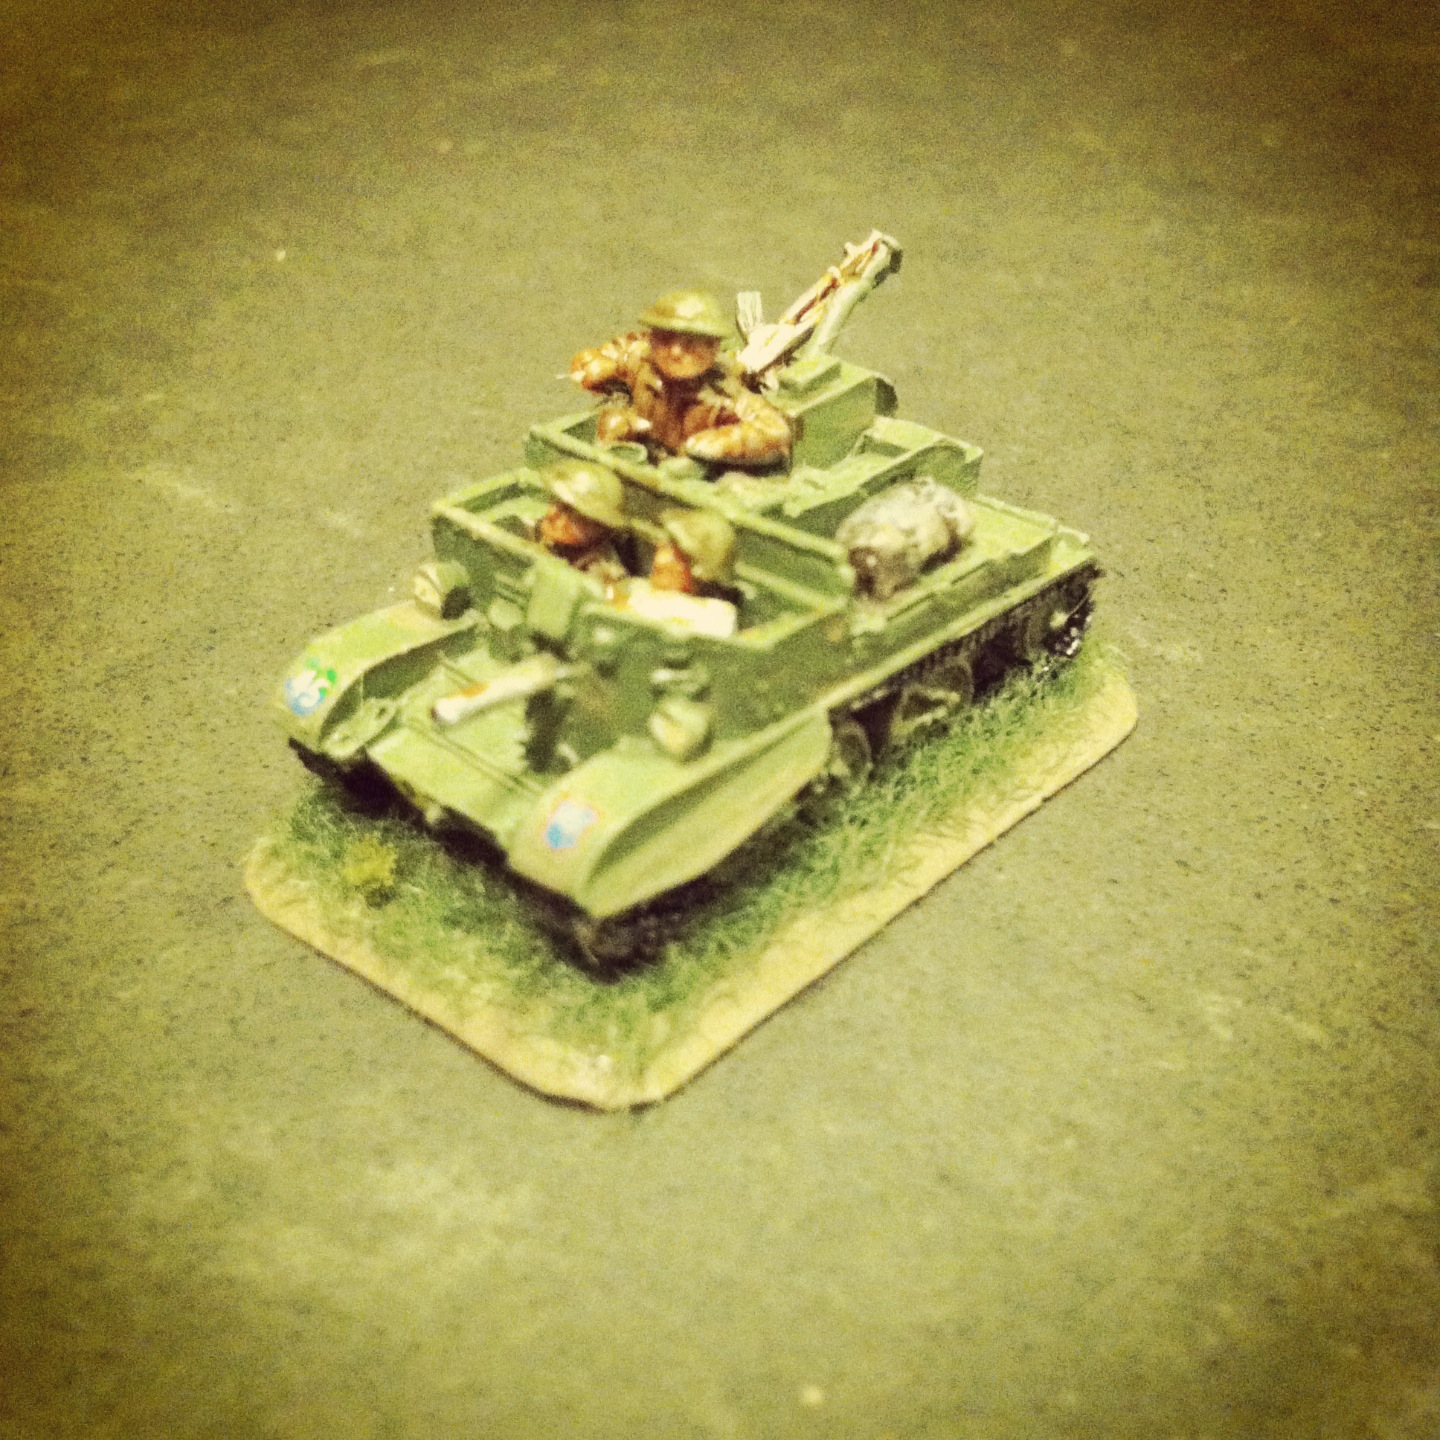
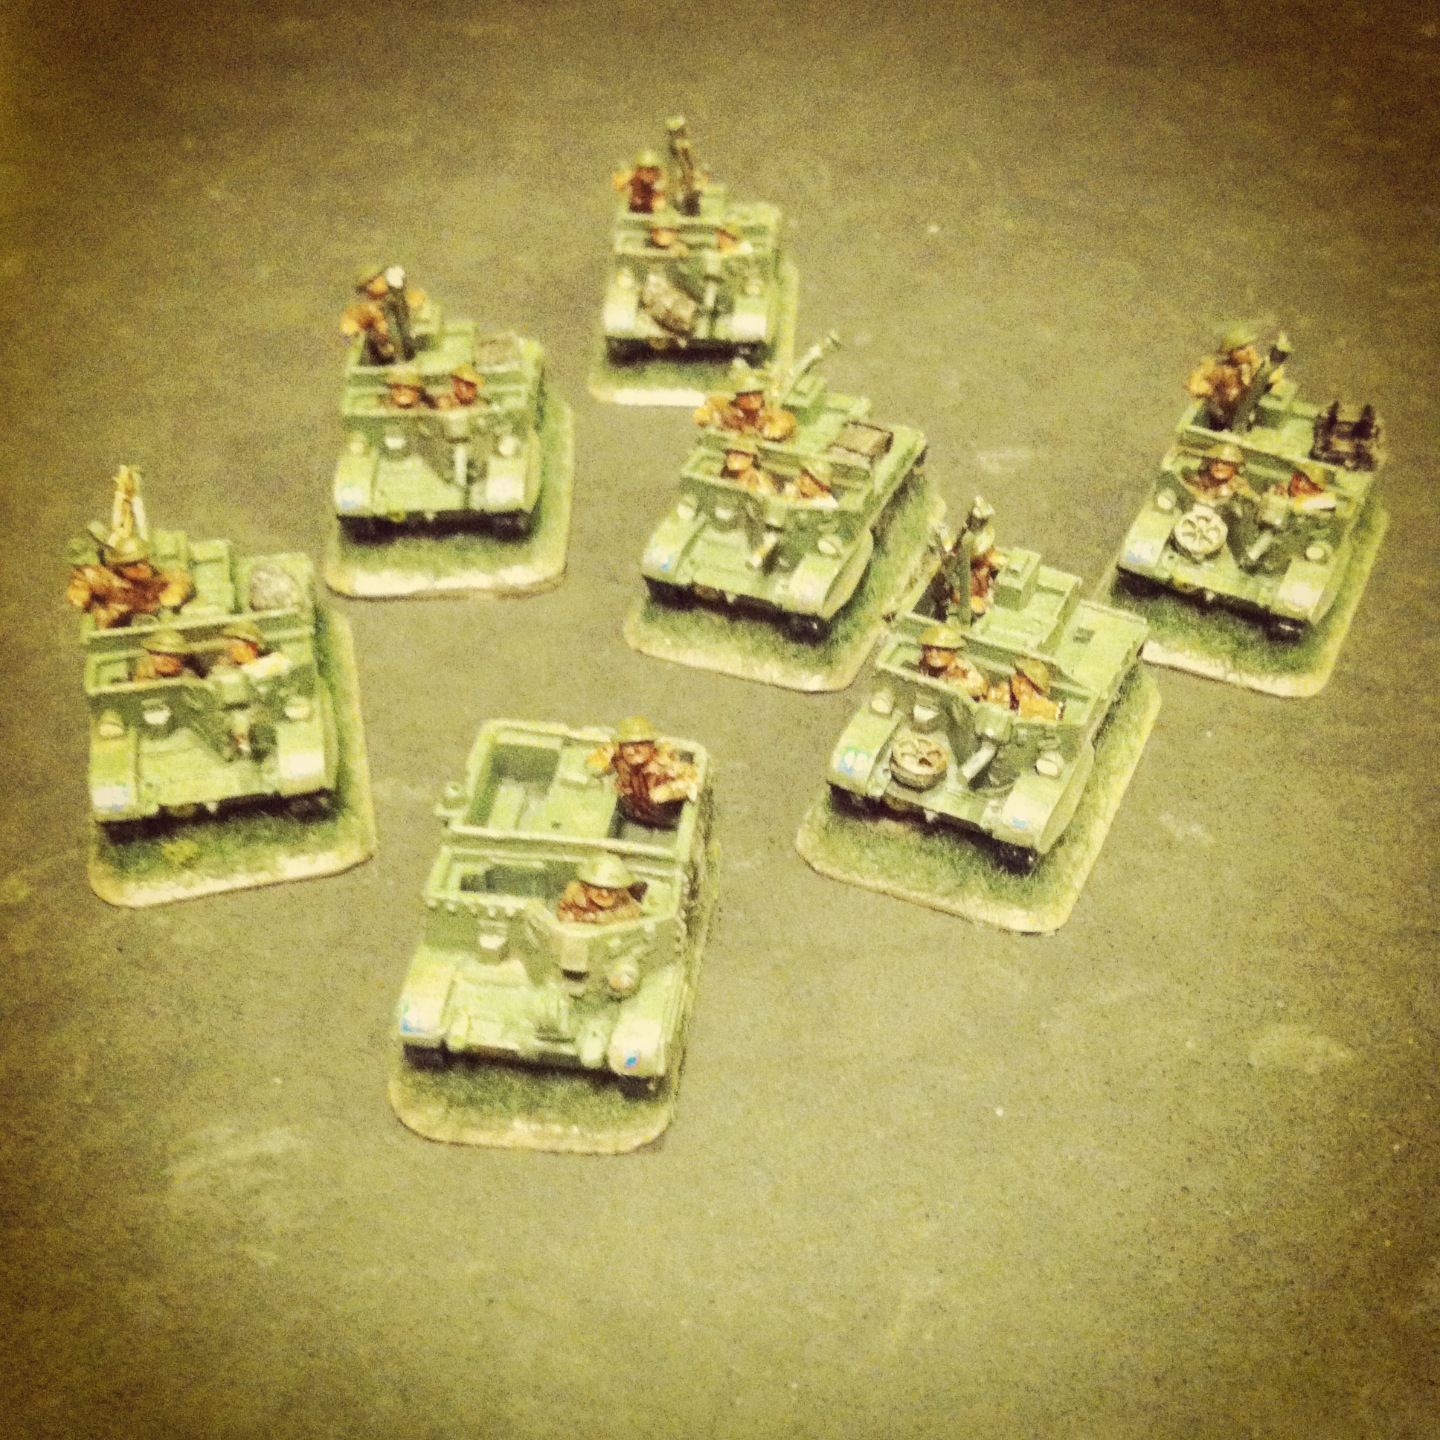
To supplement the standard infantry company and its weapons, I added in the FOW Machine Gun Platoon with the Vickers machine gun. With wide use by the British from WWI to the late 1960s, the hearty Vickers machine gun lays down a hail of fire in support of the swift advancing actions of their infantry countrymen.

britvickers
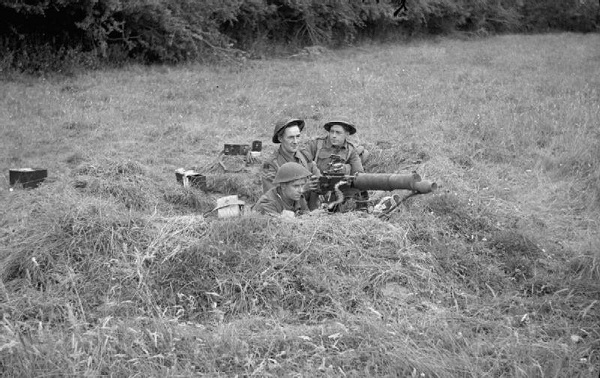
British infantry dug in with their Vickers machine gun

IMG_2987Completed British machine gun platoon

Aside from man-packed weapons, many infantry units were accompanied by heavier weapons for when faced by enemy armor. The Ordnance Quick-Firing 6-pounder or 6-pdr was the go-to British anti-tank gun throughout the battlefields of WWII. Hand-hauled short distances or commonly pulled along with the ubiquitous Universal Carrier, the 6-pdr proved most effective in stopping German tanks in the early desert war of Africa. Thicker armor on Panther and Tiger tanks eventually stymied the use of the 6-pdr in frontal face-offs with German crews, but later development of heftier armor-piercing shot by 1944 brought their effectiveness back into play in the last campaigns of the war in Normandy and beyond.

brit6pdrBritish crew with their 6-pdr anti-tank gun in Europe

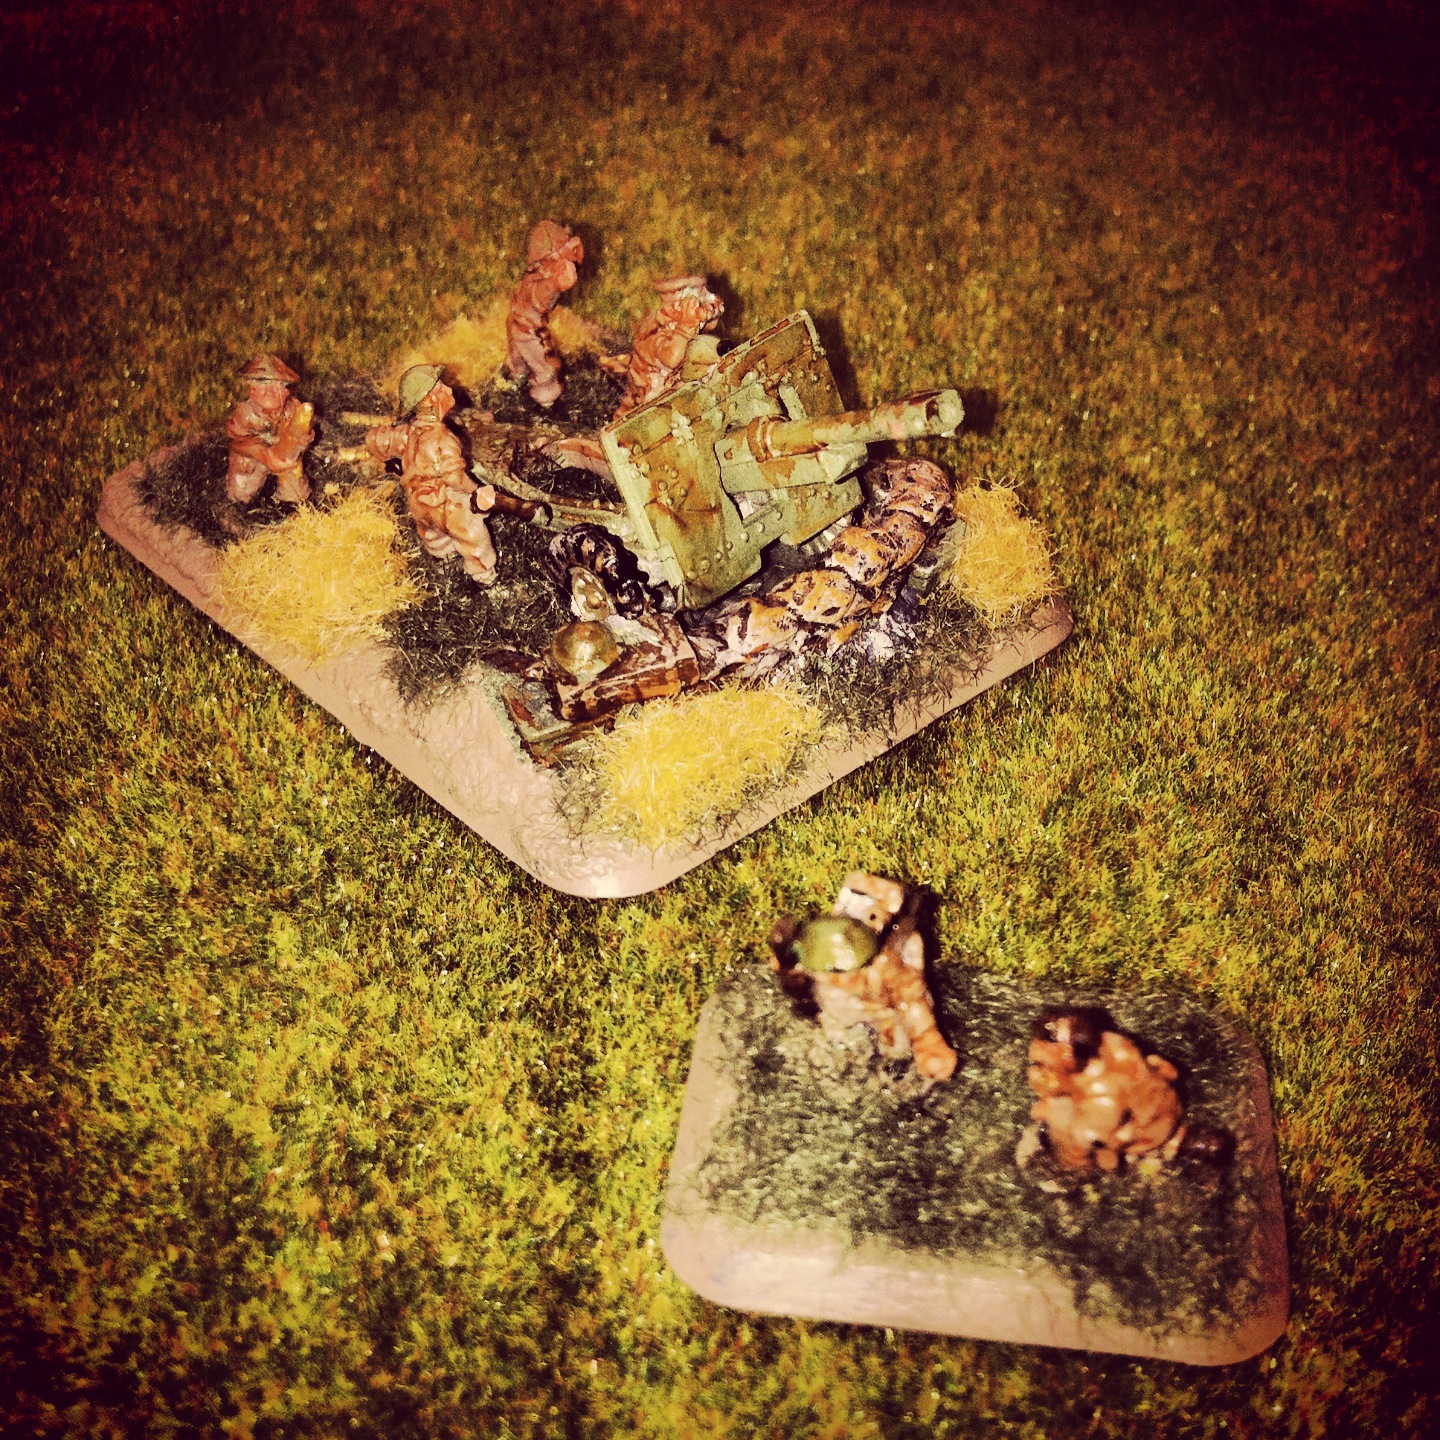
Again, I needed some of these guys in the mix, so the FOW 6-pdr Platoon was another must-have in my force. I love this little set, especially the officer with his foot planted boldly on a gun’s wheel as he gestures to a distant target. Along with my existing British armor and Royal Artillery Battery, having some anti-tank guns in my force will hopefully provide enough firepower against my heavily-armored German opponents.

IMG_2984
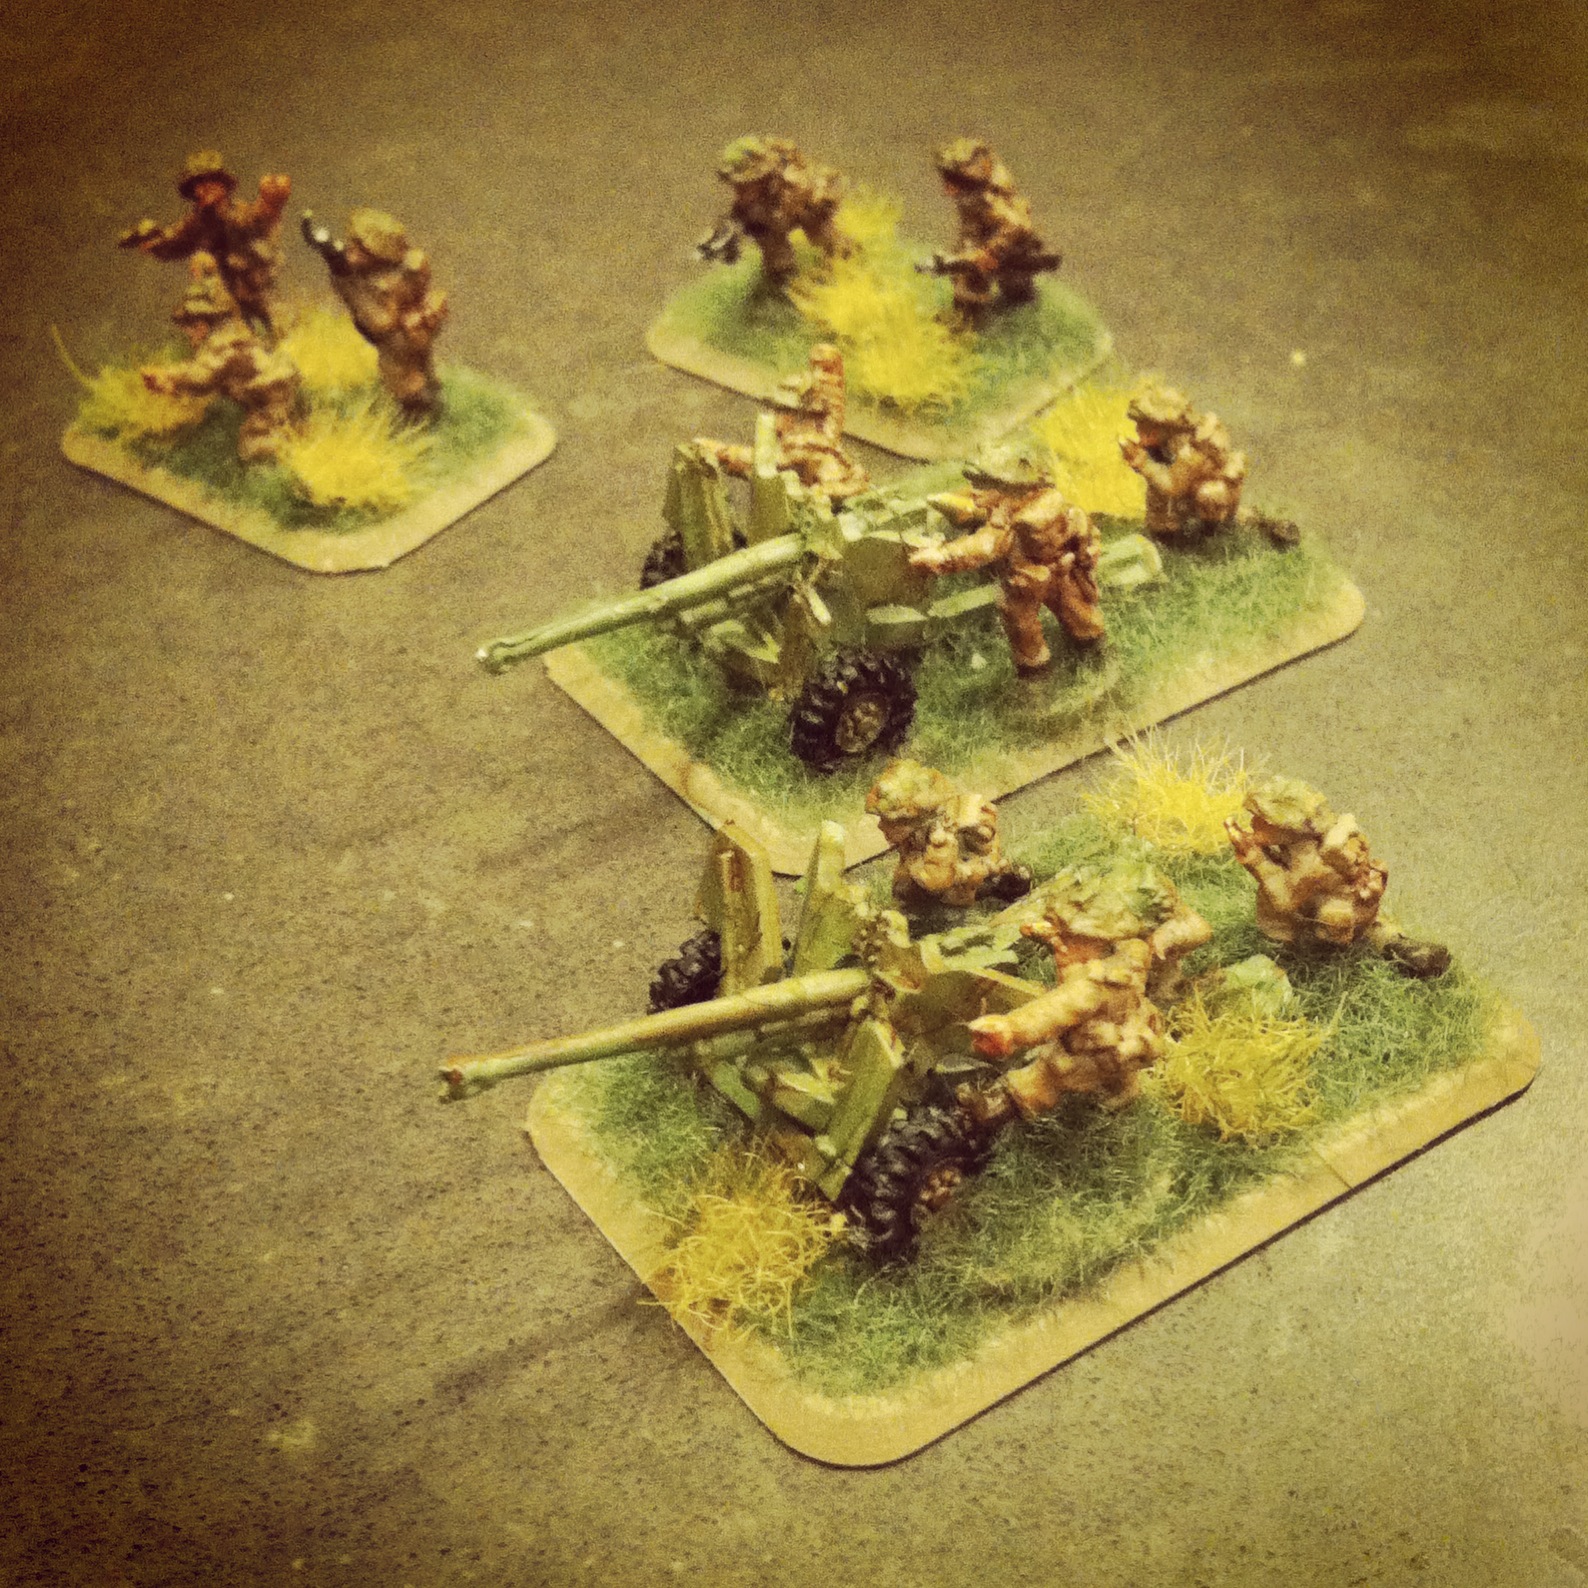
Completed 6-pdr anti-tank platoon

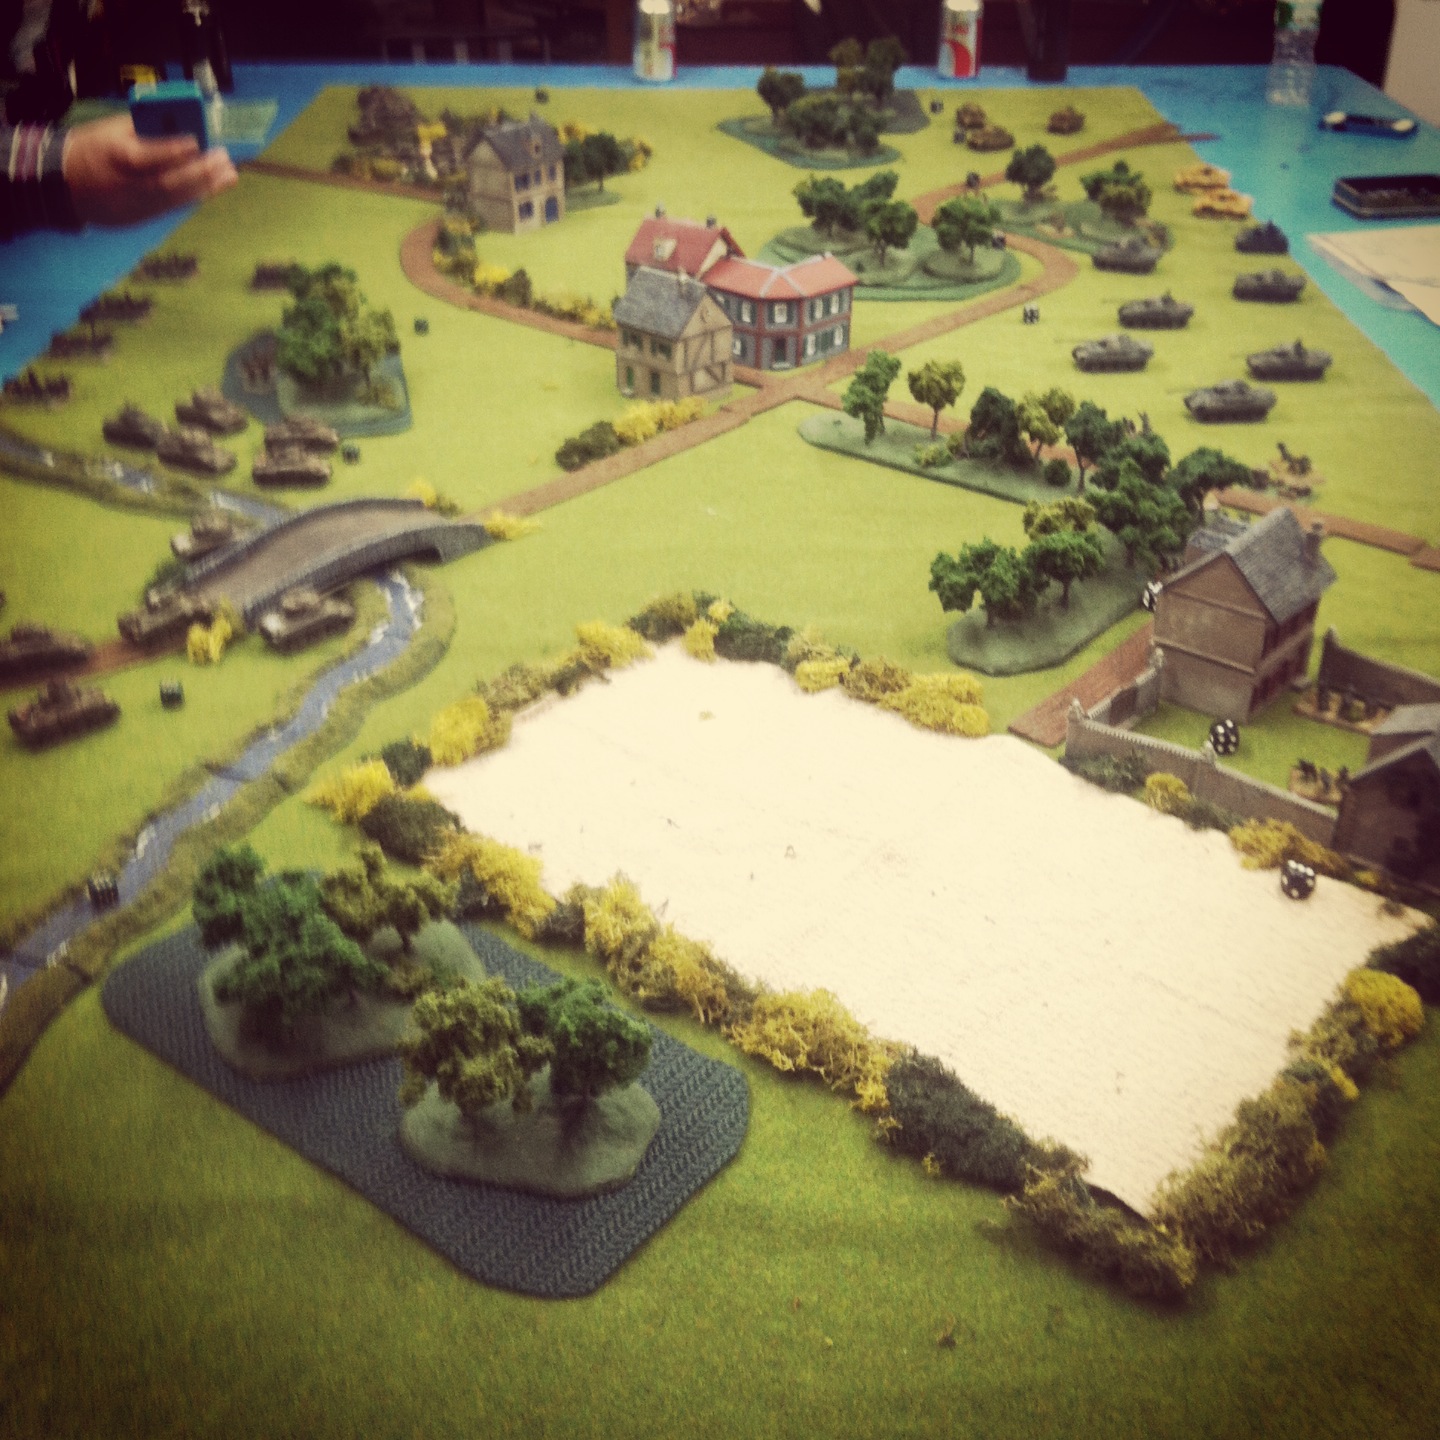
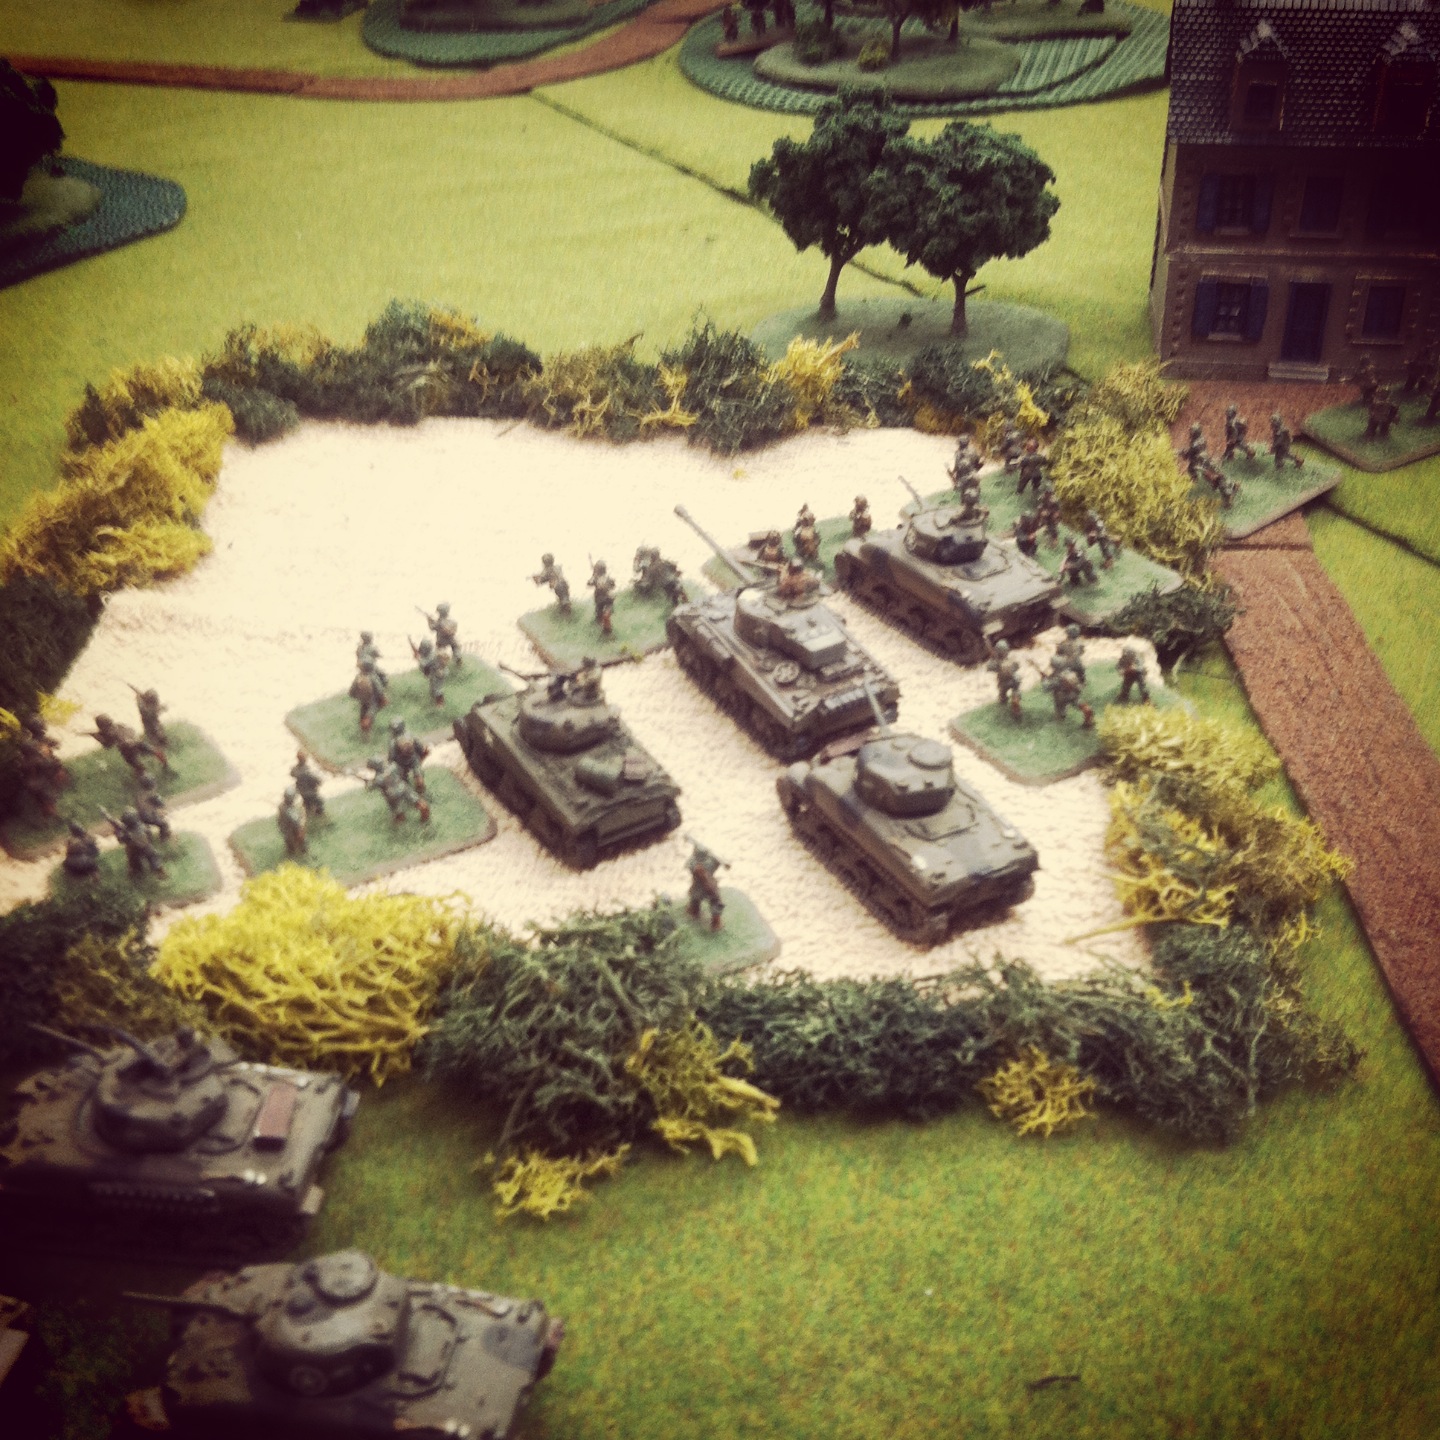
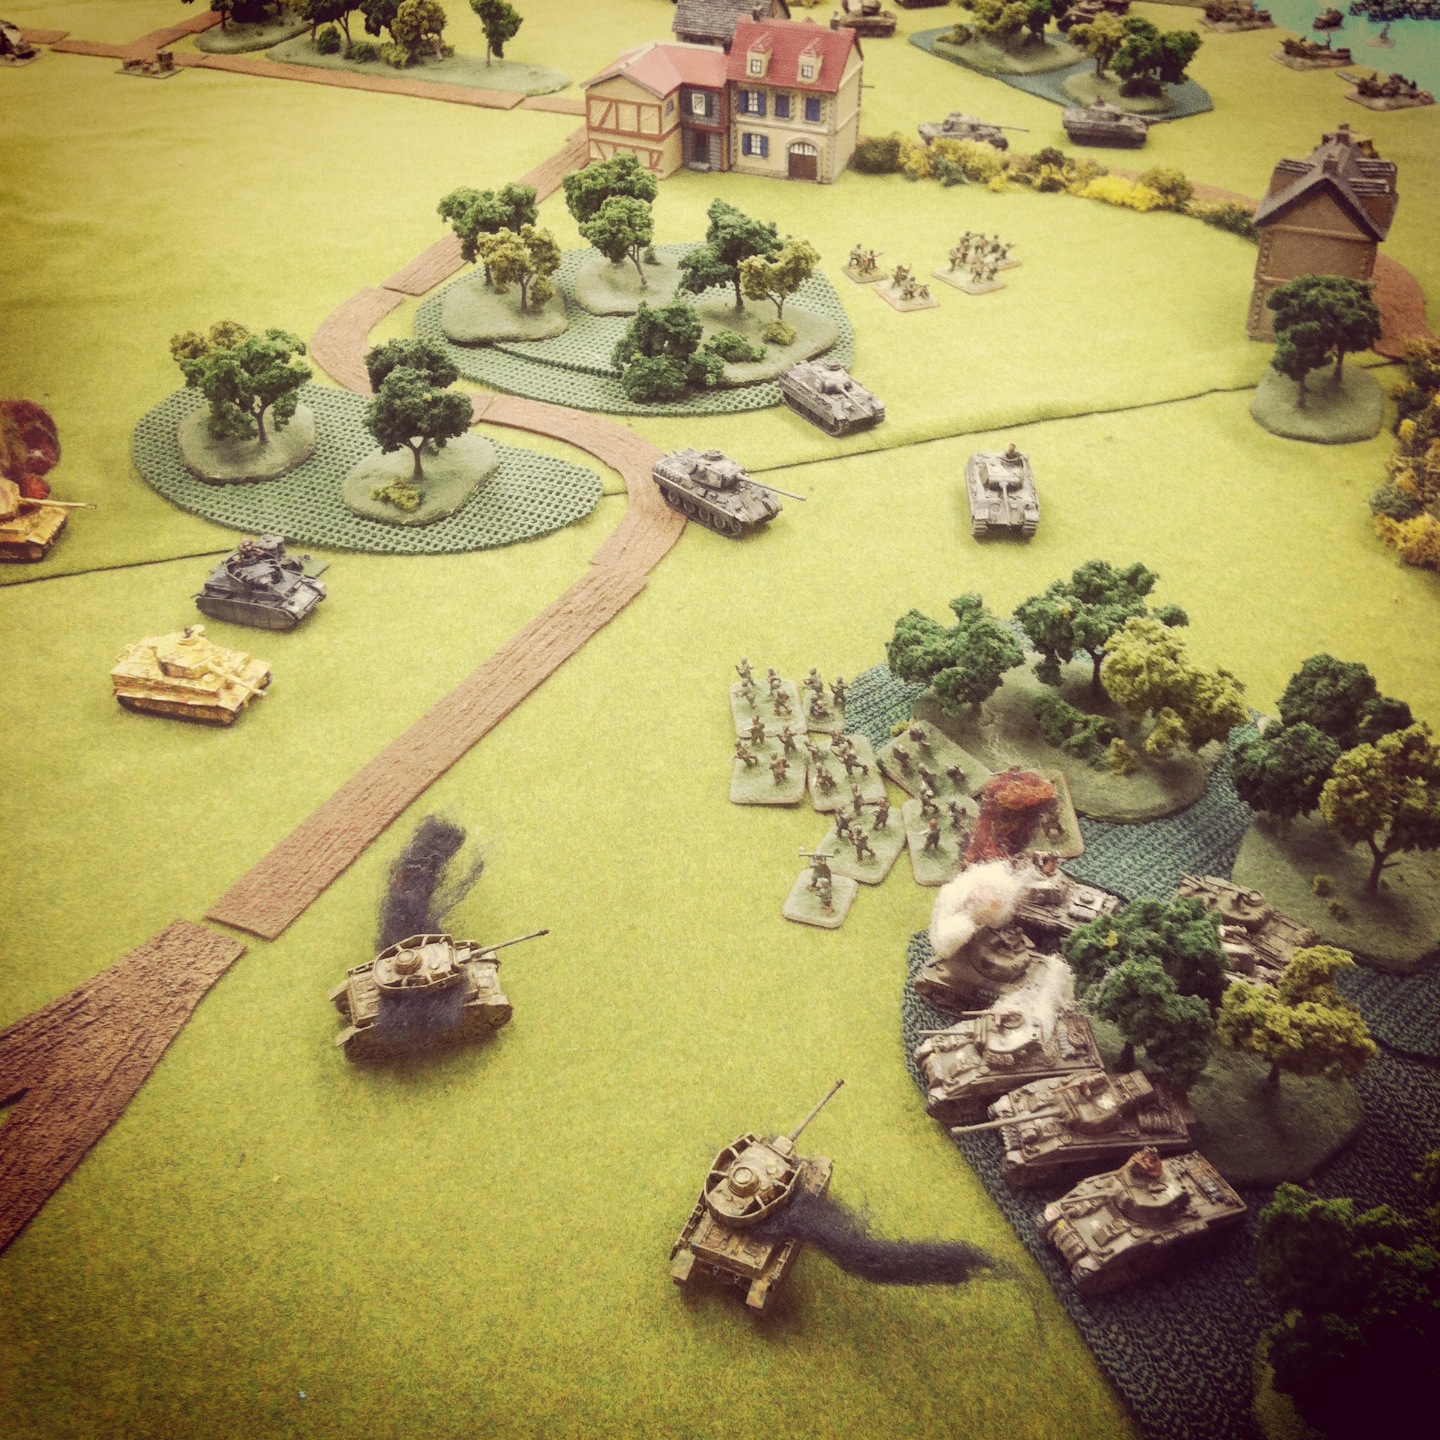
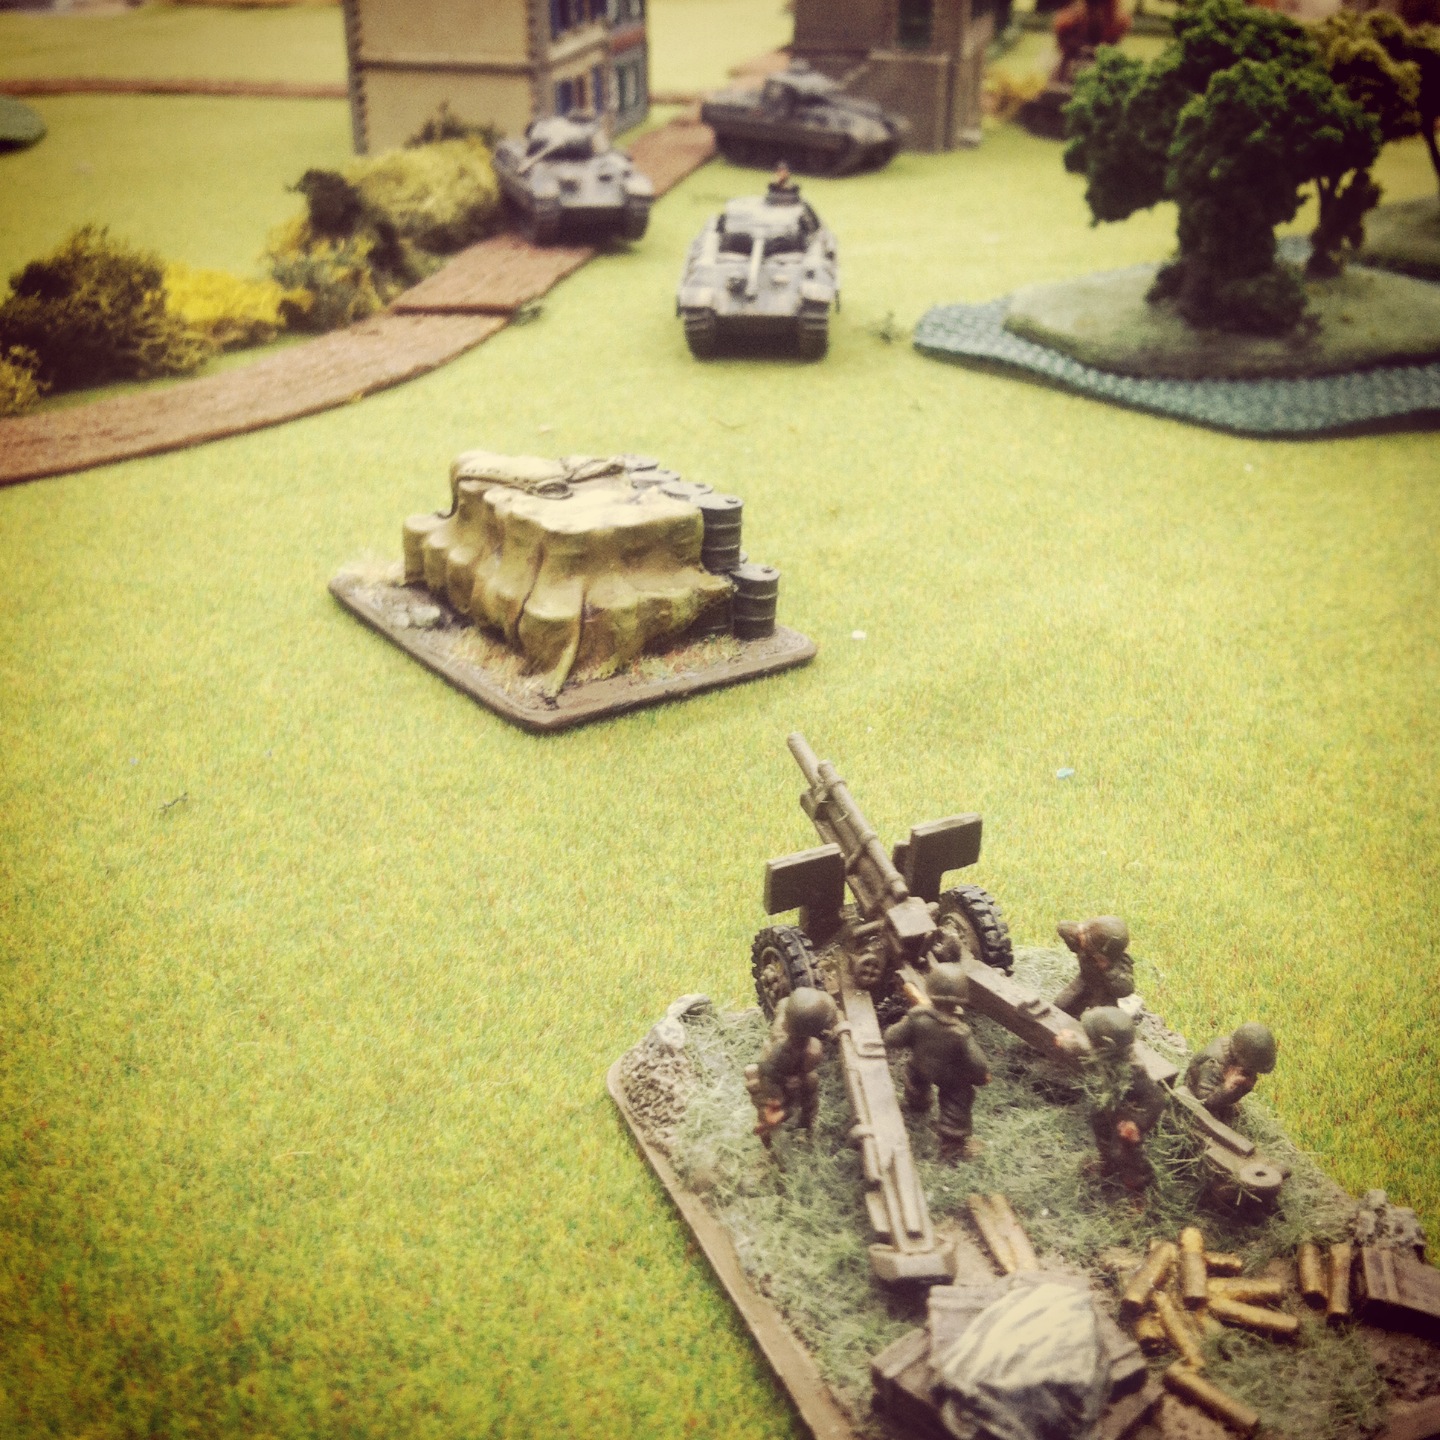
Any time I complete a big build, I’m inevitably left with the question of “what next?” First of all, most of my British will begin hitting the game table this coming weekend at Metropolitan Wargamers in Brooklyn, NY in a scenario at Aalst from September 18th, 1944 during Operation Market Garden. I’ll be posting an after-action report for the game early next week, and I’m certain I’ll have plenty more to write up on my fresh British boys in the months to come.

Flames of War: Fielding the PSC Cromwell and Firefly Tank

cromwell

I started out a month ago putting together my British 7th Armoured Divison for my Flames of War gaming with a couple platoons of FOW’s boxes. I wound up with two great looking platoons and a command section, but I really wanted two more platoons of the storied Desert Rats to beef up the company to maximum size in my post-D-Day break through scenarios.

PSCcromwell

While I love the detail in the cast resin FOW models, you can’t beat the value of the kits from the Plastic Soldier Company. For about half the cost of the FOW boxes, I’m been able to double the size of my company and field a formidable wall of nimble British armor on the tabletop. Ordering directly from PSC, I was also able to add an extra Cromwell to the five included in the box plus two Firefly models for a total of two additional four-tank platoons.

IMG_2966

Two platoons of the 7th Armoured Division PSC Cromwells and Fireflies

Assembling PSC kits always reminds me of the hours I spent frustrated and thrilled gluing-up Airfix models as a kid. While FOW cast resin and metal tanks go together in a couple simple steps, there’s a particular investment in time and focus needed with boxes from PSC. The FireflyPSC molded turret  is simple to assemble, but the multi-piece tracks are a challenge even though the results with the sagging upper tread is a nice detail. The turrets on the PSC Cromwells have many pieces but fit nicely with patience, and their single-piece tracks are a breeze.

IMG_2962

Close-up of the PSC Cromwell and Firefly models

PSC tank sprues come with multiple modelling options, although there’s no stowage included in PSC offerings. To add a bit of detail, I attached some folded mesh panited as camouflage netting to rear the hulls of a few of my PSC models.

britfirefly

Members of the 7th Armoured Division with their Firefly in Normandy

Comparing the PSC and FOW models, there are some differences. PSC models tend to be thinner than the chunkier FOW kits, expecially in regards to the main gun barrels. The PSC tanks are also significantly lighter and their turrets require a bit of extra drilling to provided free movement more easily found in the magnet-mounted FOW turrets.

IMG_2963

Firefly model comparison from PSC (left) and FOW (right)

The FOW Cromwells and Fireflies both come draped in camouflage and other cast details, yet when mixed together side-by-side with the more sparely-detailed PSC kits some nice variety across the four platoons is acheived. Separate decals are also needed to complete the PSC tanks which do not include any markings options in the kits.

IMG_2965

 Four platoons and command for the 7th Armoured Division “Desert Rats” from PSC and FOW

Ultimately, the PSC and FOW models come together quite nicely with a consistent paint job and markings. If anything, the slight differences in the models will make tracking cohesive platoons on the table a bit easier when the Desert Rats roll onto the game table in the very near future.

Flames of War: Fielding the FOW Royal Artillery Battery

25pounder

My progress on my new British forces continues with my fielding of a full  Royal Artillery Battery for Flames of War. Dating back nearly 400 years, the British Royal Artillery Regiment (or RA) has been a mainstay of support for British infantry over many continents for a couple centuries. In World War II, the massed 25-pound guns were important for their rapid fire when manned by capable British crews.

fowroyalarty

FOW provides specific rules to account for the adept British guns with the ability to field eight or twelve guns and range in on targets even under initial missed attempts with massive bombardments. In short, these guns provide incredibly deadly strength to any Late War British companies in post-D-Day scenarios the likes of Villers-Bocage or Operation Market Garden.

IMG_2840My RA Battery is made up of two FOW kits, one of which I scored for a song from a fellow club member during a summer flea market at Metropolitan Wargamers in Brooklyn, NY. After gluing everything up, the models get a basic green undercoat followed by my quick finish of drab brown for the uniforms with brown boots and off-white coverings. Figures get finished off simply with a wash to add depth, as do the guns with some rusty dirt streaks.

IMG_2836Sand bag emplacements are finished with a few layers of browns, and stonework get a some built-up coats of grey. Stands are finished with details for stacked crates and discarded brass shells on a brownish dirt basecoat followed by two different grass flockings.

IMG_2837

IMG_2838

IMG_2839

My sets came with two different command bases, the first with a nice diorama of a demolished building with a motorbike parked out back. As orders are being passed between officers, another pours tea from an aluminum kettle. The other command stand features a crowd of staff around a field table and radio operator with one dapper officer standing to the side, cane in-hand.

IMG_2835

Each four-gun battery is filled out with two other command teams and a spotter, waiting to call in the guns on the unsuspecting German forces. All together, I’m anxious to get my British RA into action with my 7th Armoured and Guards Armoured tanks in the very near future. All that’s left is some British infantry, so stay tuned for their appearance on the field in the very near future.

IMG_2834

Flames of War: Fielding the Guards Armoured Division Part II

UKguards

Since starting with 15mm World War II Flames of War gaming a number of years ago now, my Allied modelling has focused exclusively on United States forces. Beginning with basic US infantry rifle, artillery and armored companies, I eventually added in some US Airborne forces plus some air support. Recently I’ve felt maxed-out on the US, so I’ve taken to looking to build out my Allies with another country’s army.

eagUARDSTEMP

After a bit of research and reading, I’ve settled on the British Guards Armored Division. I began this new journey with the plastic Guards Armored Sherman and Firefly models included in the excellent Open Fire! starter game box set. While these can be played as Allied support to my existing US Airborne, I really wanted to give the British their own space on the board.

IMG_2737

Along with my existing plastic Shermans and Fireflies I already have painted-up, I bought another set from a fellow member at Metropolitan Wargamers in Brooklyn, NY. This gives me a full four-platoon armoured squadron with four Shermans in the command section.

IMG_2738

 To fill out my Guards Armored Division, I’ve also added the special Lieutenent Colonel Joe Vandeleur warrior character. As a leader of the Irish Guards during such famed actions as Operation Market Garden, Vandeleur proved to be a solid field commander known for his by-the-book leadership.

Caine

 Michael Caine as Lt. Col. Joe Vandeleur in ‘Bridge Too Far’

I’m a big fan of 1977’s A Bridge Too Far in which Michael Caine co-stars as Vandeleur during Market Garden, so I couldn’t help but add this model to my new force with the colonel riding upright in his armoured car.

IMG_2735

IMG_2734

IMG_2733

In the coming month or so I’ll be filling out my British force. I have one completed Royal Artillery section and another on the workbench, enabling me to field a full eight-battery platoon. I’ve also got Battlefront’s British Rifle Company box allowing me to march three full platoons on the table of what was known affectionately during WWII as the PBI – Poor Bloody Infantry.

IMG_2732

I’m really looking forward to playing with my new British units this coming year, along with all their special national rules. The Brits are really going to open possibilities with new scenarios and new fronts. As Caine says as Vandeleur in A Bridge Too Far, “I’ve got nothing else planned.” At least for now.

Related articles

Flames of War: Metropolitan Wargamers Tanksgiving 2013

Tanksgiving PicAbout ten of us at Metropolitan Wargamers in beautiful Park Slope, Brooklyn kicked off the holiday season this past weekend with a day of WWII armored action in conjunction with our first Flames of War Tanksgiving event. The official rules for the event called for 1500-point companies facing off in multiple games throughout the day. Given we had so many new players interested in playing their first games of Flames of War, a few of the more experienced players decided to play host with our own forces brought along for the day over two tables.

FFAMissionThe bigger of the two tables featured Allied forces facing off against Germans in a Late War Western Europe scenario. The Flames of War website offers a group of basic missions of increasingly-complex scenarios, each easily playable in about three hours. Given we were dealing with an entry-level game, we went with a beginner-friendly Free-For-All mission with two 1500-point companies on each side.

IMG_2442Allied defenders (left) and German attackers (right) deployed

Since this was a tank-focused game, we went easy on terrain with just a smattering of wooded areas, buildings and fields spread over the table. The Allied forces defended, beginning on the side of the table defined primarily by a small river crossing bridge on the Allied right and a field and nearby farmhouse on the Allied left.  On the attacking German side of the table, a walled farm complex surrounded by a tree-lined road sat to the German left and a group of wooded areas to their right. A small town was situated squarely at a crossroad at the center of the field.

IMG_2446Guards Armoured and 101st Airborne started in the farm field

The British Guards Armoured Company began near the farm at their left, deploying its Sherman and Firefly tanks along with one platoon from the US 101st Airborne. Near the bridge, the US 4th Armored Company set its 75mm and 76mm tanks and finally deployed its 105mm artillery platoon at the center of the table edge hidden behind a copse of trees. The Germans deployed Panzer IVs, two Tiger tanks and a Grenadier platoon near a forest at their right. A large group of Panthers started near the center behind the small town with a supporting dismounted Panzergrenadier platoon on their left and a two-tank Panther command platoon at their extreme left.

IMG_2444US 75mm and 76mm Shermans tanks at the bridge near the German objective

With the German player starting things off, their main thrust of Panthers moved toward the center of the table while their Panzer IVs and Tigers made a move looking to shutdown to the advance of the Guards Armoured and US airborne troops. The Panzergrenadiers made their way for the walled farm and the treeline at the neighboring road, and the commanding Panthers looped around the farm toward the river and the American right flank.

IMG_2448A Tiger sits burning after being hit by a Firefly

On the Allied first turn, the 101st Airborne made a beeline for the neighboring forest across from the field while tanks rolled into the gap between the forest and the field. A lucky opening shot from a British Firefly took out a German Tiger, providing one of the only bright spots for the Allies during the entire afternoon. The spotter for the US howitzers ran for the cover of the town’s buildings while the mass of American tanks on the right split to hold off the center German advance as well as the German command section’s coming end-run at the river.

IMG_2453The Armoured Guards take ferocious fire from the German tanks

In the second and third turns, the German players began running the table to their victory. A concentration of fire into the town destroyed the US artillery spotter, effectively shutting down any good chance of Allied artillery support. The Tigers began laying waste to the line of advancing Shermans in the field and rolling in the open. A failed assault on the German tanks by the 101st Airborne out of the woods stalled under a hail of machine gun before it began, but the Guards Armoured managed to route the Panzer IVs off the board and whittle-down the Grenadiers making their way between the town and farm house nearby.

IMG_2460Panzer IVs and Shermans aflame as the 101st Airborne sprints across the field

By the fourth turn, German infantry making their way through the open both for the bridge and objective near the American artillery were mowed down under heavy machine gun fire from the US Shermans. Finding a gap amid the tank fight around them, the 101st made a dash to the next forested area while German tanks poured more fire into the British armor at the rear. At the bridge, American 76mm guns managed to destroy one command tank and bail the crew from the other. Unfortunately, the remnants of the American armor were outgunned and entangled in the burning shells of their comrade’s tanks. With nothing left to stop the advance, German tanks rolled to the center and seized their objective.

IMG_2458Nothing left to stop the German advance to victory

While things raged away on the European table, an Early War showdown between 1500-point British and Italian forces in Africa dustily clamored away one table over. You couldn’t get a more different game with less advanced equipment and differently skilled troops battling in a desert environment laced with prepared defensive positions. Since most of my gaming has focused on Late War Europe, the earlier war stuff fascinates me and I’m definitely going to make some time to try my hand at this other period soon.

IMG_2440Early War Italian and British desert action at Tanksgiving in Brooklyn

As it turned out, the Italians took the game on the Africa table, making our first Tanksgiving event a 2-0 victory for the Axis powers. I learned a mass of German armor is really hard nut to crack unless you’ve got some effective artillery and enough infantry to assault and push to an objective. Every game under my belt gives me ideas for the next. Win or lose, I think a few hours of playing may have hooked a couple new players on Flames of War. For that, we’ll all be thankful as we deploy our platoons for another game very soon.

Flames of War: Fielding the FOW Universal Carrier

UniversalC

British Universal Carriers in Normandy 1944

Used extensively by Commonwealth forces in all theaters throughout WWII, the Universal Carrier served as a transport, a towing vehicle and a quick-response weapons platform for machine guns, flamethrowers, anti-tank guns and mortars. So popular were these agile and flexible vehicles that production ran until 1960 and over 100,000 eventually rolled off the assembly line, making them the most-produced armoured combat vehicle ever produced.

With my new British forces moving along, I picked up a few inexpensive packages of Universal Carriers in the flea market at Fall In! this past weekend. The models from Battlefront come three to a carded package in solid-cast resin with metal crew and gun options. The packs I got were the early war models but I decided for gaming purposes I’d fudge them a bit to make them work in my late war gaming. Along with a carrier from my Royal Artillery battery I’m also working on, I’d wind up with seven vehicles to start.

IMG_2432

Carrier example with rear gun mounted

I chose to model my inital six carriers with extra 50 cal. machine guns, hoping to use them to quickly get into a fight and pin down German infantry with a hail of bullets. Adding the 50 cal. gun was a field modification during WWII, but without any extra parts on hand I simply clipped the barrels on the guns at the front and added a bit of plastic to make some semblence of a machine gun manned in the front seat.

IMG_2430

Carrier example with the rear gun carried in the back

Since construction is minimal, these glue-up fast. I modelled a couple of the guns in the back thrown in the back seat as if those guys were moving fast to get into action before re-mounting their guns. After a quick spray of green armor basecoat, the crew get hit with some drab, brown and flesh paints and washes. Tracks get a black base followed on with some metallic dry-brushing. Guns and other details added from some leftover tank stowage get some gun metal, browns and weathering. I decalled the carriers with the Guards Armoured markings, and then everything got a splatter of muddy earth tones.

IMG_2427

Guards Armoured carrier platoon ready for the roads and fields of Europe

With so many British troops cruising around Europe in these vehicles during the war, adding just a few of these to my growing menu of options in creating British company lists for my FOW gaming at Metropolitan Wargamers in Brooklyn, NY was a good place to start. I’ll fill in these early war models with another three of the late war models at some point, making it into a nine carrier transitional platoon of old and new model vehicles. One of the reasons I wanted to expand my Allies with UK forces was the chance to model different infantry, armour and artillery. Getting these nifty little Universal Carriers into the mix will definitely give my games some new interest on the tabletop and hopefully wreak havoc on my German opponents.

Related articles

Flames of War: Fielding the FOW Cromwell and Firefly Tank

dratsBy the time of the Normandy Invasion in June 1944, the British 7th Armoured Division had already seen plenty of war. The division first distinguished itself early in the war in the dusty North African campaign, going brutally head-to-head with General Erwin Rommel’s tough Afrika Korps and earning the nickname “Desert Rats.” In the mid-war invasion of Italy, the division adapted to the southern terrain of Salerno and Naples and helped in securing the Allied push northward.

cromwellA British Cromwell in WWII Europe

fftankSherman Firefly on a street during WWII

Back in the UK following its successes in Africa and Italy, the 7th Armoured rested and retrofitted with new Cromwell and Sherman Firefly tanks in preparation as a follow-on force in the D-Day landings in mid-1944. Over the next six months, the division’s 75mm-armed Cromwells and 17-pound-gunned Fireflies were present during Operation Perch, Operation Goodwood, the Battle of Villers-Bocage, Operation Spring, Operation Bluecoat, Operation Cobra and the final pushes into the Low Countries and Germany. By the war’s end, the battle-weary Desert Rats had cemented themselves as one of the most celebrated divisions in World War II.

fowcromwellAfter being introduced to British Armoured forces with the excellent plastic Sherman and Firefly models included in Flames of War Open Fire! box set, I’ve recently swung some significant focus on building-out a decent amount of UK late-war forces. Modelling the storied 7th Armoured Division seemed like a logical next step in bringing the UK to my Allied forces on the table.

Through some serendipity, I happened to score a couple of half-price box sets of the FOW Cromwell Armoured Platoon from a fellow club member at Metropolitan Wargamers in Brooklyn, NY. Between the two boxes, I’ve been able to assemble a company command of two Cromwells plus two platoons of three Cromwells and one Firefly each. The models feature individually-cast resin tanks, each with their own detail of stowage and ragged camouflage, along with cast metal treads, gun barrels, crew and other details. Compared to curvaceous US Sherman tanks, I also really enjoy the flatter hull profile and boxy riveted turrets on the Cromwells. Although pricier than alternatives from makes like Plastic Soldier Company and Command Decision from Old Glory Miniatures, official FOW models are generally hard to beat for their heft and historical accuracy.

IMG_2334Primer and base coat on treads and stowage

After assembly, my models were hit with a green armor base coat. Tank treads start with a black coat followed a slight wash of metal. Tools, stowage, ropes and the other stuff on the tanks all get a mix of built-up layers of browns, greens and metallic colors. I especially liked the tiny tennis rackets strapped to a couple of the tanks, a nod to the British gentlemen who came to Europe not only equipped for war but for hopeful yet unlikely leisure pursuits. These details really create a lot of depth, interest and personality among the tanks which can otherwise get very visually redundant en masse on the table. Finally, the exposed crews get a a bit of brown-drab uniform color and some flesh tones to finish off those brave Brits.

IMG_2344Decals being applied (grrrrrr….)

I do have to say, the red-and-white Desert Rats vehicle marking has a really big cool factor for me. The FOW kits conveniently come with appropriate decals for the 7th Armoured Division, making finishing off the tanks one step easier than with competitor model-makers that don’t generally supply decals with their models. That said, I find the FOW decals to be incredibly finicky and fragile, and I found myself re-applying several to get them on just right. Once the decals are dry, all the tanks got splashed with mud here and there with some earthy dry-brushing.

IMG_2350Cromwell command section

IMG_2352One platoon of three Cromwells and one Sherman Firefly

IMG_2354Cromwell close-up

IMG_2356Sherman Firefly close-up

In terms of gameplay, I can’t wait for the 7th Armoured Division to go up against some Germans. The combined one-two punch of the faster-moving Cromwells and the hefty-gunned Fireflies should reinvigorate my games away from the sameness I’ve had in just playing with my large group of US Shermans for a couple years. Already, I want more of these platoons to really get the division bulked-out. I’m thinking a follow-up with Cromwells and Fireflies from the Plastic Soldier Company will supplement the finished FOW models nicely. Until then, the 7thArmoured are ready to roll and there’ll be more to report soon on my post-D-Day British force project.

IMG_2348The Desert Rats ready for action in France and beyond…

Related articles