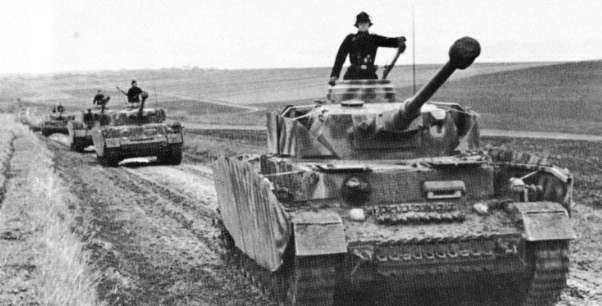
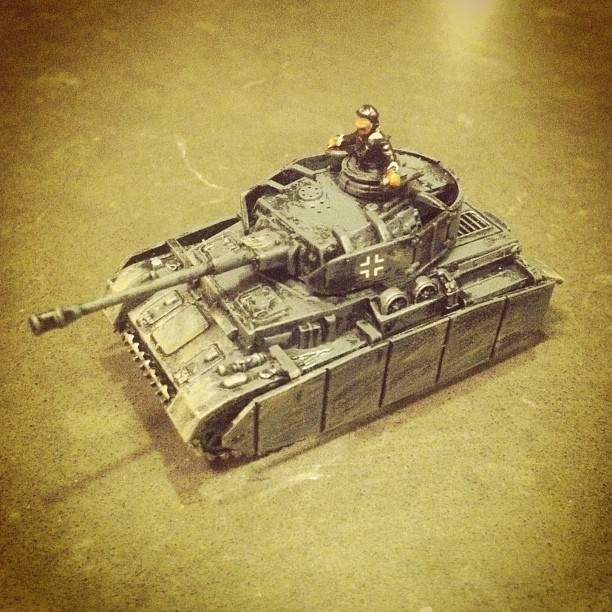
With 8000-9000 Panzer IV models rolling around over the course of World War II, this German tank was ubiquitous in engagements throughout. The tank itself went through a number of evolutions in terms of guns and armor, and the chassis wound up serving in many capacities as the carriage for other ant-tank and anti-aircraft guns. If you’re a wargamer like me fielding a WWII German force, chances are you’re eventually going to need a few Panzer IVs.
 Unboxing the Rubicon Models Panzer IV kit
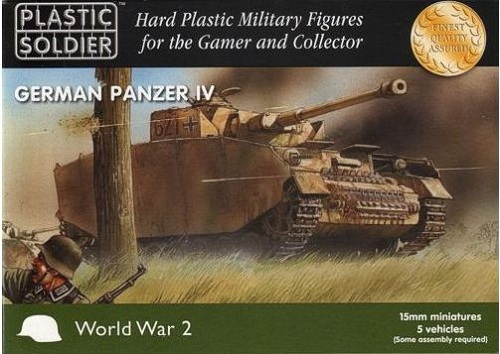
I’ve had a bit of experience in the past modelling the Panzer IV in 15mm with a kit from Plastic Soldier Company. For my 28mm models, I turned back to Rubicon Models which I had used in modelling a US M4A3 Sherman a while back. I chose Rubicon again for a consistency of scale, the clean casting of their kits and the deal I found on a pair of their Panzer IVs for under $50 USD. Unboxing their models is a real pleasure with separate sprues individually wrapped in protective plastic, clear instructions and decals included with the kits.
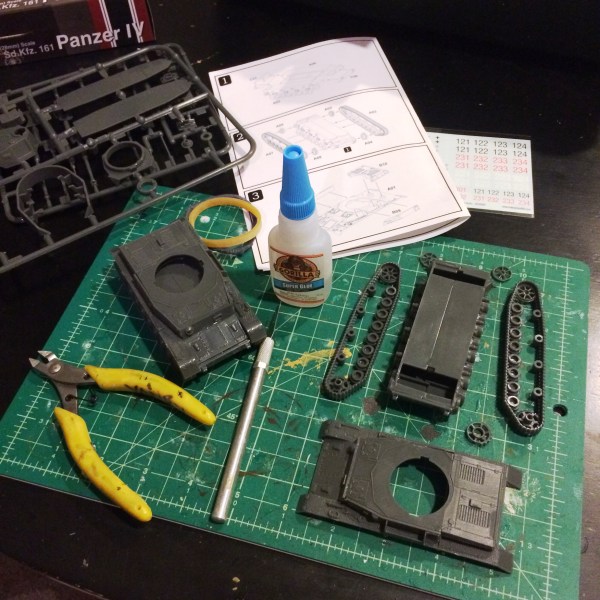
Cutting and sorting pieces as construction begins
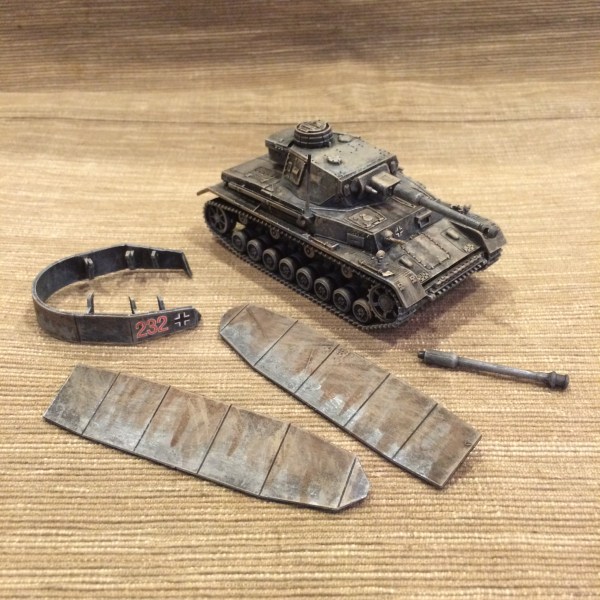
The clear step-by-step instructions make assembly a breeze as long as pieces are organized and the model is done in stages. The kit includes options for building the Panzer IV in its evolution from F2, G and H models. Uniquely, the kit allows the finished model to swap out the 75mm KwK L/43 and L/48 gun barrels with a friction fitting pin. The Schürzen on both the sides and turret are likewise removal, allowing you to effectively field two versions of the tank. For now I’m leaving the guns and Schürzen removable but I may decide to permanently glue them in the future.
Here’s my quick guide to getting the models assembled and painted:
Painting 28mm German Armor
- Carefully cut kit pieces from plastic sprues with small pliers.Keep pieces organized as you go and assemble the model in stages per manufacturer instructions
- Basecoat the model with flat black spray primer.
- Using three progressive coats of dry brushed greys, paint the entire model. I use Skavenlight Dinge, Mechanicus Standard Grey and Dawnstone (all from Citadel).
- Paint tracks Black.
- Paint wooden tool handles Dark Brown and metals parts with metallic Silver.
- Using a flat brush with only the very slightest amount of the same metallic Silver, dry brush the tracks. Use the same method on raised plates, hatches and edges of the entire model to create raised highlights.
- Paint the rear muffler a rust color by mixing Dark Brown and Red.
- Apply decals to the model and set the decals with Solvaset or some other decal sealer.
- Use a watered down Agrax Earthshade (Citadel) and add a muddy wash at edges, plate and hatch seams, muffler and on the Schurzen.
- Very, very lightly dry brush the entire model with Baneblade Brown (Citadel) to create a general muddied and weathered effect.
- Spray coat completed models with matte finish. Make sure you remove the turret so it does not stick to the main chassis during the spray coat.
- Rub pencil graphite on the edges where the turret meets the chassis to ensure free rotation.
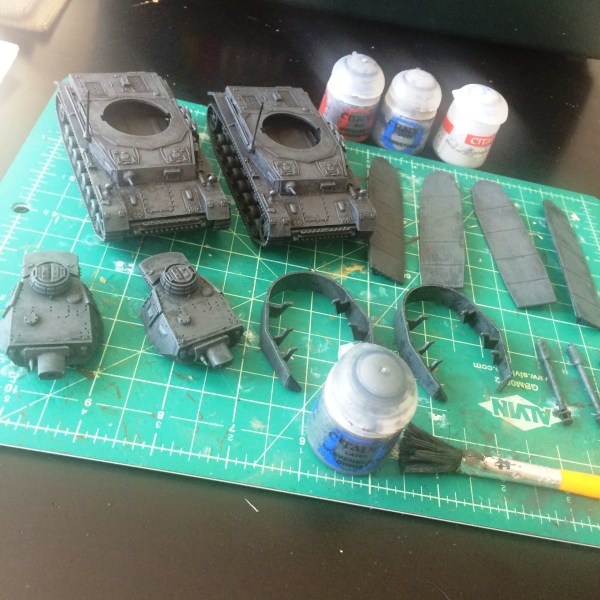
Dry brush coats of greys gradually lighter greys provide most of the color

Included decals provide a lot of modelling options

Watery mud is applied to the Schürzen
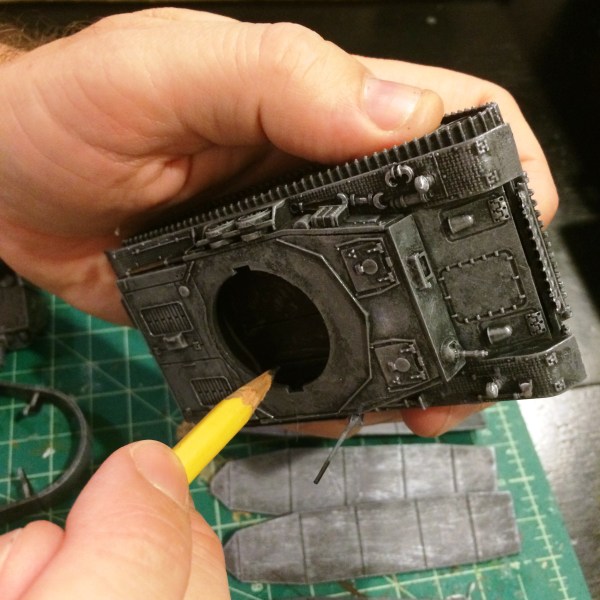
Rubbing pencil graphite where the chassis meets the turret to ensure easy rotation
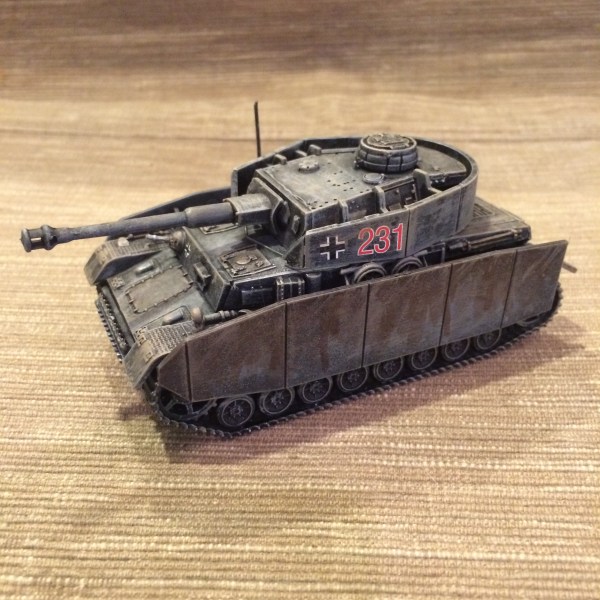
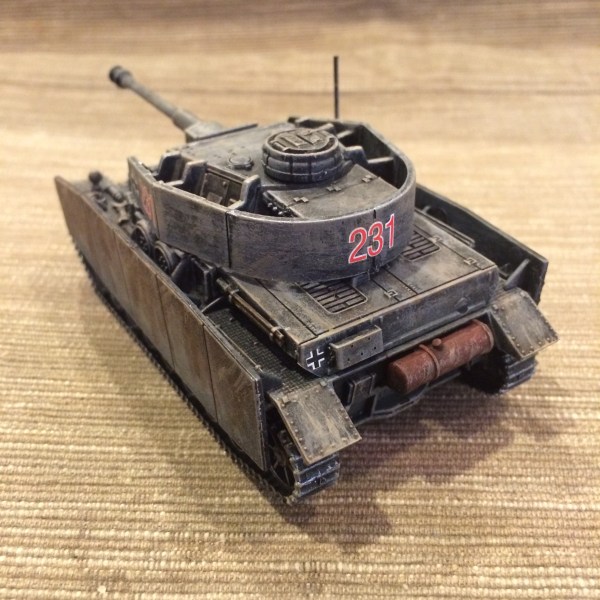
Aside from the drying time between steps, my tanks were finished in just a couple hours work over the course of a few week nights. I really love how slick the Rubicon Models kits assemble, paint up and look when completed. More views of the finished models are below, but I can’t wait to get these on the table at Metropolitan Wargamers in Brooklyn, NY and see how they perform in pushing back the Allies.