I’ve had a lot of great feedback from the past year of posting after action reports for Flames of War games. Fellow players have been universally complimentary on the layout of my terrain used in my scenarios. With that, I’m increasingly being asked questions about the make of my models, where I buy them and how I achieve some of the other rerrain modelled in my games.
Modelling terrain, like any aspect of miniatures wargaming, has to take into account the three main factors of skill, budget and time commitment. I find myself somewhere in the middle of all three categories, and I feel my level of personal investment in my terrain modelling is reflective of this. One of the many benefits of belonging to a club like Metropolitan Wargamers in Brooklyn, NY is the opportunity to share in our massed collections of terrain and create some pretty impressive-looking games.
As a longtime miniatures hobbyist with a passion for scale modelling, I wanted to share a quick round up of the current state of my 15mm terrain collection I use for Flames of War. To date, my FOW gaming has focused on the European Western Front, so the vast majority of my terrain focuses on buildings and other features appropriate for France, the Low Countries and Western Germany. All that said, let’s take a European tour in miniature…

Any small town or rural tabletop Western European battlefield needs buildings — barns, houses, shops and cafes — not only for visual appeal, but to provide covering positions and even possible objectives during game play. FOW offers a fine line of pre-painted buildings but I find them to be a bit on the expensive side and toy-like. I also like to paint, so breaking up modelling little tanks and soldiers with some miniature real estate projects makes for a nice change to hobbying routine.
Last year I discovered the cast resin terrain produced by Mark IV Miniatures. As a second-generation wargamer, the owner of Mark IV obviously invests a great deal of care to his Western and Eastern front models. All the buildings come with removable multiple stories and roofs, making their use in FOW gaming a breeze. I just acquired my second set of models from Mark IV (ordered from Musket Miniatures), giving me a number of houses, barns and shops which I set close together as a village center or spread out for use in the countryside. For my towns, I also have a set of Mark IV walls, a cobblestone courtyard and nifty fountain monument model. At about $18-24 per model, Mark IV’s offerings are my hands-down favorite in miniature buildings.

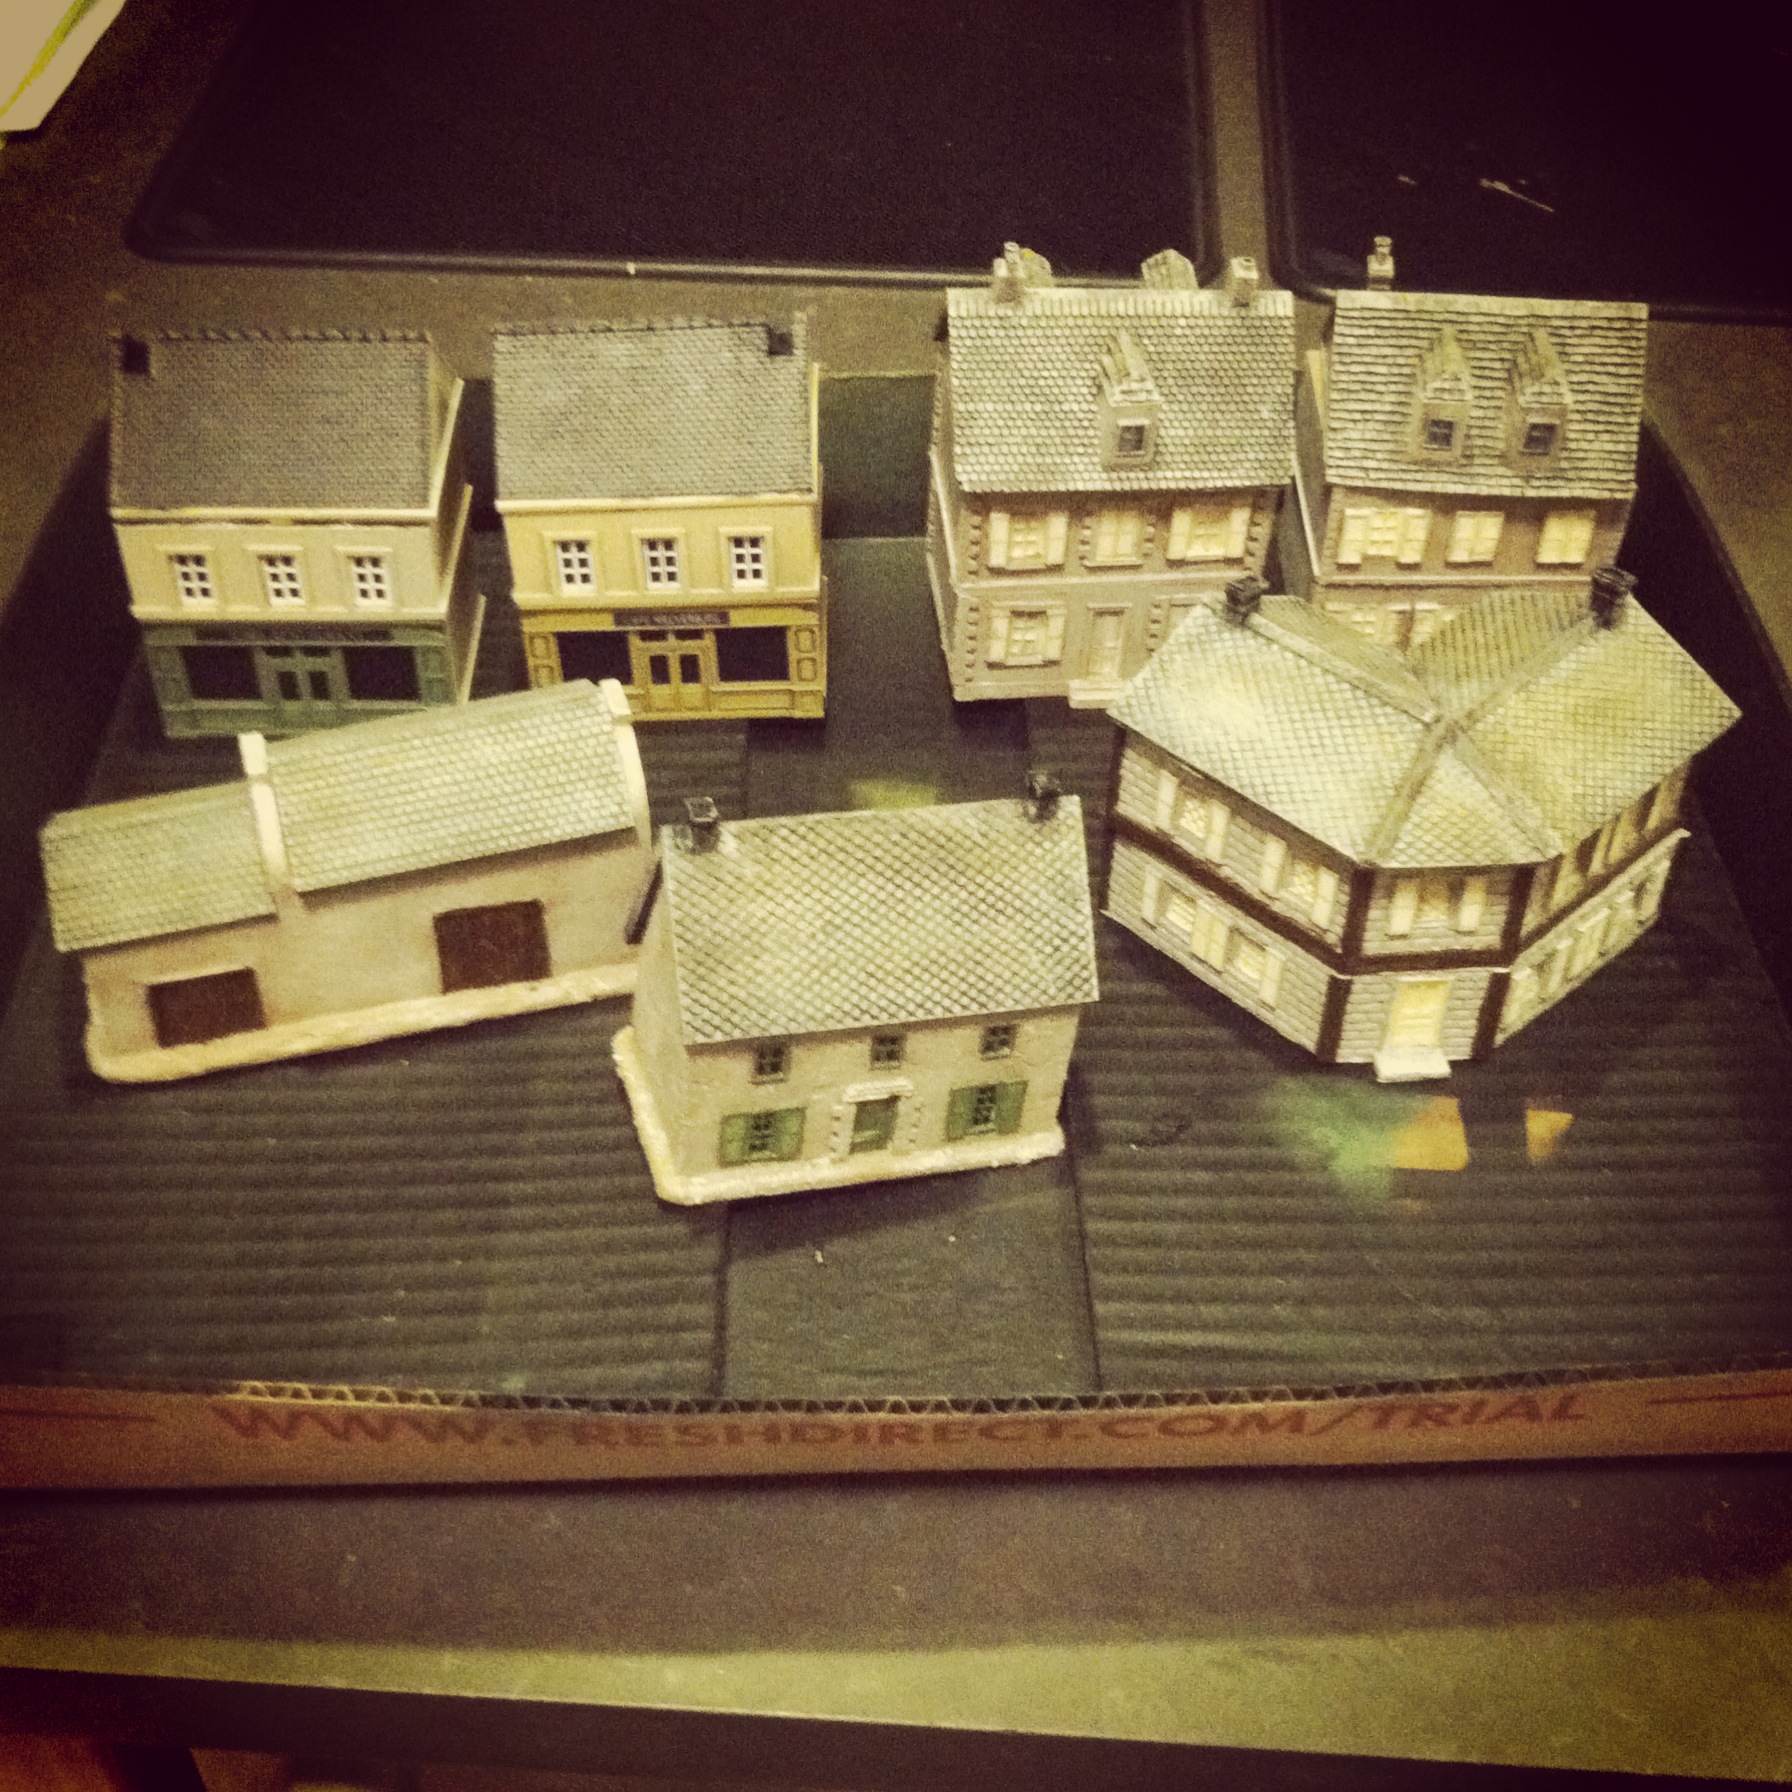
With so many Mark IV models on my shelf, I wanted to add in a few more commercial structures representing stores or cafes common to European towns small and large. The excellent Model Dads UK blog recently reviewed the 15mm town shop models from Games of War. Based on a shop in Caen, the GOW shops come in three different pre-painted varieties for about $24 each shipped from the UK.
The GOW buildings scale nicely with my Mark IV models, and just a little work weathering the existing paint blends them nicely into the streetscape. I also added some signage and posters to the exterior walls, bringing a bit more sense of liveliness to the townscape.
 Painting Mark IV and Games of War buildings

The first 15mm buildings I ever bought were from JR Miniatures. An old standby in the hobby, JR offers a wide variety of scales and themes for eveything from Ancients to Historicals to Sci Fi. I have a small, roughly-cast farmhouse and outbuildings from JR which I use as area terrain. Overall, I find JR’s buildings to be a bit less crisp in detail than those from Mark IV and GOW, and many buildings don’t open for placement of figures.
Last year, I picked up a basic JR European stone bridge at a convention for about $14. The simplicity of the model made it easy to paint with a few stone-colored dry-brushed layers of paint. The model stretches over just about every river running through my gaming tables, and I may very well pick up another bridge in a different design from them soon.

On the higher end of the terrain options, I’ve always had a thing for the Miniature Building Authority. MBA’s extensive 15mm European line comes pre-painted with lift-off sections to place units in the buildings or model them as destroyed structures. They also carry some rather unique structures and large set-pieces like a multiple-model farm complex or full train depot set-piece.
My brother and his gaming friends have been collecting MBA buildings for years, buying a few buildings a year and sharing in their collection. Taking their gradual approach, I recently started small and ordered a couple of their shops and a large, beautiful hotel model for my collection. Over time, I hope to add more from MBA and grow toward larger, more urban scenarios.

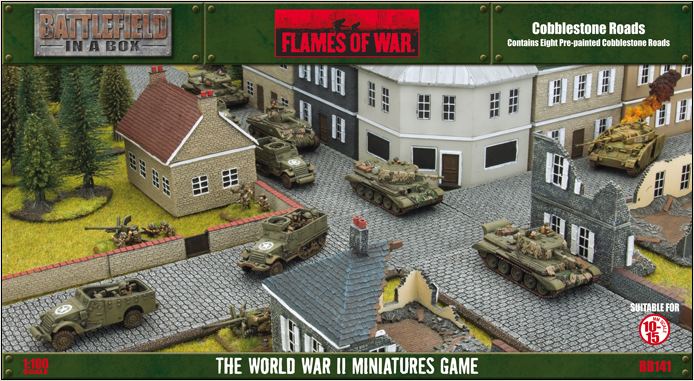
Laying out a gaming table almost always necessitates having roads. I bought some rubberized roads years ago at a convention which suit rural unpaved areas well. A small town or rural setting requires having paved streets, and cobblestones provide a suitable road surface for Western Europe at the time of WWII.
I experimented with stone-textured papers and looked at rubberized stone streets, but none of them provided the depth or the solidity inherent in a stone road. Finally, I’ve bitten the bullet and invested in a set of the FOW cobblestone roads at a slight discount from a seller on eBay. With a total of more than 6-feet of pre-painted cast resin roads, the box has given me what I think to be plenty roadway for my tanks to rumble down.

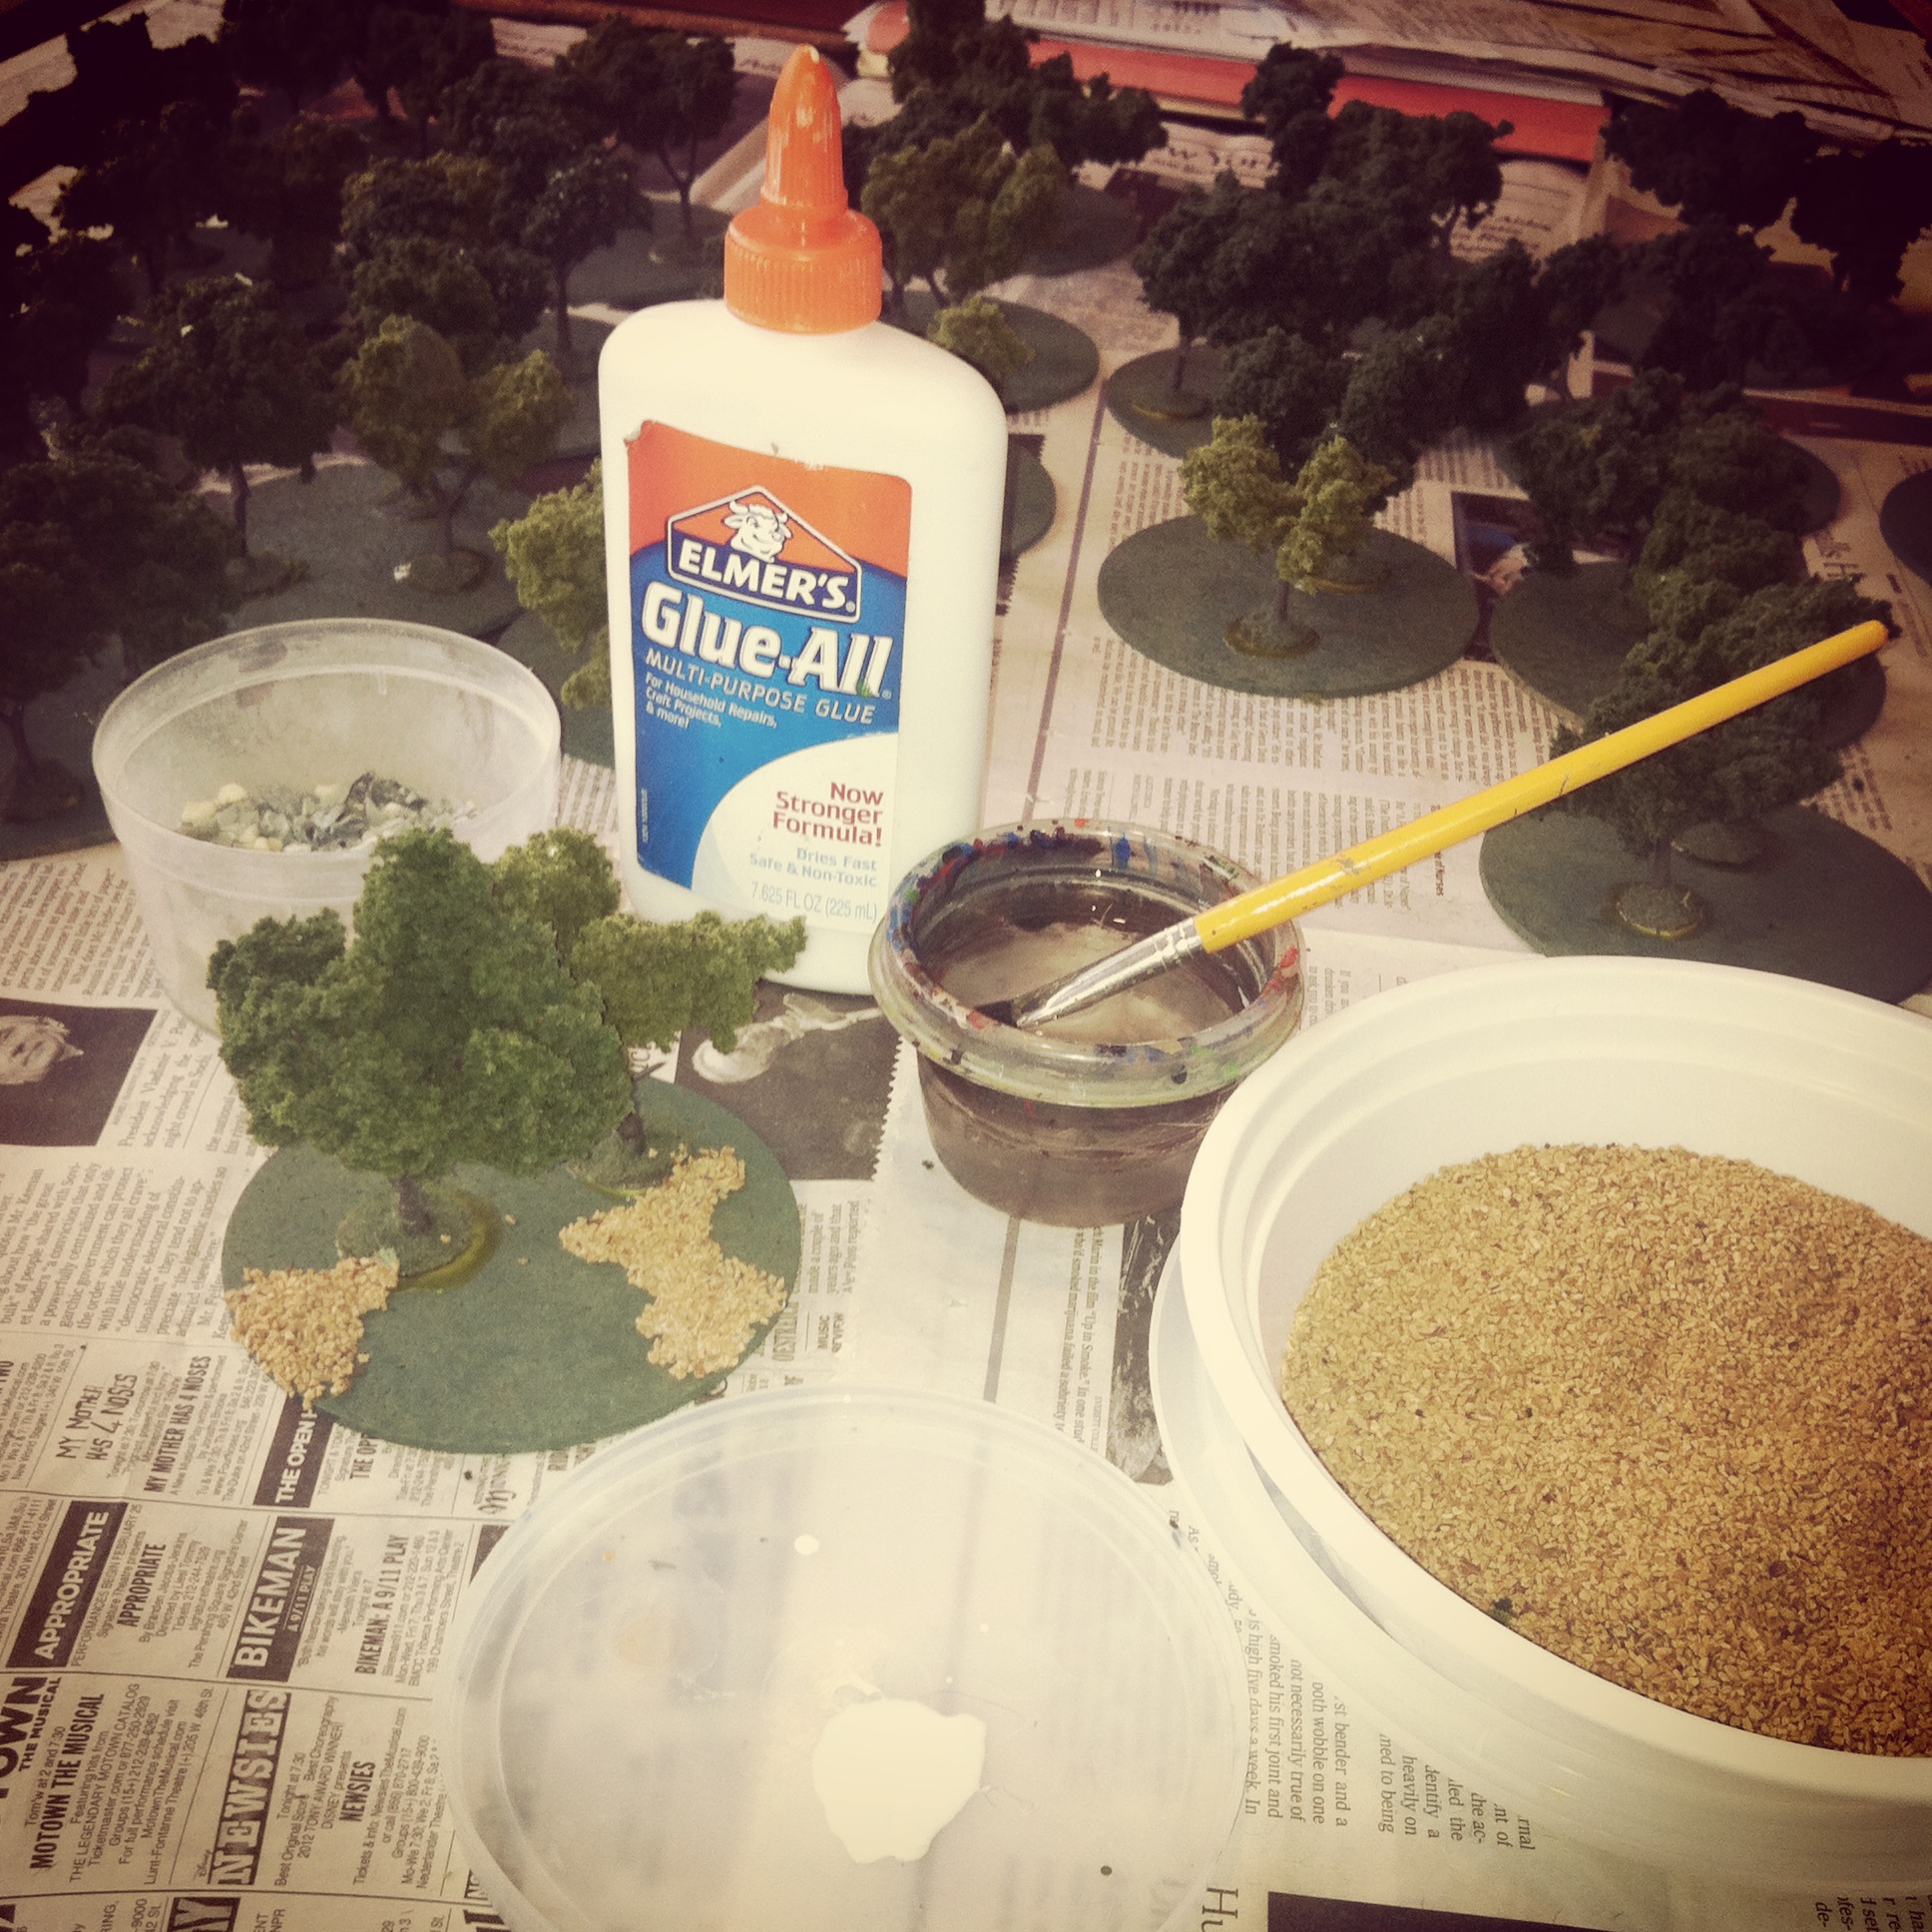
Trees are one of the standard needs for any miniatures wargaming table in any era. Several wargaming manufacturers offer boxes of pre-made tree stands and bases for around $35-40 for maybe a dozen trees. I choose to go the economic bulk route and make my own using trees, flocking and modelling details from Woodland Scenics. For about $75 I’ve been able to make more than enough to fill even the largest battlefields.
 Tree-making assembly line
Using two different sized trees from the WS Ready Made Trees Value Pack line, I first glued groups of 2-3 trees to cork coasters picked up at a craft store. On top of the spray-painted green coaster bases, I apply white glue and sprinkles of gravel of varying sizes in random places. After dry, another coat of glue to the remainder of the bases is then flocked with a basic green grass flocking. A few twigs and larger rocks glued here and there add some more depth to the little mini-scenes on each base.
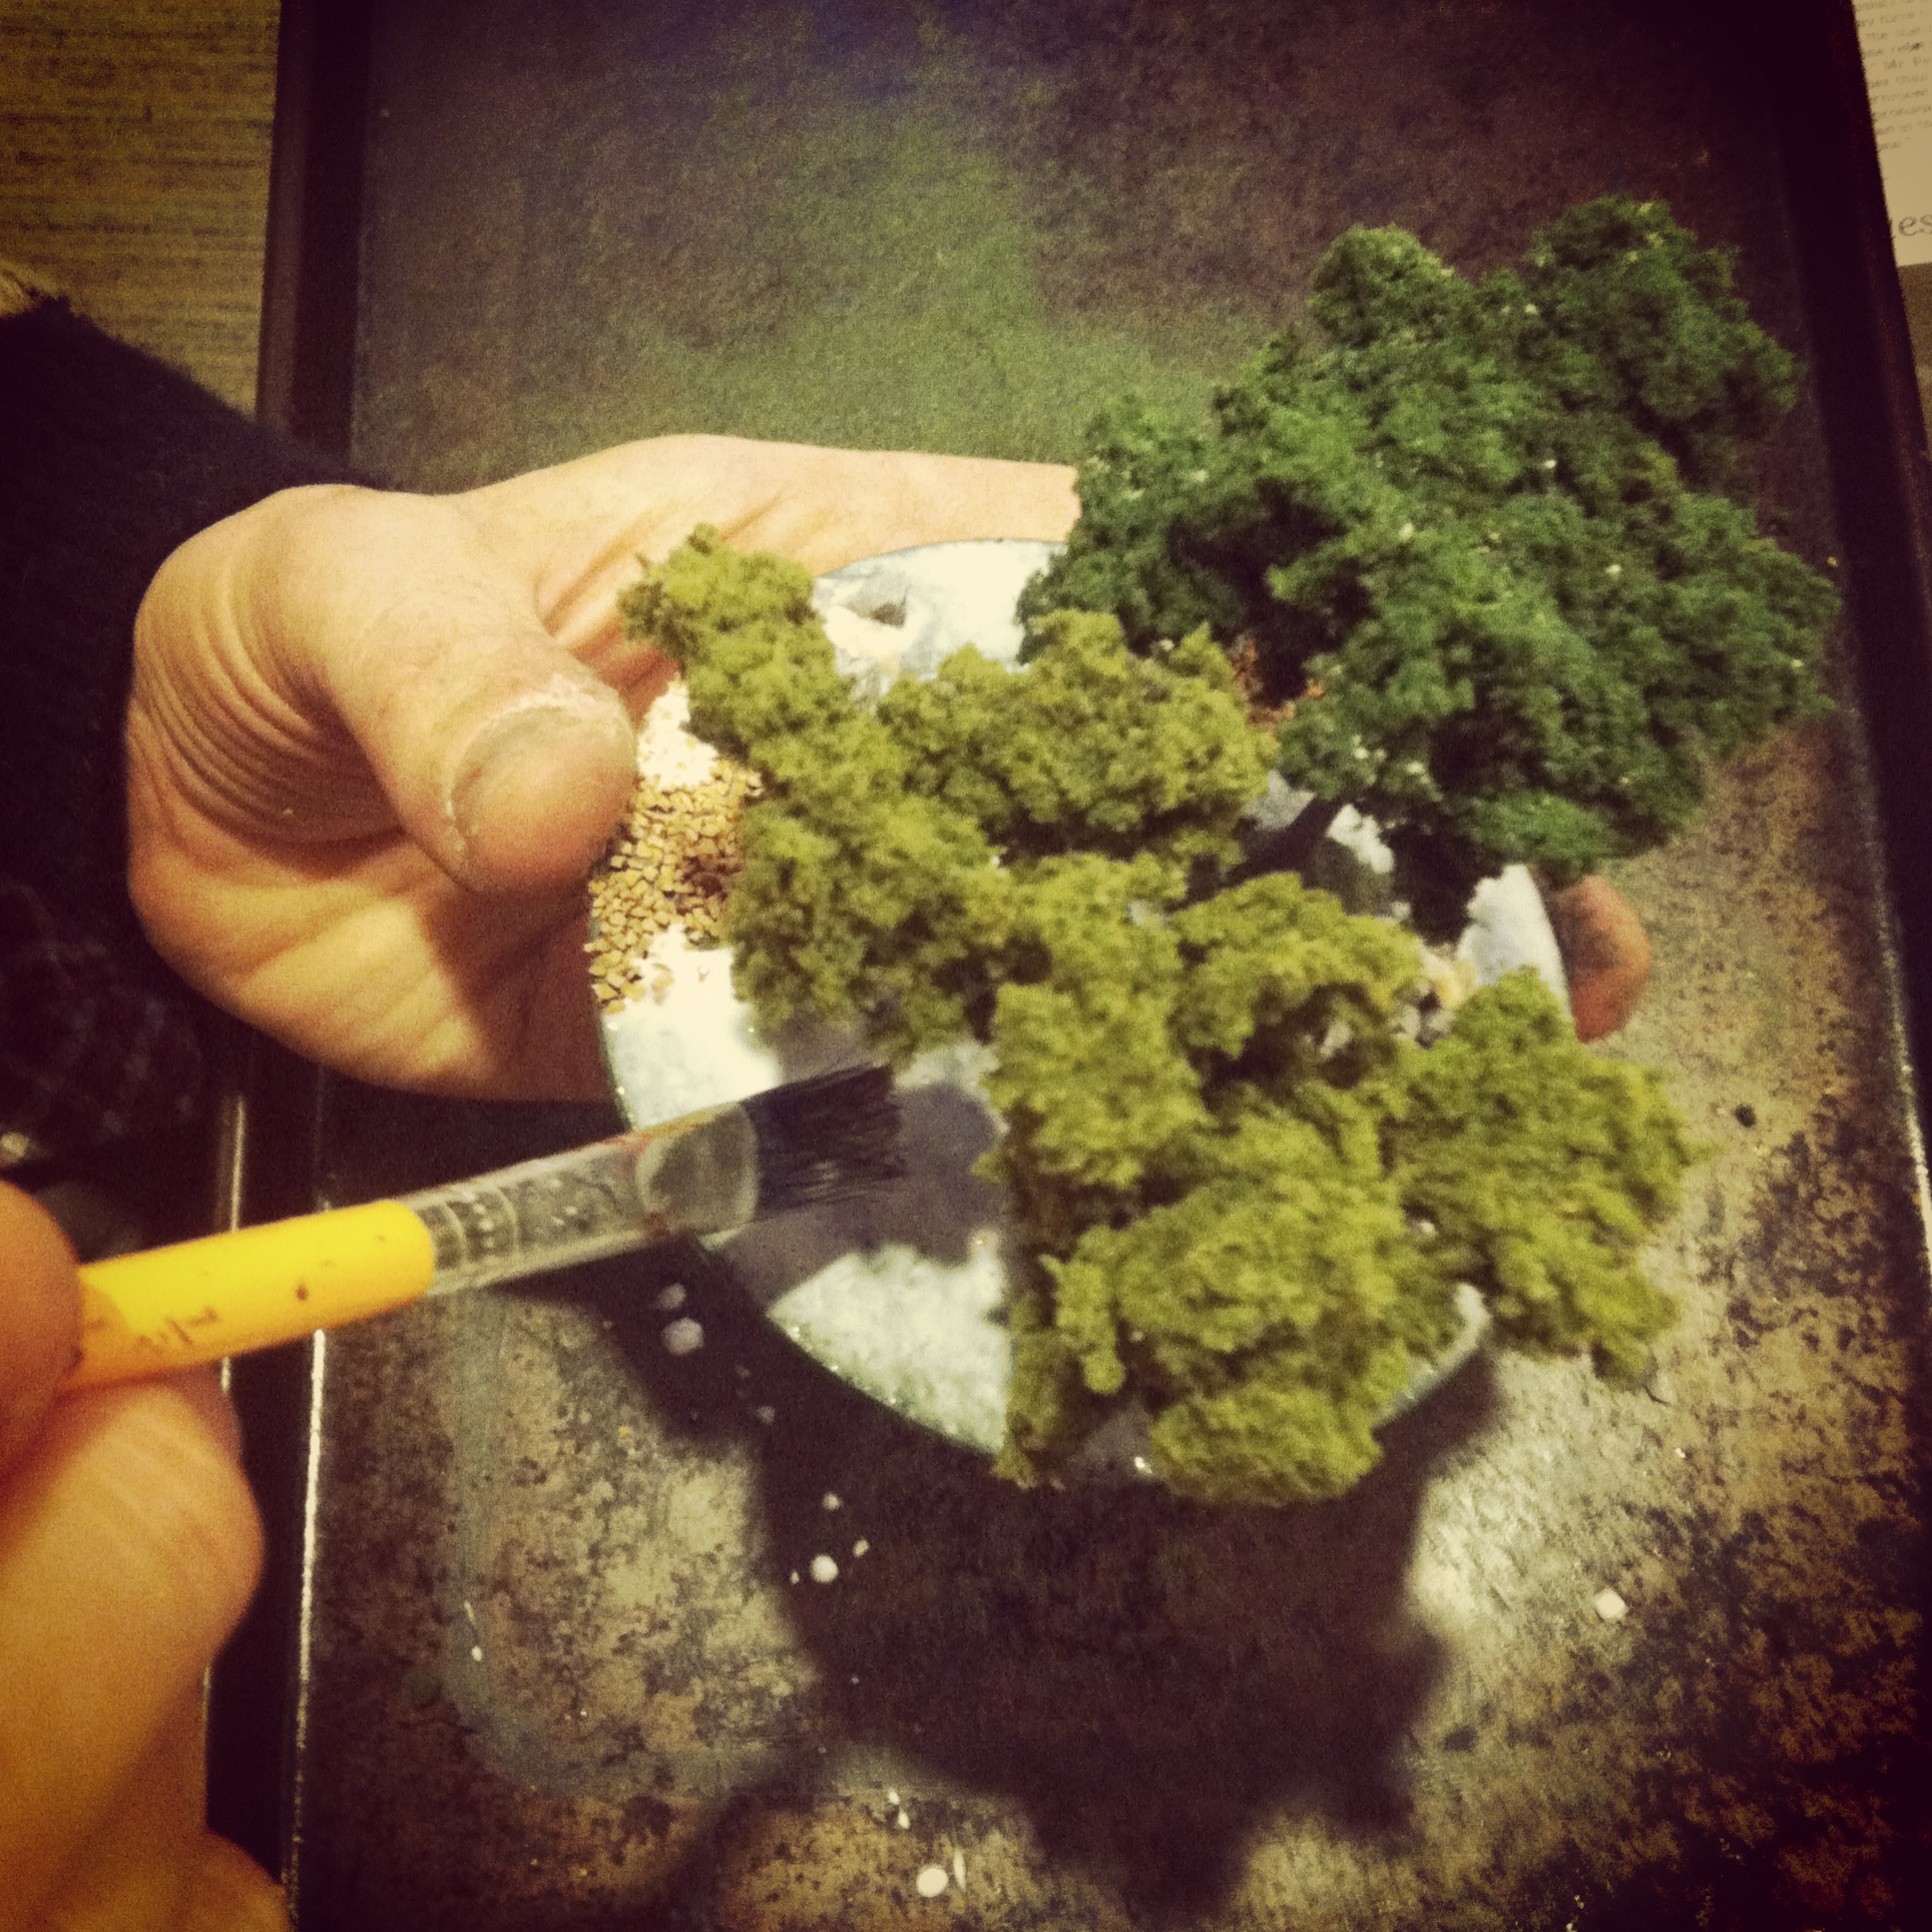
 Applying white glue to the tree bases before flocking
Bases are finished off with coarse clumped foliage to represent bushes and undergrowth. Mixing colors of the trees and foliage provides a realistic look. Gravel and larger rocks get hit with some brown washes to tone down the glaring brightness of the paths and piles on each base. All my work is done assembly line style in stages over an old baking sheet so excess flock and gravel shaken from the bases can go back in their containers to use again. When finished, I hit the bases with a matte spray to hold everything in place. In just a few hours time, my model forest on some 30 bases is ready to provide cover for any troops seeking concealment from enemy fire.
 Completed homemade trees
Putting it all together, a dozen buildings, cobblestone roads, a bridge and a bunch of my homemade trees gives me more than enough terrain to present rural and town landscapes in Western Europe. Adding in some river sections, dirt roads and fields from fellow club members completes the look of just about any inland battle scenario in Normandy. Check out the pictures below of the results, and keep an eye on my after action reports for future glimpses into my tiny tabletop fields of battle.
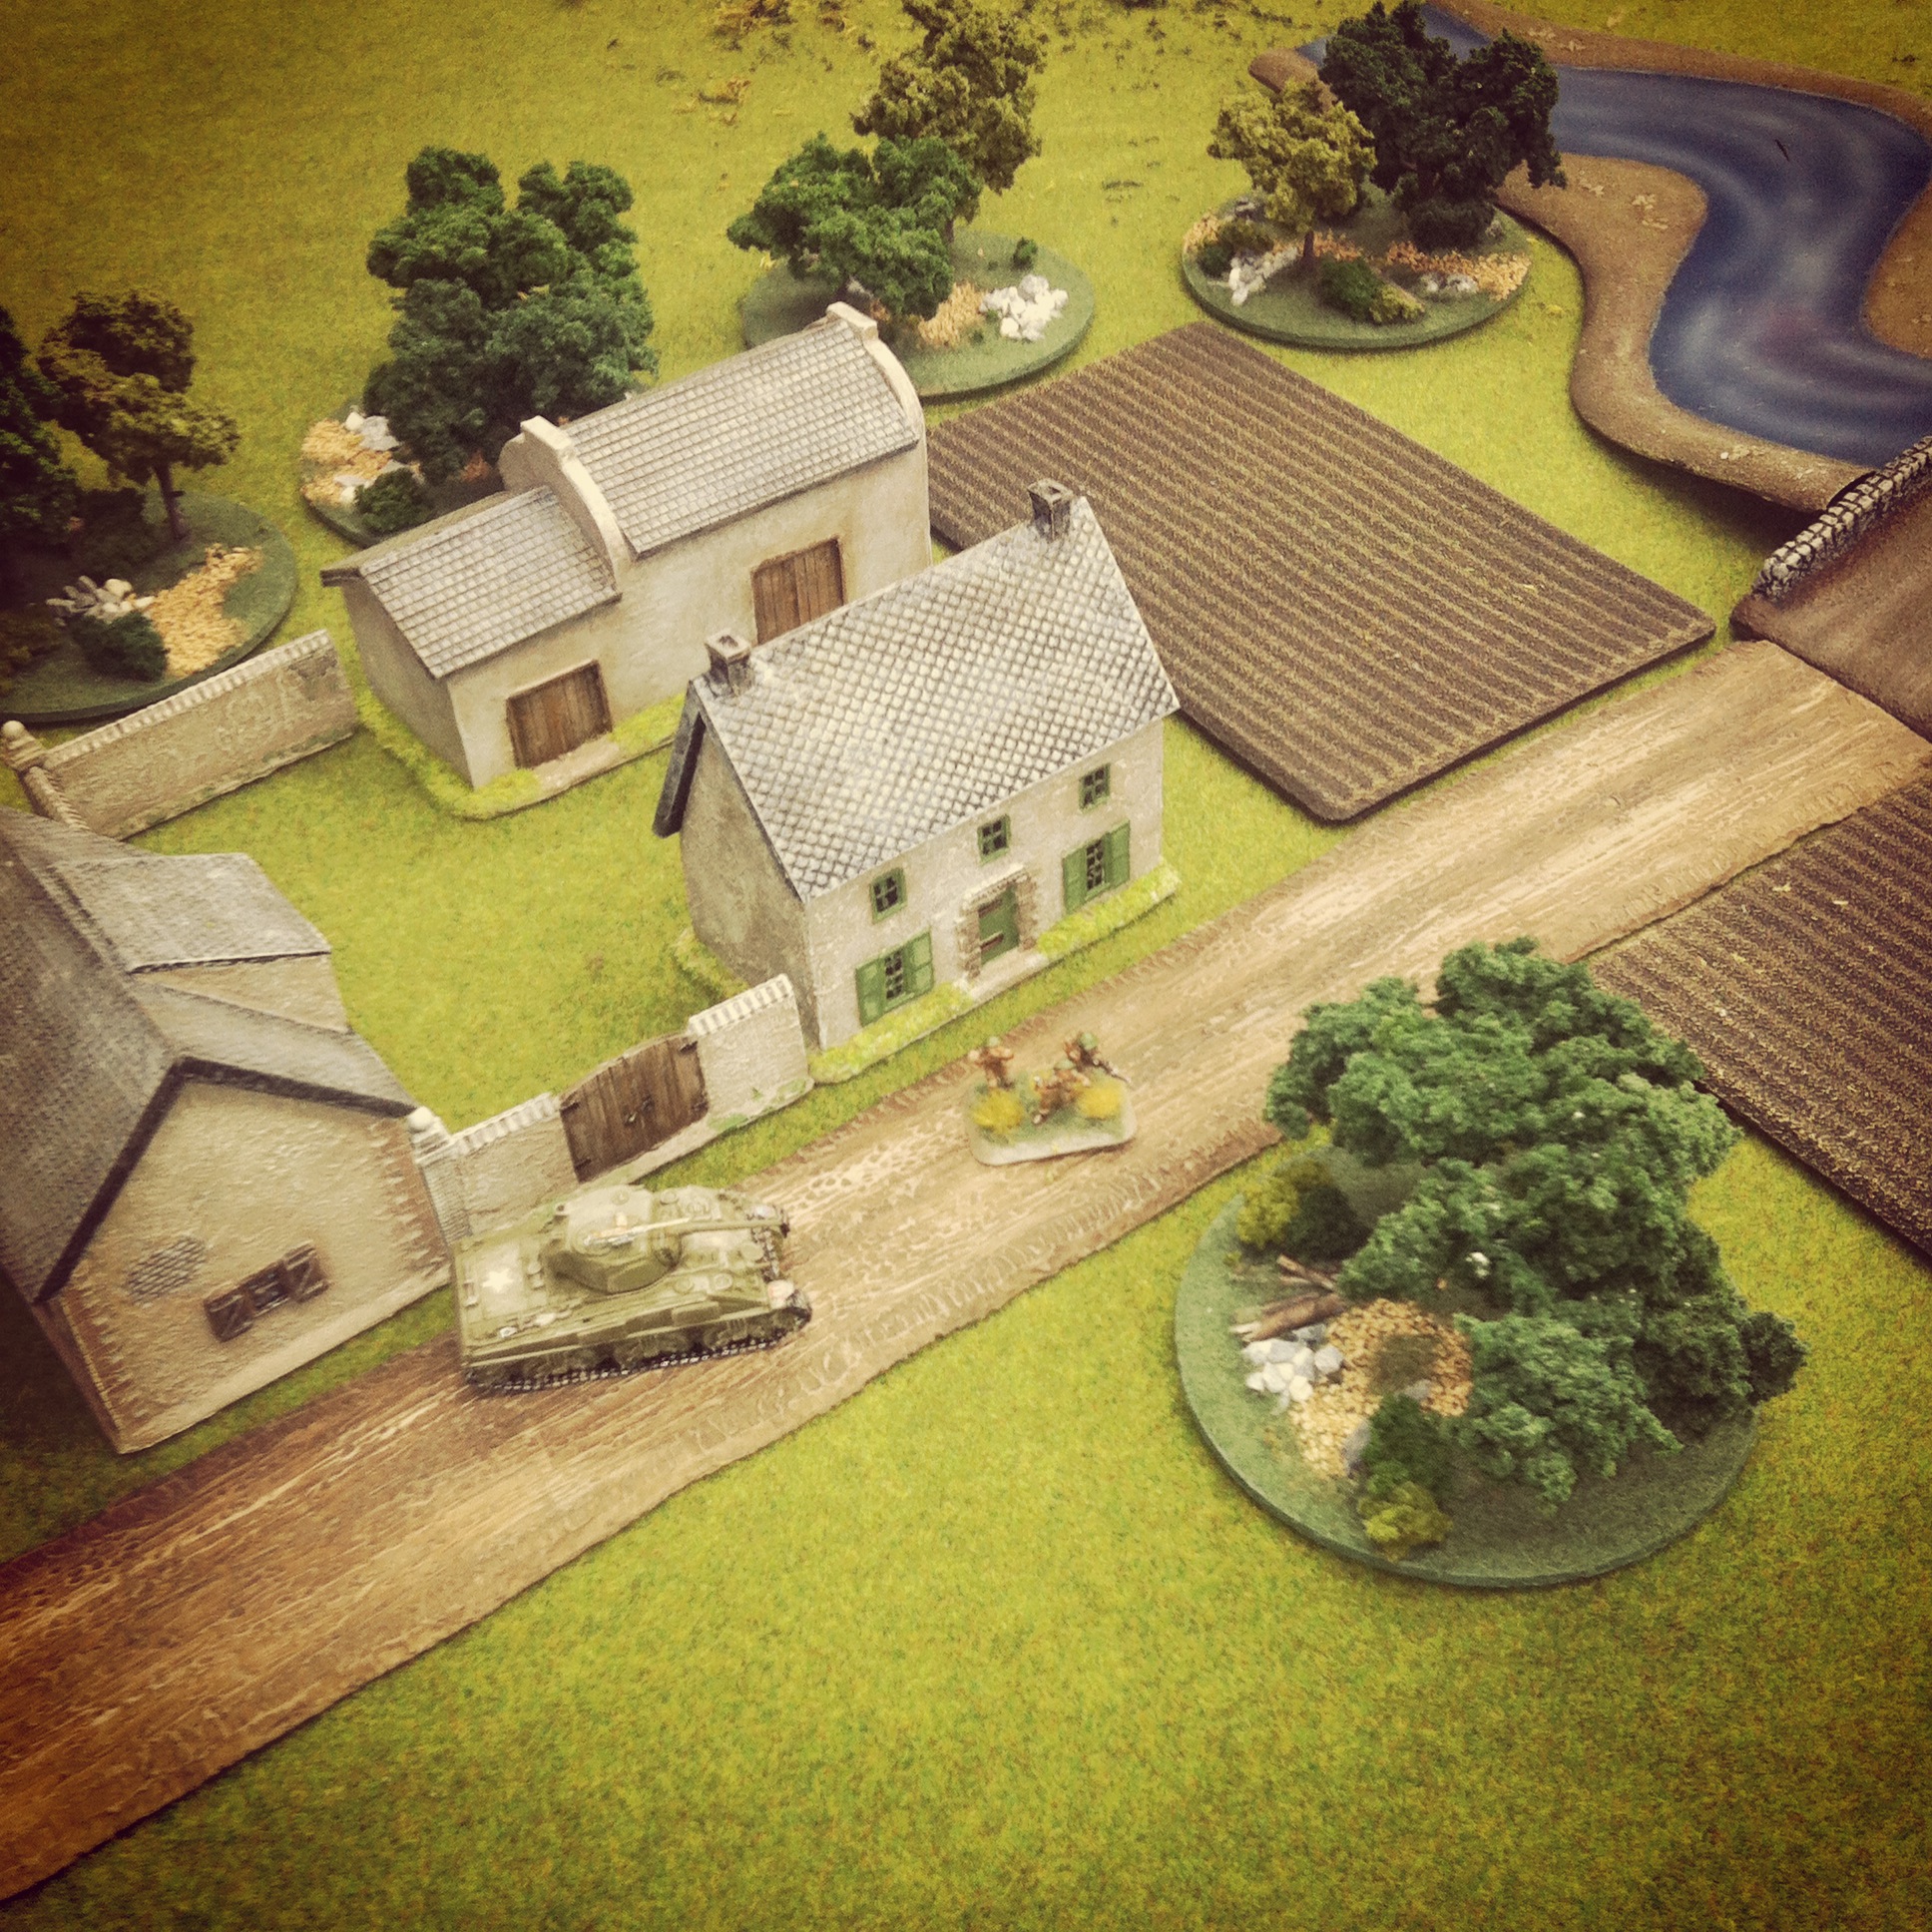
 Farm complex with Mark IV buildings and walls, JR Mini bridge and FOW fields and river
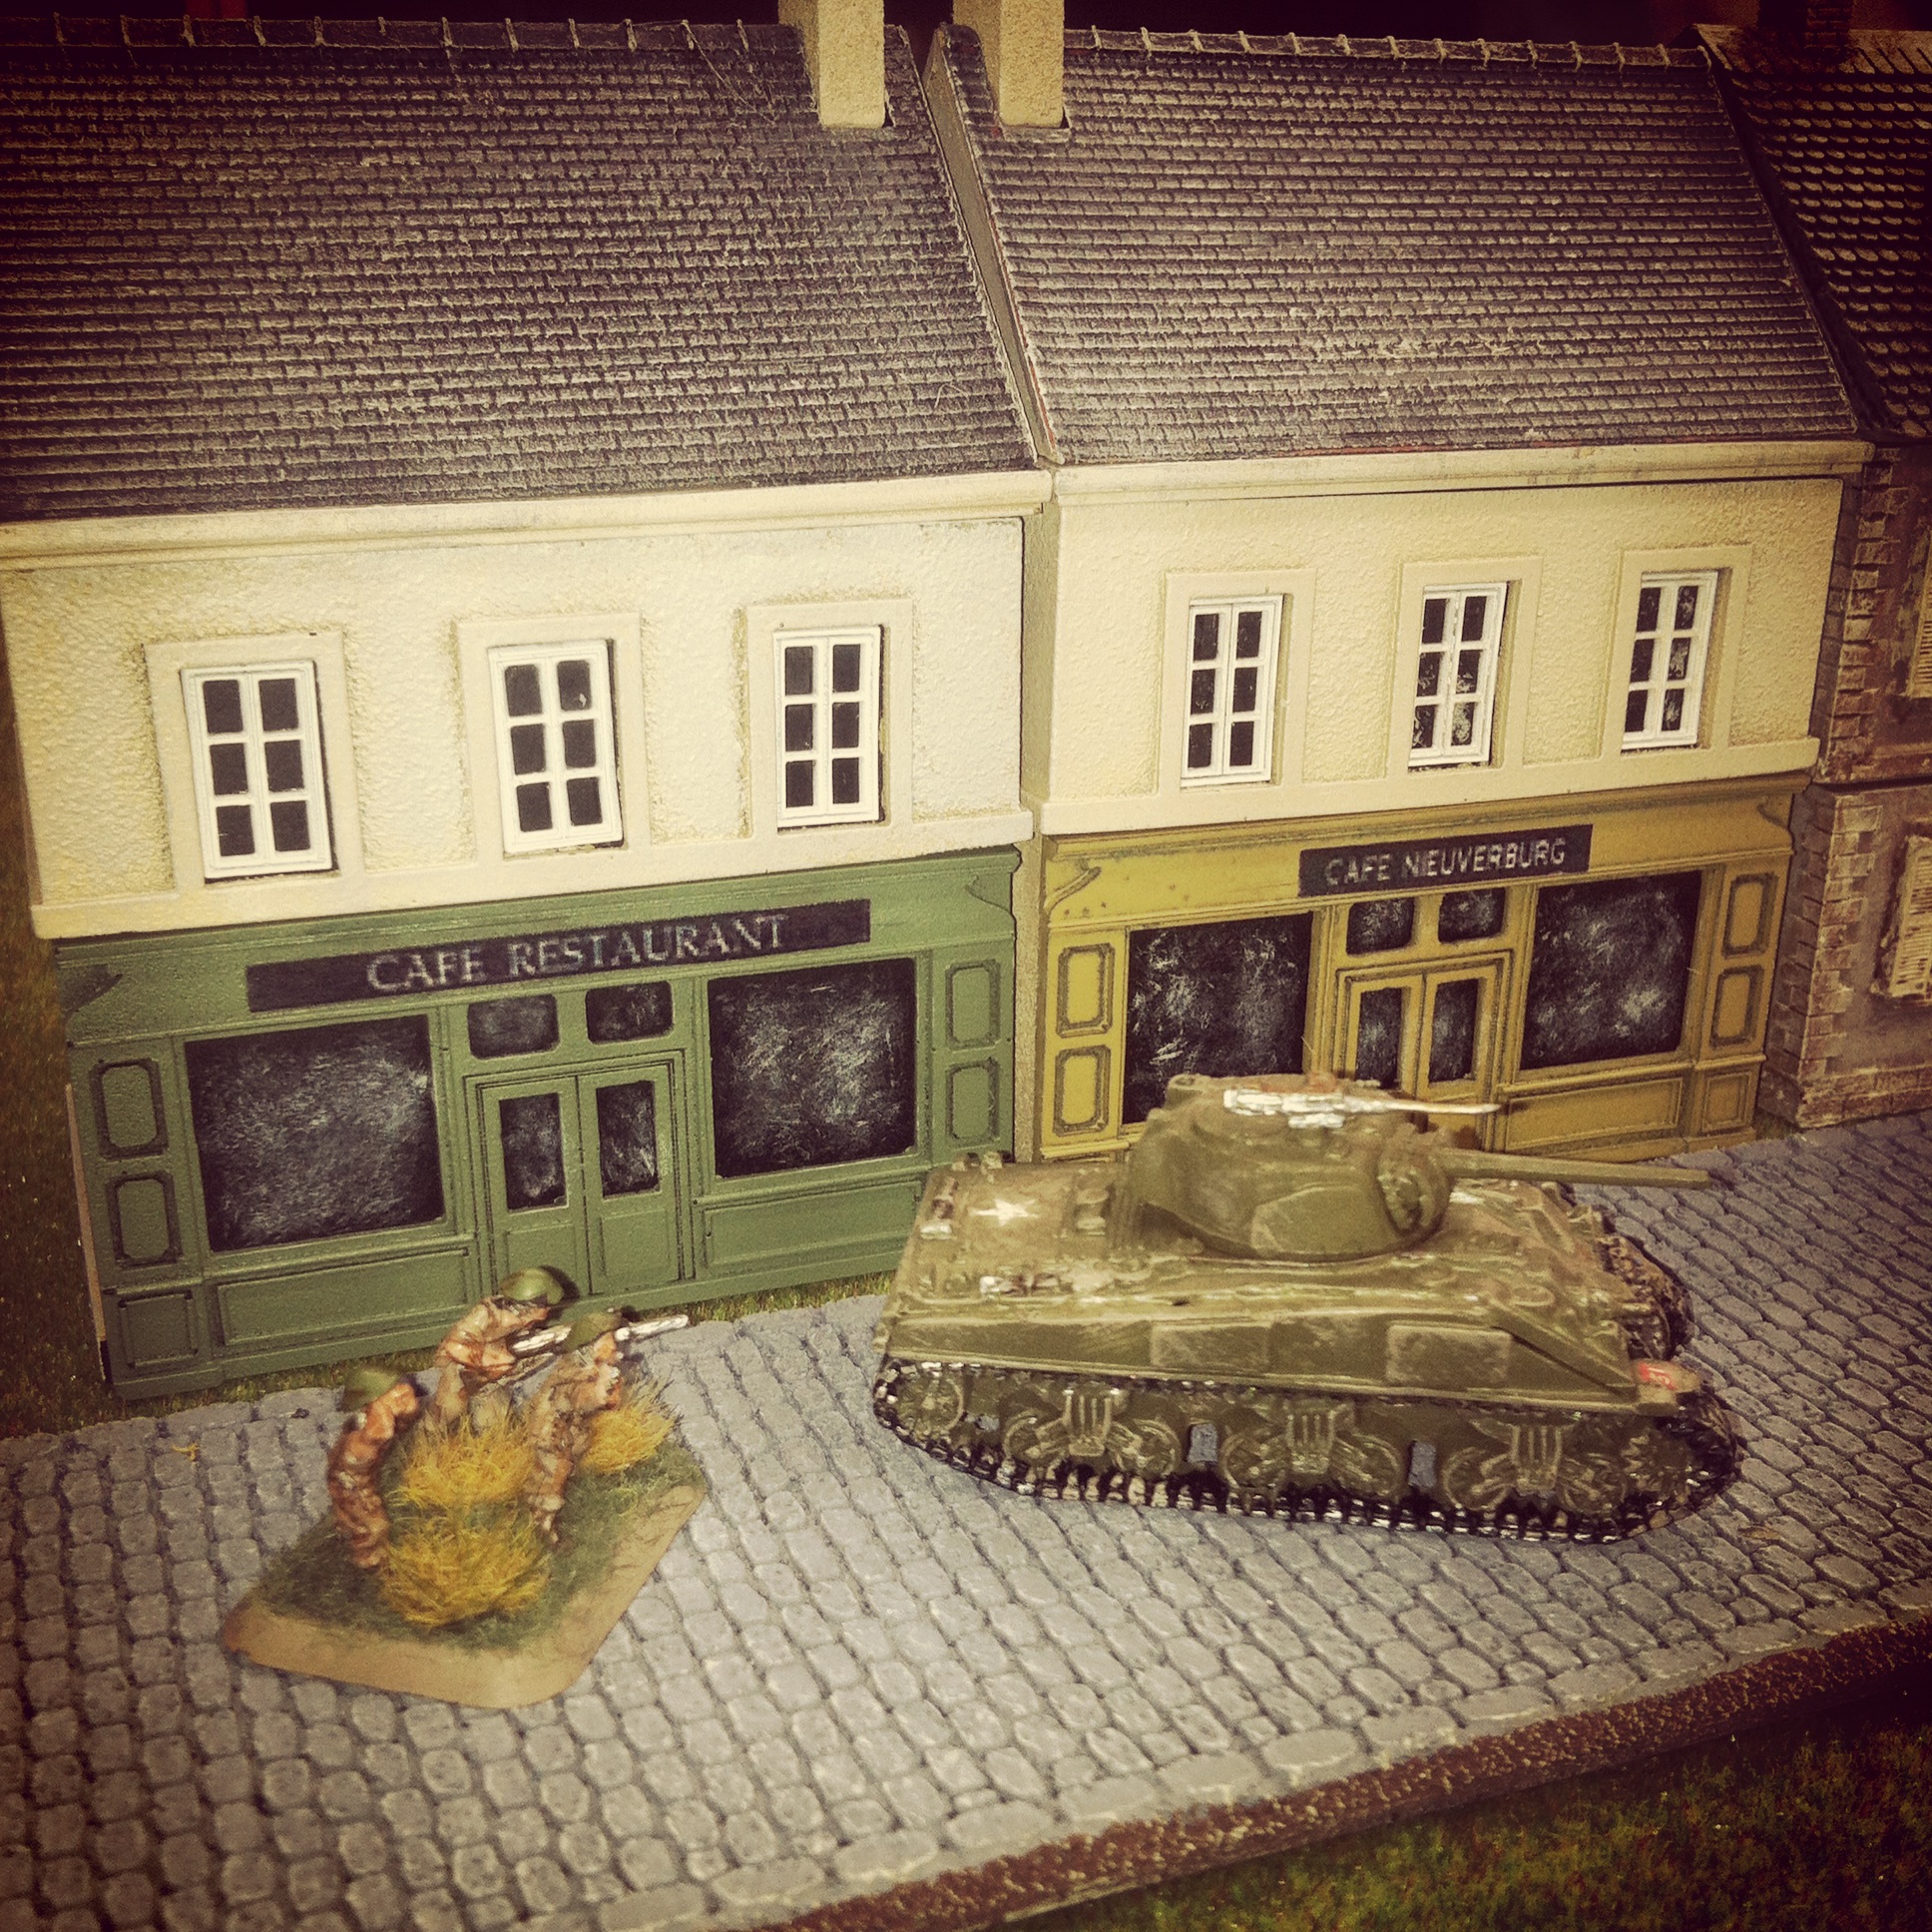
 Games of War shops with added weathering and signage
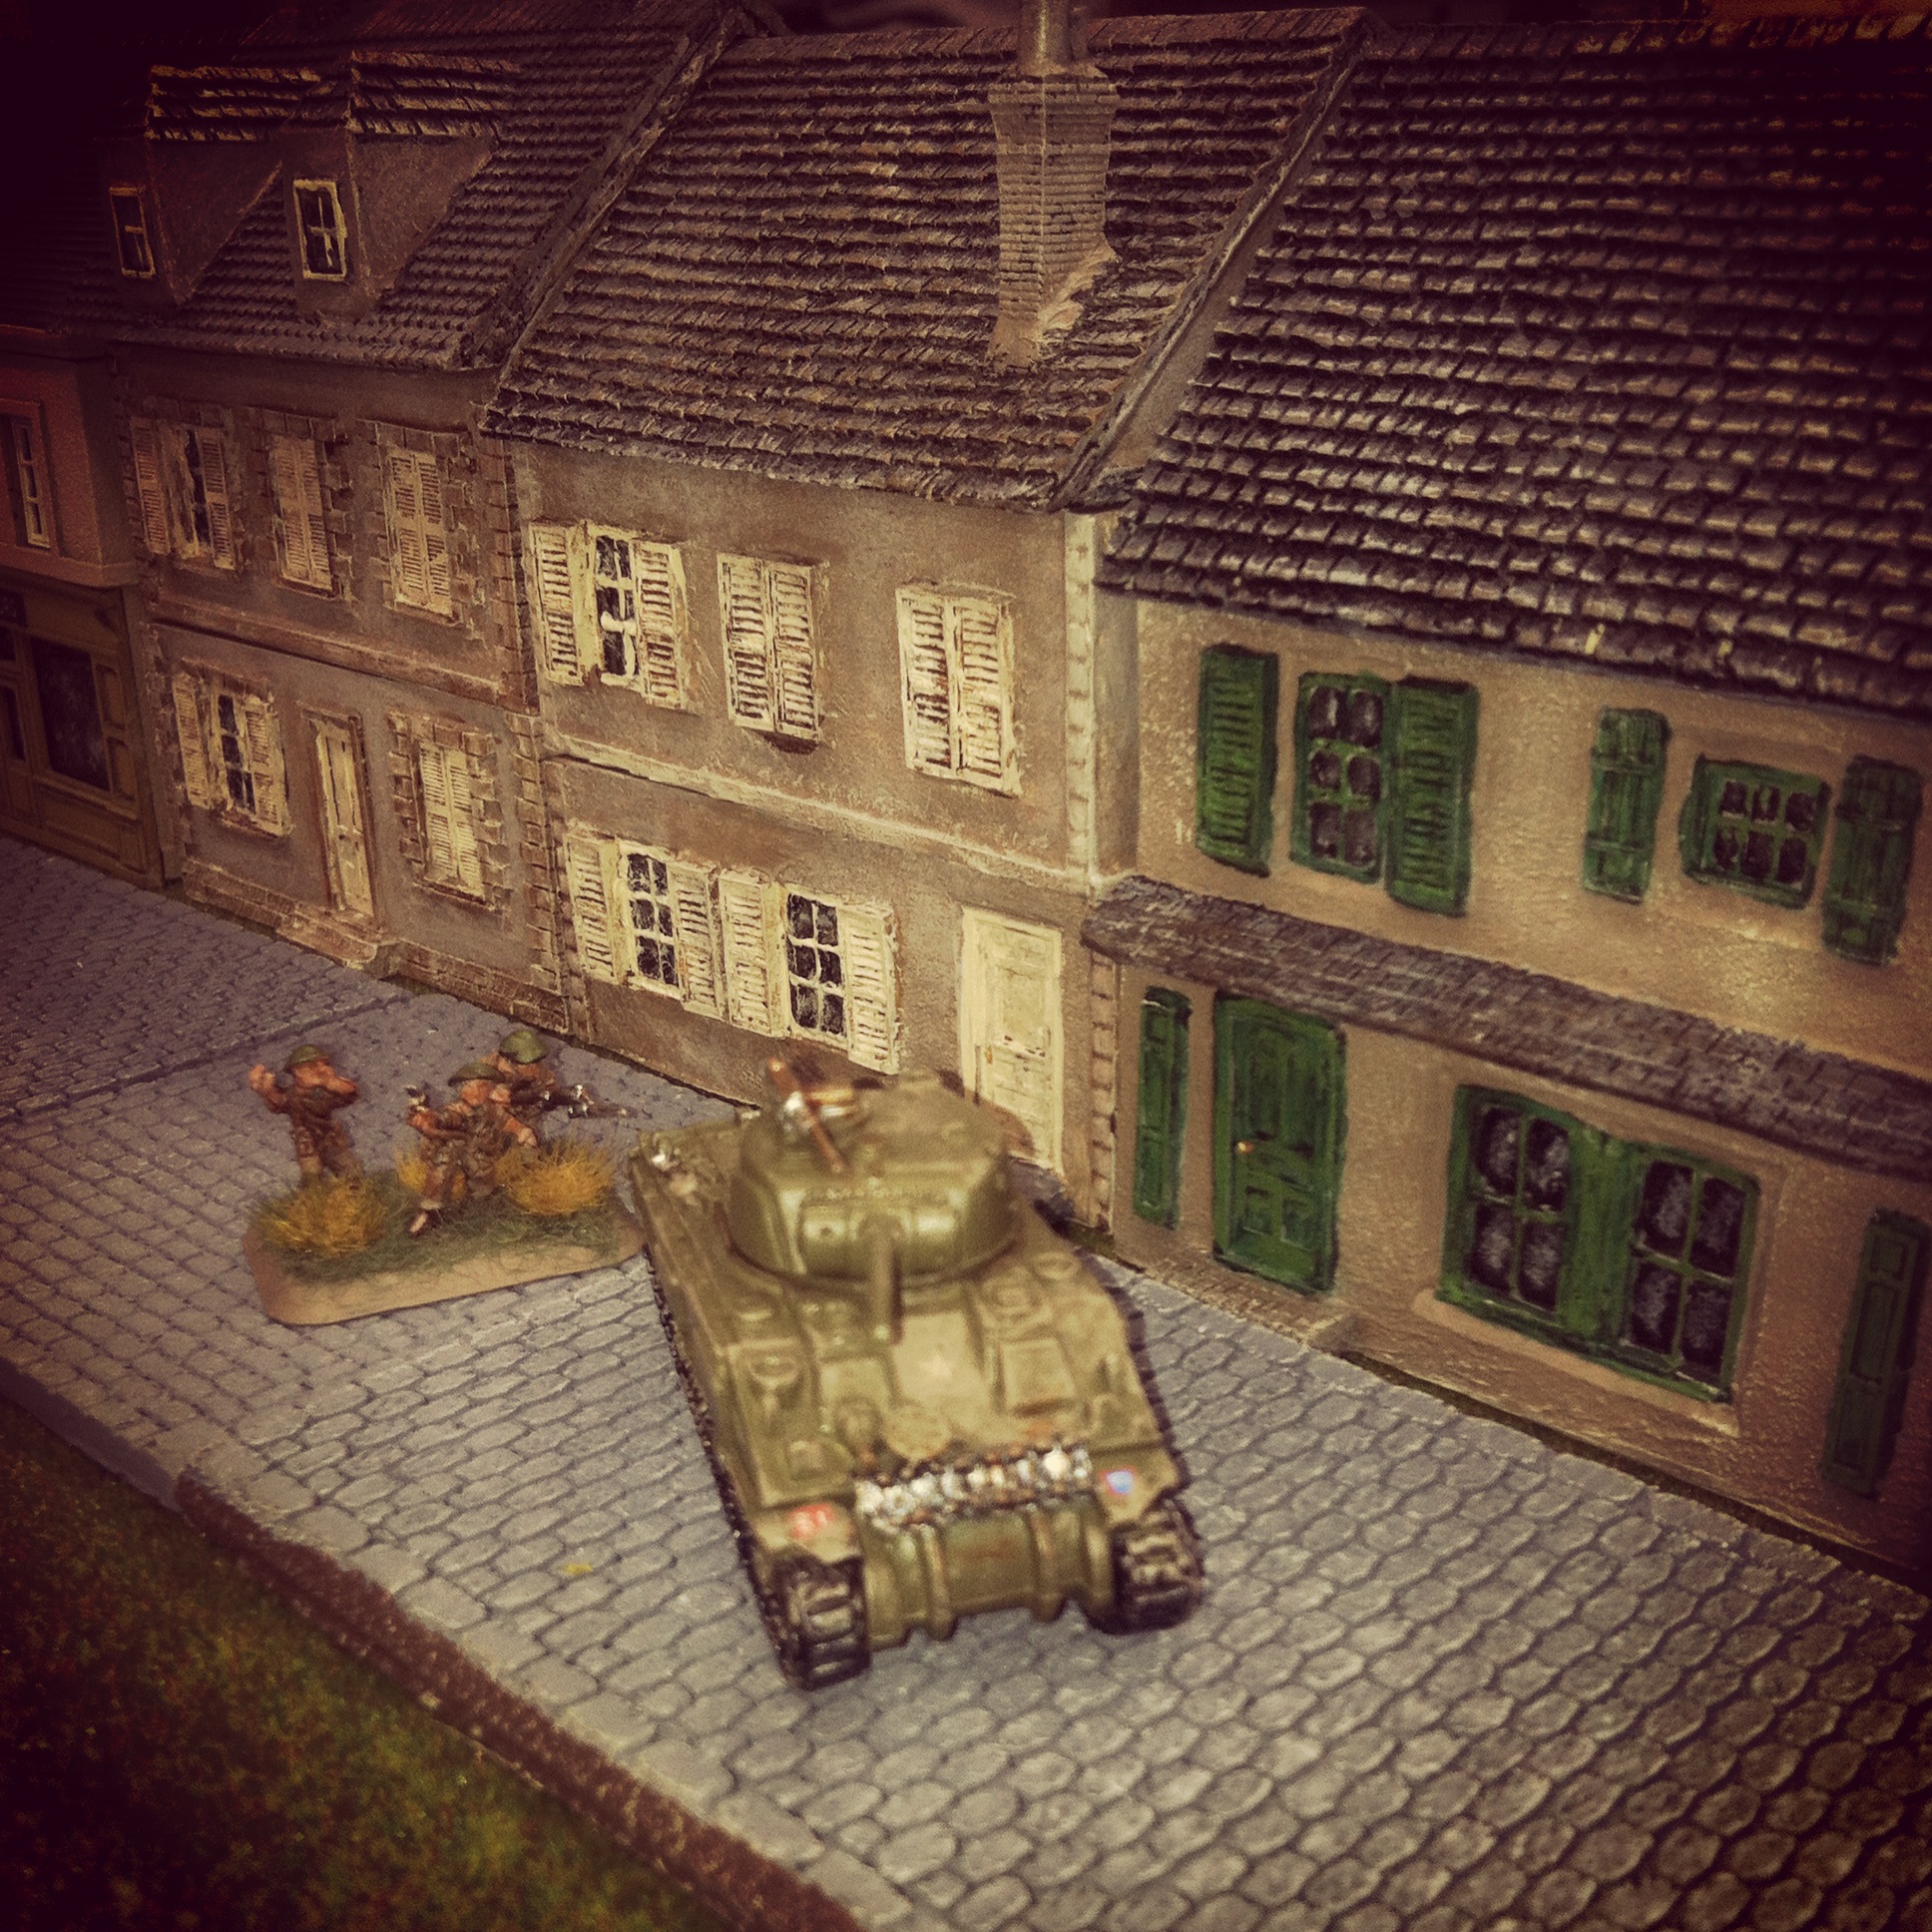
 Row of Mark IV buildings
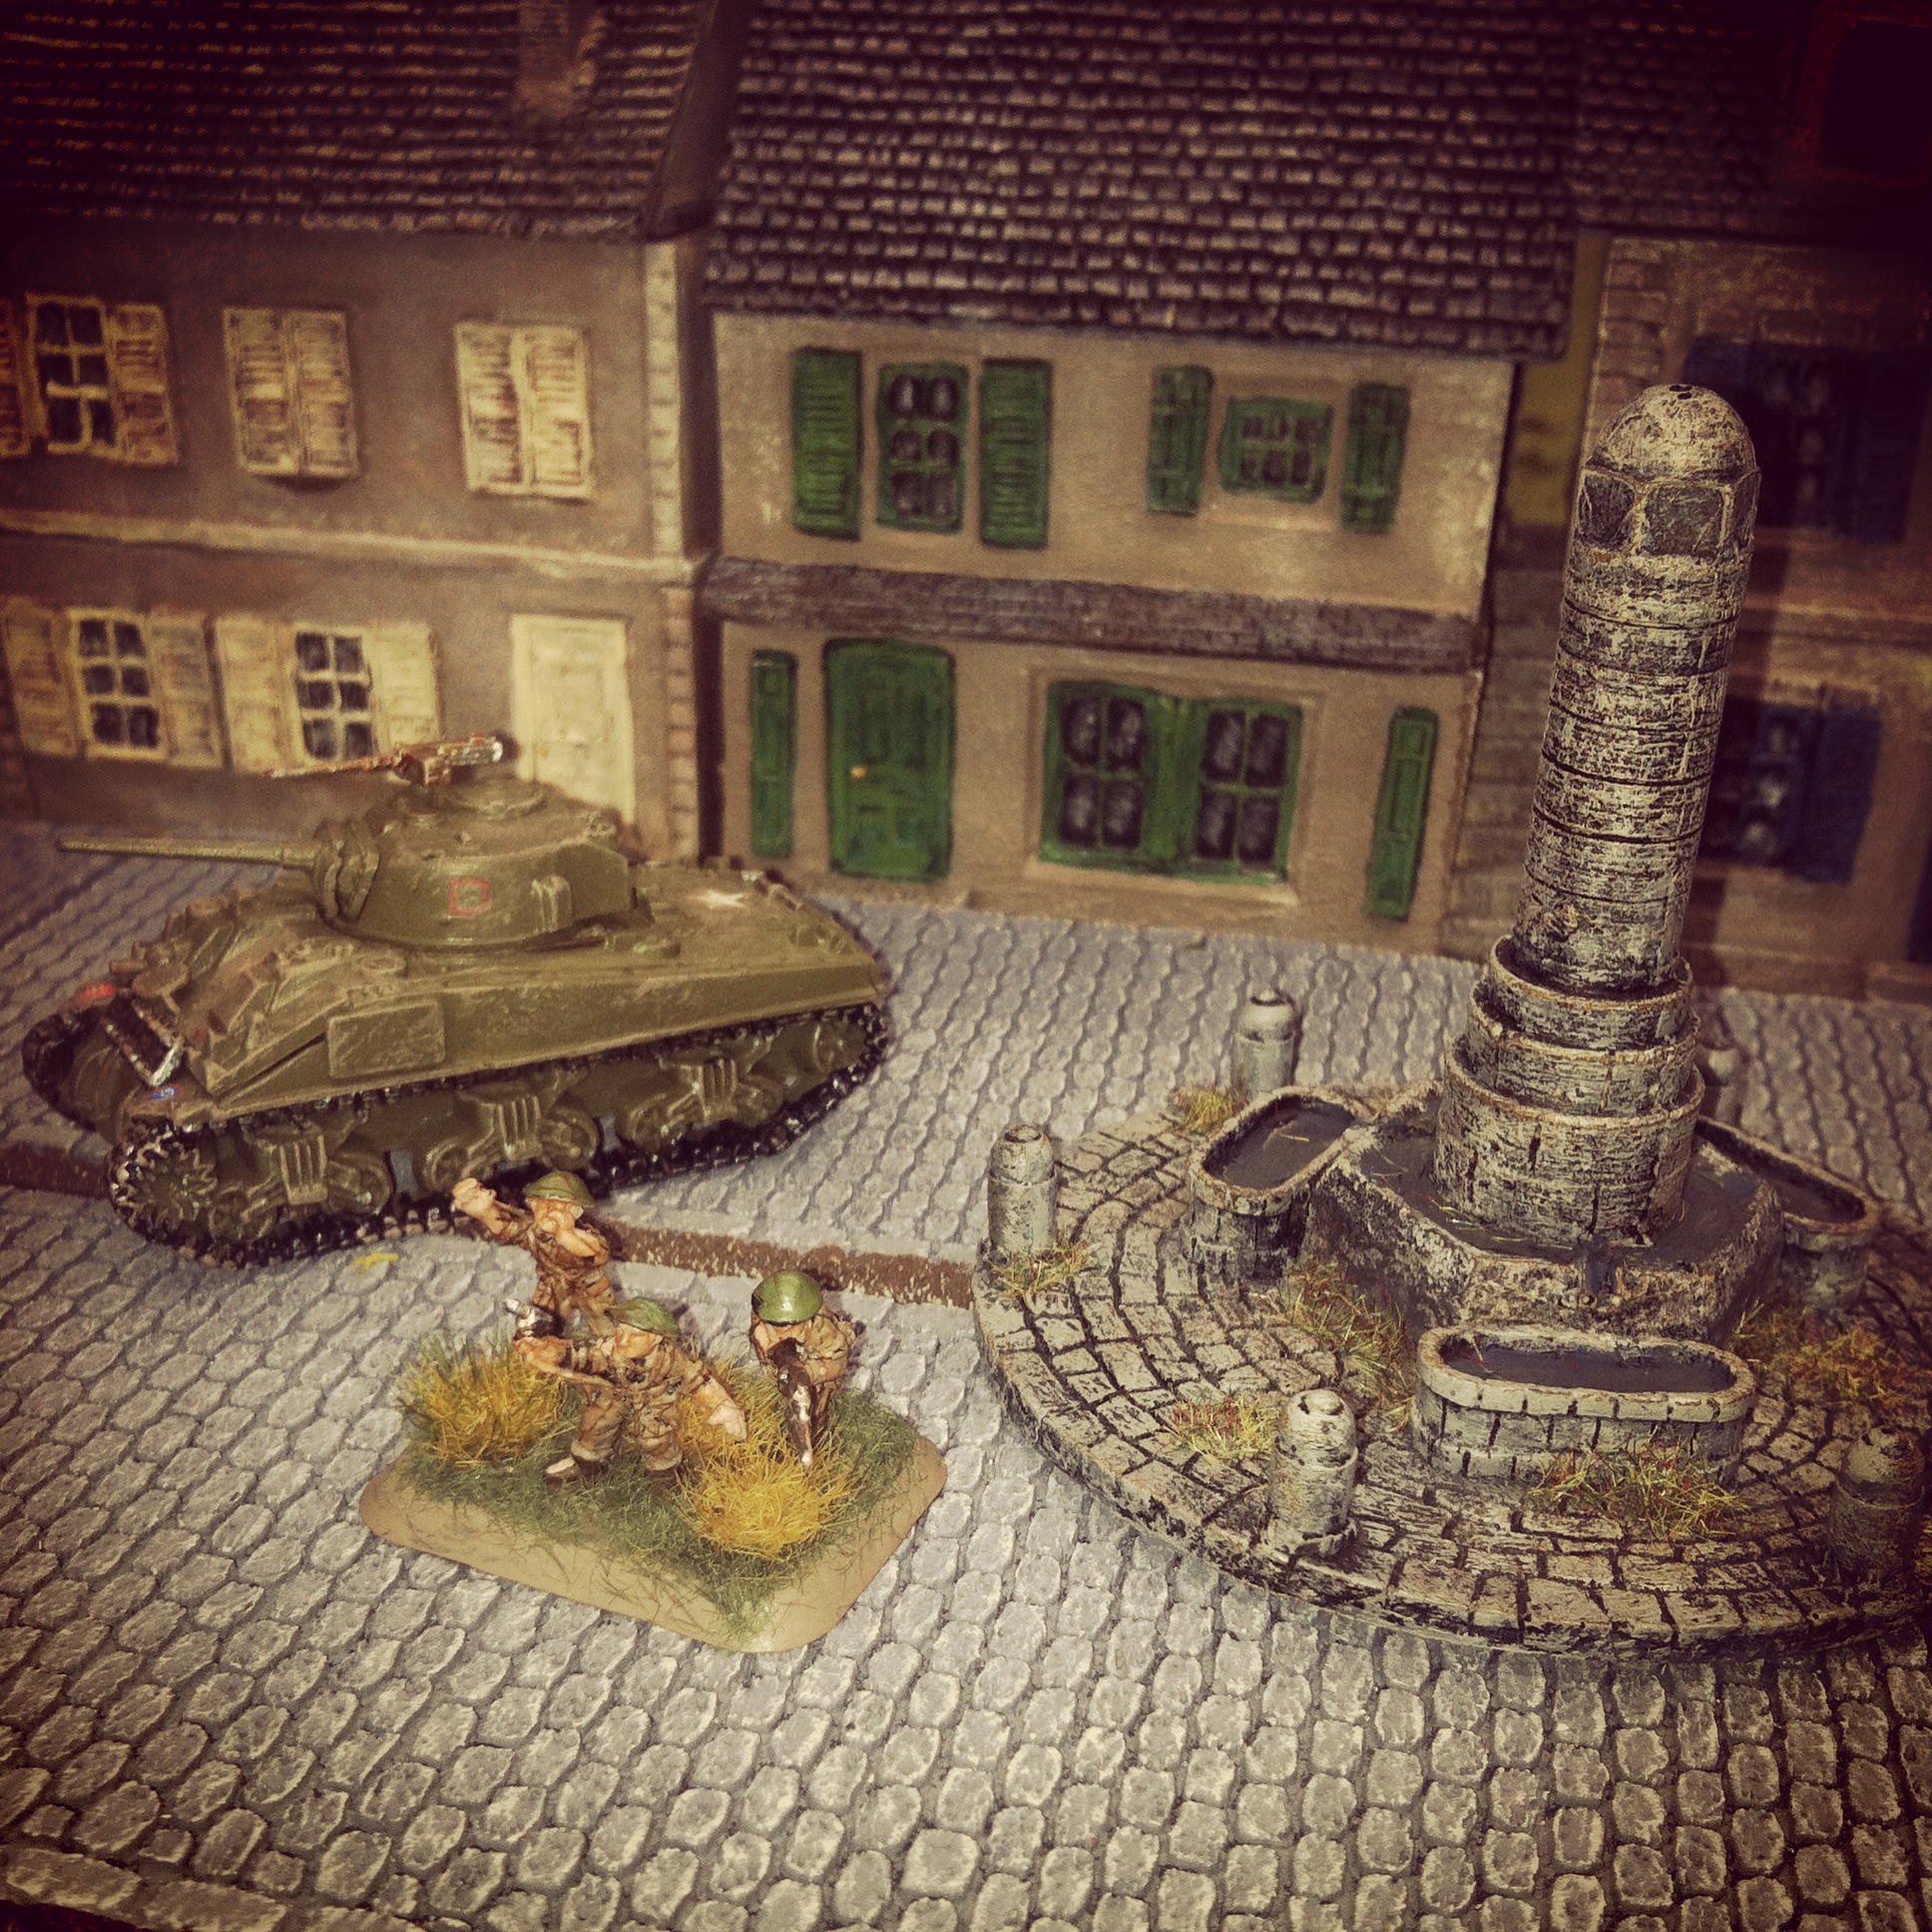
 Mark IV buildings and monument
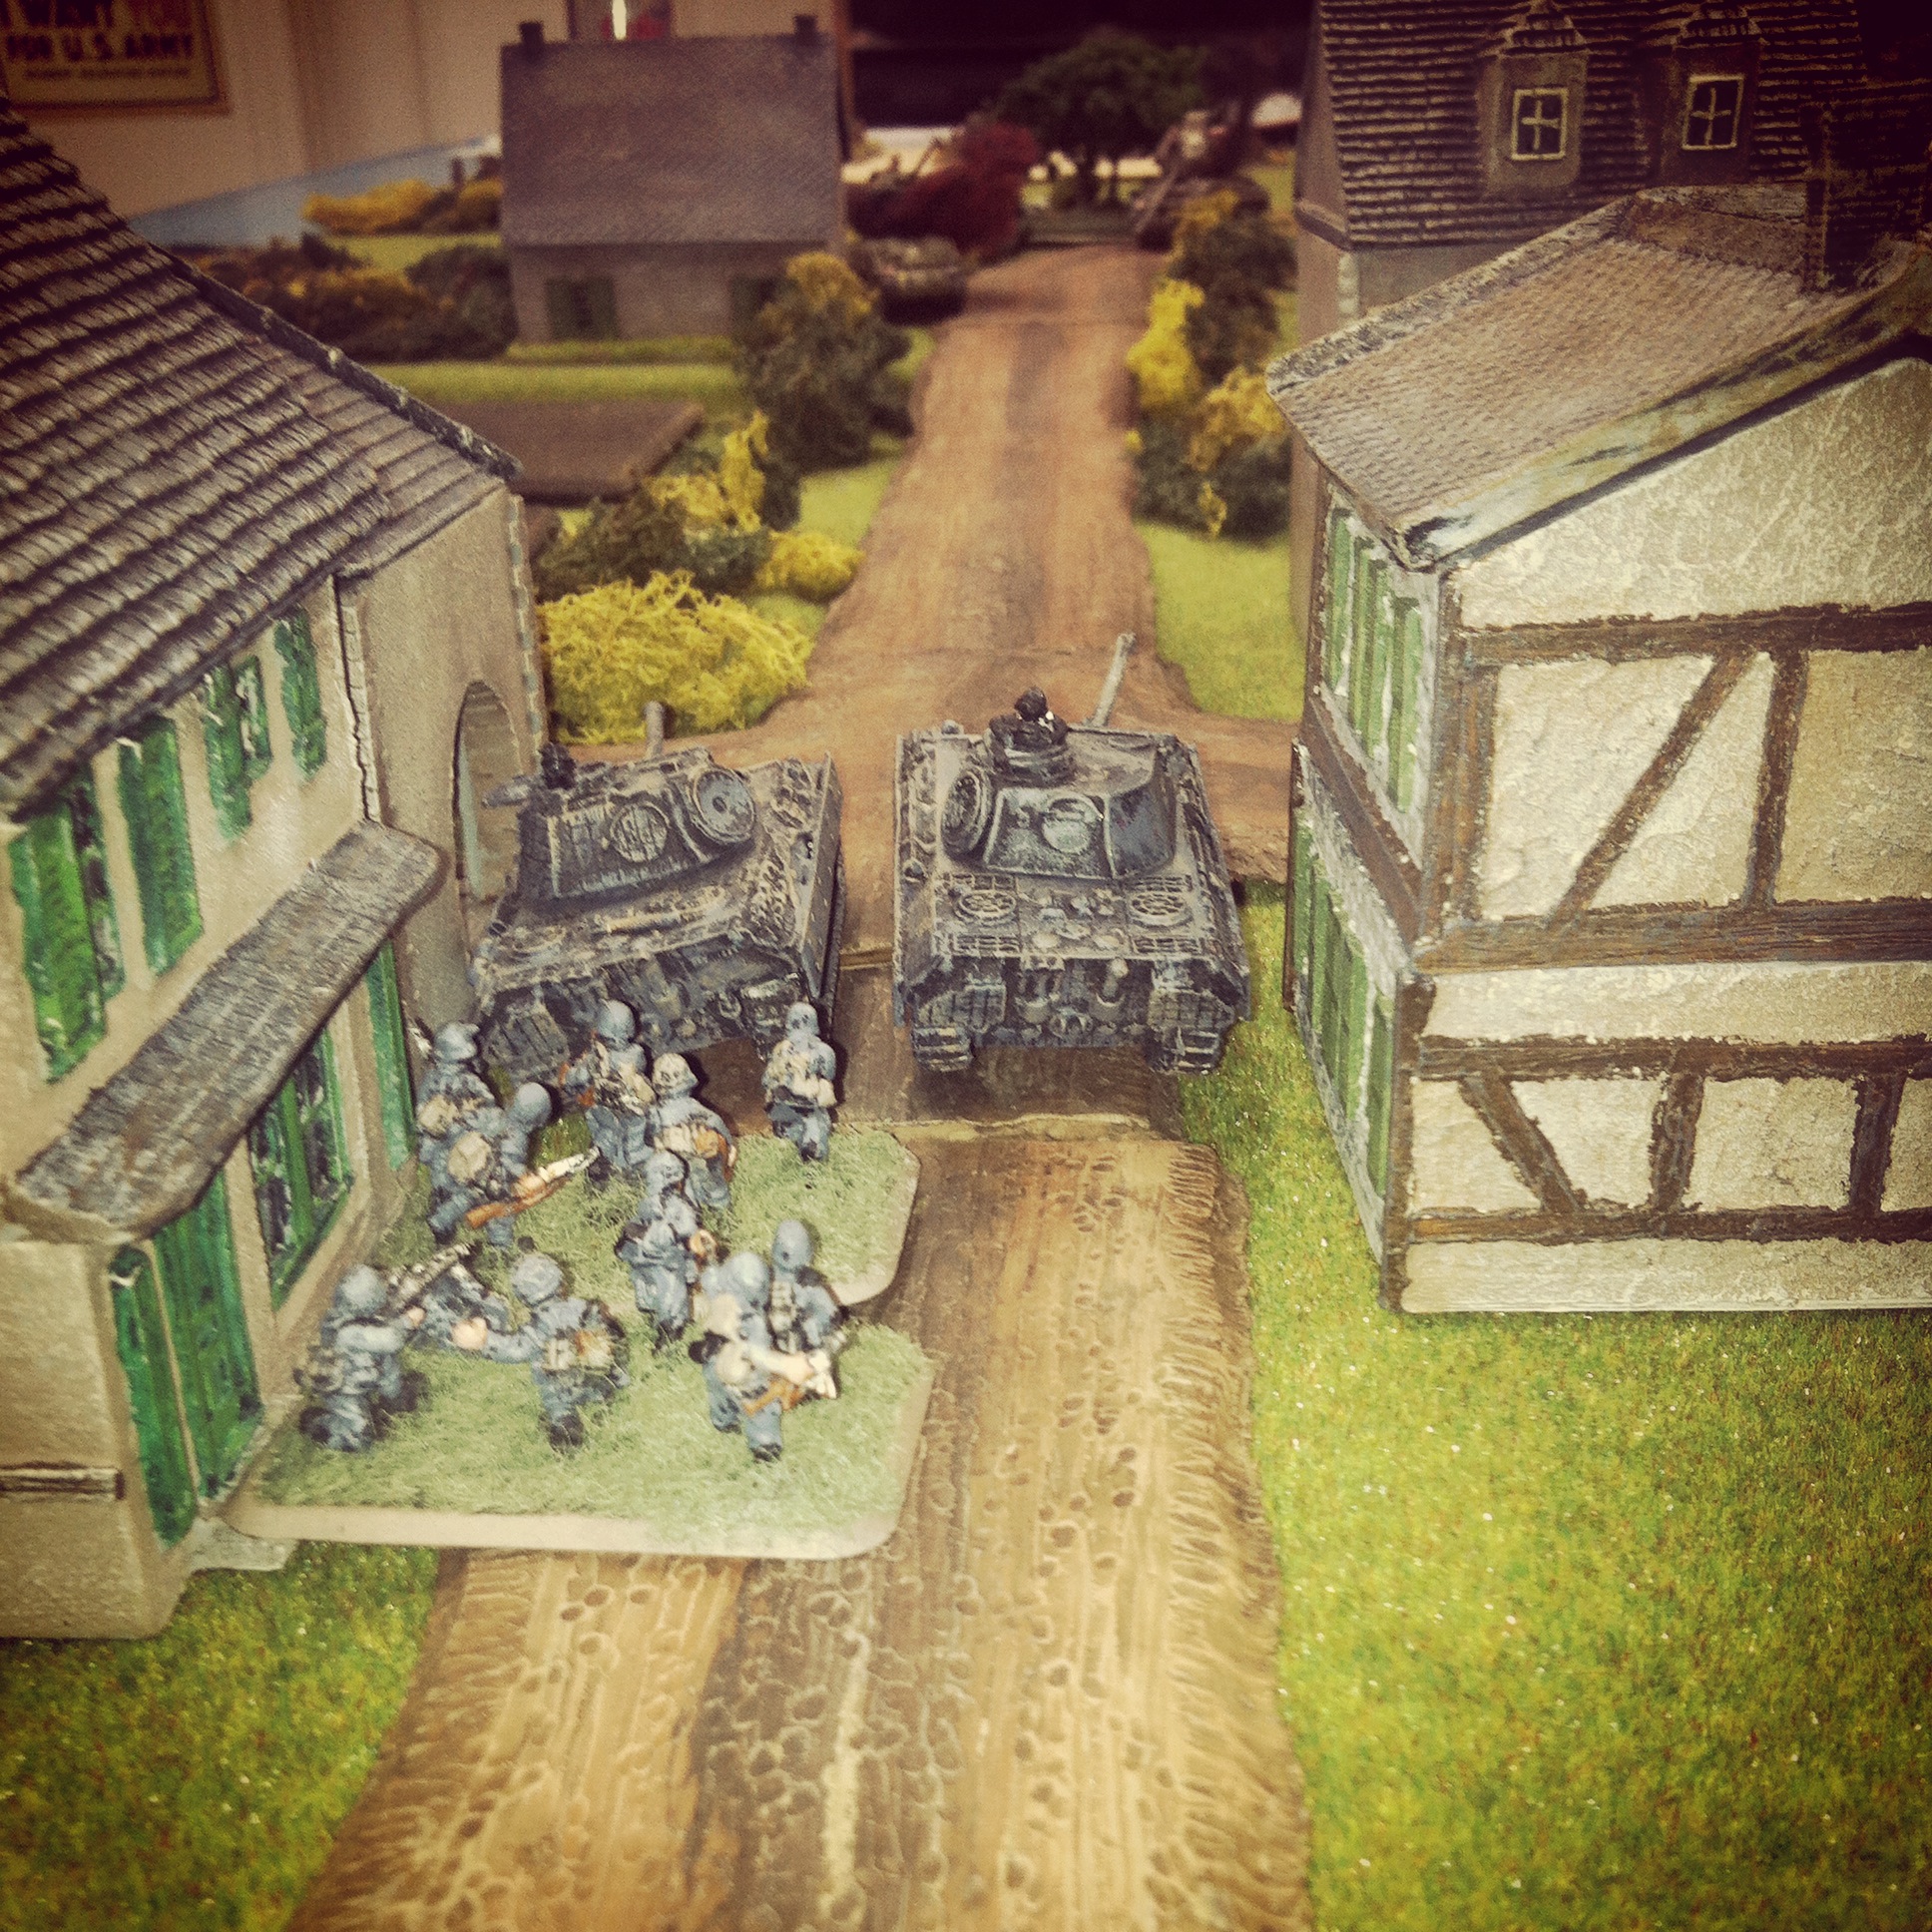
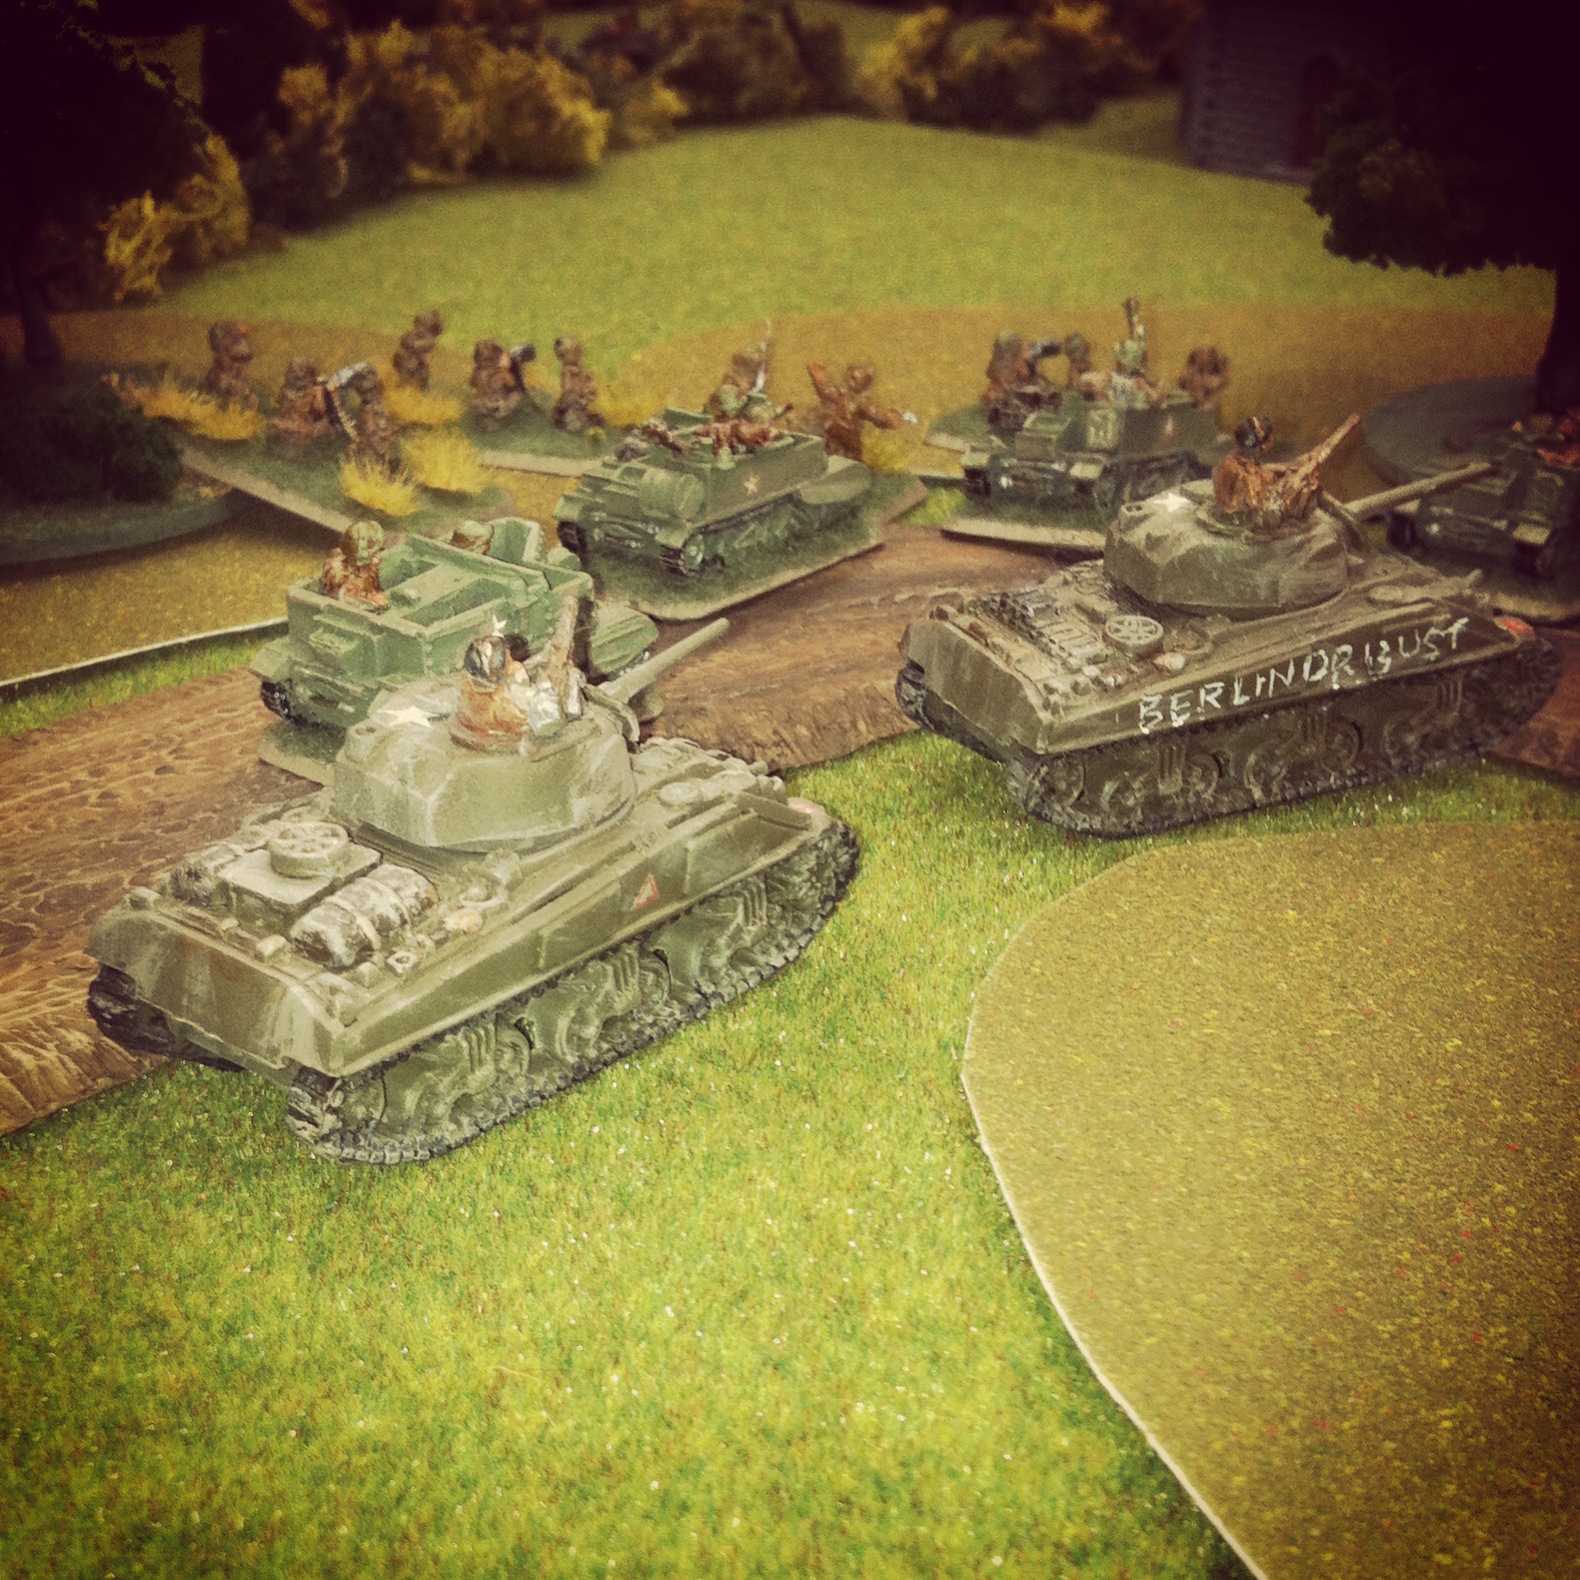
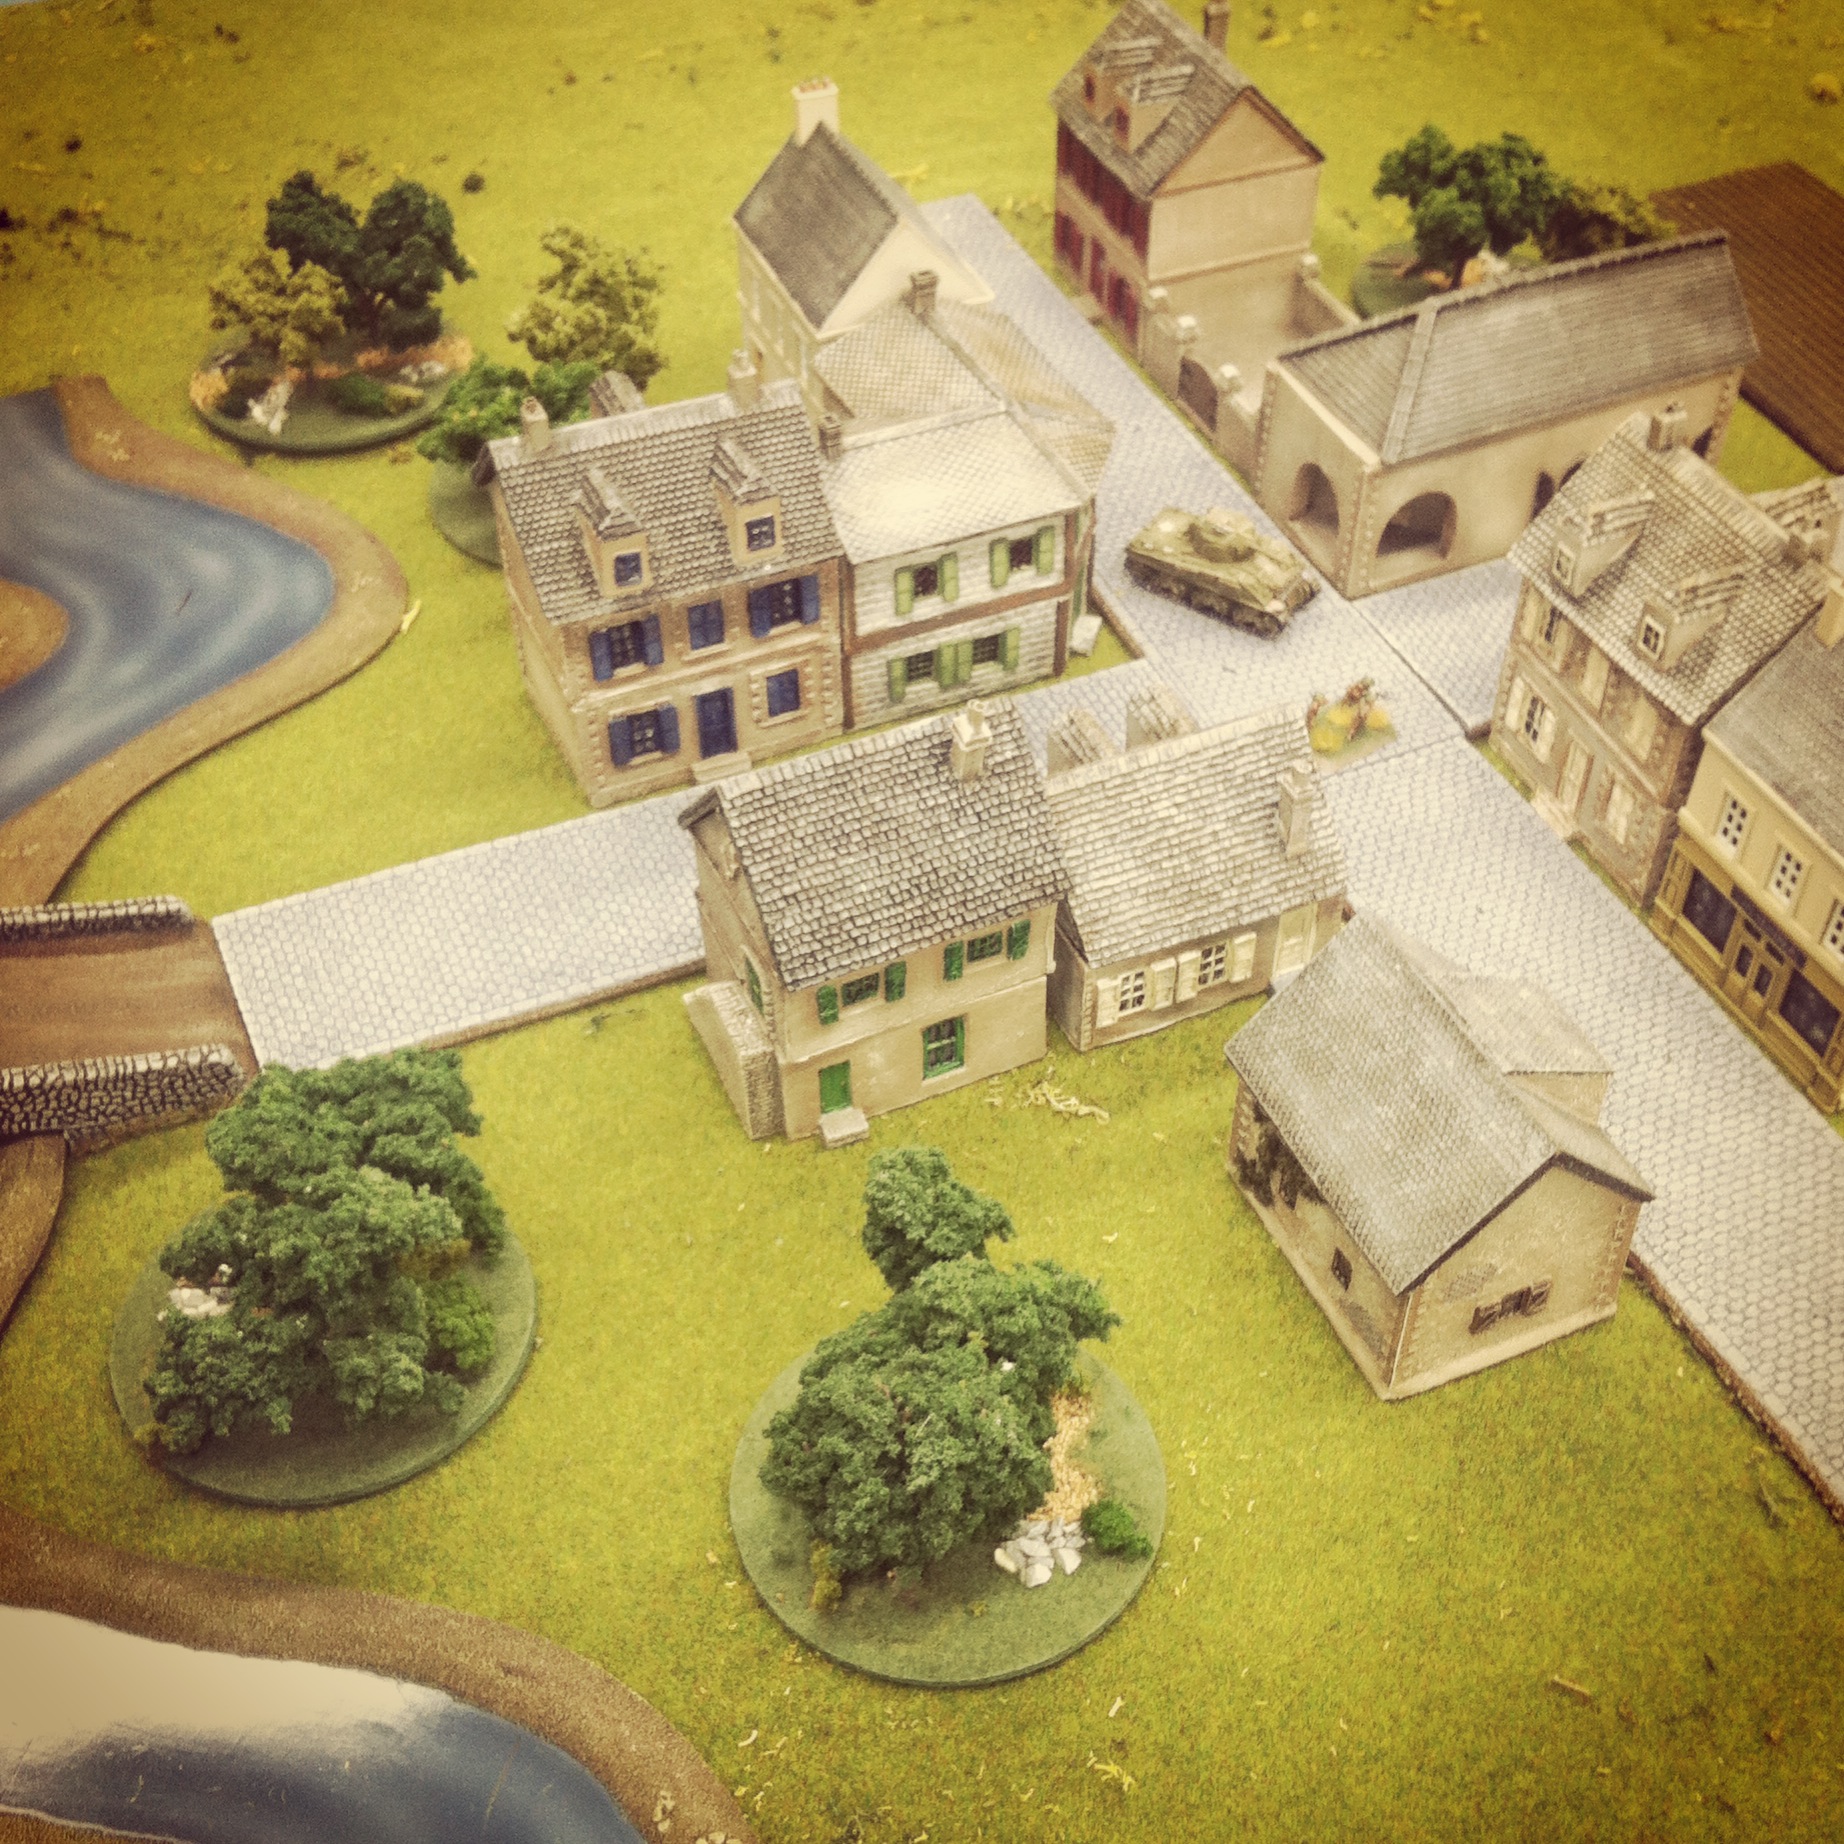
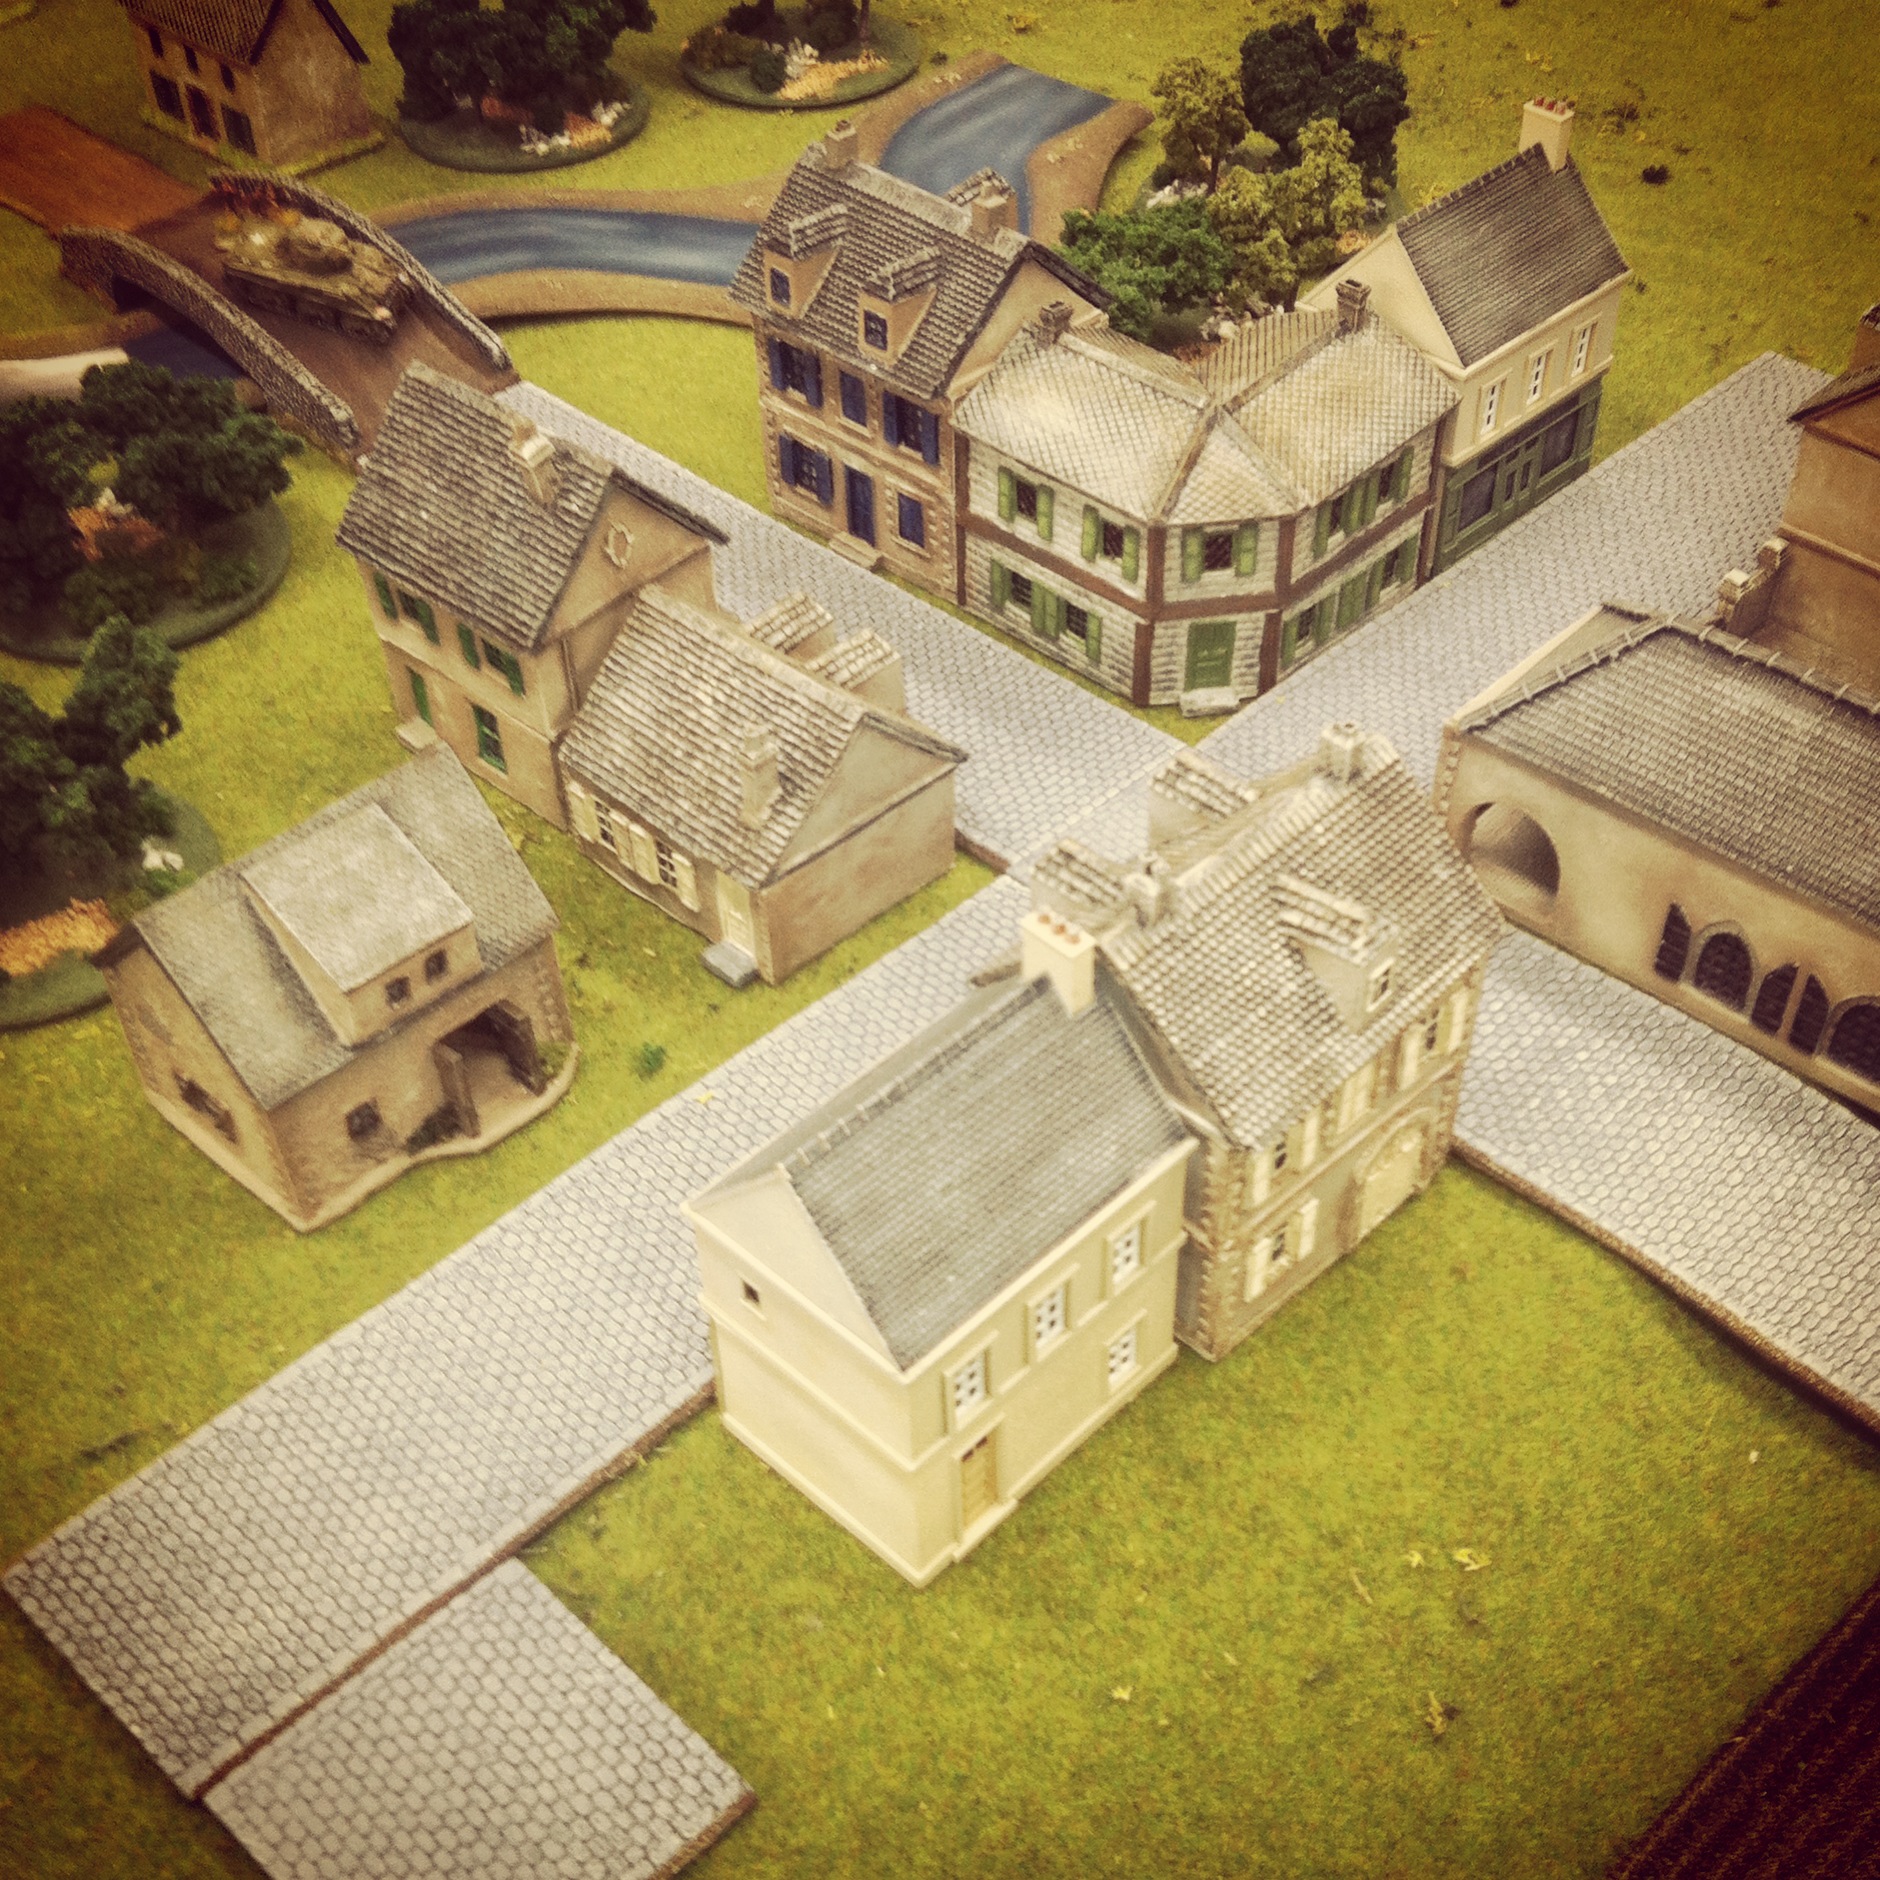
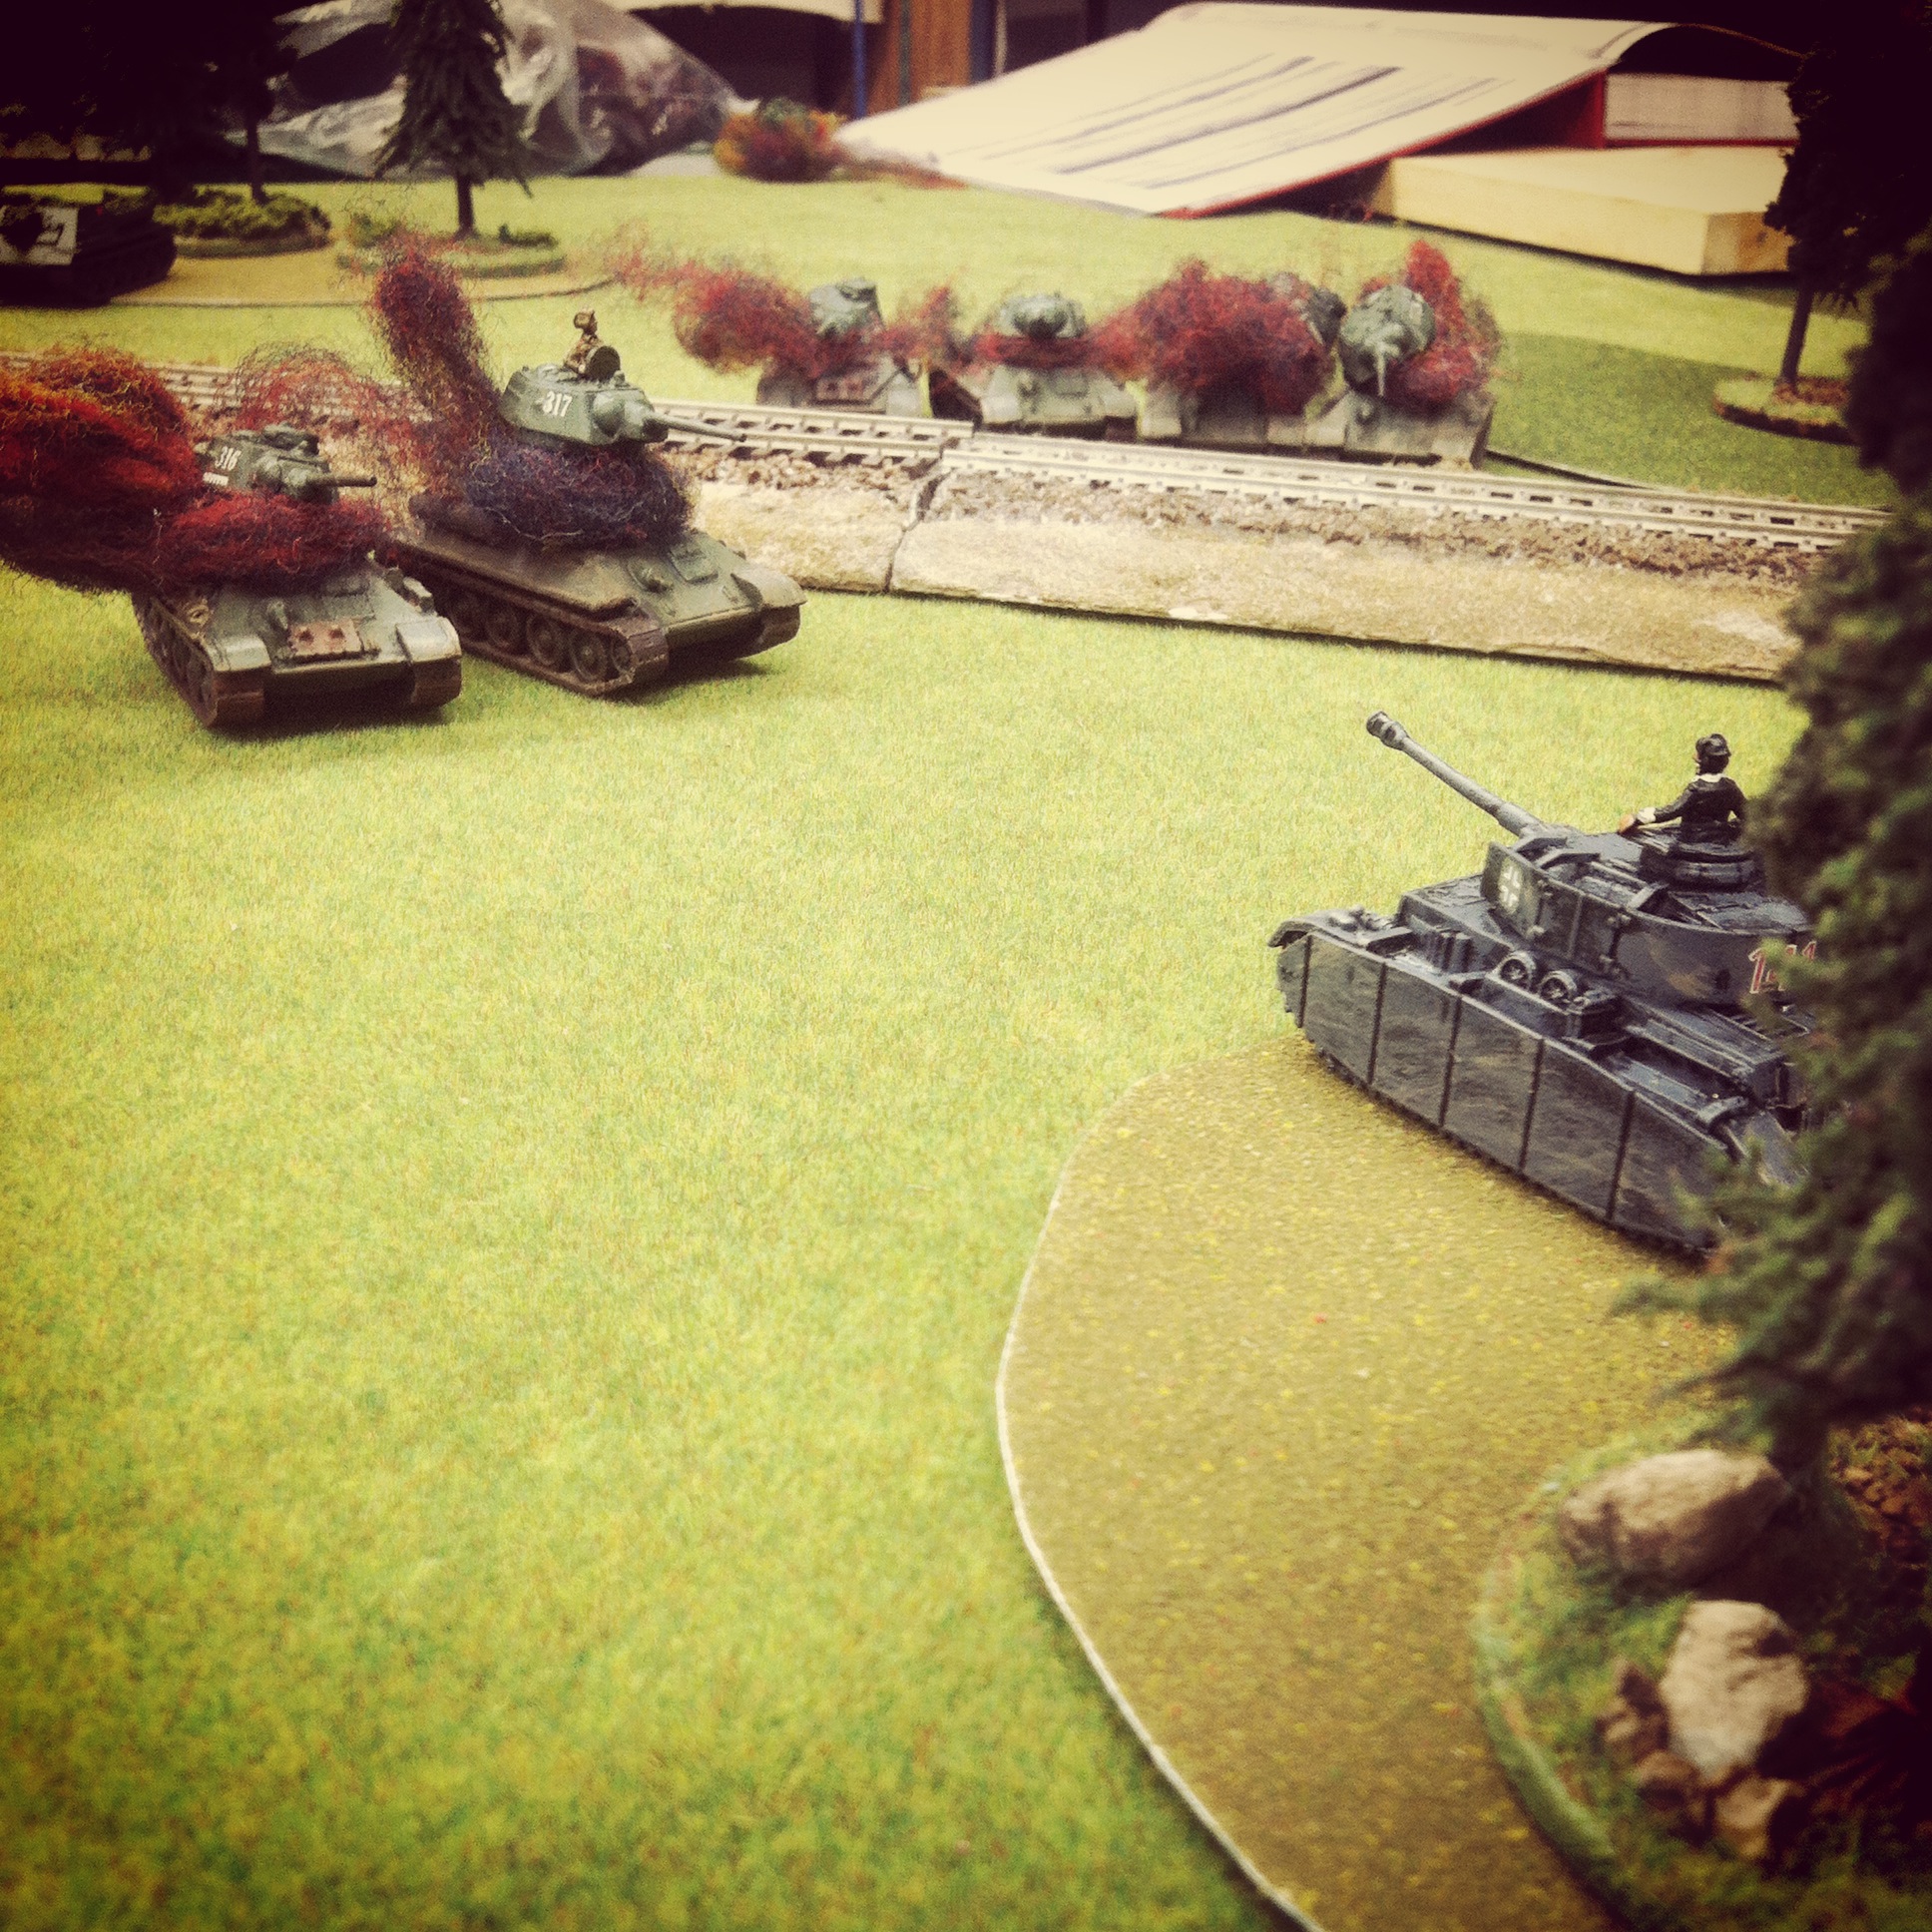
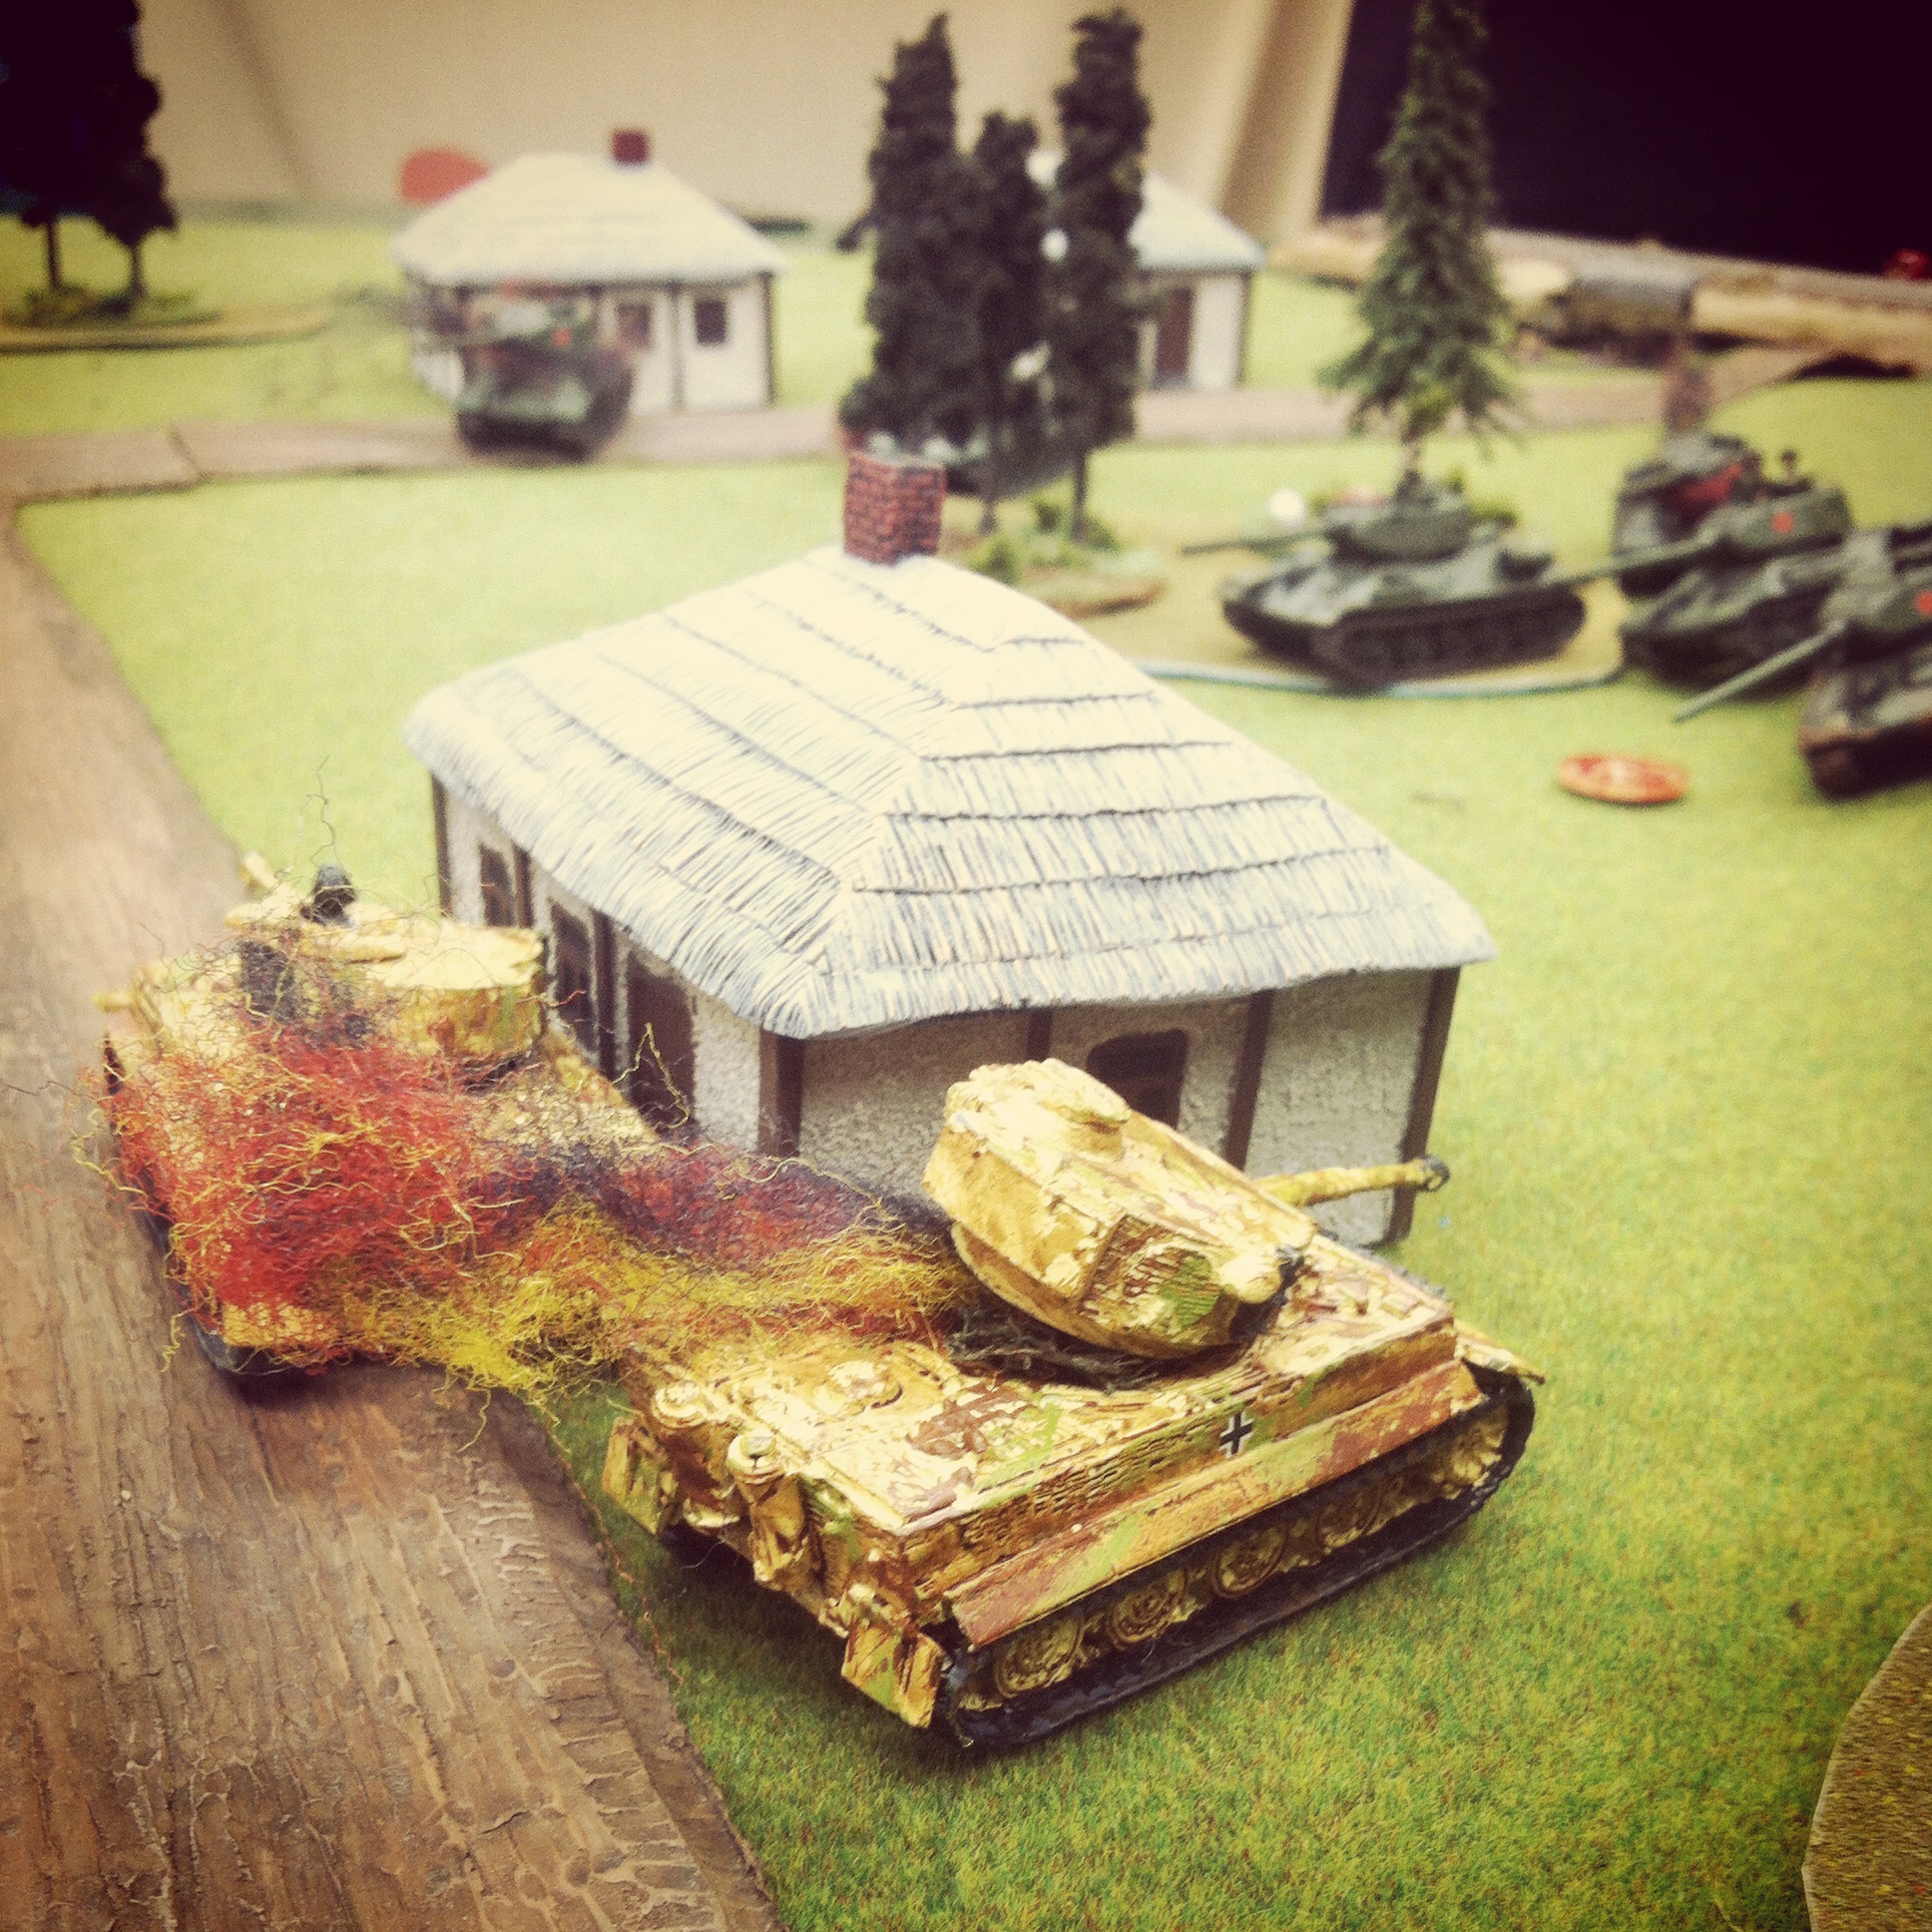
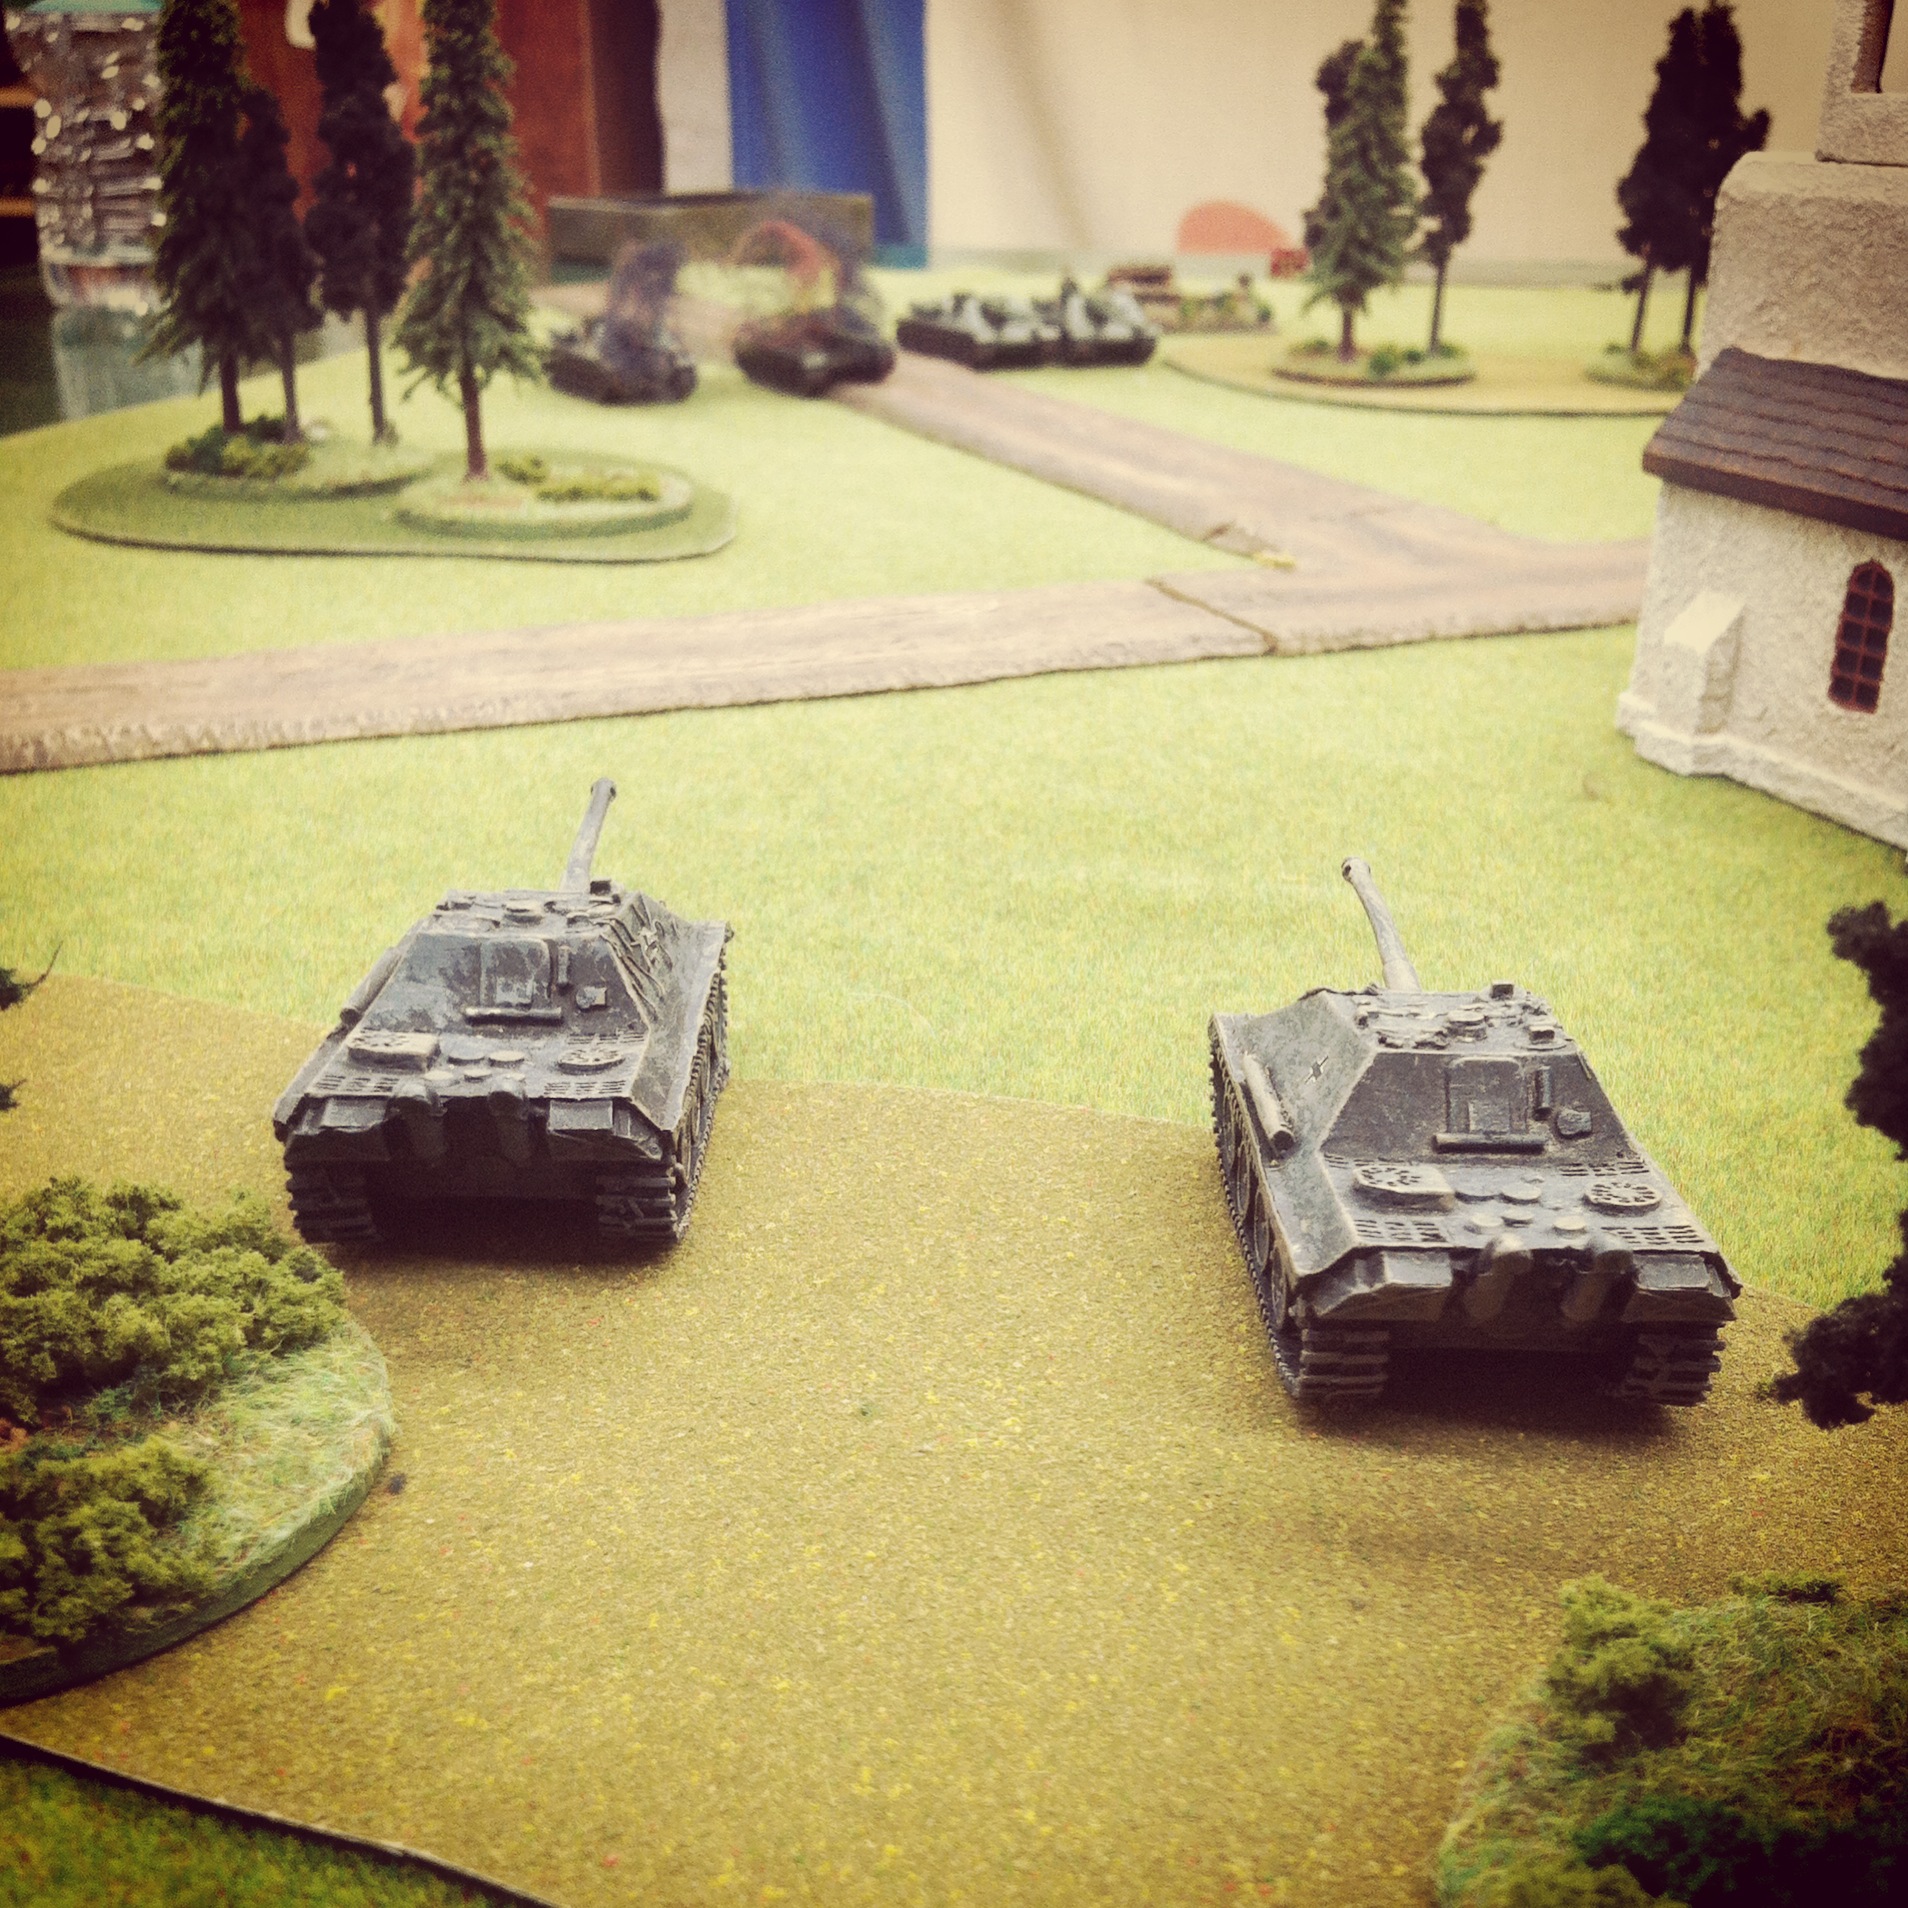
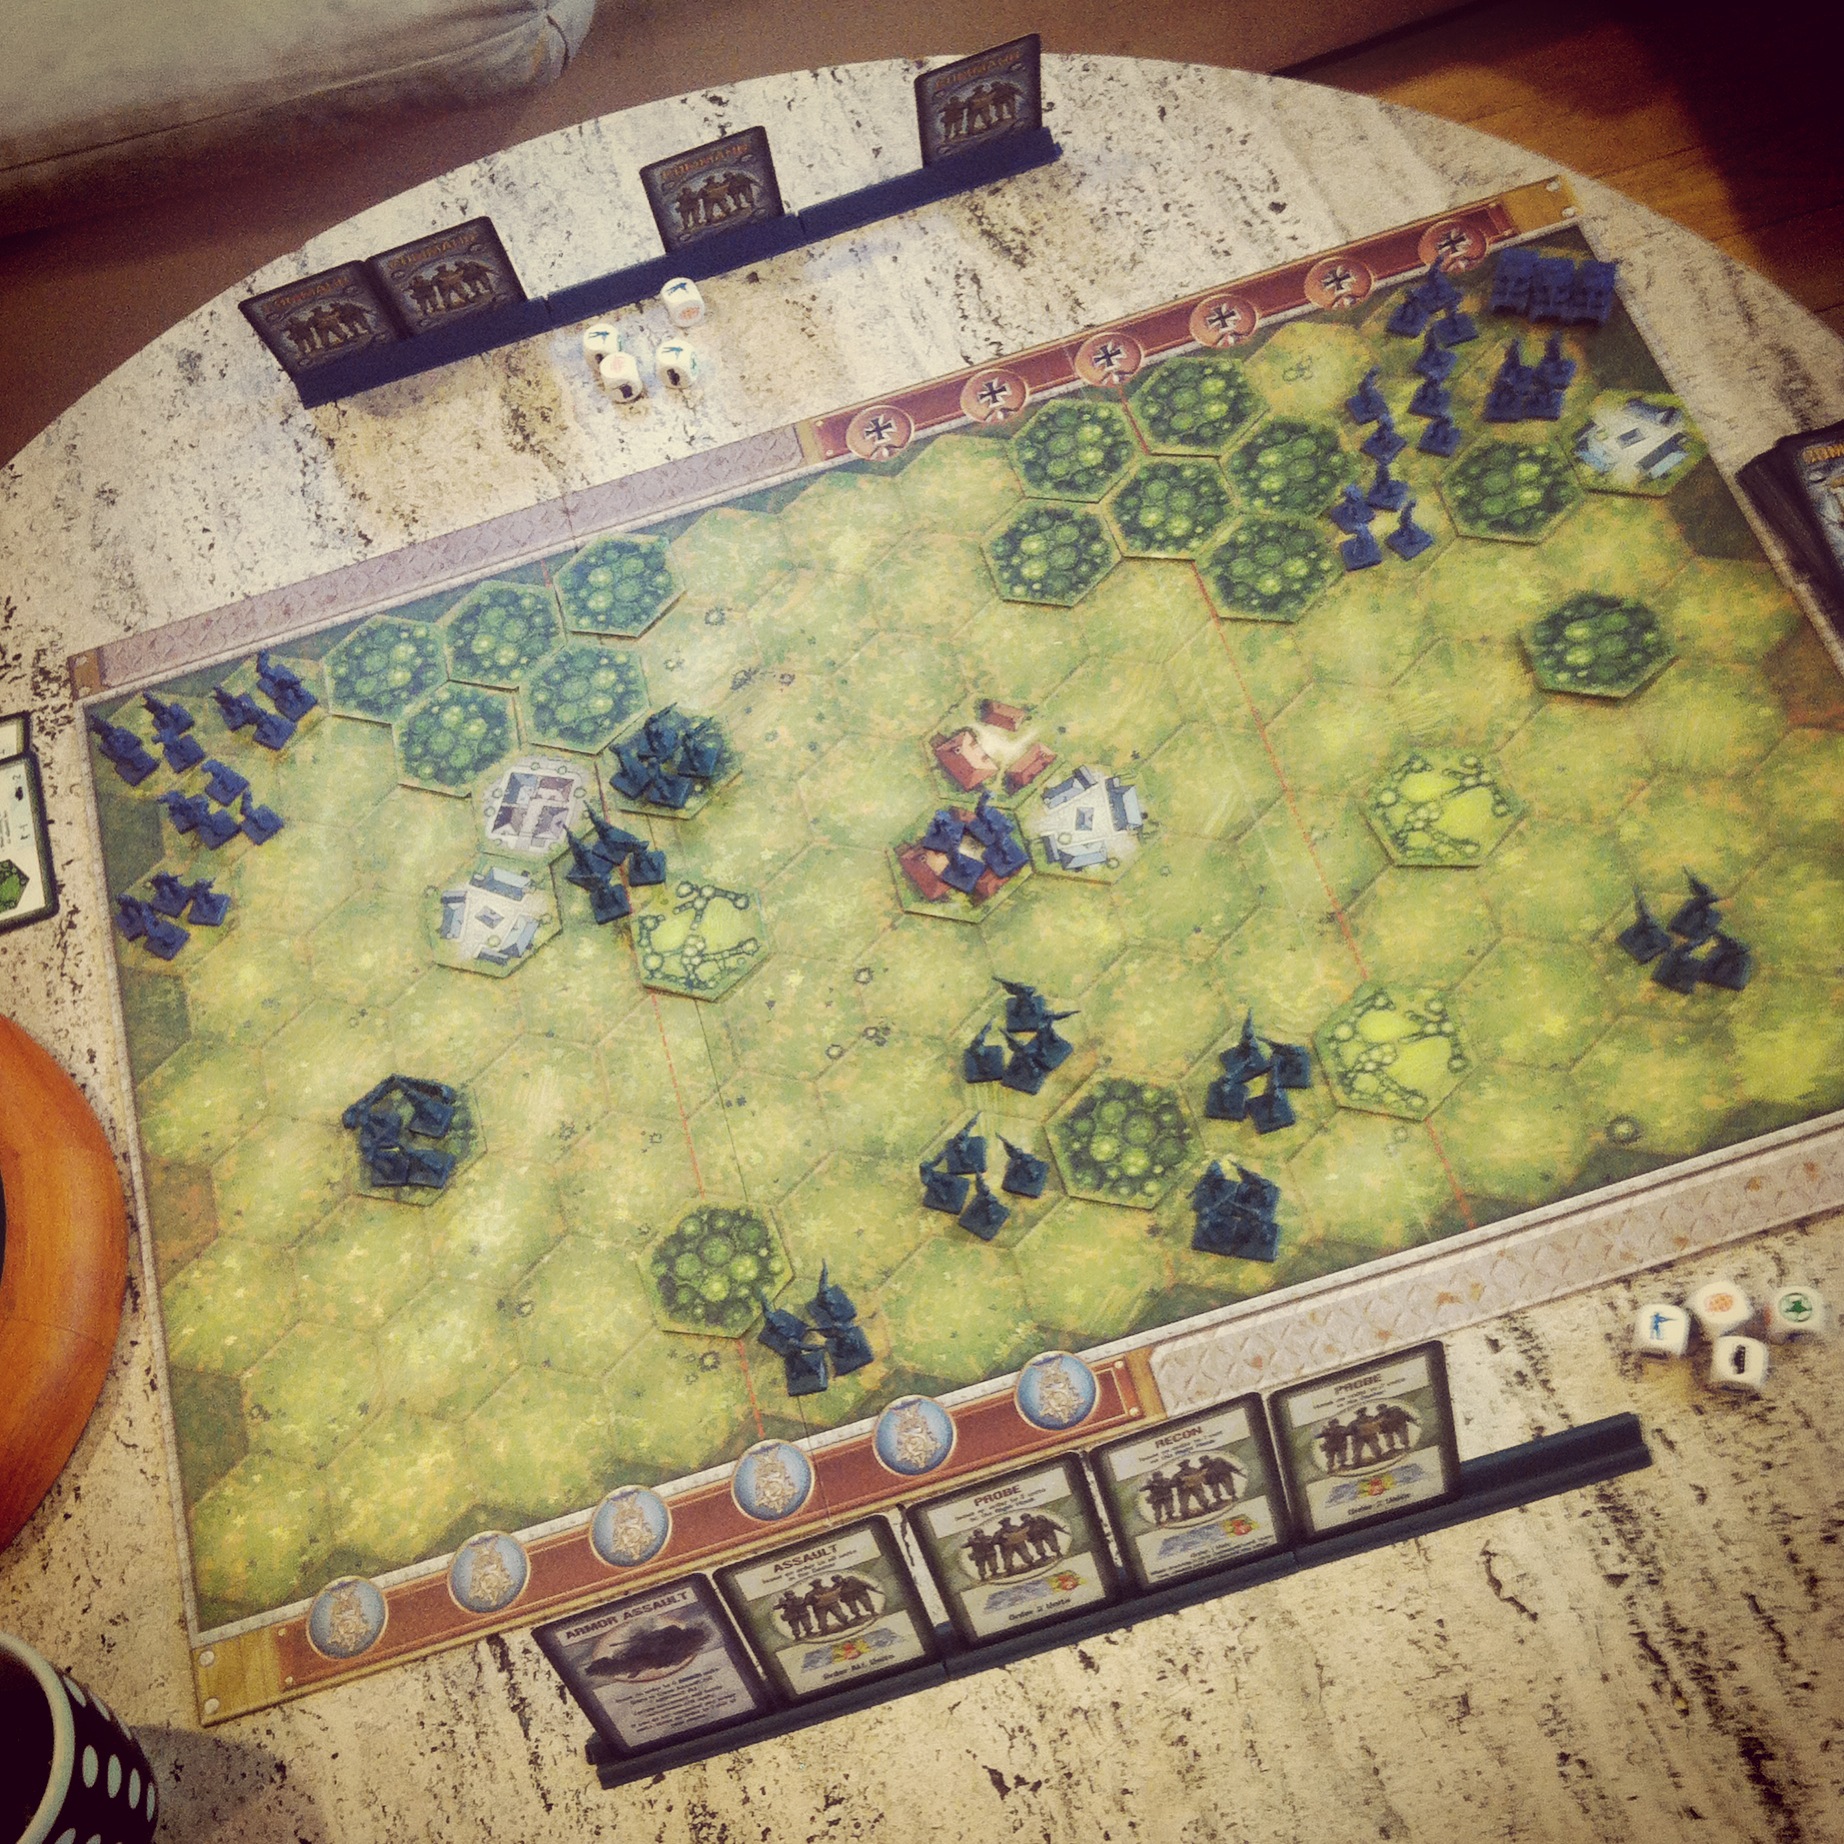
 Town set-up with terrain from Mark IV, JR Mini, FOW, Games of War and my homemade trees
 Town set-up with terrain from Mark IV, JR Mini, FOW, Games of War and my homemade trees


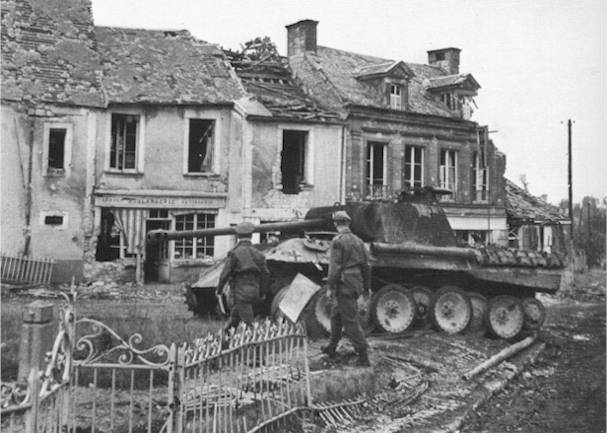

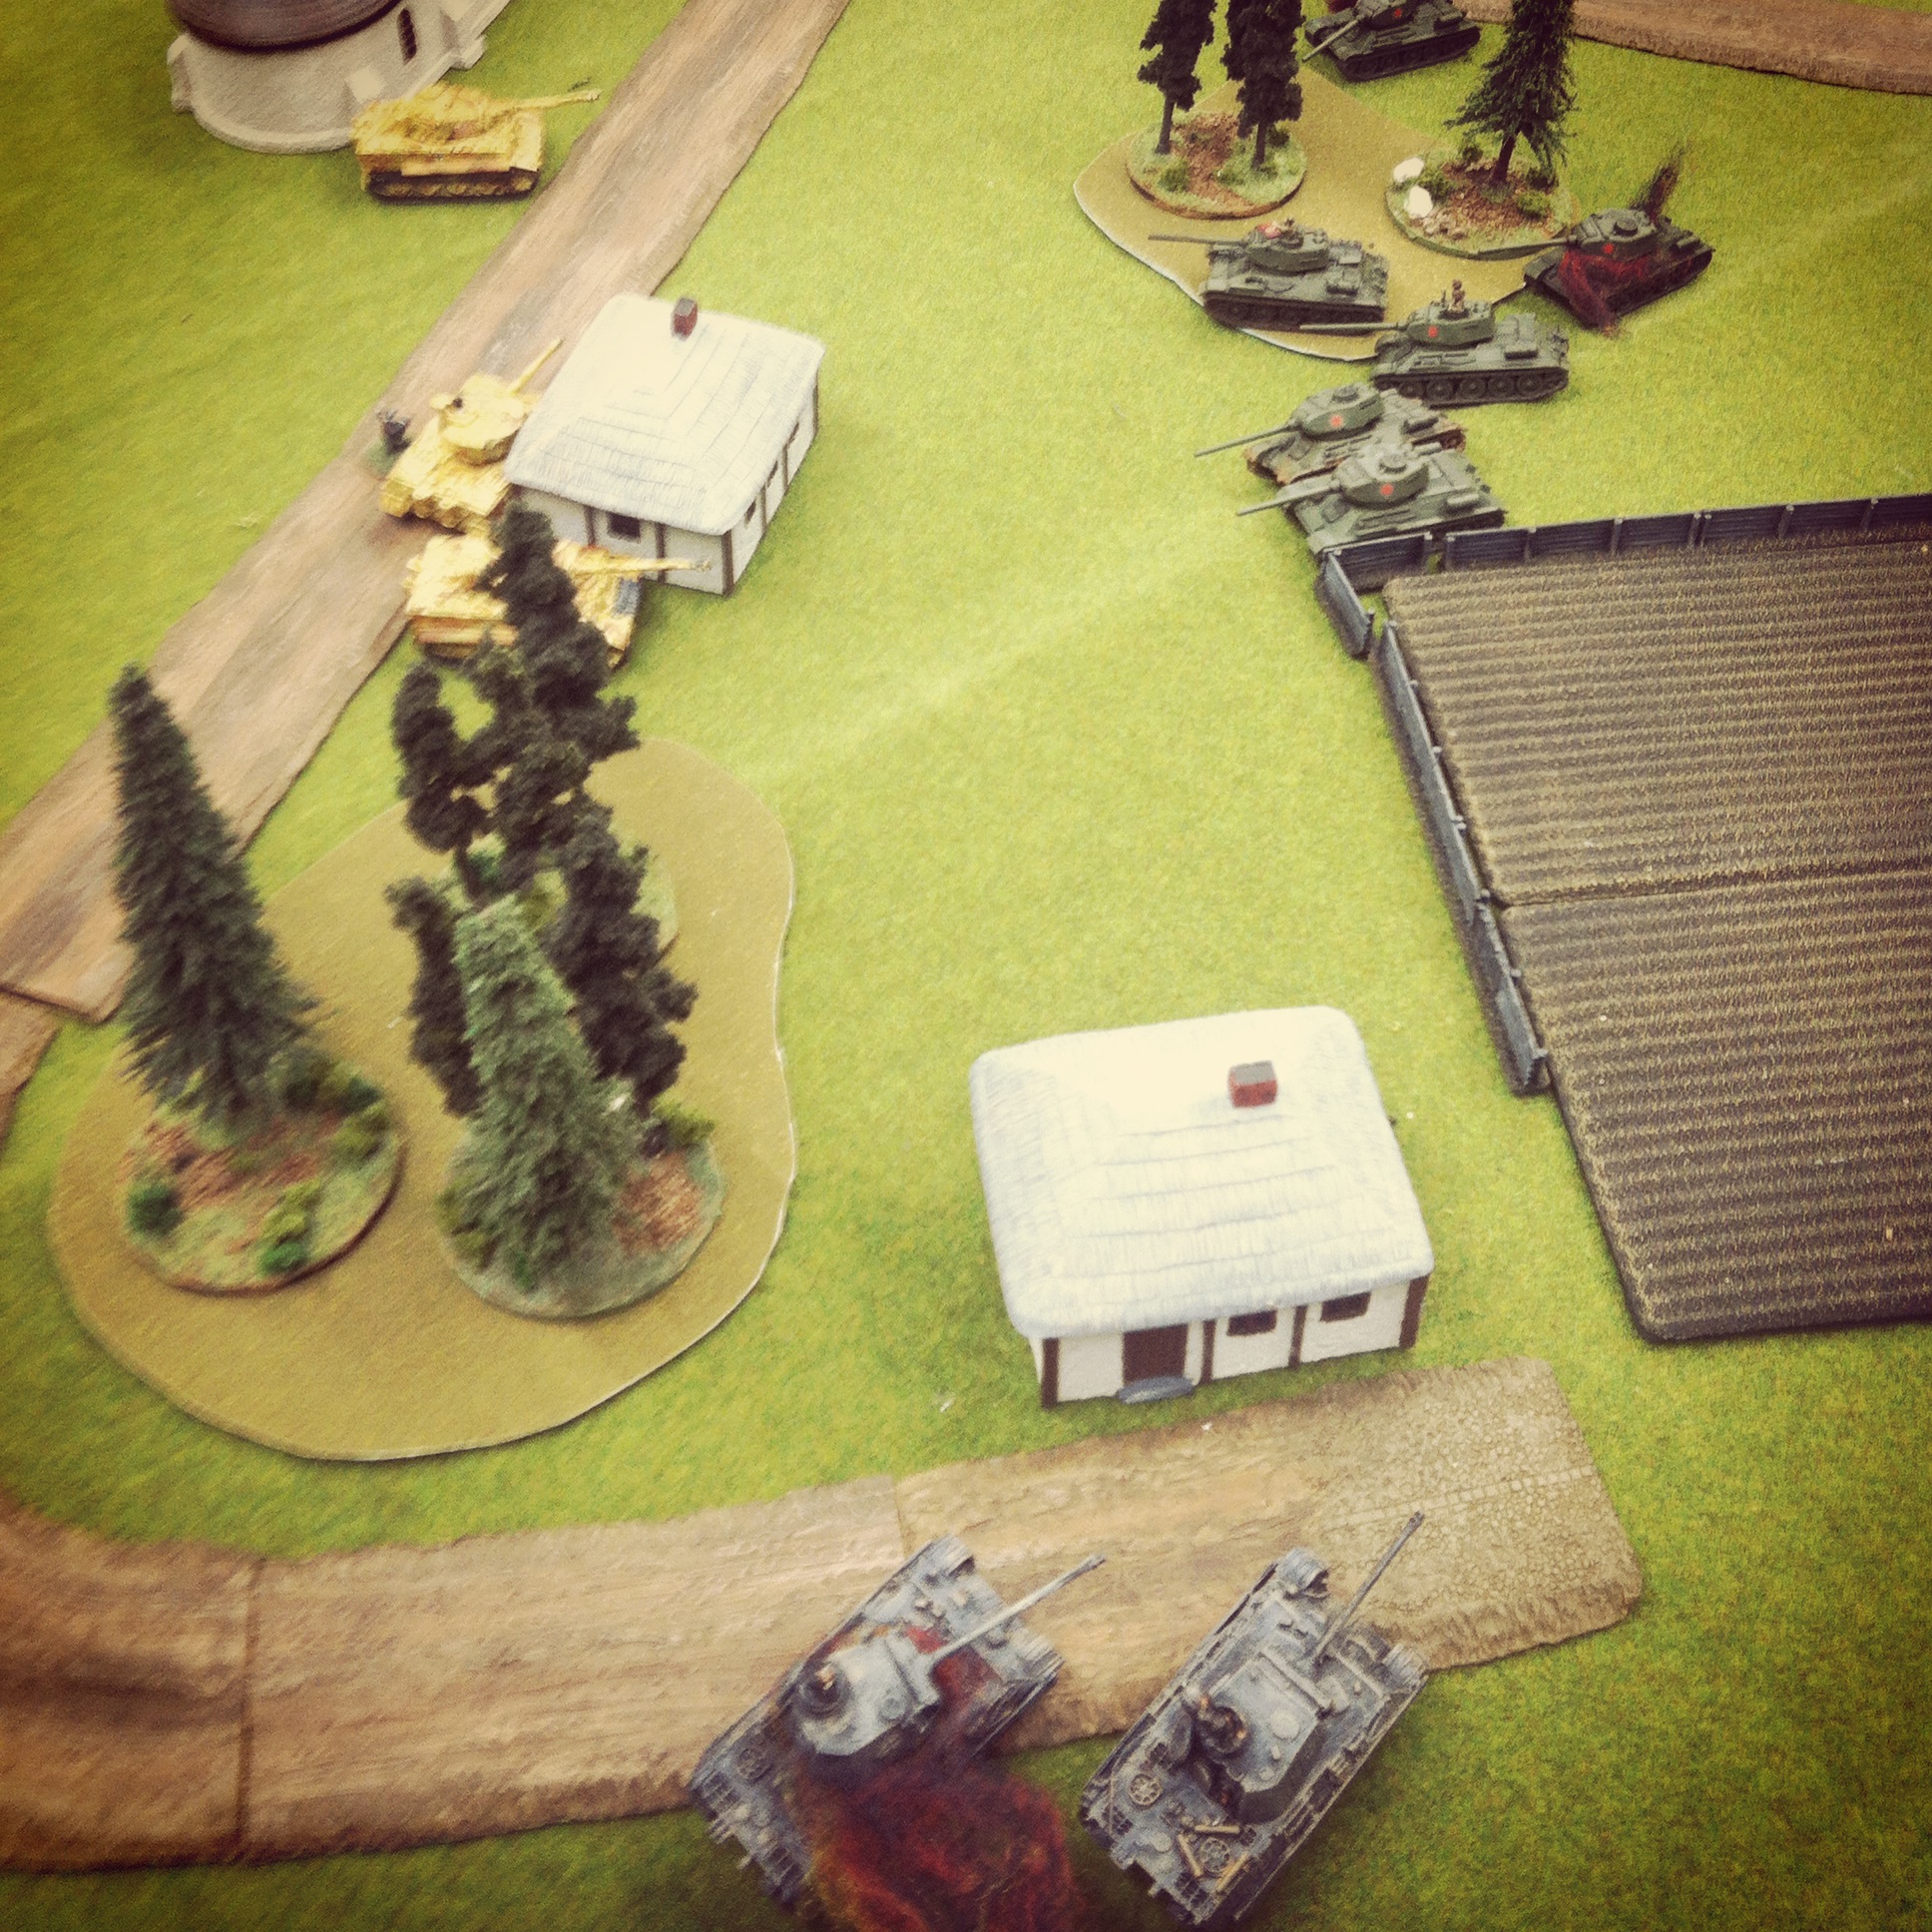
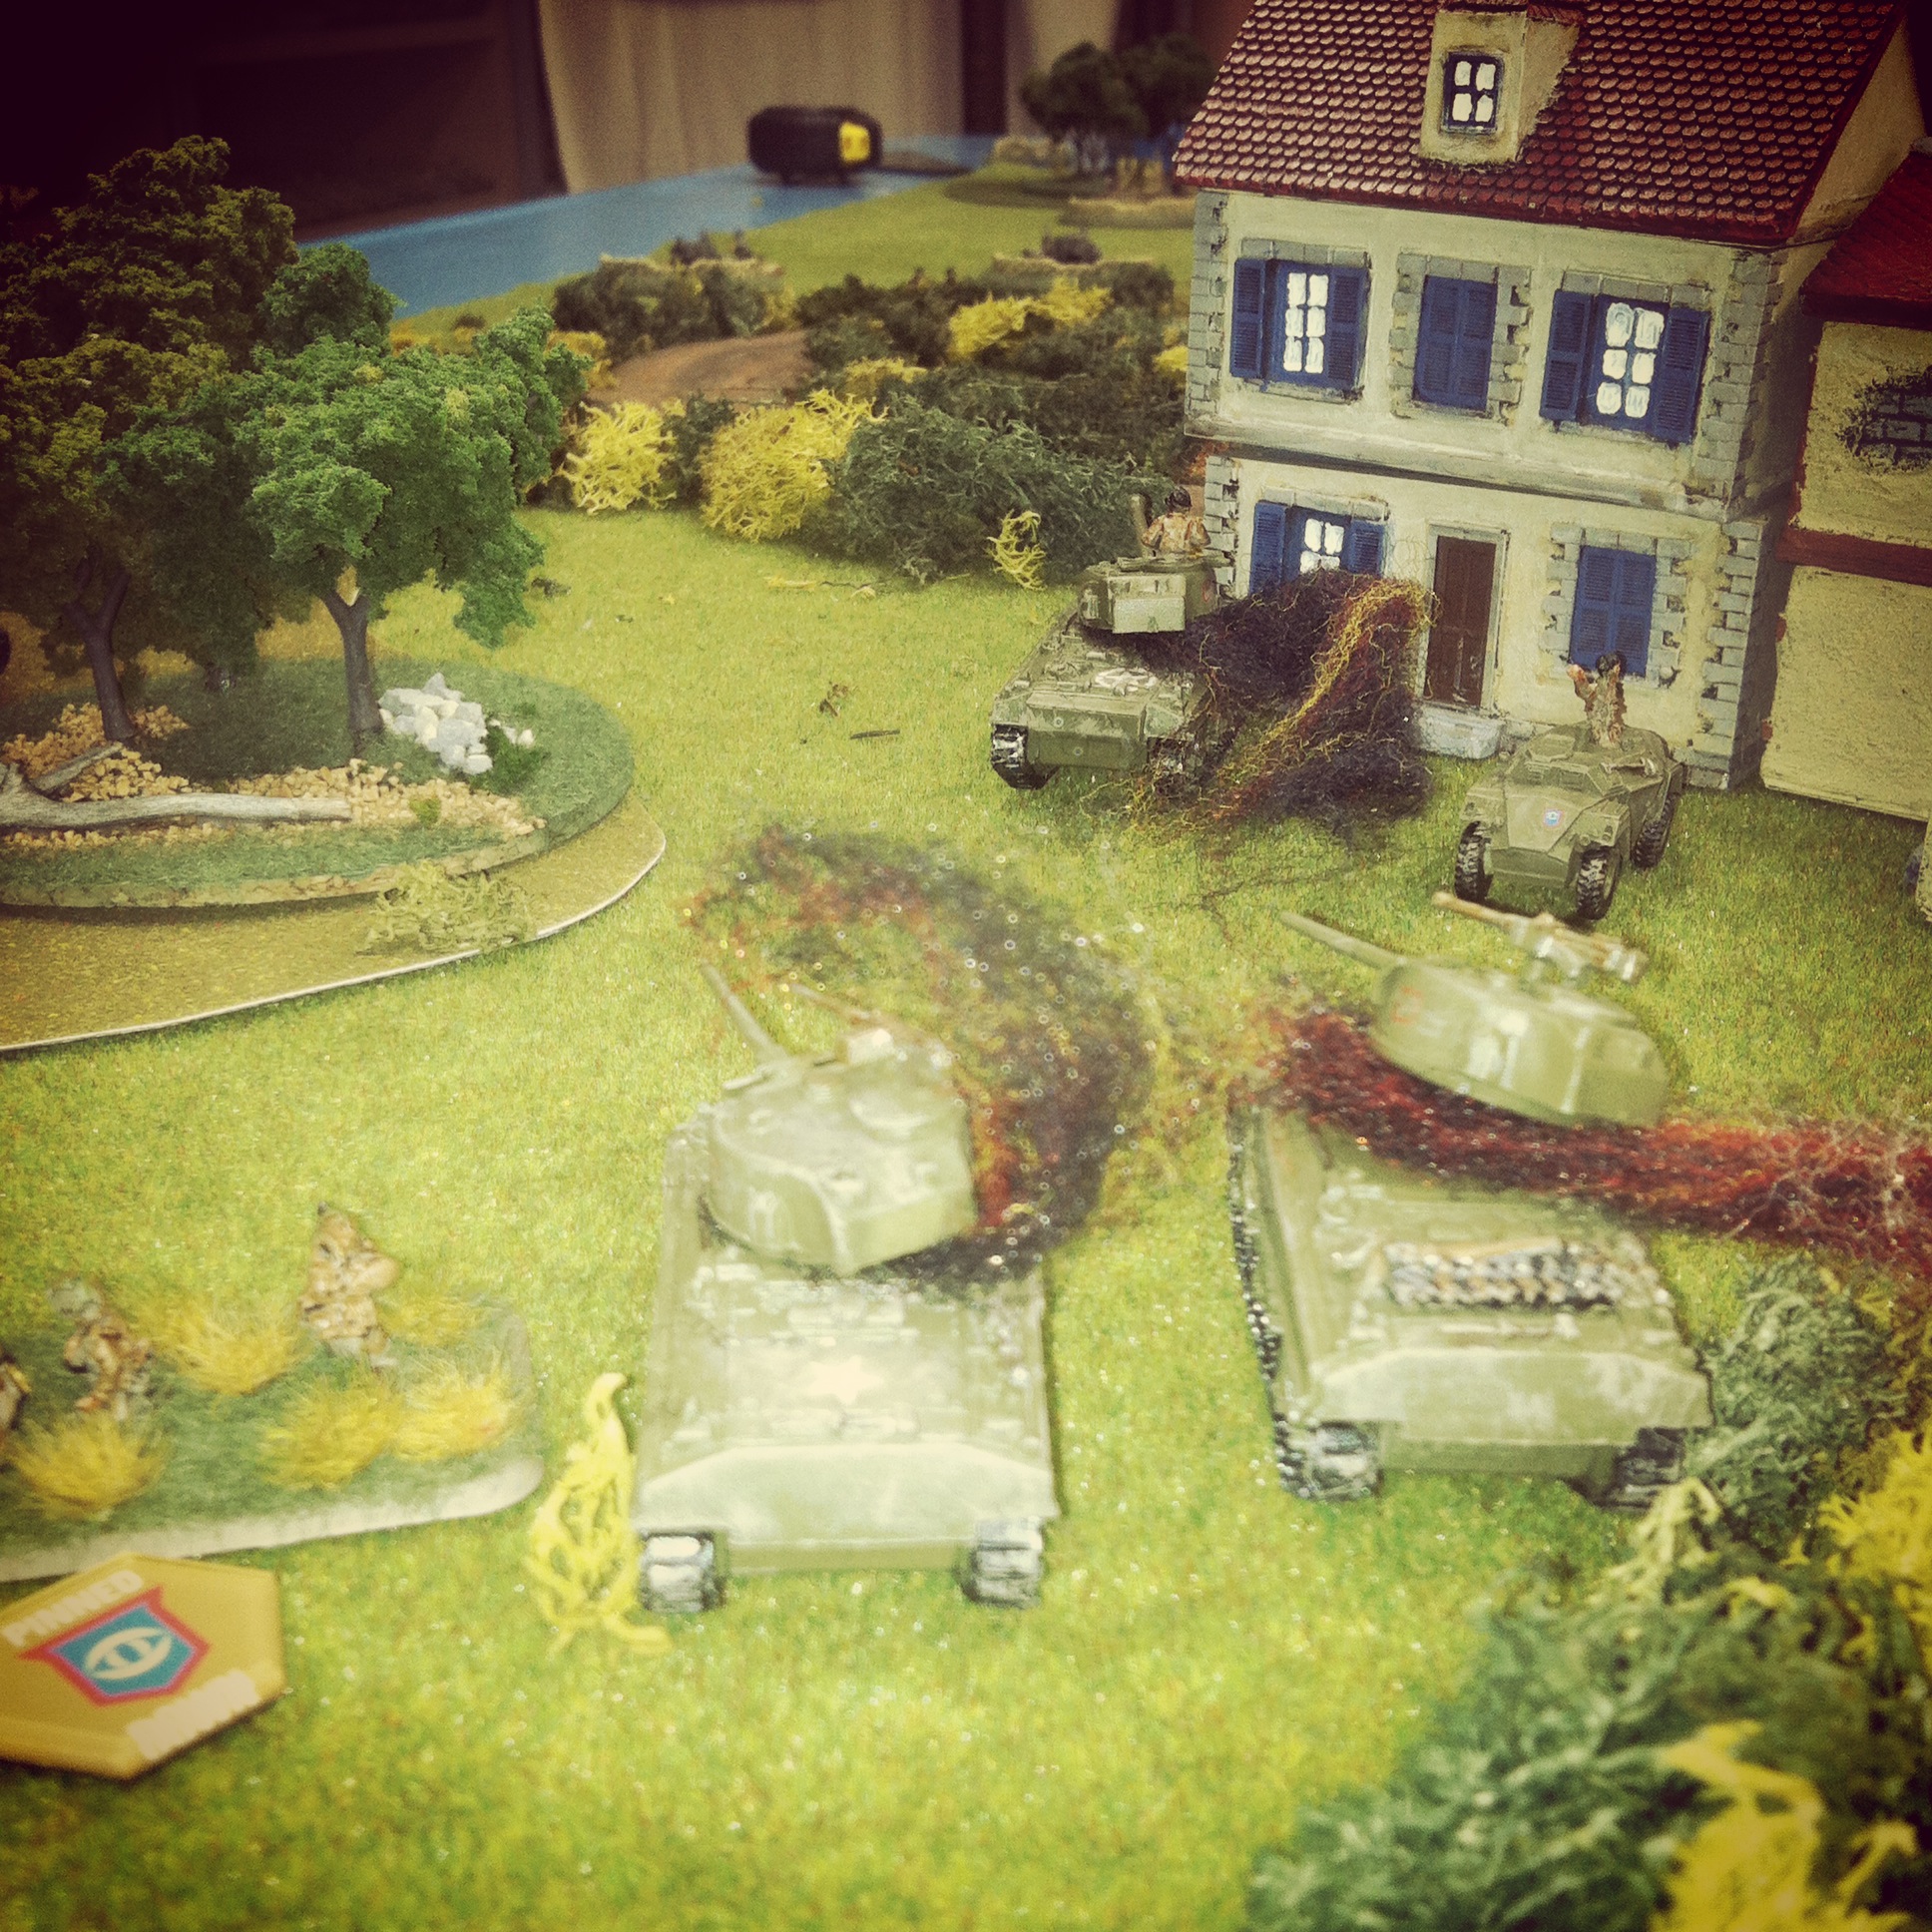
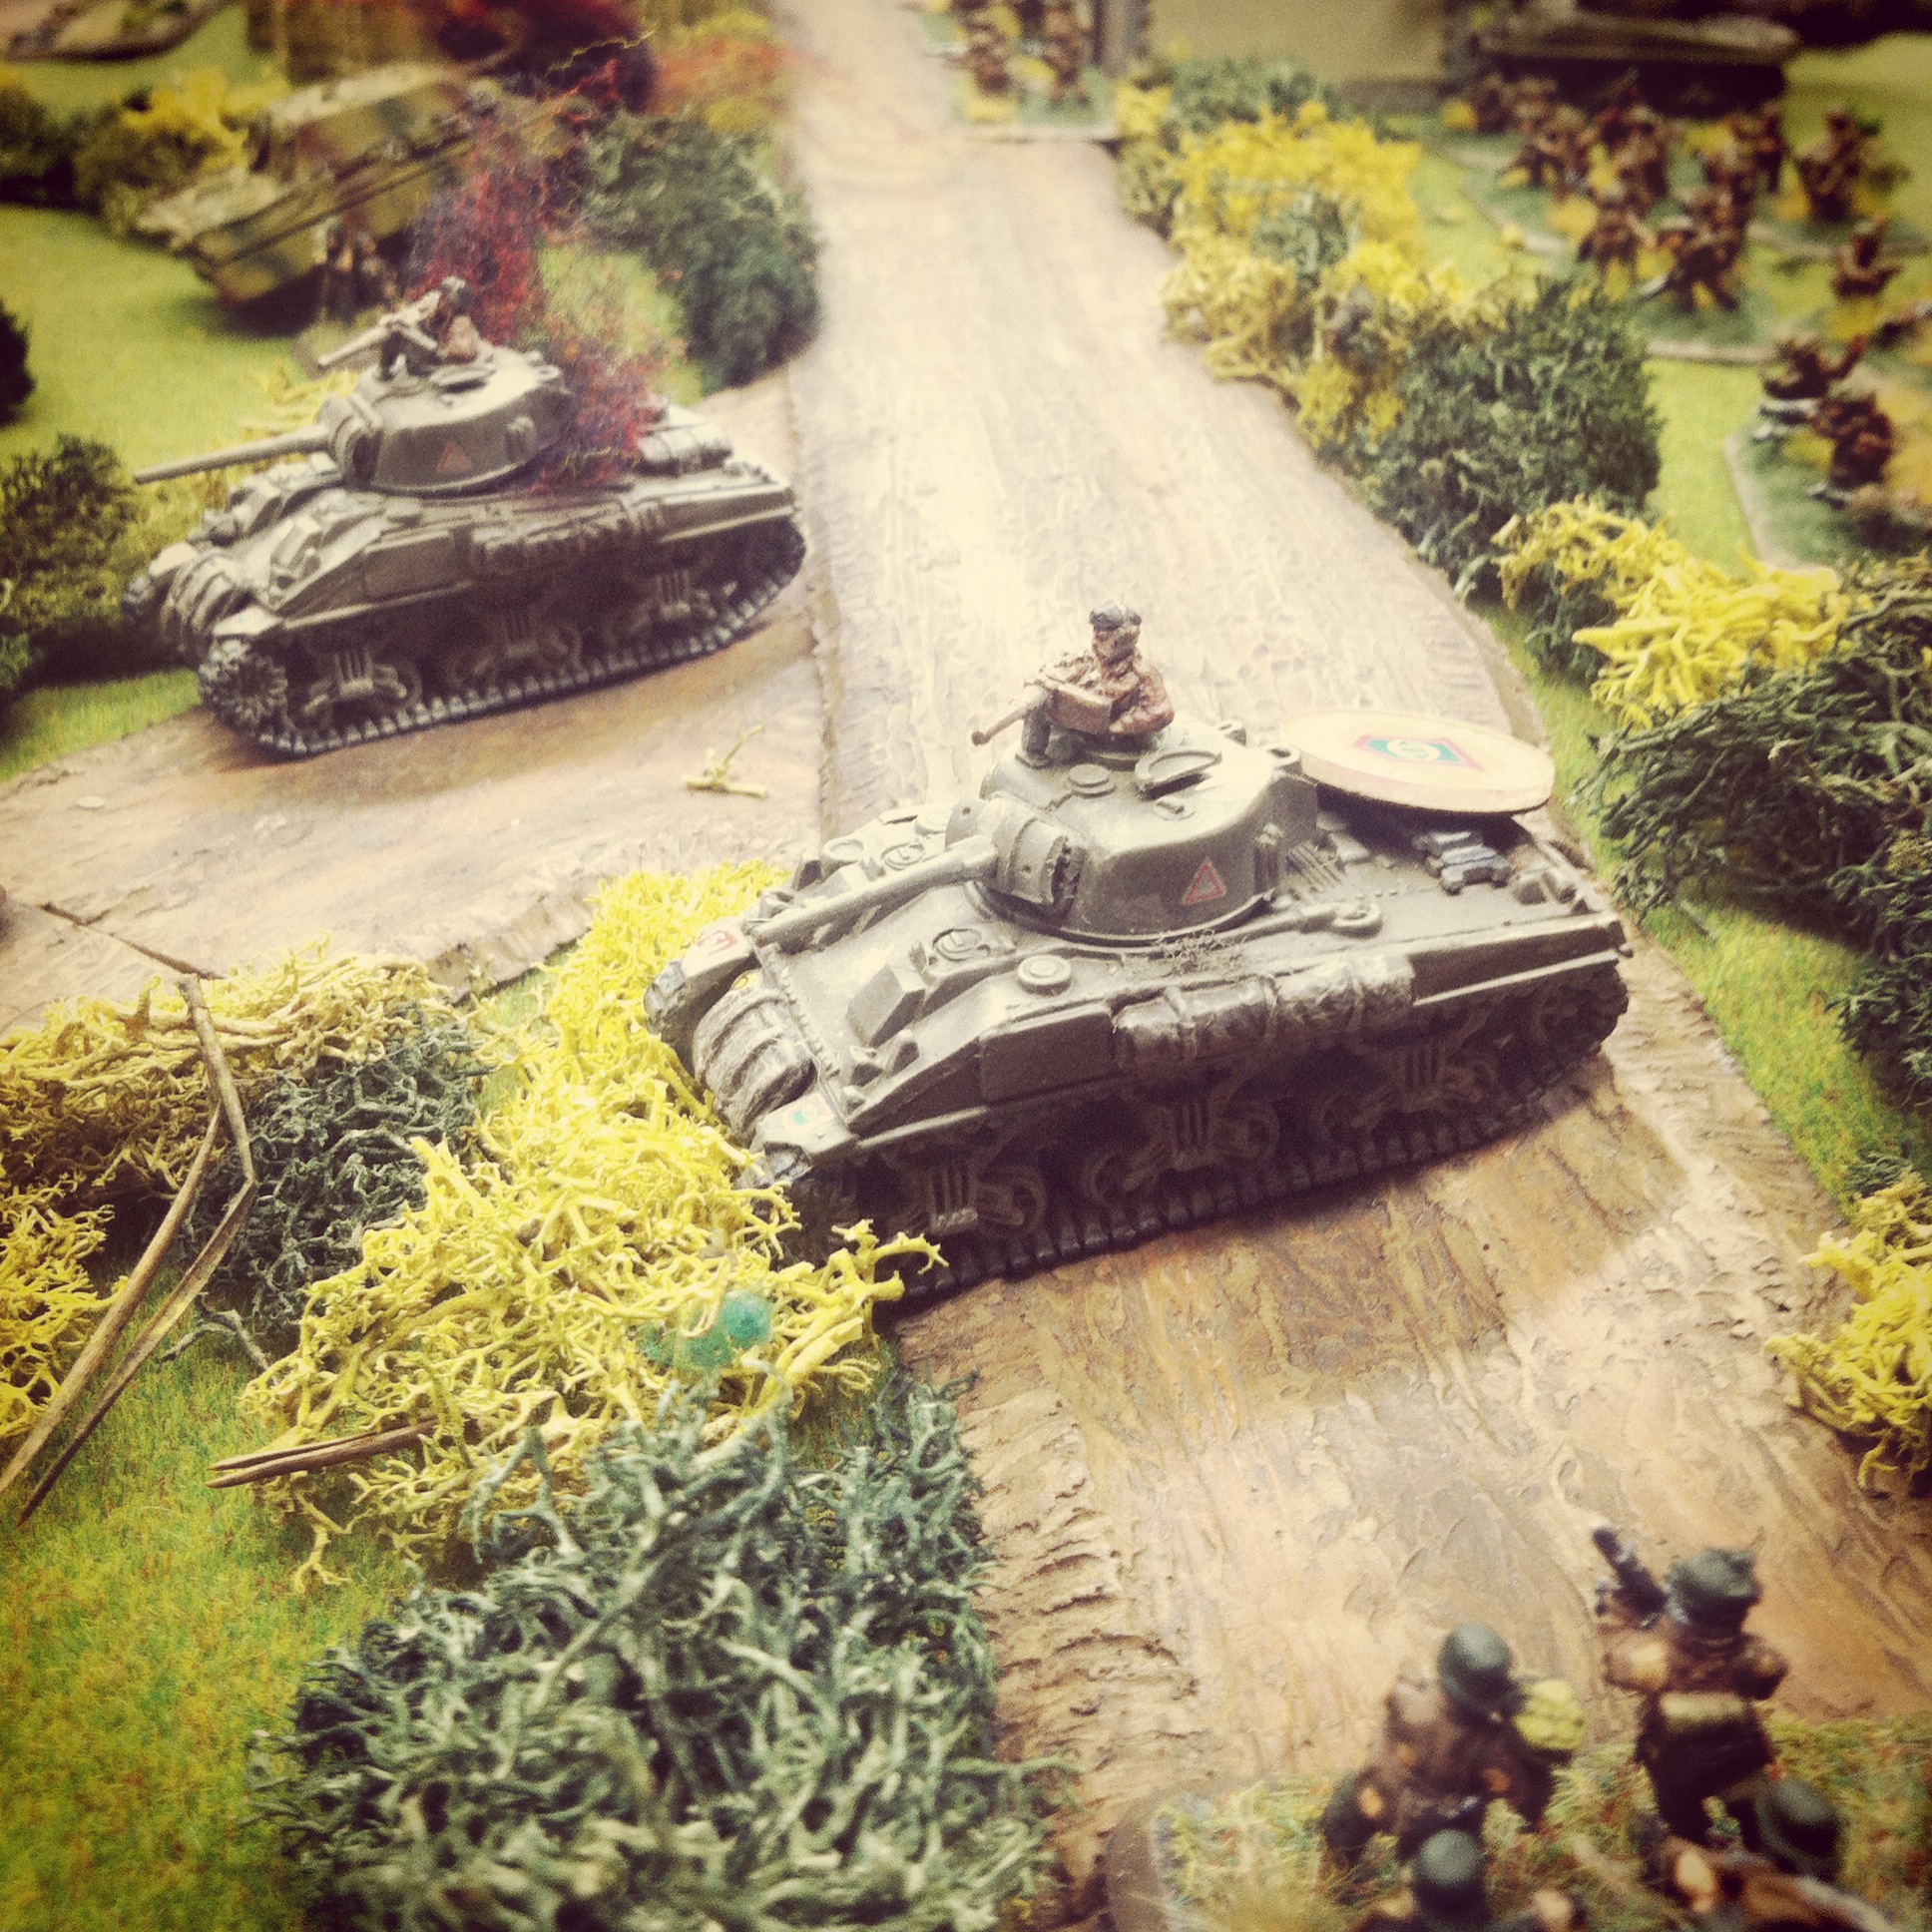
 Germans dug in at Lingevres in the town’s buildings while British artillery and infantry deployed from the cornfields in the distance