28mm: M4A3 Sherman By Rubicon Models

M4A3ShermanPicThree

I’ve been quickly fitting out my 28m World War II infantry over the past few months with models from Artizan Designs, Warlord Miniatures and Black Tree Design. With scores of figures on the table, I thought it was high time to add some hefty support to the mix. So, at my recent journey to the excellent NJ Con I picked up a copy of the Rubicon Models M4A3 Sherman tank

55mm-M4A3_no_outline_cs4

Retailing for under $40 USD, the 1/56 scale Rubicon Sherman comes on three sprues of well cast plastic. The very detailed instructions allow for the construction of three versions of the tank with 75mm, 76mm or 105mm guns and multiple turret variations. As this was my first at this scale, I opted for the most common 75mm gun, and the assembly allowed for loose gun for elevation at multiple angles. The interlocking turret also enabled easy rotation as did the top machine gun when left unglued but snuggly fitted into the turret. No stowage parts were included, but since this was my first model, I didn’t mind keeping it a relatively clean, right off the assembly line version of the workhorse Sherman of WWII.

IMG_6250My go-to basecoat for my US wargaming miniatures

After a quick assembly, my Sherman was hit in a basecoat in the US olive drab color from the Plastic Soldier Company. I’ve gotten a ton of mileage out of this product as a foundation for 15mm Flames of War models in the past, and it worked equally as well at this larger scale. Following the base spray, the treads got a black and then metallic drybrush. Seams in the hull were washed with a black-brown, and the hull received layers of dry-brushed rusty metallics and layers of varying brown mud. The included decals were easily applied and then washed and muddied up before the whole model was dull-coated in a final protective spray.

The resulting M4A3 Sherman armed with a 75mm gun is shown below in detail from a few angles and is ready to operate in support of my Allied models in the months to come.

IMG_6247

IMG_6246

IMG_6249

IMG_6248

Mad Max In Miniature

MadMaxOriginal Just as my early-1980s adolescent brain was feasting on a steady diet of Dungeons & Dragons, comic books and all things Star Wars, Mad Max raced out of the Australian wastelands and into my world. I caught The Road Warrior at a local theater, only to realize there was an earlier film which I tracked down on video cassette. In the years to come, the Mad Max movies and their sequels tucked in nicely with my other adventure film mythologies. The Conan movies held the sword-and-sandals spot, Star Wars filled the sci-fi niche and Indiana Jones was the retro heroic adventure serial.

It was the the Mad Max films which brought the genres together in a barbaric, sci-fi tale led by a charismatic hero who always seemed to be losing right up until the final moments of the film when you realized he’d just won. The Mad Max movies also held a certain raw immediacy to me, especially in the final dangerous decade of the Cold War where a Road Warrior-esque post-apocalyptic future seemed like a possibility. Thirty years after the third film, Mad Max Beyond Thunderdome, I (thankfully) am not surviving in a souped up car on a murderous desert highway, but I did get another new Mad Max film that thrilled my inner teenager while satisfying my now more adult brain with story and message.

I’m also thankful for being a part of Metropolitan Wargamers which is filled with passionate, creative gamers who put together stunning games like the Road Warrior miniatures event this past weekend at the club. IMG_6151 The game was based largely on a modified set of rules available at the Third Point of Singularity website which have been popular during late night games at some conventions the past year or so. The basics of the rules were maintained with simple sticks for movement, and combat and damage results resolved with D20s and D6s cross-referencing tables. The tabletop itself  used an extra large canvas desert mat, rocky outcroppings and some custom blacktop roads made from roofing material. Dust, smoke and fire markers all come in handy as the carnage builds rapidly. The pics below give a pretty good feel for what the game looks like as the cars race and battle across the table. IMG_6156 IMG_6150 IMG_6162 IMG_6160 IMG_6161 The really wonderful aspect of the game is the cars, made for the most part from Hot Wheels and Matchbox toy vehicles. Cars are tricked-out using bits left over from other military models plus a lot of special 20mm parts and figures made specifically by Stan Johnson Miniatures for post-apocalyptic gamers. Each of the unique cars gets its own stats card and name, as shown in some of the examples below. IMG_6159 IMG_6153 IMG_6152 IMG_6154 IMG_6155 IMG_6158 IMG_6157 With a couple dozen cars, trucks and vans, bunches of good guys and bad guys, and a raucously absurd game, there’s going to be a lot of Mad Max-style roadside carnage in the weeks to come in Brooklyn.

28mm: US Airborne Pathfinders And Characters By Artizan Designs

USABcharacters

Among the US 101st Airborne Division, the volunteer pathfinders were a particularly hearty group. Parachuting into France just after midnight on June 6, 1944, the pathfinders were among the first allied troops to set foot on French soil as the D-Day invasion commenced. Tasked with marking the drop zones, the mission of the pathfinders was hampered by poor weather, heavy German defenses, flooded fields and faulty equipment. Despite the challenges hampering the pathfinders on the ground, the Allied air invasion of more than 13,000 men behind the beaches of Normandy proved key to the day’s success.

ADlogo

In continuing to round out my 28mm US Airborne collection, I went back to Artizan Designs for their pathfinder models as well as some additional characters. Two of the pathfinders feature the signature mohawk hairstyles and I added “war paint” markings on their faces as seen in some historic photographs. The other character models will serve as officers since their poses display confidence in command.

AB Paint Scheme

Painting 28mm US Airborne

  1. Clean flash from metal models with a sharp knife and glue to metal washer or plastic bases.
  2. Apply filler putty to bases. When dry, scrape off excess with a sharp knife.
  3. Base coat models and bases with flat black spray primer.
  4. Paint uniforms and bandages on helmets with Tallarn Sand.
  5. Paint helmets and knee and elbow patches with Waaagh! Flesh.
  6. Paint faces and hands with Tallarn Flesh.
  7. Paint webbing and packs with Baneblade Brown.
  8. Paint bases, boots, gun stocks and helmet straps with Dark Brown.
  9. Apply Agrax Earthshade wash to uniforms, helmet netting, webbing and packs.
  10. Mix 50/50 Baneblade Brown and Off White and lightly dry brush packs, webbing and socks.
  11. Lightly dry brush bases, gun stocks, helmet netting, holsters and elbow and shoulder patches with Baneblade Brown.
  12. Paint metal gun parts with black and finish with a light dry brush of metallic silver.
  13. Paint eyes with small dots of Off White and Dark Brown. Clean up around eyes with Tallarn Flesh.
  14. Mix 50/50 Tallarn Flesh and Off White and brush highlights on cheekbones, chins, forehead, nose and hands.
  15. Cover bases in white glue and cover in 50/50 mix of fine light green and dark green grass flock.
  16. Glue small pieces of clump foliage to base.

To finish my models I’ll be adding decals to shoulders and helmets from Company B, followed by a coat of Solvaset decal fixative from Walthers and a spray coat with matte finish. After that, these guys will relive the heroics of D-Day on a tabletop soon.

IMG_0745

IMG_0747

IMG_0748

IMG_0746

IMG_0750

IMG_0749


28mm: German Anti-Tank Weapons And Command By Artizan Designs

GermanAT

After a few months taking a break from painting, I came back to my 28mm World War II Germans by adding some anti-tank weapons and command figures.

ADlogo

I’ve been so pleased with the German infantry from my first and second platoons using models from Artizan Designs that I returned to their miniatures again to round out my collection. The panzerfaust and panzerschreck teams gave a nice mix of poses on the move and in firing positions. Likewise, the command molds make for a nice grouping including a radio operator and a stern officer with battle plans in one hand and the other hand planted confidently on his hip.

paintgerman

As always, the Artizan figures required little flash clean up before being glued to metal washers. Here’s my battle-tested steps in detail for painting my latest Germans.

Painting 28mm German Infantry

  1. Clean flash from metal models with a sharp knife and glue to metal washer or plastic bases.
  2. Apply filler putty to bases. When dry, scrape off excess with a sharp knife.
  3. Basecoat models and bases with flat black spray primer.
  4. Paint smocks and helmets with Tallarn Sand.
  5. Paint pants, soft hats, officer greatcoat and gas mask containers with Skavenlight Dinge.
  6. Paint camouflage on helmets and smocks with alternating Waaagh! Flesh and Dark Brown.
  7. Paint faces and hands with Tallarn Flesh.
  8. Paint packs with Baneblade Brown.
  9. Paint boots and equipment straps Black.
  10. Paint bases, gun stocks, water bottles and helmet straps with Dark Brown.
  11. Apply Agrax Earthshade wash to uniforms, helmet netting, webbing and packs.
  12. Mix 50/50 Baneblade Brown and Off White and lightly dry brush packs, webbing, socks and holsters.
  13. Dry brush pants, soft hats and officer great coat with Light Grey.
  14. Lightly dry brush bases and gun stocks with Baneblade Brown.
  15. Paint metal gun and water bottle parts with black and finish with a light dry brush of Metallic Silver.
  16. Dry brush gasmask containers with metallic Silver.
  17. Paint eyes with small dots of Off White and Dark Brown. Clean up around eyes with Tallarn Flesh.
  18. Mix 50/50 Tallarn Flesh and Off White and brush highlights on cheekbones, chins, forehead, nose and hands.
  19. Cover bases in white glue and cover in 50/50 mix of fine light green and dark green grass flock.
  20. Glue small pieces of clump foliage to base.
  21. Spray coat completed models with matte finish.

So, with some simple steps I’ve got a bit more punch and leadership for my Germans as they hit the table soon.

IMG_0739

IMG_0740

IMG_0737

IMG_0736

IMG_0743

Flames of War: Najewitz Modellbau 15mm Pegasus Bridge

PegasusBridgeWWII

Most of my 15mm wargaming terrain building I do is generic enough to be used throughout Western Europe during World War II. Even with a large collection of buildings at my disposal, there are a few iconic WWII landmarks that have long stood out in my imagination as projects I should tackle at some point. One of those is Pegasus Bridge at Bénouville, France.

The bridge was made famous by a brief but important battle in the early morning hours of D-Day on June 6, 1944. Glider units from the British 6th Airborne Division landed near two bridges just past midnight and quickly secured the Caen Canal crossings with minimal casualties. The quick nighttime action ensured movement and counterattack by German forces would be significantly limited in the coming days and weeks after the Allied landings in Normandy.

NMlogo

Building Pegasus Bridge would turn out to be a number of firsts for me. The model I picked up from Najewitz Modellbau in Germany is laser-cut, a model material I had not worked with before. The nature of the model and its situation crossing the Caen Canal would also necessitate I create surrounding terrain. In all, the project allowed me to try out a bunch of new things on a signature set piece which wound up being much more of a project than I originally envisioned.

Building the Bridge

The Pegasus Bridge model shipped in plastic bag folded into a flat, short cardboard box which had definitely shown some wear and tear during its journey from Germany to Brooklyn. Some pieces of the model had come loose from the MDF sheets during transit, but everything was there and unbroken. The rest of the model was easily punched or carefully cut out using a fresh blade in a hobby knife. With all the parts cut out, I sorted them on a tray to get a handle on the task of things before me. The model does not ship with assembly instructions, but they are available for download once registered to the Najewitz Modellbau website. The instructions are pretty spare, relying on simple wordless graphics and some imagination to put all the pieces together. I found referring to historic and contemporary images of the bridge online was just as helpful as the actual manufacturer instructions. Since there were no images online of the bridge being constructed, I decided to offer up a visual step-by-step for others looking to add this model to their terrain collection.

IMG_5918

IMG_5919

I started by laying out the parts into subsections, including the little control house which sits adjacent to the bridge and the two large sections which are found at the top of the bridge. I dry fit all the pieces to test them at first and then used carpenters wood glue to put the pieces together. Getting the stairs to the control house together was a little finicky. The curved roof on the small structure at the top of the bridge was achieved by scoring the flat roof and carefully bending it to the shape of the arched roof line.

IMG_5920

IMG_5923

IMG_5921

IMG_5922

IMG_5924

IMG_5925

IMG_5926

Next, I tackled all the trusses and supporting elements of the main bridge structure. This is where the fine lasercut detail really started to pop as I glued pieces together to resemble the plates and seams of the metal work on the bridge. After each section dried, I glued them to the main deck. The fine railings which run all around the bridge again were a challenge to figure out which went where, but some careful test fitting before gluing everything in the correct place.

IMG_5927

IMG_5928

IMG_5929

IMG_5930

IMG_5931

To finish the bridge, I glued the small gatehouse to an extra piece of square basing, attached it to the main bridge and cut some of the railings to fit around the building. The separate piece of the road approach on the other end was glued to the main bridge using a thin piece of cardboard glued to the underside to create a flexible hinge-like connection. The model doesn’t come with crossing guards, so I used extra pieces of the kit’s wood to cut some simple shapes. The cross guards were simply painted white with red stripes. The entire structure got a grey sprayed base coat and was then dry brushed in an off white paint to produce a worn look to the entire bridge.

IMG_5816

IMG_5933

Building the Terrain

As I was constructing the bridge I quickly realized it was going to need to be elevated off the table to accommodate the graded approach and a span over the canal. I went to the trusty standby of foam sheets in order to create sections of terrain on either side of the canal to create roads to the bridge and banks of the canal.

Using a ruler and marker, I outlined the areas to be cut away and sculpted. After making the rough cuts, I smoothed the edges out using wood filler and then sanding everything to a relative smooth shape. The foundation under each side of the bridge would also feature stone sections which I gently carved by using a pencil to create rows of masonry. Everything got an undercoat of brown spray paint followed by a coat of watered-down white glue and mixed flocking. The stone foundations received several coats of gray and off white dry brushed paint to create a realistic. The roads were likewise dry brushed in various shades of browns. Small chunks of foliage were glued here and there around the stone sections to add a little detail.

IMG_5940

IMG_5851

IMG_5941

IMG_5934

IMG_5935

IMG_5936

IMG_5937

IMG_5938

Pegasus Bridge

With all the painting and construction done, everything got a dull coat spray to seal the model and terrain. I decided to keep the bridge and two terrain section separate and unglued from each other to ease transport and storage. Laid out on the table, the bridge spans the canal with approaches on either side. The only thing left to do is get the model on the table, and the heroic early morning raid on Pegasus Bridge will be ready to be replayed on the tabletop soon.

IMG_5969

IMG_5971

IMG_5970

IMG_5972

IMG_5973

Flames of War: Novus Design Studio 15mm City Block Ruins

ruinsWar is destructive by its very nature, and World War II was the most destructive war in history. Aside from the tens of millions of military personnel and civilian deaths, the war brought unprecedented ruin to the thousands of villages, towns, cities and industrial areas through and over which the war was fought. The nearly immeasurable physical and financial impacts of WWII rippled for decades to come, including enormous effects on buildings and other physical spaces worldwide.

all15mmterrain

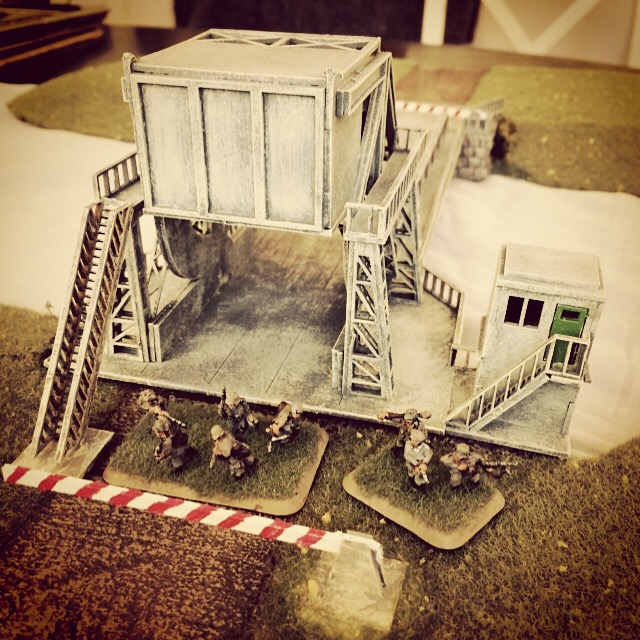
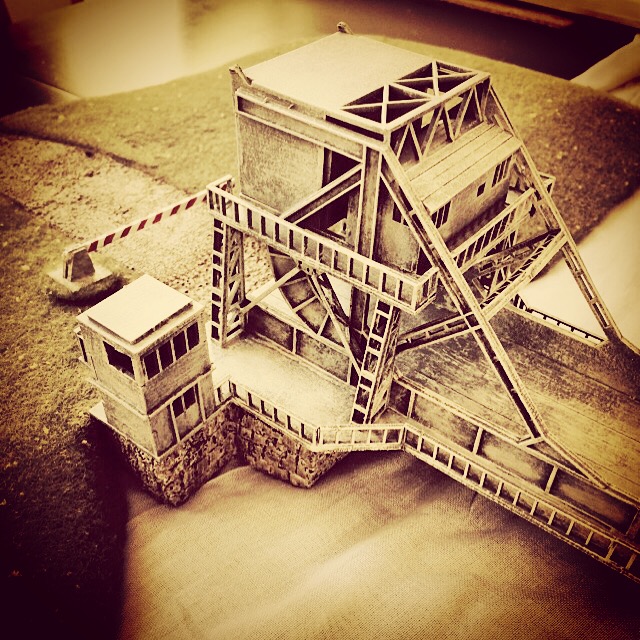
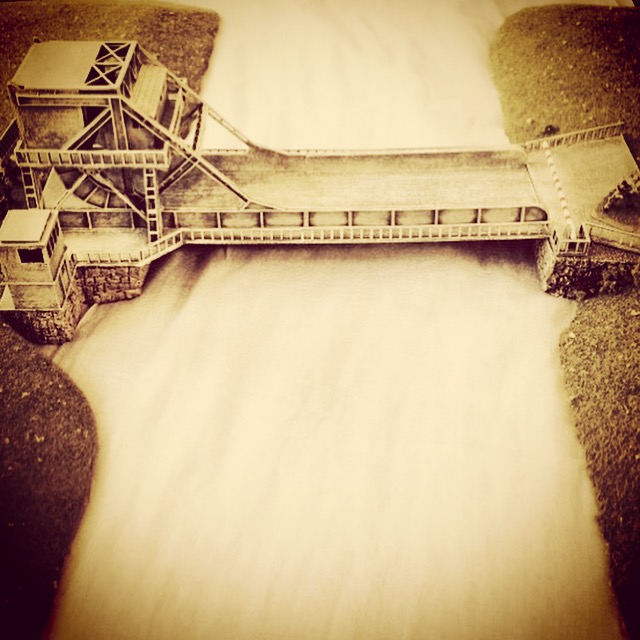
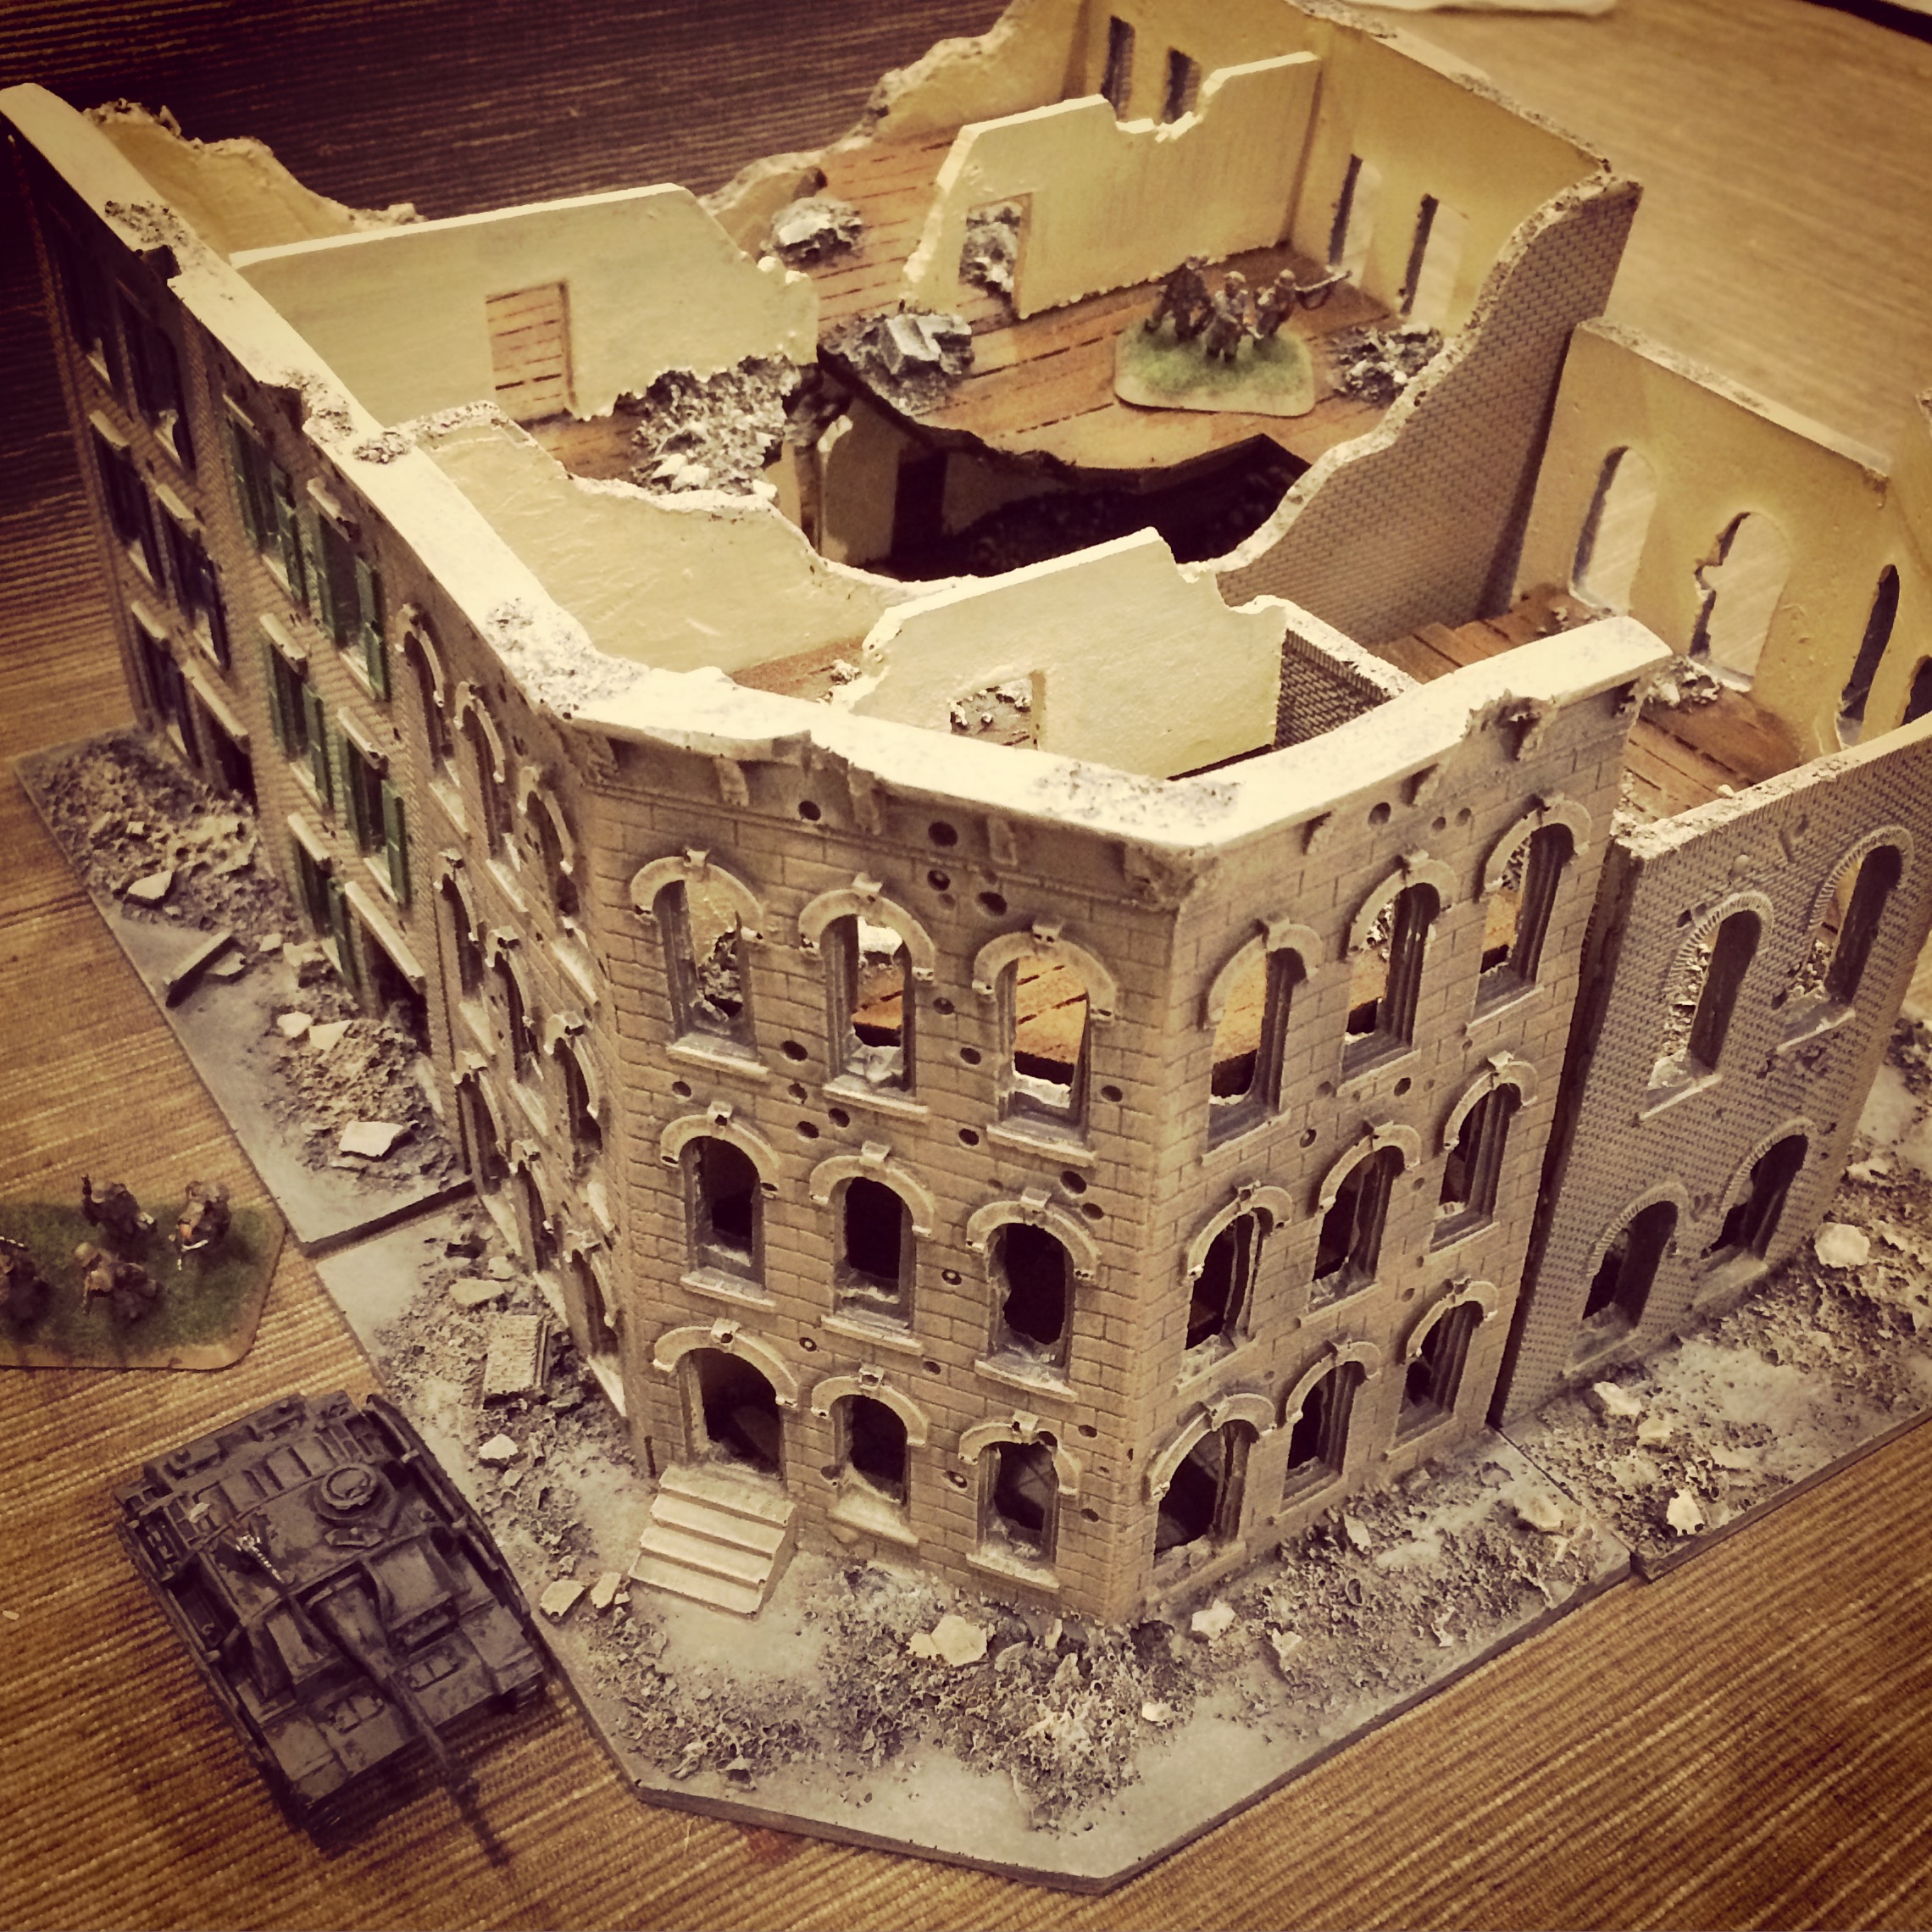
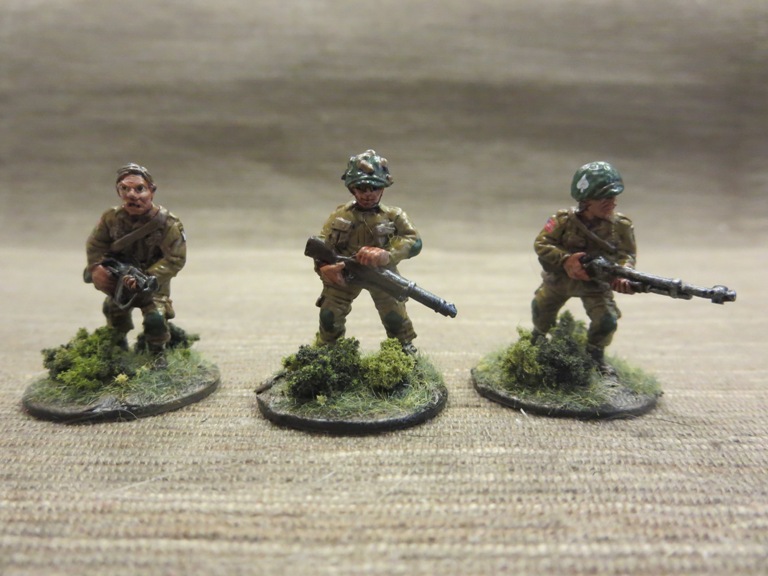
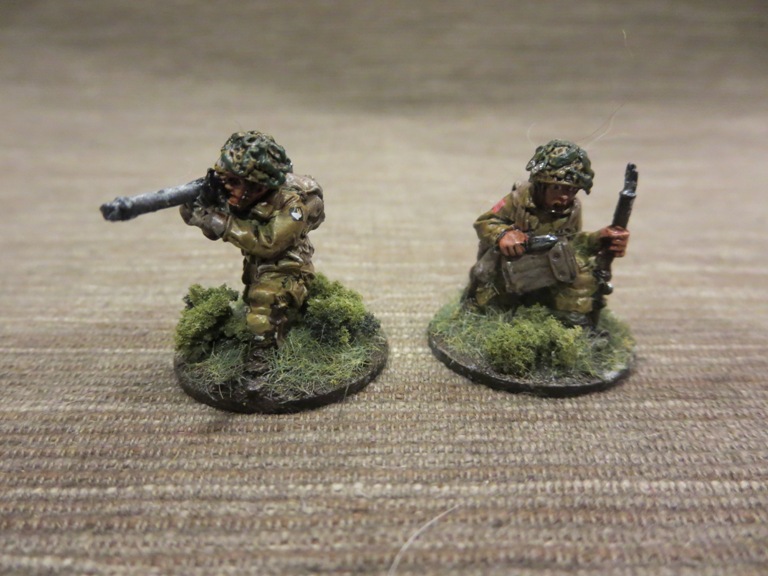
My 15mm European terrain during a recent game

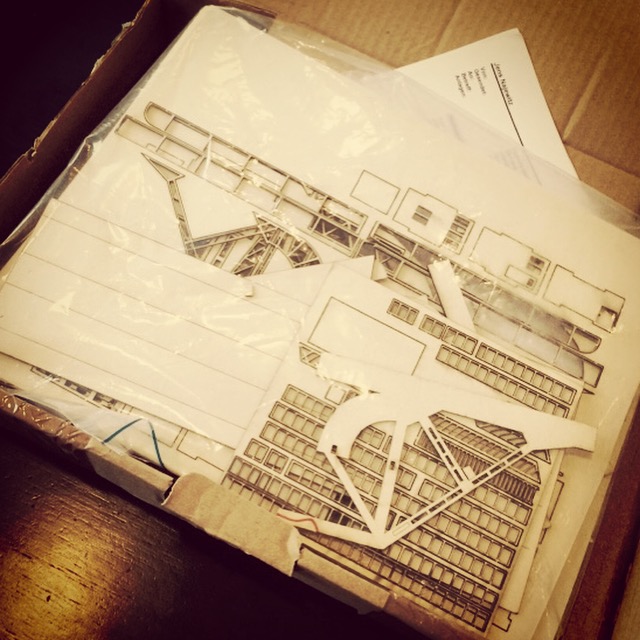
For my 15mm WWII wargaming using Flames of War and I Ain’t Been Shot Mum rules systems, my terrain has been modeled almost entirely on Western Europe using buildings from numerous manufacturers collected over the past few years. In all my 15mm modelling, destroyed buildings have largely been absent so far, so I’ve been really happy to add my new city block ruin models from Novus Design Studio to my terrain collection.

NovusLogo

NDS was founded just about a year ago in April 2014 by Robert and Nancy Rumfelt, the founders and original owners of JR Miniatures. Like many wargamers, I’ve got a long history with models from JR Minis and so in many ways I knew what to expect from NDS when the company’s launch was first announced. I watched their inventory grow in the past year covering 6mm, 15mm and 28mm scales across WWII, sci-fi, fantasy and modern themes, and they’ve continued to add new products in the new year.

IMG_4969
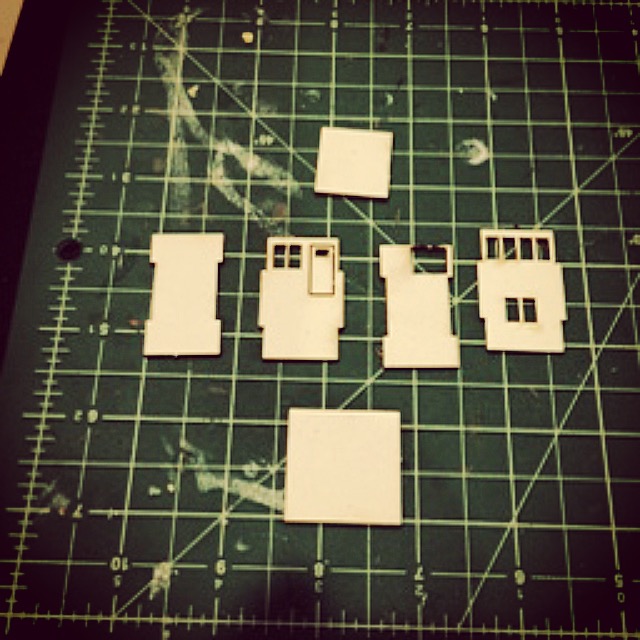
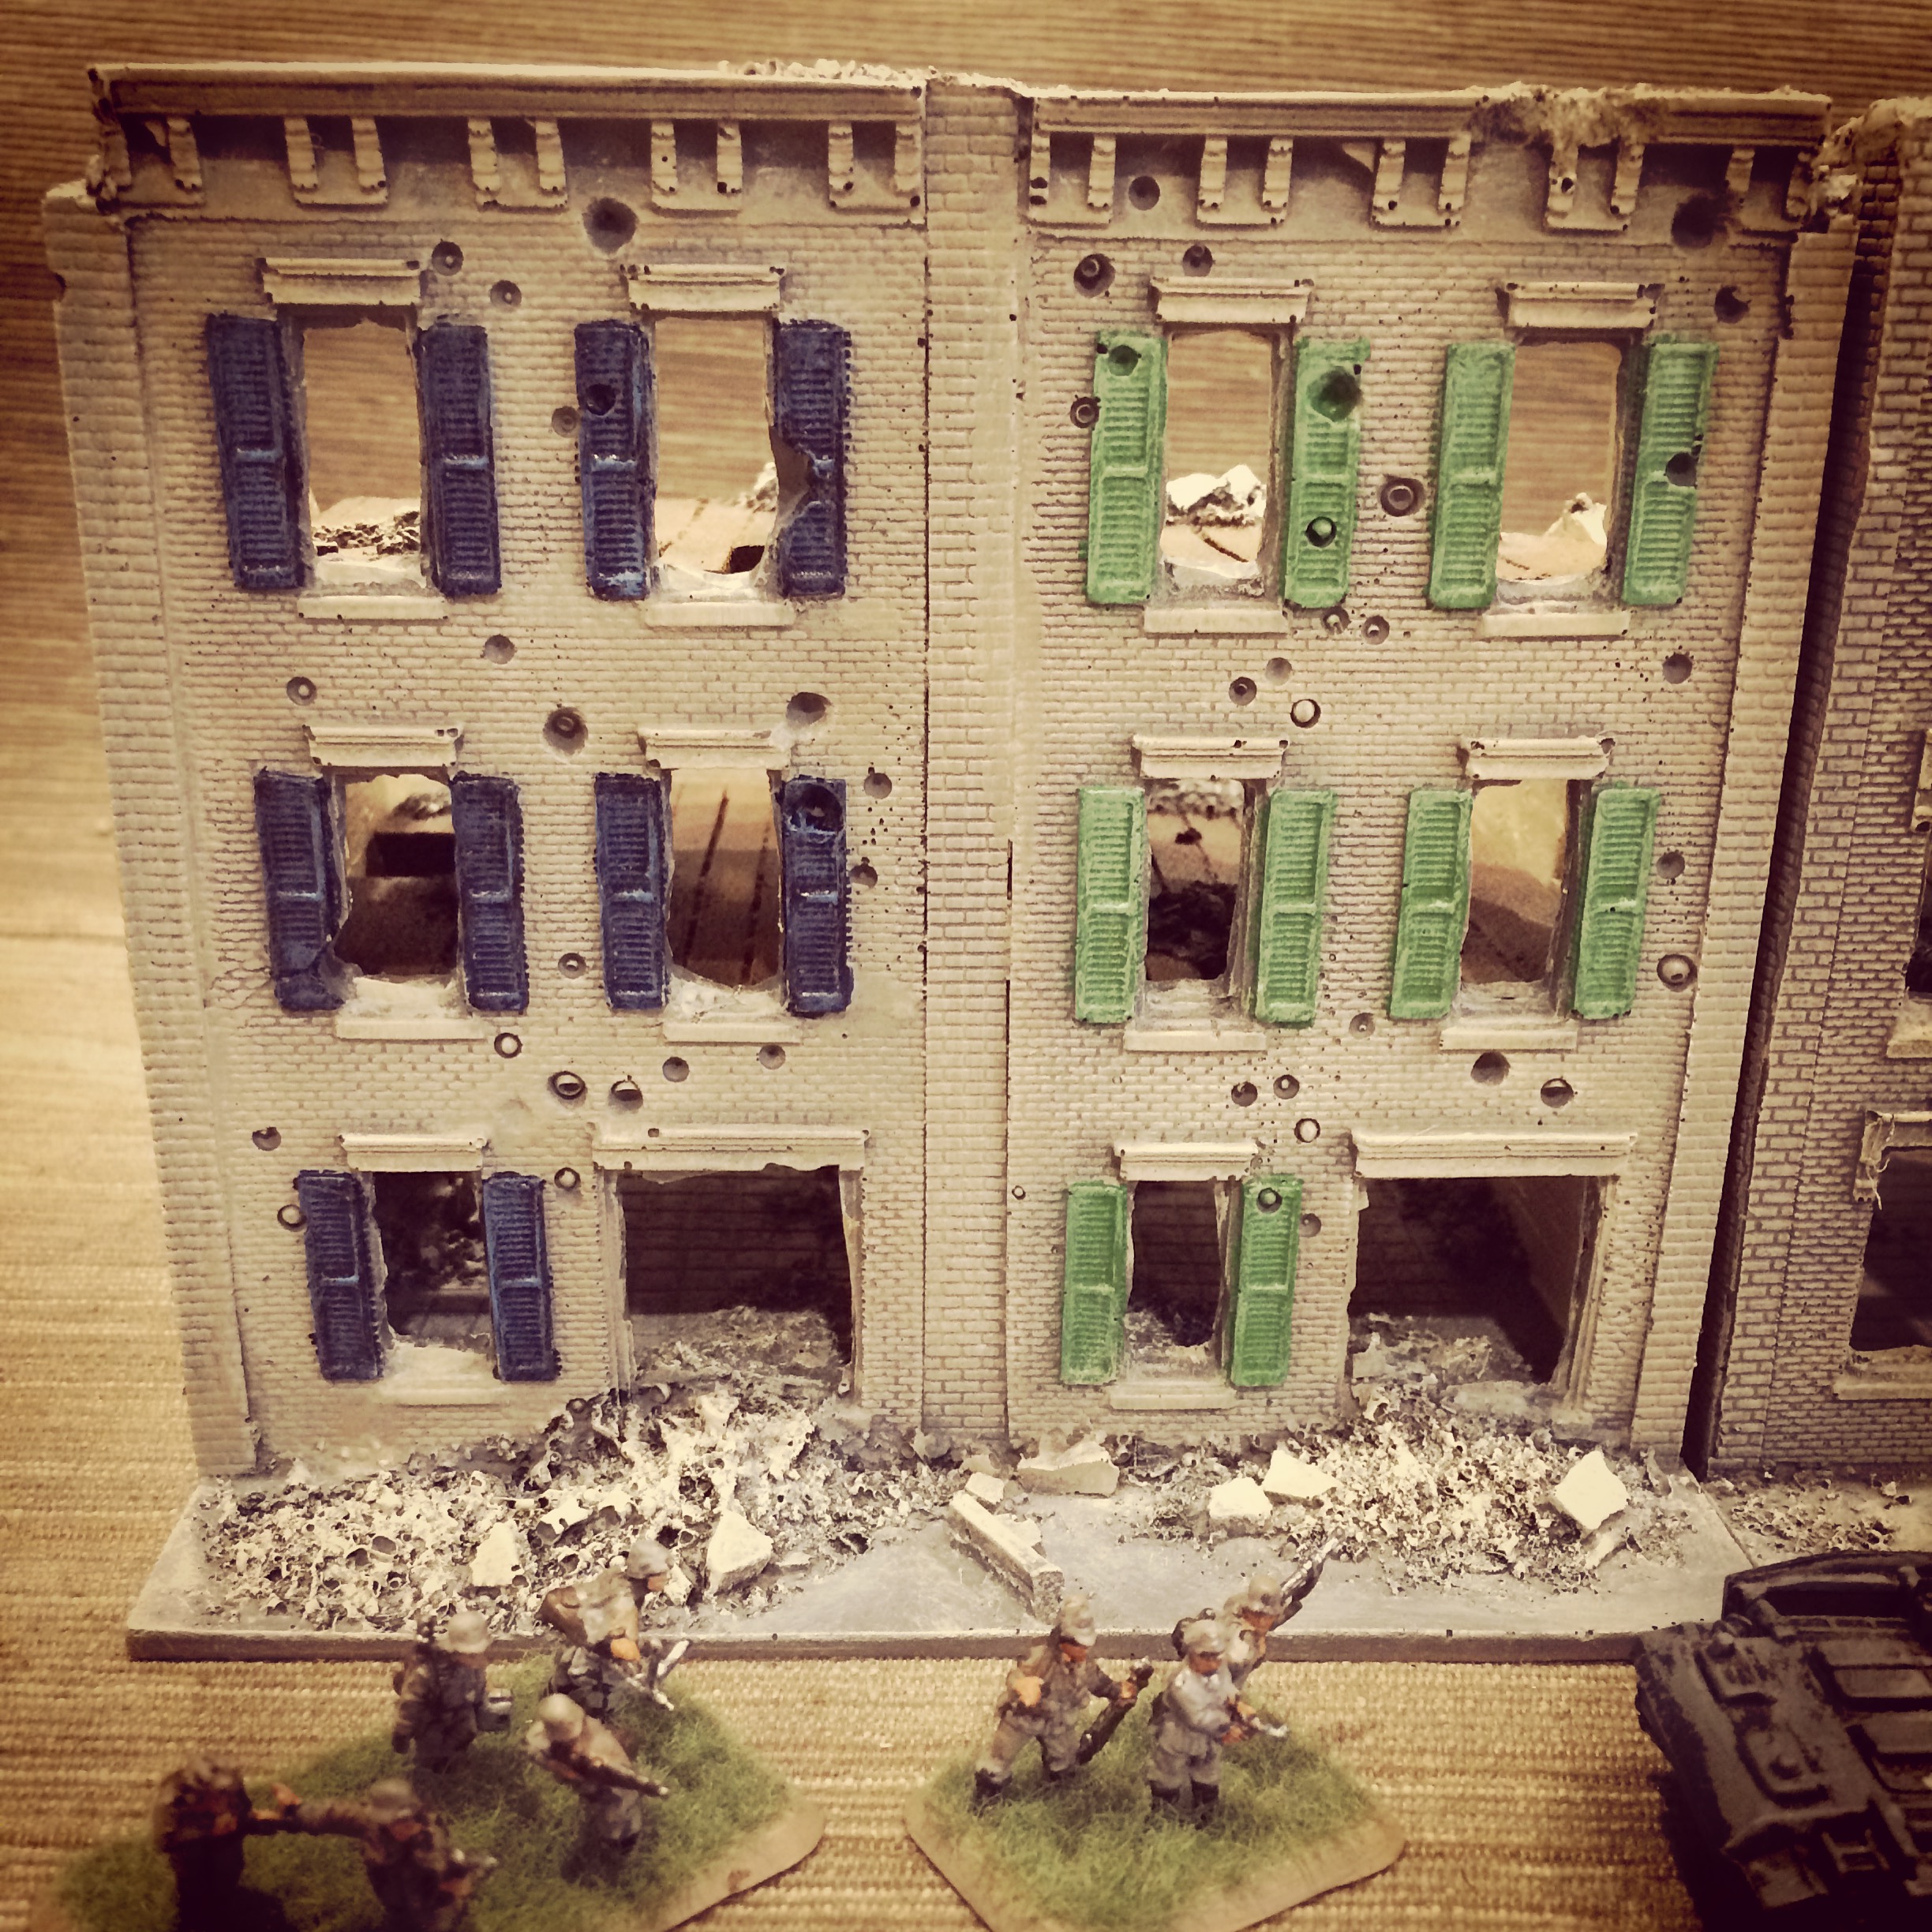
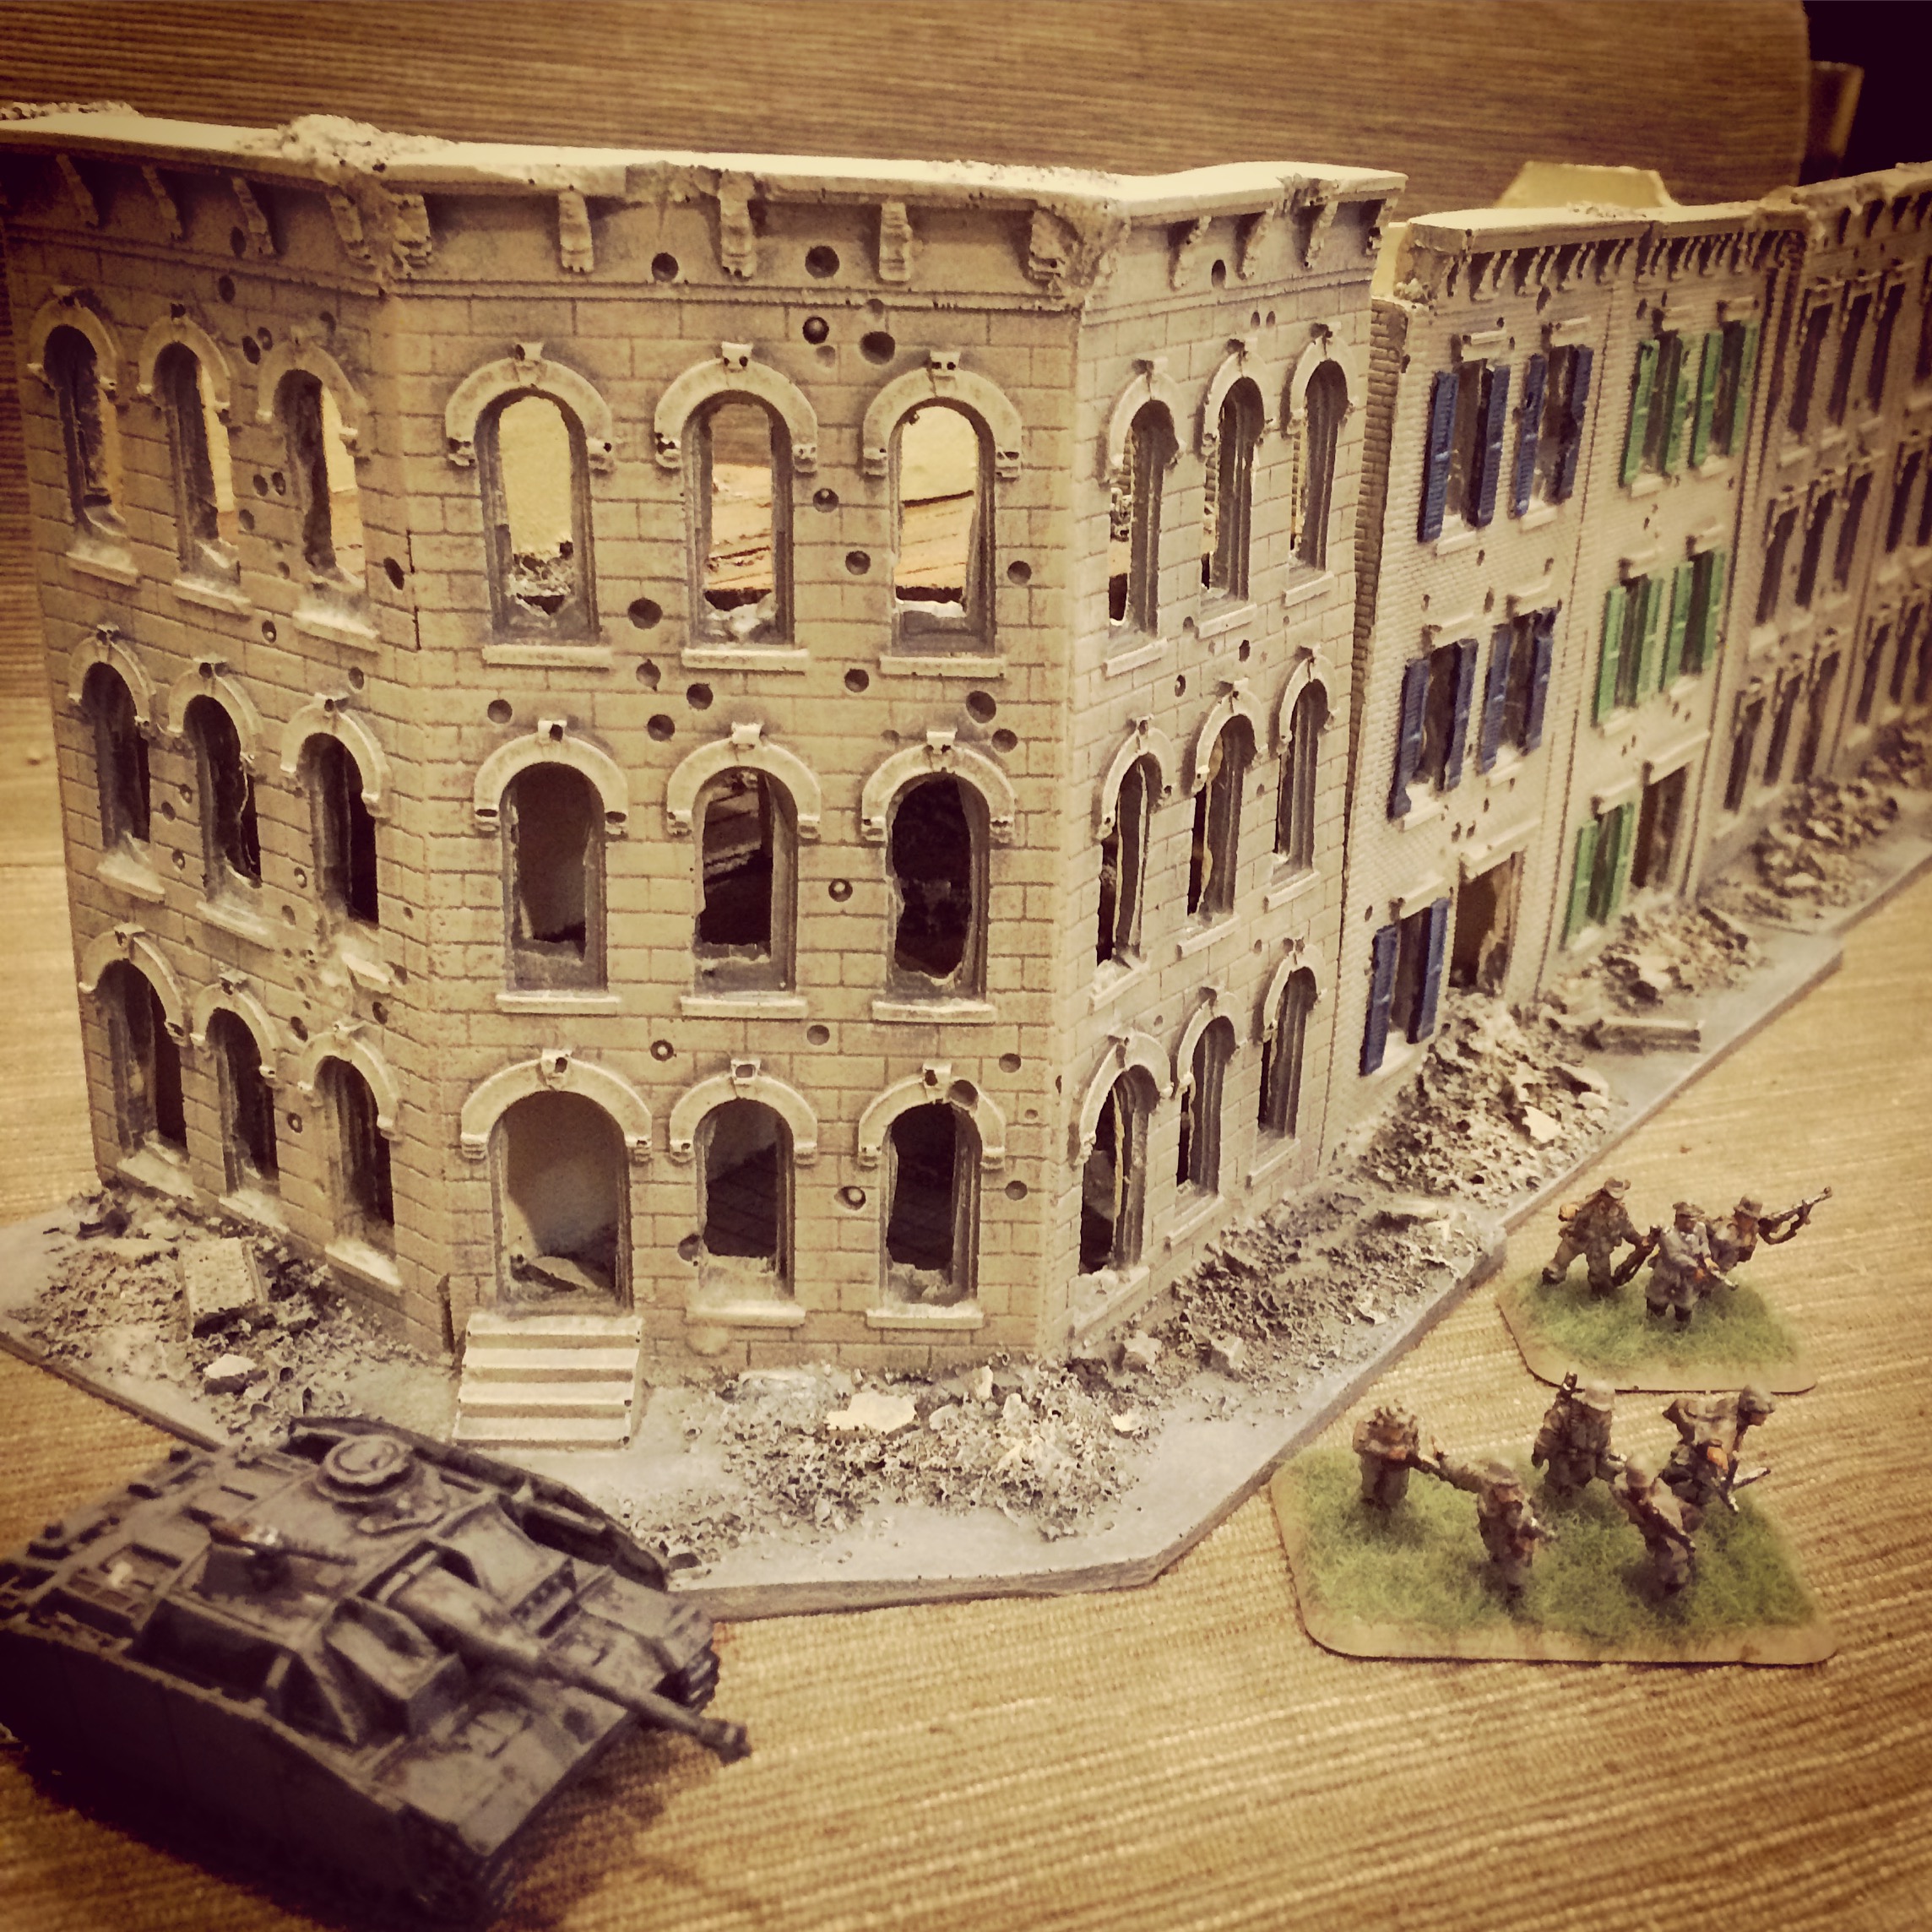
A complete set of four 15mm city block ruins from Novus Design Studio

The two and three story 15mm urban ruins retail for $26-31 USD each but I picked up a full set of four in a 40% off deal NDS ran at the end of 2014. The straight and corner buildings match up nicely together in a row or bunched into a city block in various configurations. The models also look great placed among buildings from other manufacturers, especially other city row houses from JR Minis. The castings in a creamy resin require a little flash clean up with a sharp hobby knife and air pocket holes show up here and there but don’t distract from the destroyed nature of the structures.

Novus Sample Front Back
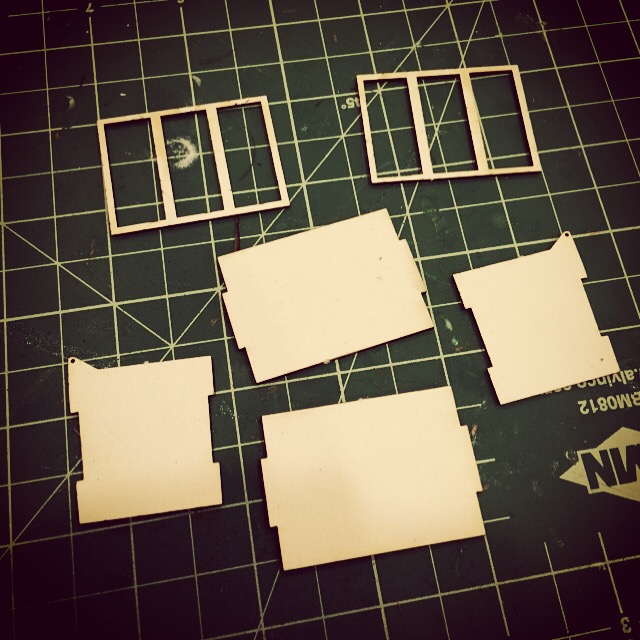
Front and rear view depicting multiple removable floors of a typical city block ruin model

All the NDS city block ruins feature removable floors molded with plank floors, piles of rubble, walls and interior doorways. The buildings have staircases and walls on the interior, broken window panes and more rubble on the attached sidewalks at the front. Everything about these make them very usable for 15mm gaming whether it be for 20th-century historical scenarios or contemporary and near-future gaming in European or even American urban settings. Getting multiples of the models on the table would easily allow setting up a truly impressive cityscape ravaged by the impacts of war.

IMG_4987
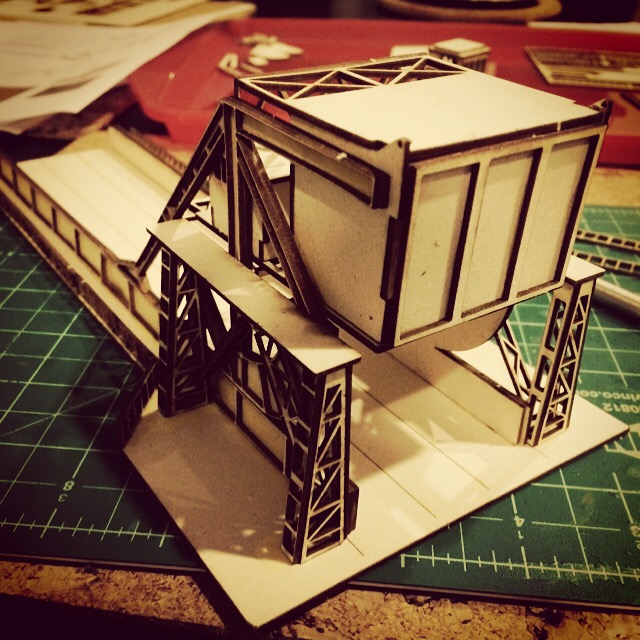
Cleaned and primed corner city block ruin model

After cleaning up the flash on the models, I washed them all in warm soapy water to remove excess casting residue. The main building structures got a spray of flat gray as a base coat followed by layers of dry brushed tan, light gray and off white paint on the exteriors. Sidewalks also received grays and off white to highlight piles of ash and broken masonry heaped on the ground. On building had shutters which were painted in a dark blue and green and then highlighted with the same color mixed with a bit of white.

IMG_5670

IMG_5669

For the interiors, the removable floor levels were base coated in flat black. Plank floors were built up in layers of browns ranging from dark to light in each coat. I went basic on interior walls, using an off white to create a simple plaster look. As with the exterior, the rubble and tile floors on the ground floors were built up in grays and off white.

IMG_5672

IMG_5673

After a finish of a few coats of clear matte spray, the city block ruins were done. Arranged in a square block or stretched out in a row, these models easily blend in with other 15mm terrain manufacturers and add a great bit of variety to a tabletop set up. Bringing a bit of destruction to my overly neat wargaming battlefields is a welcome addition with my first buildings from Novus Design Studio.

IMG_5674

IMG_5671

IMG_5675

28mm: Artizan Designs US Airborne Support Weapons

BazookaOne of my favorite blogs, War Is Boring, had a very timely article this past week on the history of the M-9 bazooka. I had just sat down to work on a small project of outfitting my growing US 101st Airborne 28mm force with some additional support weapons, and the article provided some great inspiration for getting my force outfitted with more explosive back-up with some two-man bazooka crews and a 60mm mortar from Artizan Designs.

ADlogoI’d recently finished a bazooka team and mortar from Warlord Games, so two more bazookas and another mortar from AD not only fills out my gaming options but also allowed me to compare the metal models from two great manufacturers. The mortar stands look nearly indistinguishable side by side. As for the bazookas, the Warlord weapon is a bit thinner than the bulkier AD sculpts but the soldiers themselves look perfect together when painted using the consistent process below.

AB Paint Scheme

Painting 28mm US Airborne Support Weapons

  1. Clean flash from metal models with a sharp knife and glue to metal washer or plastic bases.
  2. Apply filler putty to bases. When dry, scrape off excess with a sharp knife.
  3. Base coat models and bases with flat black spray primer.
  4. Paint uniforms and bandages on helmets with Tallarn Sand.
  5. Paint helmets and knee and elbow patches with Waaagh! Flesh.
  6. Paint faces and hands with Tallarn Flesh.
  7. Paint webbing and packs with Baneblade Brown.
  8. Paint bases, boots, gun stocks and helmet straps with Dark Brown.
  9. Apply Agrax Earthshade wash to uniforms, helmet netting, webbing and packs.
  10. Mix 50/50 Baneblade Brown and Off White and lightly dry brush packs, webbing and socks.
  11. Lightly dry brush bases, gun stocks, helmet netting, holsters and elbow and knee patches with Baneblade Brown.
  12. Paint metal gun, bazooka and mortar parts with black and finish with a light dry brush of metallic silver.
  13. Paint eyes with small dots of Off White and Dark Brown. Clean up around eyes with Tallarn Flesh.
  14. Mix 50/50 Tallarn Flesh and Off White and brush highlights on cheekbones, chins, forehead, nose and hands.
  15. Apply Company B decals to shoulders and helmets, followed by a coat of Solvaset decal fixative from Walthers.
  16. Cover bases in white glue and cover in 50/50 mix of fine light green and dark green grass flock.
  17. Glue small pieces of clump foliage to base.
  18. Spray coat completed models with matte finish.

I really love the detail in the AD miniatures. The two bazooka teams each uniquely portray guys on the move or ready to fire. The figure kneeling with a radio to his ear is a new favorite of mine and will probably be used as a spotter to call in mortar support. Check out all the photos below for the results from the AD miniatures waiting to provide additional back-up to my US Airborne troops.

IMG_0678

IMG_0679

IMG_0681

IMG_0682IMG_0680

IMG_0683

28mm: German Infantry and MG 42 HMG By Artizan Designs

GermanwithMG42

With my first set of German infantry and MG 42 machine gun complete, I’ve doubled my 28mm Axis force with more models from Artizan Designs. In just a few words, I’m loving the models from AD and my only complaint is that I’m quickly working my way through their figures so I’ll soon have a complete selection of their basic late war Germans.

ADlogo

paintgermanThis time around, there are a number of animated infantry figures in a mix of helmets and soft caps plus another MG 42 machine gun to supplement my arsenal. My German paint scheme has remained consistently fast and satisfying as per the below.

Painting 28mm German Infantry

  1. Clean flash from metal models with a sharp knife and glue to metal washer or plastic bases.
  2. Apply filler putty to bases. When dry, scrape off excess with a sharp knife.
  3. Basecoat models and bases with flat black spray primer.
  4. Paint smocks and helmets with Tallarn Sand.
  5. Paint pants, soft hats, officer greatcoat and gas mask containers with Skavenlight Dinge.
  6. Paint camouflage on helmets and smocks with alternating Waaagh! Flesh and Dark Brown.
  7. Paint faces and hands with Tallarn Flesh.
  8. Paint packs with Baneblade Brown.
  9. Paint boots and equipment straps Black.
  10. Paint bases, gun stocks, water bottles and helmet straps with Dark Brown.
  11. Apply Agrax Earthshade wash to uniforms, helmet netting, webbing and packs.
  12. Mix 50/50 Baneblade Brown and Off White and lightly dry brush packs, webbing, socks and holsters.
  13. Dry brush pants, soft hats and officer great coat with Light Grey.
  14. Lightly dry brush bases and gun stocks with Baneblade Brown.
  15. Paint metal gun and water bottle parts with black and finish with a light dry brush of Metallic Silver.
  16. Dry brush gasmask containers with metallic Silver.
  17. Paint eyes with small dots of Off White and Dark Brown. Clean up around eyes with Tallarn Flesh.
  18. Mix 50/50 Tallarn Flesh and Off White and brush highlights on cheekbones, chins, forehead, nose and hands.
  19. Cover bases in white glue and cover in 50/50 mix of fine light green and dark green grass flock.
  20. Glue small pieces of clump foliage to base.
  21. Spray coat completed models with matte finish.

And now, more photos of my Germans as my force builds up and looks toward hitting the table soon.

IMG_0670

IMG_0668

IMG_0672

IMG_0674

IMG_0675

IMG_0676

28mm: US Airborne By Black Tree Design

101stabonplane

My new 28mm World War II project is marching on, and I’ve recently added some US 101st Airborne models from Black Tree Design. The UK-based BTD offers a diverse line of metal miniatures from various historical eras, fantasy, science fiction and a nifty Doctor Who offering. The WWII US Airborne line offers a nice selection of poses and weapons, so I bought into my first BTD models averaging about $2 USD per figure during one of their frequent online sales.

BTDIMG_4977Nice packaging from Black Tree Miniatures

The BTD miniatures were quickly delivered in the US bagged and packaged in a little tin with a hand-written ‘thank you’ note. Compared to my earlier Airborne from Artizan Designs, the BTD models are a tad smaller and thinner but scale well on the table. Detail is a bit more sparse with less equipment slung on the backs of the paratroopers and rifles which read a bit more like that on toy soldiers. Aside from rifles, the models also came armed with Browning BARs, Thompson submachine guns and one guy hurling a hand grenade. While most of the models are set in generic poses, a few of the models show a lot of individual character with one officer calmly smoking a cigarette and another charging forward without a helmet.

AB Paint SchemeOne minor bummer was the delicate nature of some of the BTD models cast with both feet held tightly together, and one snapped off the base when I attempted to straighten his pose more upright. With the rest of the models successfully glued to bases, I painted up my first group of BTD miniatures using the same quick and simple process from my previous 28mm paratroopers.

Painting 28mm US Airborne

  1. Clean flash from metal models with a sharp knife and glue to metal washer or plastic bases.
  2. Apply filler putty to bases. When dry, scrape off excess with a sharp knife.
  3. Base coat models and bases with flat black spray primer.
  4. Paint uniforms and bandages on helmets with Tallarn Sand.
  5. Paint helmets and knee and elbow patches with Waaagh! Flesh.
  6. Paint faces and hands with Tallarn Flesh.
  7. Paint webbing and packs with Baneblade Brown.
  8. Paint bases, boots, gun stocks and helmet straps with Dark Brown.
  9. Apply Agrax Earthshade wash to uniforms, helmet netting, webbing and packs.
  10. Mix 50/50 Baneblade Brown and Off White and lightly dry brush packs, webbing and socks.
  11. Lightly dry brush bases, gun stocks, helmet netting, holsters and elbow and knee patches with Baneblade Brown.
  12. Paint metal gun, bazooka and mortar parts with black and finish with a light dry brush of metallic silver.
  13. Paint eyes with small dots of Off White and Dark Brown. Clean up around eyes with Tallarn Flesh.
  14. Mix 50/50 Tallarn Flesh and Off White and brush highlights on cheekbones, chins, forehead, nose and hands.
  15. Apply Company B decals to shoulders and helmets, followed by a coat of Solvaset decal fixative from Walthers.
  16. Cover bases in white glue and cover in 50/50 mix of fine light green and dark green grass flock.
  17. Glue small pieces of clump foliage to base.
  18. Spray coat completed models with matte finish.

Finally, a few photos of my finished BTD US Airborne ready to hit the Normandy tabletop.

IMG_0654

IMG_0657

IMG_0659

IMG_0660

IMG_0658  IMG_0744IMG_0662

IMG_0663

28mm: US Airborne Support Weapons By Warlord Games

usairborneweapons

With my first 101st Airborne troops completed in 28mm, I’ve moved on to adding some support weapons. As a relative newcomer to World War II at this scale, I’ve also taken the opportunity to try another manufacturer’s miniatures for the sake of comparison.

WarlordlogoIn 2008, Warlord Games launched a small selection of WWII miniatures acquired from another manufacturer. To compliment the line of models, about three years ago Bolt Action came to the game scene with a slickly-designed rule set published by Osprey Publishing and a now vastly-expanding line of miniatures from multiple nations and combat theaters of WWII. The Warlord Games plastic and metal line of soldiers, artillery, transports and armor, along with the Bolt Action game system, have come to dominate the market and tournament scene for gamers playing tactical-level WWII in the larger 28mm scale.

For my first figures from Warlord Games, I stuck with a few metal models which scale nicely with my figures from Artizan Designs. The castings display a lot of exaggerated poses, animated facial expressions and detailed equipment which look great on a wargaming tabletop and reveal the influence of the designers who hail from the world of Warhammer and Warhammer 40,000 from Games Workshop.

AB Paint SchemeIn painting my first Warlord Games miniatures, I went with my same quick and simple painting scheme I’ve been using so far:

Painting 28mm US Airborne Support Weapons

  1. Clean flash from metal models with a sharp knife and glue to metal washer or plastic bases.
  2. Apply filler putty to bases. When dry, scrape off excess with a sharp knife.
  3. Base coat models and bases with flat black spray primer.
  4. Paint uniforms and bandages on helmets with Tallarn Sand.
  5. Paint helmets and knee and elbow patches with Waaagh! Flesh.
  6. Paint faces and hands with Tallarn Flesh.
  7. Paint webbing and packs with Baneblade Brown.
  8. Paint bases, boots, gun stocks and helmet straps with Dark Brown.
  9. Apply Agrax Earthshade wash to uniforms, helmet netting, webbing and packs.
  10. Mix 50/50 Baneblade Brown and Off White and lightly dry brush packs, webbing and socks.
  11. Lightly dry brush bases, gun stocks, helmet netting, holsters and elbow and shoulder patches with Baneblade Brown.
  12. Paint metal gun, bazooka and mortar parts with black and finish with a light dry brush of metallic silver.
  13. Paint eyes with small dots of Off White and Dark Brown. Clean up around eyes with Tallarn Flesh.
  14. Mix 50/50 Tallarn Flesh and Off White and brush highlights on cheekbones, chins, forehead, nose and hands.
  15. Apply Company B decals to shoulders and helmets, followed by a coat of Solvaset decal fixative from Walthers.
  16. Cover bases in white glue and cover in 50/50 mix of fine light green and dark green grass flock.
  17. Glue small pieces of clump foliage to base.
  18. Spray coat completed models with matte finish.

To begin, I’ve painted up a 60mm mortar team and a bazooka crew. here’s a few photos of the final results:

IMG_0649

IMG_0648

IMG_0646

IMG_0647

I’ll probably add a light machine gun and some other models from Warlord Games soon, but for now my US Airborne forces will be able to pack a bit more punch in upcoming games.