Flames of War: Lingevres 1944 Scenario

lingevres1944

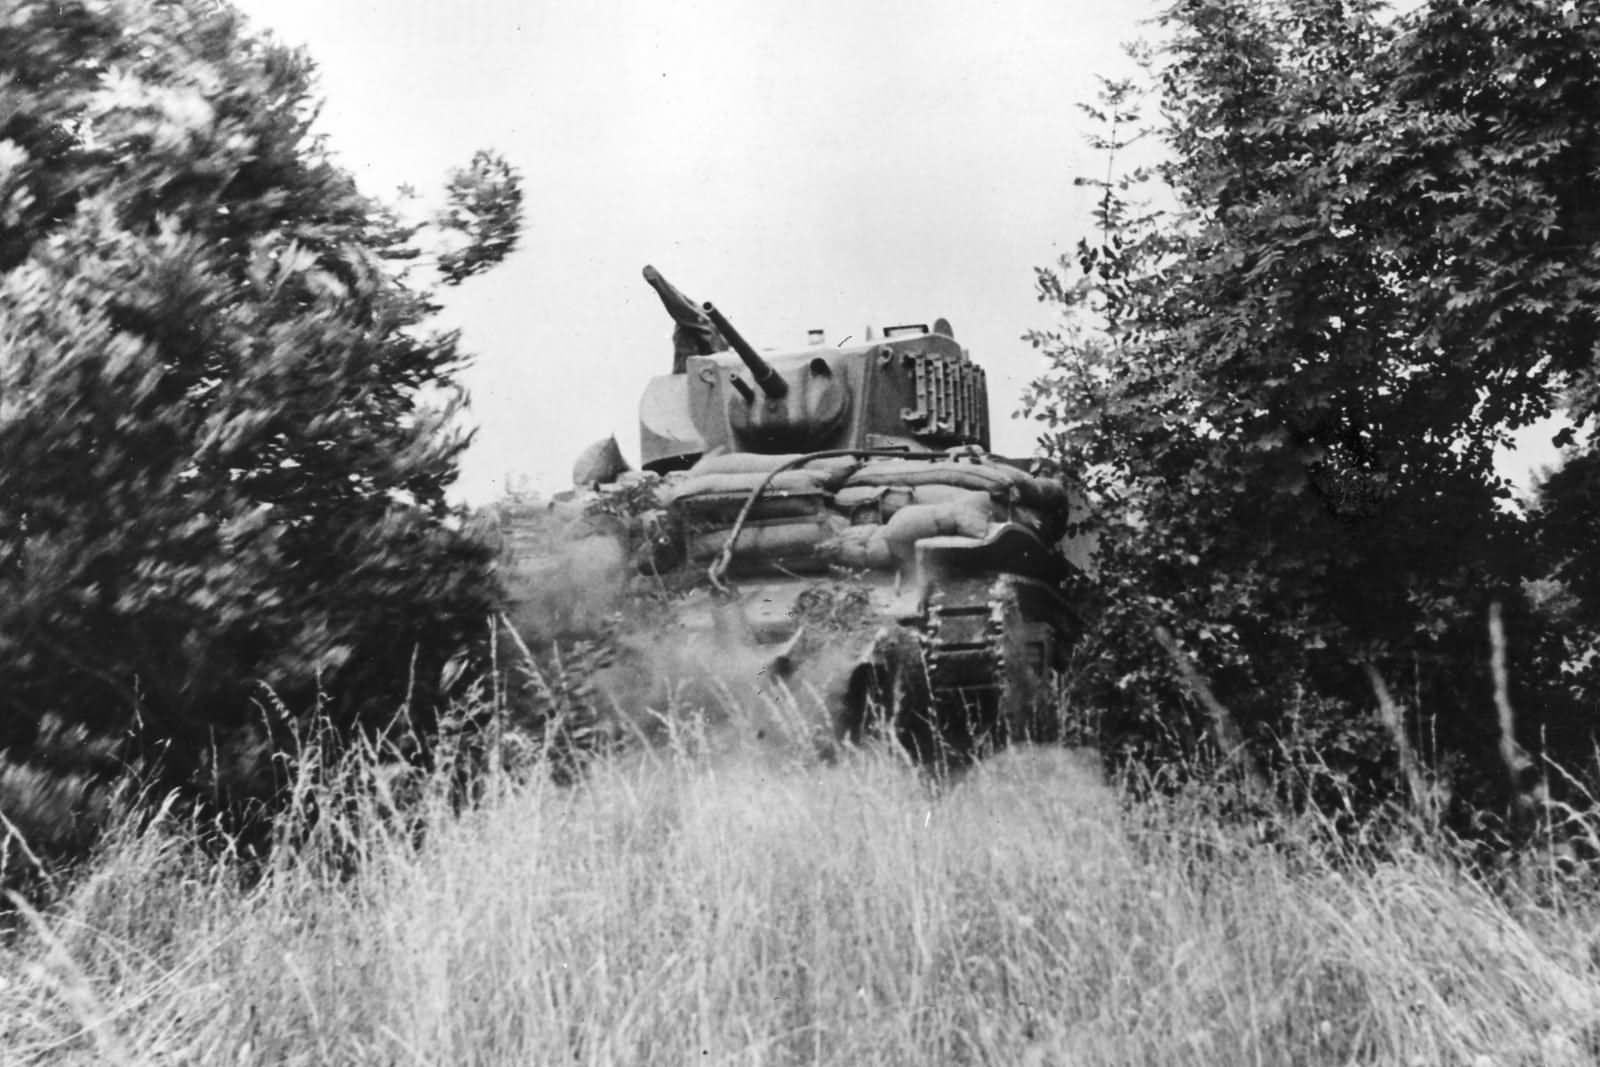
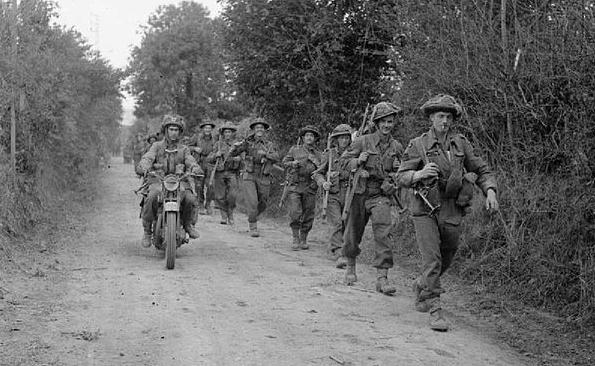
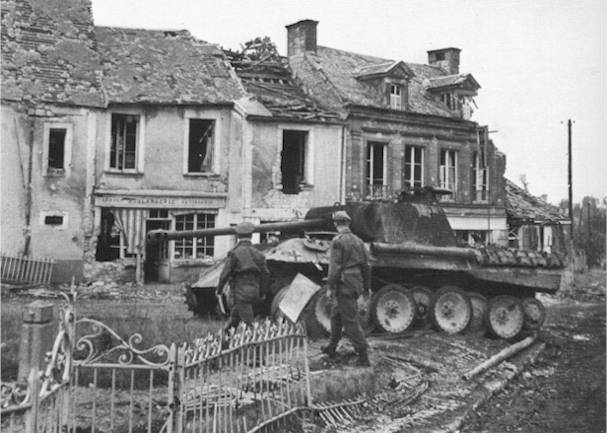
By D-Day +8 on June 14, 1944, the British 50th Infantry Division had pressed about 5 miles inland from Gold Beach to the outskirts of Lingevres. Dug in at the town were elements from the Panzer Lehr Division with several Panther tanks ready to force back the looming British attack. With 6-pdr anti-tank guns in tow, the British pushed into town mid-morning following a bombardment by 25-pound artillery and runs from supporting Typhoons above. A ferocious battle commenced between the 4th/7th Royal Dragoon Guards and the German Panthers. When the smoke cleared, several Panthers sat burning as victims of Sherman Firefly and anti-tank gun fire. At day’s end, the British controlled Lingevres.

lingevresAT

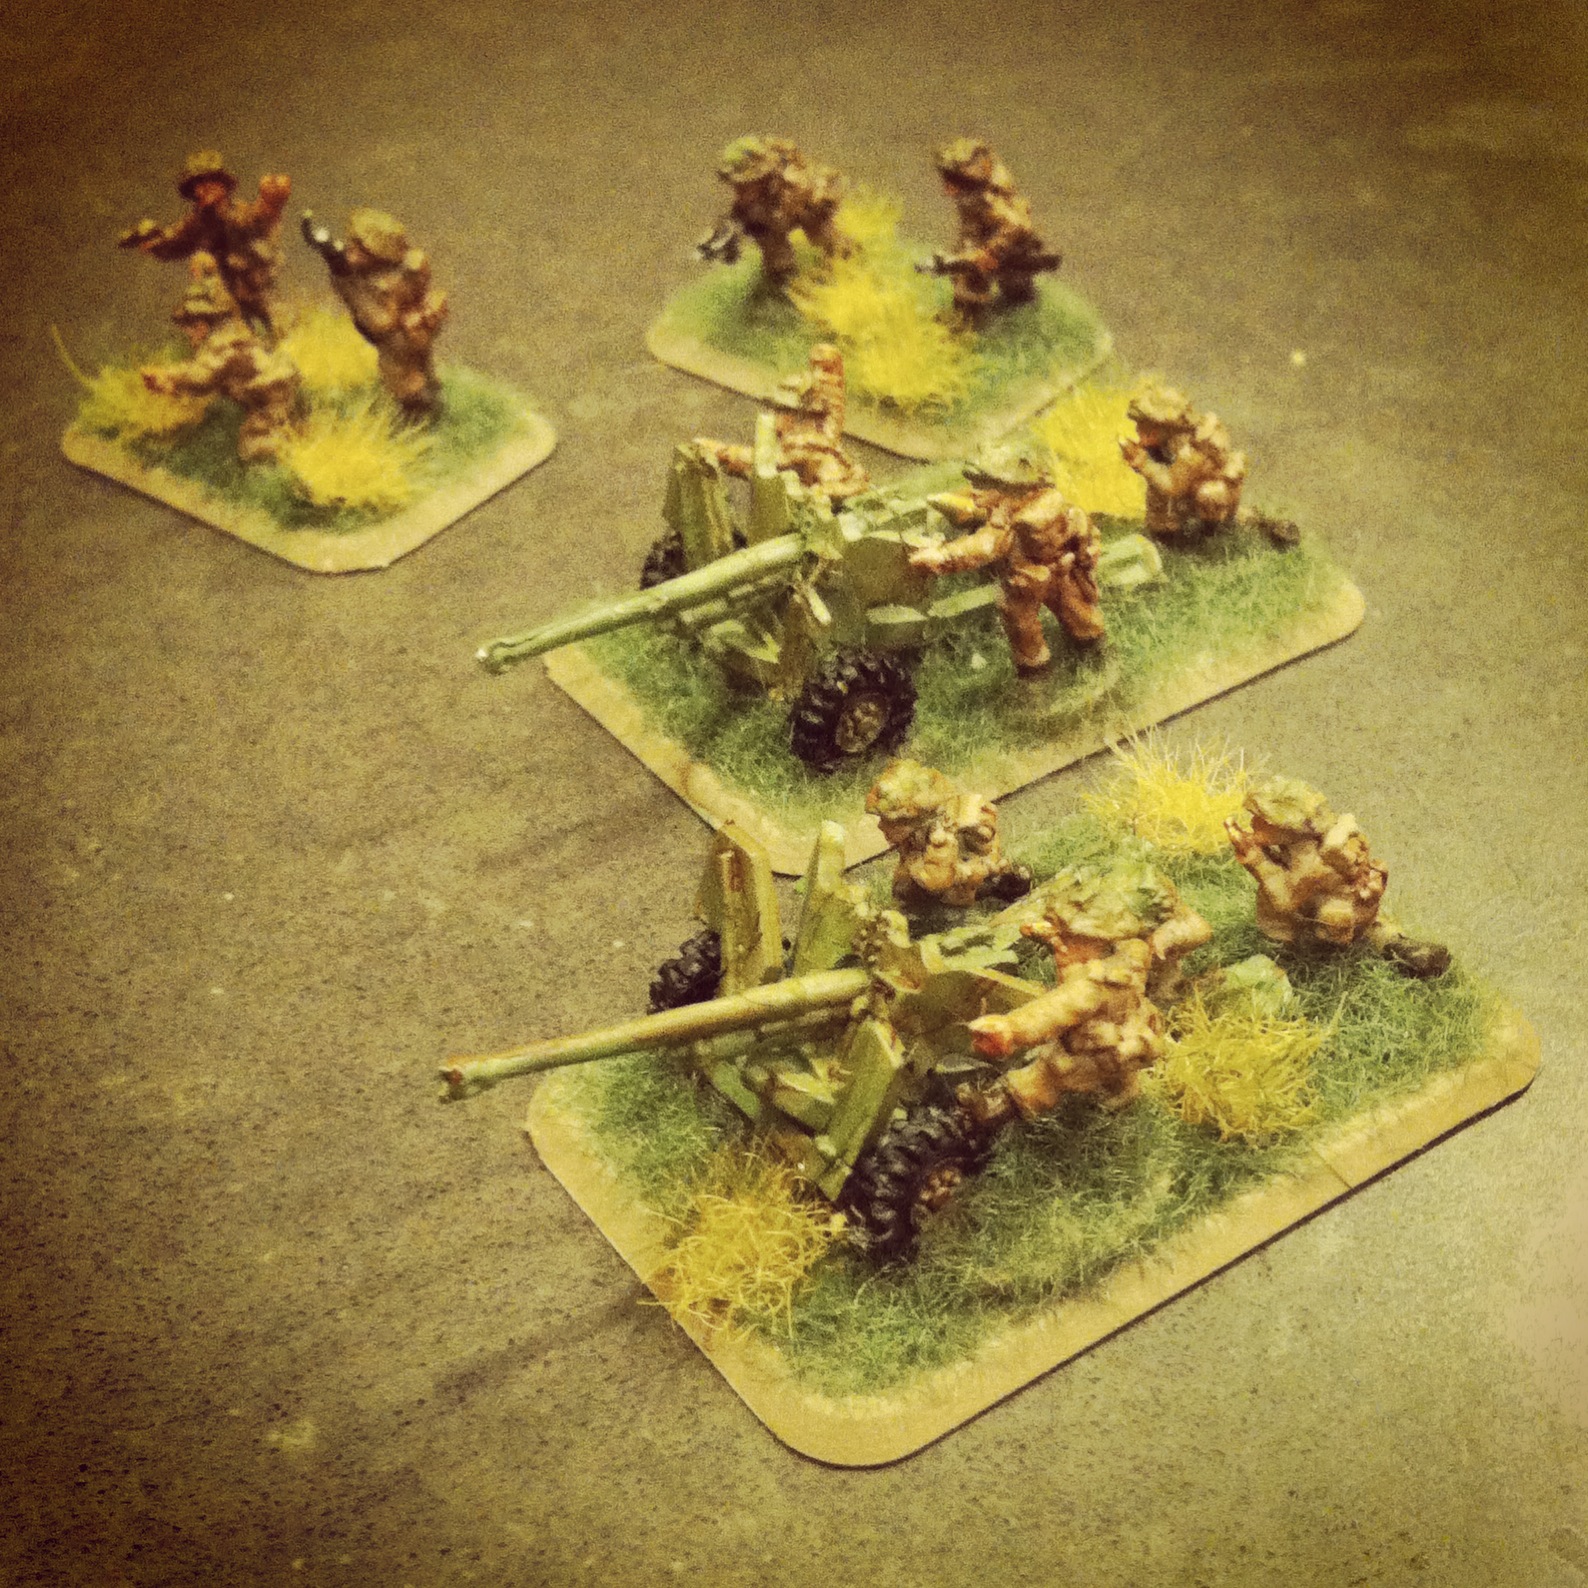
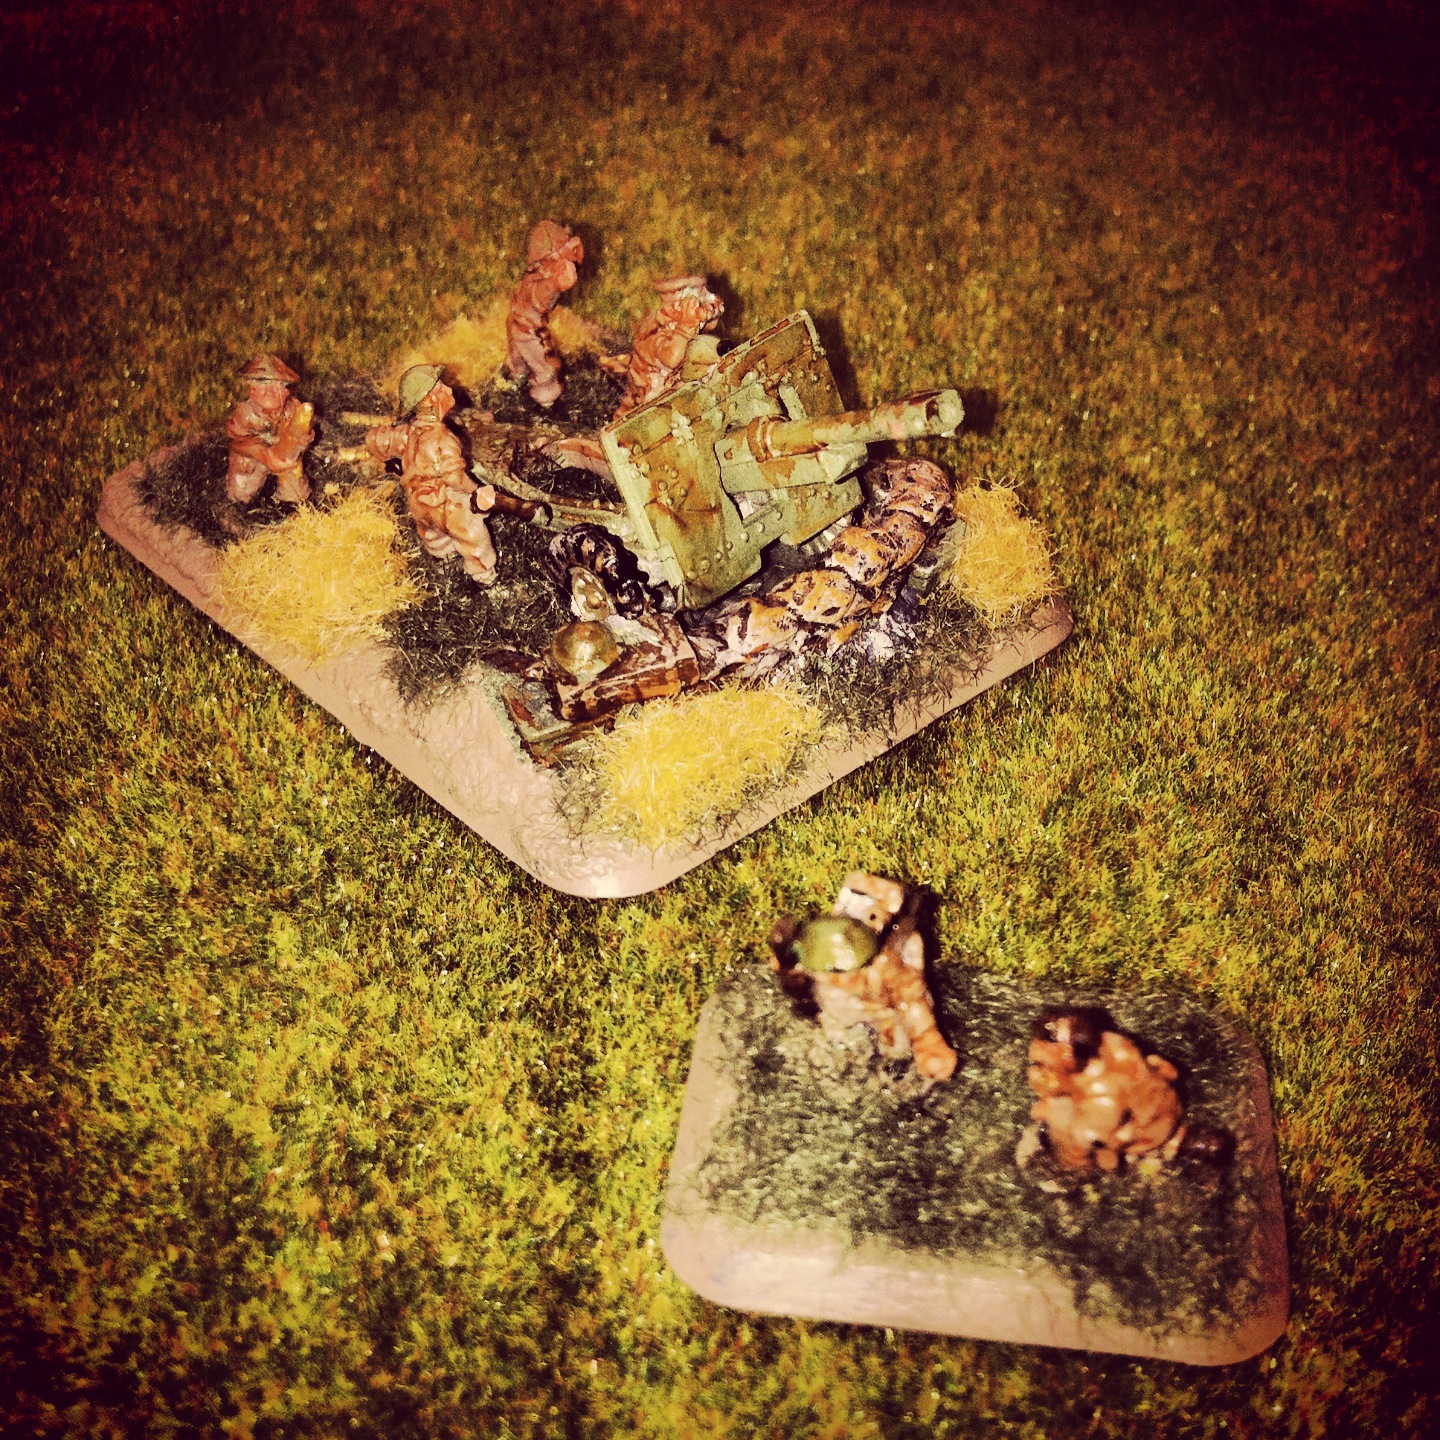
British 6-pdr anti-tank gun deployed outside Lingevres, June 14, 1944

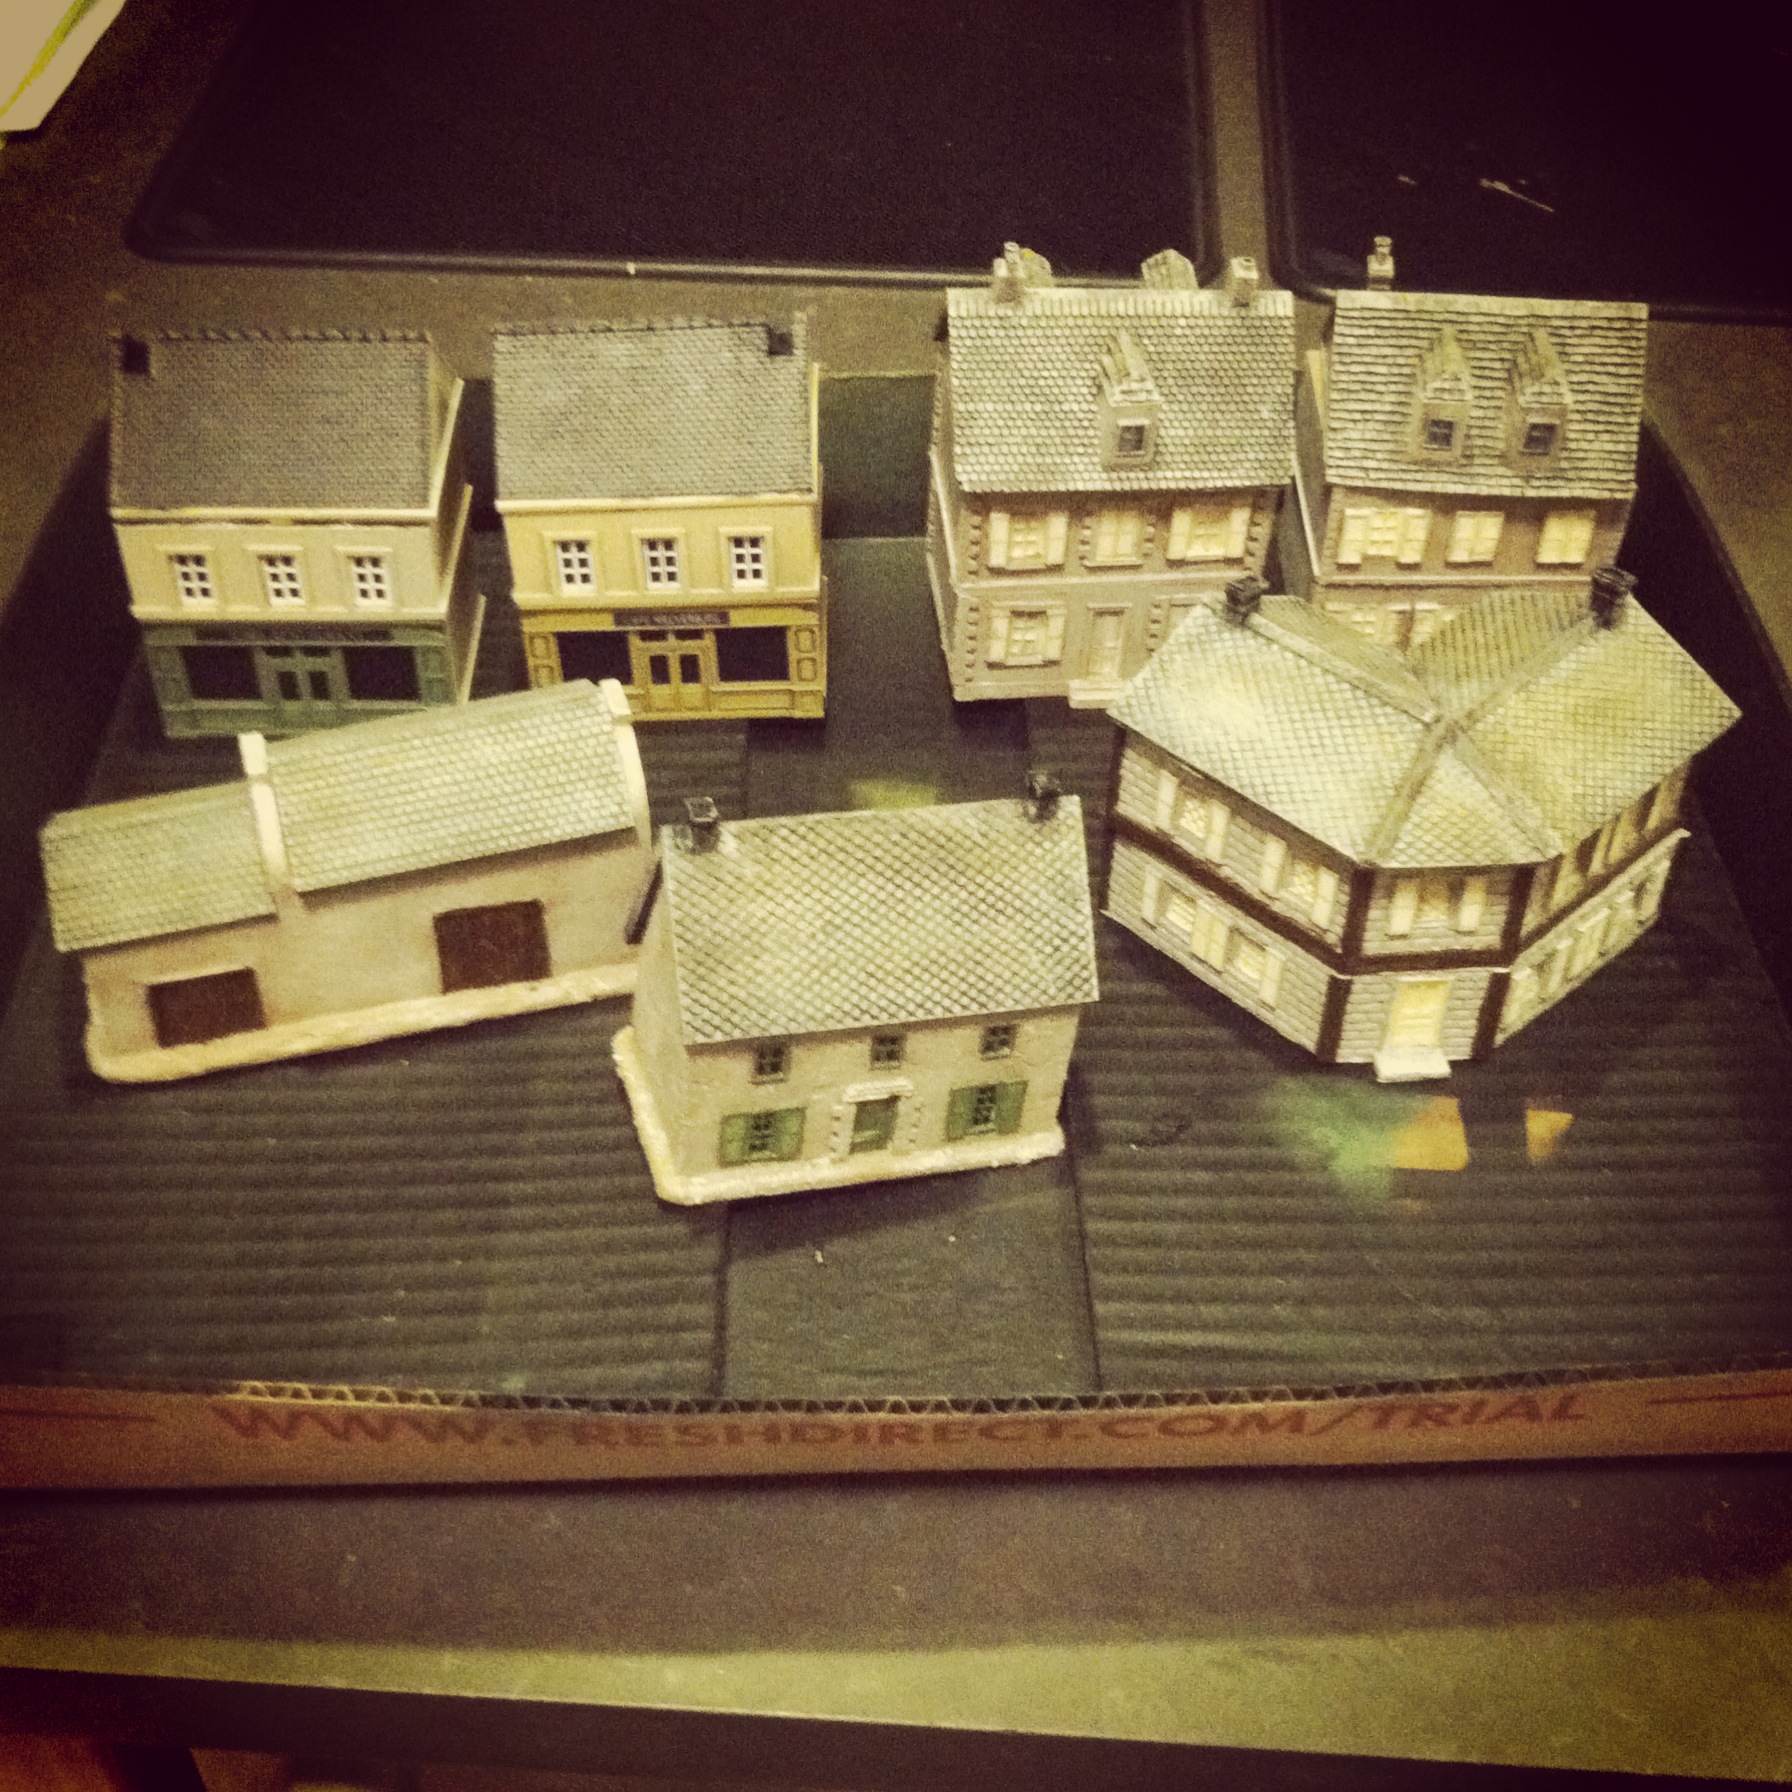
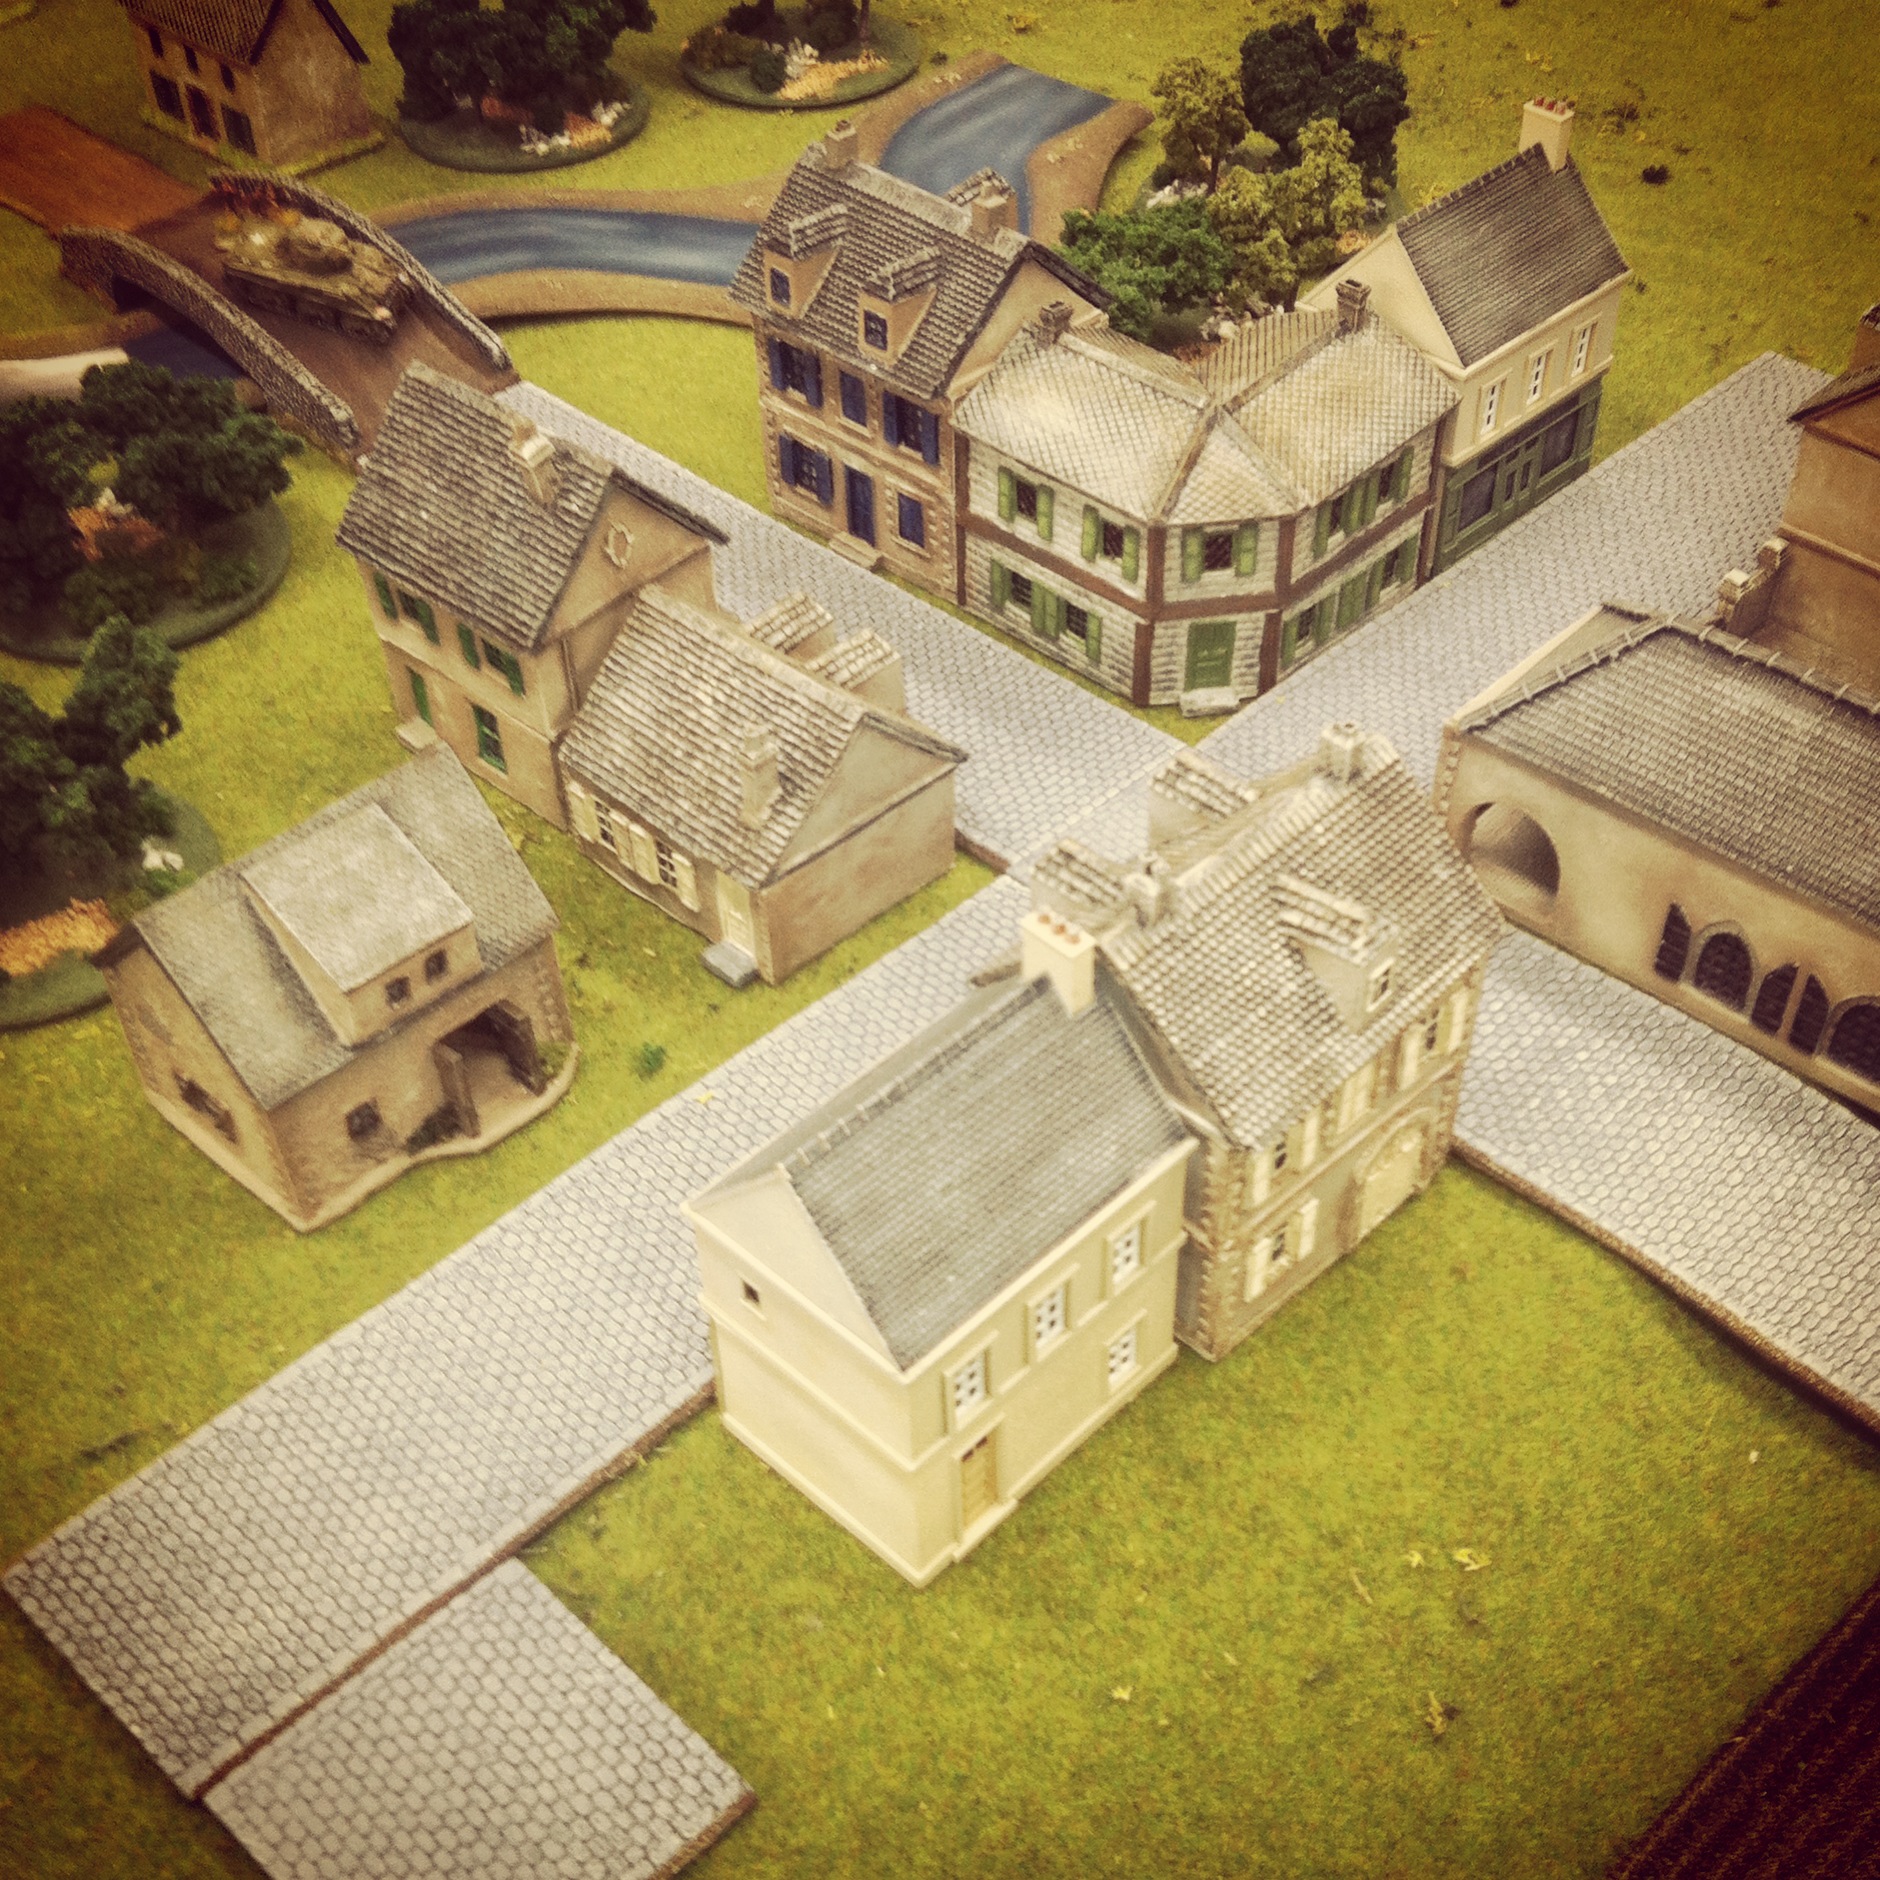
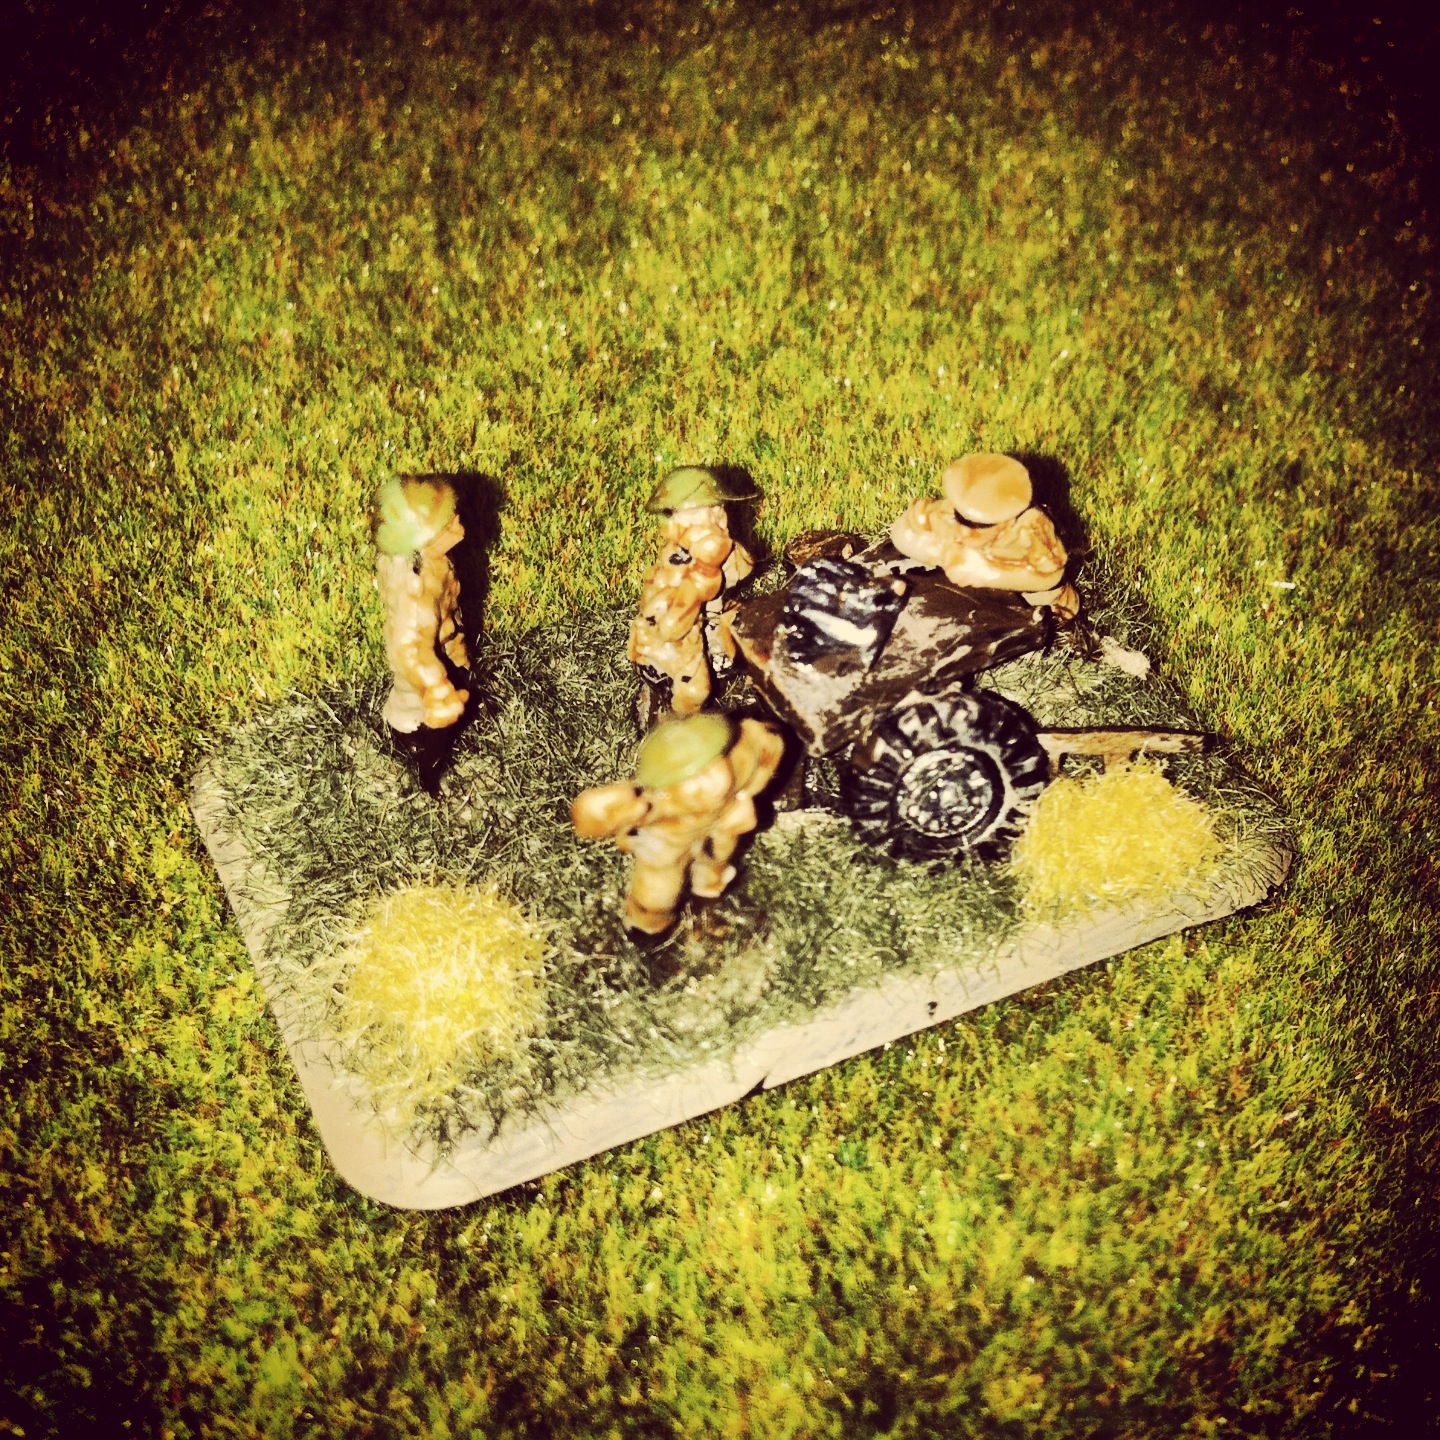
The WWPD website has a Lingevres scenario available which two of us adapted for play this past weekend at Metropolitan Wargamers in Brooklyn, NY. Using the scenario as a guideline, we laid out the tabletop battlefield with cornfields stretching outside the town occupying two-thirds of the table. With our 1750-point forces on each side, the Germans began with two platoons of infantry and a heavy machine gun platoon inside two buildings and the church at the center of Lingevres. The British then deployed with their artillery battery, two rifle companies and a recon patrol. All other forces were held off table, with German delayed reserves set to arrive in turn three and British reserves eligible to arrive immediately at the beginning of the game.

Victory conditions as presented were simple — the British needed to take three buildings in the town and the Germans needed to drive the British from the field. How the game played was not simple and once again revealed my need to sink more work into creating accurate, playable scenarios for FOW.

IMG_3163
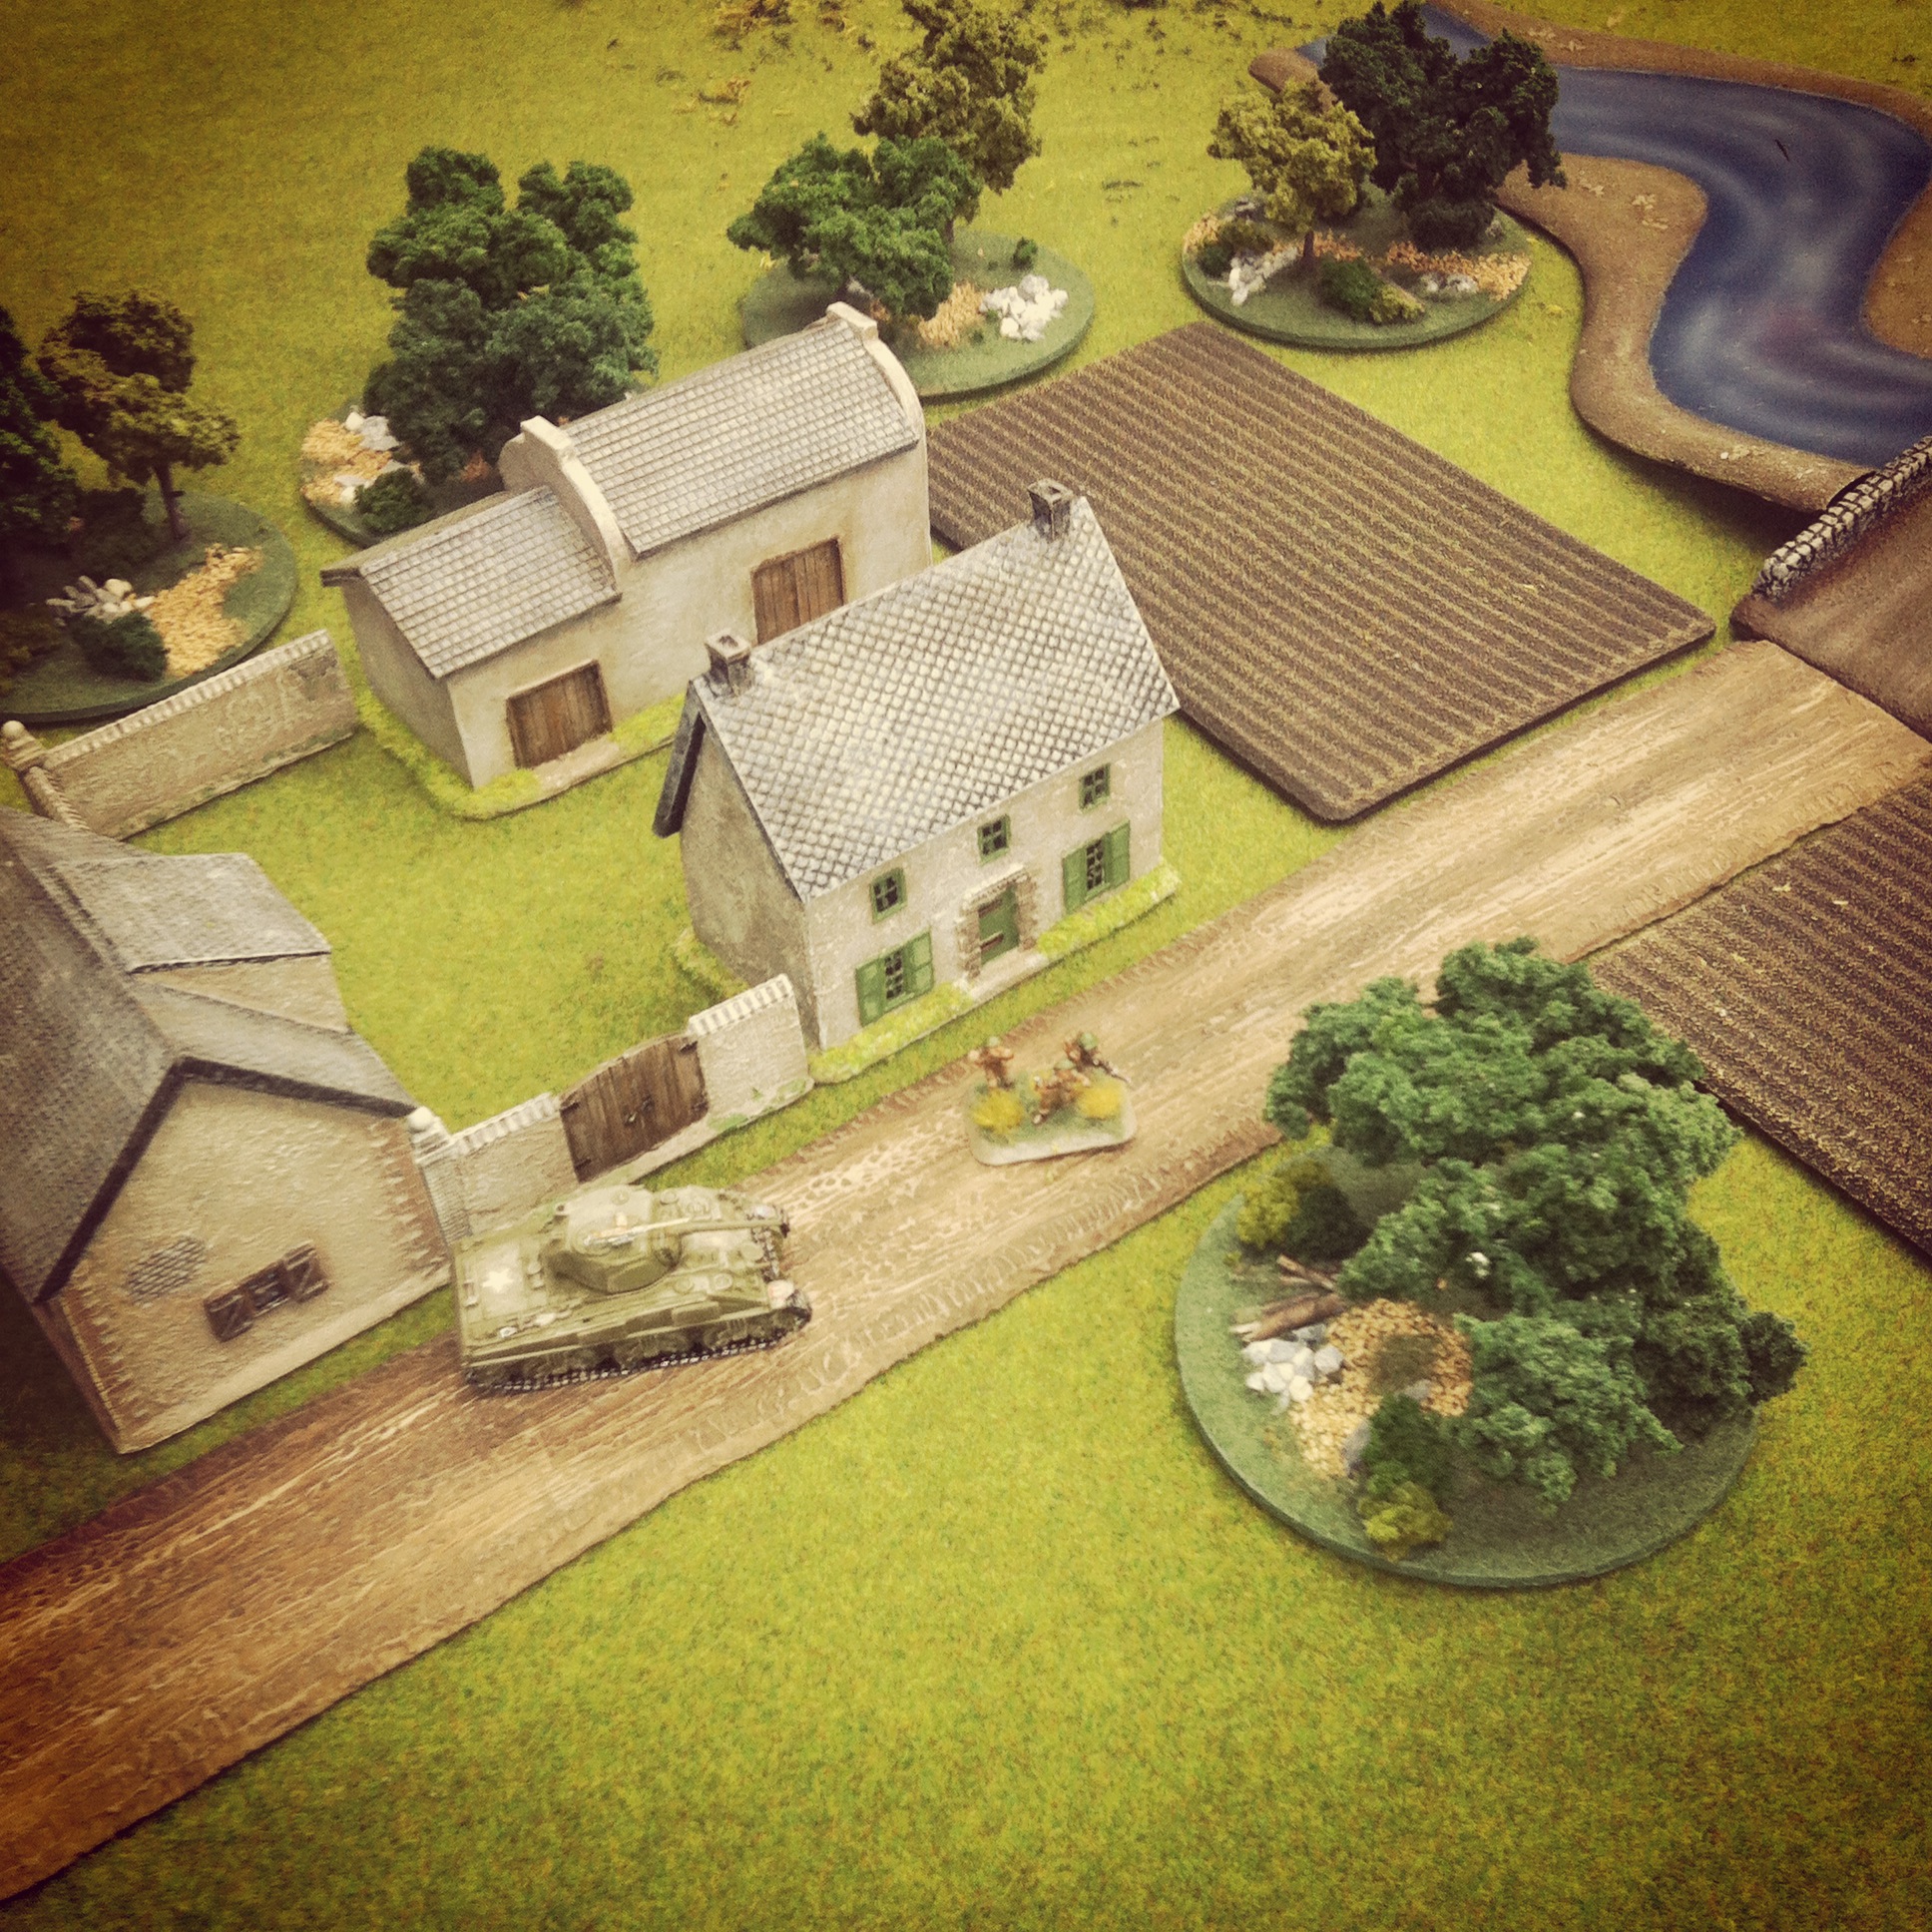
Germans dug in at Lingevres in the town’s buildings while British artillery and infantry deployed from the cornfields in the distance

IMG_3164

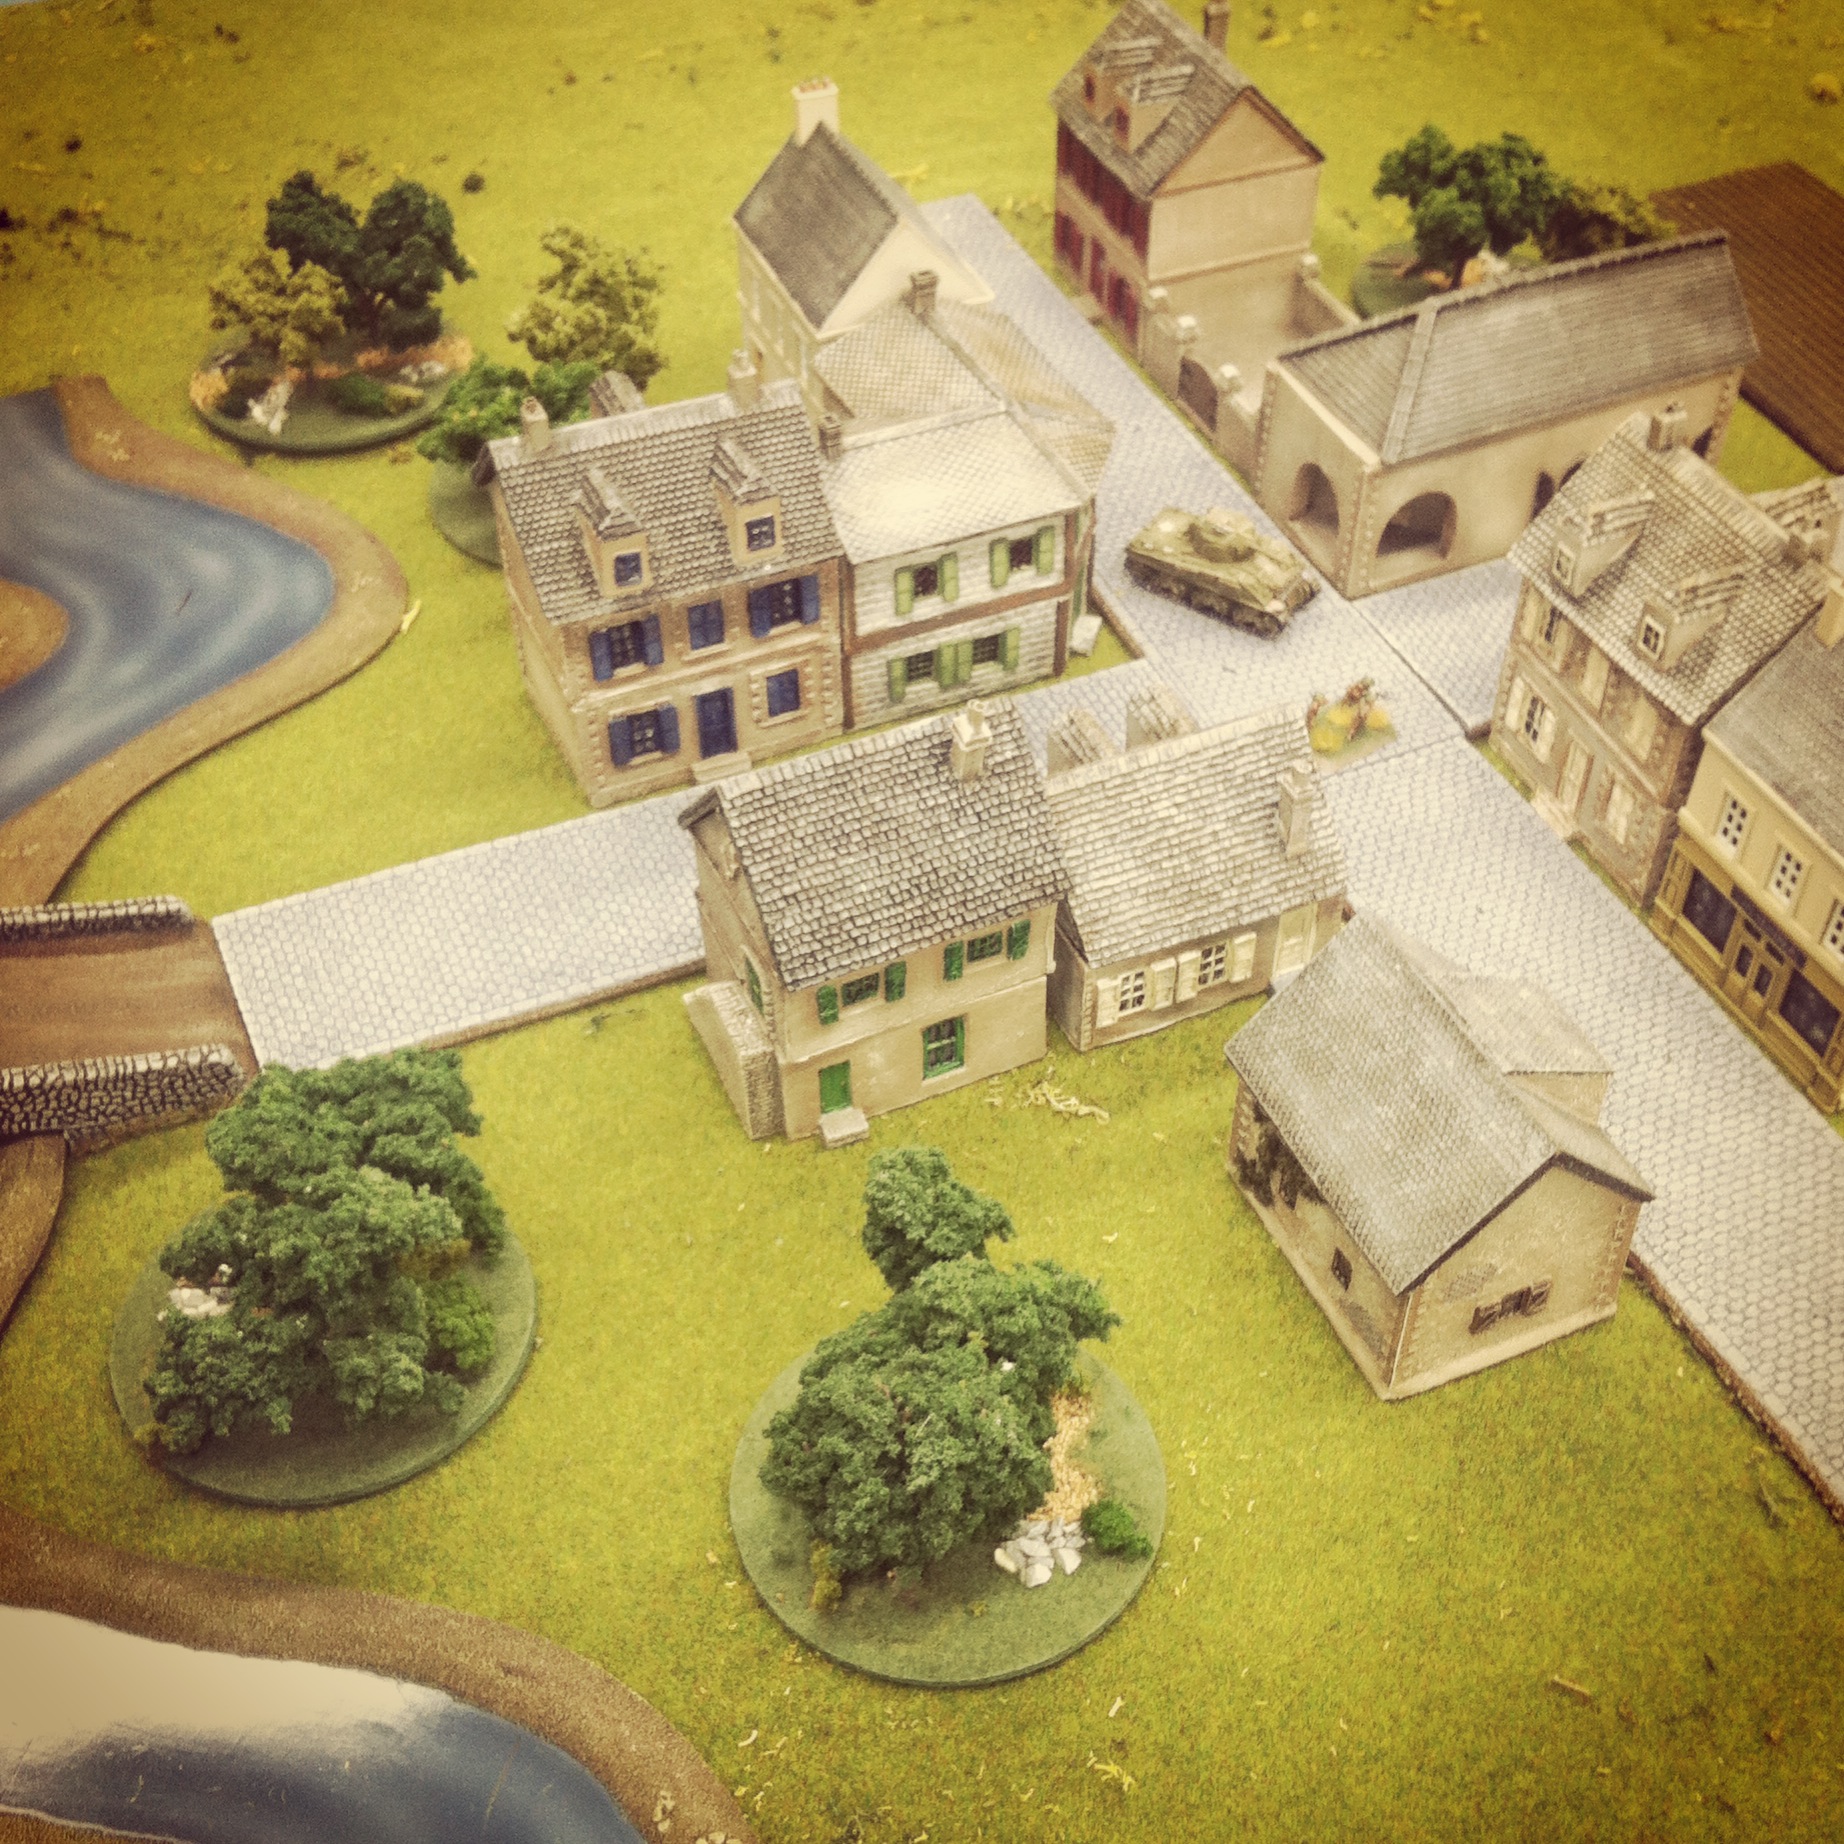
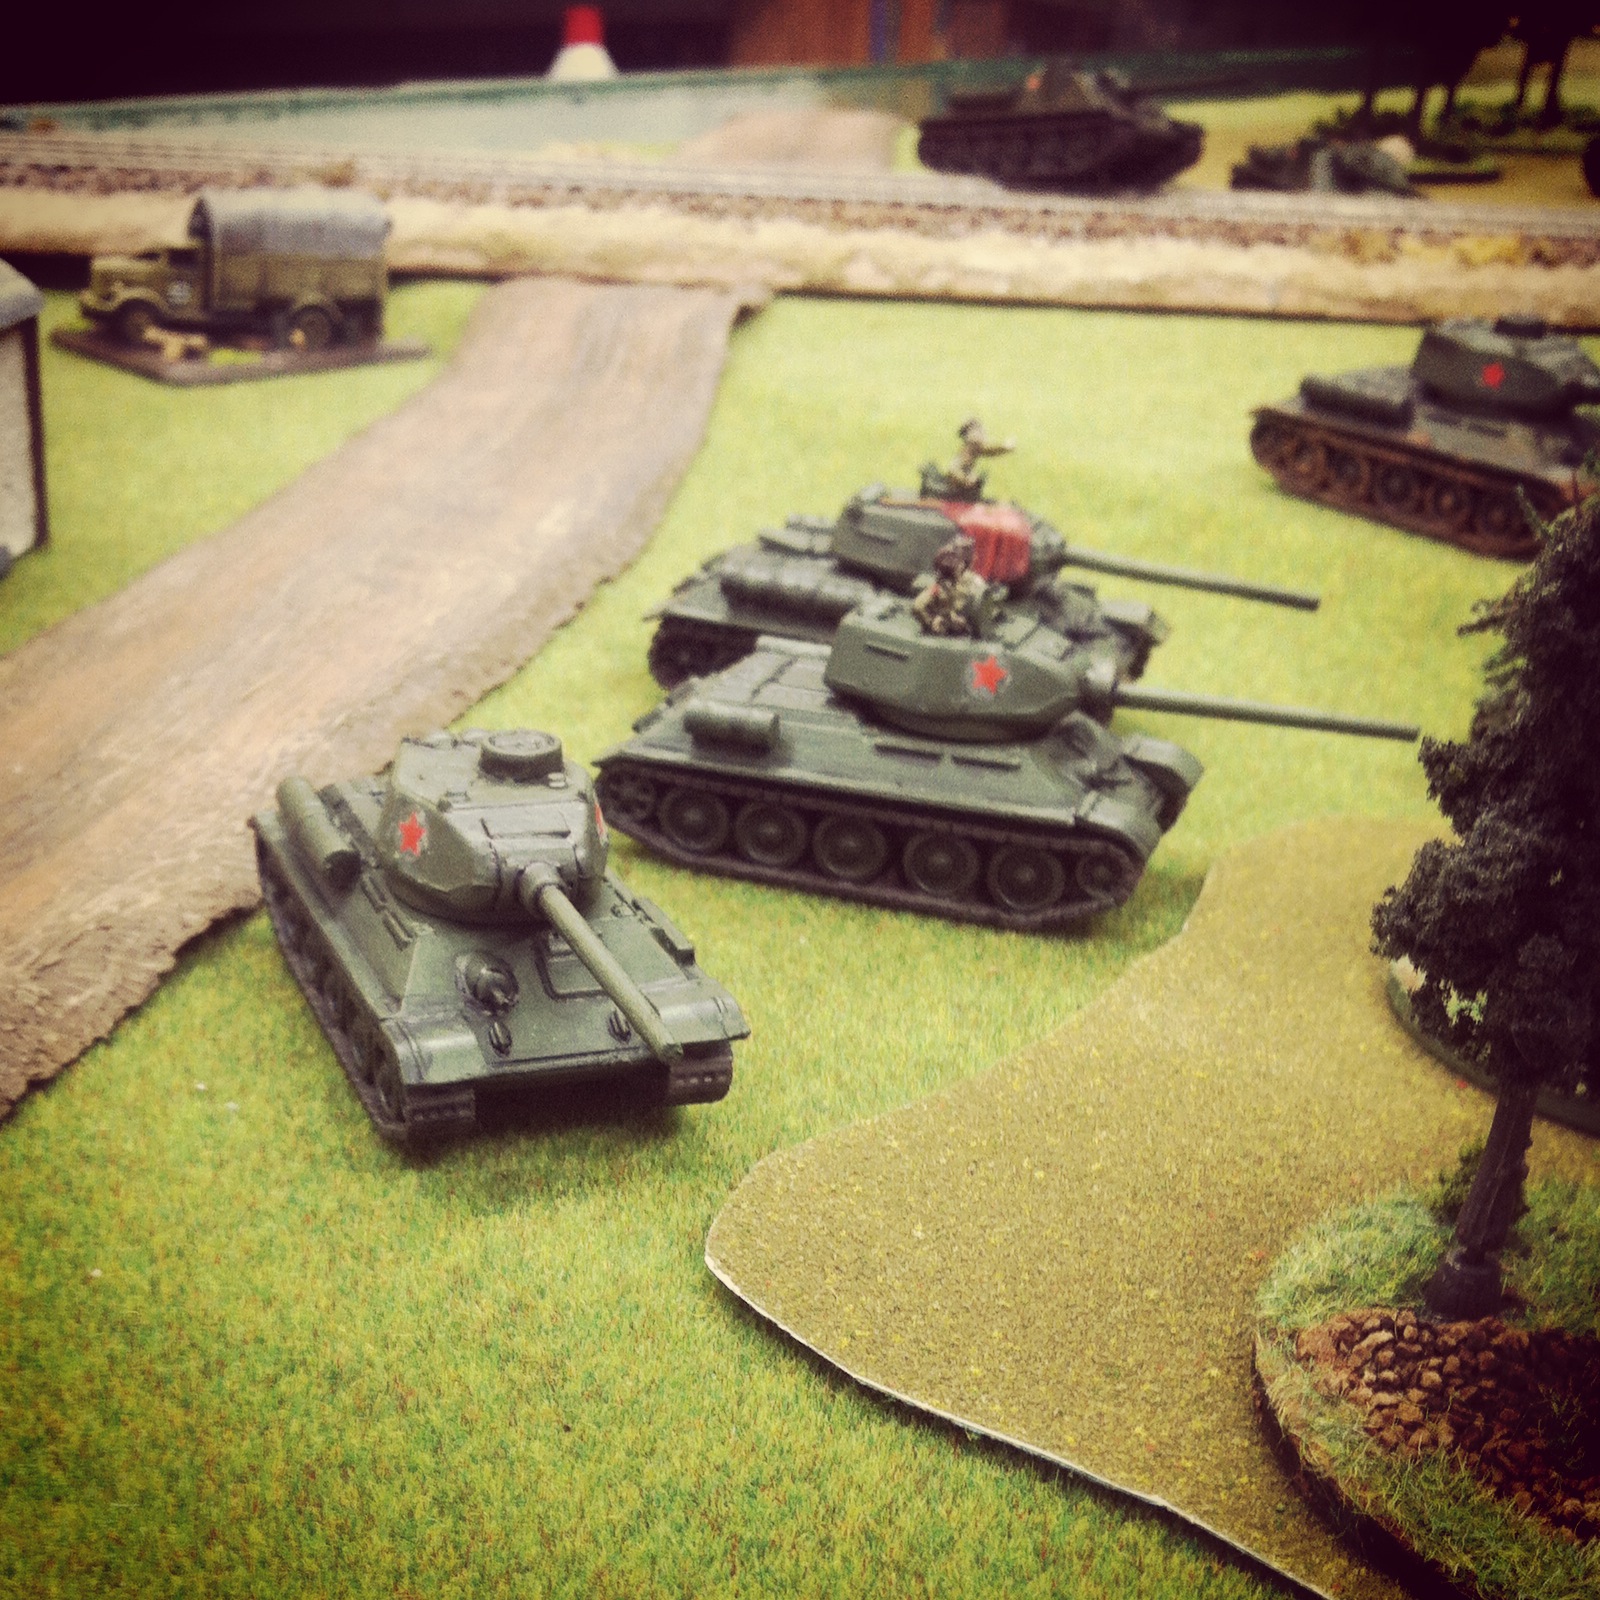
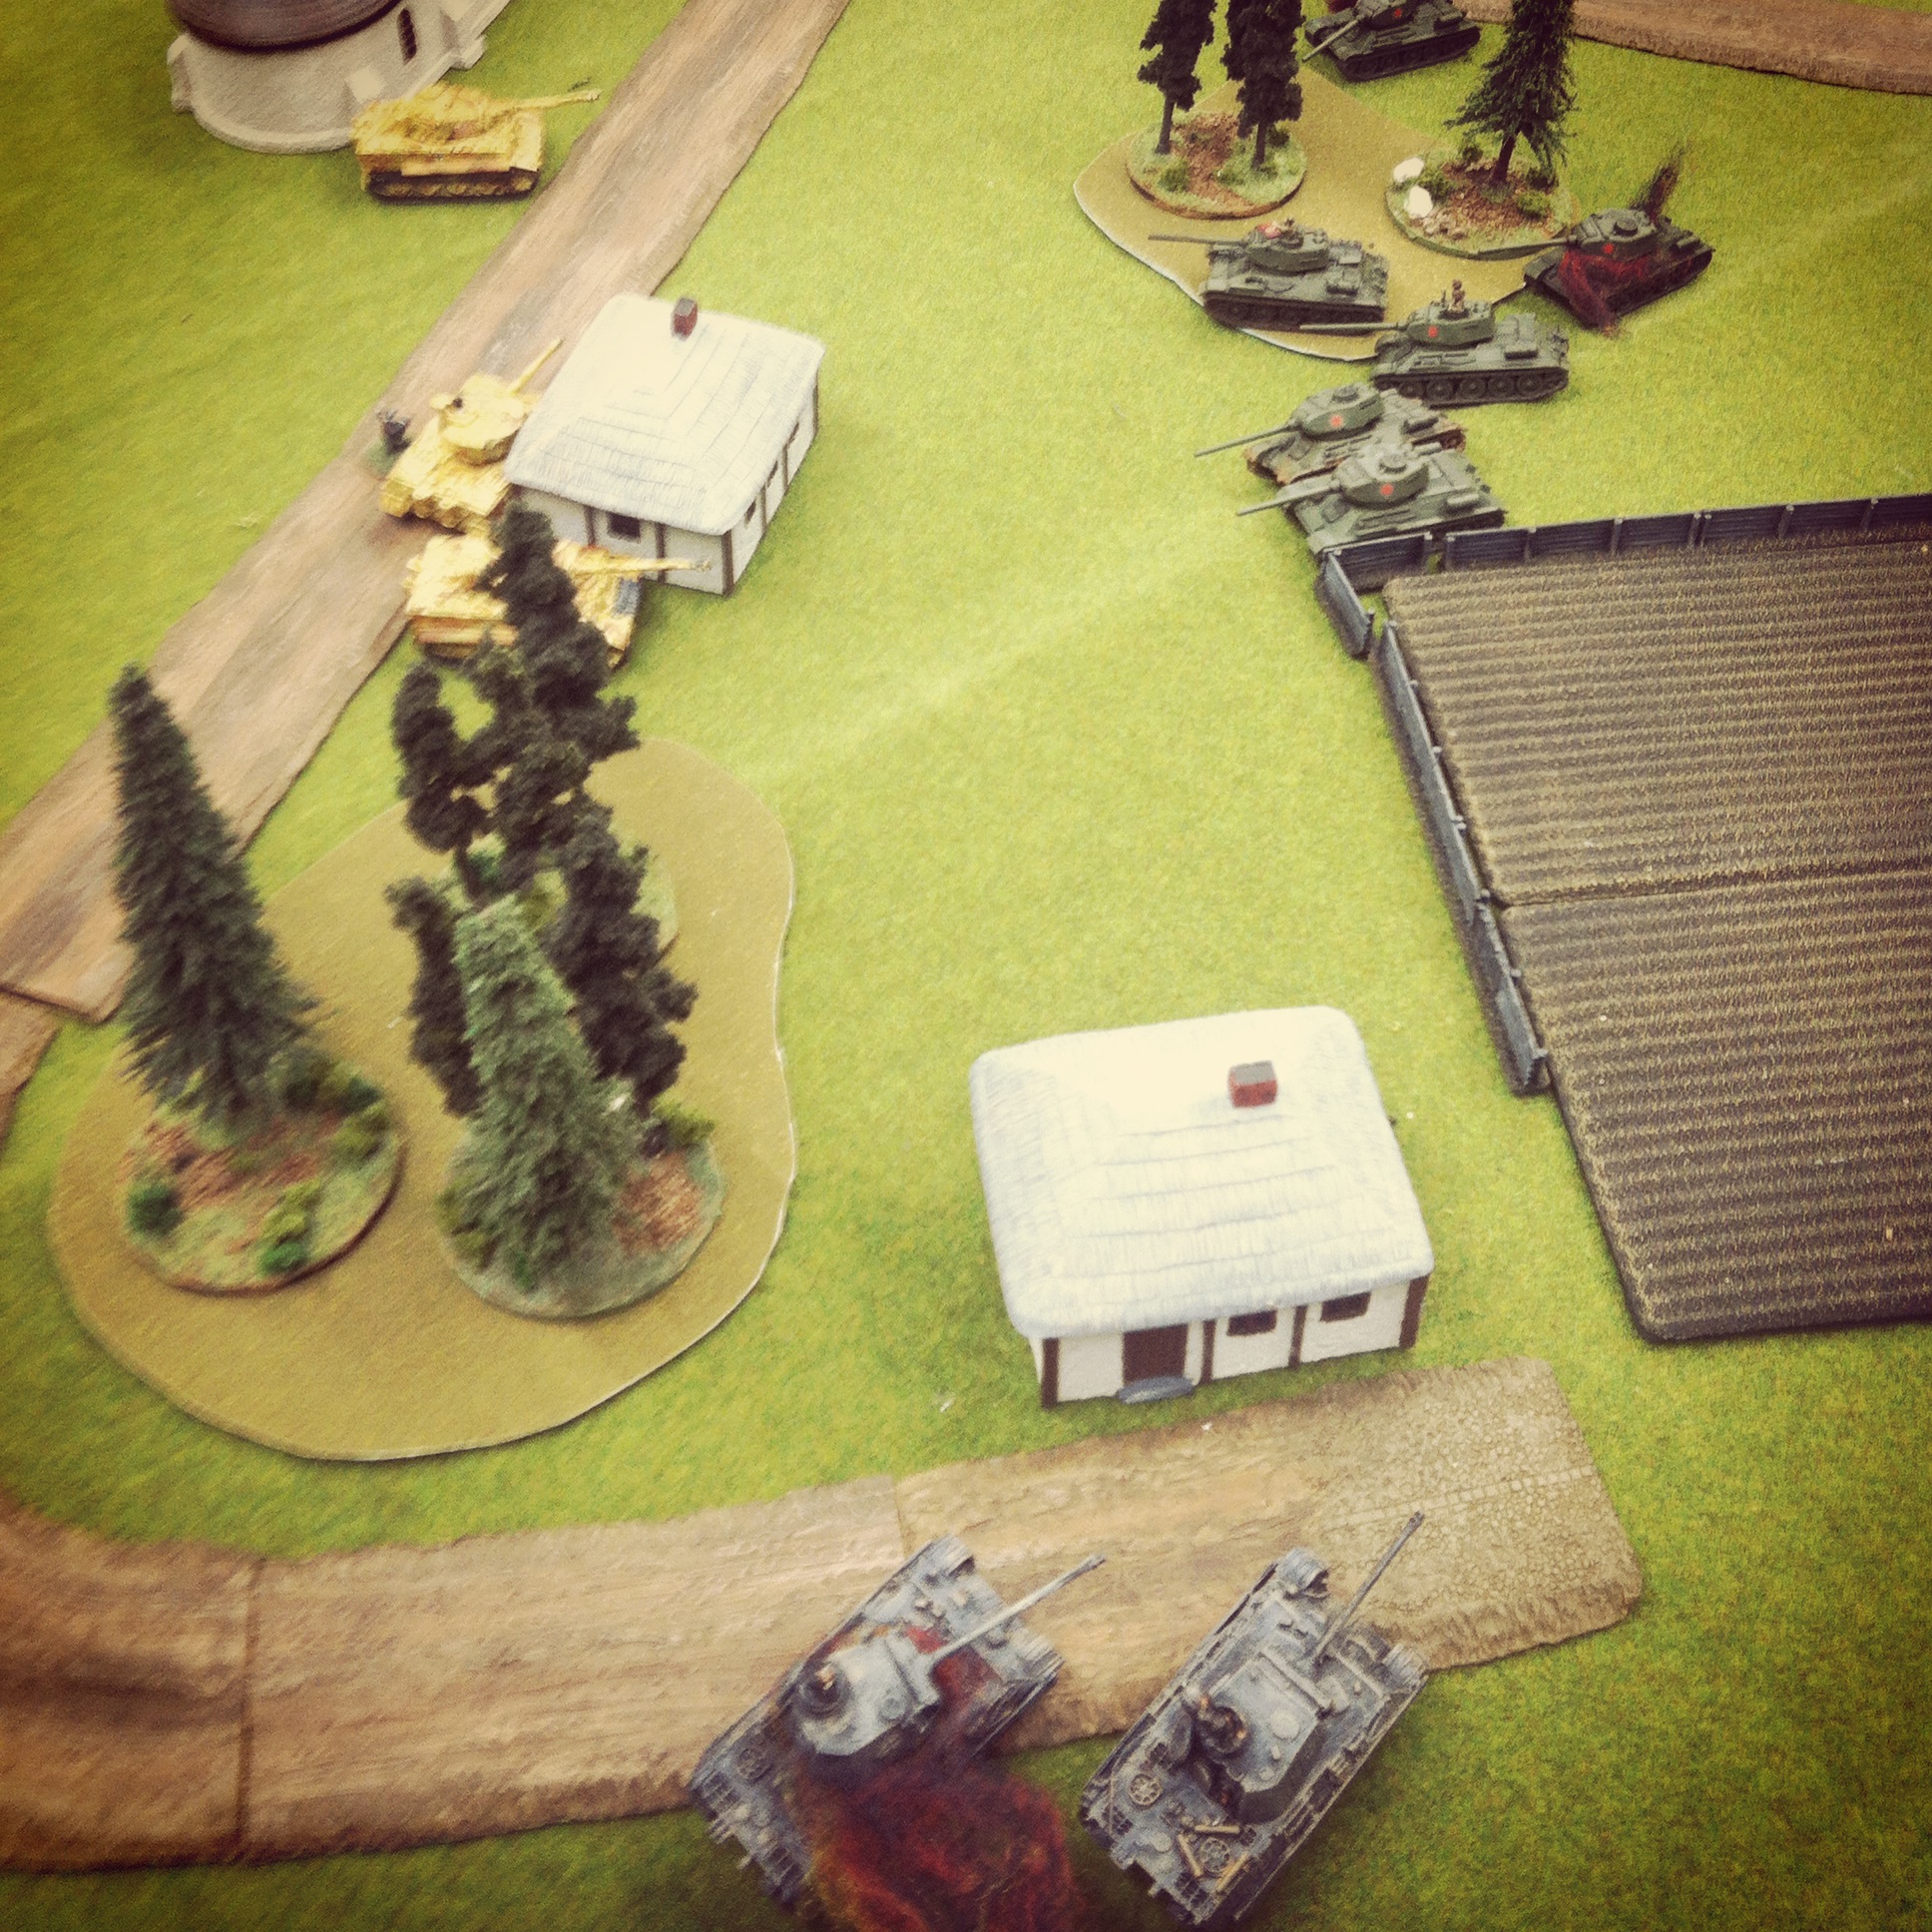
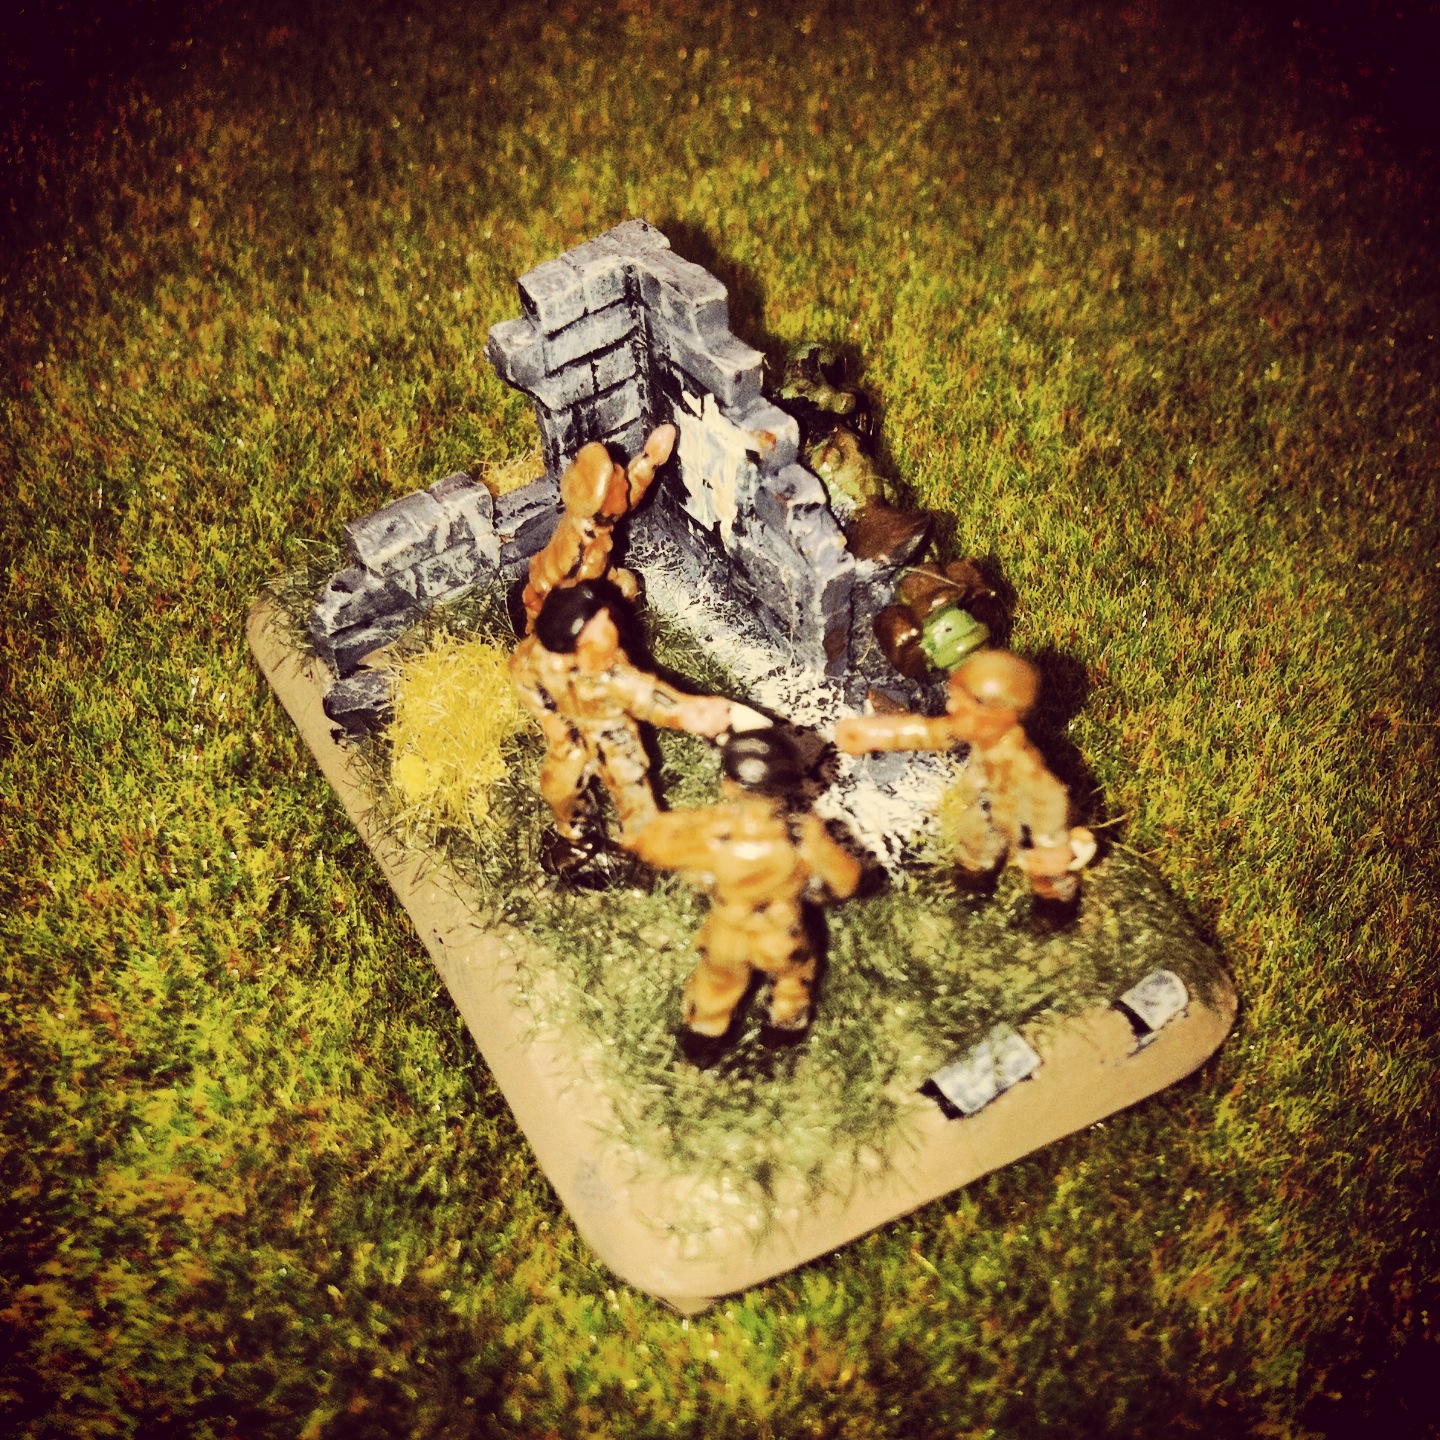
Initial movement of British forces into Lingevres with recon carriers moving left and infantry moving into the woods near the church

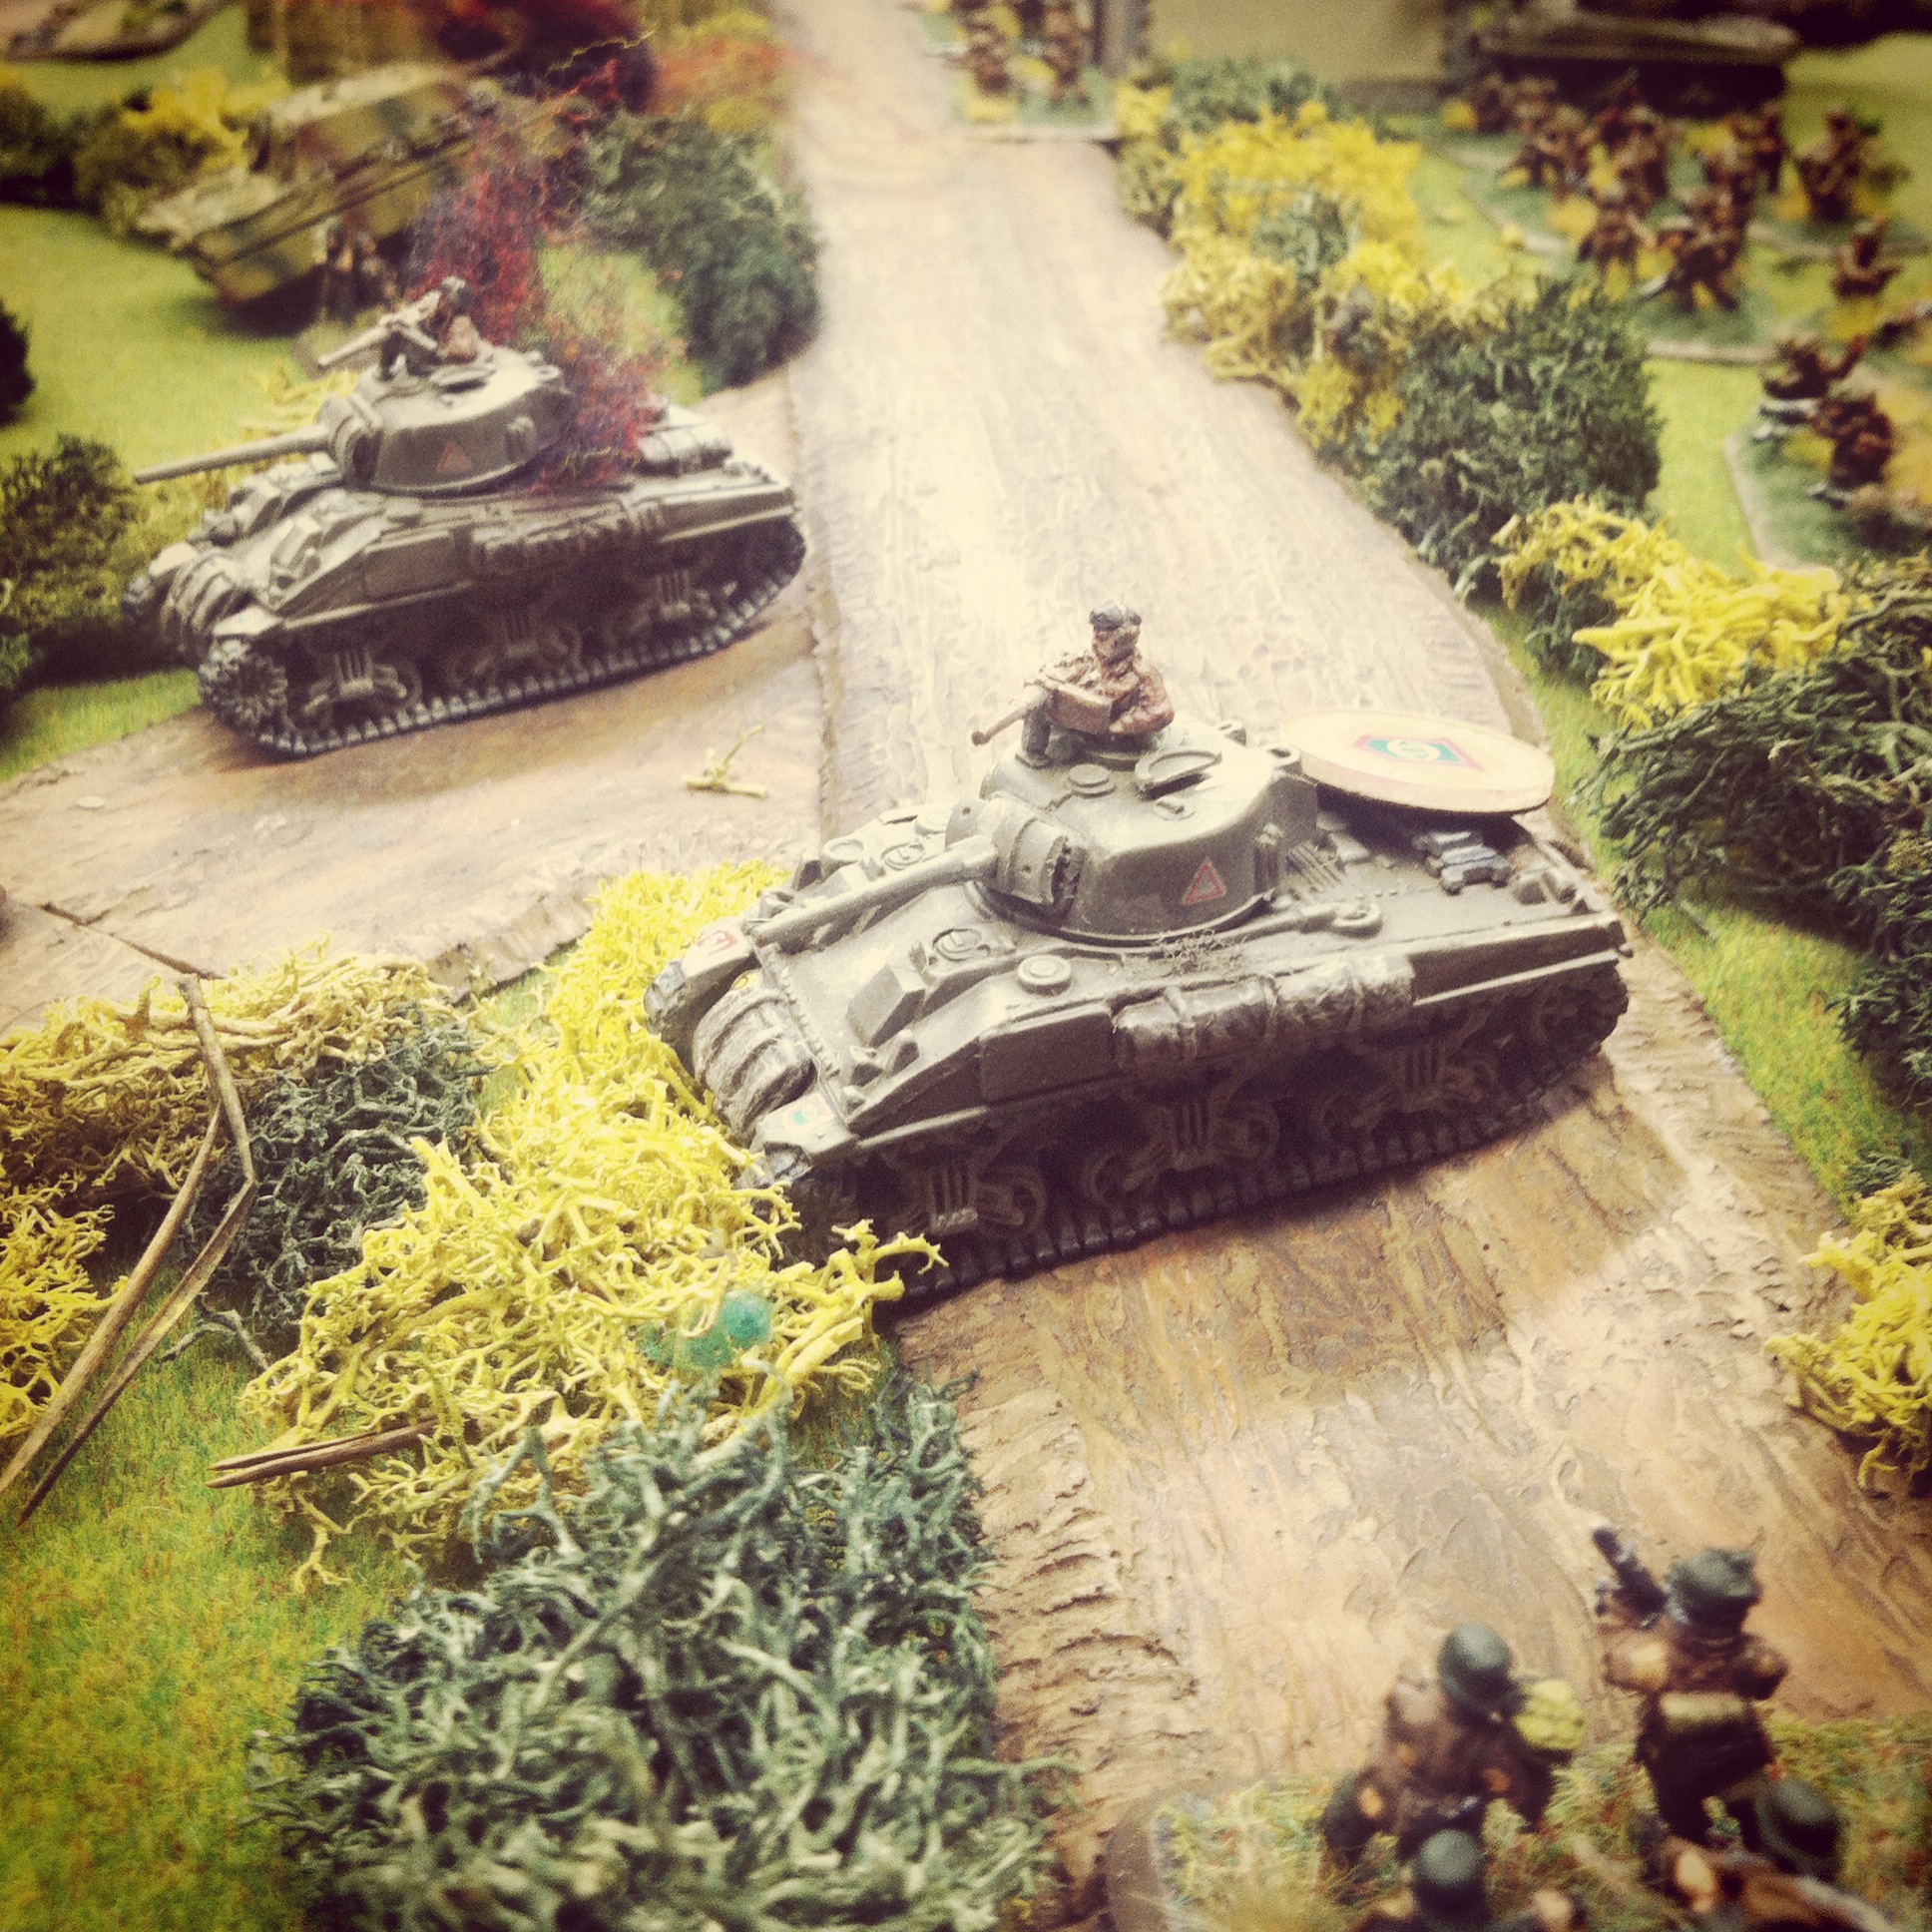
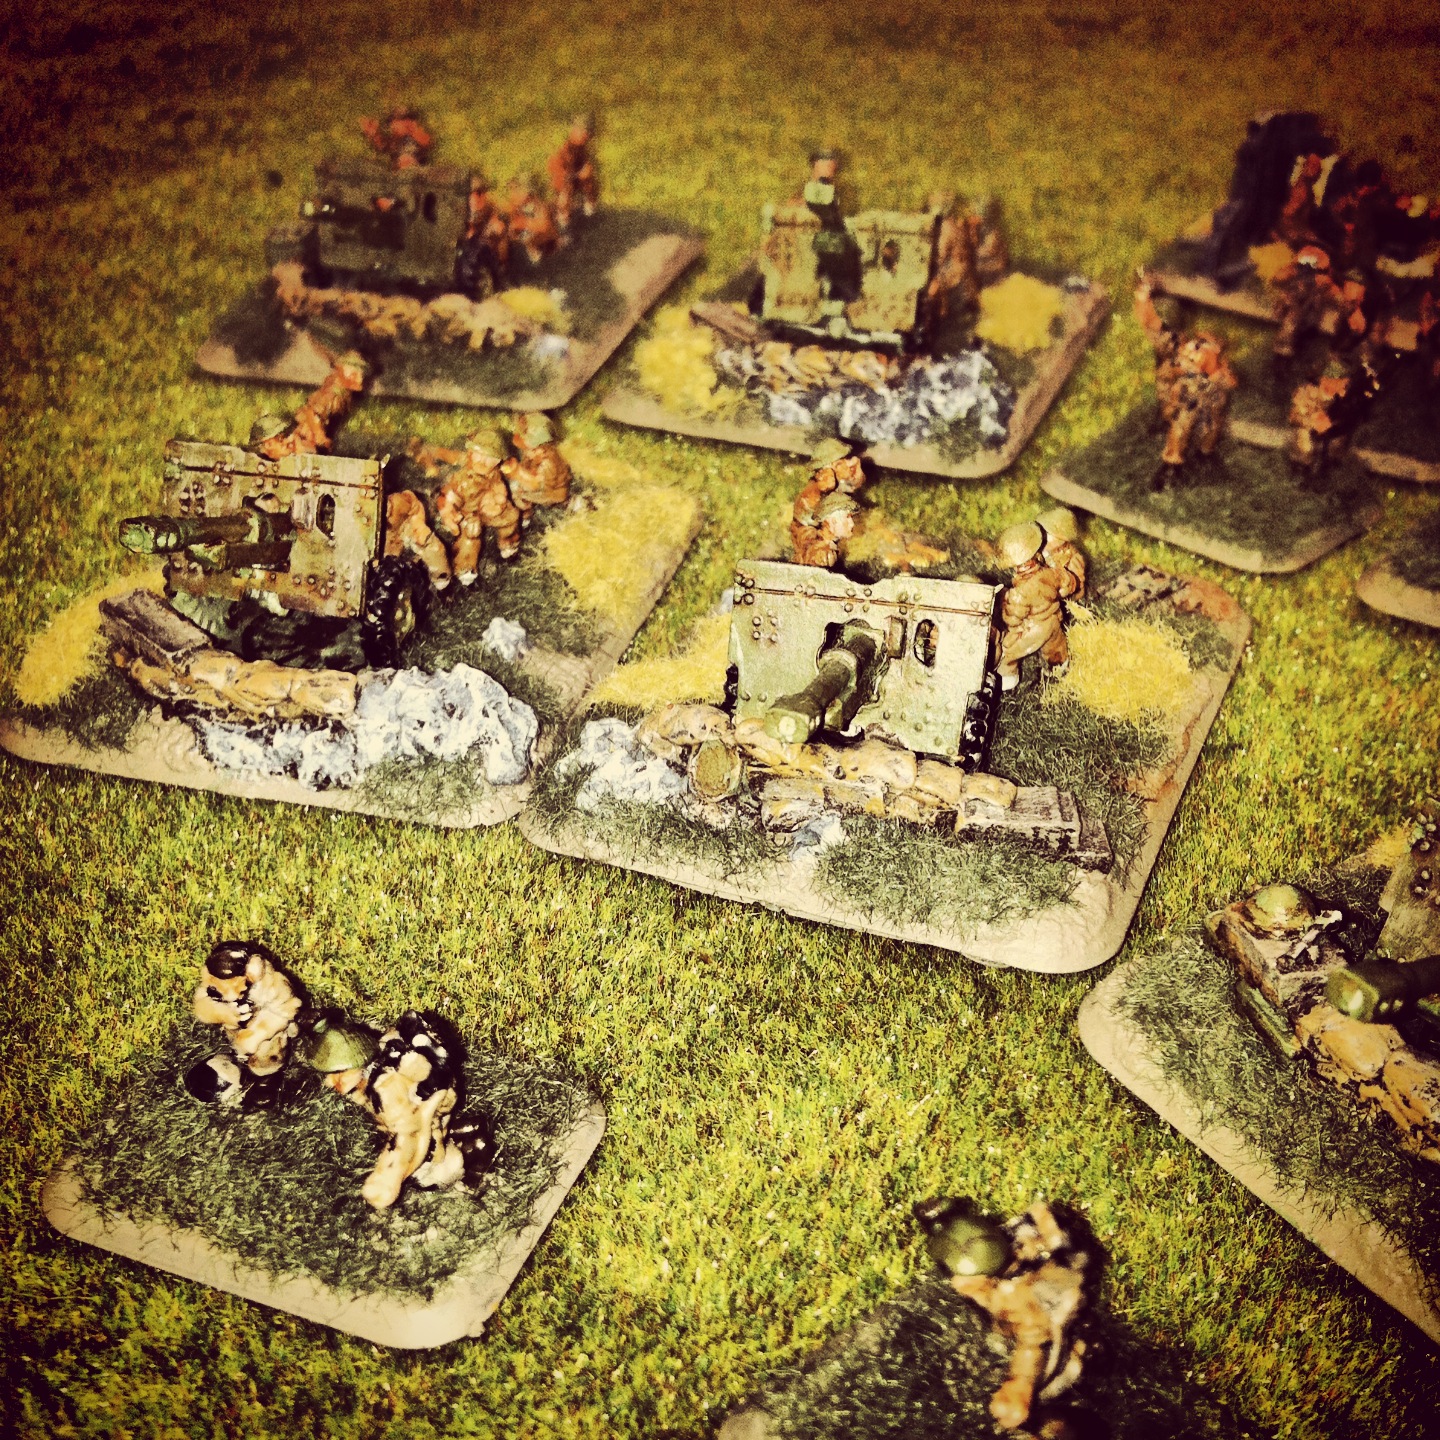
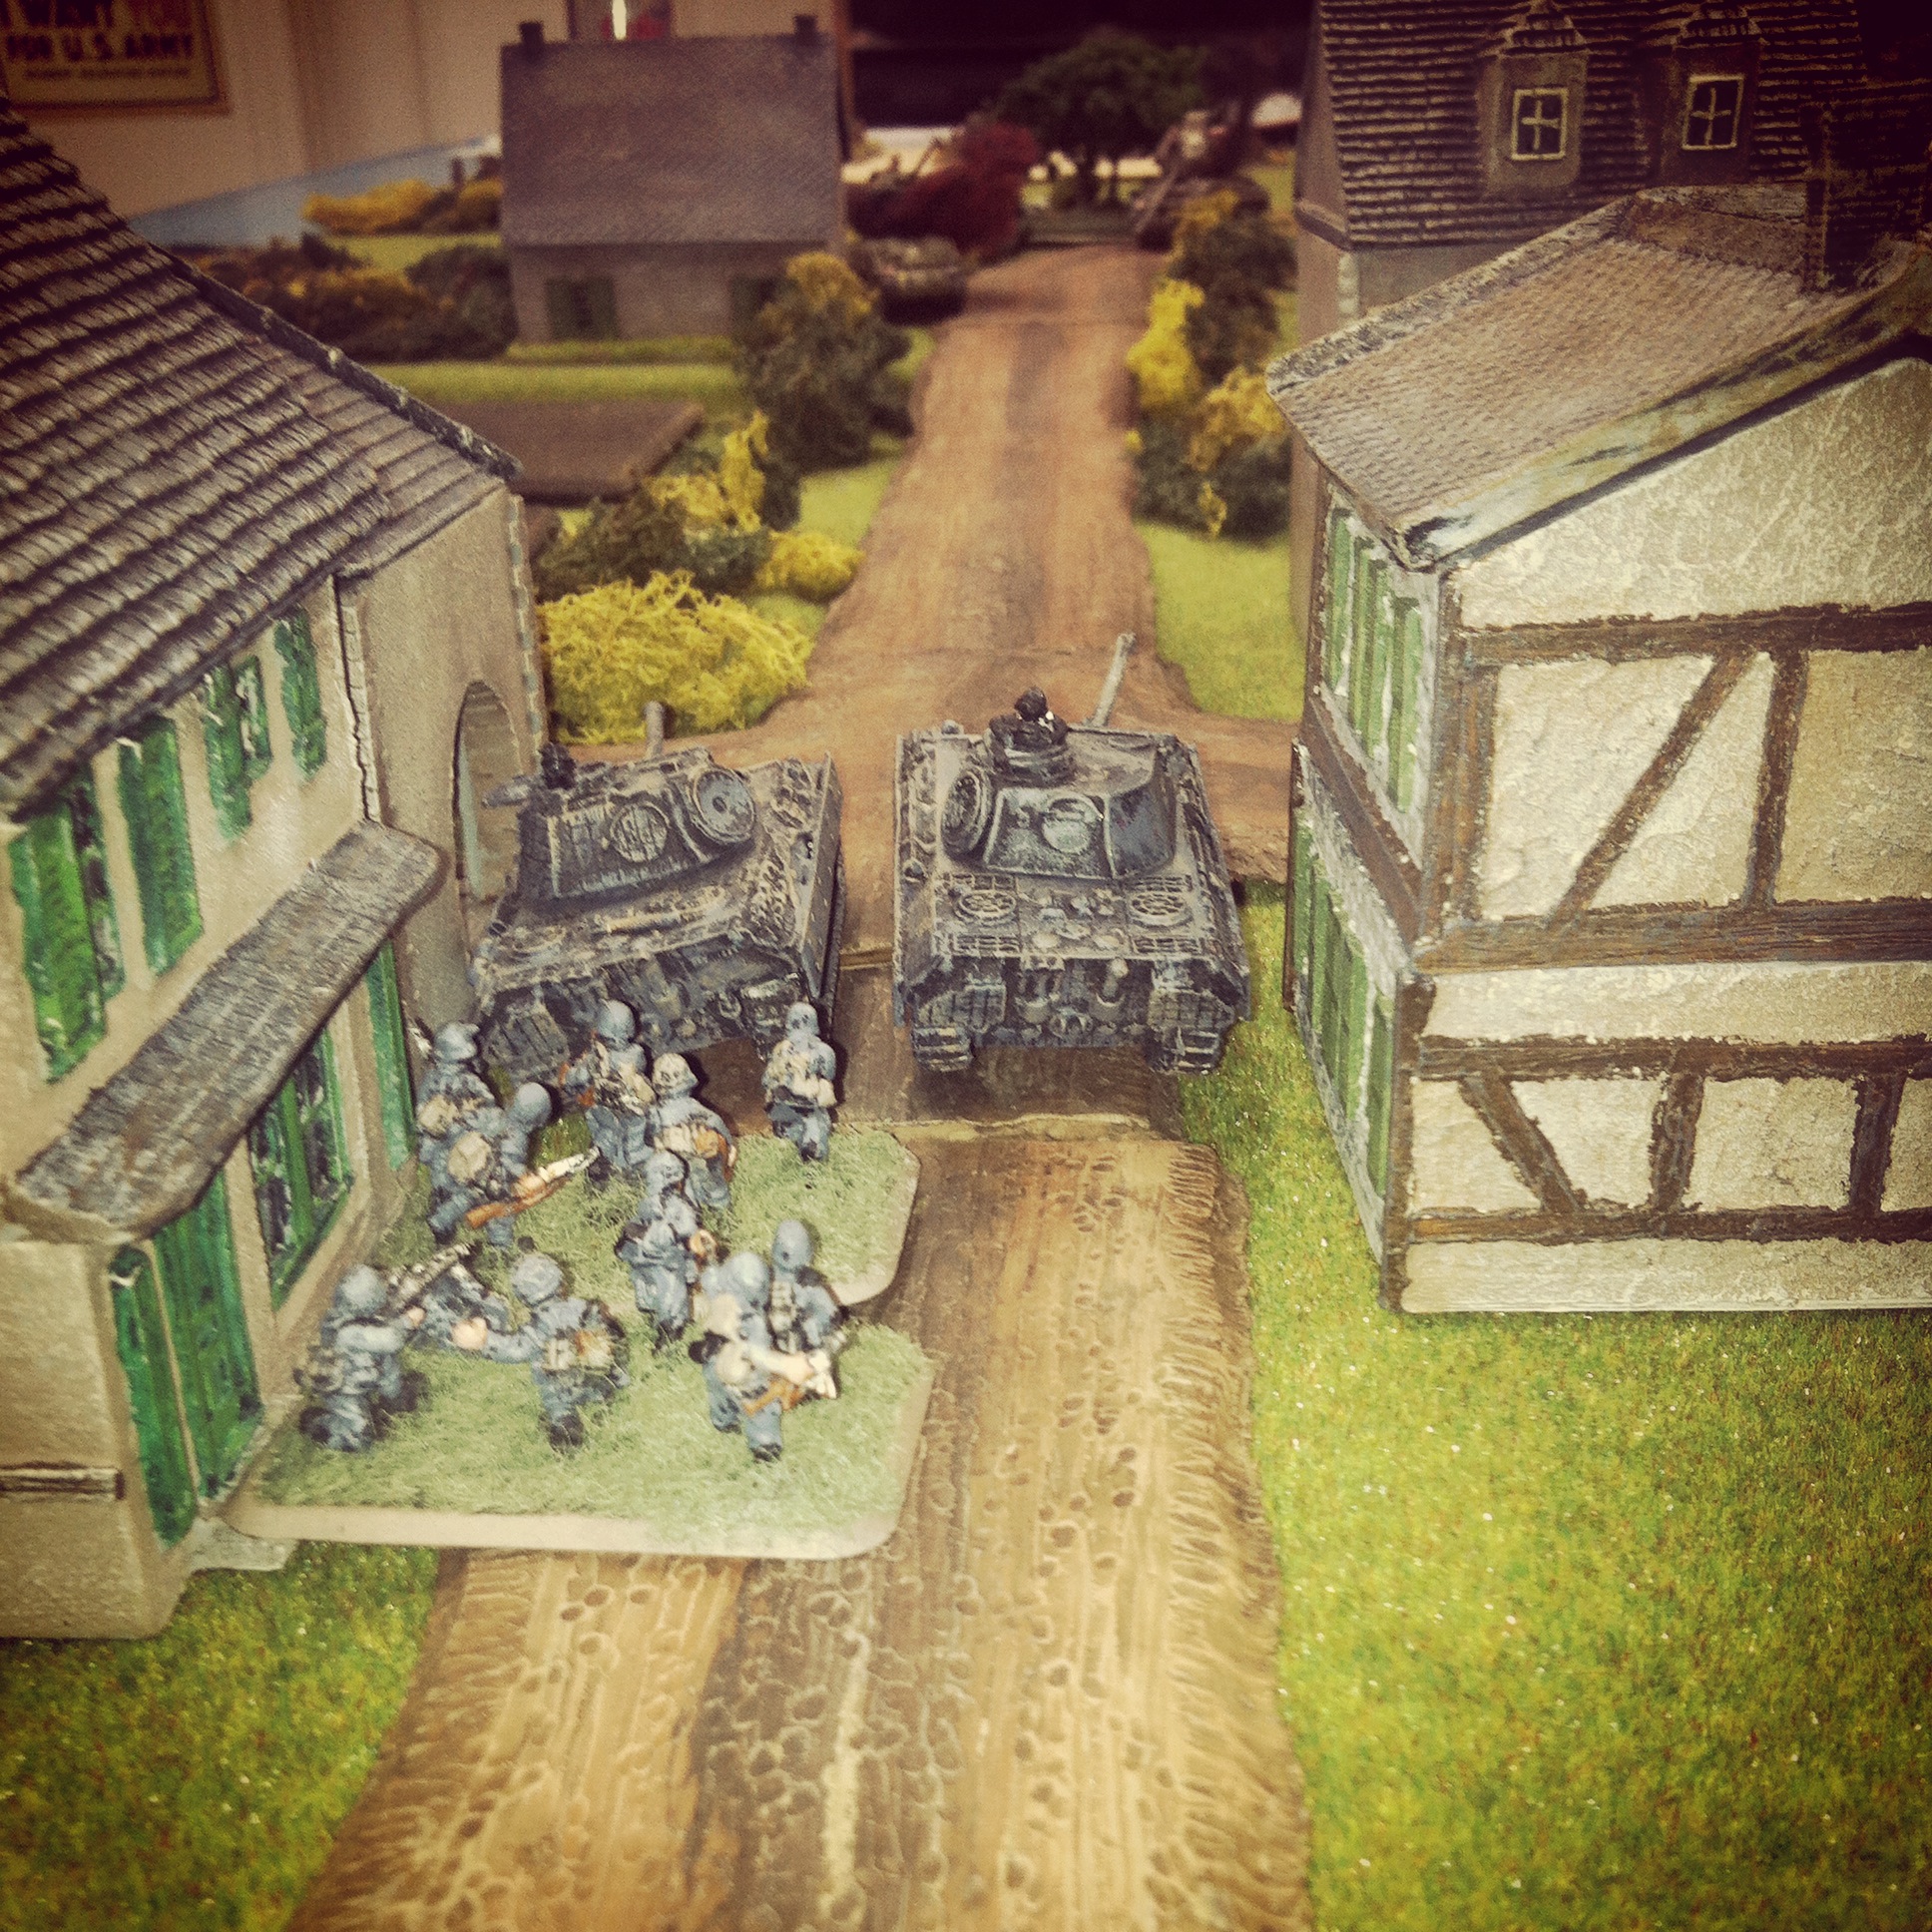
The first two turns of the game saw the British marching from their edge of the table toward Lingevres. At the town, a German machine gun platoon sat waiting in a building at the crossroads while two other infantry platoons took up position in the church and shops across the road. By turn three, British artillery had opened fire on the machine gunners and pinned them. The first British tank platoon also rumbled onto the table, as did the German Panthers which made way for the center of town.

IMG_3165

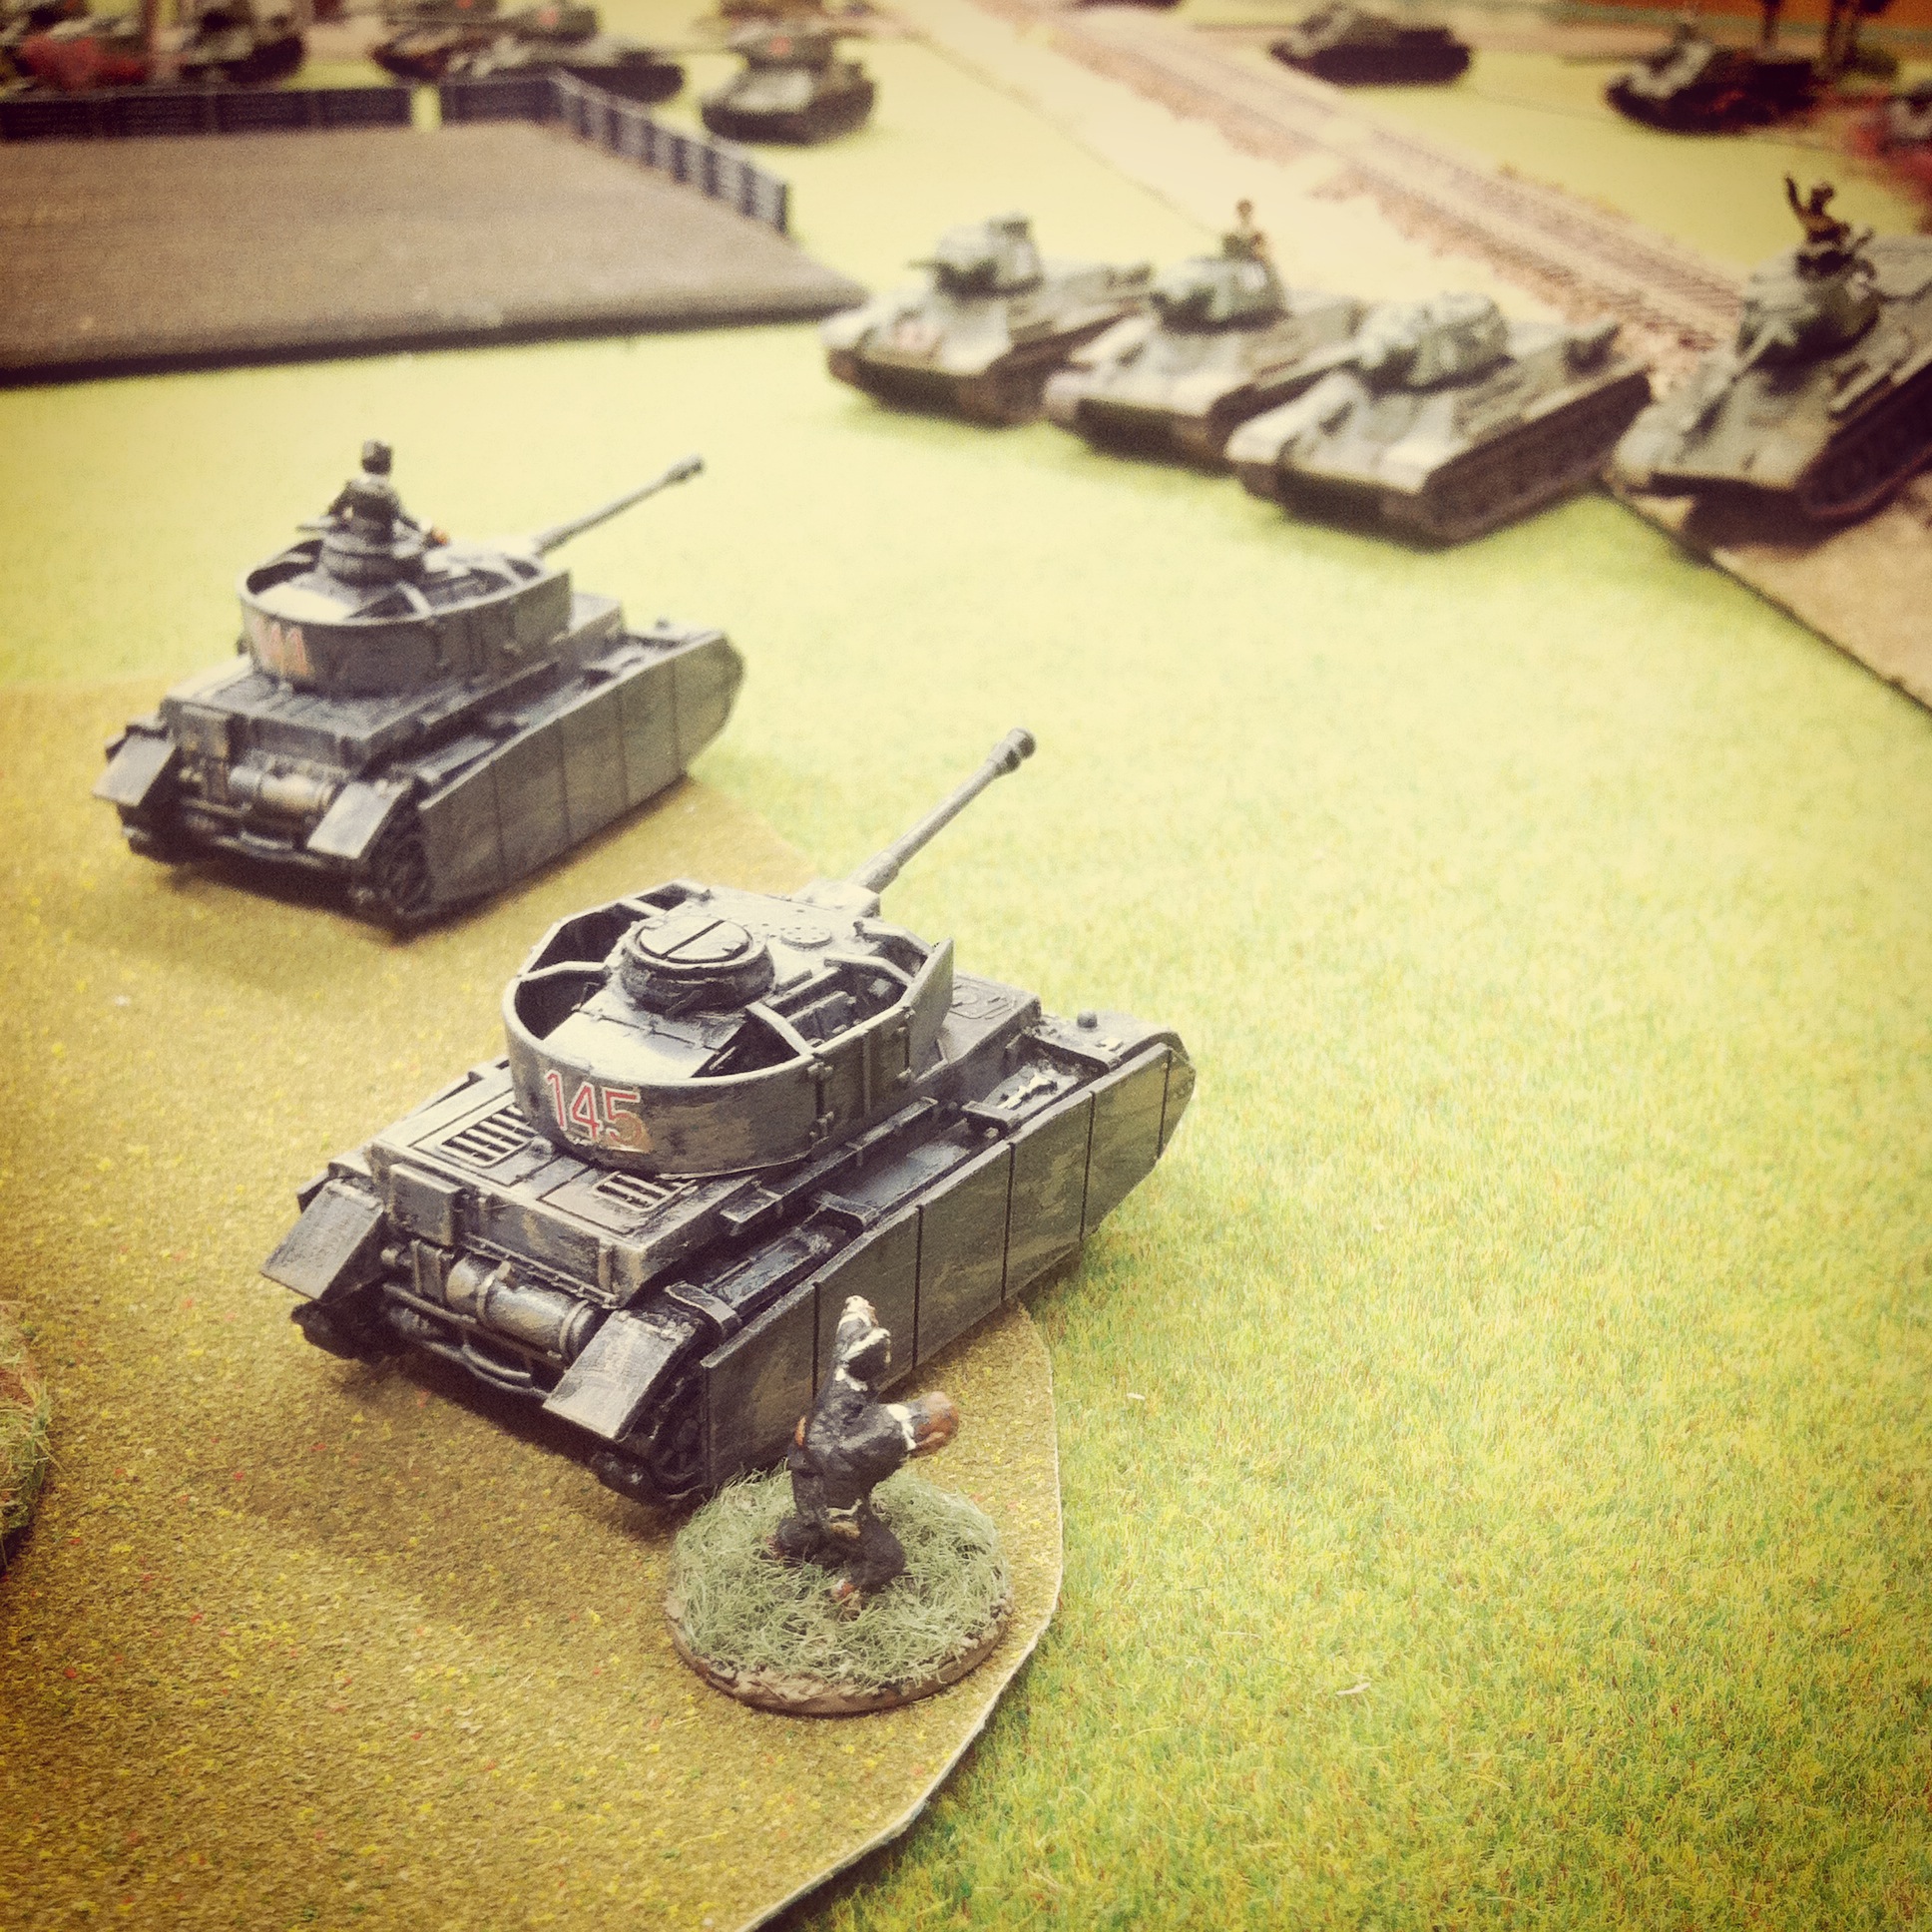
Panther reserves roll into the center of Lingevres

IMG_3173

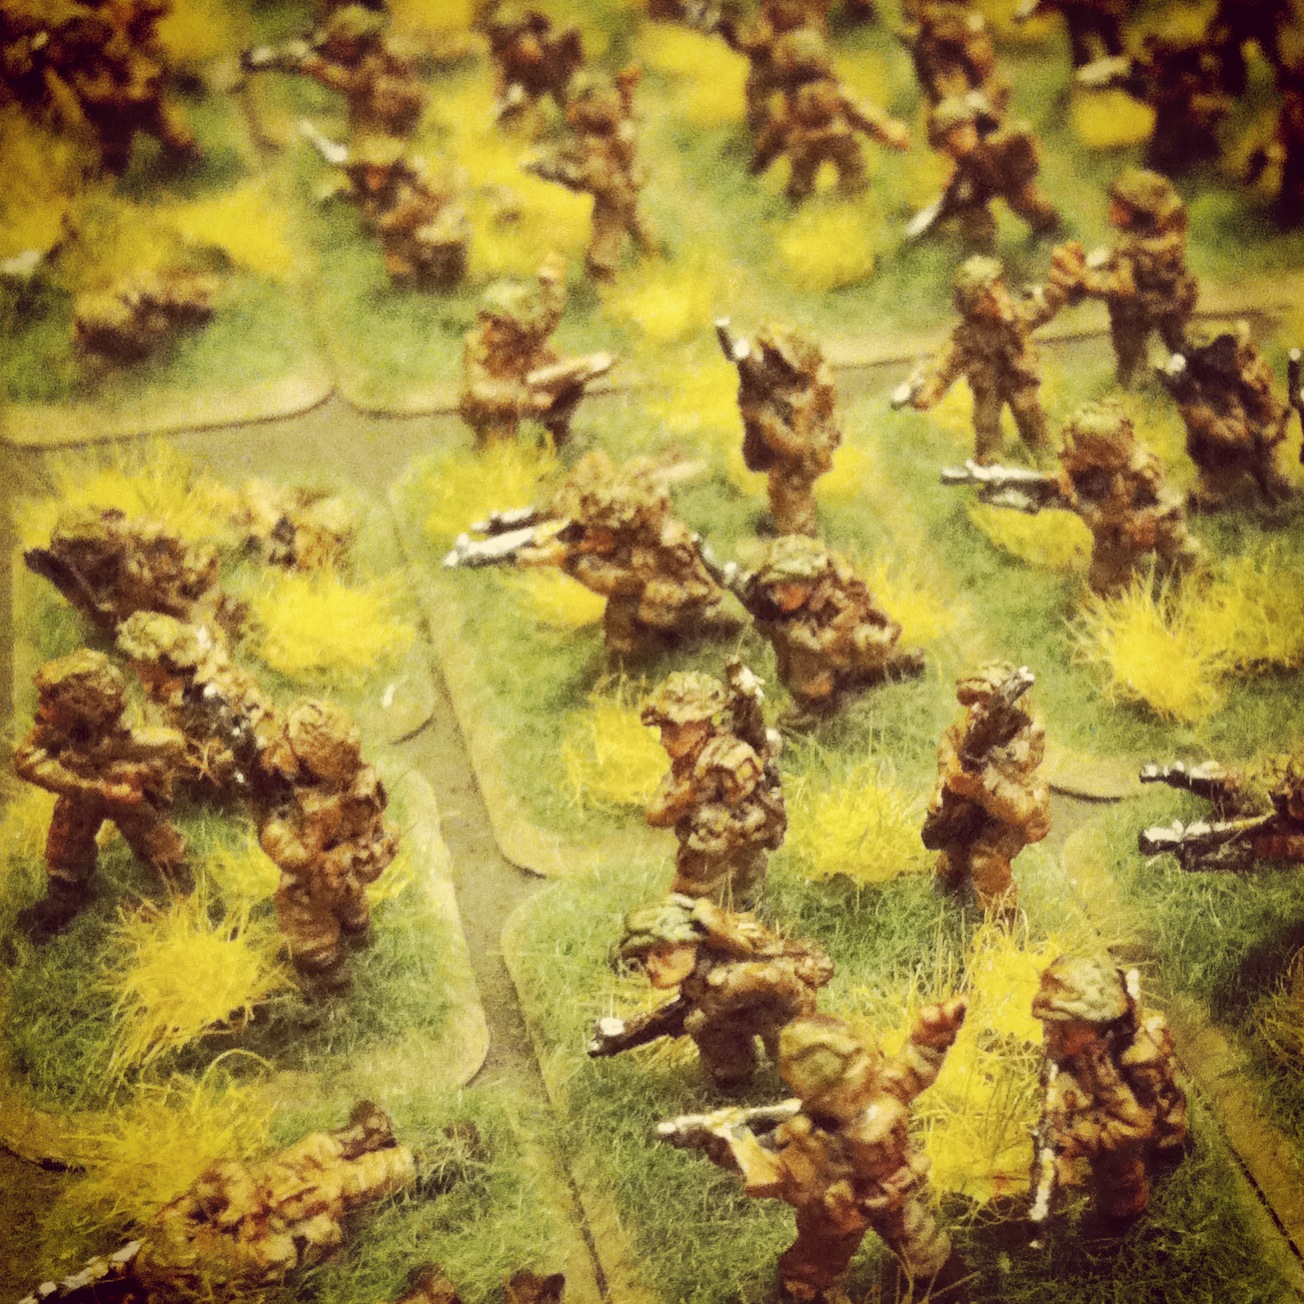
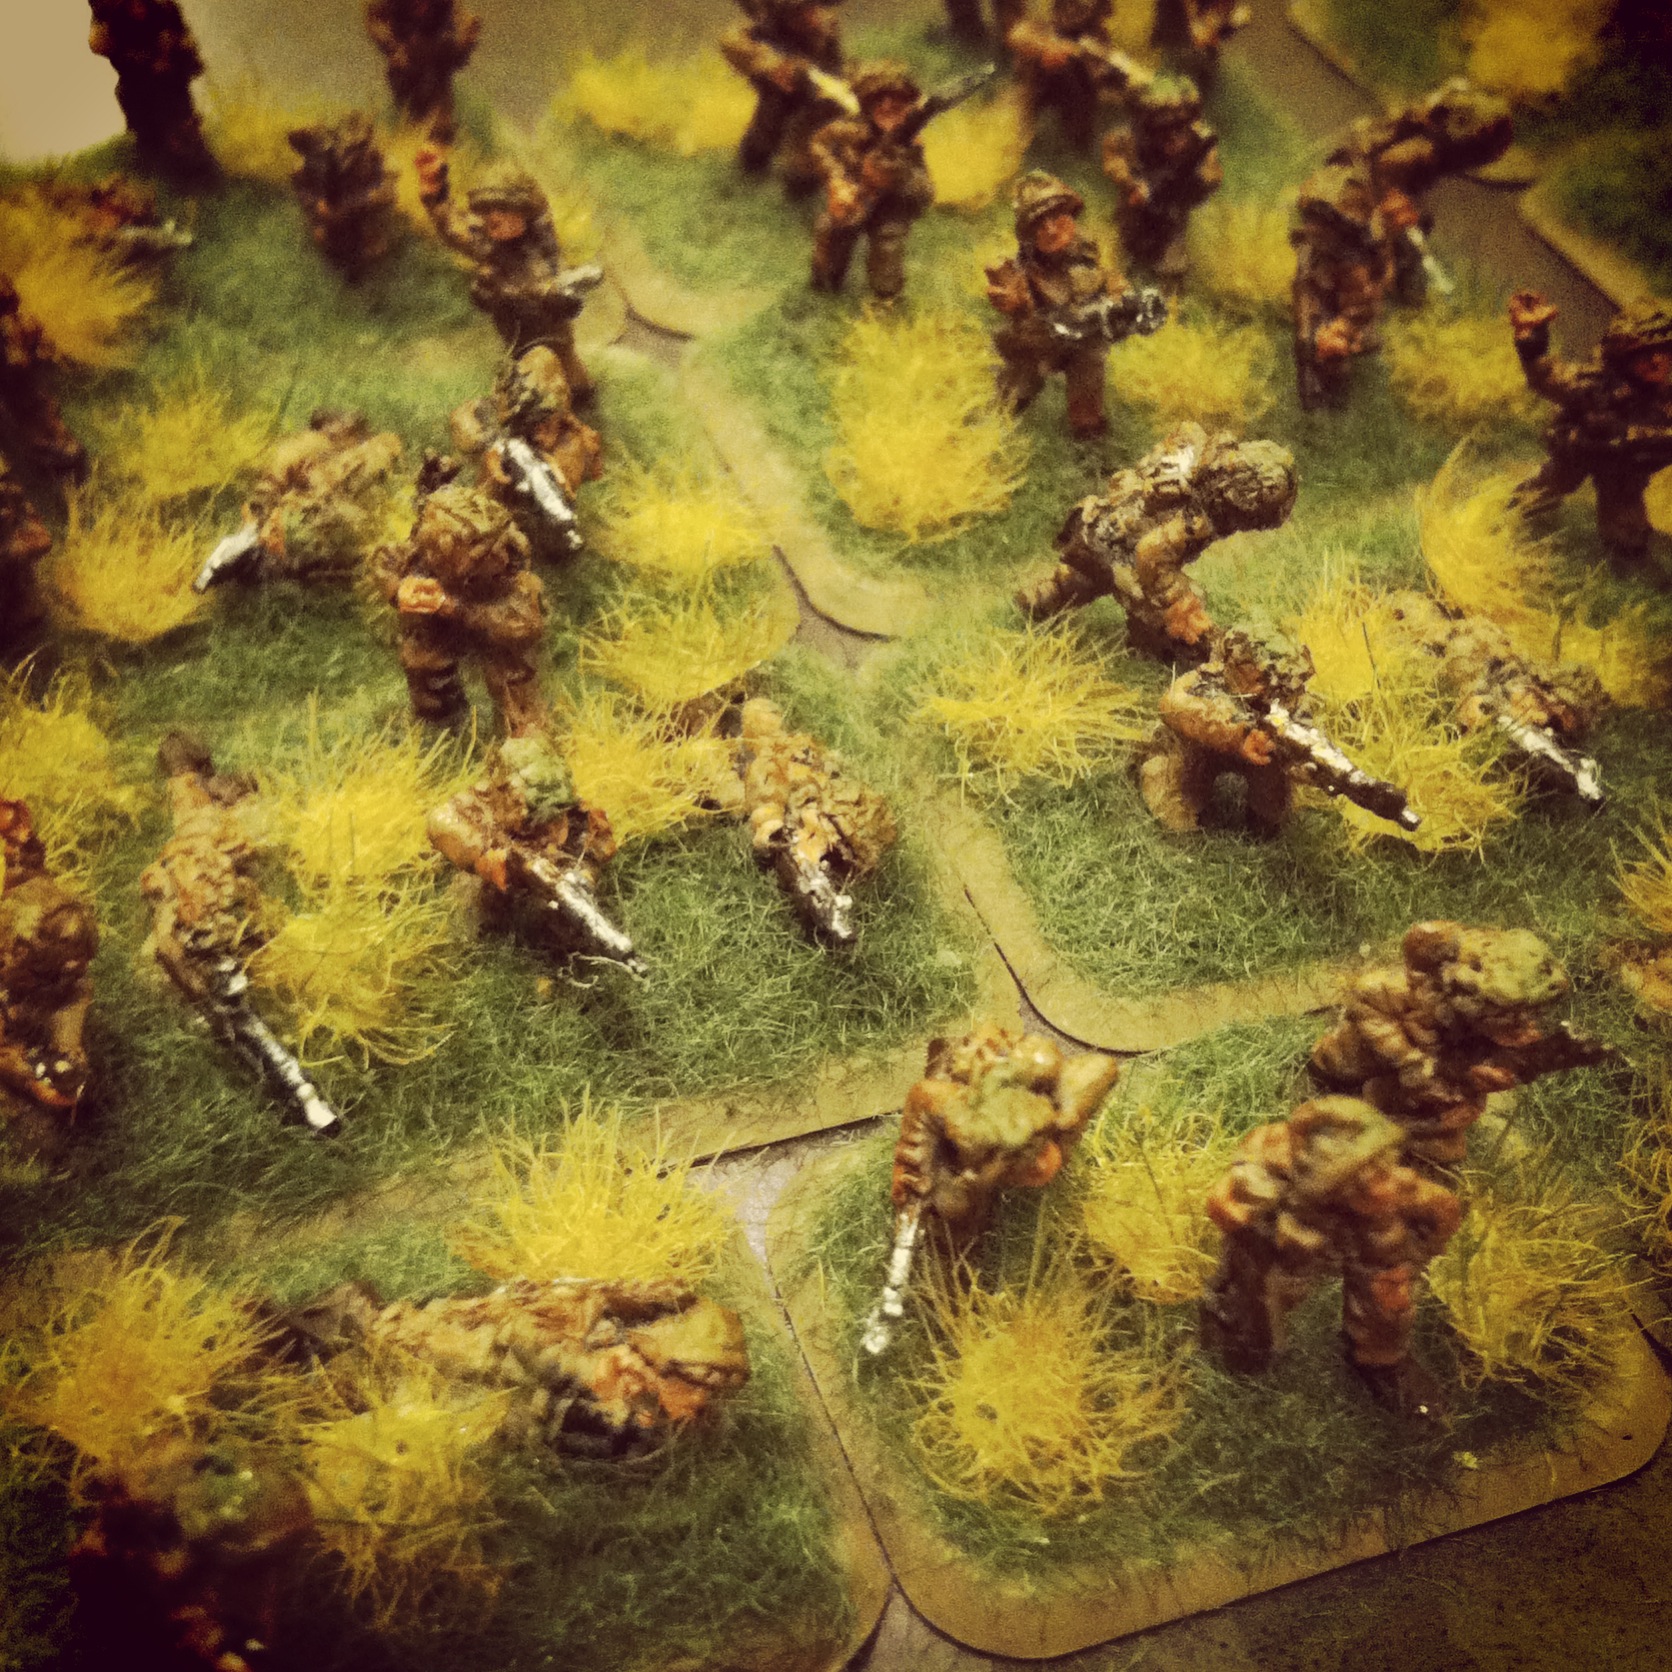
British infantry in the woods take fire and are pinned as armored reserves move from the rear

The first British infantry platoon made way through the woods at the center of the table but were pinned and cut down over two consecutive turns of fire from nearby Germans. The British recon patrol, edging its way through the bocaged fields near the church, was chased away with the appearance of the Panthers.

IMG_3167
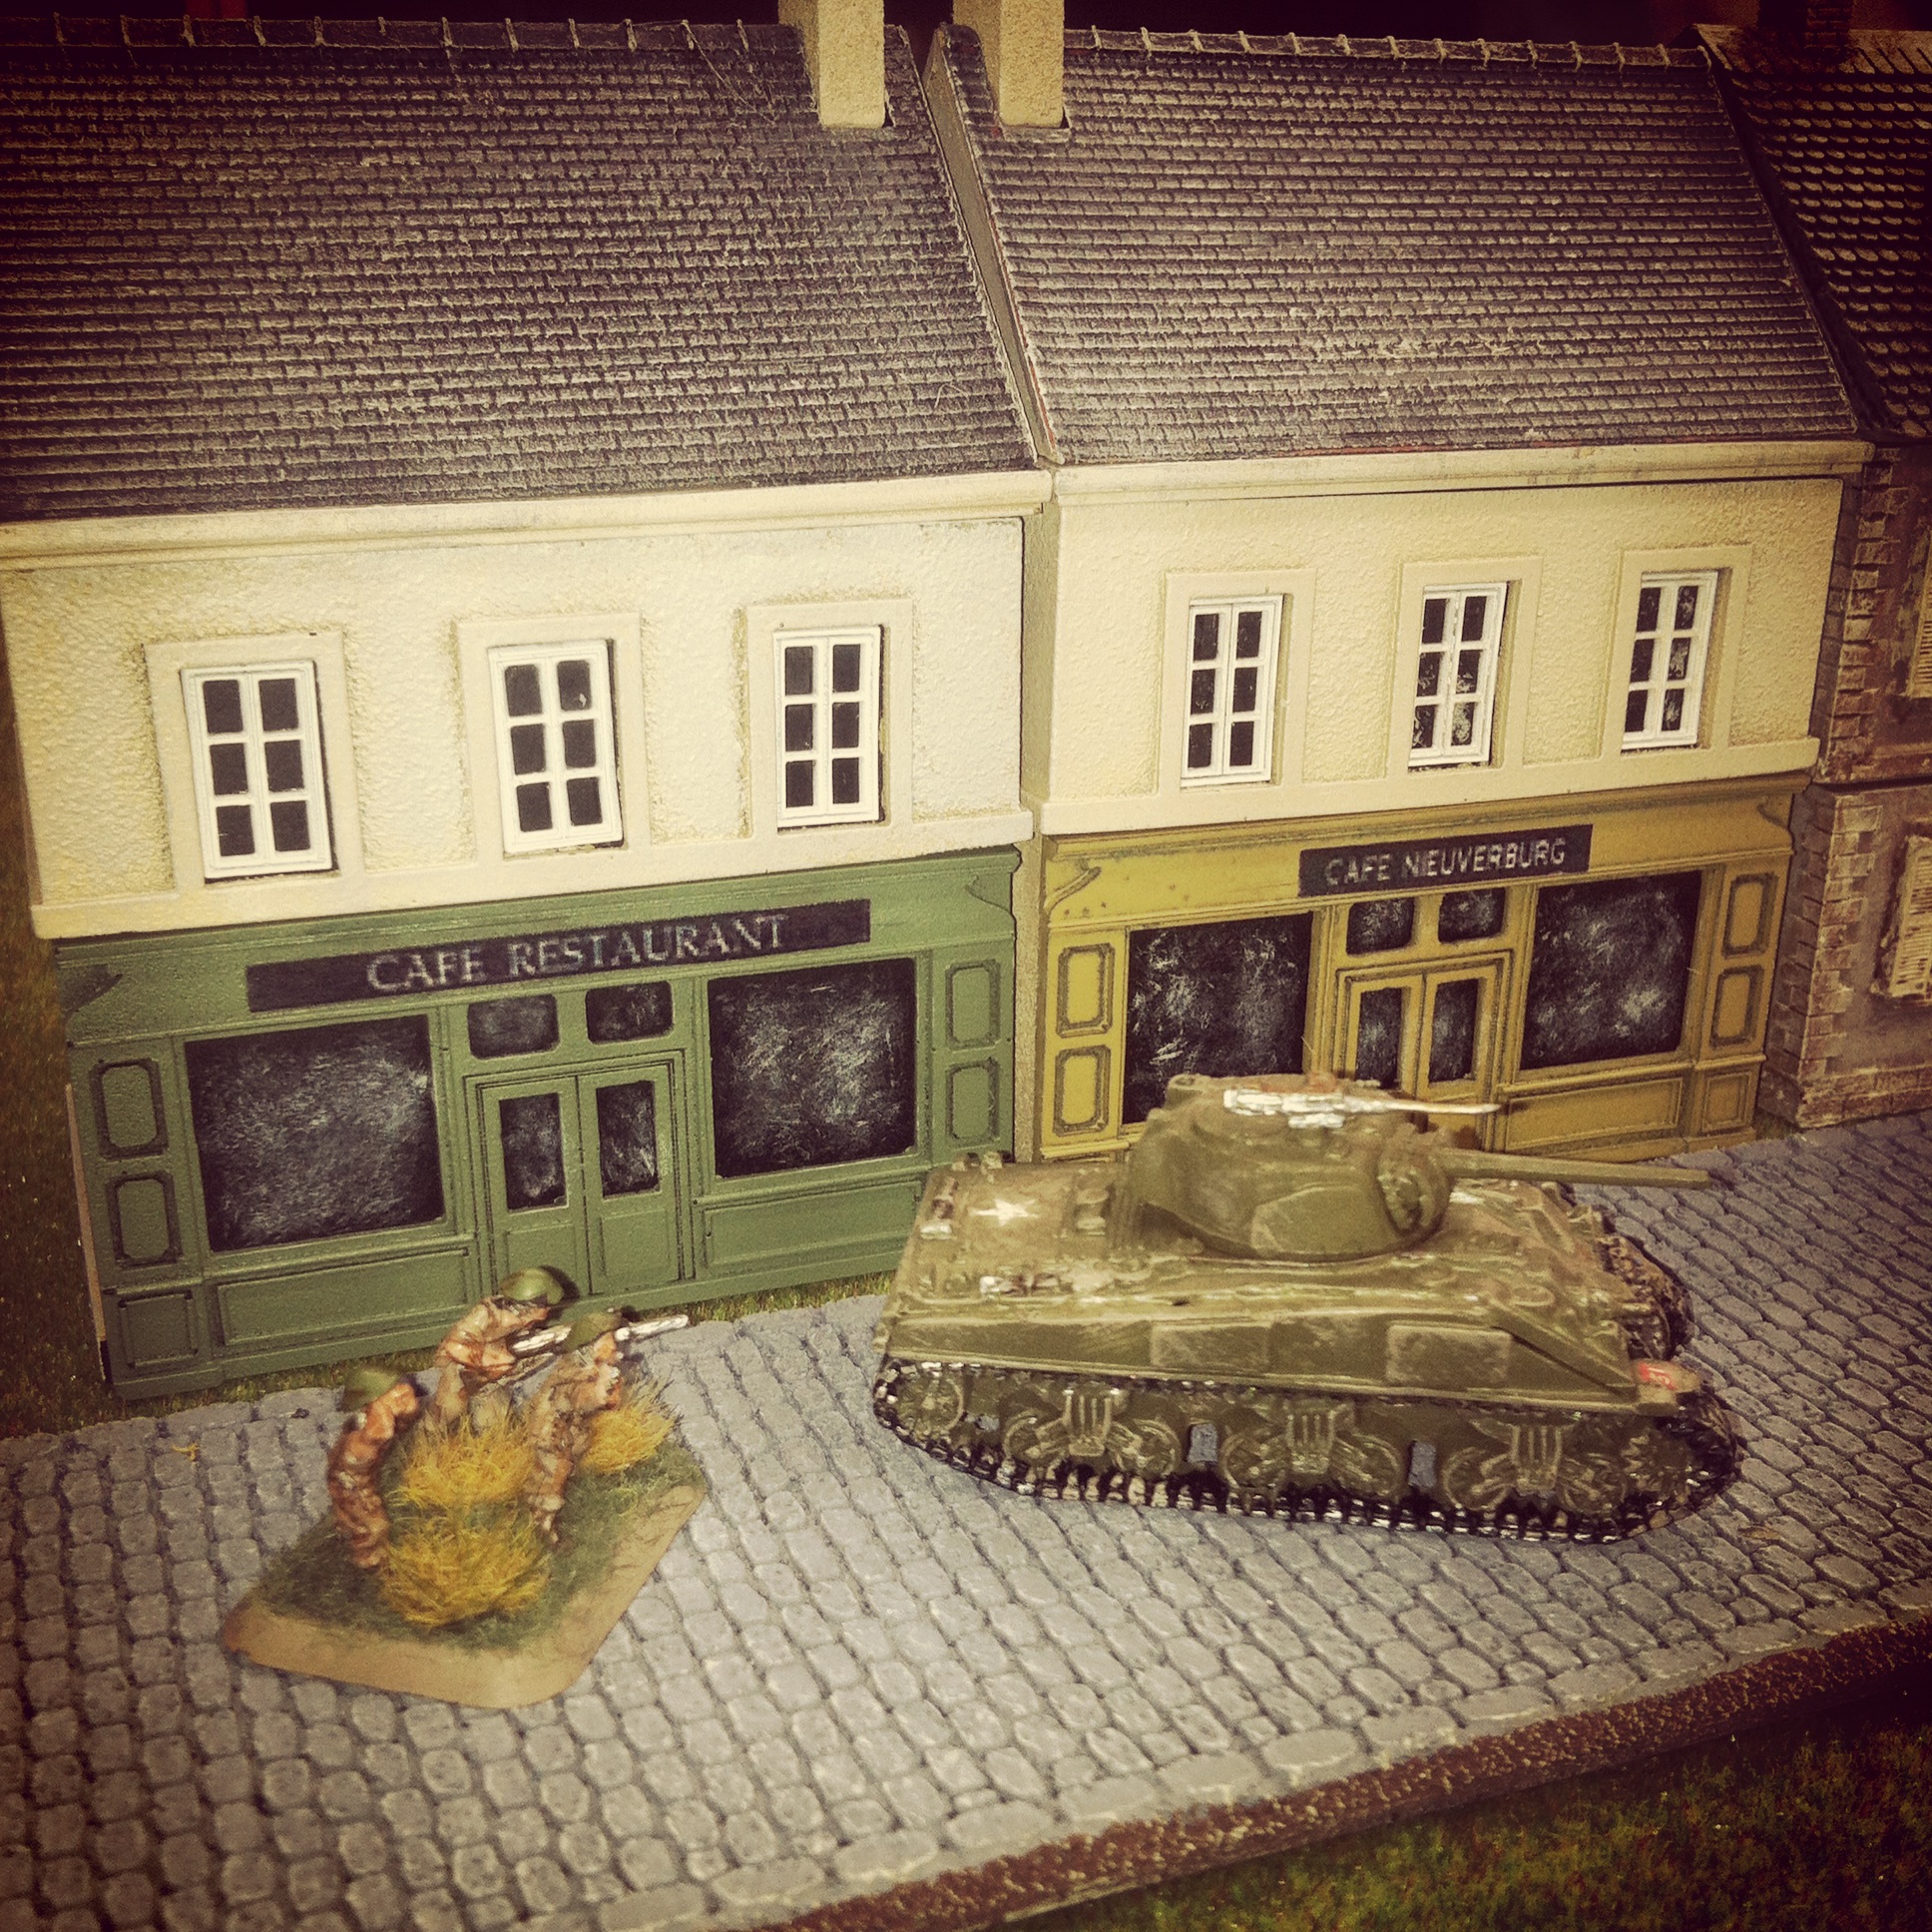
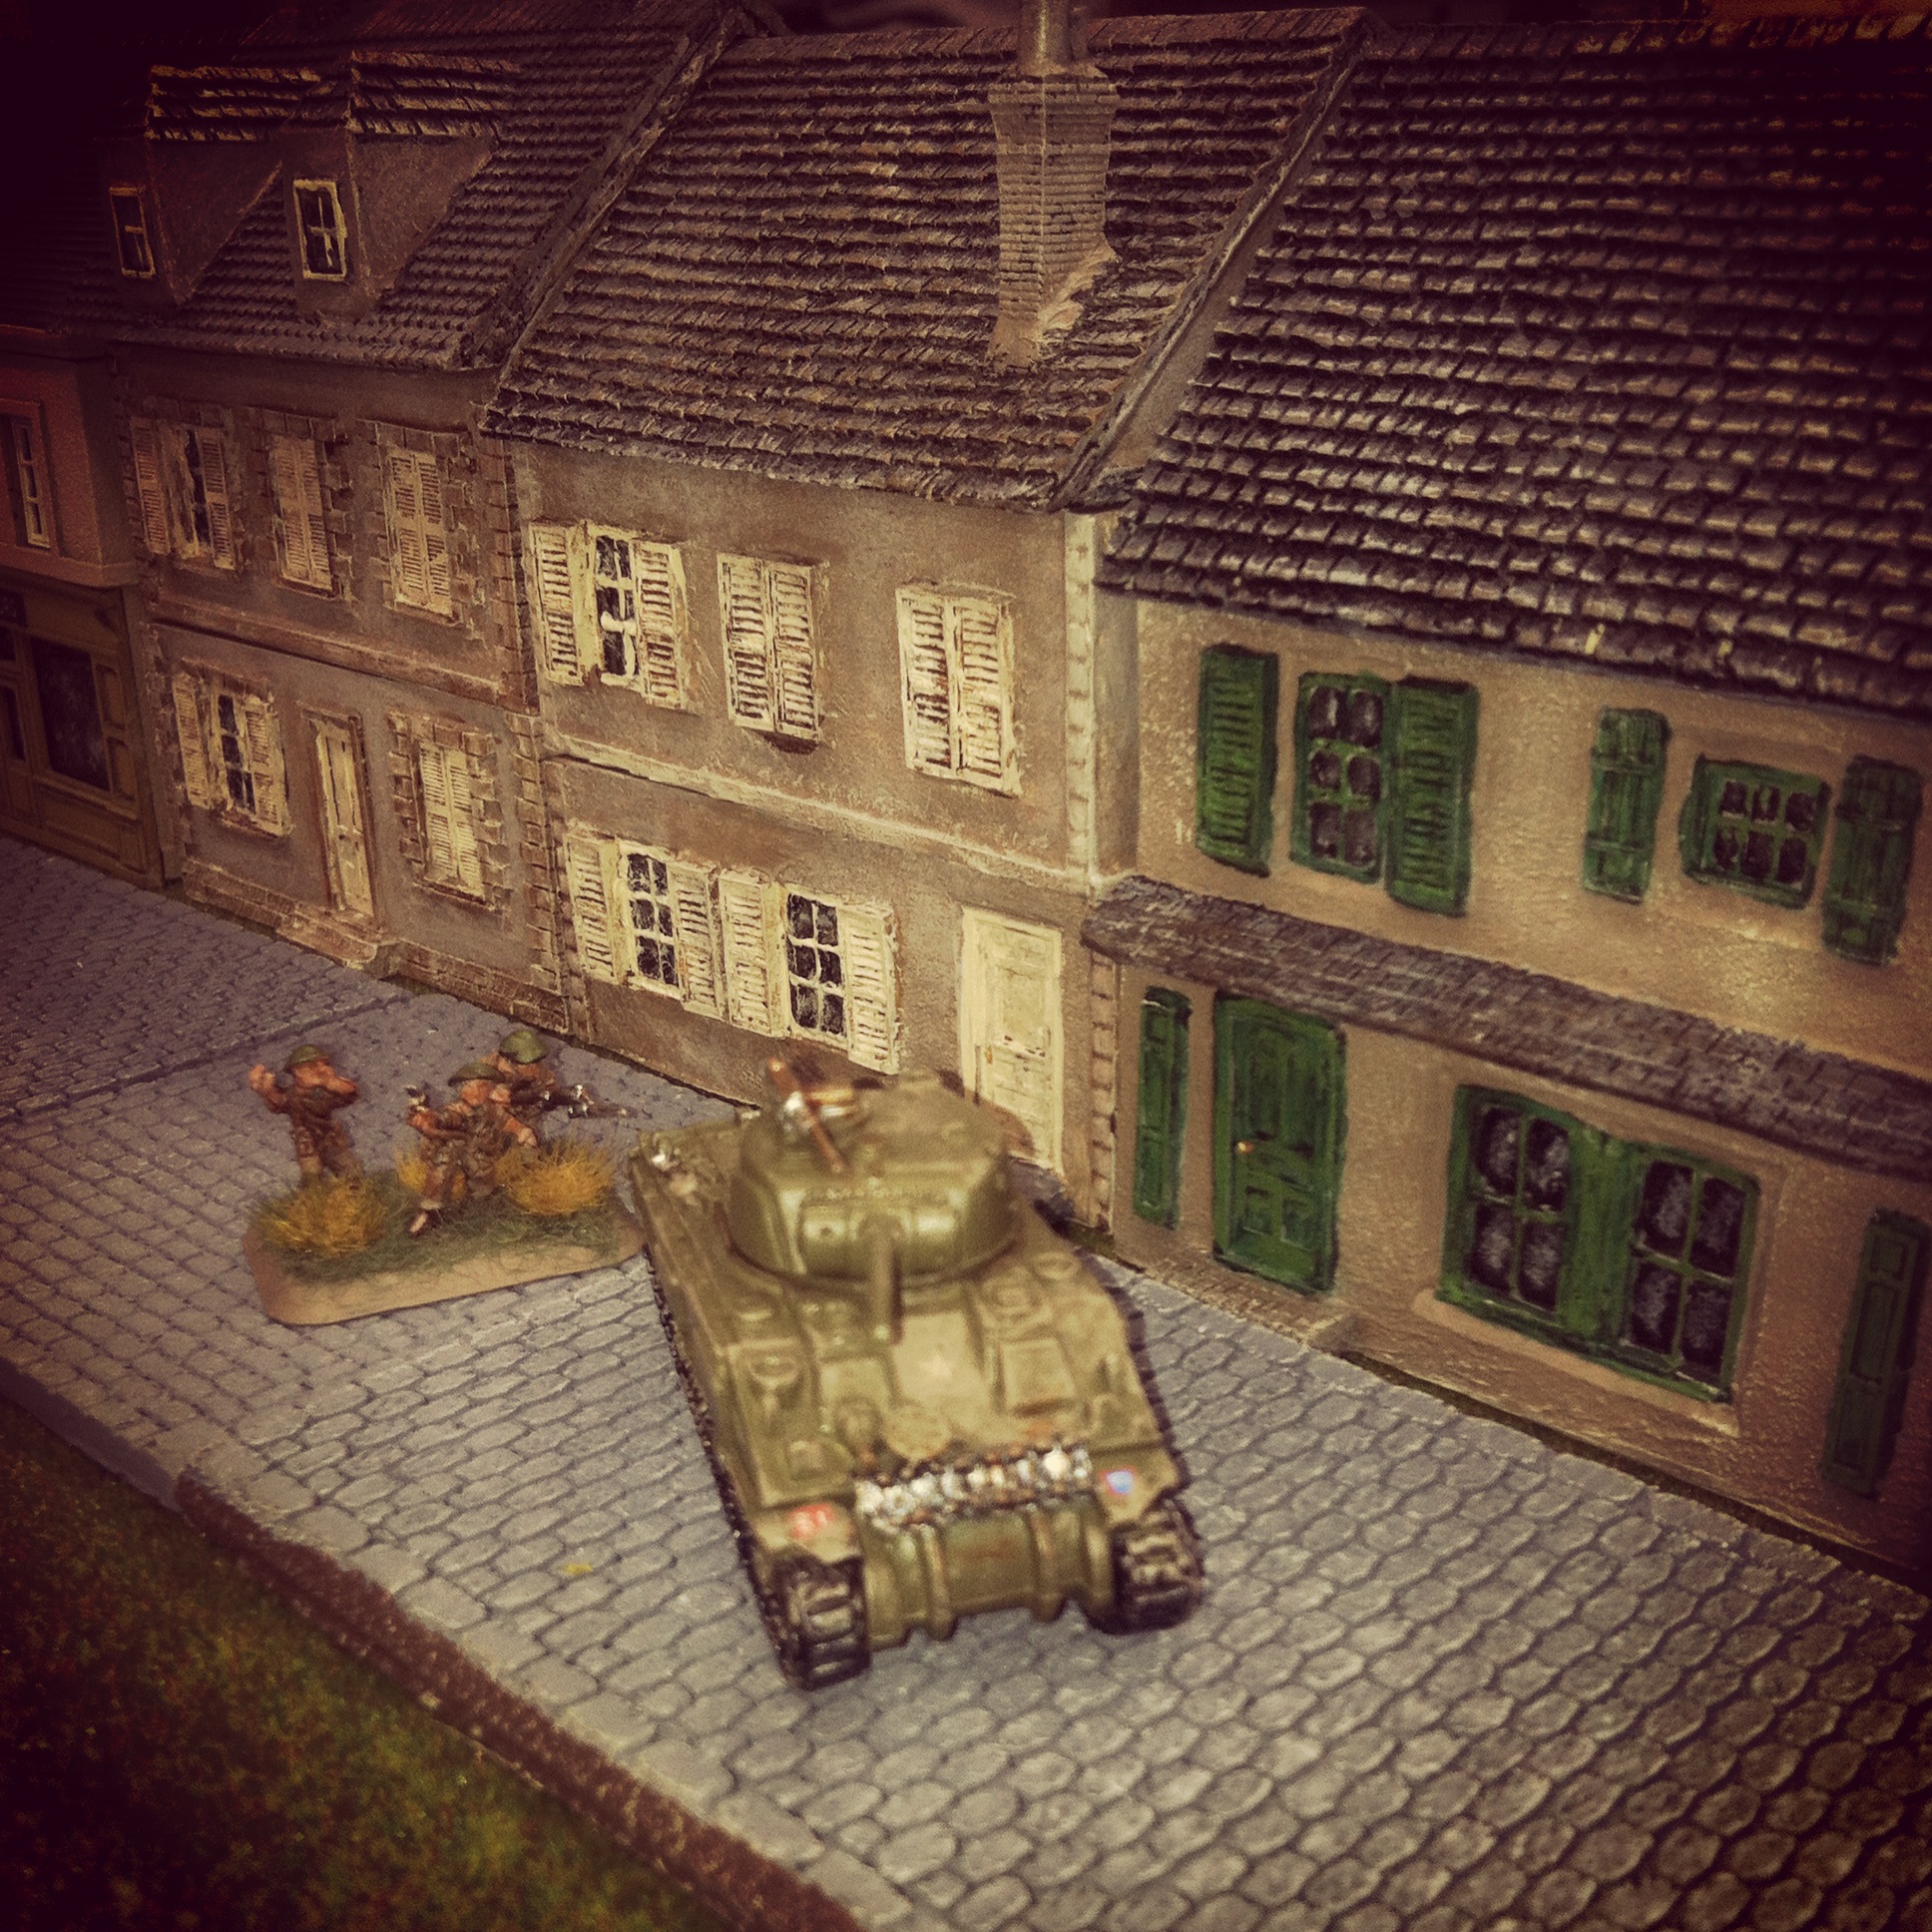
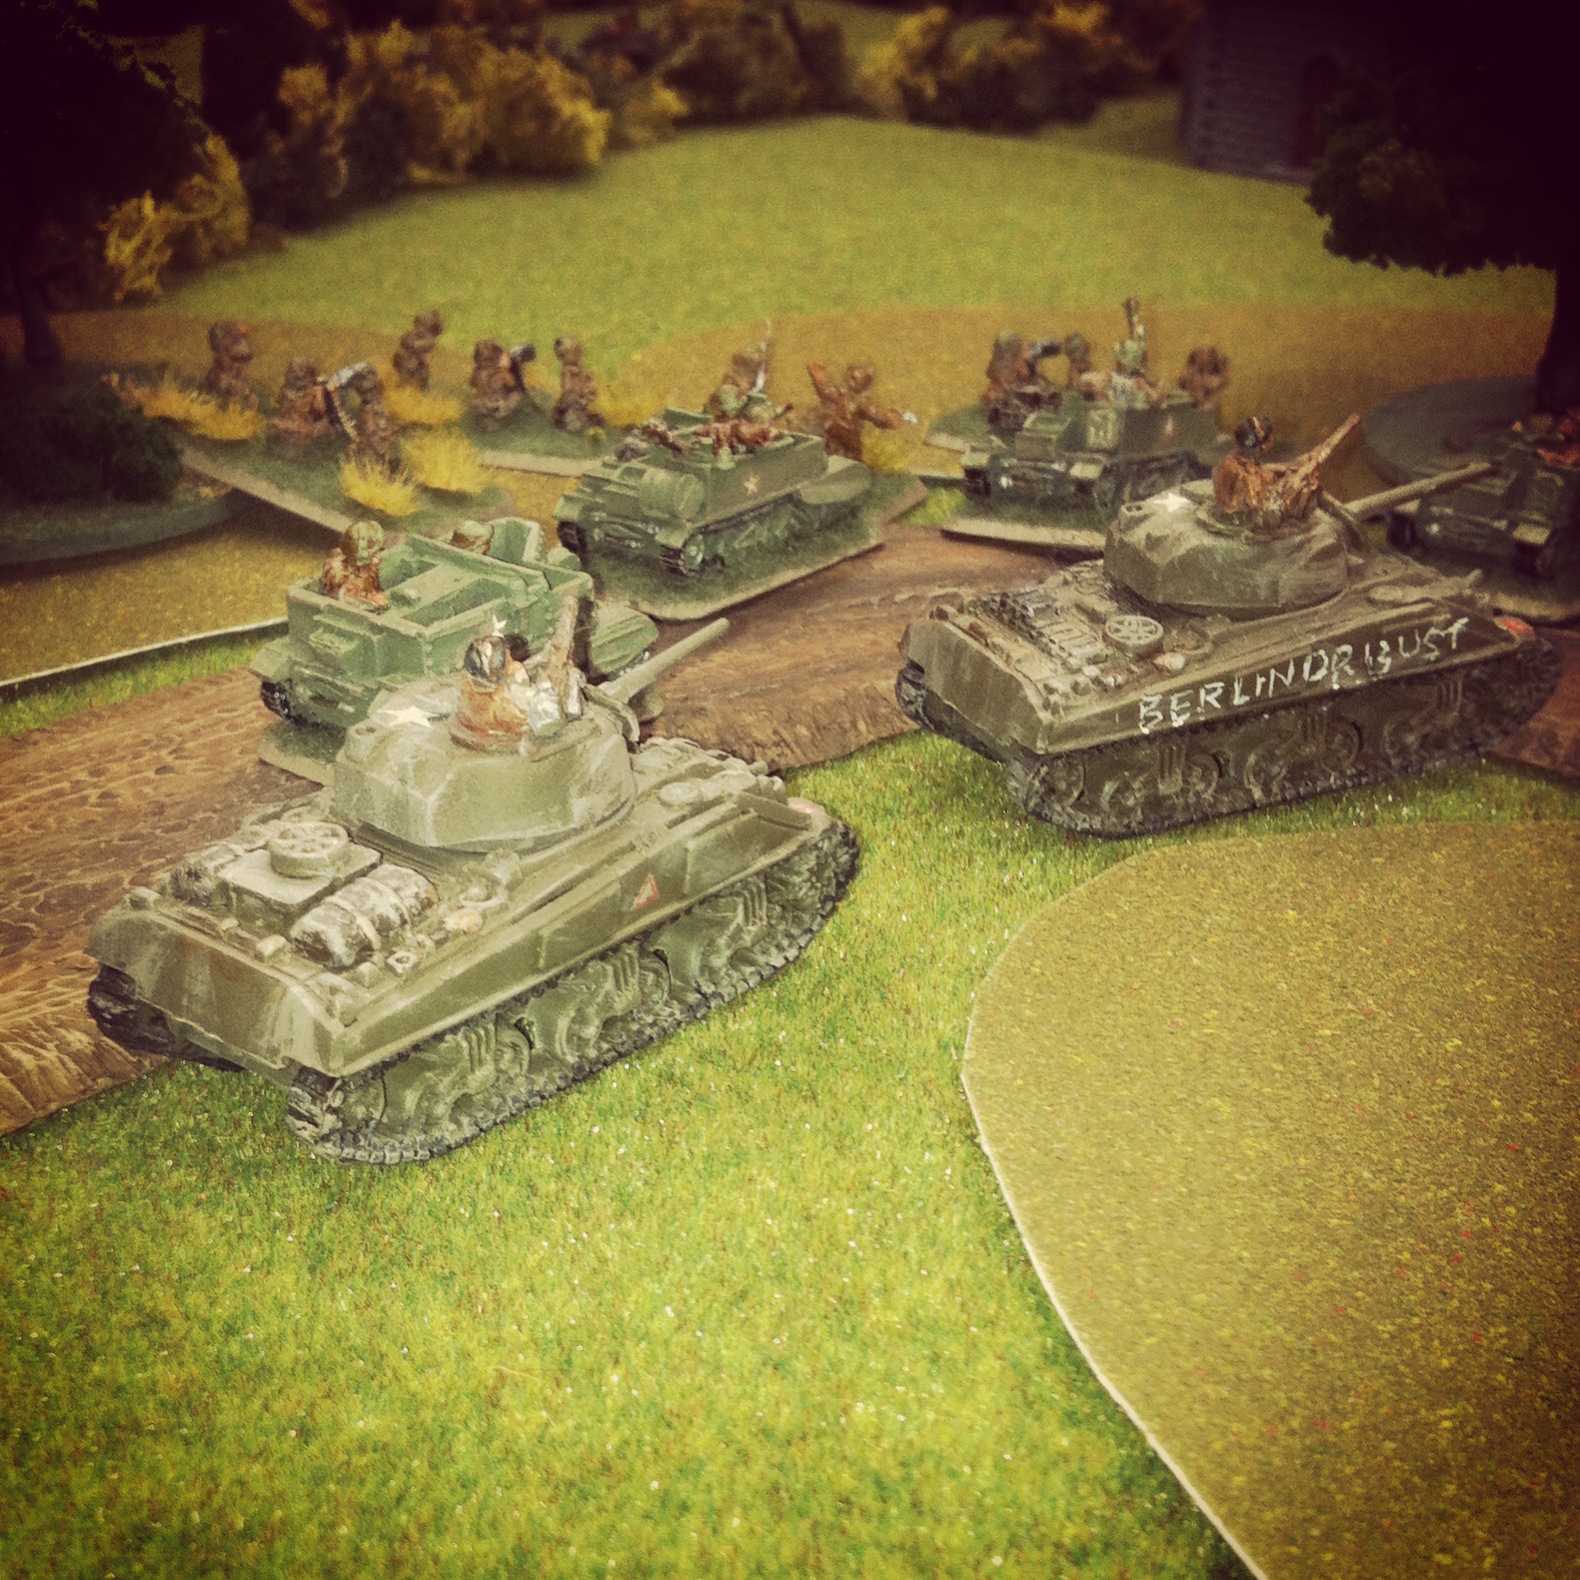
A British Sherman takes up position to spot for the artillery battery

IMG_3166

British infantry move from the farmhouse across the field

IMG_3169

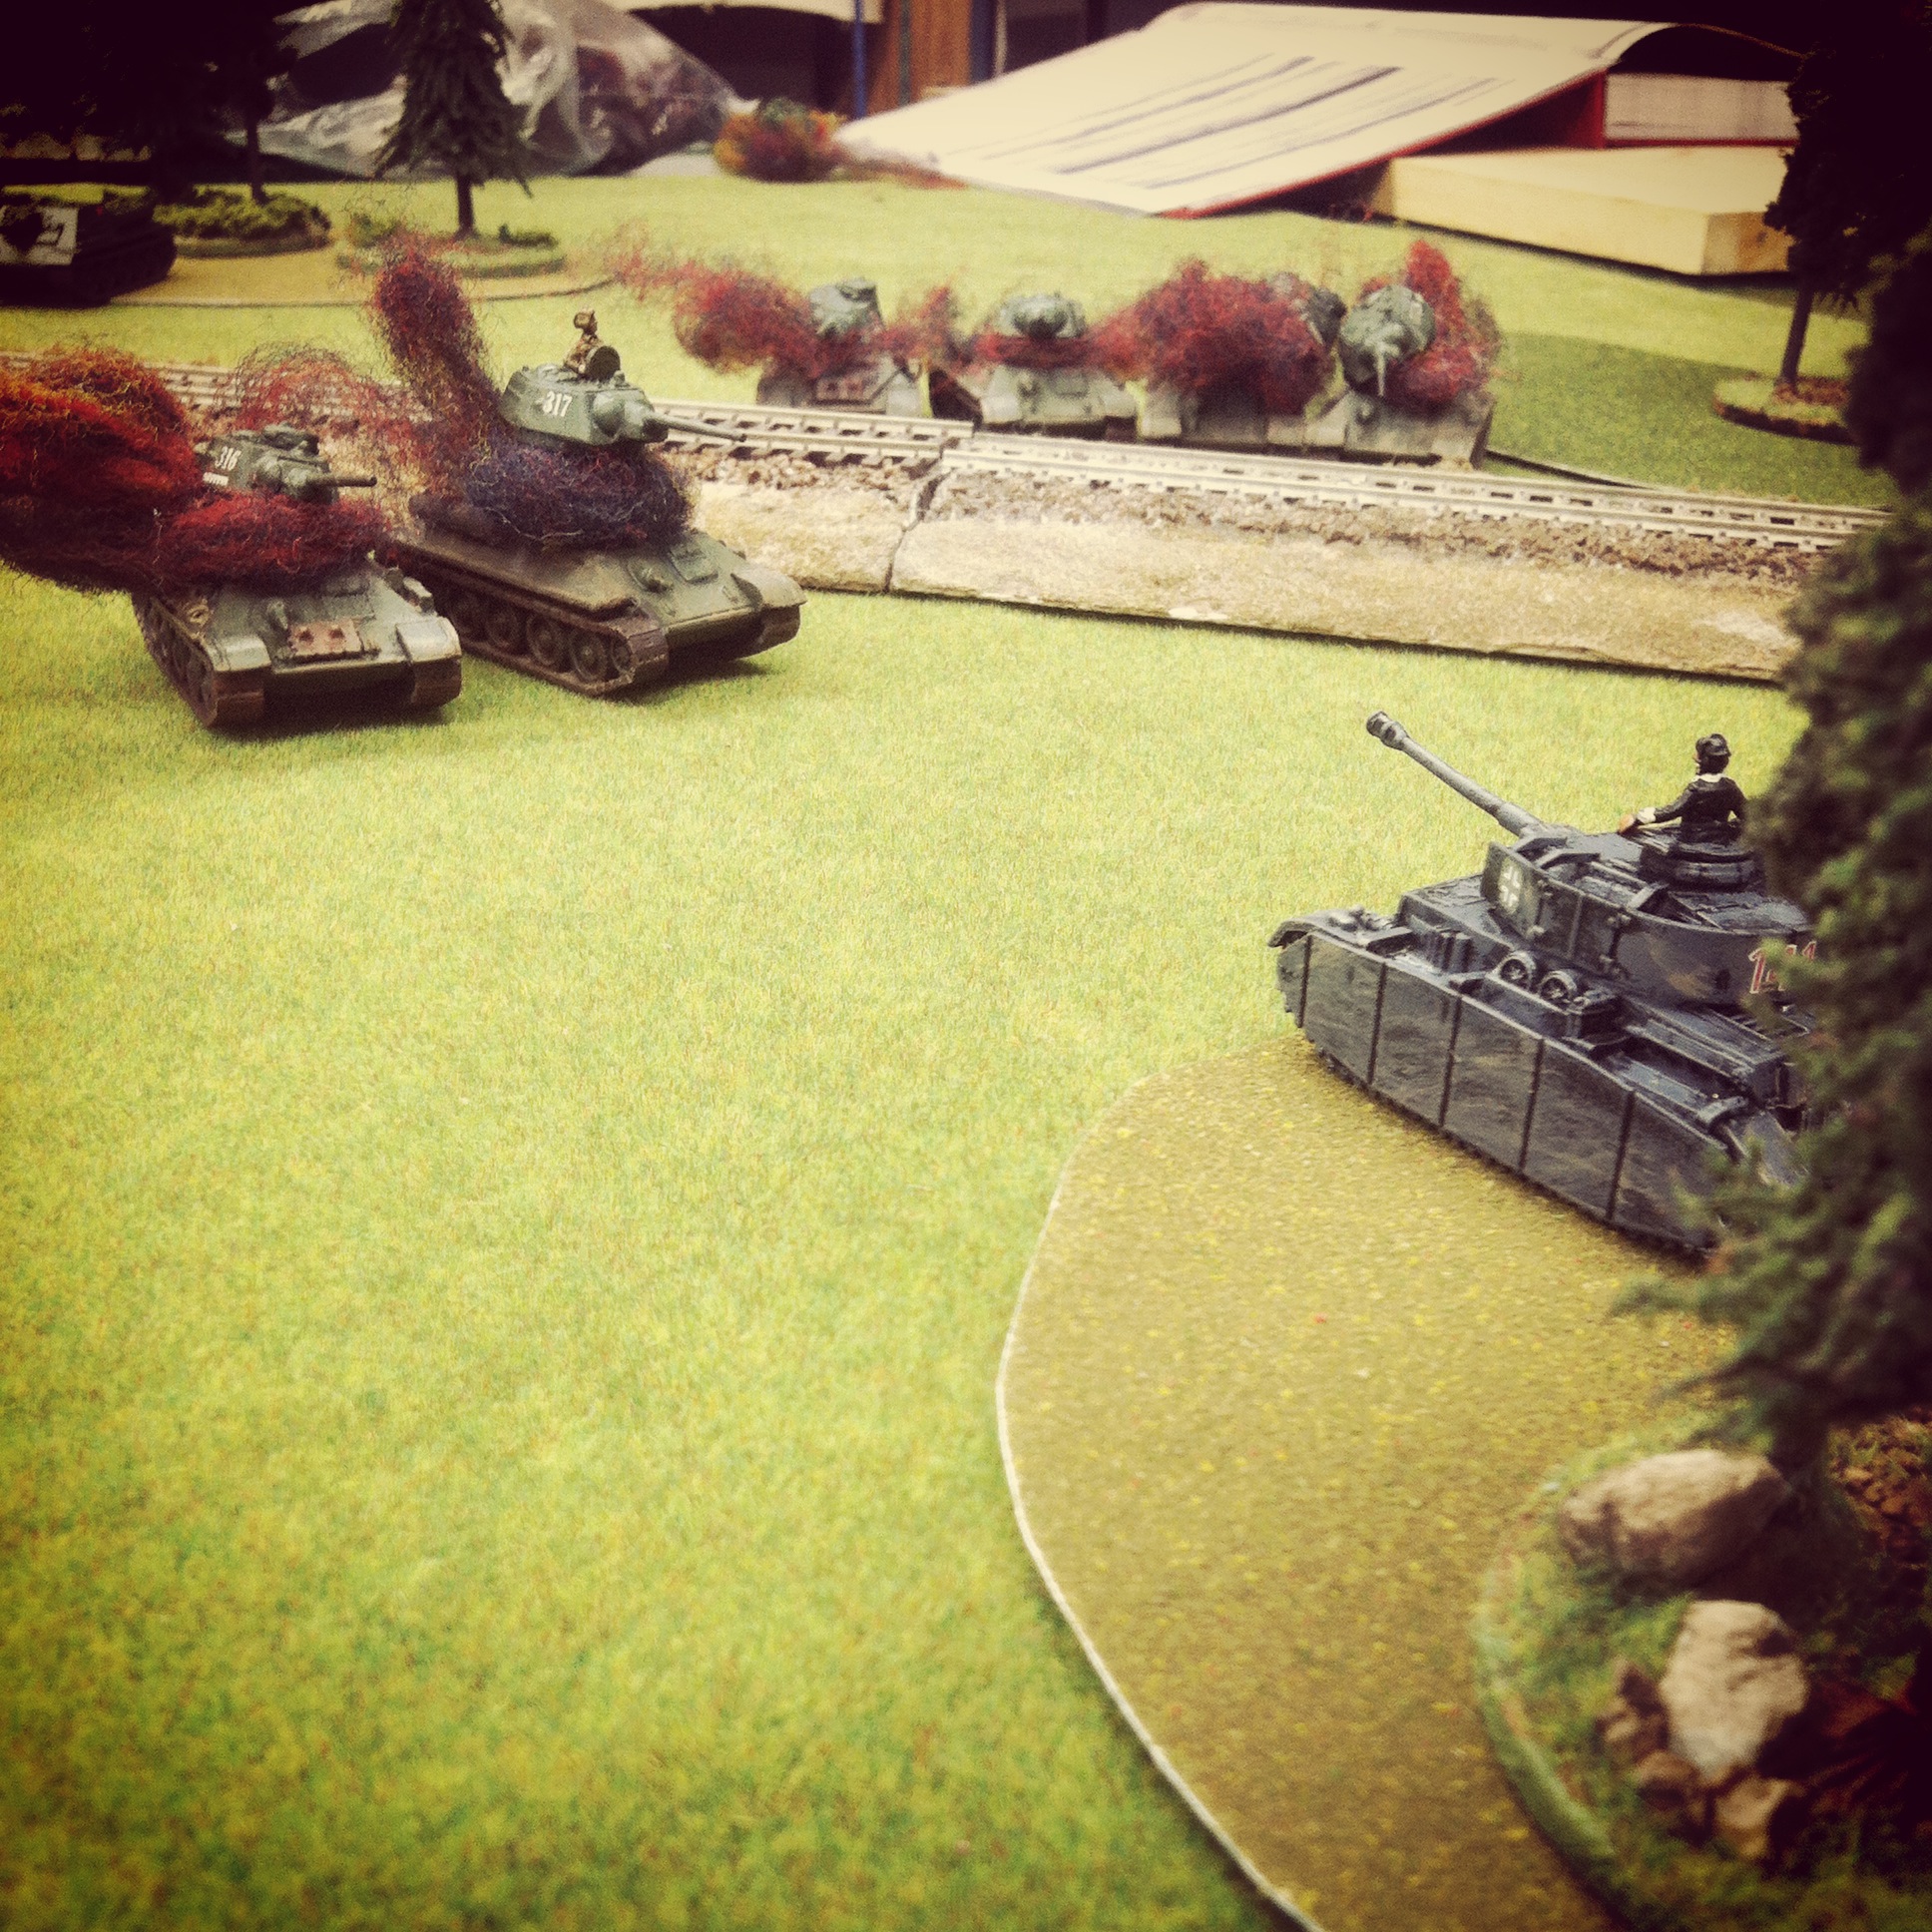
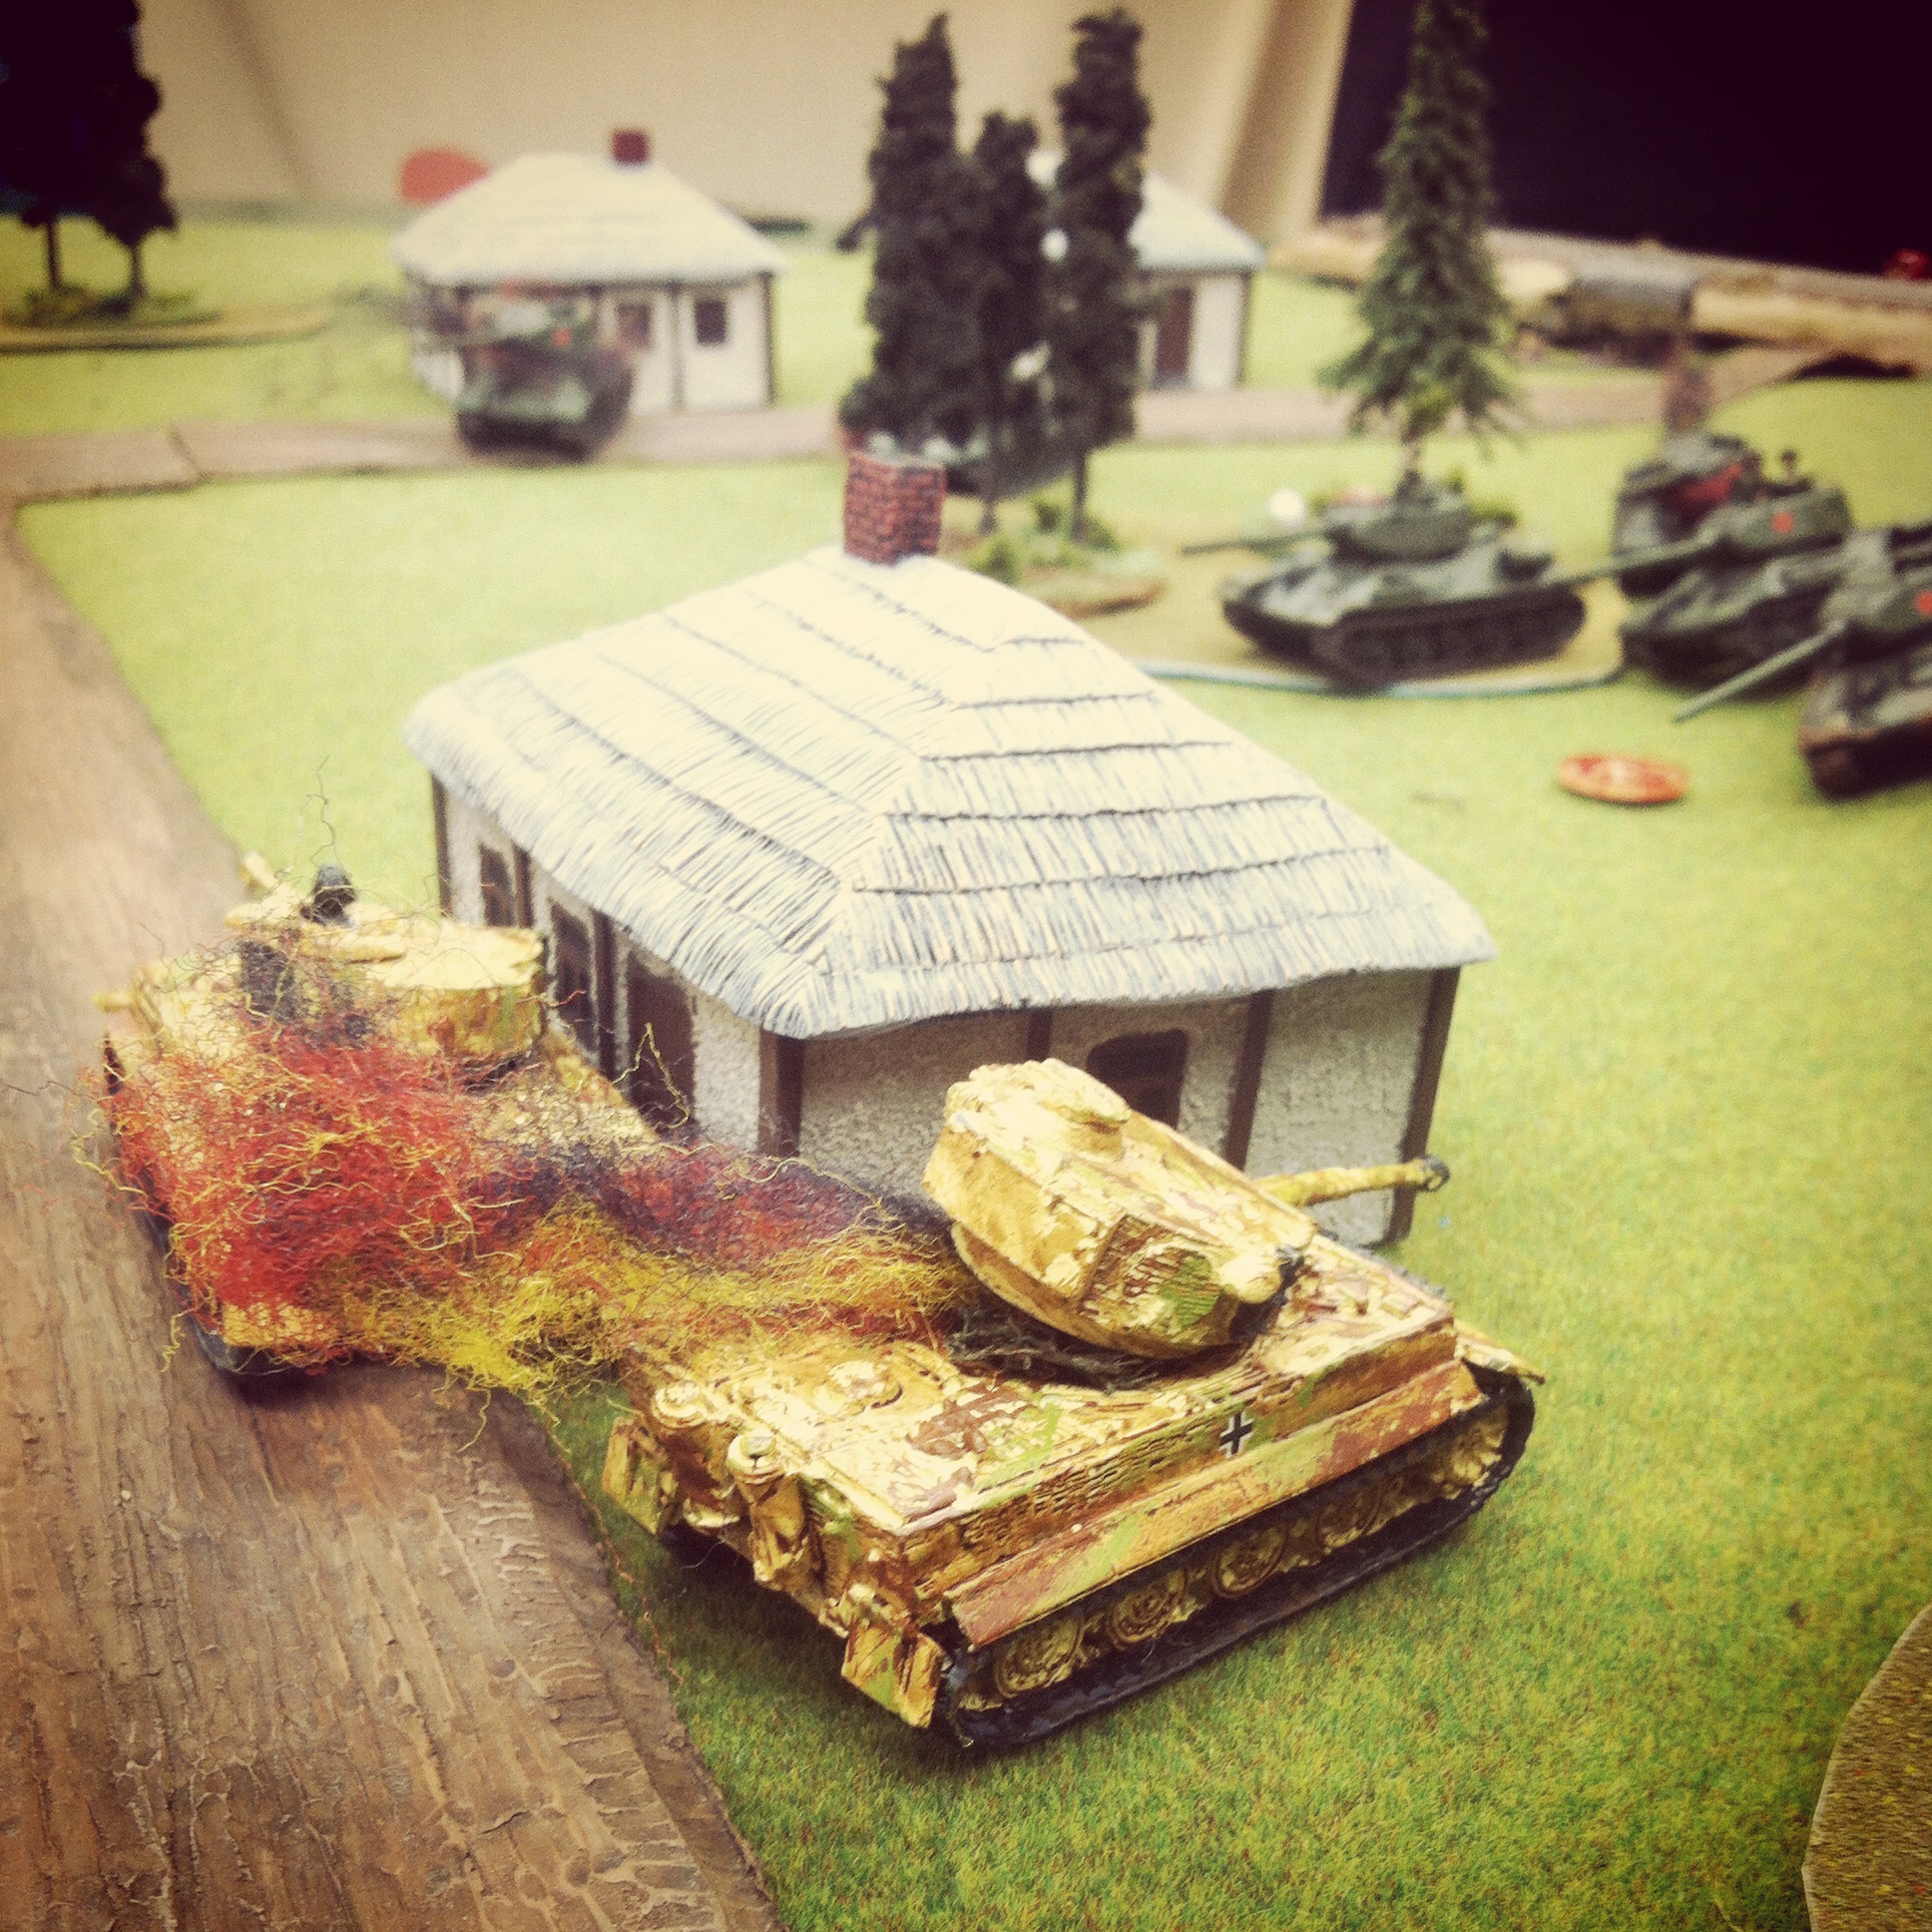
Panthers destroy a Firefly and the Sherman spotter tank at the edge of town

IMG_3170

British infantry fall back after taking fire from the German half-tracks

On the main road to town, the British ran their Sherman spotter tank and lead Firefly toward the nearby farmhouse. On the other side of the farmhouse, a British infantry platoon moved into position using the building and nearby bocage as cover as they made way for the open field. The heavy British push around the farm was stymied with the arrival of German halftracks which fired machine guns into the field. By turn five, the Sherman spotter tank and spearheading Firefly also lay in flames after some quick shots from the German Panthers.

IMG_3168

British machine gun carriers and tank reserves roll on

IMG_3171

Armored reserves move to support infantry

IMG_3172 British infantry reserves move in near their artillery battery

By turns six and seven the inital British assualt had been repulsed at a safe distance from town. All German infantry platoons remained safely bunkered up in the town’s buildings, and the spotter for the German’s reserve 12cm mortar platoon was now camped out in the church’s bell tower. The three Panthers prowled back and forth at the center of town, and the incoming fire from the British artillery in the distance was the only real agitation to the occupying Germans. The Britsh rolled on their final reserves of machine gun carriers, Sherman/Firefly tanks and a fresh infantry platoon.

Even with all reserves on the table, the British attack was stumped. With one rifle platoon destroyed and a second whittled down, the British had just one intact infantry platoon on the field. One tank platoon struggled through the fields to one side of town, while the second sat idling on the road to town. Clear lines of fire around the church and town center presented open killing zones for the Germans in the town’s buidings and the three Panthers. All the Germans needed to do was sit in place and mow down the coming British.

I love playing wargames for historical scenarios, but our game this past weekend at Lingevres presented some serious limitations to the FOW rules as written. Playing an even match of 1750-point forces per side ultimately did not allow for a satisfying game for either player. What works for a head’s up FOW tournament game or randomly-rolled mission simply does not play well in recreating historic engagements.

In our Lingevres game, the British simply didn’t have enough units to create a critical mass to advance into town under what was sure to be withering fire from the Germans. We decided we liked the scenario, but perhaps the British needed a 50% increase in points, perhaps with additional rifle and tank platoons and a Typhoon providing air support.

With a three-day D-Day weekend being planned at our club this June, we’ve got multiple historic airborne, beach and inland fights to sketch out in the coming months. There’s going to be a lot of playtesting and tweaking to get our historic games to play well. With wargaming, striking the balance between a game that provides both historic accuracy and the potential for different outcomes is the real challenge that lies beyond just the roll fo the dice.

Flames of War: Modelling Western European Terrain in 15mm

normandystuartterrain

I’ve had a lot of great feedback from the past year of posting after action reports for Flames of War games. Fellow players have been universally complimentary on the layout of my terrain used in my scenarios. With that, I’m increasingly being asked questions about the make of my models, where I buy them and how I achieve some of the other rerrain modelled  in my games.

Modelling terrain, like any aspect of miniatures wargaming, has to take into account the three main factors of skill, budget and time commitment. I find myself somewhere in the middle of all three categories, and I feel my level of personal investment in my terrain modelling is reflective of this. One of the many benefits of belonging to a club like Metropolitan Wargamers in Brooklyn, NY is the opportunity to share in our massed collections of terrain and create some pretty impressive-looking games.

As a longtime miniatures hobbyist with a passion for scale modelling, I wanted to share a quick round up of the current state of my 15mm terrain collection I use for Flames of War. To date, my FOW gaming has focused on the European Western Front, so the vast majority of my terrain focuses on buildings and other features appropriate for France, the Low Countries and Western Germany. All that said, let’s take a European tour in miniature…

markivposter

Any small town or rural tabletop Western European battlefield needs buildings — barns, houses, shops and cafes — not only for visual appeal, but to provide covering positions and even possible objectives during game play. FOW offers a fine line of pre-painted buildings but I find them to be a bit on the expensive side and toy-like. I also like to paint, so breaking up modelling little tanks and soldiers with some miniature real estate projects makes for a nice change to hobbying routine.

Last year I discovered the cast resin terrain produced by Mark IV Miniatures. As a second-generation wargamer, the owner of Mark IV obviously invests a great deal of care to his Western and Eastern front models. All the buildings come with removable multiple stories and roofs, making their use in FOW gaming a breeze. I just acquired my second set of models from Mark IV (ordered from Musket Miniatures), giving me a number of houses, barns and shops which I set close together as a village center or spread out for use in the countryside. For my towns, I also have a set of Mark IV  walls, a cobblestone courtyard and nifty fountain monument model. At about $18-24 per model, Mark IV’s offerings are my hands-down favorite in miniature buildings.

gowlogo

With so many Mark IV models on my shelf, I wanted to add in a few more commercial structures representing stores or cafes common to European towns small and large. The excellent Model Dads UK blog recently reviewed the 15mm town shop models from Games of War. Based on a shop in Caen, the GOW shops come in three different pre-painted varieties for about $24 each shipped from the UK.

The GOW buildings scale nicely with my Mark IV models, and just a little work weathering the existing paint blends them nicely into the streetscape. I also added some signage and posters to the exterior walls, bringing a bit more sense of liveliness to the townscape.

IMG_3111Painting Mark IV and Games of War buildings

jrlogo

The first 15mm buildings I ever bought were from JR Miniatures. An old standby in the hobby, JR offers a wide variety of scales and themes for eveything from Ancients to Historicals to Sci Fi. I have a small, roughly-cast farmhouse and outbuildings from JR which I use as area terrain. Overall, I find JR’s buildings to be a bit less crisp in detail than those from Mark IV and GOW, and many buildings don’t open for placement of figures.

Last year, I picked up a basic JR European stone bridge at a convention for about $14. The simplicity of the model made it easy to paint with a few stone-colored dry-brushed layers of paint. The model stretches over just about every river running through my gaming tables, and I may very well pick up another bridge in a different design from them soon.

MBAlogo

On the higher end of the terrain options, I’ve always had a thing for the Miniature Building Authority. MBA’s extensive 15mm European line comes pre-painted with lift-off sections to place units in the buildings or model them as destroyed structures. They also carry some rather unique structures and large set-pieces like a multiple-model farm complex or full train depot set-piece.

My brother and his gaming friends have been collecting MBA buildings for years, buying a few buildings a year and sharing in their collection. Taking their gradual approach, I recently started small and ordered a couple of their shops and a large, beautiful hotel model for my collection. Over time, I hope to add more from MBA and grow toward larger, more urban scenarios.

fowcobblestone

Laying out a gaming table almost always necessitates having roads. I bought some rubberized roads years ago at a convention which suit rural unpaved areas well. A small town or rural setting requires having paved streets, and cobblestones provide a suitable road surface for Western Europe at the time of WWII.

I experimented with stone-textured papers and looked at rubberized stone streets, but none of them provided the depth or the solidity inherent in a stone road. Finally, I’ve bitten the bullet and invested in a set of the FOW cobblestone roads  at a slight discount from a seller on eBay. With a total of more than 6-feet of pre-painted cast resin roads, the box has given me what I think to be plenty roadway for my tanks to rumble down.

wslogo

Trees are one of the standard needs for any miniatures wargaming table in any era. Several wargaming manufacturers offer boxes of pre-made tree stands and bases for around $35-40 for maybe a dozen trees. I choose to go the economic bulk route and make my own using trees, flocking and modelling details from Woodland Scenics. For about $75 I’ve been able to make more than enough to fill even the largest battlefields.

IMG_3040Tree-making assembly line

Using two different sized trees from the WS Ready Made Trees Value Pack line, I first glued groups of 2-3 trees to cork coasters picked up at a craft store. On top of the spray-painted green coaster bases, I apply white glue and sprinkles of gravel of varying sizes in random places. After dry, another coat of glue to the remainder of the bases is then flocked with a basic green grass flocking. A few twigs and larger rocks glued here and there add some more depth to the little mini-scenes on each base.

IMG_3041Applying white glue to the tree bases before flocking

Bases are finished off with coarse clumped foliage to represent bushes and undergrowth. Mixing colors of the trees and foliage provides a realistic look. Gravel and larger rocks get hit with some brown washes to tone down the glaring brightness of the paths and piles on each base. All my work is done assembly line style in stages over an old baking sheet so excess flock and gravel shaken from the bases can go back in their containers to use again. When finished, I hit the bases with a matte spray to hold everything in place. In just a few hours time, my model forest on some 30 bases is ready to provide cover for any troops seeking concealment from enemy fire.

IMG_3156Completed homemade trees

Putting it all together, a dozen buildings, cobblestone roads, a bridge and a bunch of my homemade trees gives me more than enough terrain to present rural and town landscapes in Western Europe. Adding in some river sections, dirt roads and fields from fellow club members completes the look of just about any inland battle scenario in Normandy. Check out the pictures below of the results, and keep an eye on my after action reports for future glimpses into my tiny tabletop fields of battle.

IMG_3161Farm complex with Mark IV buildings and walls, JR Mini bridge and FOW fields and river

IMG_3159Games of War shops with added weathering and signage

IMG_3162Row of Mark IV buildings

IMG_3160Mark IV buildings and monument

IMG_3158Town set-up with terrain from Mark IV, JR Mini, FOW, Games of War and my homemade trees

IMG_3157Town set-up with terrain from Mark IV, JR Mini, FOW, Games of War and my homemade trees

Flames of War: “Desperate Measures” Tanks On The Steppe

t34

Late in 2013, Flames of War re-launched their Late War Eastern European Front books and models with the release of Desperate Measures. The slim guide to the German and Soviet forces of 1945 is packed with lots of fun and flexibility in fielding tons of armor and mechanized troops slugging it out in the final months of World War II.

My usual FOW gaming opponent at Metropolitan Wargamers in Brooklyn, NY has made a sizable investment in Soviet models and Eastern Front terrain. His rural church model in particular looks fantastic on the table with real gold leaf applied to the classic onion dome. Playing from the Desperate Measures book for the first time this past week allowed me to field a bunch of German armor which has mostly sat idle for a year or two as I’ve focused on playing Allied forces in Western Europe.

dmlogo

My German list was a Confident-Trained Panzer Kampfgruppe with a Panther G HQ, two Jagdpanthers, two Panzer IVs and a Confident/Veteran Schwere Panzer platoon of three Tiger I Es. The Soviets rolled out a Confident-Trained Tankavoy Batalon with a T-34/84 obr 1944 HQ tank, a platoon of seven T-34/84 obr 1944 tanks, a ten-tank T-34 obr 1942 platoon and two four-gun platoons of the heavy SU-100 tank killers. At 1500-points on a side, there was a ton of Soviet hardware sitting on the tabletop against a small, but diverse German force.

FFAMission

This was my first time playing these lists, so we went with a straight-forward Free-For-All from the basic FOW missions list. The table presented a mix of woods and buildings for cover, and roads and a railway cutting across the table. We placed out objectives, deployed our lines of tanks and the Soviets rolled for the first turn.

IMG_3092Following deployment, Soviet tanks roll forward on turn one

IMG_3094T-34s reach the railway and center with SU-100s in support

IMG_3093Panzer IV’s lie idling in the woods with Panther command tanks nearby

IMG_3096Tigers defend the objective at the middle of the table

With the Soviets beginning the game as having moved, they weren’t able to take any valid shots. The T-34s pressed to the edge of the railroad tracks on their left and the central forested area at the middle of the table. On either flank, the SU-100s sat parked and looked to take advantage of their ability to re-roll misses by firing from stationary positions. I perched my Jagdpanthers in a wood at my left flank and aimed at one platoon of SU-100s in the distance. The Tigers sat at the middle of the table, looking to attack from behind two huts and defend an objective. My Panthers and Panzer IVs took up position on my right, hoping to stall the massed T-34 assault over the railway.

IMG_3097T-34/84 obr 1944 tanks take up position around the central woods

IMG_3099The T-34 obr 1942 platoon is lit up by  fire from the Panzer IVs and Panthers

IMG_3098A Panther explodes with returned fire from the surviving T-34s

IMG_3102With one Panzer IV crew bailed out, the T-34s press the attack

IMG_3104Surviving T-34s burn after closing on the Panzer IVs

The game quickly divided into three main fronts. The Panzer IVs and Panthers dueled over the railroad with the T-34 obr 1942s. In three successive turns, the advancing Russian tanks were hit twice and then fled the field with a failed morale test. Along the way, the Germans lost a Panther from the command HQ and a Panzer IV, cutting German tank force in half on that end of the table.

IMG_3103T-34/84 obr 1944 tanks roll to the center and engage the Tigers

IMG_3105Tigers burn on the field

At the table’s center, the T-34/84 obr 1944 tanks moved into position around the central forest and fields. The Tigers moved in and out of cover, taking deadly shots. By the third turn, two of the Tigers had been bailed by combined fire from the T-34/84 obr 1944s and the SU-100s on either side. Struggling to remount their tanks, two Tigers were destroyed and the remaining tank fled the field.

IMG_3101Jagdpanthers blaze away at SU-100s in the distance

Beyond the church at the German left, the two Jagdpanthers destroyed the SU-100 guns in front of them in two turns. With the flank open and the rest of the table locked in mobile tank duels, the Jagdpanthers fired their engines at the double to occupy the objective beyond the burning SU-100s. With the Germans below half-strength following the destruction of the final Panzer IV, the game came down to one company morale check which the Germans passed to win.

We were both pretty pleased with how evenly matched the game had been on the Eastern Front. The sheer number of tanks kept the Soviets in the game even as the Germans rolled devastating hits in almost every turn. The SU-100s at the railroad, on the other hand, managed to miss most of the game until their combined fire with the T-34/84 obr 1944 platoon ran the Tigers off the table.

I’ve spent the past couple years gaming back and forth across Western Europe from D-Day onward, so a new front and some new forces was a great change of pace. Leafing through the rest of Desperate Measures, I can see there’s plenty of opportunity to run around more tanks and maybe even some poor, unlucky troops on the Eastern Front again soon.

Flames of War: Aalst 1944 Scenario

aalst

The ultimately unsuccessful week-long Operation Market Garden commenced on September 17, 1944 with an Allied push toward Germany. The ground “Market” portion of the campaign saw the British Guards Armoured Division taking point on the push into the Low Countries.

On the second day of the operation, a column of the Guards Armoured had rolled to the southern outskirts of Aalst, a Belgian town occupied by German forces since 1940. Led by Col. Joe Vandeleur, the division’s tanks encountered the remnants of German troops and guns which were dug in but heavily-damaged by the previous day’s Allied air bombings and artillery barrages. For the Germans, Aalst was a line in the sand protecting the Allied advance northeast to Antwerp and  the Netherlands beyond. For the Allies, keeping the long column of armour moving was key to reinforcing the Allied airborne troops already engaged with German forces along several bridges.

This past weekend at Metropolitan Wargamers in Brooklyn, NY we ran the Aalst scenario for Flames of War with 2000-point forces on either side of the table. We pulled our British and German lists from the Market Garden and Bridge By Bridge books. As a jumping off point for the game’s outline, we referenced an Aaalst scenario originally designed for Battlefront. We planned a 10-turn game with points scored for destroyed platoons and an immediate end to the game when the British rolled a platoon off the German-defended north end of the table.

IMG_3026

German set-up at Aalst

As per the actual situation at Aalst in 1944, the Germans began setting up with half their force heavily dug in just north of the town’s center. Deadly 8.8 cm Flak guns were positioned on roads to their right and left flanks, and 7.5 cm PaK 40 anti-tank guns stood closer to town. Infantry and heavy machine gun platoons hunkered down in the fields just outside of town, and a single Jagdpanther idled nearby. Expecting both ground and possible air forces, the German guns were well-prepared for the arriving British.

IMG_3027

German 88’s dug in at the northeast and northwest ends of town

IMG_3016

British set-up at Aalst

The British laid out their 8-gun 25 pdr battery at the rear of the table and rolled on two platoons from the Guards with Joe Vandeleur attached. Spotters for the artillery were deployed in Shermans to the right and left hoping to provide eyes across the entire table for. Towed 6 pdr anti-tank guns, infantry, machine gunners and additional tanks lay in reserve off-table to follow the initial wave of armour. The plan was to use Vandeleur’s special rules to rush tanks to the center of the table, saturate the Germans with artillery fire and pave the way from additional supporting platoons.

IMG_3029

 Vandeleur leads the Guards into position behind the town

IMG_3028

German infantry and Pagdpanther make for the church at the center of Aalst

In the first two turns, the Guards quickly rolled up to take position behind the town to the south with their Vickers machine gun platoon riding on the tanks. The British artillery spotter hopped from his Sherman tank and ran for back door of a building. The Germans made way to the north of town with infantry looking to occupy the church at Aalst with a lone Jagdpanther in support.

IMG_3031

A Firefly lays waste to the approaching Jagdpanther with its first shot

IMG_3032

The Guards take heavy fire and two Shermans and a Firefly sit in flames

Fire opened up in the next two turns with a well-positioned Firefly scoring a kill on the nearing Jagdpanther. Returning fire, German 88s destroyed the Firefly and PaK 40s bailed and subsequently wrecked two other Shermans. Machine gunners made their saves, jumped off their tanks and made way for cover in a nearby building at the town’s intersection. Meanwhile, British artillery lobbed a volley over the town hoping to slow down the German infantry and machine guns looking to take hold of the town’s buildings. The barrage resulted in a destroyed PaK 40 just to the north of the church, but the German infantry pressed on to take up positions in the church.

IMG_3034

British infantry move to assault the church as reserve armor rolls to the town center

With British infantry reserves moved at the double to the town and then moved in a subsequent turn to assault the church. At the same time, a reinforcing Guards tank platoon raced to the town center. Shots from the Shermans failed to destroy nearby PaK 40s but fire from the Vickers guns in a nearby building pinned the Germans in the church ahead of the assault. Despite all the British fire lighting up the center of town, the assault failed and the British infantry fell back to the other side of the street.

IMG_3033

German armored reserves arrive

With the British stalled at the crossroads in Aalst, German reserves moved onto the table. A Stug platoon, Wirbelwinds and a fresh Jagdpanther began closing in from the northwest of town, drawing fire from the British battery looking to slow their advance. Volleys from the 25-pound guns blew up an 88 and a PaK 40, but the mass of German hardware kept rolling forward.

IMG_3035

British command tanks move to engage the Germans

IMG_3036

A swarm of German armor and troops push forward under British artillery fire

IMG_3037

A Panzerfaust lights up a British command tank

Hoping for a hard push of combined arms on the German right, British command tanks followed by two platoons of infantry pressed forward from a nearby woods. The British tankies proved to be tough, surviving a turn of fire from nearby Stugs and an attempted infantry assault with  Panzerfaust-wielding infantry as British guns continued to range in and rain shells on the Germans to no effect.

IMG_3038

The lone surviving command British tank awaits its fate from the German onslought

Back at the center of town, the last tank platoon took fire from the 88s, PaK 40s and a Panzerfaust in the church steeple and was destroyed. The one lone command tank on the western outskirts of town was surrounded and destroyed by combined tank and artillery fire. With only the remnants two rifle platoons and the Vickers left spread through the town, the game was lost for the British. As the sun set in the west, Aalst remained in Axis hands.

In our discussion after, the British artillery had only been effective only about 50% of the time and only eliminated a few units throughout the game. Too many British tanks burned too quickly against overwhelming crossfire from German guns, and reinforcing British infantry could never make headway beyond Aalst’s crossroads. More British tank platoons with Fireflies might have gone a long way toward at least pushing through the town.

Fortunately for the people of Aalst, the engagement during Market Garden resulted in the liberation of the town by the British. Pictures from the victory show a very different outcome from our game with smiling faces all around. The very nature of wargaming sometimes just makes things go a different way, and this past weekend the dice rolled against the tide of history with a victory for the Germans at Aaalst.

Flames of War: Fielding the FOW British Rifle Company, Machine Gun Platoon and 6-Pdr Anti-Tank Platoon

BritSoldiers

At long last, my months-long build of my British forces for Flames of War was wrapped up this week (at least for now). Starting with the Guards Armoured Division this past summer, my British collection now contains a fair amount of armor, artillery, transport and now, infantry platoons. With most of my WWII gaming focused on the late war period from D-Day onward in Western Europe, having a solid British base to supplement my Americans provides me with a lot of playability for my Allies in any number of scenarios and campaigns.

fowbritinf

With nearly 3.8 million soldiers serving for the British army in WWII, the “PBI” (Poor Bloody Infantry”) led the war for the Allies from its earliest days right up until the bitter end in Western Europe and the Pacific. The FOW British Rifle Company box provides gamers the basic backbone for fielding a core group of British infantry. The FOW rifle company comes armed with the standard kit of WWII British infantry, including the Bren light machine gun, Sten submachine gun, 2-inch mortar and PIAT anti-tank weapon. The set also includes a few snipers and a hero figure of Stanley Hollis, whose heroic actions on D-Day earned him the only Victoria Cross awarded on that historic day.

For inspiration during my hours of painting, I looked to a lot of photos of Commonwealth forces from the period and have included some below.

britinfBritish infantry with their Bren light machine gun

BritStenBritish soldiers loading Sten submachine gun magazines

Brit2inchBritish 2-inch mortar crew

BritPiatA British soldier with his PIAT

I keep my painting simple with a brownish-drab uniform, brown boots and a bit of green lightly brushed on the helmet netting. The FOW models offer a nice variety of weapons and poses, plus little details like trench shovels tucked on the backs of many of the figures. I’m usually pretty spare with my basing of basic green flock over a light brown base. That said, I’ve recently discovered easy-to-apply grass tufts from Walthers, a model railroading hobby supplier, and so I added a bunch of those to really make the bases come a bit more alive.

I’ve included a few photos below of my completed British three-platoon infantry company:

IMG_2990

IMG_2988

IMG_2991

IMG_2989

To supplement the standard infantry company and its weapons, I added in the FOW Machine Gun Platoon with the Vickers machine gun. With wide use by the British from WWI to the late 1960s, the hearty Vickers machine gun lays down a hail of fire in support of the swift advancing actions of their infantry countrymen.

britvickersBritish infantry dug in with their Vickers machine gun

IMG_2987Completed British machine gun platoon

Aside from man-packed weapons, many infantry units were accompanied by heavier weapons for when faced by enemy armor. The Ordnance Quick-Firing 6-pounder or 6-pdr was the go-to British anti-tank gun throughout the battlefields of WWII. Hand-hauled short distances or commonly pulled along with the ubiquitous Universal Carrier, the 6-pdr proved most effective in stopping German tanks in the early desert war of Africa. Thicker armor on Panther and Tiger tanks eventually stymied the use of the 6-pdr in frontal face-offs with German crews, but later development of heftier armor-piercing shot by 1944 brought their effectiveness back into play in the last campaigns of the war in Normandy and beyond.

brit6pdrBritish crew with their 6-pdr anti-tank gun in Europe

Again, I needed some of these guys in the mix, so the FOW 6-pdr Platoon was another must-have in my force. I love this little set, especially the officer with his foot planted boldly on a gun’s wheel as he gestures to a distant target. Along with my existing British armor and Royal Artillery Battery, having some anti-tank guns in my force will hopefully provide enough firepower against my heavily-armored German opponents.

IMG_2984Completed 6-pdr anti-tank platoon

Any time I complete a big build, I’m inevitably left with the question of “what next?” First of all, most of my British will begin hitting the game table this coming weekend at Metropolitan Wargamers in Brooklyn, NY in a scenario at Aalst from September 18th, 1944 during Operation Market Garden. I’ll be posting an after-action report for the game early next week, and I’m certain I’ll have plenty more to write up on my fresh British boys in the months to come.

New Game Weekend: Axis & Allies: Guadalcanal

AandAguadalcanalboxThe  Battle of Guadalcanal between August 1942 and February 1943 was the first major Allied campaign set on crushing the Japanese foothold in the Pacific region. Fought in bloody air, sea and island engagements, the seven months of battle resulted in a significant shift in superiority to the Allies in the region and led to the beginnings of the downfall of the Japanese Empire in the Pacific.

Most of my wargaming happens on dry land and usually somewhere in Europe. The Pacific War in WWII always seems so separate, sprawling and overwhelming to me with its mix of different combined combats, complex supply lines and different territorial agendas. That said, dabbling in this portion of the war gives me a chance to use some very different tactics and strategies I’m not used to gaming. So, with a short couple of hours to spare recently at Metropolitan Wargamers in Brooklyn, NY, I tried my hand at some WWII Pacific action with Axis & Allies: Guadalcanal.

AandAlogo

The popular Axis & Allies boardgame series from Avalon Hill (owned by Wizards of the Coast) has been around for more than 20 years and covers many specific eras, battles and theaters of WWII. More recently, a WWI game has also been added in time for the 100th-anniversary of that conflict. The A&A games are readily available from a number of book and department stores, and they vary in complexity and time commitment. Mt first introduction to the series was with the Spring 1942 game which weaned my younger son and I off much simpler war board games like Risk forever. The great design, hundreds of sculpted plastic playing pieces, economic factors and combat mechanics make the A&A games a great way for old and new wargamers alike to engage in hours of very satisfying play.

AandAguadalcnalcontents

A&A: Guadalcanal board and game pieces (including the “battle box” at left)

The Guadalcanal game presents a map of the South Pacific islands and sea zones contested by US and Japanese forces. Victory points are determined by building and controlling island airstrips. As in the actual campaign, quickly capturing islands and building airstrips is critical not only to endgame victory but in providing bases to supply and deploy additional forces. Aside from capturing islands, controlling the three main sea zones at the center of the board (aka “The Slot”) is key in controlling the transport of crucial supllies and reinforcements.

The combat system in the game uses a “battle box” containing a dozen dice which are shaken and reveal various randomized target effects. With land, air and sea units crowding the board, the confused mass of combined arms is neatly accounted for with a few shakes of the unique battle box.

IMG_2895

Axis & Allies: Guadalcanal at Metropolitan Wargamers

In my first play as the Americans, I quickly captured the southern half of Guadalcanal while my Japanese opponent began a big push with his navy toward The Slot. In the second turn I was able to press on to Malaita and build a second airstrip of Guadalcanal to take an early lead in victory points.

With the Japanese navy massing in the central sea zone I made a risky gamble in turn three sending in a huge air attack which destroyed a few ships and damaged a battleship but was repulsed with overwhelming deadly force. With a vastly-depleted air force, I scrambled to build myself back up as the Japanese built an airstrip on Bougainville and I made moves toward Santa Isabel. By turn four my navy headed west along the southern coast of New georgia in the hopes of catching the Japanese navy from behind. While I was able to destroy a number of Japanese submarines at the western edge of the island, my attack on Santa Isabel was halted and the Japanese took the game.

A&A: Guadalcanal moves fast for two players, playing in about 2 hours. The short nature of the game makes every move from turn one onward important with little room for error. My lesson learned in the first game was not to run too fast toward facing-off against the superior Japanese fleet early, perhaps opting instead for a greater build-up of supply to gain island footholds to launch later game attacks.

The Axis & Allies series is fantastic for out-of-the-box playability with the different game versions each offering realistically-specific game dynamics for several WWII theaters and battles. Not being a big Pacific War gamer, A&A: Guadalcanal makes for a perfect way for me to get my feet wet and expand a bit of my gaming experience to another corner of the 20th-century’s greatest conflict.

New Game Weekend: Cuba Libre

clbox

The GMT COIN series of games have fast become favorites at Metropolitan Wargamers in Brooklyn, NY. The series focuses on 20th-century insurgencies including Andean Abyss in modern Columbia, A Distant Plain in Afghanistan and the Viet Nam War-themed Fire In The Lake to be released in 2014. Future planned games will focus on conflict in Angola and Iraq. This past weekend I got a chance to play the second in the series, Cuba Libre, set in the Cuban Revolution period of 1957-1958.

The game plays up to four players, each taking on the role of either Fidel Castro’s 26th of July Movement leftists guerrillas, Cuban President Fulgencio Batista’s Government troops and police,  anti-Batista/anti-Communist student Directorio forces or the corrupt Syndicate of casino-owners led by American gangster Meyer Lansky. Using traits unique to each faction, the game plays through a fast-shifting series of diplomatic, economic and militaristic actions toward victory conditions unique to each group.

CCNapRussiansCutnerGMT’s Cuba Libre game board

Like other COIN games, Cuba Libre is compromised of a relatively simple map, abstract wooden play pieces, cardboard markers and a stack of 48 event cards. The map features the island of Cuba split into mountain, jungle and grassland areas, cities and three economic centers for the production of sugar cane, tobacco and coal. Each area carries a population point value from a high of 6 in the capital of Havana down to 1 in the smaller cities and rural areas. The factions begin with unique set-up conditions with Government troops and police primarily clustered in the cities, July 26th guerrillas in their hidden mountain camps, Directorio forces hiding in Havana and Syndicate casinos in the vacation destinations at the western end of the island.

Cities and territories are controlled when one faction’s pieces outnumber the sum of all others in the space. Each space also exists in one of five states of political stability from the pro-government Active Support to Neutral to the rebellious Active Opposition. The game’s shifting control of space and political conditions plays to specific victory conditions.

clcardsSample cards from Cuba Libre

Much of the game’s action is driven by Cuban Revolution-themed event cards which determine the turn order in each round and possible special outcomes. Each card is neatly illustrated with a period photograph, some short historic flavor text and events which may help or harm one or more factions. Players make choices in activating the event card each round or opting for a combination of Operations or Special Activities, again unique to each faction. For example, July 26th rebels can choose from Operations like March, Attack or Terror and Activities like Infiltrate or Kidnap. Government forces may play Operations like Sweep, Train or Garrison and Activities like Air Strike or Reprisal.

IMG_2863Cuba Libre at Metropolitan Wargamers

There is a ton going on in Cuba Libre, and the game’s flow can quickly turn. In my first game, the Syndicate player quickly moved toward victory conditions by building multiple casinos. My son, playing as the Government, made side deals on different turns with the Directorio and Syndicate players. My July 26th forces managed to throw much of the board into open rebellion but I could never amass enough of my guerillas where I really needed them. Cutting the game a bit short in the end, we scored it as a Government victory.

Learning how to leverage the strengths of a particular faction makes for a lot of replay value in Cuba Libre. The mix of simple components, plenty of space for strategic options and actual history baked in is what makes this and the other COIN Series games from GMT among the best being produced today.

castro¡Viva la Revolución!

New Game Weekend: Civilization & Advanced Civilization

CivAdvCivBoxesEarlier in the week I posted about the elegantly quick board game Eight-Minute Empire: Legends I first had a chance to play last weekend at Metropolitan Wargamers in Brooklyn, NY. After a brief, engaging 20 minutes with Legends, I joined four other players in another game that was also new to me and a completely different experience — Advanced Civilization.

CivMapCivilization game board with Western expansion map to the left

Civilization by UK game designer Francis Tresham was published by Avalon Hill in 1981 and introduced a number of now-standard gaming elements found in many board and video games today. Ten years later, Advanced Civilization offered some refinements, additions and simplifications to the game. Playing with 2-8 players and running to 8, 10, 12 or more rivetingly-complex hours, Civilization has become one of the signature games of the past 40 years.

CivASTAdvanced Civilization’s innovative  Archaeological Succession Table (AST)

At its core, Civilization is an area control game played in the Mediterranean region in an 8000-year period spanning the Stone Age through the Iron Age. Each player picks a civilization and places a single population marker in a territory in their color-coded beginning edge of the board. Territories each support varying numbers of population, indicated in each area. Population doubles each turn, so one marker grows to two. If the space cannot sustain more than the noted number of population markers, players must move and expand their population to new territories or “starve” population down to the maximum load for the territory. A population census grid on the Archaeology Succession Track (AST) notes population growth of each civilization and determines the order of play the following turn.

Moving six population markers to a space with a black square allows the settlement of a city, and twelve may settle a city in a blank space. Establishing cities allows the harvesting of goods the likes of Hides & Ochre, Salt & Timber or Gems & Dye. Drawn in turn order, the stacks of commodities cards also hide calamity cards which have adverse effect on a civilization through such things as Famine, Civil War, Flood or Volcano. Each round includes trading where players must keep certain untradeable calamities while trading away certain goods and other calamities in the quest to collect sets of cards which may then be turned into technologies. The technologies build upon each other through the building of a Technology Tree (“Tech Tree”) which advances with additional abilities and protections for the civilization. Simple beginning  technologies like Pottery, Mythology and Music aid early societies but lose importance over time. Philosophy, Democracy, Law, Trade Empire, Advanced Military and Golden Age technologies score the greatest points and advance a society through the  Stone, Bronze and Iron Ages to eventual victory.

IMG_2859Advanced Civilization at Metropolitan Wargamers

The AST and Tech Tree become the major machines in propelling the game forward, and evolutions of these elements have been incorporated into countless board and video games since their introduction with Civilization. These two innovations make Civilization and other subsequent games like Clash of Cultures focused more largely on elements of managing resources and cultural advancement than traditional combat-focused area control games like Risk. Resource management and building based on collection of resources shows up in so many games, prominently so in the widely-popular  Settlers of Catan. Somewhat controversially, the video and board game versions of the Sid Meir’s Civilization franchise owes a great deal both in its mechanics to the Avalon Hill game which preceded it in theme and name.

Civilization is incredibly compelling and eerily historic in how it plays and forces the hand of history. Players who begin with small civilizations are forced into territorial expansion through population growth or risk starvation of their people. Once cities thrive, feeding those cities becomes another concern and reason for more expansion. Soon, players find themselves in a loop where development begets expansion begets development. Isolated societies have to begin moving farther afield over land of through developing shipbuilding and sailing technologies. Resources become important to build technologies to further enhance and protect their civilization. By building more cities, more valuable goods are obtained and more advanced technologies may be developed. With all players expanding their societies by mid-game, civilizations eventually must compete for room in the region. War becomes somewhat inevitable, but diplomacy and mutual-beneficial trade also gain special importance as the game moves on and civilization begin to settle into specific paths to winning the game.

Of the hundreds of games I’ve played, I now understand why Civilization holds a special place in the hearts of gamers. Committing to hours upon hours of play becomes a game mechanic unto itself as players of Civilization must maintain focused attention on mentally-exhausting detail. Yes, Civilization is a game, but a marvelously intriguing one to play in the context of our own world where population, space, resources and technologies play out with increasingly dire importance as human civilization marches toward our own eventual historical endgame.

New Game Weekend: Eight-Minute Empire: Legends

emelogo

Most of the games I play can take hours to get through, leaving me satisfied but often downright exhausted by the time I’m cleaning up the pieces on the tabletop and putting them back in the box. Finding a game that is a challenge but a quick play can be a tall order. This past weekend at Metropolitan Wargamers in Brooklyn, NY, I had a chance to play through the new Eight-Minute Empire: Legends and discovered in it a gorgeous little game easily playable in about 20 minutes.

Eight-Minute Empire: Legends is yet another Kickstarter success from last year and a follow-up to the original Eight-Minute Empire which was also Kickstarted in late 2012. The original game is now out of print, but fortunately the new Legends version is playable as a standalone.

emecontents

Cards and island tiles from Eight-Minute Empire: Legends

The game plays with a classic area control mechanic on a modular set of two-sided tiles featuring islands connected by bridges and separated by sea. Players begin with a set of colored cube “armies” in a central location. Play runs a set round of turns based on the number of players (2-4) with all the action driven by 35 cards laid out six at a time near the board. Cards allow combinations of movement, placing new armies, building cities, destroying opponent’s armies or other special actions (like a “flight” ability over water spaces).

As the turns progress, cards are picked up (for free) or purchased (for 1-3 coins) depending on their position in the row. Players buy cards in turn using coins handed out at the beginning of the game. After a card is acquired , the the whole row of cards slides up and a new card is turned over. The shifting positions and costs of the cards plays heavily in the strategy as each player bides their time to snatch a card they want for the least cost possible. With each turn, the value of cards quickly rise or fall, depending on each player’s personal strategy.

IMG_2860Eight-Minute Empire: Legends hits the table at Metropolitan Wargamers

When the turns are up, players score victory points based on the control of territory spaces or dominance of an entire island. Additionally, collecting specific sets of cards score more victory points. In our game, my three opponents primarily focused on slugging it out for territory on the board while I focused on collecting cards. I managed to collect two “Mountain” cards for a couple extra victory points at the end, and I also scored points for having the most cards with blue crystals. One other player collected a bunch of “Dire” cards illustrated with menacingly evil images. After a few plays through the game, I could see how players might gain familiarity with the available cards plan their strategies with a bit more focus.

For a tiny game, it packs a punch and variety within a nifty fantasy theme. Eight-Minute Empire: Legends is a great game to have on hand — maybe tossed at the bottom of your bag — and ready to go when a swift game of conquest is just the thing to fill a  half-hour of competitive fun.

Flames of War: Fielding the FOW Royal Artillery Battery

25pounder

My progress on my new British forces continues with my fielding of a full  Royal Artillery Battery for Flames of War. Dating back nearly 400 years, the British Royal Artillery Regiment (or RA) has been a mainstay of support for British infantry over many continents for a couple centuries. In World War II, the massed 25-pound guns were important for their rapid fire when manned by capable British crews.

fowroyalarty

FOW provides specific rules to account for the adept British guns with the ability to field eight or twelve guns and range in on targets even under initial missed attempts with massive bombardments. In short, these guns provide incredibly deadly strength to any Late War British companies in post-D-Day scenarios the likes of Villers-Bocage or Operation Market Garden.

IMG_2840My RA Battery is made up of two FOW kits, one of which I scored for a song from a fellow club member during a summer flea market at Metropolitan Wargamers in Brooklyn, NY. After gluing everything up, the models get a basic green undercoat followed by my quick finish of drab brown for the uniforms with brown boots and off-white coverings. Figures get finished off simply with a wash to add depth, as do the guns with some rusty dirt streaks.

IMG_2836Sand bag emplacements are finished with a few layers of browns, and stonework get a some built-up coats of grey. Stands are finished with details for stacked crates and discarded brass shells on a brownish dirt basecoat followed by two different grass flockings.

IMG_2837

IMG_2838

IMG_2839

My sets came with two different command bases, the first with a nice diorama of a demolished building with a motorbike parked out back. As orders are being passed between officers, another pours tea from an aluminum kettle. The other command stand features a crowd of staff around a field table and radio operator with one dapper officer standing to the side, cane in-hand.

IMG_2835

Each four-gun battery is filled out with two other command teams and a spotter, waiting to call in the guns on the unsuspecting German forces. All together, I’m anxious to get my British RA into action with my 7th Armoured and Guards Armoured tanks in the very near future. All that’s left is some British infantry, so stay tuned for their appearance on the field in the very near future.

IMG_2834