28mm: German Anti-Tank Weapons And Command By Artizan Designs

GermanAT

After a few months taking a break from painting, I came back to my 28mm World War II Germans by adding some anti-tank weapons and command figures.

ADlogo

I’ve been so pleased with the German infantry from my first and second platoons using models from Artizan Designs that I returned to their miniatures again to round out my collection. The panzerfaust and panzerschreck teams gave a nice mix of poses on the move and in firing positions. Likewise, the command molds make for a nice grouping including a radio operator and a stern officer with battle plans in one hand and the other hand planted confidently on his hip.

paintgerman

As always, the Artizan figures required little flash clean up before being glued to metal washers. Here’s my battle-tested steps in detail for painting my latest Germans.

Painting 28mm German Infantry

  1. Clean flash from metal models with a sharp knife and glue to metal washer or plastic bases.
  2. Apply filler putty to bases. When dry, scrape off excess with a sharp knife.
  3. Basecoat models and bases with flat black spray primer.
  4. Paint smocks and helmets with Tallarn Sand.
  5. Paint pants, soft hats, officer greatcoat and gas mask containers with Skavenlight Dinge.
  6. Paint camouflage on helmets and smocks with alternating Waaagh! Flesh and Dark Brown.
  7. Paint faces and hands with Tallarn Flesh.
  8. Paint packs with Baneblade Brown.
  9. Paint boots and equipment straps Black.
  10. Paint bases, gun stocks, water bottles and helmet straps with Dark Brown.
  11. Apply Agrax Earthshade wash to uniforms, helmet netting, webbing and packs.
  12. Mix 50/50 Baneblade Brown and Off White and lightly dry brush packs, webbing, socks and holsters.
  13. Dry brush pants, soft hats and officer great coat with Light Grey.
  14. Lightly dry brush bases and gun stocks with Baneblade Brown.
  15. Paint metal gun and water bottle parts with black and finish with a light dry brush of Metallic Silver.
  16. Dry brush gasmask containers with metallic Silver.
  17. Paint eyes with small dots of Off White and Dark Brown. Clean up around eyes with Tallarn Flesh.
  18. Mix 50/50 Tallarn Flesh and Off White and brush highlights on cheekbones, chins, forehead, nose and hands.
  19. Cover bases in white glue and cover in 50/50 mix of fine light green and dark green grass flock.
  20. Glue small pieces of clump foliage to base.
  21. Spray coat completed models with matte finish.

So, with some simple steps I’ve got a bit more punch and leadership for my Germans as they hit the table soon.

IMG_0739

IMG_0740

IMG_0737

IMG_0736

IMG_0743

Flames of War: Najewitz Modellbau 15mm Pegasus Bridge

PegasusBridgeWWII

Most of my 15mm wargaming terrain building I do is generic enough to be used throughout Western Europe during World War II. Even with a large collection of buildings at my disposal, there are a few iconic WWII landmarks that have long stood out in my imagination as projects I should tackle at some point. One of those is Pegasus Bridge at Bénouville, France.

The bridge was made famous by a brief but important battle in the early morning hours of D-Day on June 6, 1944. Glider units from the British 6th Airborne Division landed near two bridges just past midnight and quickly secured the Caen Canal crossings with minimal casualties. The quick nighttime action ensured movement and counterattack by German forces would be significantly limited in the coming days and weeks after the Allied landings in Normandy.

NMlogo

Building Pegasus Bridge would turn out to be a number of firsts for me. The model I picked up from Najewitz Modellbau in Germany is laser-cut, a model material I had not worked with before. The nature of the model and its situation crossing the Caen Canal would also necessitate I create surrounding terrain. In all, the project allowed me to try out a bunch of new things on a signature set piece which wound up being much more of a project than I originally envisioned.

Building the Bridge

The Pegasus Bridge model shipped in plastic bag folded into a flat, short cardboard box which had definitely shown some wear and tear during its journey from Germany to Brooklyn. Some pieces of the model had come loose from the MDF sheets during transit, but everything was there and unbroken. The rest of the model was easily punched or carefully cut out using a fresh blade in a hobby knife. With all the parts cut out, I sorted them on a tray to get a handle on the task of things before me. The model does not ship with assembly instructions, but they are available for download once registered to the Najewitz Modellbau website. The instructions are pretty spare, relying on simple wordless graphics and some imagination to put all the pieces together. I found referring to historic and contemporary images of the bridge online was just as helpful as the actual manufacturer instructions. Since there were no images online of the bridge being constructed, I decided to offer up a visual step-by-step for others looking to add this model to their terrain collection.

IMG_5918

IMG_5919

I started by laying out the parts into subsections, including the little control house which sits adjacent to the bridge and the two large sections which are found at the top of the bridge. I dry fit all the pieces to test them at first and then used carpenters wood glue to put the pieces together. Getting the stairs to the control house together was a little finicky. The curved roof on the small structure at the top of the bridge was achieved by scoring the flat roof and carefully bending it to the shape of the arched roof line.

IMG_5920

IMG_5923

IMG_5921

IMG_5922

IMG_5924

IMG_5925

IMG_5926

Next, I tackled all the trusses and supporting elements of the main bridge structure. This is where the fine lasercut detail really started to pop as I glued pieces together to resemble the plates and seams of the metal work on the bridge. After each section dried, I glued them to the main deck. The fine railings which run all around the bridge again were a challenge to figure out which went where, but some careful test fitting before gluing everything in the correct place.

IMG_5927

IMG_5928

IMG_5929

IMG_5930

IMG_5931

To finish the bridge, I glued the small gatehouse to an extra piece of square basing, attached it to the main bridge and cut some of the railings to fit around the building. The separate piece of the road approach on the other end was glued to the main bridge using a thin piece of cardboard glued to the underside to create a flexible hinge-like connection. The model doesn’t come with crossing guards, so I used extra pieces of the kit’s wood to cut some simple shapes. The cross guards were simply painted white with red stripes. The entire structure got a grey sprayed base coat and was then dry brushed in an off white paint to produce a worn look to the entire bridge.

IMG_5816

IMG_5933

Building the Terrain

As I was constructing the bridge I quickly realized it was going to need to be elevated off the table to accommodate the graded approach and a span over the canal. I went to the trusty standby of foam sheets in order to create sections of terrain on either side of the canal to create roads to the bridge and banks of the canal.

Using a ruler and marker, I outlined the areas to be cut away and sculpted. After making the rough cuts, I smoothed the edges out using wood filler and then sanding everything to a relative smooth shape. The foundation under each side of the bridge would also feature stone sections which I gently carved by using a pencil to create rows of masonry. Everything got an undercoat of brown spray paint followed by a coat of watered-down white glue and mixed flocking. The stone foundations received several coats of gray and off white dry brushed paint to create a realistic. The roads were likewise dry brushed in various shades of browns. Small chunks of foliage were glued here and there around the stone sections to add a little detail.

IMG_5940

IMG_5851

IMG_5941

IMG_5934

IMG_5935

IMG_5936

IMG_5937

IMG_5938

Pegasus Bridge

With all the painting and construction done, everything got a dull coat spray to seal the model and terrain. I decided to keep the bridge and two terrain section separate and unglued from each other to ease transport and storage. Laid out on the table, the bridge spans the canal with approaches on either side. The only thing left to do is get the model on the table, and the heroic early morning raid on Pegasus Bridge will be ready to be replayed on the tabletop soon.

IMG_5969

IMG_5971

IMG_5970

IMG_5972

IMG_5973

Gaming In The Shelfie Era

Pianosettlers

Photography has been a personal and professional interest of mine for more than twenty years. One particular area of photography that has long fascinated me is frontier photography of the United States. I was turned on to the period in the 1973 classic Wisconsin Death Trip by Michael Lesy which frames a late 19th-century town’s life in photos ranging from the deeply personal to the macabre. Given the complexity and expense of early photography, I’ve always thought of the personal, logistical and financial choices made in people capturing images in the late 19th through early 20th century.

Photographs of American frontier people and their possessions have always held a big pull for me. In the photo at top (from the Nebraska State Historical Society’s Prairie Settlement collection) a family has chosen to hire a photographer to document them on the new frontier. Aside from the family in the foreground, the photo is filled with possessions. What the family owns occupies more than three-quarters of the photo — land, cattle, horses, mules, hogs, wagons and a prominently placed piano right in the middle of the family. So large are the family’s holdings the photographer has needed to climb to the top of a hill or perch on a ladder to take it all in with a shot taken from a godlike point of view from above. The photo conveys much including survival and success not only with the portrait of the family itself but in the wider portrait defining the family by what they own.

SodHouse

A picture of another Nebraskan family from the same period (above) puts what is among their most valuable possessions — a team of horses — on an equal plain with the family. One of the family’s cattle stands above them all on the sod house’s roof, a quirky accident placing the ownership of livestock not only on equal par but above the family in terms of importance. A table decorated with a blanket has also been hauled out of the home and set with food, and it appears some celebration is being documented. The family’s possessions — the house, the animals and the land — dominate the photo. As with other frontier photos of the period, the celebration of success is what’s captured in the photo. It provides a document that says, “Here we are. Here’s our stuff. We’ve made it.”

PhotoBooksPhoto books of people and their possessions by Peter Menzel and Gabriele Galimberti

People, and seemingly Americans in particular, have a long tradition of defining themselves by what they own. From the 19th-century frontier until relatively recently, photos of what we own have largely been for the benefit of ourselves and perhaps the closest of family and friends. In the era of mass self-documentation of even the most mundane activities, meals, possessions and “selfies” distributed through Facebook, Twitter, Tumblr, Instagram, Reddit and other social media platforms, what people own is now widely available for all to visually consume. Some sites critical of the trend, such as Rich Kids of Instagram, point out the more absurd edges of what we’ve all come to accept as just another part of our digital day-to-day. Photojournalists have taken a more documentary approach in such series as Material World: A Global Family Portrait, Toy Stories: Photos of Children From Around the World and Their Favorite Things and Personified: A Photo Series on People and Possessions. It’s clear for many of us, we are what we own.

Last year I became highly aware of the trend among my own gaming subculture. Many of the online groups I had joined to share historic knowledge, miniature modelling techniques, learn about game industry news or discuss rules were quickly filling up with a photos of people’s stuff. As a subset of the “selfie,” the “shelfie” is popular among gamers as a way of showing just how committed they are to the hobby the the sheer size of their collections. Some of the photographed collections border on historical archives of out-of-print games collected over decades in the hobby. More often than not though, many of the photos appear to be presented with a flair of a “top this” subtext or alternately a “this is all I have” apology to the virtual crowd. Things amped up during the past winter holiday season with a torrent of online photographs posted to gaming sites I frequent depicting a virtual arms race of heaps of games received as gifts or bought for themselves.

BNRedDotThe Barnes & Noble “red dot” clearance sale is wildly popular with gamers

This spring the US-based bookseller Barnes & Noble is running what I quickly came to learn was an annual 50%-off game clearance sale, and there was enormous online gamer excitement and chatter in the weeks leading up to the event. Gamers plotted elaborate routes to multiple locations, connected with employees for inside connections, shared inventory reconnaissance (or lack thereof) and even concocted complex plans of buying from one store and returning at another store for a higher value of store credit (an idea not supported by many online). Others, living far away from a B&N store, lamented jealously they were being left out of the sales rush. As the sale period progressed, complaints also arose in a mix of comments on poor local selections or having to settle on buying something the person didn’t really want. Buying something — anything — was critical to many, lest a gamer somewhere feel left out during the sale. In the weeks following, photos of “the haul” have appeared in social media displaying stacks of games purchased (often in multiple copies for gifts or re-sale). Again, photos and shopping stories were met with comments ranging from congratulatory to jealousy to the feelings that this was simply another example of how life isn’t fair.

The emotions wrapped around photographic documentation of the acquisition of games are not limited to the holidays or special sales by corporate retailers. People who post pictures and tales of finding bargain second-hand games in local thrift stores are likewise met with digital slaps on the back or lamentations that some people’s thrift stores are unjustly better than others. Reviews of gaming conventions are increasingly dedicated to celebration or criticism of purchasing opportunities, and in the past year I’ve seen an increasing number of photos showing not only the fabulous games played at a convention but also of all the stuff a person managed to buy while there.

IMG_3025My own “shelfie” taken in mid-2014

I’m a lifelong collector of many things, including comics, books, model trains, music, toys and, yes, games. My comic book collection paid for a lot of my college education. My parents are collectors, too. So was my grandmother. I have great memories and stories about an insane find at a flea market, working for years to track down a long-sought item or hours of relaxed browsing through dust boxes at a yard sale. It’s in my blood — I love collecting.

Gamers I’ve known for decades are also more often than not cut from similar collector cloth. There’s always something new to buy – a board game expansion, a new army to paint, a campaign module, a new edition of rules or the latest hot release. The hobby naturally attracts collectors. I know people with more games than they will ever play or even open for that matter. I also know people who are no less passionate as gamers with small collections of games.

Within the endless stream of online photographs and stories of consumer victory and defeat in the gamer community, there’s a lot of personal information that rises to the surface from comments. Couples have babies or get divorced. Jobs are lost and others find new careers with richer paychecks. People relocate for a variety of reasons, sometimes willingly and sometimes not. Some owe taxes or are buried in household bills while others spend their hefty refunds or max out credit cards. Narratives vary, priorities shift, lives are lived and another game is purchased.

Like most games, life has a time limit. We do what we can to play the game right and by the rules, celebrating our victories along the way (sometimes with a bit too much passion) and hopefully learning from our mistakes. Like those families struggling to show in photographs how they had made a life on the 19th-century American frontier, we all want to show we’re not only surviving but thriving. The photos of shelves and hauls gamers share (again, sometimes with a bit too much passion) may possibly just be the way we’re all trying desperately to communicate, “Here I am. Here’s my stuff. I made it.”
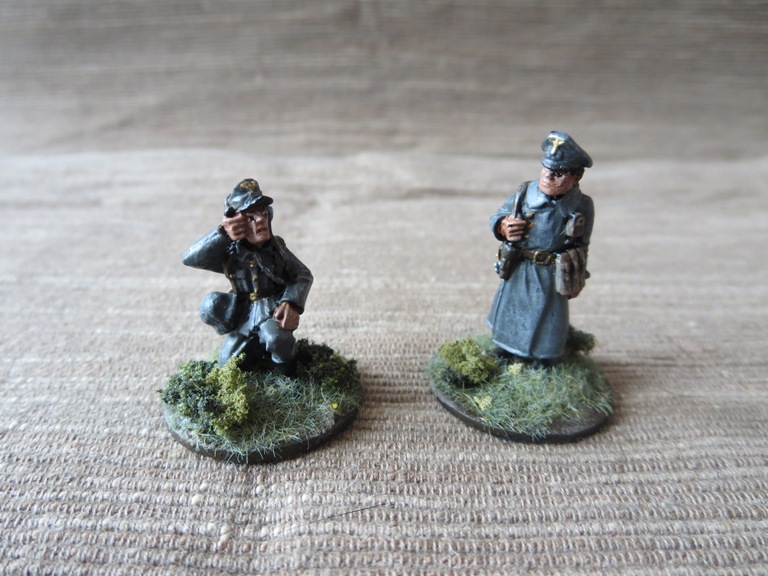
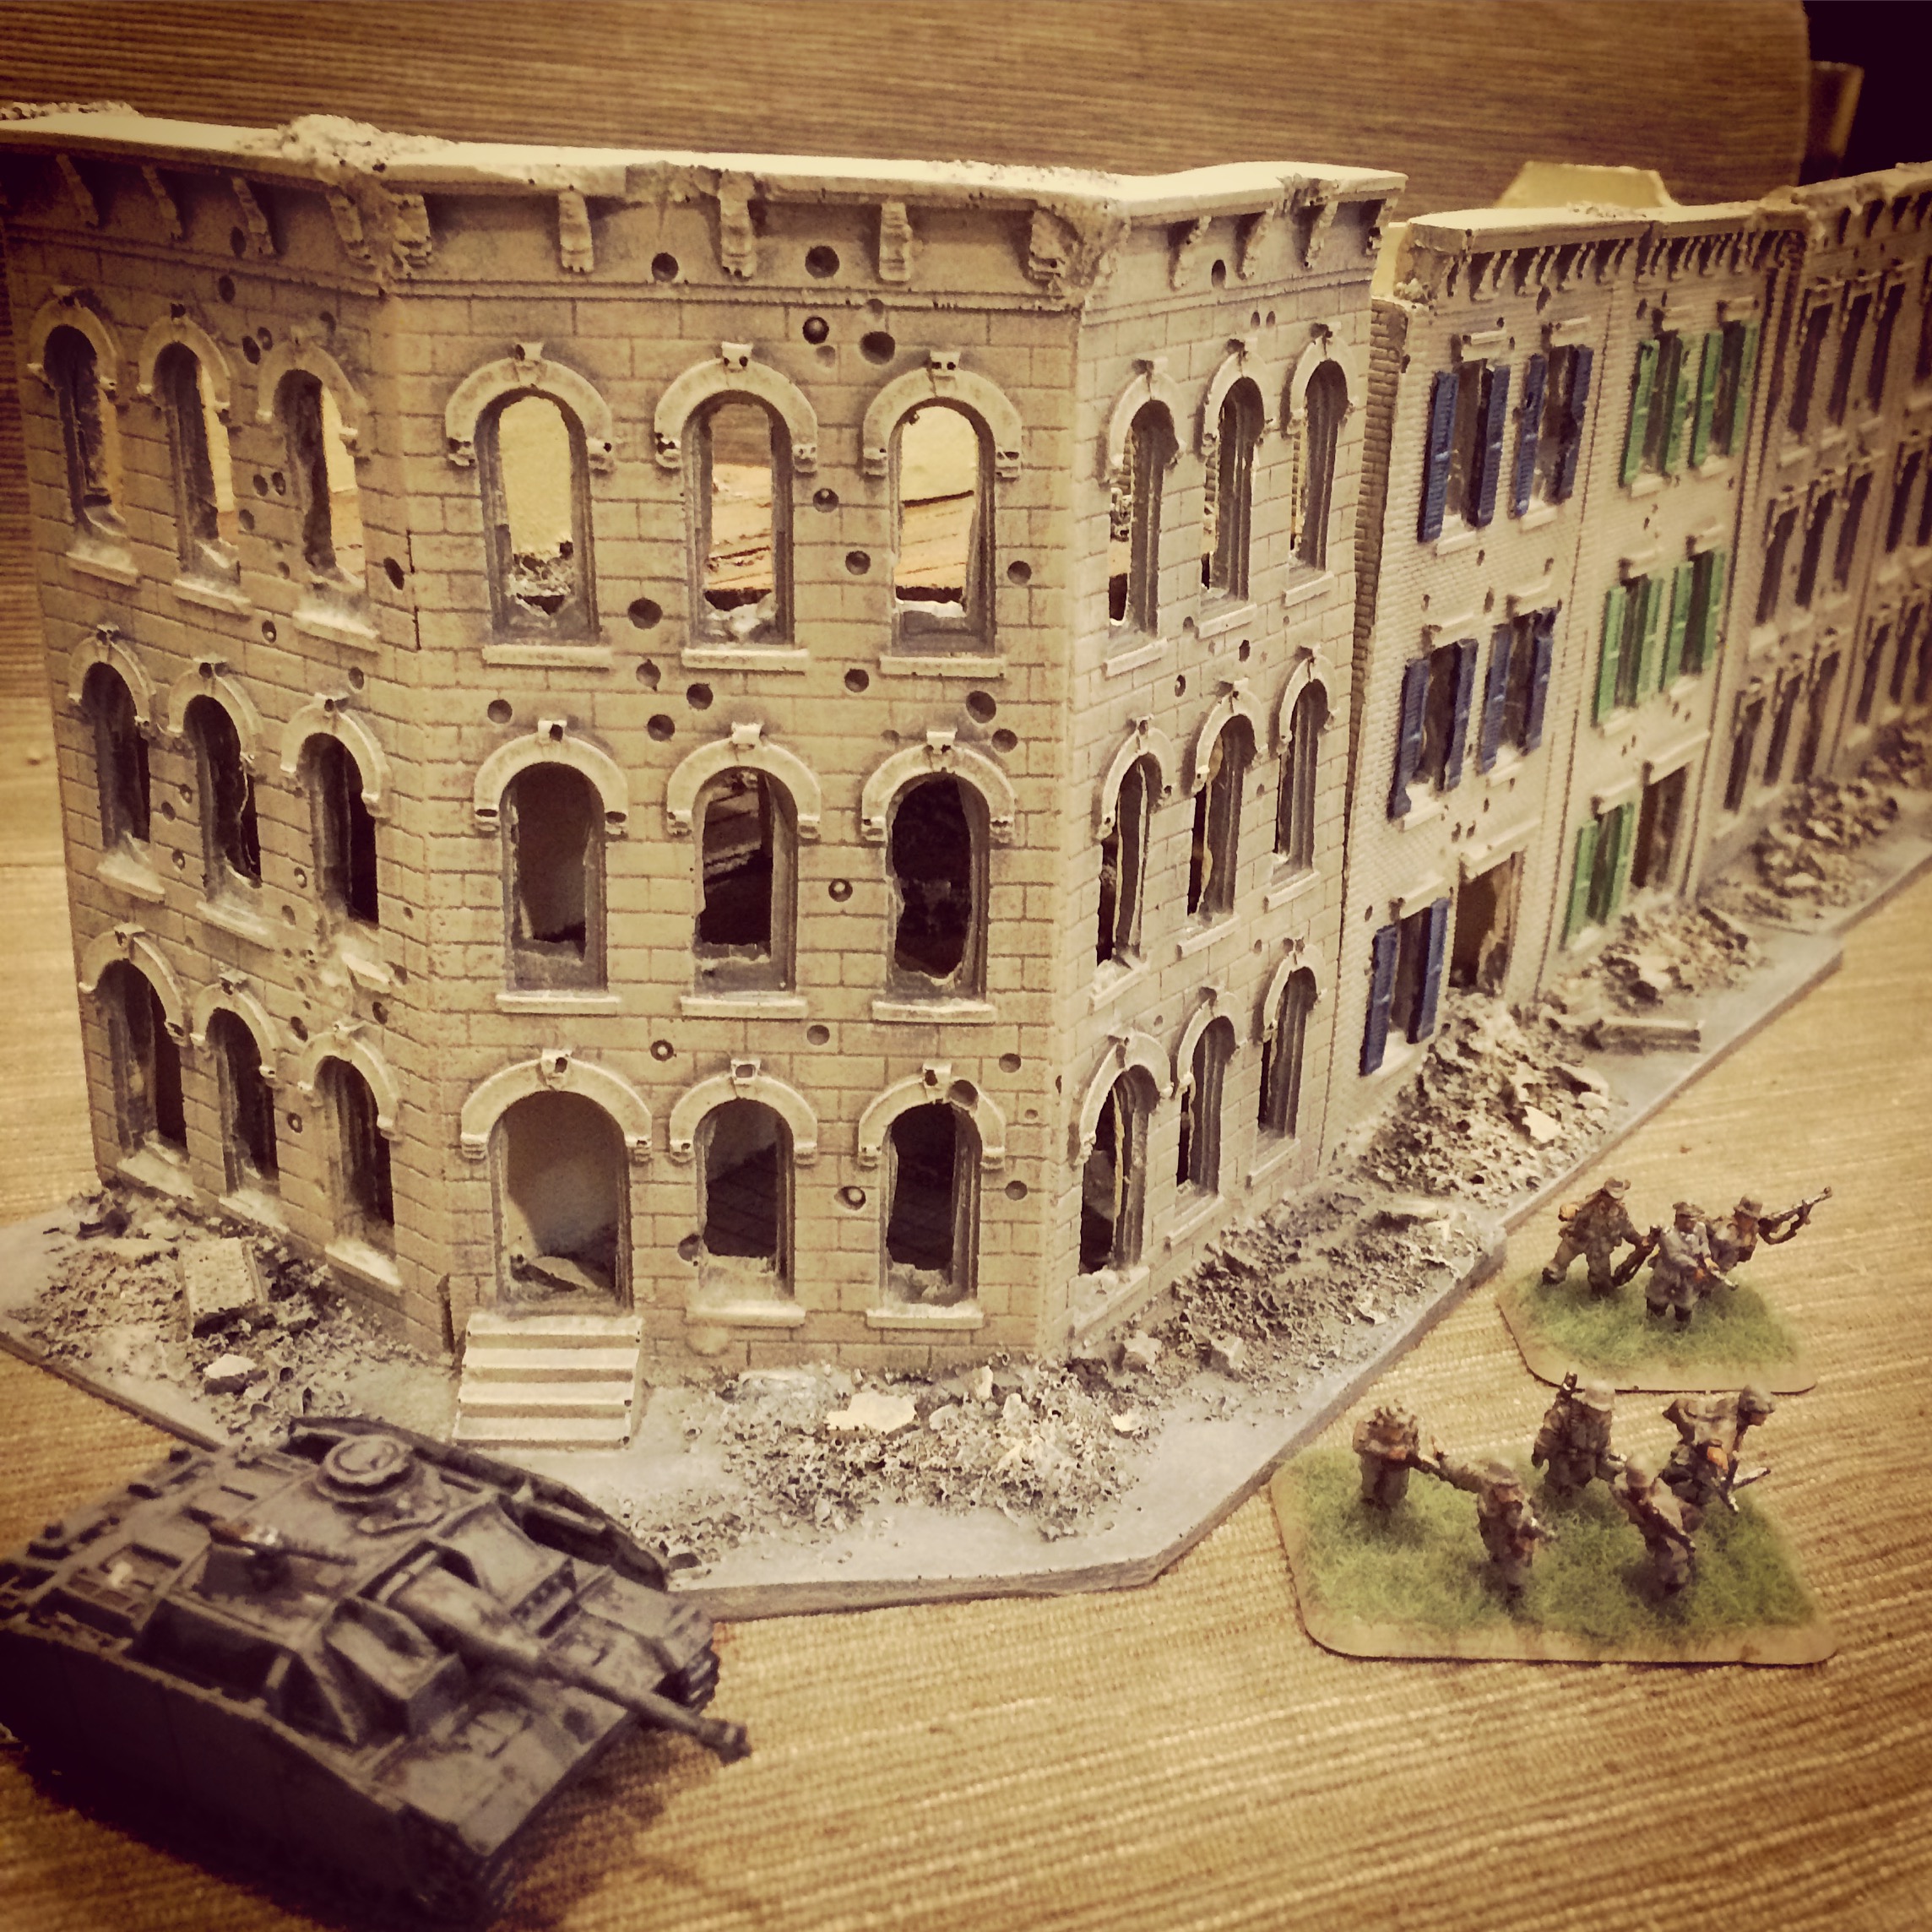
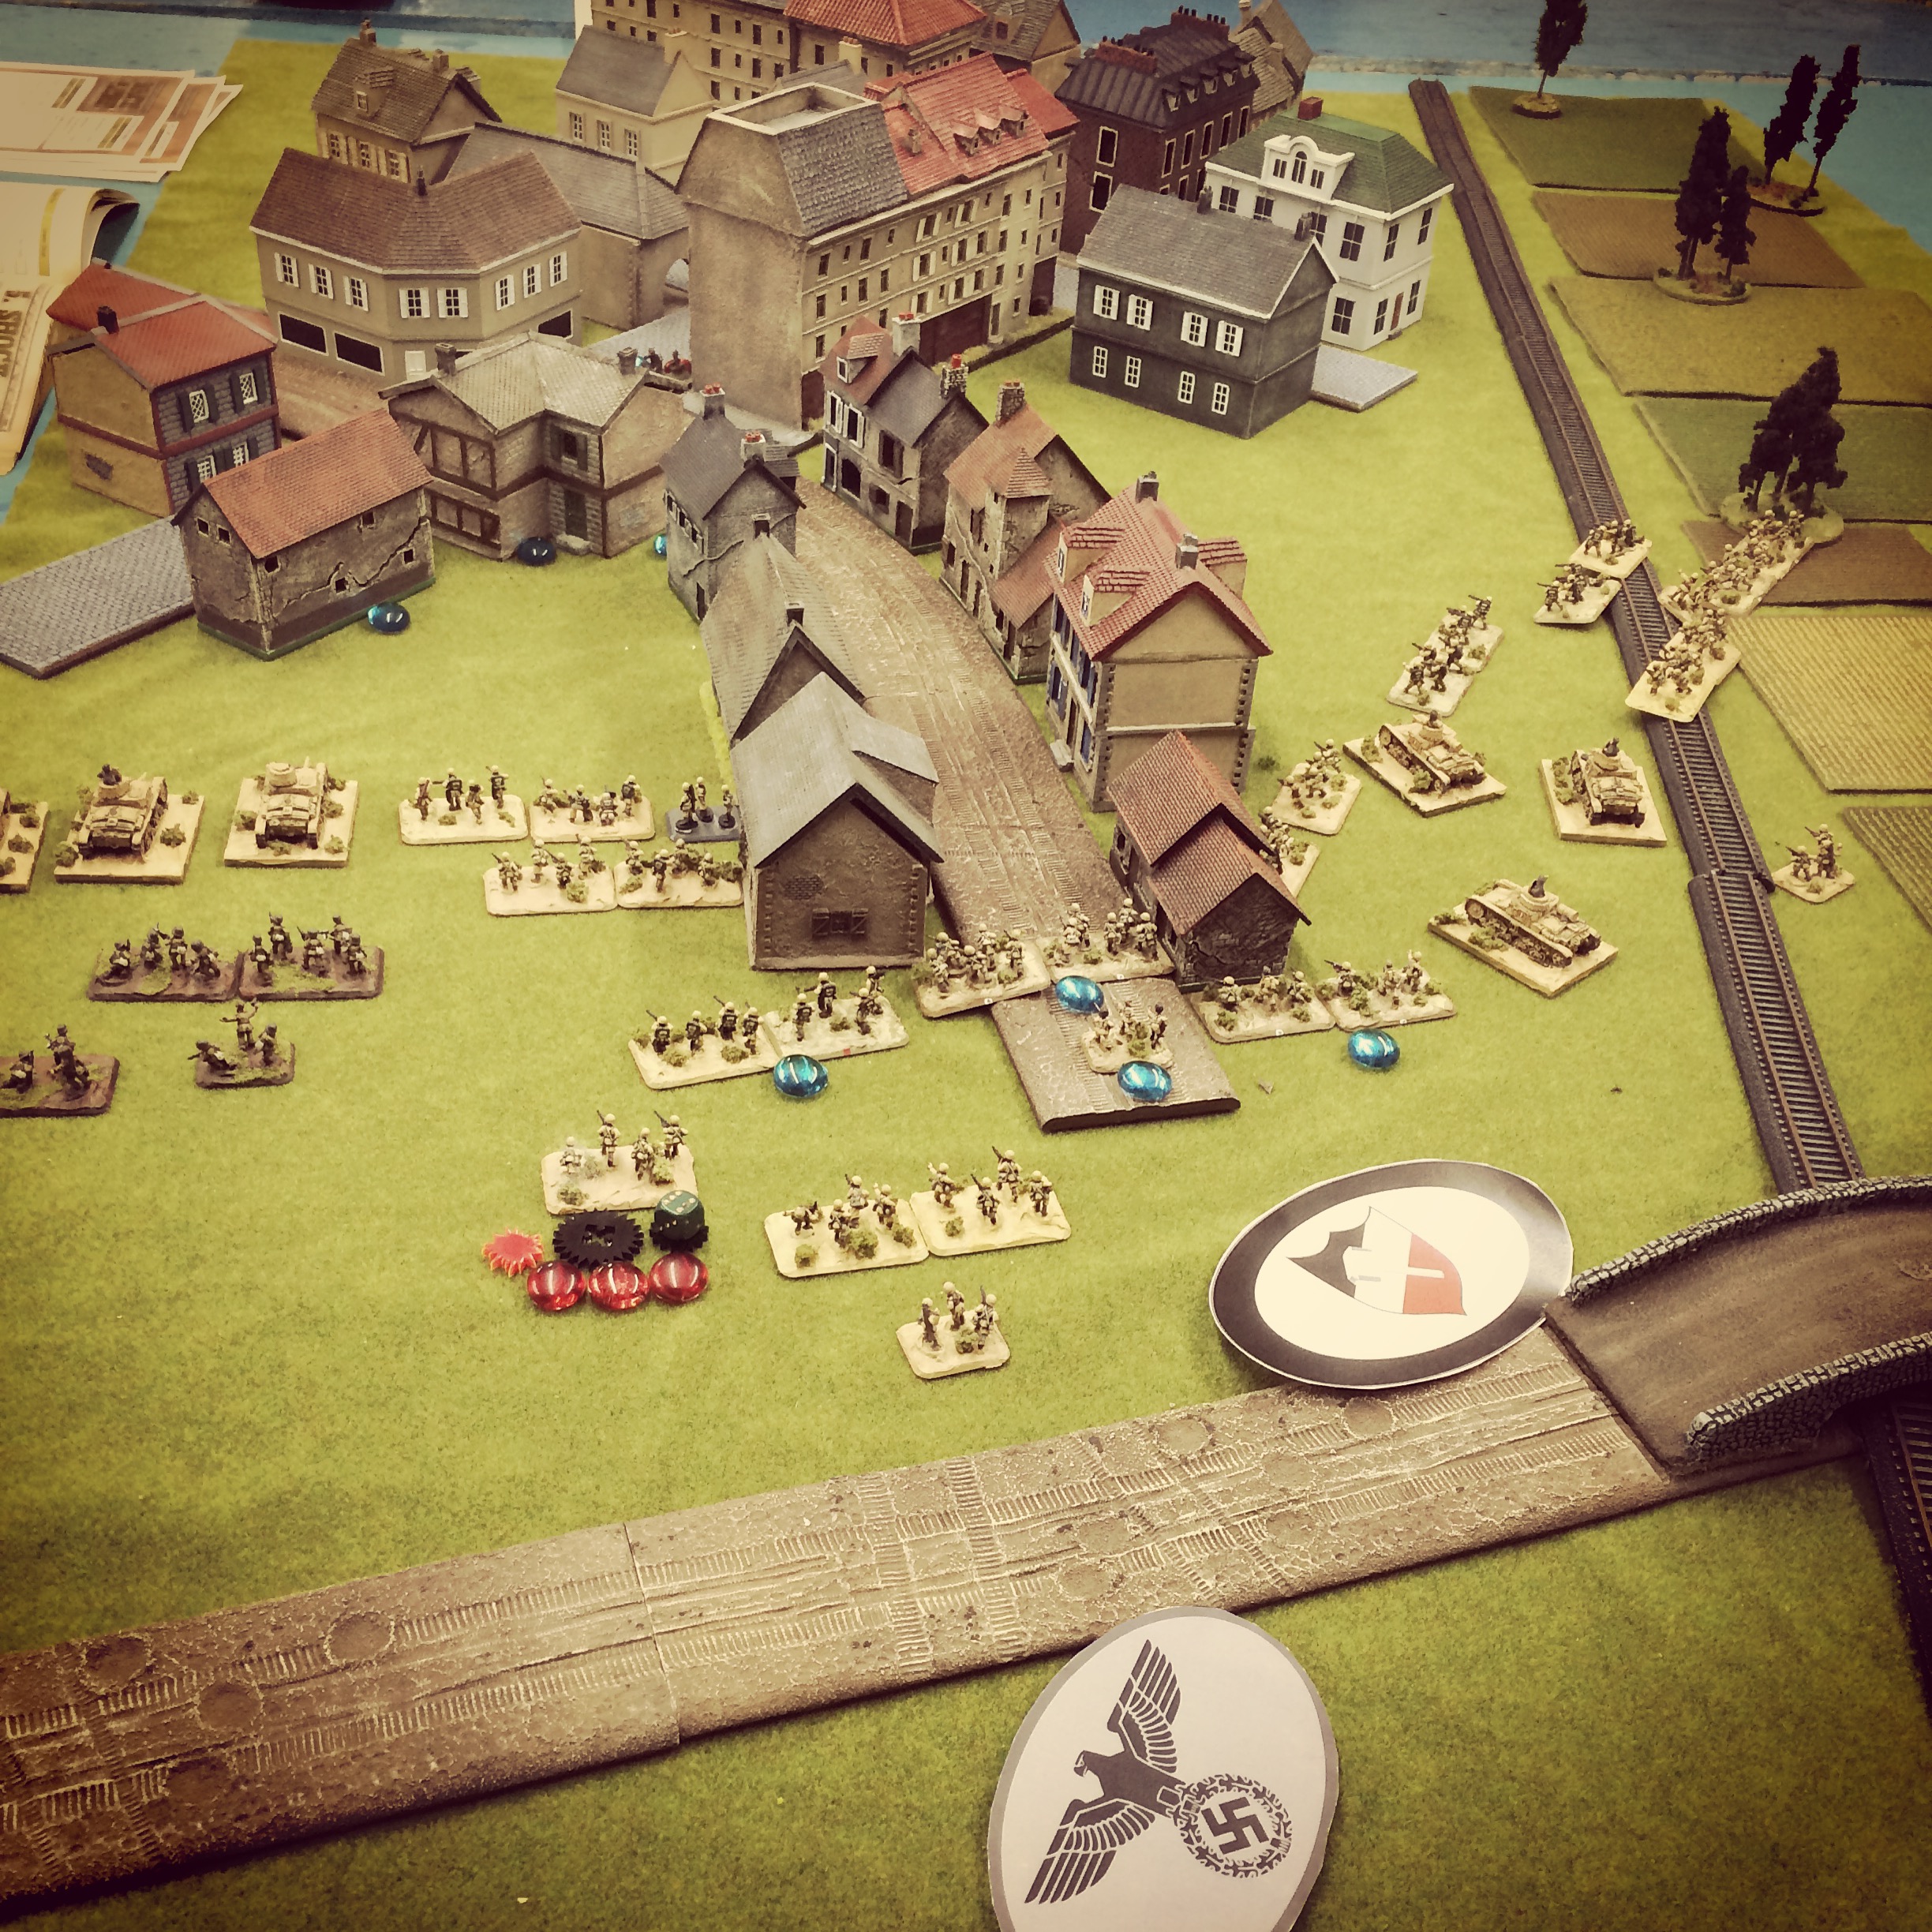
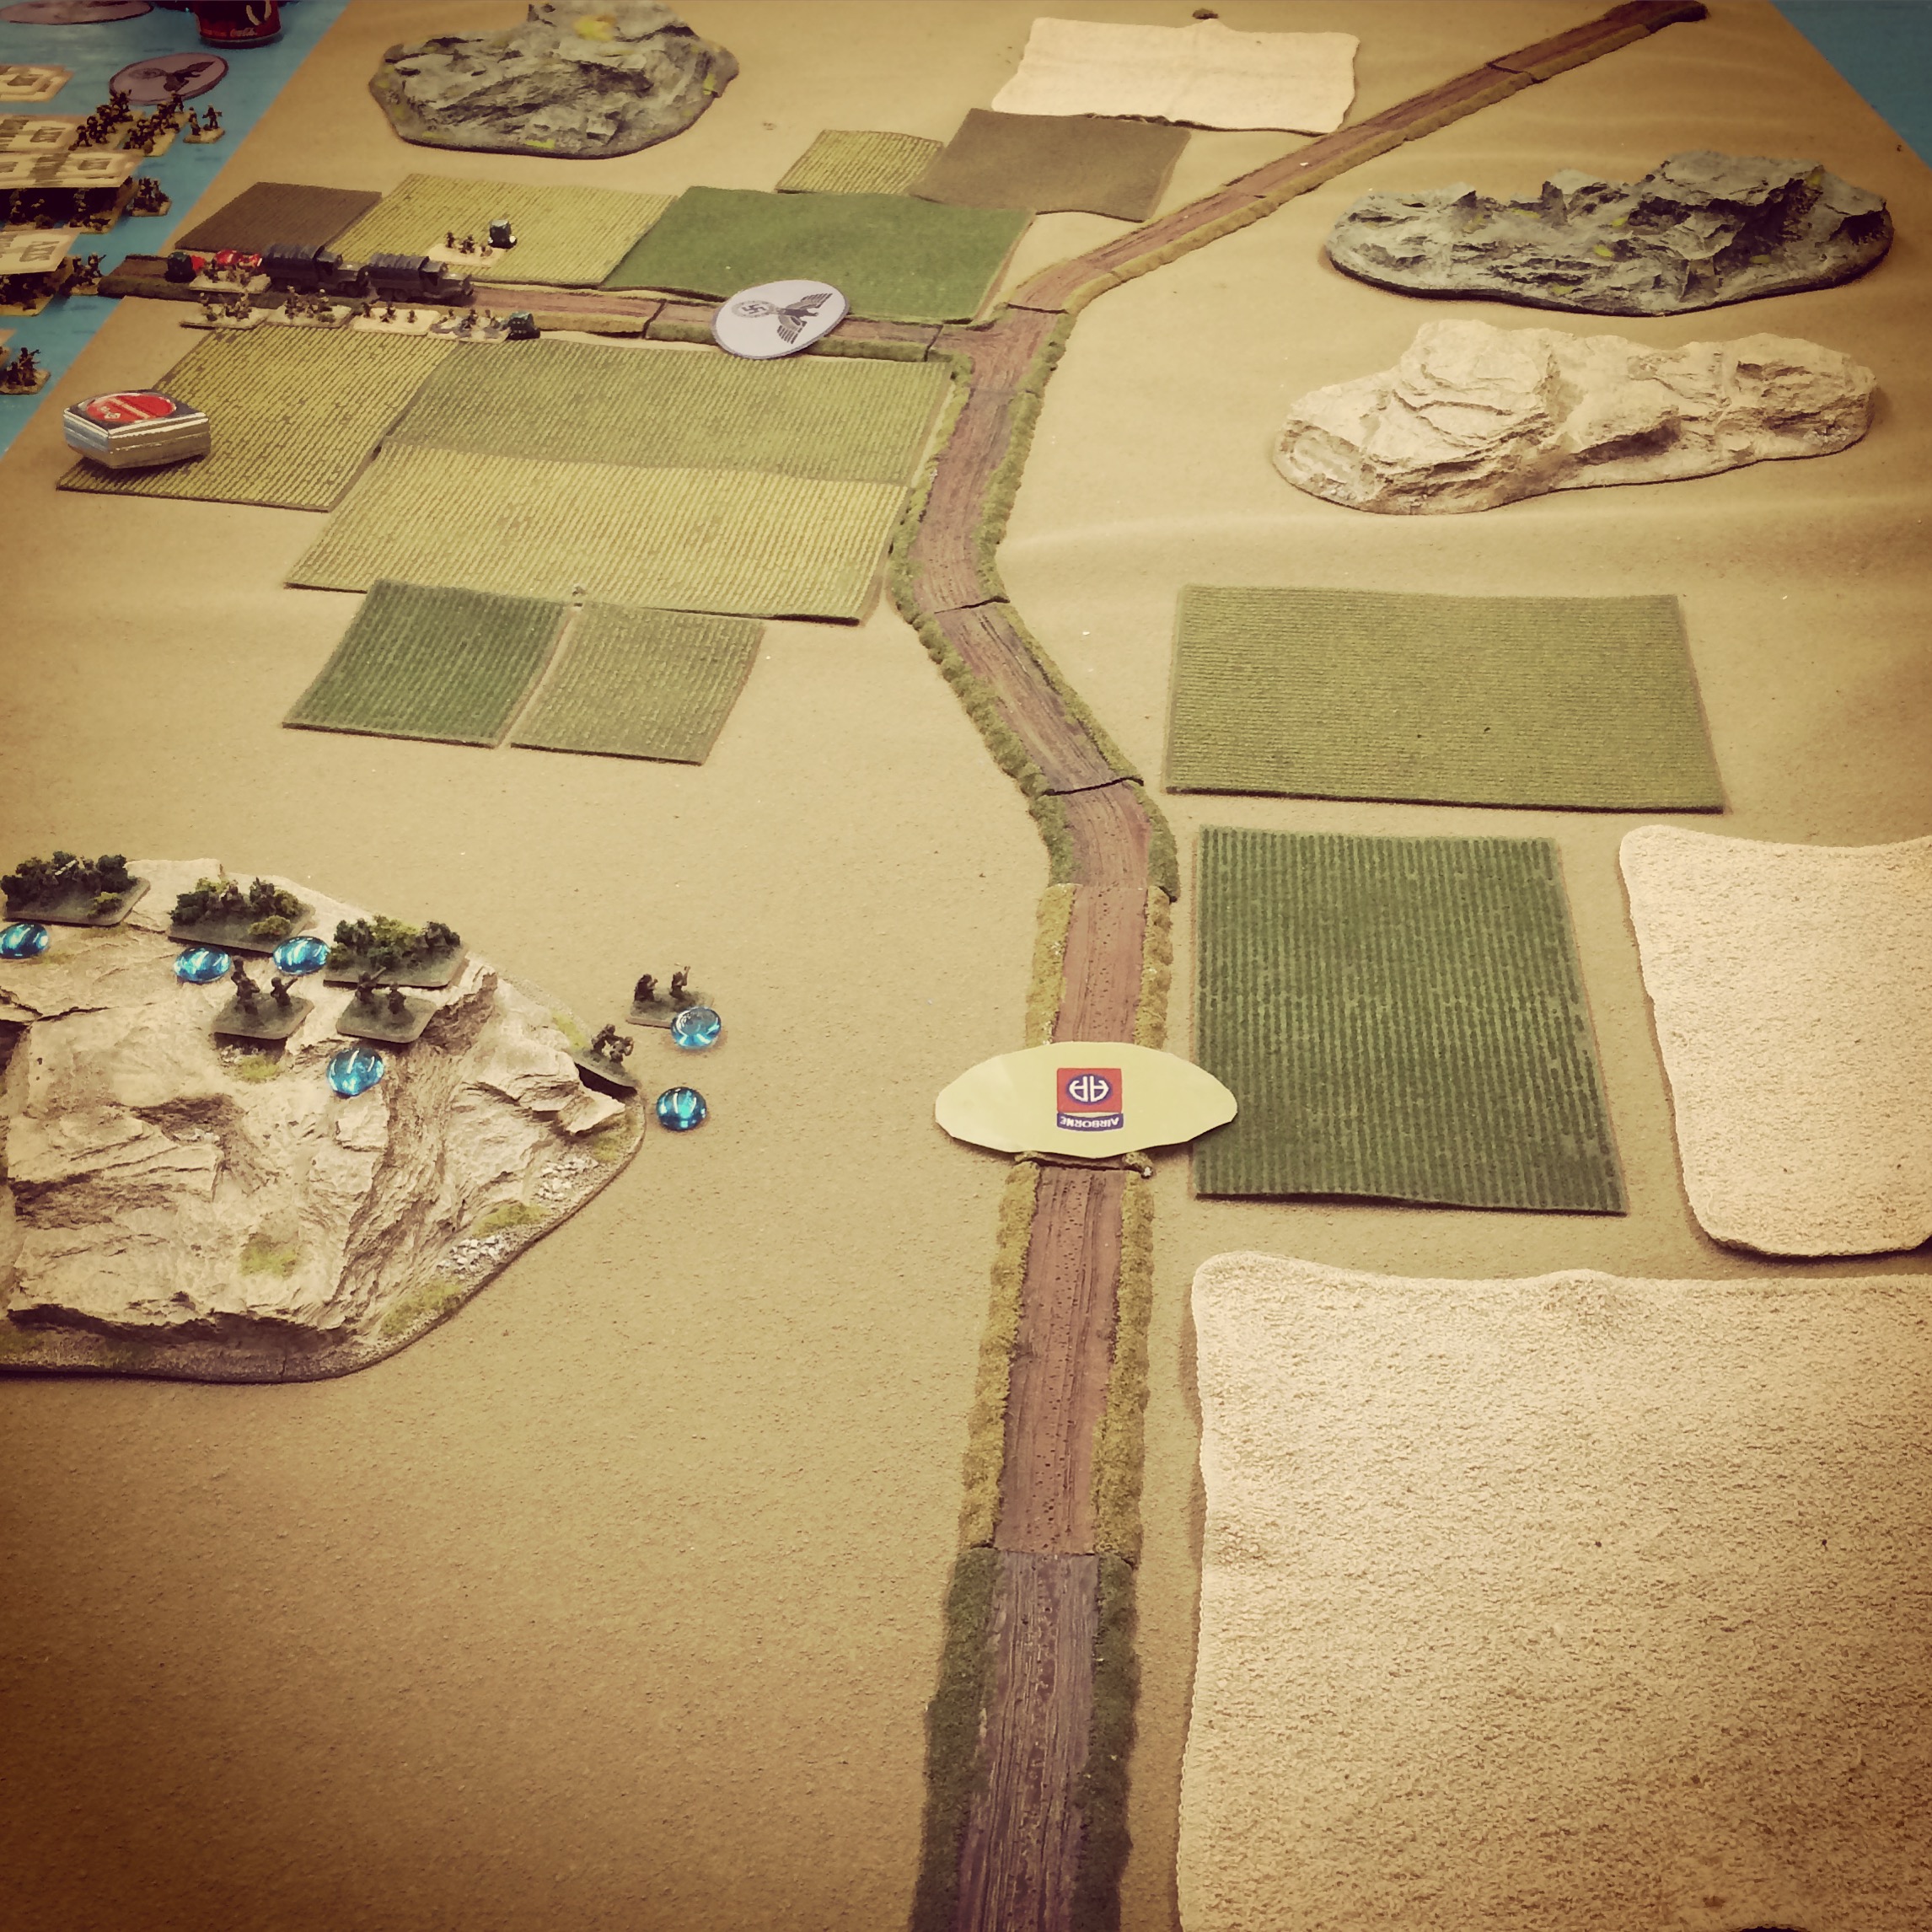
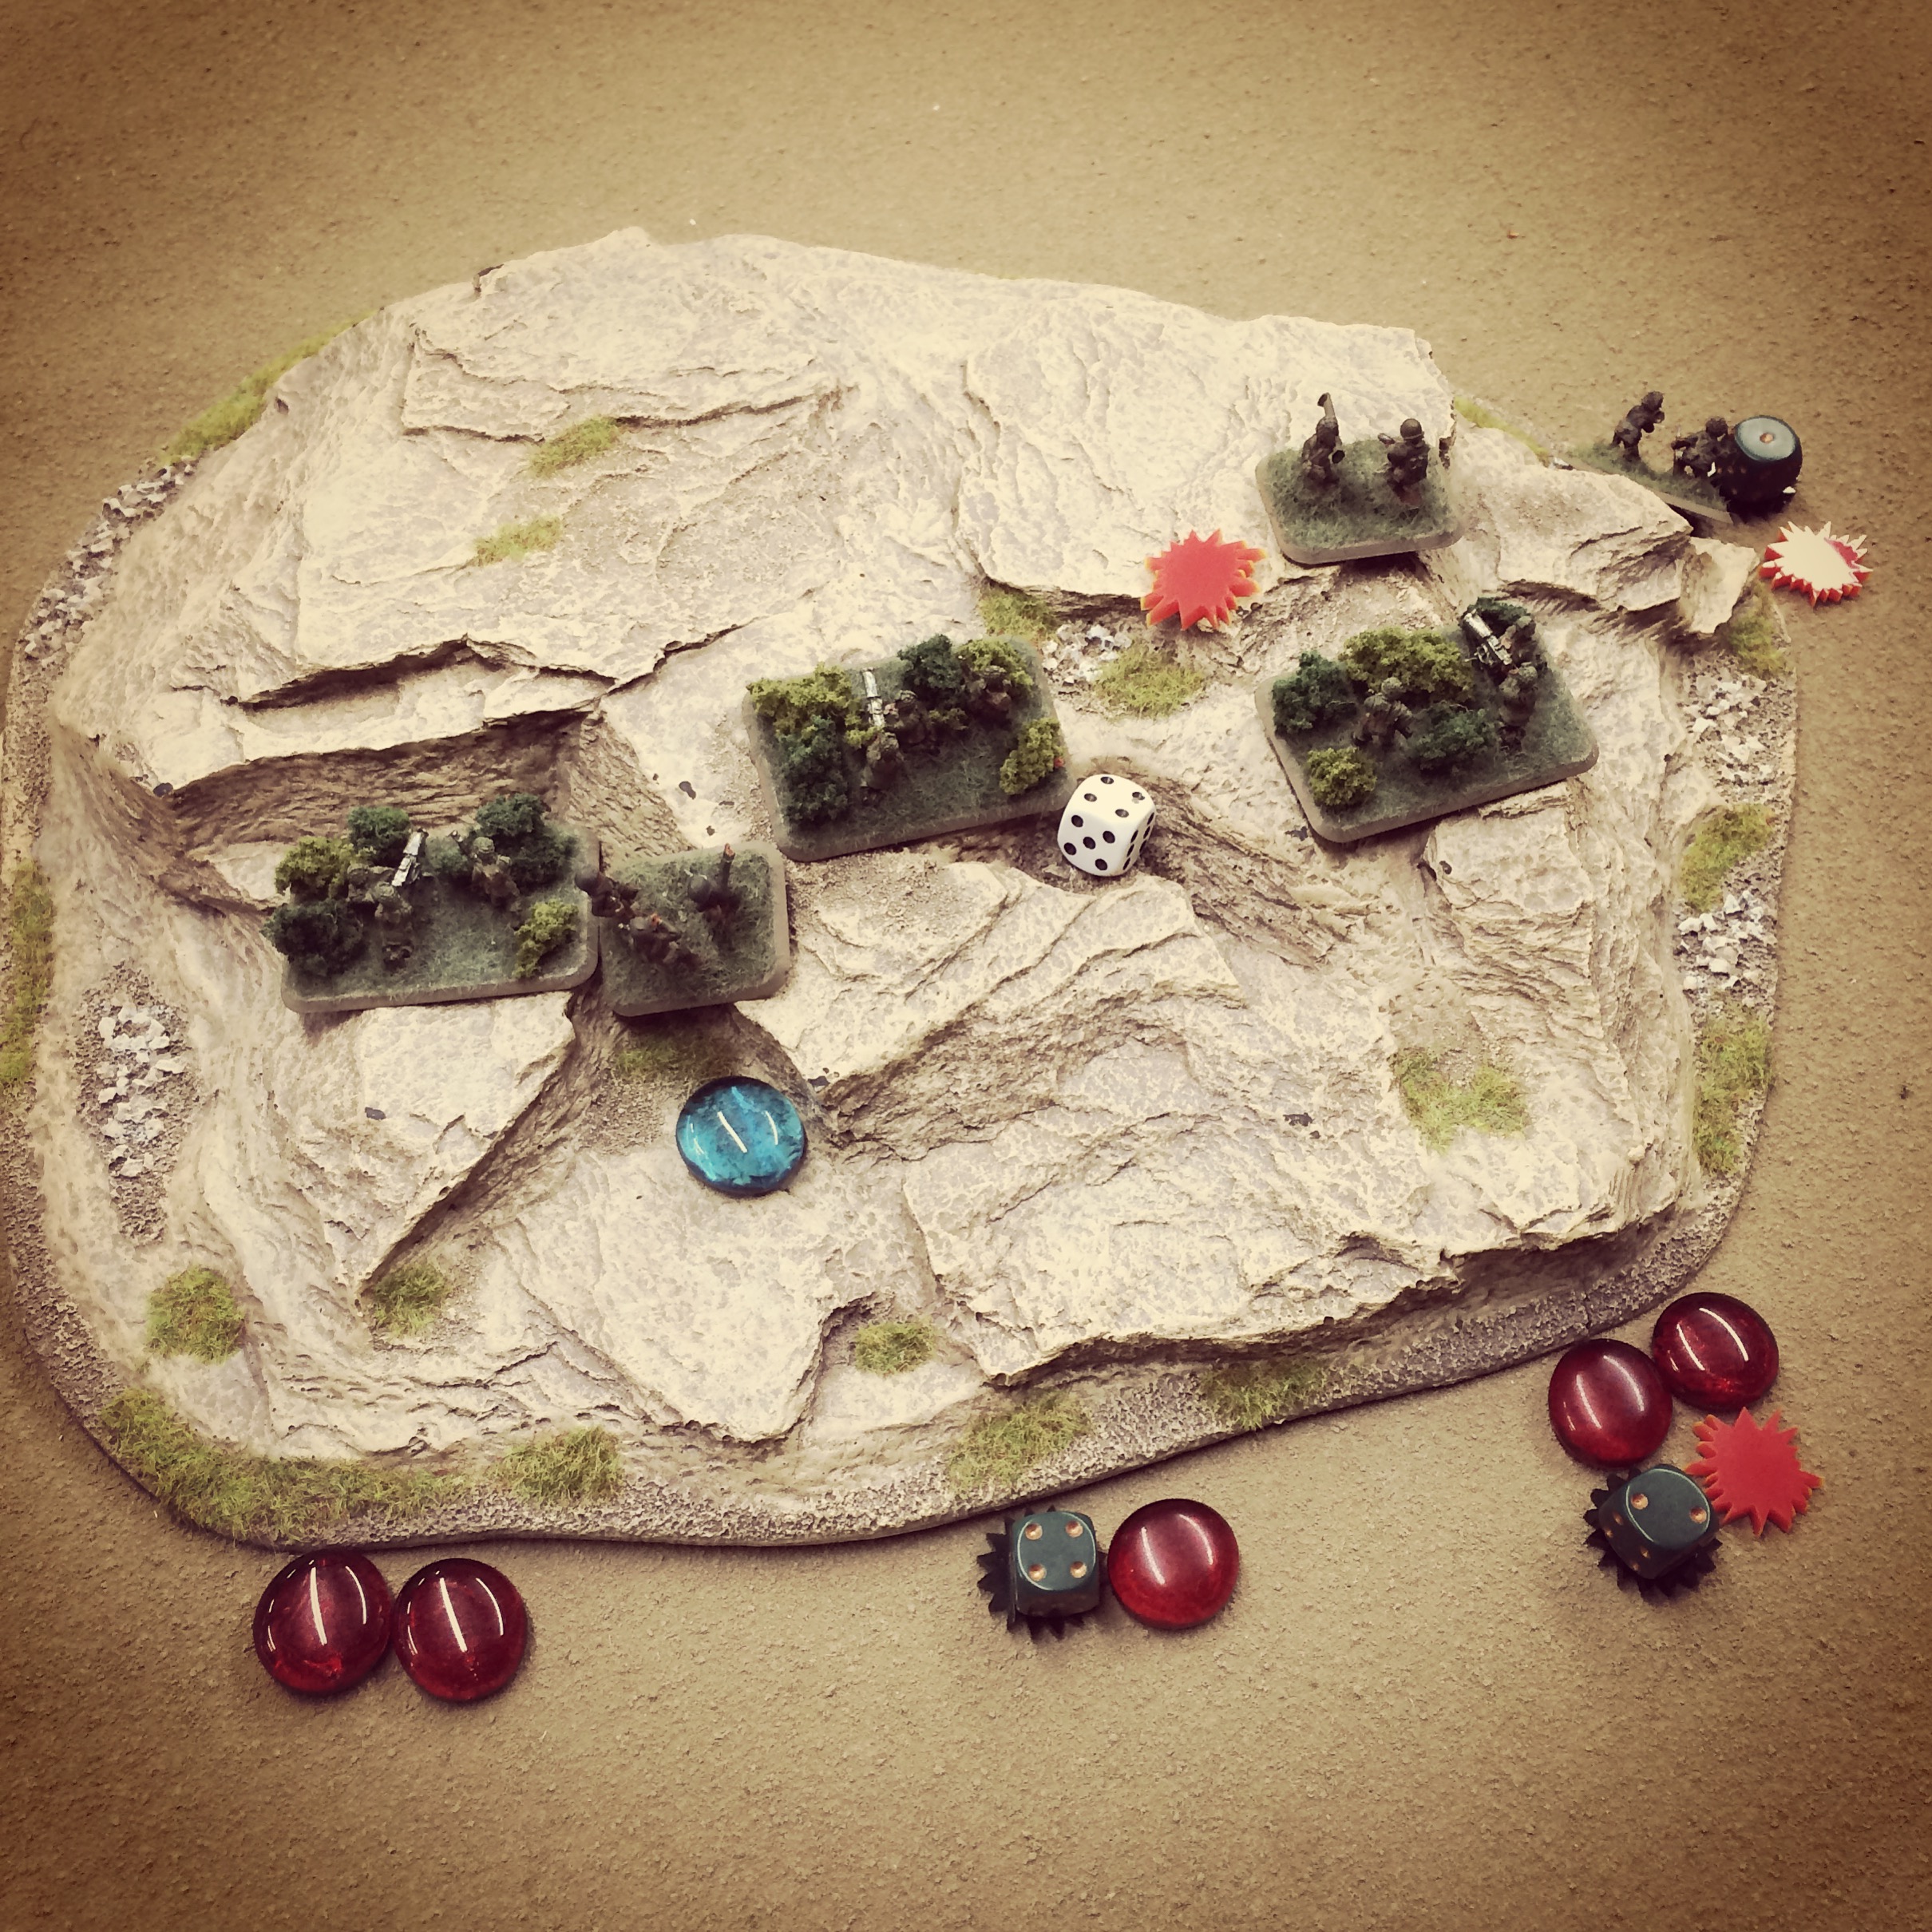
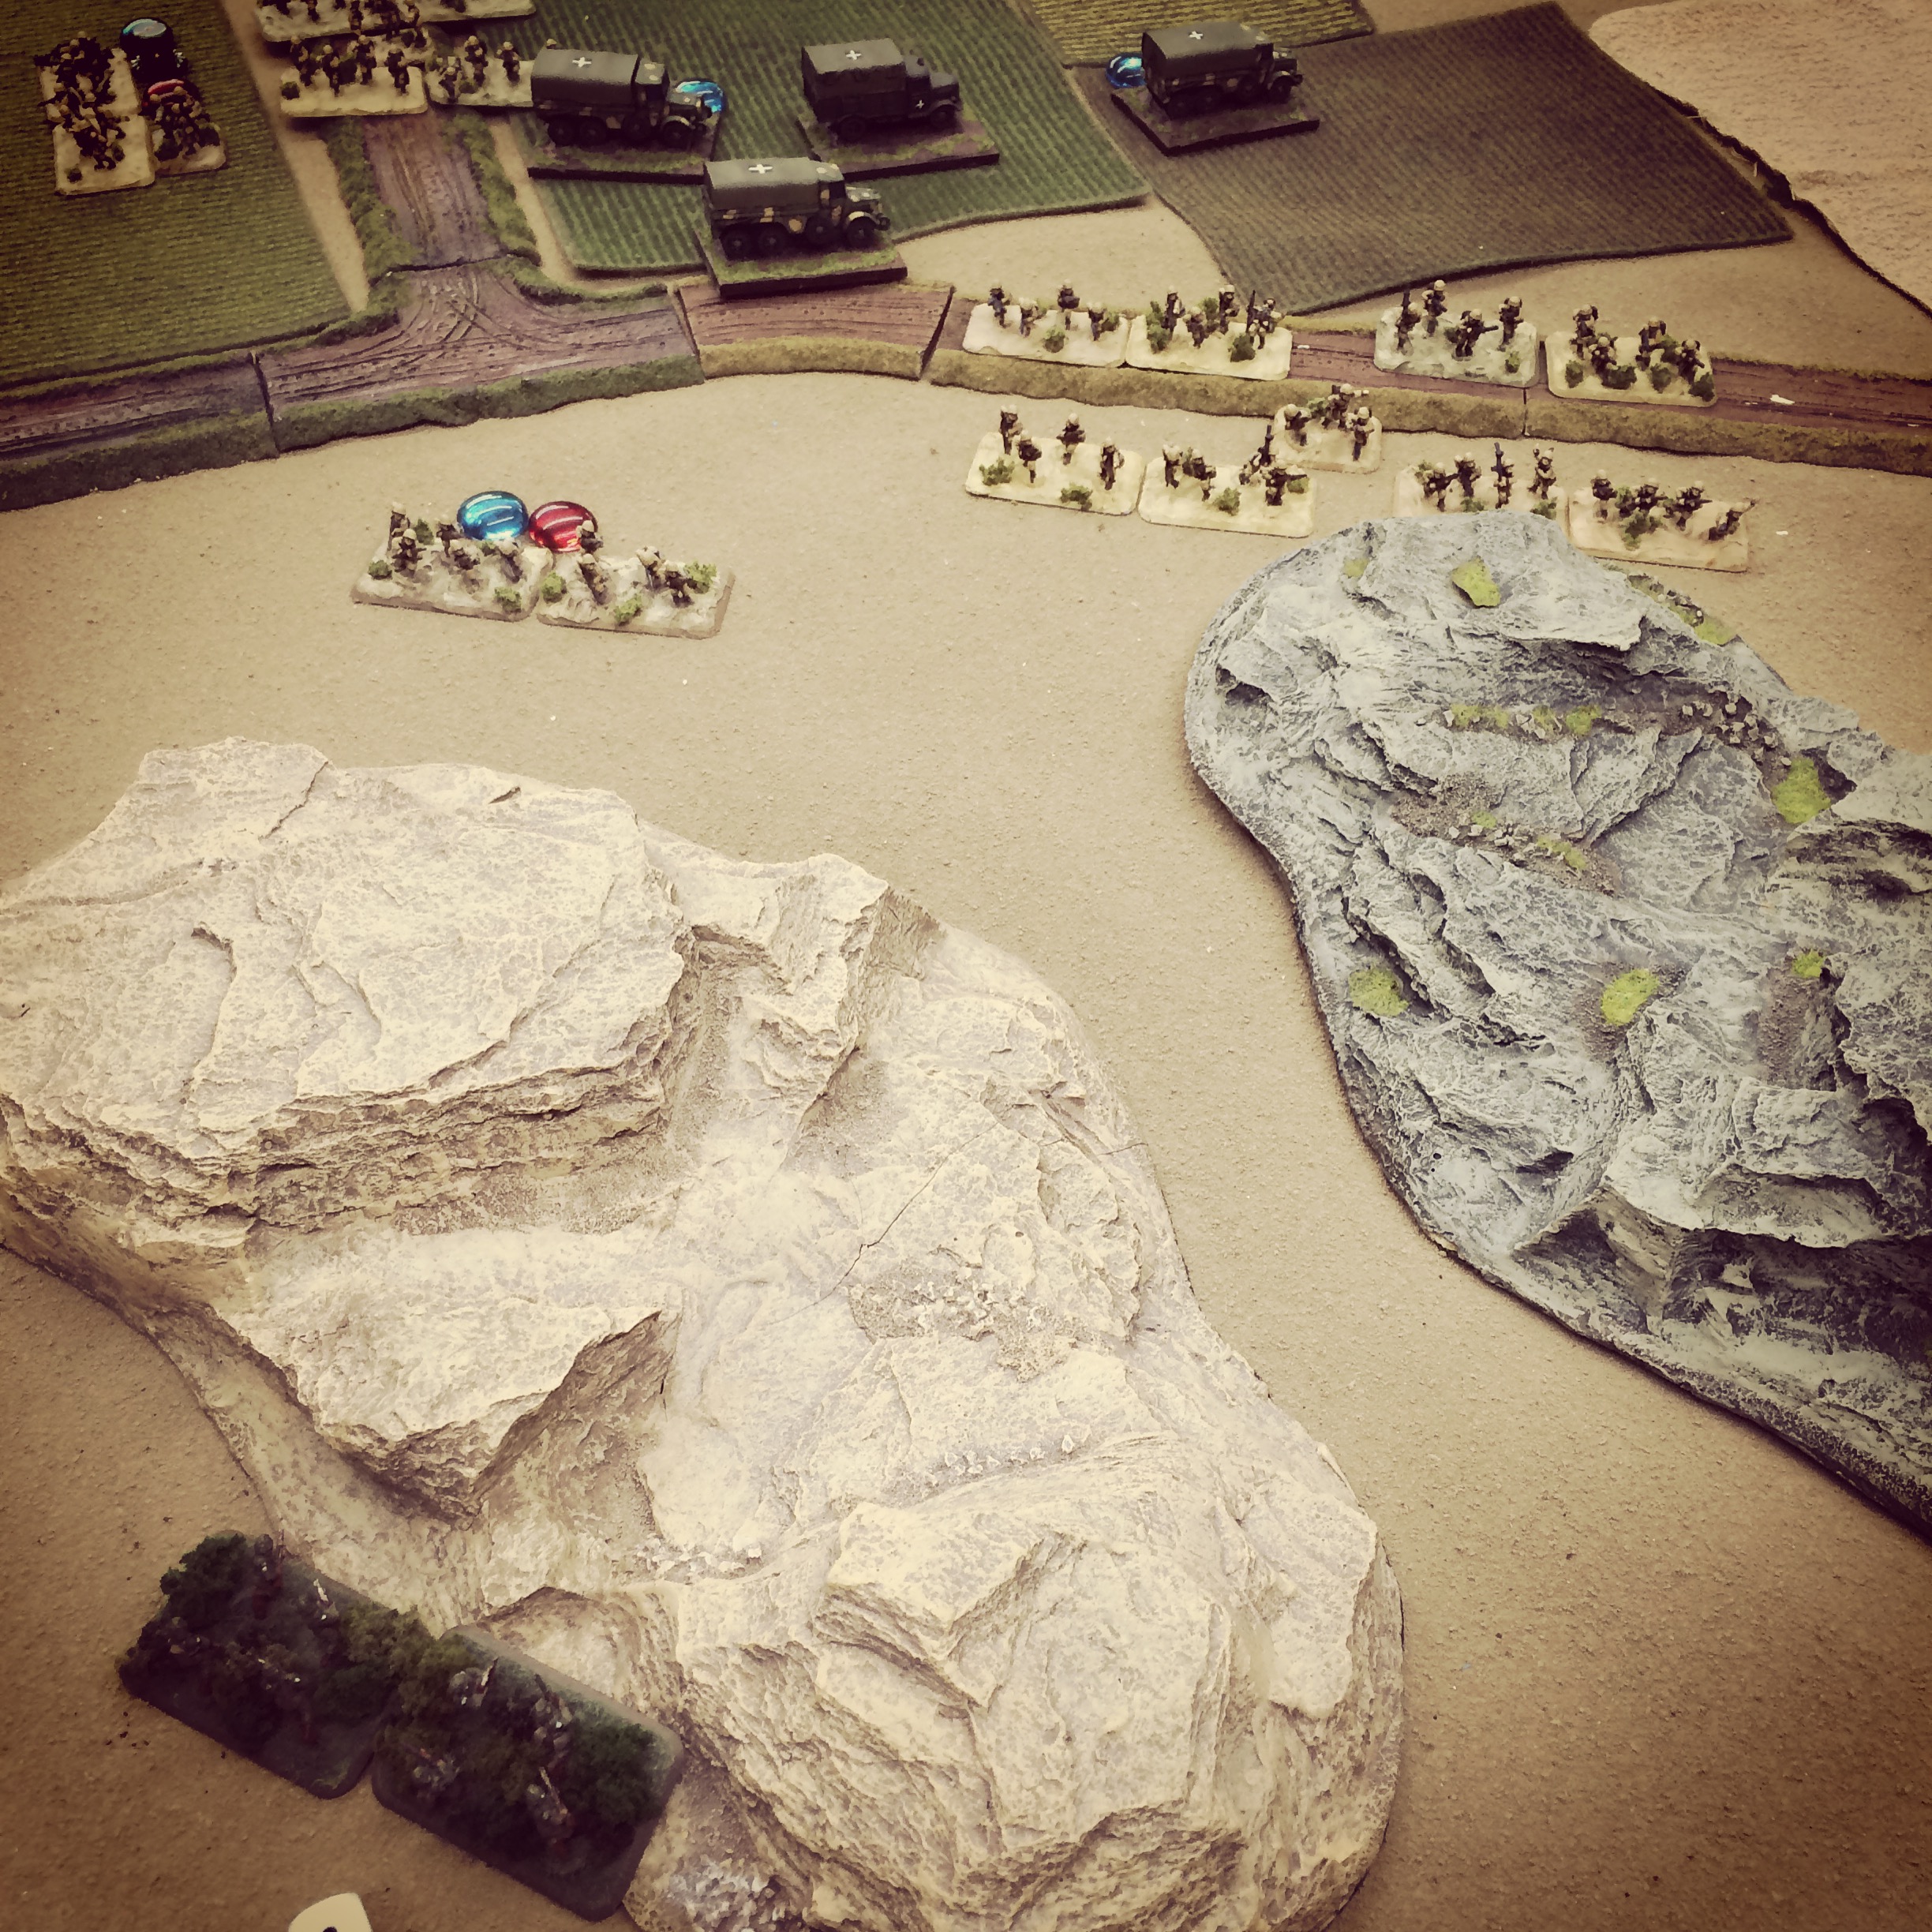
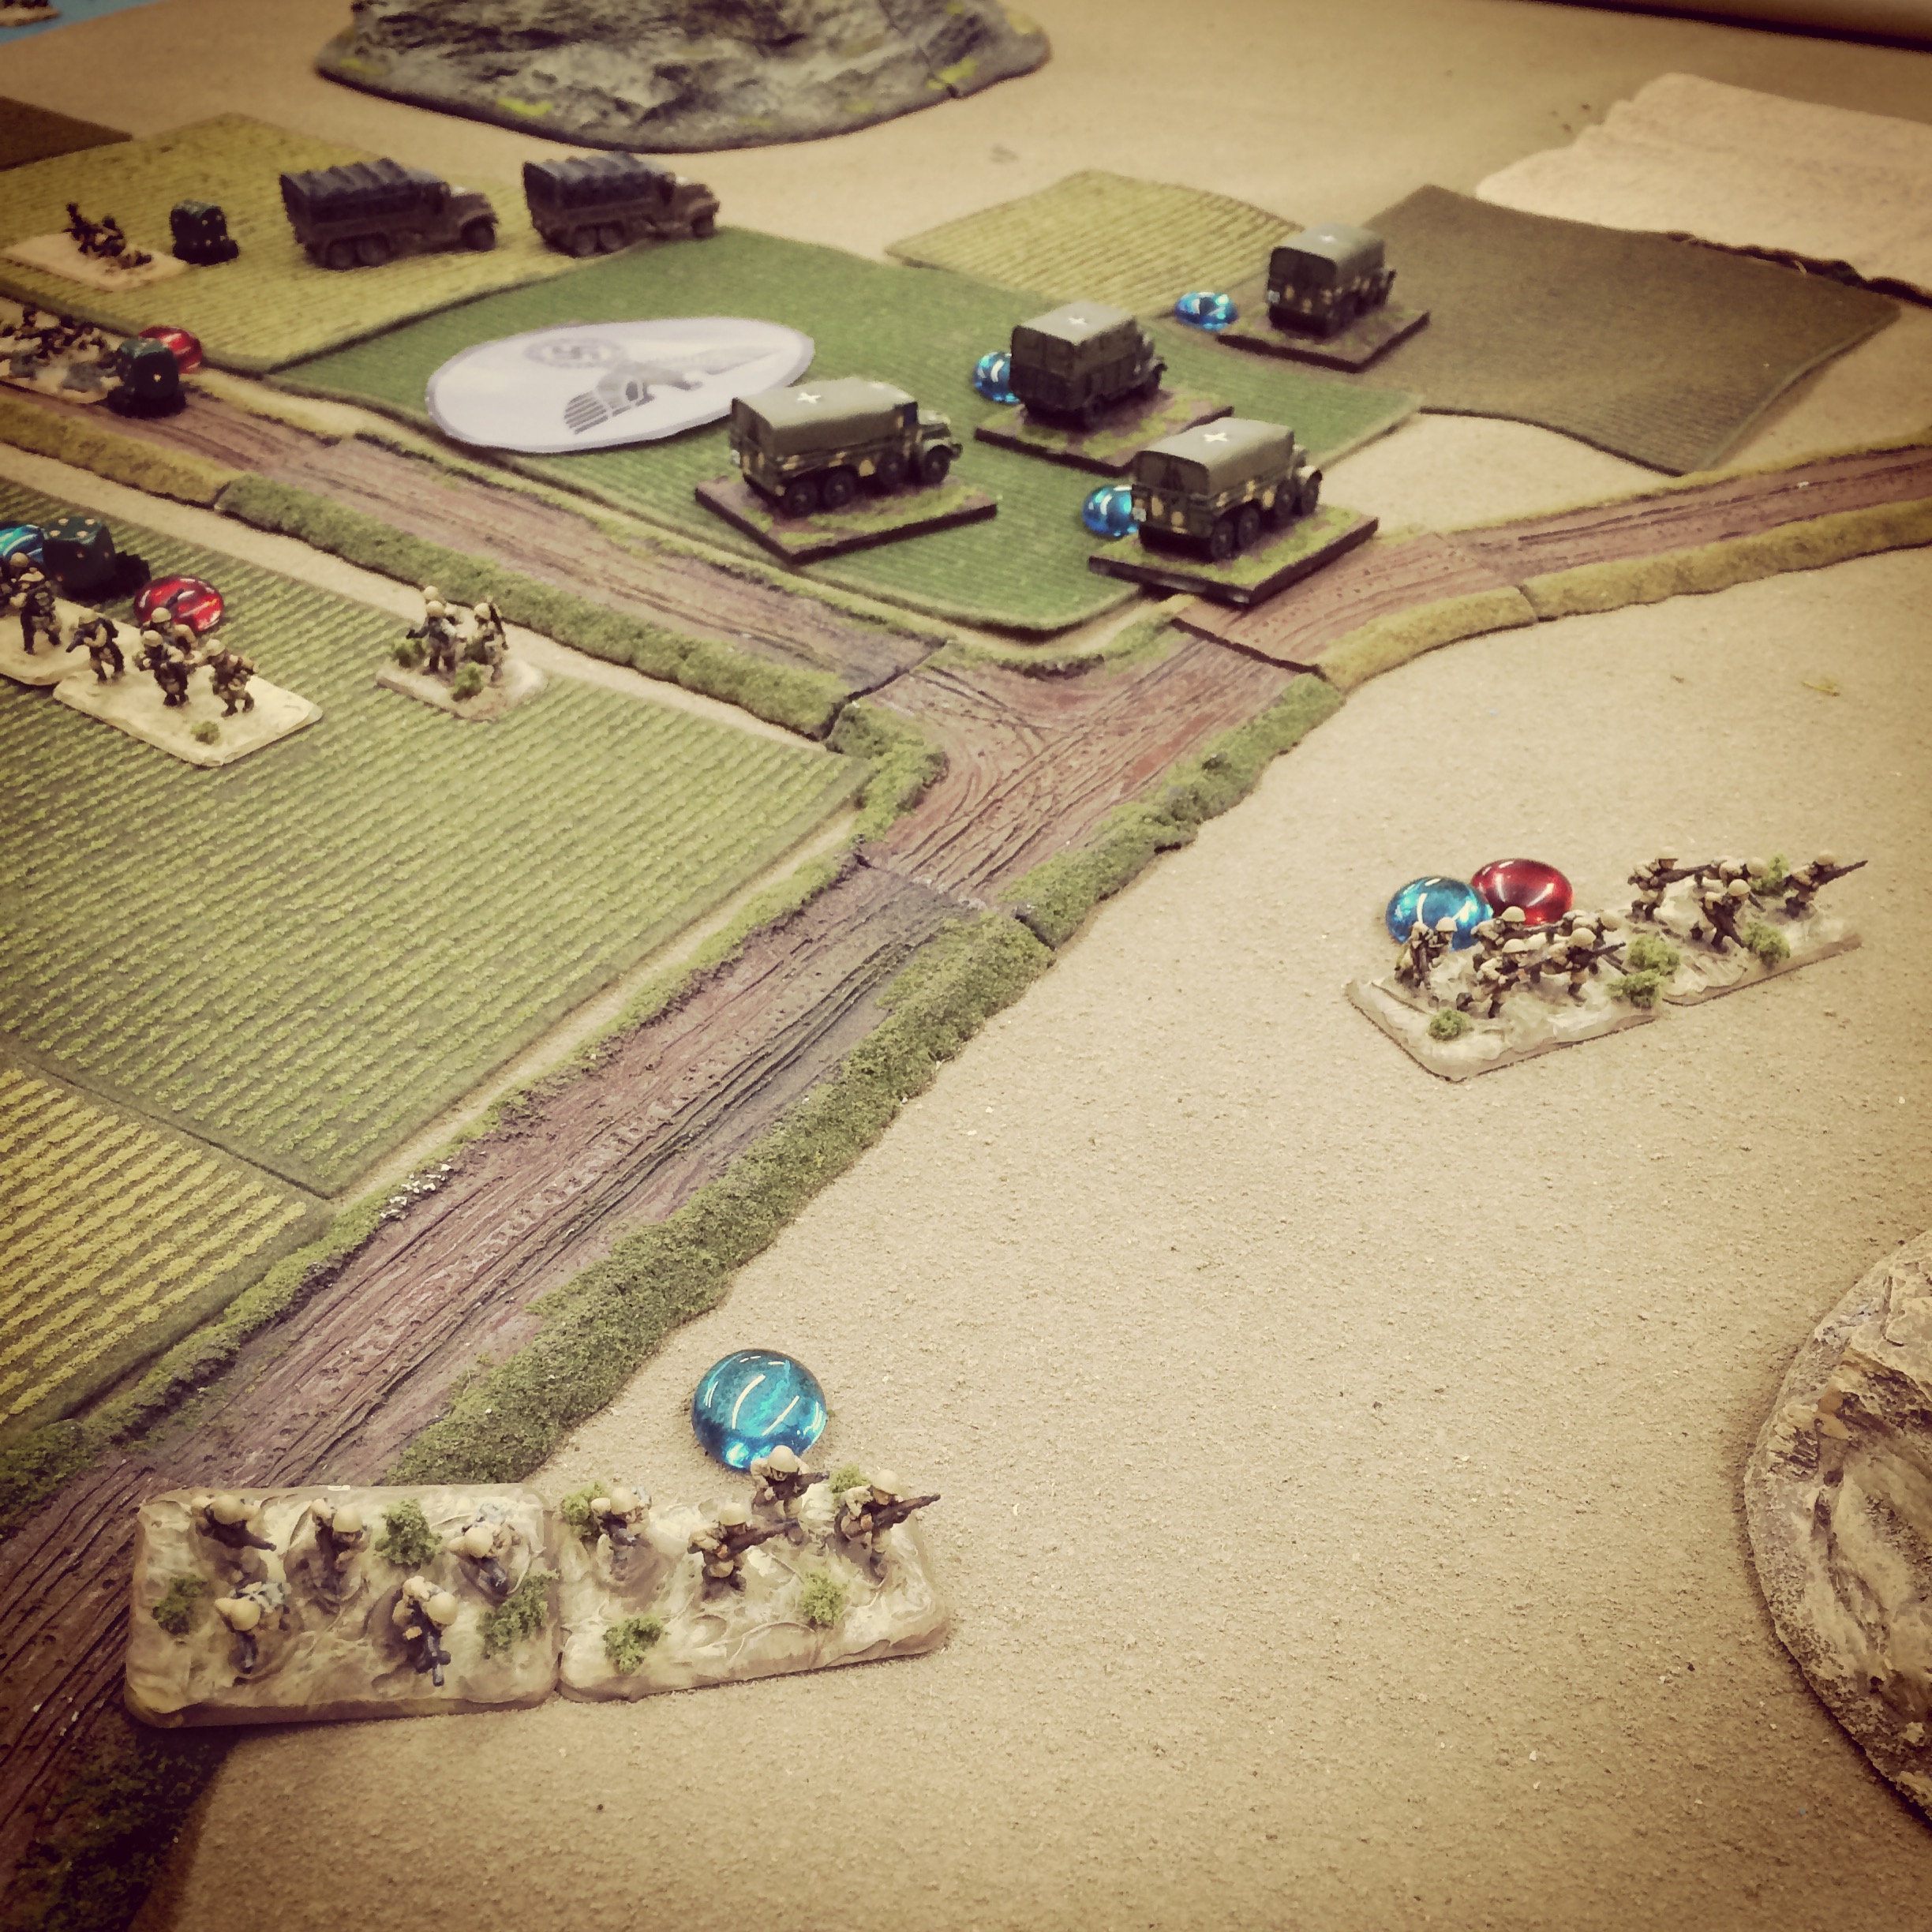
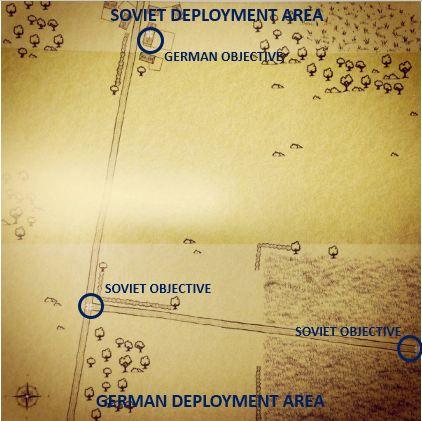
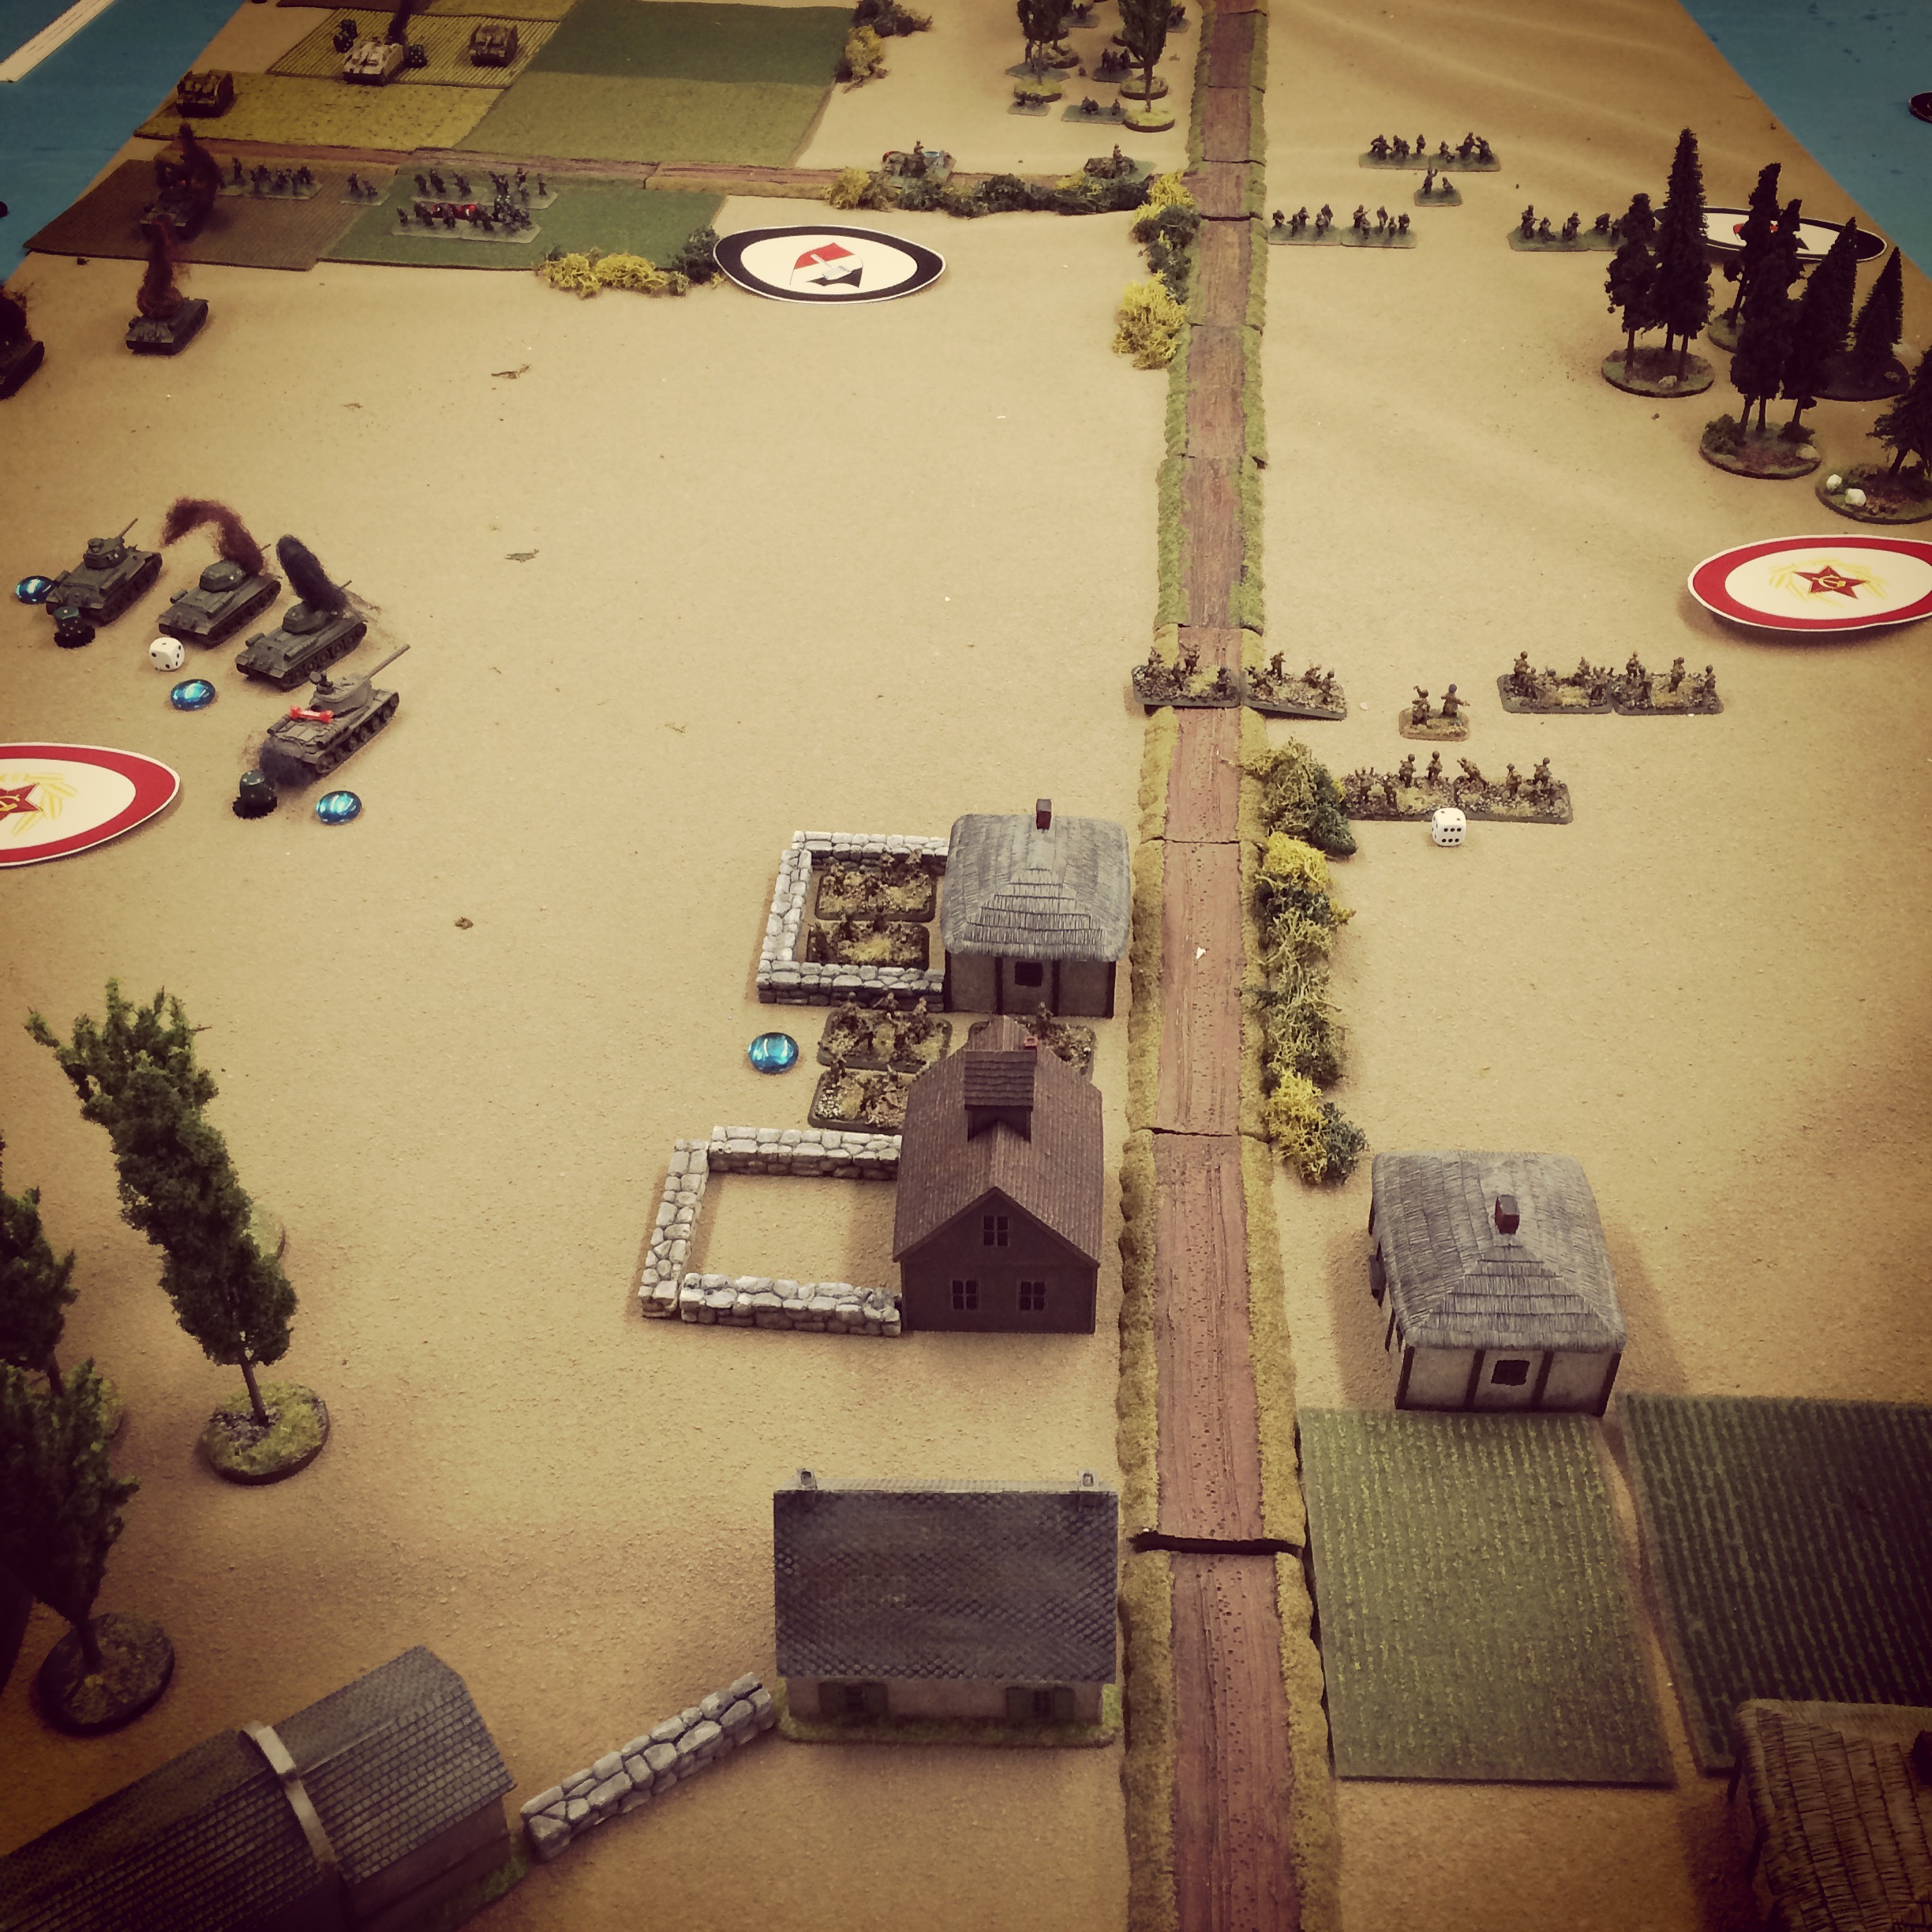
New Game Weekend: Zombicide Season 2: Prison Outbreak

ZPrisonboxIt’s hard to escape zombies.

The Walking Dead TV series just wrapped its fifth season this past week, and my entire family huddled around the television to see where the story would leave us until our favorite survivors of the zombie apocalypse were back again. Until then, there’s a spin-off series called Fear The Walking Dead premiering this summer which tell the tale of the beginnings of the zombie outbreak from the perspective of a different group of survivors in Los Angeles. There’s also the original monthly Image Comics series (currently at 139 issues) I’ve been reading for more than ten years now for a story that both parallels and differs from the story the TV show portrays. There’s certainly plenty of zombie stuff out there to keep me going.

zombiboxAbout two years ago I also got hooked on Zombicide. Lots of people caught the bug, judging by the continued success of the game. The first game launched based on a nearly $800,000 Kickstarter funding campaign in late 2012. The following year, Zombicide Season 2 brought in over $2.25 million on the funding site. This past summer, Zombicide Season 3 topped that number with nearly $2.9 million raised. The maker of the game, Guillotine Games, has also maintained a steady flow of additional special edition products, a companion app, free customizable game resources and dozens of scenarios available online. With the new Zombicide Season 3 just being shipped to players worldwide this month, there’s even been hints at a Season 4 which throws back to a Medieval-themed zombie outbreak.

ZprisonminisSurvivors, berserker zombies and zombies miniatures from Zombicide Season 2: Prison Outbreak

The base game has been a big favorite at my house for a couple years, and this past week we added Zombicide Season 2: Prison Outbreak to our home collection. As with the original base game, Prison Outbreak is big heavy box of zombie gaming goodness. Nine game two-sided game board tiles, about 150 cards, over 100 tokens, dice, Survivor player cards and 90 miniatures pack the box with components oozing in great design.

IMG_5680 “The Break-In” tutorial scenario from Prison Outbreak

This time around, the game adds a bunch of new aspects to play. Firstly, the miniatures come with some differences for both the zombies and survivors. Berserker zombies, cast in a muddy brown, bring a new aspect to the undead horde with Walkers, Runners, Fatties and an Abomination which must be attacked at close quarters in melee combat. This means more risk for players having to get right into a messy scrum with Berserkers using baseball bats, nightsticks, hatchets, hammers or saws, leaving ranged firearms for the original zombies molded in grey plastic like the base game.

IMG_5710The zombie horde in the “Find The Keys” scenario from Prison Outbreak

With the game amped up with more danger, the players too have received an upgrade with the possibility of coming back as Zombivors. Yeah, that’s an undead player which comes with an extra model and reverse side to the Survivor identity card. After a player is hit twice and killed by a zombie, the Zombivor comes on the table and the player fights on and may take five more wounds before truly being dead.

IMG_5708Grindlock goes toe-to-toe with a Berserker Abomination in “Find The Keys”

Things happen a lot faster in Prison Break as players are forced to quickly rack up zombie kills, pushing the experience level up in the game and spawning more and badder zombies onto the board each turn. To help out, a lot of new special skills have been added to the Survivors, allowing players to draw zombies toward them with “Taunt,” rescue other survivors from neighboring spaces with “Lifesaver” and a bunch of other new abilities once a player turns into a Zombivor.

IMG_5711The Survivors poised to make their escape in Zombicide Season 2: Prison Outbreak

The combination of new weapons and skills balances nicely with the new threats from Berserkers in Prison Outbreak. Playing through the first few of the ten scenarios supplied in a storyline campaign, we’ve quickly found a good combination of using skills to draw zombies into close combat with characters armed with hefty melee weapons like the concrete saw while defending with nightsticks and riot shields. In a pinch, a molotov cocktail can still take out a mass of undead in one throw, but the game only amps up with so many points scored with one huge kill. Balancing skills, finding the right weapons, getting them into the best Survivor’s hands, timing when to kill and when to elude zombies, and making the decision to allow a character to die and resurrect as a Zombivor all makes Zombicide Season 2 an enormous amount of high-stakes fun over and over again.

Flames of War: Novus Design Studio 15mm City Block Ruins

ruinsWar is destructive by its very nature, and World War II was the most destructive war in history. Aside from the tens of millions of military personnel and civilian deaths, the war brought unprecedented ruin to the thousands of villages, towns, cities and industrial areas through and over which the war was fought. The nearly immeasurable physical and financial impacts of WWII rippled for decades to come, including enormous effects on buildings and other physical spaces worldwide.

all15mmterrain

My 15mm European terrain during a recent game

For my 15mm WWII wargaming using Flames of War and I Ain’t Been Shot Mum rules systems, my terrain has been modeled almost entirely on Western Europe using buildings from numerous manufacturers collected over the past few years. In all my 15mm modelling, destroyed buildings have largely been absent so far, so I’ve been really happy to add my new city block ruin models from Novus Design Studio to my terrain collection.

NovusLogo

NDS was founded just about a year ago in April 2014 by Robert and Nancy Rumfelt, the founders and original owners of JR Miniatures. Like many wargamers, I’ve got a long history with models from JR Minis and so in many ways I knew what to expect from NDS when the company’s launch was first announced. I watched their inventory grow in the past year covering 6mm, 15mm and 28mm scales across WWII, sci-fi, fantasy and modern themes, and they’ve continued to add new products in the new year.

IMG_4969A complete set of four 15mm city block ruins from Novus Design Studio

The two and three story 15mm urban ruins retail for $26-31 USD each but I picked up a full set of four in a 40% off deal NDS ran at the end of 2014. The straight and corner buildings match up nicely together in a row or bunched into a city block in various configurations. The models also look great placed among buildings from other manufacturers, especially other city row houses from JR Minis. The castings in a creamy resin require a little flash clean up with a sharp hobby knife and air pocket holes show up here and there but don’t distract from the destroyed nature of the structures.

Novus Sample Front BackFront and rear view depicting multiple removable floors of a typical city block ruin model

All the NDS city block ruins feature removable floors molded with plank floors, piles of rubble, walls and interior doorways. The buildings have staircases and walls on the interior, broken window panes and more rubble on the attached sidewalks at the front. Everything about these make them very usable for 15mm gaming whether it be for 20th-century historical scenarios or contemporary and near-future gaming in European or even American urban settings. Getting multiples of the models on the table would easily allow setting up a truly impressive cityscape ravaged by the impacts of war.

IMG_4987Cleaned and primed corner city block ruin model

After cleaning up the flash on the models, I washed them all in warm soapy water to remove excess casting residue. The main building structures got a spray of flat gray as a base coat followed by layers of dry brushed tan, light gray and off white paint on the exteriors. Sidewalks also received grays and off white to highlight piles of ash and broken masonry heaped on the ground. On building had shutters which were painted in a dark blue and green and then highlighted with the same color mixed with a bit of white.

IMG_5670

IMG_5669

For the interiors, the removable floor levels were base coated in flat black. Plank floors were built up in layers of browns ranging from dark to light in each coat. I went basic on interior walls, using an off white to create a simple plaster look. As with the exterior, the rubble and tile floors on the ground floors were built up in grays and off white.

IMG_5672

IMG_5673

After a finish of a few coats of clear matte spray, the city block ruins were done. Arranged in a square block or stretched out in a row, these models easily blend in with other 15mm terrain manufacturers and add a great bit of variety to a tabletop set up. Bringing a bit of destruction to my overly neat wargaming battlefields is a welcome addition with my first buildings from Novus Design Studio.

IMG_5674

IMG_5671

IMG_5675

I Ain’t Been Shot Mum: Gela July 11, 1943 Scenario

gelaWe continued our play through Operation Husky and the invasion of Sicily in July 1943 this past weekend at Metropolitan Wargamers in Brooklyn, NY. We’re working our way through the events of July 11th in the Sicilian Weekend book by Too Fat Lardies for their I Ain’t Been Shot Mum rules for 15mm World War II play.

HuskyMap2Operation Husky, July-August 1943 (Gela in green)

The scenario represents the northeast section of the town of Gela where ferocious fighting had taken place the day before in the early actions of the Allied invasion of Sicily. The table was set up with a couple dozen buildings from a variety of manufacturers, including JR Miniatures, Battlefront, Mark IV Miniatures, Miniature Building Authority and Games of War. The occupying US troops all began hidden in  Gela with the Italians arriving on blinds at the opposite end of the table over a small railroad cut, bridge and road surrounded by open farm fields dotted with trees. The objective was simple: the Italians had to take back this corner of Gela and the Americans had to hold what they had fought so hard for the previous day.

Sicilianweekendcover‘Sicilian Weekend’ by Too Fat Lardies for their I Ain’t Been Shot Mum WWII rules

The Americans deployed in well-defended positions in the town with two platoons of rifles and light machine gun squads perched in buildings. A combat engineer platoon armed with a 37mm M3 anti-tank gun in tow sat hidden along the main street through town. Off board, 4.2 inch M2 mortars and 105 mm M2A1 howitzers from the 33rd Field Artillery Battalion were available as support to be called in by the captain from the company HQ perched in the tall building at the center of town. Tough and dug into great positions, the Americans looked to have a clear advantage.

IMG_5651The tabletop battlefield for Gela

As in the previous scenario southeast of Butera, the Italians again represented a massing of manpower from the Livorno Division with six small rifle platoons and a machine gun support platoon. Accompanying them this time was Mobile Group E compromised of light French Renault R35 tanks and pre-war Italian CV33 Tankettes. What the Italians lacked in a starting position on the field and quality of equipment and troops, they certainly made up for in volume as they began the game arriving on three blinds per turn.

IMG_5652Italians arrive northeast of Gela

As the Italians neared the town, the Americans bided their time and sought not to reveal their positions until the approaching forces were nearly on top of their positions. Approaching in the open, the Italian blinds were spotted in the open to reveal tanks and infantry closing in at the center and edge of town. With IABSM’s randomly card-activated units mechanic, my US commander was perhaps overly cautious in waiting a turn or two too long to start getting the American cards into the deck. This all but negated off-board US artillery support for the game and allowed the Italian attackers to get dangerously close to seizing a quick victory with nary a shot fired.

IMG_5653Italians swarm the edge of the town and the hidden American positions

On the Italian left, one of their early shots fired down the street took out a crew member of the M3 anti-tank gun, forcing the remaining American crew to haul it back around a corner to safety. In answer, the US engineers opened fire at close range and threw back the initial push by the Italians on the American right. At the center of town, US rifles, machine guns and bazookas firing from within a massive central building ripped into the Italians marching forward in the open. Under heavy fire at their center, the Italians fled for cover to either side as their approach was slowed and their returned rifle and tank shots had little effect on the Americans.

IMG_5654Italians encounter fire from US engineers defending from buildings

IMG_5655Italian infantry duck for cover as they receive heavy combined arms fire from the Americans in the large central building

IMG_5656Italian armor repositions away from American fire

With nowhere to go but forward, an Italian rifle platoon at their left assaulted the US engineers holding down the American right from a building. The Americans took heavy casualties and were thrown backward from their position into the open street to the rear. In response, returned fire from engineers in a nearby building flung the Italians back from their brief victory.

IMG_5657Italian rifles push a US engineer platoon from the building position

Back at the center, another round of combined arms fire from the Americans in the large central building continued to feed shots into the Italians, forcing them to continue to slide into cover to either side of the open field outside town. While pushing the Italians back with casualties and shocking fire provided a short-term positive for the US, it also allowed the Italians the chance to redeploy and set themselves for a move into town on the American left.

IMG_5658Italians slide from the center toward the American left

Meanwhile on the US right, the surviving engineers were chewed up by additional fire in the street which stalled them out of the action. With the main street into town wide open, the first Italian tank positioned itself to roll down the cobblestones. Waiting in the distance was the American anti-tank gun with a clear field of fire down the street looking to stave off an armored assault into the heart of Gela.

IMG_5659Italian armor sneaks around the American right as the US 37mm M3 anti-tank gun waits in the distance

With the Italians abandoning the center, the fight moved to the flanks. One US rifle platoon moved to reposition into buildings further to the edge of town on the American left as two Italian platoons, one already having suffered heavy casualties, snuck between buildings for cover. The American engineers on their right sought to hold down the approaching Italian tanks and three rifle platoons, and the US anti-tank gun crew had yet to fire a shot. The American rifles, machine guns and bazooka crews who had caused so much damage at the center were facing a choice of redeployment as their Italian targets skirted to either side.

IMG_5644Italians mass for an attack on the US engineers

Several hours in, we called the game. The small-scale tactical nature of IABSM is highly contingent on when a platoon or command ‘big man’ card activates. With so many Italian cards in the deck, a run of activated Italian unit cards may have provided the push they needed to get to the main street and victory. That said, each US card drawn was continuing to have devastating results on the somewhat weaker Italians, causing casualties and flinging them into reconsidering different routes. The large number of Italian on the field were still poised to match up with the higher quality American troops, although the US had clearly blown an early opportunity to use their off-board artillery effectively. Good and bad command choices had left Gela contested for the day.

I Ain’t Been Shot Mum: South East of Butera July 11, 1943 Scenario

SicilyJuly1943Operation Husky, the Allied invasion of the island of Sicily, commenced on July 9th 1943 with combined naval, air, airborne and amphibious forces from the United States, England and UK colonial nations attacking a largely Italian force backed by their German allies. Over the next five weeks, the Allies took the arid and rocky island of Sicily and opened up the Mediterranean for the eventual invasion of mainland Italy.

HuskyMapOperation Husky, July-August 1943 (area around Butera in green)

The Sicilian Weekend campaign guide for I Ain’t Been Shot Mum offers 24 scenarios from the opening days of Operation Husky on July 10th and 11th 1943. Like the other scenario books from IABSM publisher Too Fat Lardies, the Sicilian book presents solid historical background and maps, along with force lists and detailed briefings for each side easily adaptable to a number of lines of 15mm WWII miniatures. The scenarios may be played individually or as part of a linked campaign, and so we recently started playing through a few of the Sicily scenarios at Metropolitan Wargamers in Brooklyn, NY.

Sicilianweekendcover‘Sicilian Weekend’ by Too Fat Lardies for their I Ain’t Been Shot Mum WWII rules

We began with the eighth scenario in the book, southeast of Butera on the morning of July 11th 1943. Members of US 3rd Infantry Division are presented with a simple mission of aggressively pushing through the field to link up with their fellow Americans at Gela. The Italian force from the 33rd Infantry Regiment of the Livorno Division, must hold the invading Americans back.The scenario presents the Italian and American forces each entering the table in column on blinds. The counter attacking Italians rolled in mounted in trucks at one road at the table edge, and the Americans arrived on foot at one end of the table.

IMG_5605Initial forces arrive on the field in the early turns

IMG_5606Italians rush to the battle and deploy from a column of trucks

My first to arrive American machine gunners and bazookas quickly took up position on a rocky hill overlooking the road and a crossroads in the distance. Italian trucks moved in with their heavy weapons likewise leading the away with machine guns and 81mm mortars deploying at the road edge. Initial long range fire from the US machine guns pushed some of the Italian line back over the road. The Italians offered several rounds combined of direct mortar and machine gun fire in return, spraying bullets and landing rounds amid the bunched-up US machine guns. The Americans scooted back over the crest of the hill and the bazookas ran off to meet the other Americans arriving by the road to their right.

IMG_5608American machine guns take Italian mortar fire and fall back

IMG_5607US machine gunners rally back to their positions and pour fire into the Italian lines

 As the heavily-damaged US machine guns rallied, the Italian column continued to advance on the board in force. Four Italian rifle platoons spread out from the road to run at the advancing American column ahead and to cover the crossroads overlooked by two rocky hills. As the Americans moved straight on to meet the Italian front line, a recon platoon accompanied by four bazookas made way for the hills and the Italian flank.

IMG_5609Italian rifle platoons sprint ahead through the open field

IMG_5611A US recon platoon moves to take position atop a hill as Italians deploy at the crossroads

IMG_5612A firefight erupts between two hills as American bazookas hump their way around the Italian flank

IMG_5613The Italian line folds back toward the road under US fire in the field

With an Italian front deployed across the field in several lines and more rifles rushing into the hills at their left, the battle settled into two main firefights. American rifles at the center gradually pushed through the field toward the overwhelming number of Italians. Between the two hills on the Italian left, Italian and American rifles echoed back and forth. As gunfire was exchanged across the lines, US bazookas attempted to run to engage the Italian trucks which had made their way to safety beyond the battle at the rear. Despite moderately mounting Italian casualties, the Americans just could not break through.

The US forces ultimately ceded the field to the Italians. Even with superior command quality, the initial deployment of the US machine guns had been a bit premature and was not met by the quick arrival of supporting rifle platoons. Rushing them to the hills at the crossroads might have made a difference. The Italians had also managed to get the vast majority of their troops on the board early in the game, and their neatly arranged front line allowed them to angle directly over a defense of the road. In our refighting of the early hours of July 11th, 1943 the massed Italian counterattack had stalled the US invaders southeast of Butera. What awaited at Gela later in the day would unfold in our next battle.

28mm: Artizan Designs US Airborne Support Weapons

BazookaOne of my favorite blogs, War Is Boring, had a very timely article this past week on the history of the M-9 bazooka. I had just sat down to work on a small project of outfitting my growing US 101st Airborne 28mm force with some additional support weapons, and the article provided some great inspiration for getting my force outfitted with more explosive back-up with some two-man bazooka crews and a 60mm mortar from Artizan Designs.

ADlogoI’d recently finished a bazooka team and mortar from Warlord Games, so two more bazookas and another mortar from AD not only fills out my gaming options but also allowed me to compare the metal models from two great manufacturers. The mortar stands look nearly indistinguishable side by side. As for the bazookas, the Warlord weapon is a bit thinner than the bulkier AD sculpts but the soldiers themselves look perfect together when painted using the consistent process below.

AB Paint Scheme

Painting 28mm US Airborne Support Weapons

  1. Clean flash from metal models with a sharp knife and glue to metal washer or plastic bases.
  2. Apply filler putty to bases. When dry, scrape off excess with a sharp knife.
  3. Base coat models and bases with flat black spray primer.
  4. Paint uniforms and bandages on helmets with Tallarn Sand.
  5. Paint helmets and knee and elbow patches with Waaagh! Flesh.
  6. Paint faces and hands with Tallarn Flesh.
  7. Paint webbing and packs with Baneblade Brown.
  8. Paint bases, boots, gun stocks and helmet straps with Dark Brown.
  9. Apply Agrax Earthshade wash to uniforms, helmet netting, webbing and packs.
  10. Mix 50/50 Baneblade Brown and Off White and lightly dry brush packs, webbing and socks.
  11. Lightly dry brush bases, gun stocks, helmet netting, holsters and elbow and knee patches with Baneblade Brown.
  12. Paint metal gun, bazooka and mortar parts with black and finish with a light dry brush of metallic silver.
  13. Paint eyes with small dots of Off White and Dark Brown. Clean up around eyes with Tallarn Flesh.
  14. Mix 50/50 Tallarn Flesh and Off White and brush highlights on cheekbones, chins, forehead, nose and hands.
  15. Apply Company B decals to shoulders and helmets, followed by a coat of Solvaset decal fixative from Walthers.
  16. Cover bases in white glue and cover in 50/50 mix of fine light green and dark green grass flock.
  17. Glue small pieces of clump foliage to base.
  18. Spray coat completed models with matte finish.

I really love the detail in the AD miniatures. The two bazooka teams each uniquely portray guys on the move or ready to fire. The figure kneeling with a radio to his ear is a new favorite of mine and will probably be used as a spotter to call in mortar support. Check out all the photos below for the results from the AD miniatures waiting to provide additional back-up to my US Airborne troops.

IMG_0678

IMG_0679

IMG_0681

IMG_0682IMG_0680

IMG_0683

28mm: German Infantry and MG 42 HMG By Artizan Designs

GermanwithMG42

With my first set of German infantry and MG 42 machine gun complete, I’ve doubled my 28mm Axis force with more models from Artizan Designs. In just a few words, I’m loving the models from AD and my only complaint is that I’m quickly working my way through their figures so I’ll soon have a complete selection of their basic late war Germans.

ADlogo

paintgermanThis time around, there are a number of animated infantry figures in a mix of helmets and soft caps plus another MG 42 machine gun to supplement my arsenal. My German paint scheme has remained consistently fast and satisfying as per the below.

Painting 28mm German Infantry

  1. Clean flash from metal models with a sharp knife and glue to metal washer or plastic bases.
  2. Apply filler putty to bases. When dry, scrape off excess with a sharp knife.
  3. Basecoat models and bases with flat black spray primer.
  4. Paint smocks and helmets with Tallarn Sand.
  5. Paint pants, soft hats, officer greatcoat and gas mask containers with Skavenlight Dinge.
  6. Paint camouflage on helmets and smocks with alternating Waaagh! Flesh and Dark Brown.
  7. Paint faces and hands with Tallarn Flesh.
  8. Paint packs with Baneblade Brown.
  9. Paint boots and equipment straps Black.
  10. Paint bases, gun stocks, water bottles and helmet straps with Dark Brown.
  11. Apply Agrax Earthshade wash to uniforms, helmet netting, webbing and packs.
  12. Mix 50/50 Baneblade Brown and Off White and lightly dry brush packs, webbing, socks and holsters.
  13. Dry brush pants, soft hats and officer great coat with Light Grey.
  14. Lightly dry brush bases and gun stocks with Baneblade Brown.
  15. Paint metal gun and water bottle parts with black and finish with a light dry brush of Metallic Silver.
  16. Dry brush gasmask containers with metallic Silver.
  17. Paint eyes with small dots of Off White and Dark Brown. Clean up around eyes with Tallarn Flesh.
  18. Mix 50/50 Tallarn Flesh and Off White and brush highlights on cheekbones, chins, forehead, nose and hands.
  19. Cover bases in white glue and cover in 50/50 mix of fine light green and dark green grass flock.
  20. Glue small pieces of clump foliage to base.
  21. Spray coat completed models with matte finish.

And now, more photos of my Germans as my force builds up and looks toward hitting the table soon.

IMG_0670

IMG_0668

IMG_0672

IMG_0674

IMG_0675

IMG_0676

I Ain’t Been Shot Mum: West Of The Oktiabrski State Farm July 12, 1943 Scenario

t34OktiabrskiThis past week, two of us at Metropolitan Wargamers in Brooklyn, NY headed back to the summer of 1943 and the opening days of what would become known as the Battle of Kursk. The German offensive in Soviet territory, known as “Operation Citadel,” took place southwest of Moscow and led to one of the largest tank battles of all time, the Battle of Prokhorovka. It was south of Prokhorovka at the Oktiabrski State Farm where our game began.

BKCover‘Battlegroup Kursk’ from Iron Fist Publishing

Our 15mm battle was a mash-up of game systems, using Flames of War models, I Ain’t Been Shot Mum rules and a scenario lifted from the Battlegroup Kursk book by Iron Fist Publishing. Aside from its own set of tabletop rules, the Battlegroup Kursk book offers some well-drawn scenarios easily adaptable to a variety of gaming systems and scales. Our scenario, “West Of The Oktiabrski State Farm,” was the second of seven scenarios from the section entitled “The Inglorious 12th July.”

oktMAPMap of the West Of The Oktiabrski State Farm scenario

IMG_5577Soviet blinds deploy and move as T-34s are spotted pushing on the left

Our first Eastern Front and largest IABSM game to date started with the German infantry, Pak 40 anti-tank guns and two StuG III units deployed in hidden on a third of the table. Across a wide field, the Soviets deployed on blinds along the table edge in and around a collective farm complex. The initial Soviet blinds featured three infantry platoons at the center, a T-34 tank platoon to the left flank and one more tank platoon arriving on blinds in the second and third turns. Each side also featured off board artillery and the German side also had air fire to draw on throughout the game, although none of it would play a measurable role during the battle.

IMG_5547Soviet armor rumbles toward their first objective

IMG_5578A Pak 40 reveals itself to the approaching Soviet T-34s

IMG_5569The T-34s and Pak 40 exchange fire across the open field

IMG_5571The Soviet commander exposes Germans dug into the field just as his tank is destroyed

IMG_5575The first wave of Soviet armor burns in the field as reinforcements arrive on a blind to the rear

Soviet objectives sat at the German-defended crossroads, and so the T-34s pushed hard in the initial turns toward the road entry at the edge of the table at the Soviet left. Rolling quickly toward the road, the T-34s encountered a Pak 40 position at a hedge dominating a field of fire at the center of the table. The Pak 40s immediately hit the tanks, damaging the turrets, sights and mobility of the T-34s. Over several turns, fire was exchanged between the T-34s and the German anti-tank crews, leaving several burning tanks and a partially destroyed German gun position. Mid-game, a reinforcing platoon of T-34s moved to support the first wave of nearly-destroyed Soviet armor but were likewise halted in a crossfire from the surviving Pak 40s and three StuGs moving out their hidden positions and toward the road. The Soviet tank commander managed to close gloriously on the objective, but the StuGs and hidden German infantry positions stalled the advance and his tank went up in flames with those of his comrades, too.

IMG_5570Mid-game with Soviet blinds arriving on each flank, infantry at the middle and thick lines of German defenders in the distance

IMG_5572German Pak 40s and MG42s hold the center

With the Soviet attack on the left completely at a standstill, infantry moved from the farm complex toward the crossroads objective in the distance as T-34s maneuvered to their right using a forested area to cover their advance. The Germans moved to strengthen their center with the deployment of MG42s which laid fire into the Soviet infantry. German infantry deployed across the crossroads objective and were buoyed by the support of another StuG platoon on the opposite side of the trees.

IMG_5573T-34s try to push from the right using the forest as cover

IMG_5574T-34s and StuGs duel at the edge of the forest as infantry begins to take heavy casualties on both sides

Between the road and forest, the battle for crossroads began. Soviet infantry were cut down in the open and the Soviet armor moved cautiously around the woods to fire into the German infantry and armor. As the T-34s rounded the edge of the forest, a crossfire of Pak 40 and StuG shots stalled the Soviet tank advance with the Germans suffering a loss of only one StuG in the firefight. With the objectives at the crossroads and road at the table edge still secure, the day tipped to a German win effectively repelling the Soviet attack.

I hardly ever play Soviets, and in a look at the battle afterward I reasoned a consolidated attack to the road on the German right may have provided the critical mass of armor needed to sway the victory. The German anti-tank guns had effectively pinned the center, and a replay with T-34s massing to one side may have provided just enough of a steel wall to allow the other tanks to move to the objective instead of dying in the open. With our largest IABSM battle played out over several hours, we thought having a crack at one of the other Eastern Front scenarios would be worth it to test if Soviet metal might prevail over the German invaders on another day.