It is indisputable that war has been under continuous change over the centuries with evolutions in arms, tactics and scale. Soldiers themselves have also changed from era to era, owing to changes in diet, fitness standards and healthcare. The size of soldiers have also been used to promote propaganda of superiority for one nation over another, often falling back on nationalistic or stereotyped perceptions of one country’s peoples over another. Thus, photos like the one above from the Boxer Rebellion are instructive but potentially do not tell the whole story of how an entire nation’s soldiers may have measured up against their allies and enemies.
A 1986 paper on the physical characteristics of US soldiers in 1864, 1919, 1946 and 1986 depicts the average World War II era US male soldier to have been 5 feet 8 inches tall and about 155 pounds. There can also be no doubt that within these averages there was a great deal of variation from man to man and at what point in their service they were measured. So, while we may be able to get at some sense of the size of the average fighting man in World War II’s US military, each man was an individual.


Historical miniatures gamers spend a lot of time talking about scale, and I have fielded WWII miniatures from numerous manufacturers in 6mm, 15mm and 28mm while also occasionally playing in 20mm with other collectors at Metropolitan Wargamers in Brooklyn, NY. For my recent projects, I’ve focused on 28mm US Airborne and German forces with models from Artizan Designs, Black Tree Design and Warlord Games.
I’ve sourced my 28mm WWII miniatures from three separate makers for a few reasons. Firstly, I prefer metal figures for their durability, heft on the table and quickness in getting them painted up and ready to play without a lot of assembly. Some modellers will blanch at the higher cost of metal, but my opinions of pluses justify the investment. I also prefer not to duplicate poses, so purchasing across manufacturers allows me to have every model be a unique representation of a soldier or officer in the field. Third, although some outstanding plastic options are available, I like the detail that comes through with a good metal sculpt and casting. Finally, Black Tree Design in particular runs weekly sales which makes frequent orders of their miniatures a great deal when looking to field a sizable force from any number of available WWII Axis and Allied nations.
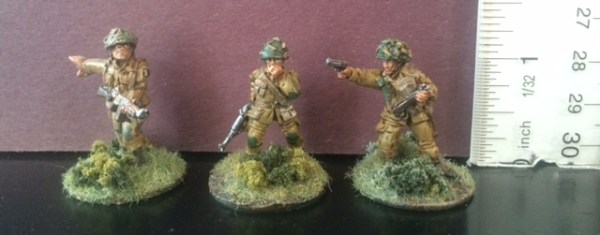
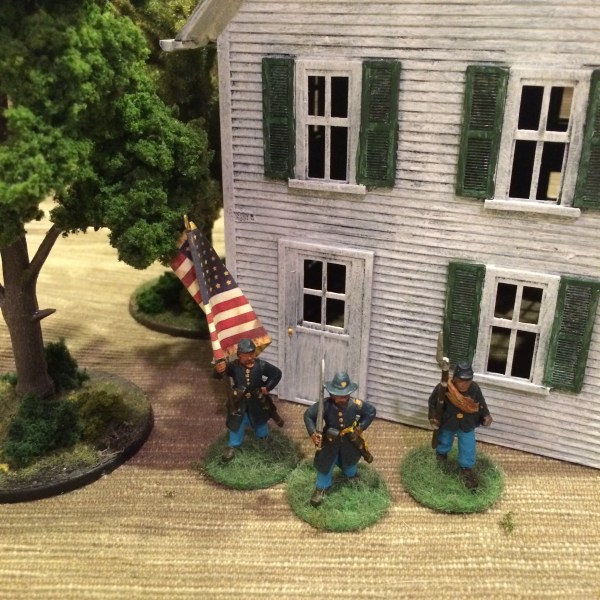
28mm US Airborne NCOs from Artizan Designs, Black Tree Design and Warlord Games (left to right)
By way of comparison, I’ve first taken a few images of US Airborne figures from the three manufacturers I use and also seem to be the most commonly cited within the WWII gamer community. In the first photo above, three NCOs stand side-by-side. The figures from Artizan and Warlord on either end show similar details in equipment and bulky helmets. The Black Tree model in the middle shows slightly less detail in the netting on the smaller helmet and carried equipment, but his pose calmly smoking a cigarette makes him one of my favorites.

28mm US Airborne riflemen from Artizan Designs, Black Tree Design and Warlord Games (left to right)
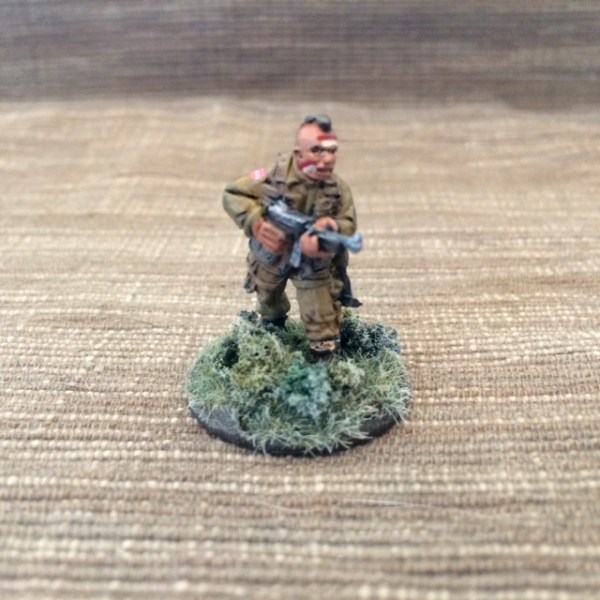
In the second photo above, I’ve got three riflemen in slightly similar battle-ready poses. Again, the Artizan and Warlord figures on each end are a bit more bulky and the bandage pack strapped to the helmet of the Artizan figure creates some nice variety. At the middle, the Black Tree soldier’s standard helmet without the camouflage netting likewise breaks up the sameness of how the soldiers are kitted out without sacrificing a single bit of detail.

Equipment detail on 28mm US Airborne riflemen from Artizan Designs, Black Tree Design and Warlord Games (left to right)
Having a look at the equipment detail at the rear of each manufacturer’s models is also useful in the picture above. Again, the models from both Artizan and Warlord are most burdened with packs, multiple ammo pouches and canteens. The Warlord figure is also toting a shovel at his left hip and even more extra pouches. On the other hand, the Black Tree soldier is traveling a bit lighter with only a canteen to one side and an ammo pouch on the other. I take the differences in equipment as representative of different soldiers who lost, dumped or acquired more equipment depending on their specific roles and points in their mission.

28mm US Airborne riflemen from Artizan Designs, Black Tree Design and Warlord Games (left to right) in front of a M4A3 Sherman from Rubicon Models
Next up, the photo above takes on the often-argued topic of soldiers and armor scale when playing at 28mm. The three riflemen stand in front of a M4A3 Sherman from Rubicon Models. To my eye, the tank does seem a bit undersized for its listed 1/56 28mm model scale when set next to soldiers from three different companies.

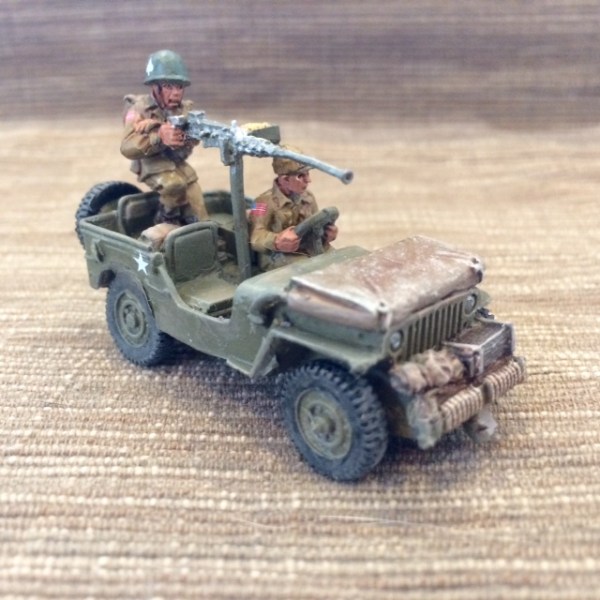
The M4A3 Sherman from Rubicon Models and a US Willys Jeep from Warlord Games
Comparing sizes of vehicles across two manufacturers also depicts a fair amount of difference in perceived scale. One of my recently completed US Willys Jeep models from Warlord sits next to the Rubicon Sherman in the photo above. While the tank looked small against standing infantry, the Jeep looks to be a bit better at scale.

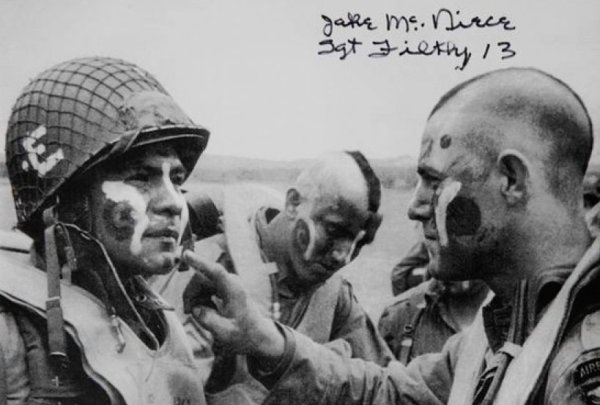
A photo from near the end of WWII in featuring captured German officers and US GIs in a US Jeep next to a US tank
By way of comparison, historical miniatures gamers like me often rely on WWII period photos to show variations between troops and vehicles. The photo above depicts a US Jeep alongside a tank toward the end of the war in Europe. Despite the documentary nature of photographs, they can be deceptive in representing reality in terms of the angle, perspective and depth of field from when the photo was taken. Compared to my Jeep and tank models, the photo does inform a bit about real-world scale. My model Jeep’s hood measures up at a height about equal to the treads on the tank model. That said, the historical photo perhaps doesn’t present the full story given the placement of the Jeep in the foreground with the tank behind.

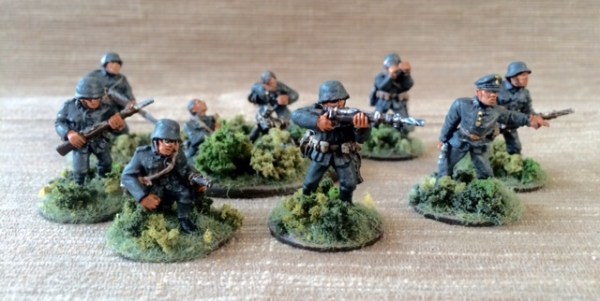
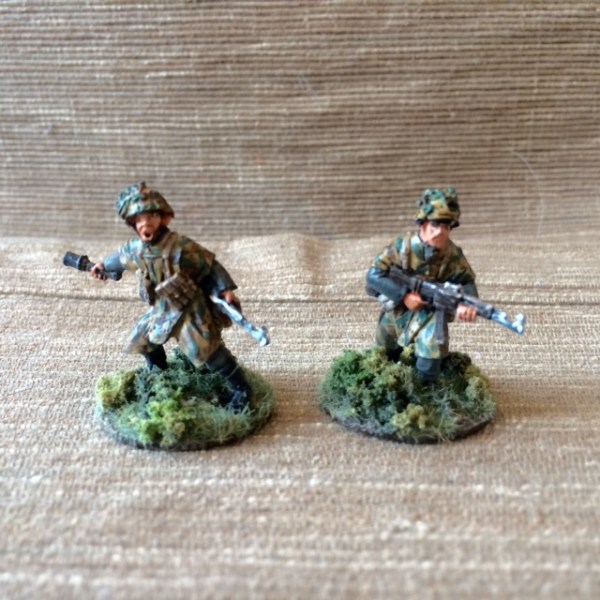
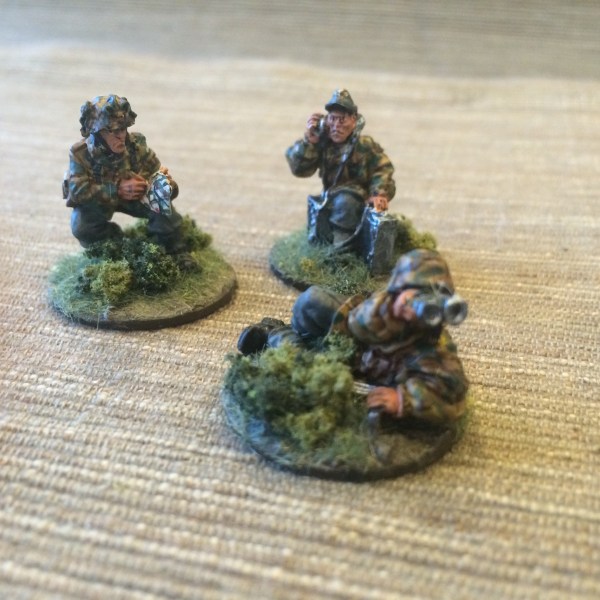
28mm German infantry from Artizan Designs, Black Tree Design and Warlord Games (left to right)
Aside from my US Airborne models, I also have a good sized collection of German troops. Most of these are from Artizan and Black Tree, and I’ve only just recently added some Warlord Grenadiers armed with assault rifles to the mix. In the first photo above, I have three soldiers walking forward, guns at the ready. The partially camouflaged Grenadiers from Artizan and Warlord on either end flank a Wehrmacht soldier from Black Tree at center. With these figures I find little difference in scale and sculpt across manufacturers, and only their differing equipment, uniforms and weapons set them apart.
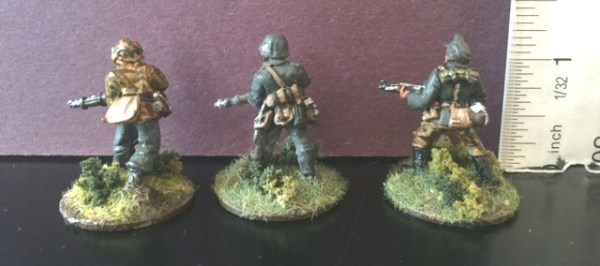
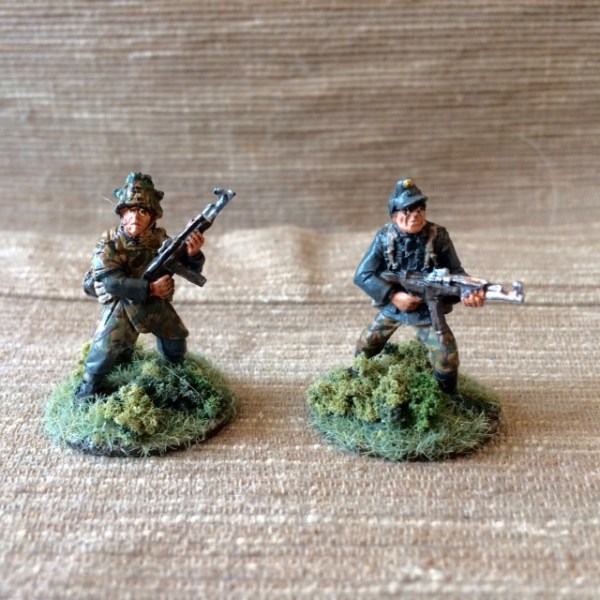
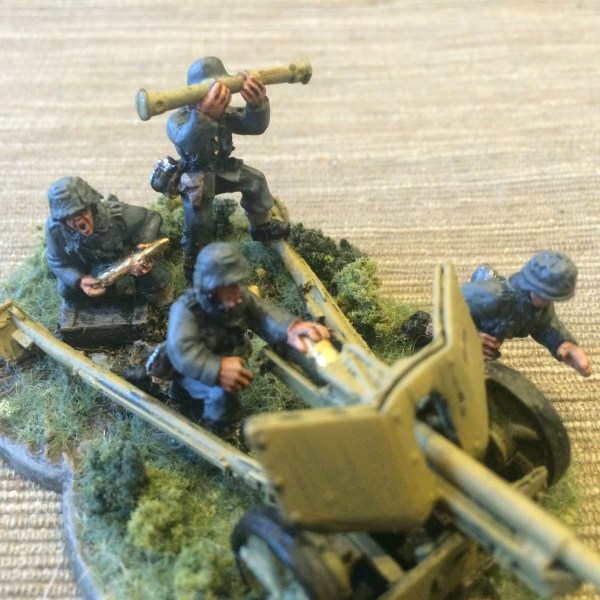
Equipment detail on 28mm German infantry from Artizan Designs, Black Tree Design and Warlord Games (left to right)
Above I have some rear detail of equipment carried by soldiers from each maker. In the case of these soldier models, both the Black Tree and Warlord kit are my favorite both in detail and how it hangs from their backs and sides back with a shovel, mess kits, water bottle,s ammo pouches and rolled ponchos or bedding all included. The Artizan model is only carrying a couple items and his pack is a bit larger than that on the Warlord model, but all three form a diverse compliment of presentation.
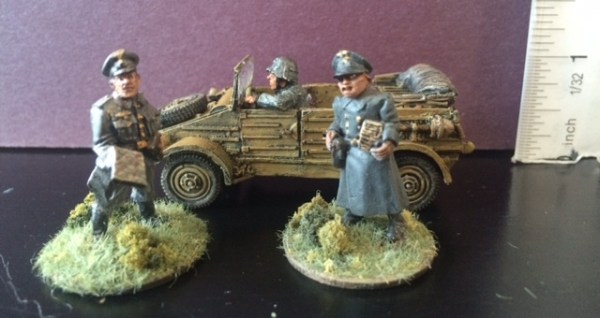
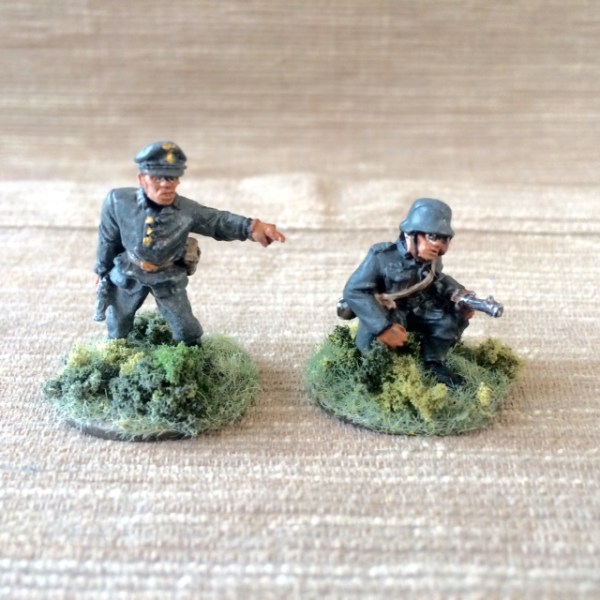
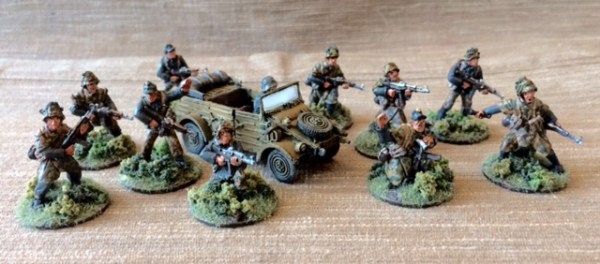
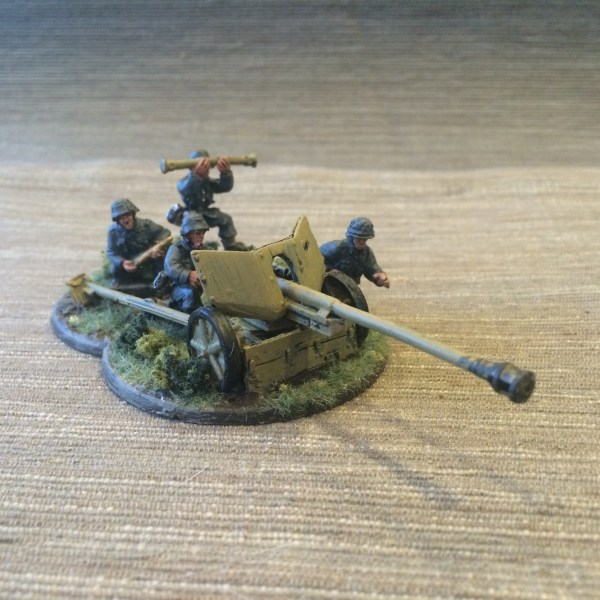
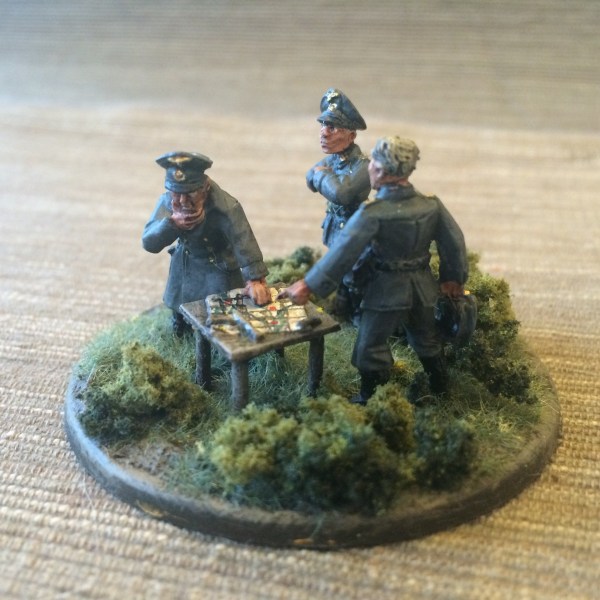
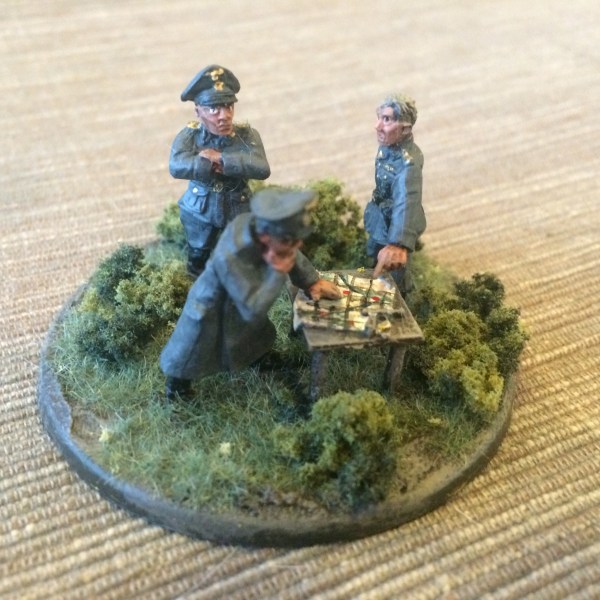
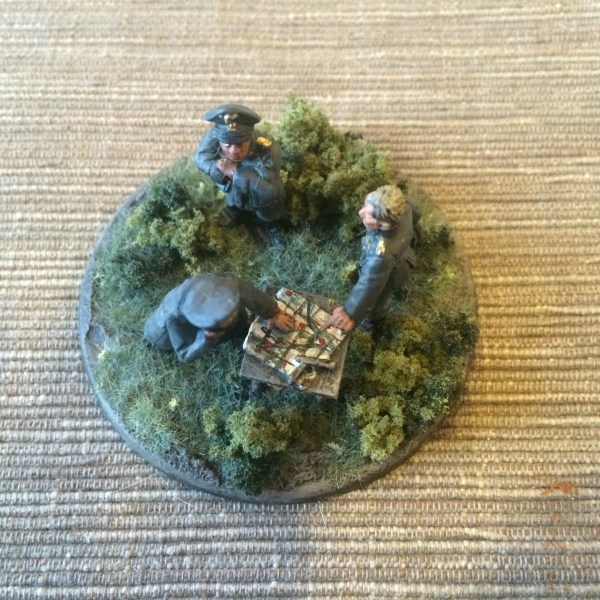
28mm German officers from Artizan Designs and Black Tree Design (left to right) in front of a Warlord Kubelwagen
For comparing Germans to a vehicle, I’ve got officers from Artizan and Black Tree alongside a Warlord Kubelwagen. The officer from Black Tree is perhaps a bit broad with his sculpting but no less animated as the Artizan model who stands confidently with a battle plan and hand firmly on his left hip. The driver from Warlord sits well with scale of the standing soldiers, and the two officers look as though they would fit nicely in the rear of the car to be chauffeured to the front.

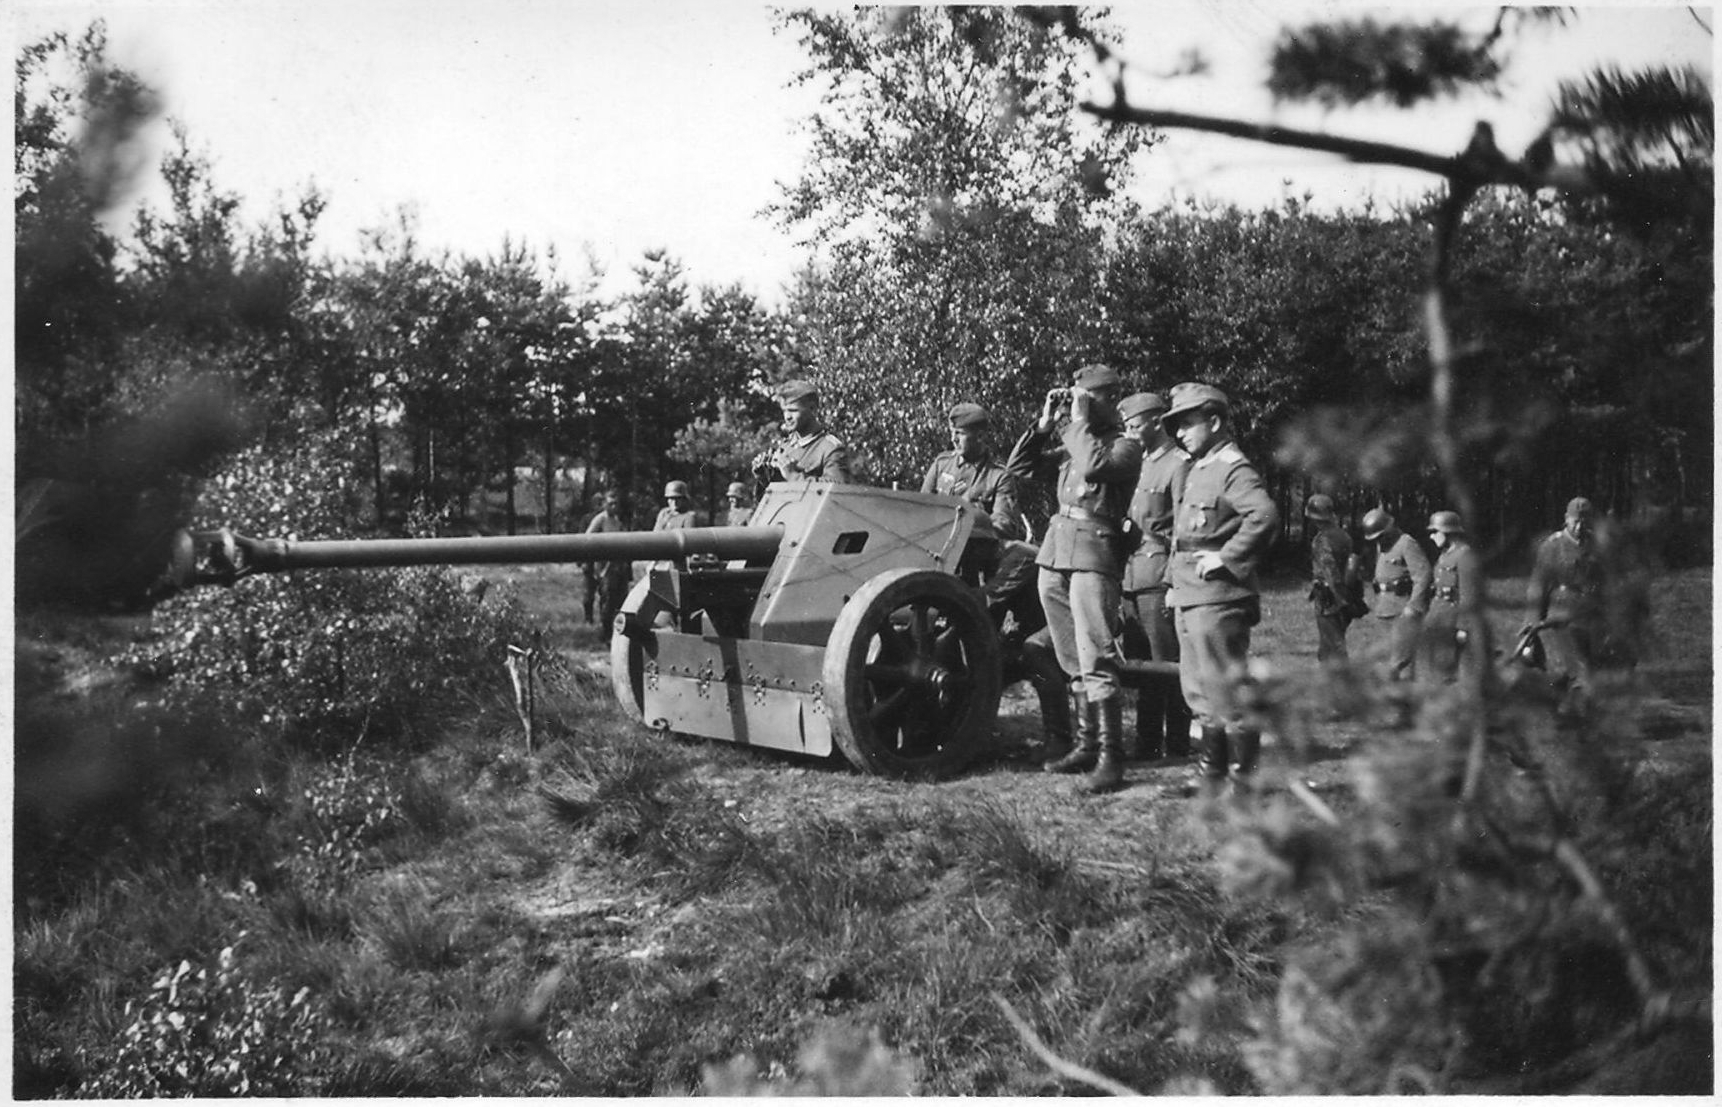
A WWII photo of German officers conferring in and around a Kubelwagen
As with the US vehicles, I’ve found a historic photo for comparison with a variety of officers and soldiers standing and sitting in and around a Kubelwagen.These real life men and their small car reveal the accuracy in the models I’ve got ready for the table.
No pictures, whether taken from WWII or snapped on the workbench, are going to tell the full story of how men and machines stack up. Modellers and gamers will gravitate to a mix of models that fit their tastes in cost, material, sculpt, diversity and historical accuracy as they see fit for their use. That said, when I have a look at my 28mm metal armies recruited from three leading manufacturers, I find them all well-equipped and scaled to take the field together.

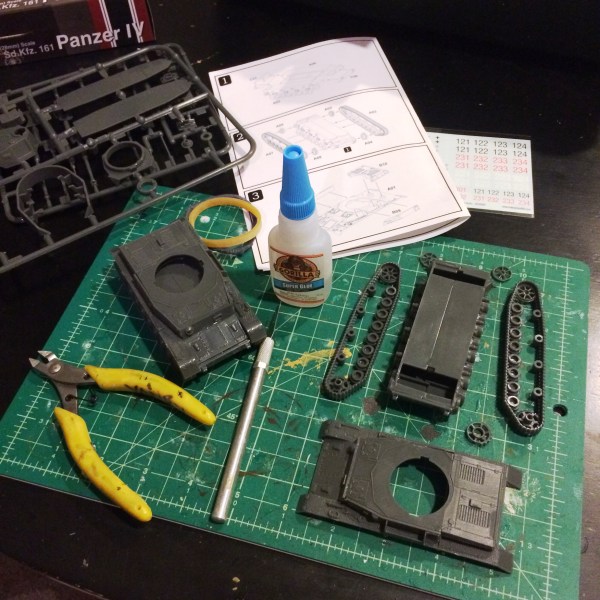
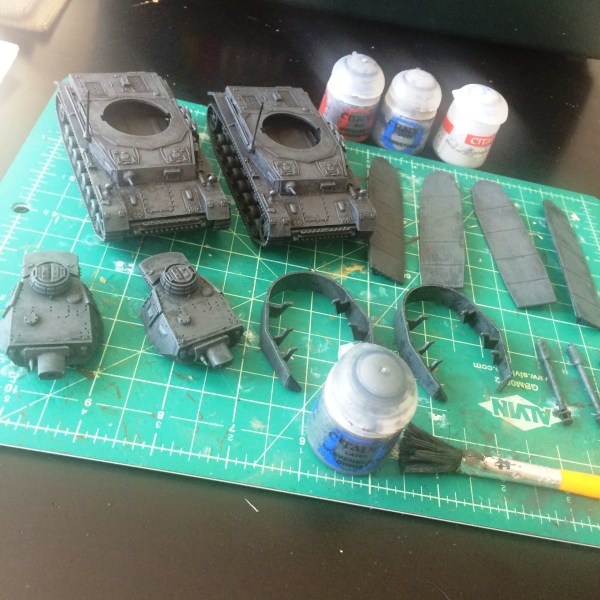
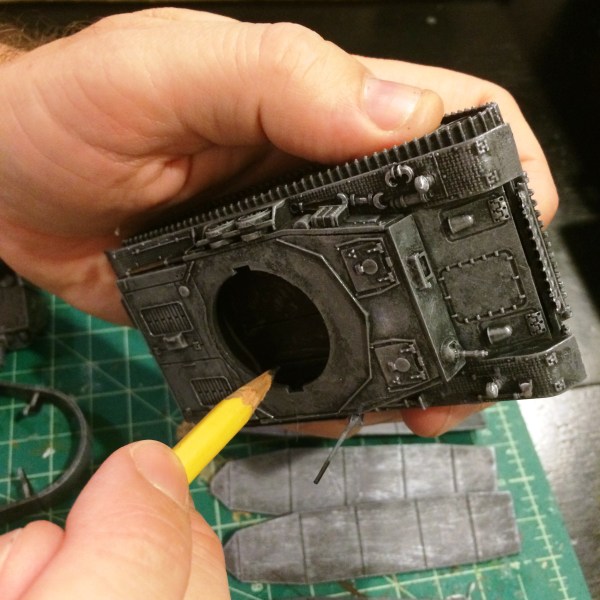
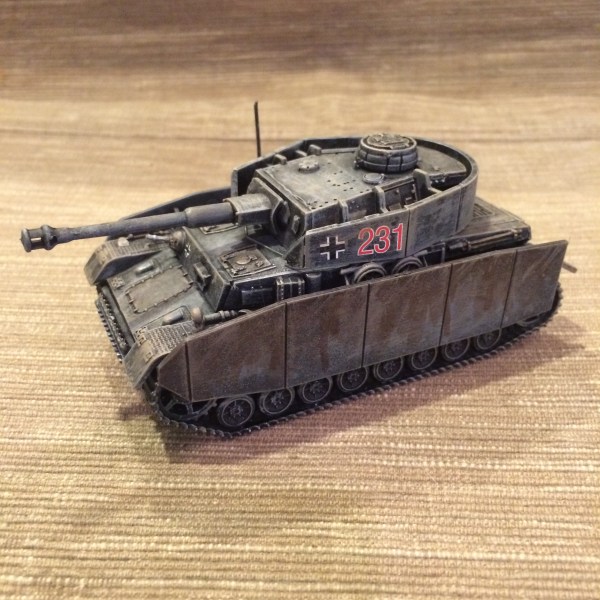
 Unboxing the Rubicon Models Panzer IV kit