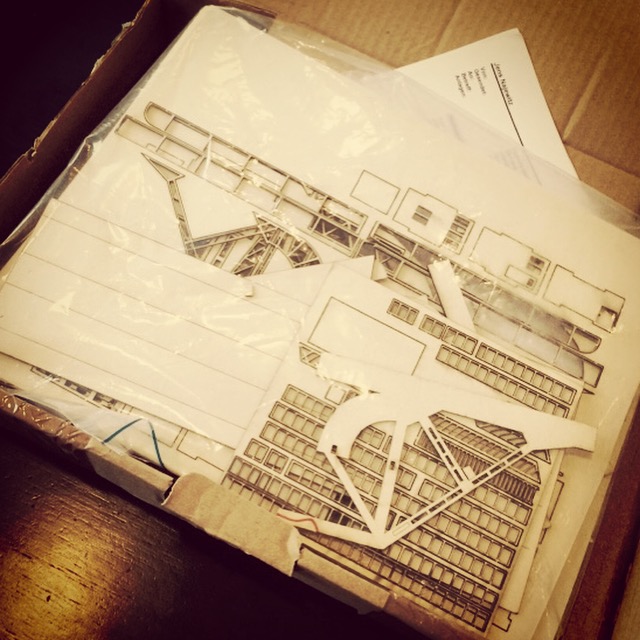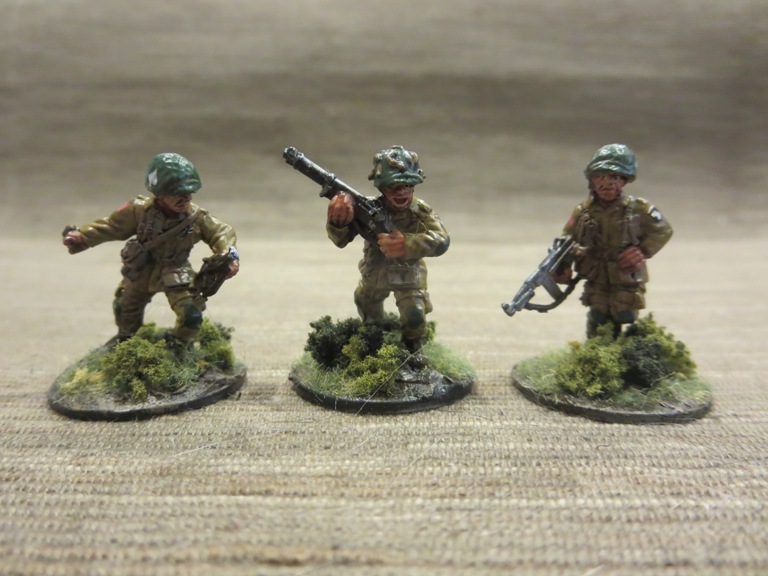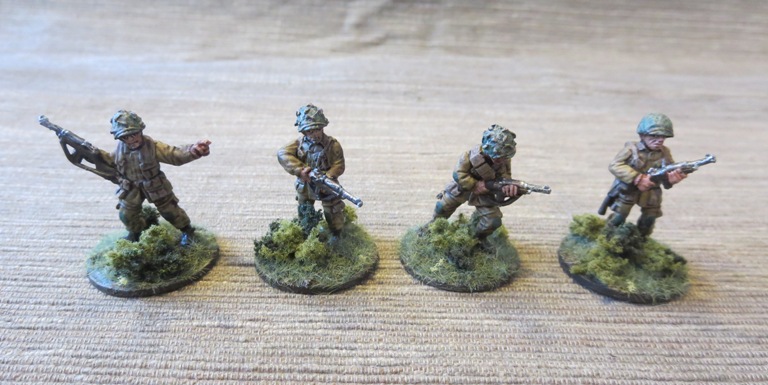
I recently got back to my 28mm World War II projects with some Wermacht from Black Tree Design. After painting up a bunch of German troops in camouflage smocks, I wanted to get some more Heer infantry into the mix. And so, on the back of a big sale this summer, I’ve just about doubled my Axis forces at this scale.

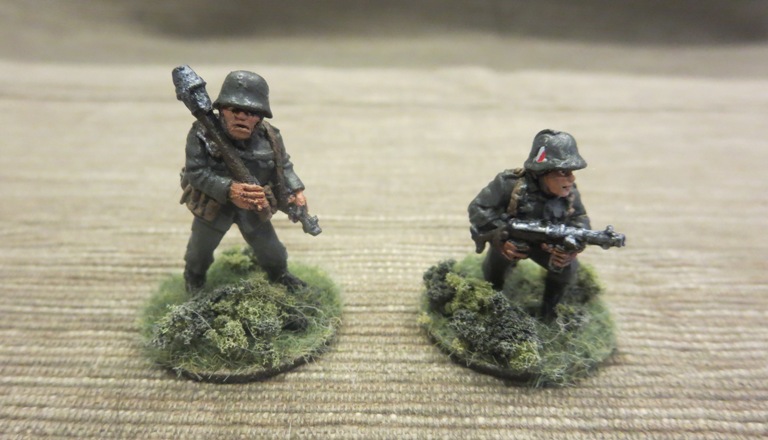
I was really pleased when I received my large order and marveled at all the detail on these figures. Lots of varied poses, weapons, equipment and personality make these casting from Black Tree Design stand as equals with all my other troops. As always, the customer service from the company was superb with nice hand-written notes included in each order boxed up in a little metal tin.
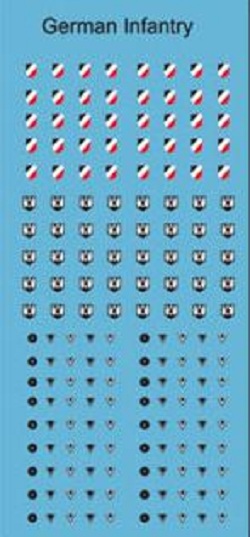 German infantry decals from Company B
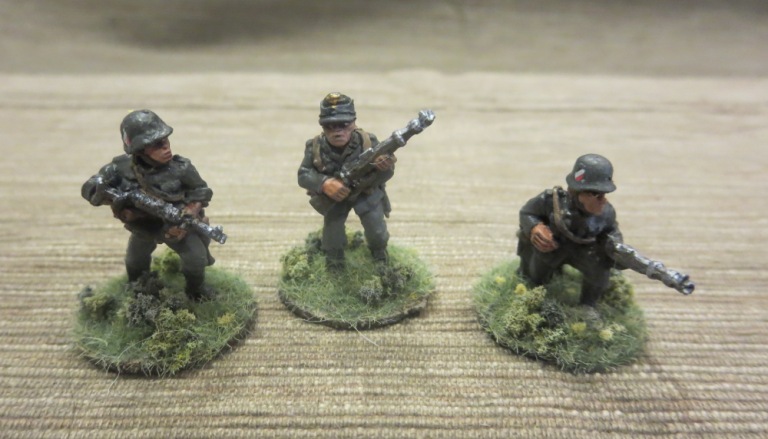
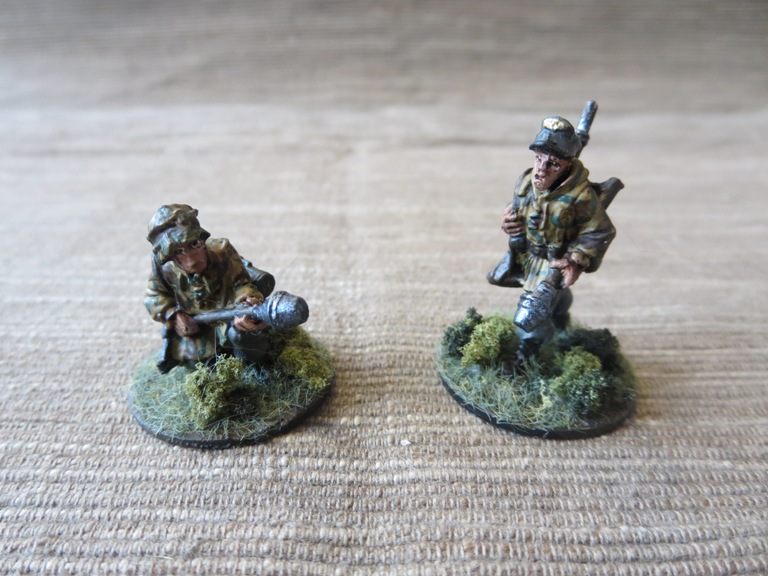
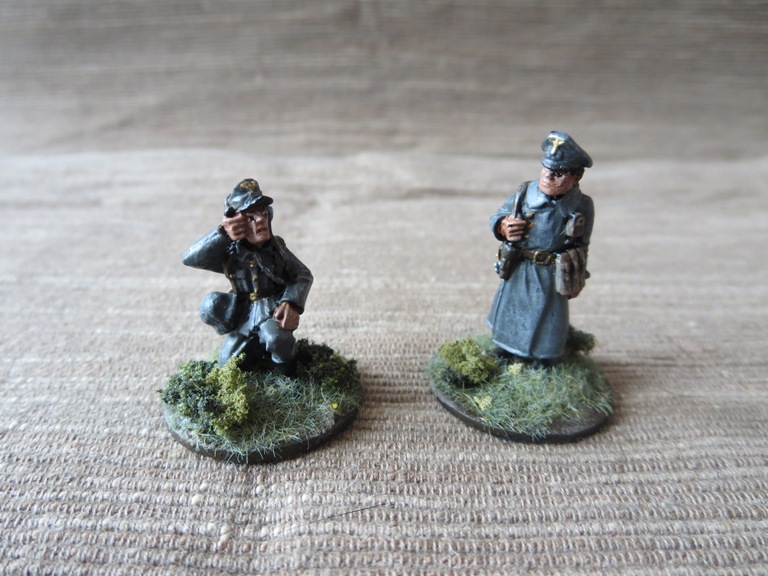
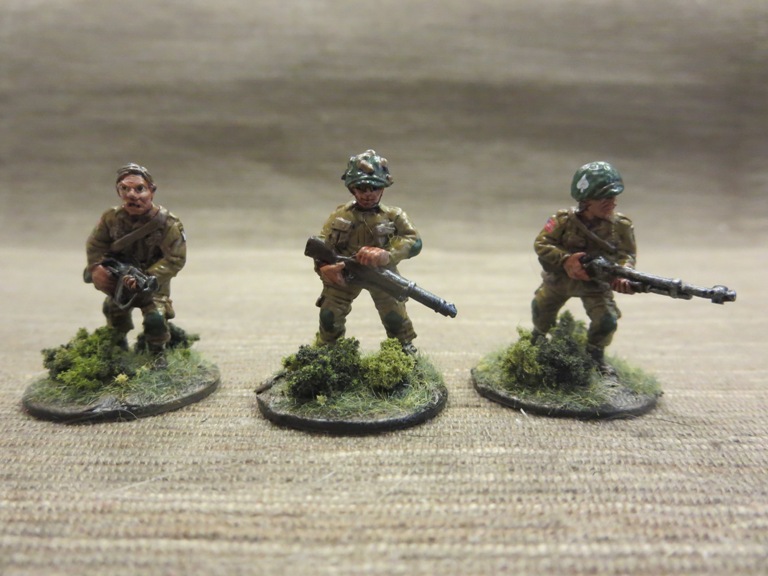
Along with my figure order, I also went back to Company B to order up some decals for the helmets. Even though it might not be as historical, I went with the national colors of the double decal helmet configuration which was phased out fairly early in the war. I really just wanted a bit more color on the otherwise monotone color scheme. And, while I’m on the subject of color, I really liked how the Skavenlight Dinge from Citadel Paint captured a nice mix of grey-green-blue tones of the standard German uniform.
 A painted figure gets decals applied
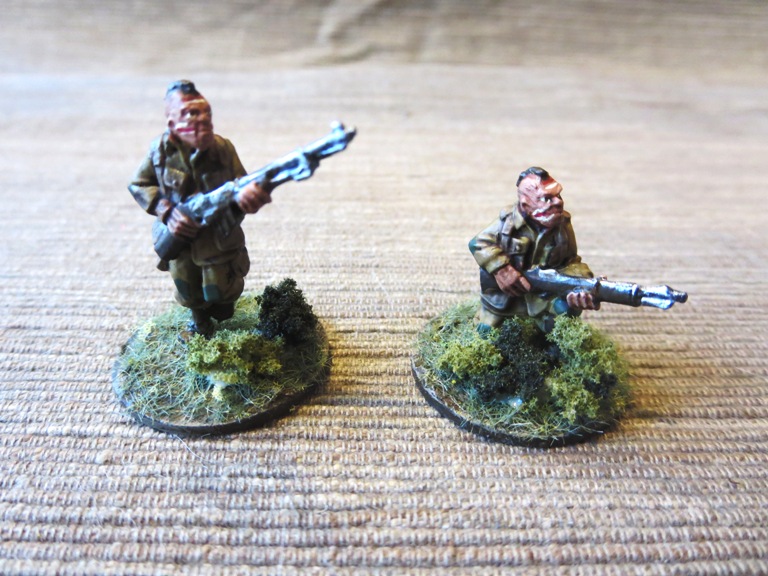
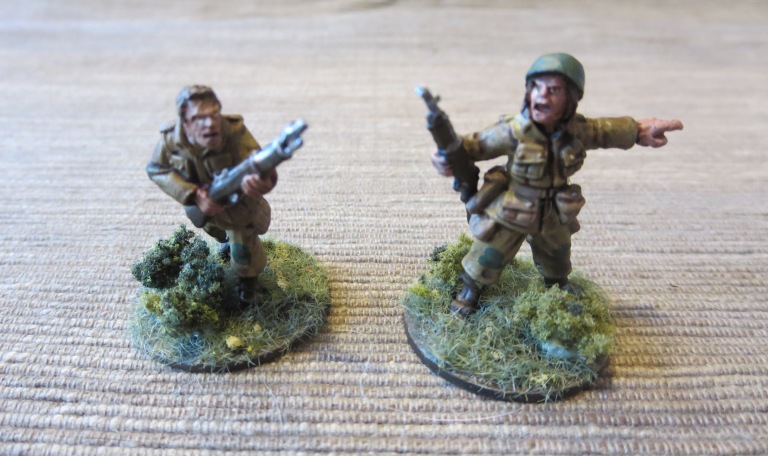
Painting 28mm German Infantry
- Clean flash from metal models with a sharp knife and glue to metal washer or plastic bases.
- Apply filler putty to bases. When dry, scrape off excess with a sharp knife.
- Basecoat models and bases with flat black spray primer.
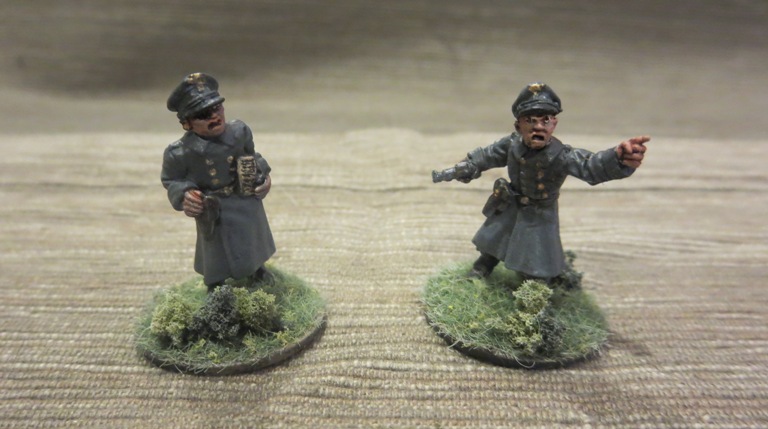
- Paint pants, helmets, soft hats, officer greatcoats and gas mask containers with Skavenlight Dinge.
- Paint faces and hands with Tallarn Flesh.
- Paint packs ans straps with Baneblade Brown.
- Paint boots and equipment straps Black.
- Paint bases, gun stocks, water bottles and helmet straps with Dark Brown.
- Apply Agrax Earthshade wash to webbing and packs.
- Dry brush pants, helmets, soft hats and officer greatcoats with Light Grey.
- Lightly dry brush bases and gun stocks with Baneblade Brown.
- Paint metal gun and water bottle parts with black and finish with a light dry brush of Metallic Silver.
- Dry brush gasmask containers with metallic Silver.
- Paint eyes with small dots of Off White and Dark Brown. Clean up around eyes with Tallarn Flesh.
- Mix 50/50 Tallarn Flesh and Off White and brush highlights on cheekbones, chins, forehead, nose and hands.
- Cover bases in white glue and cover in 50/50 mix of fine light green and dark green grass flock.
- Glue small pieces of clump foliage to base.
- Spray coat completed models with matte finish.
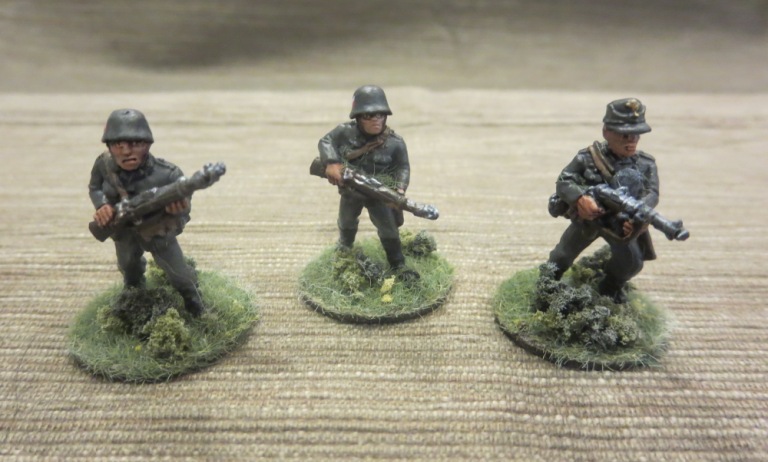
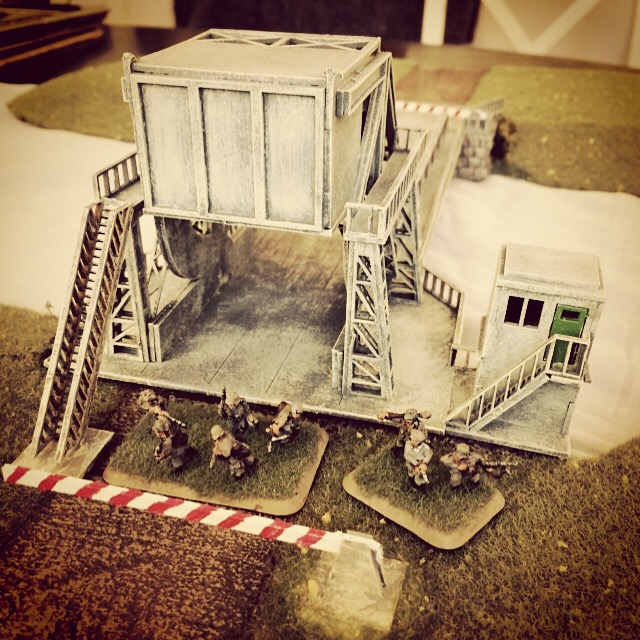
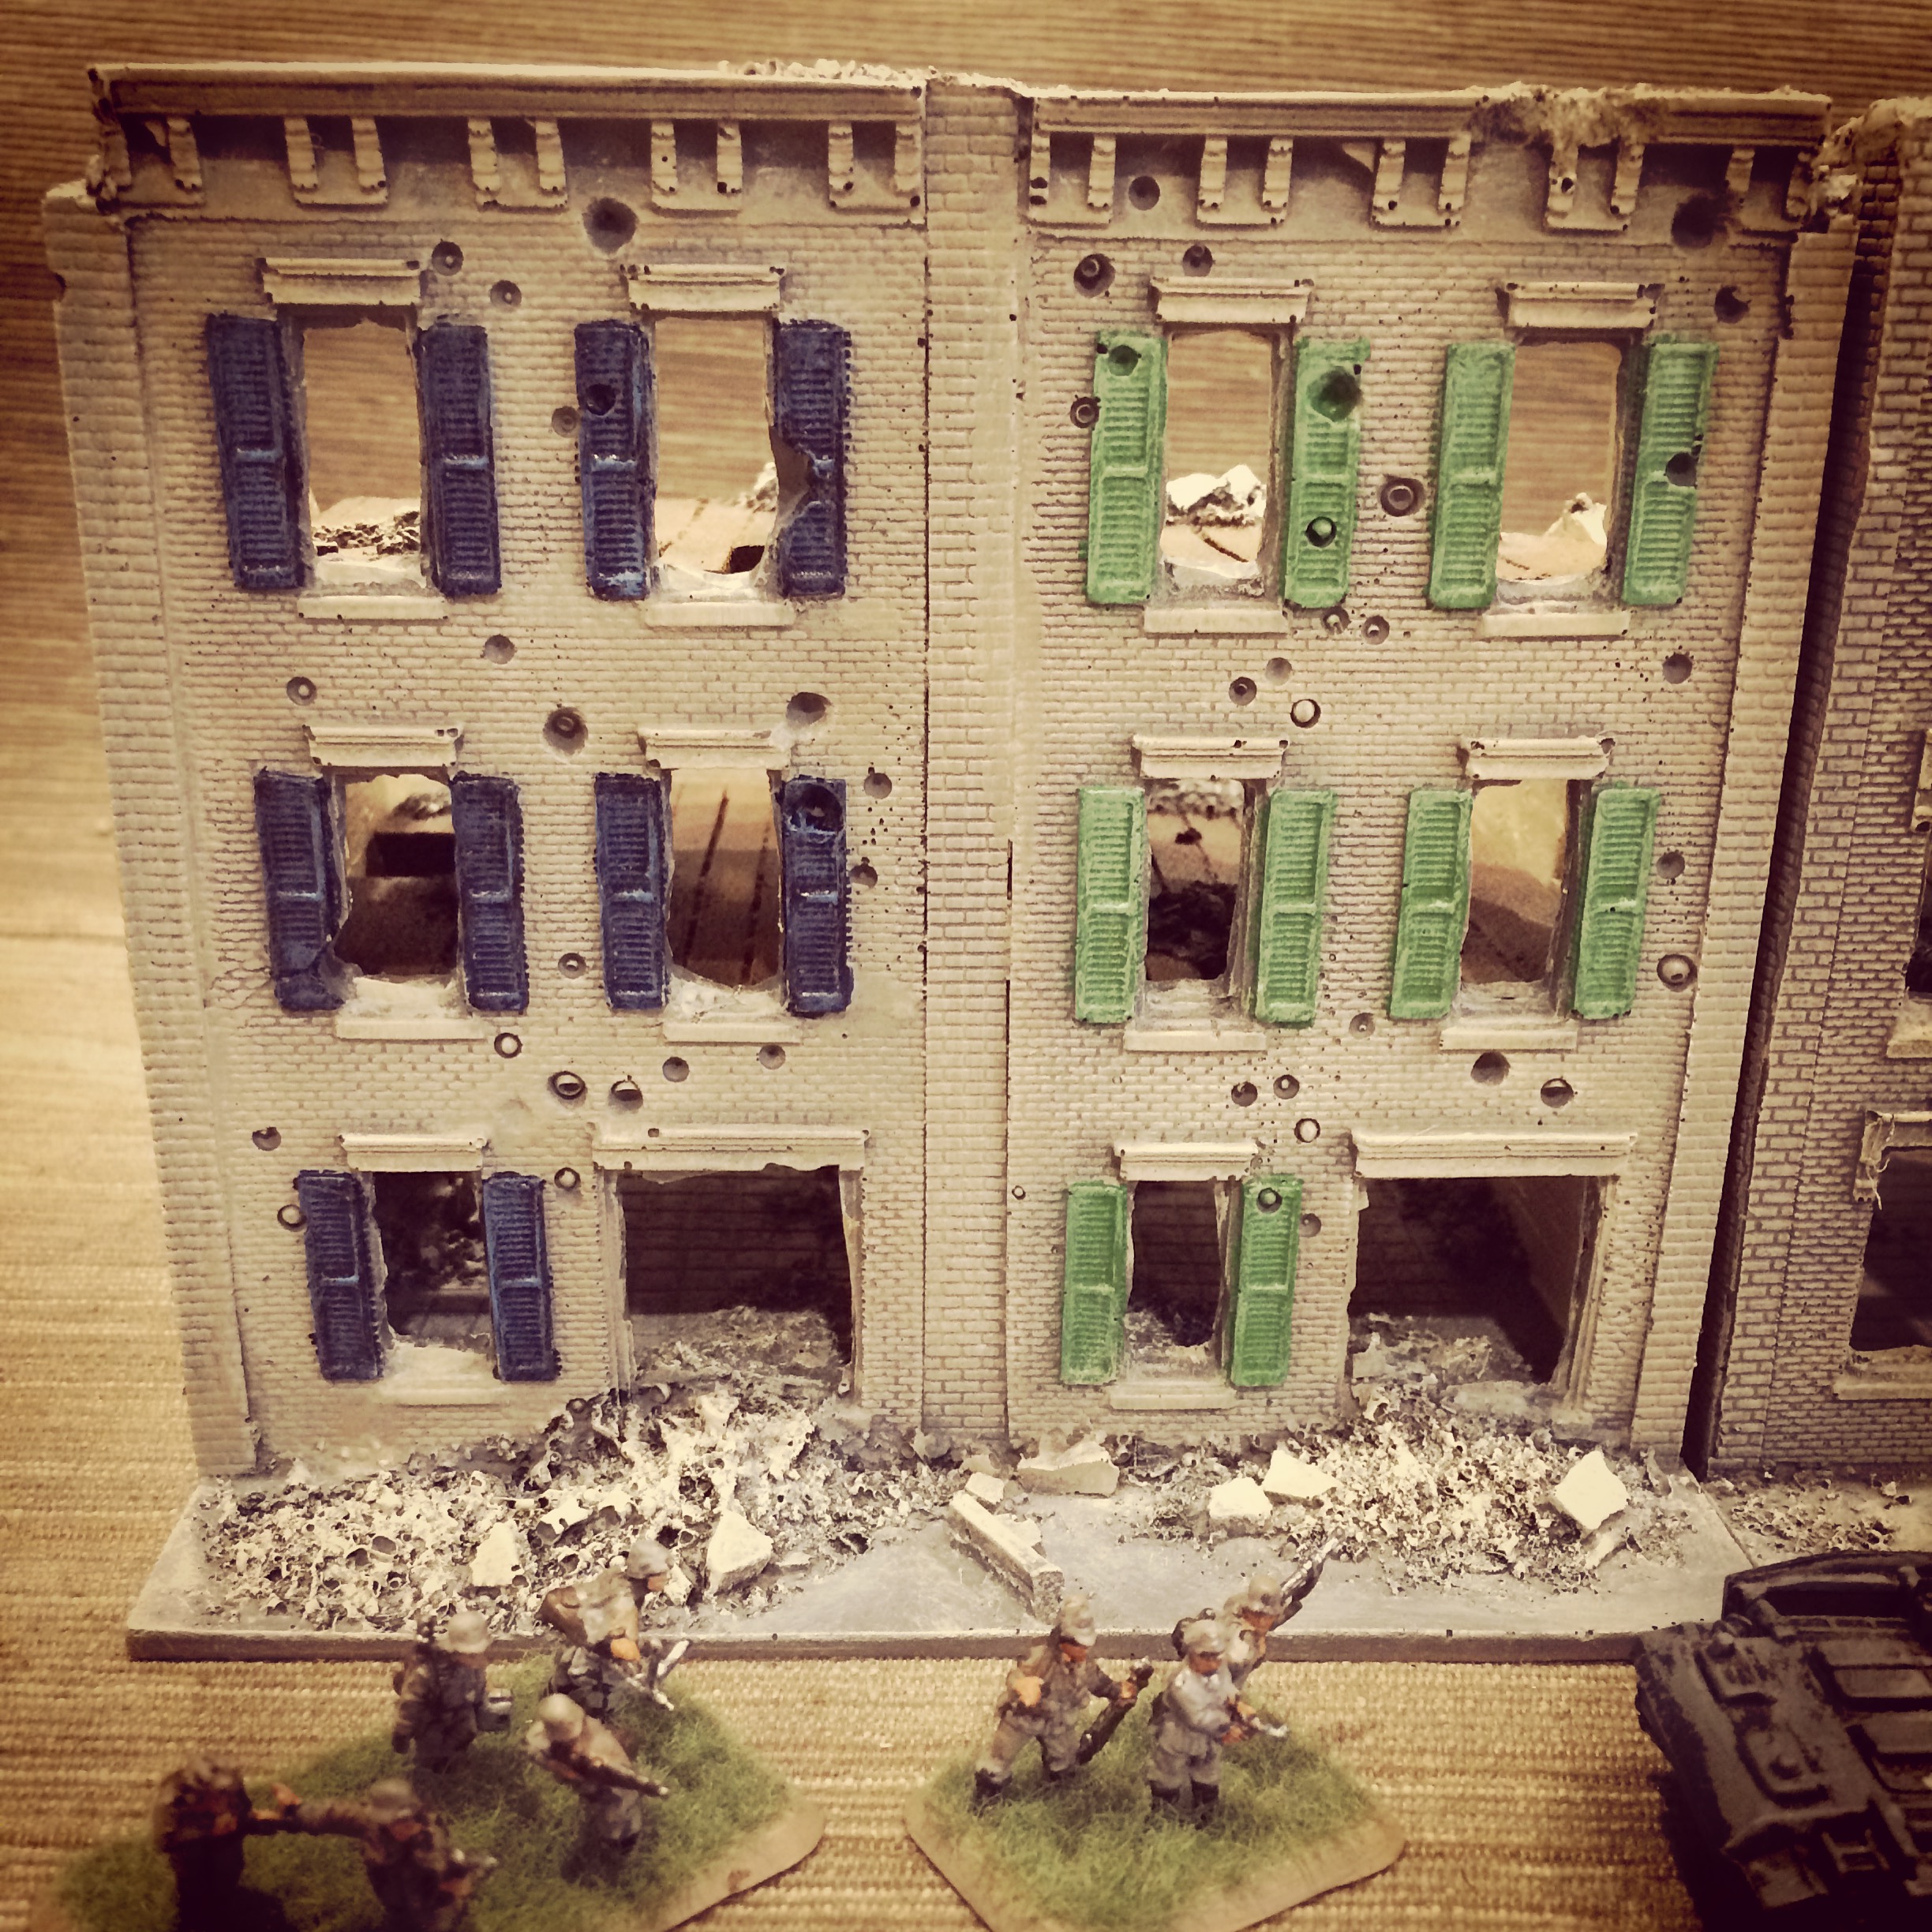
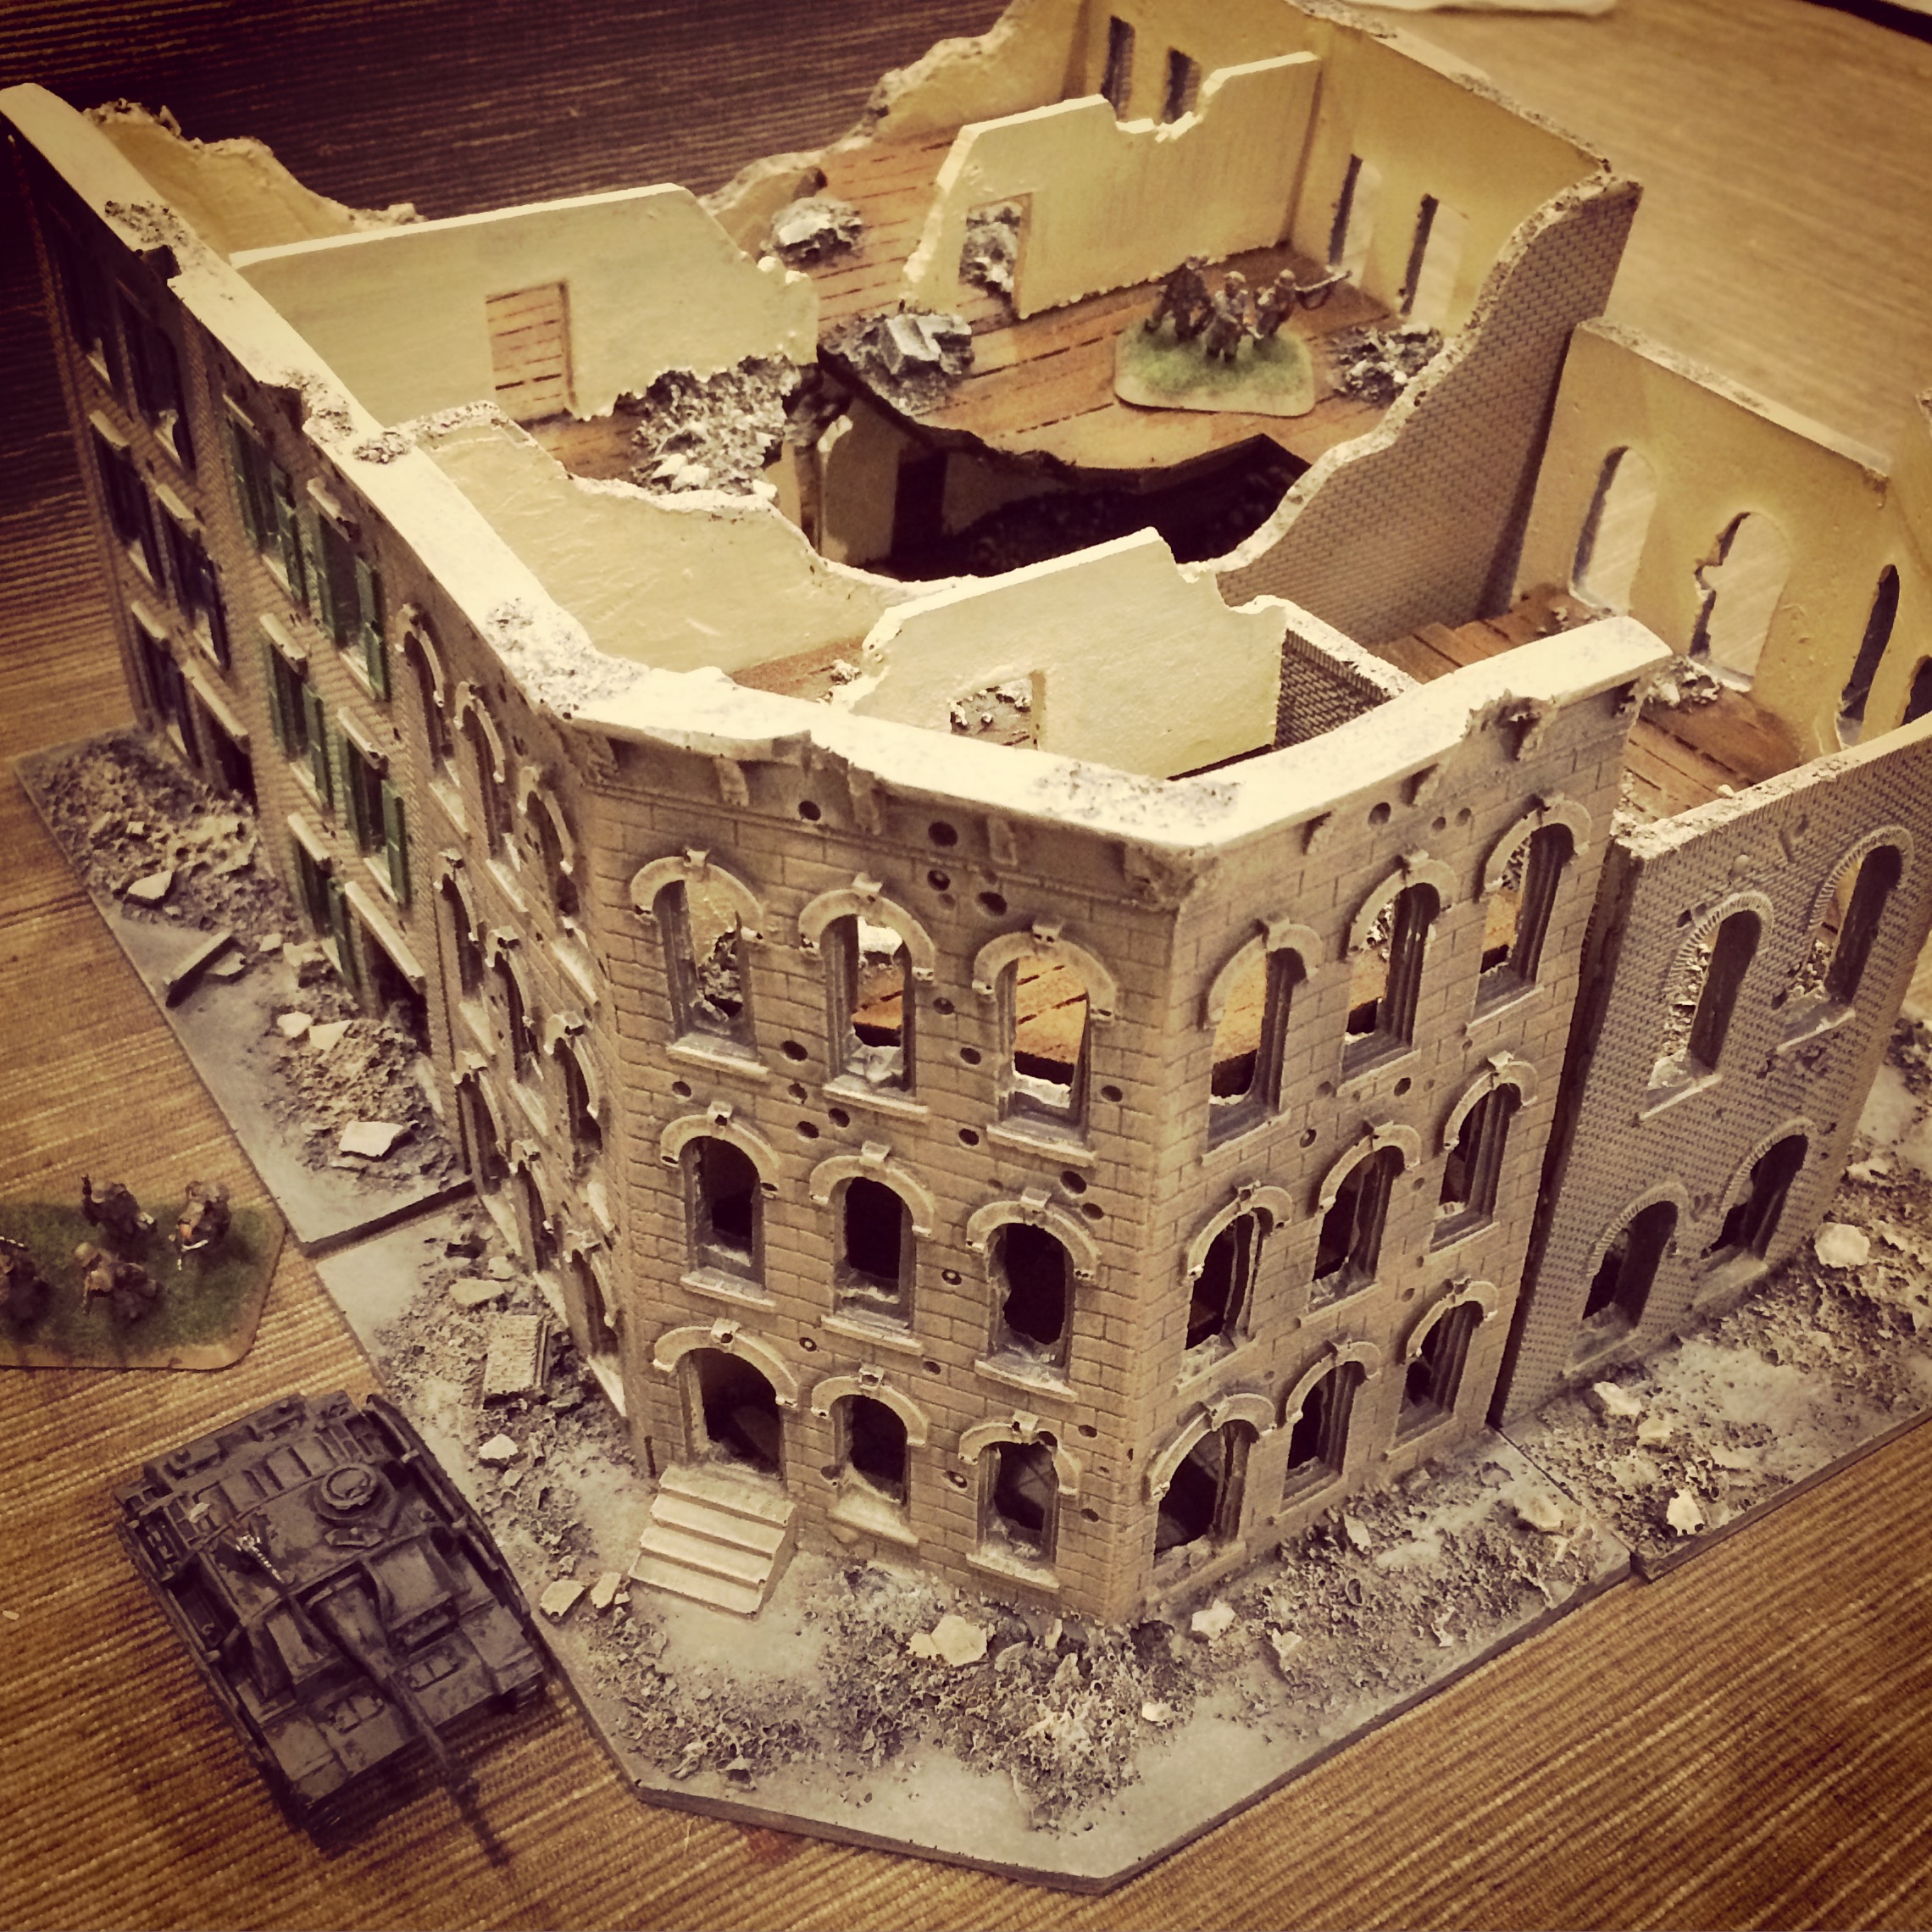
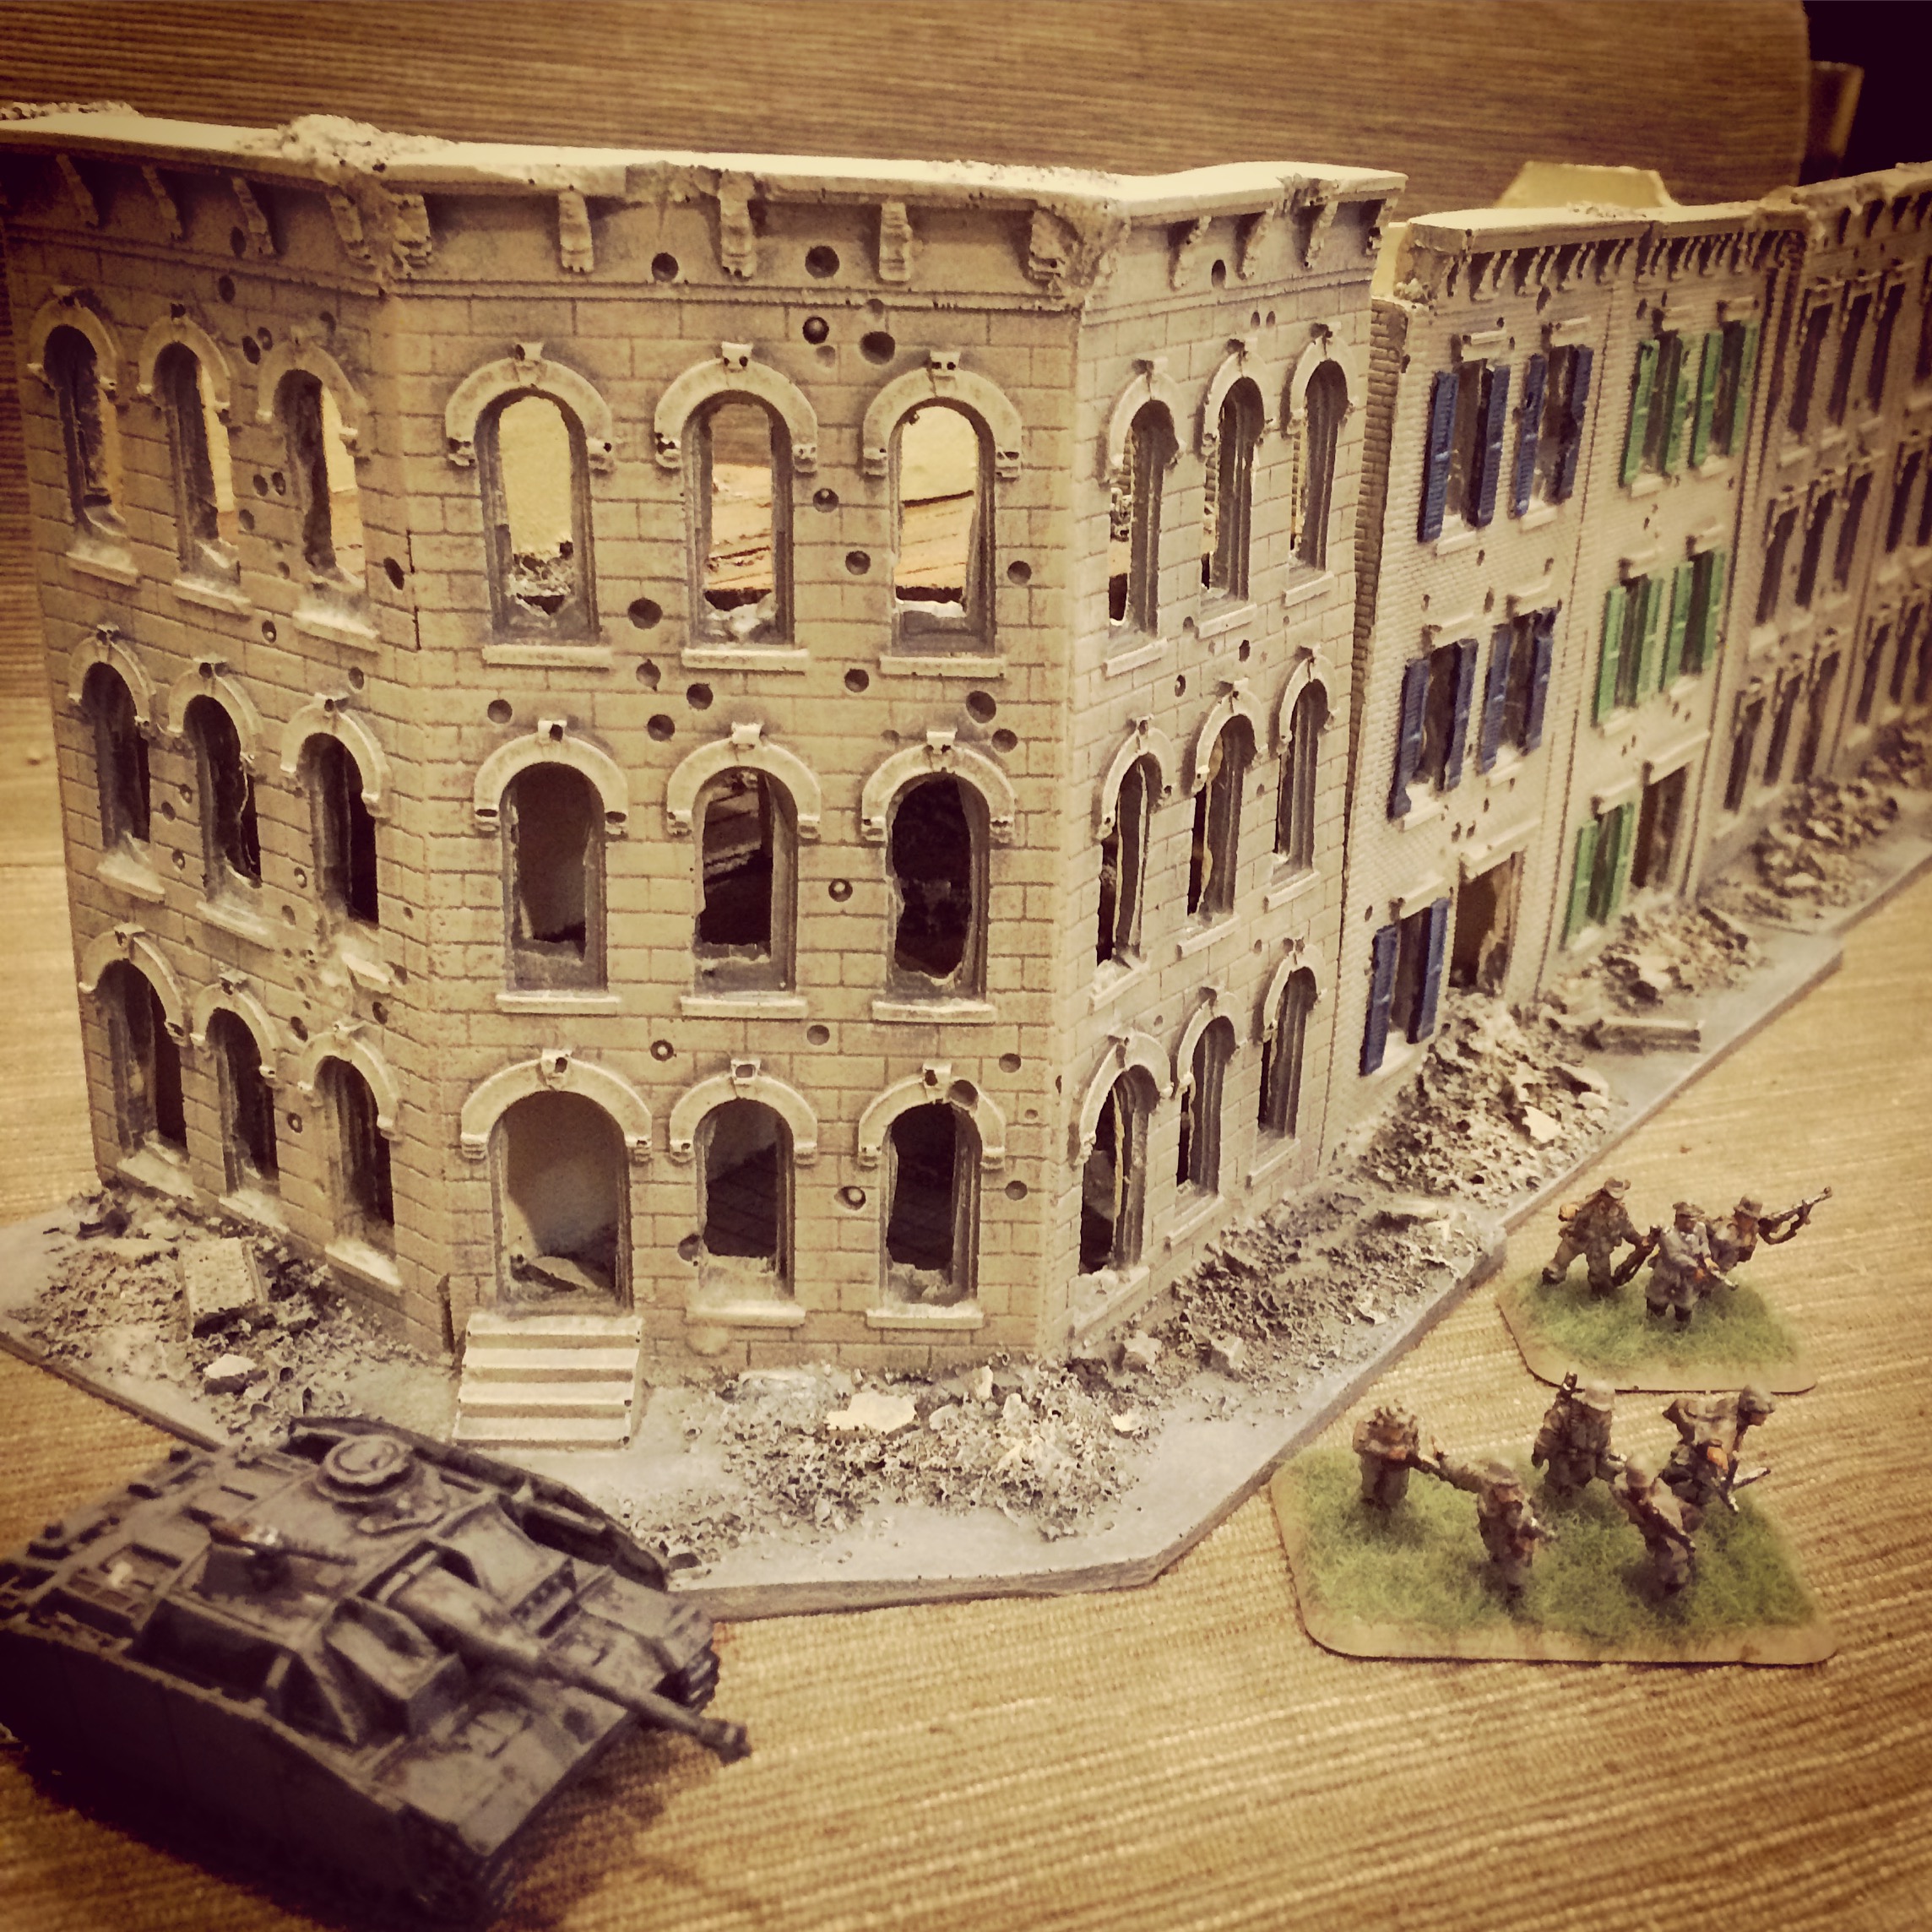
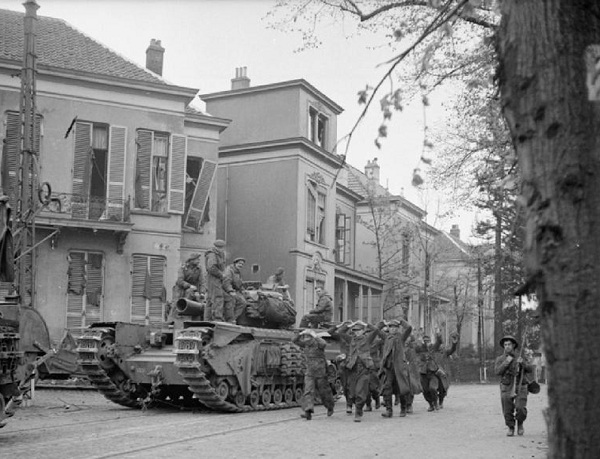
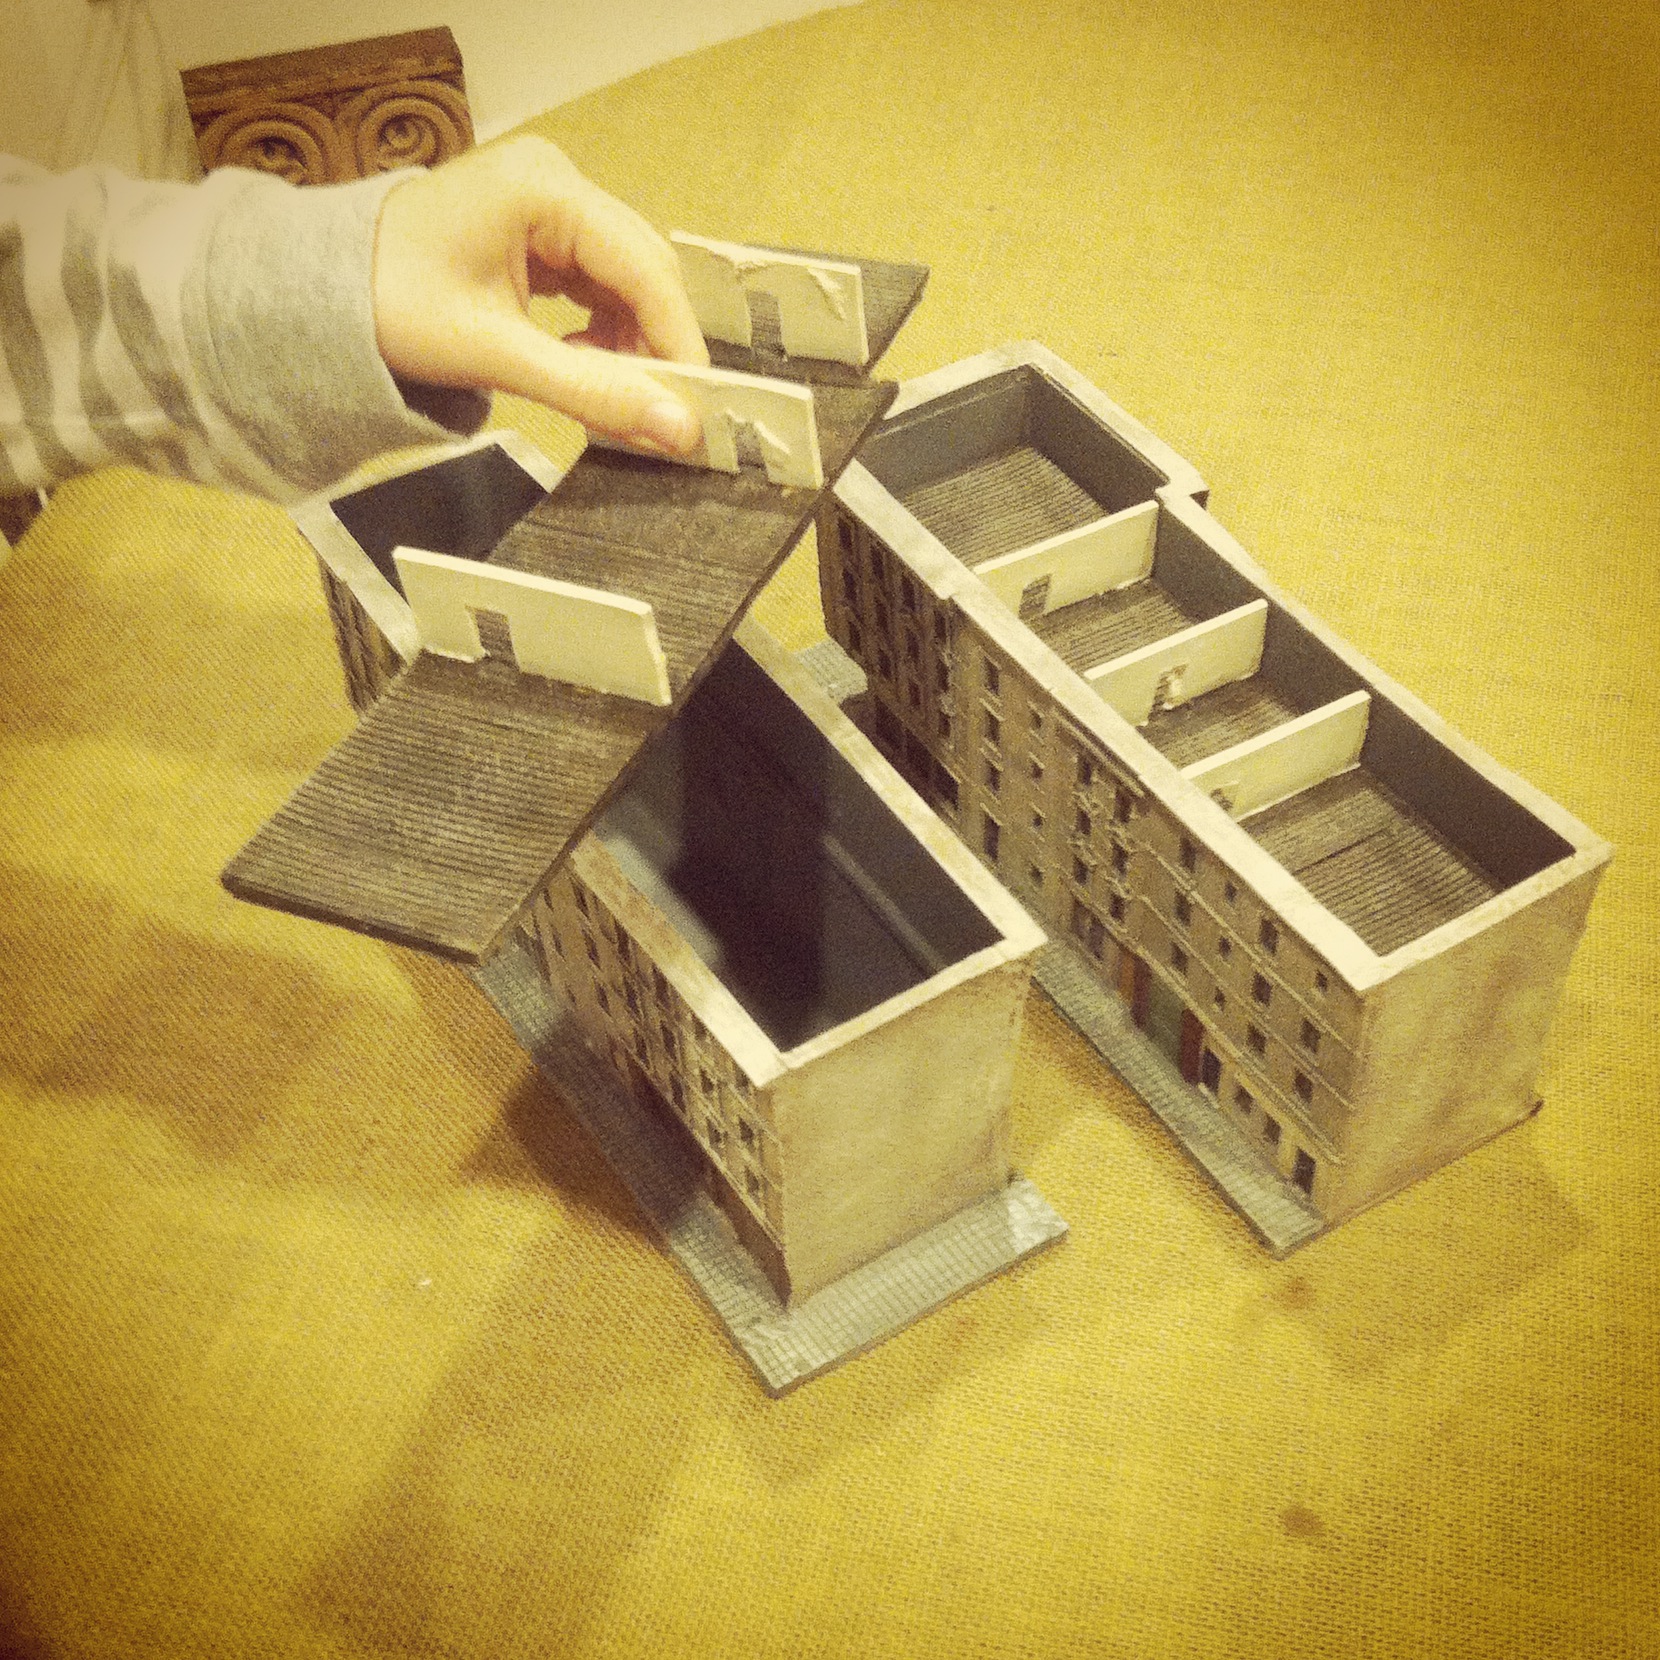
I really like how these models scale with all my previous 28mm miniatures from Artizan Designs and Warlord Games, and my Wermacht forces will fit nicely in the defense of Europe from the tabletop assault of my Allied troops.