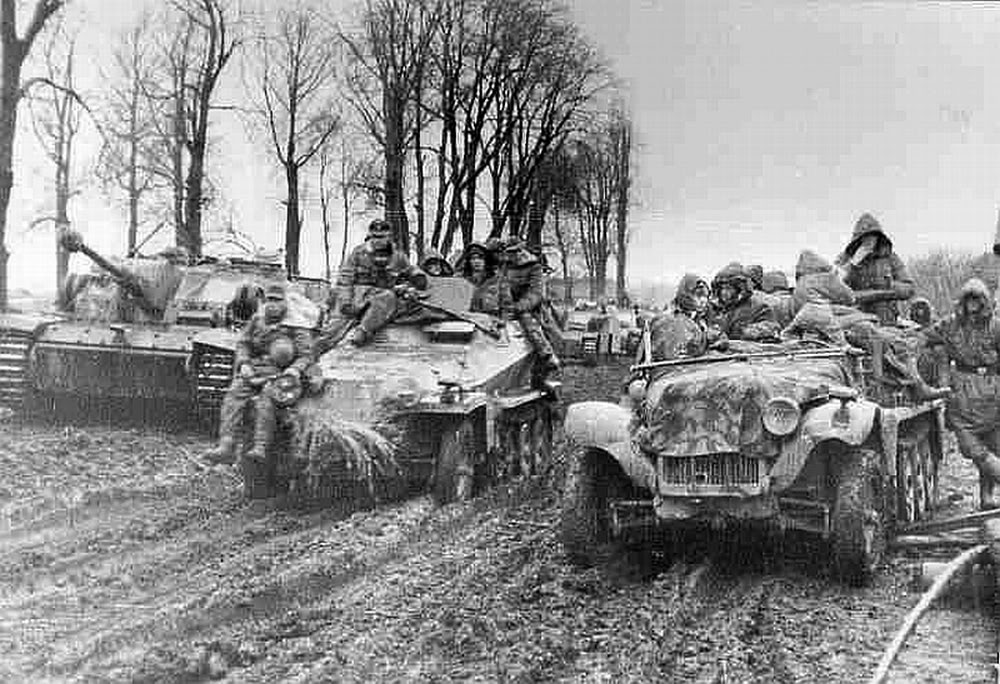
After getting my initial GHQ 6mm US armored infantry and tank force painted-up a few weeks ago, I’ve moved on to my Germans next. My Axis starter force comes from two GHQ box sets. Ten Panzer IV tanks are included in the Shermans vs. Panzer IVs Battle Box. To this armor I’ve added the contents of the German Kampfgruppe 1944 box set which includes two towed 20mm Flak guns, two Marder IIIs, two 150mm Bisons, two Sdkfz 10/1 transports, a Kfz 15 command car, a couple horse-drawn wagons, infantry mortars, machine gun teams and a pile of infantry. All together, this gives me a pretty hefty late war German set of models with a solid mix of infantry weapons, tanks, transports and supporting heavy weapons.
 GHQ’s Kampfgruppe 1944 Combat Command box set
As with my basic US force in 6mm, I’ve worked up a simple painting method for my Germans. The key is to get an even, thin base coat on the models so tiny details can show through as highlighted areas as I add subsequent colors. Using a magnifier is also a necessity at this scale, and staring at tiny models through the lenses makes painting a downright breeze.
 Getting the models and workspace organized is key when working with 6mm
 GHQ German infantry, machine guns, Sdkfz 10/11 and Marder IIIs
Painting German Infantry
- Glue a small piece of card over the center hole of washers.
- Glue models to washer bases.
- Basecoat models and bases with white spray primer.
- Wash models in a mix of 1 part dark grey, 1 part light grey and 5 parts water.
- Paint boots, gun stocks and equipment details dark brown,
- Paint hands and faces flesh.
- Paint gun barrels and equipment details gun-metal silver.
- Paint bases dirt brown.
- Cover bases in white glue and cover in 50/50 mix of fine light green and dark green grass flock.
- Glue small pieces of clump foliage to base.
 Completed GHQ Panzer IVs
Painting German Armor and Transports
- Glue a small piece of card over the center hole of washers.
- Glue models to washer bases.
- Basecoat models and bases with white spray primer.
- Wash models in a mix of 1 part dark grey and 5 parts water.
- Lightly coat models in mud brown wash.
- Dry brush light grey highlights to models.
- Dry brush tracks, machine guns and body details gun-metal silver.
- Paint bases dirt brown.
- Cover bases in white glue and cover in 50/50 mix of fine light green and dark green grass flock.
- Glue small pieces of clump foliage to base.
- Paint tire tracks on bases dark brown.
Getting decals applied to the Panzer IVs is finicky, but with some trial and error using my process I did get that last little bit needed to get my Germans rolling onto the table at a very small scale.
 GHQ German machine guns
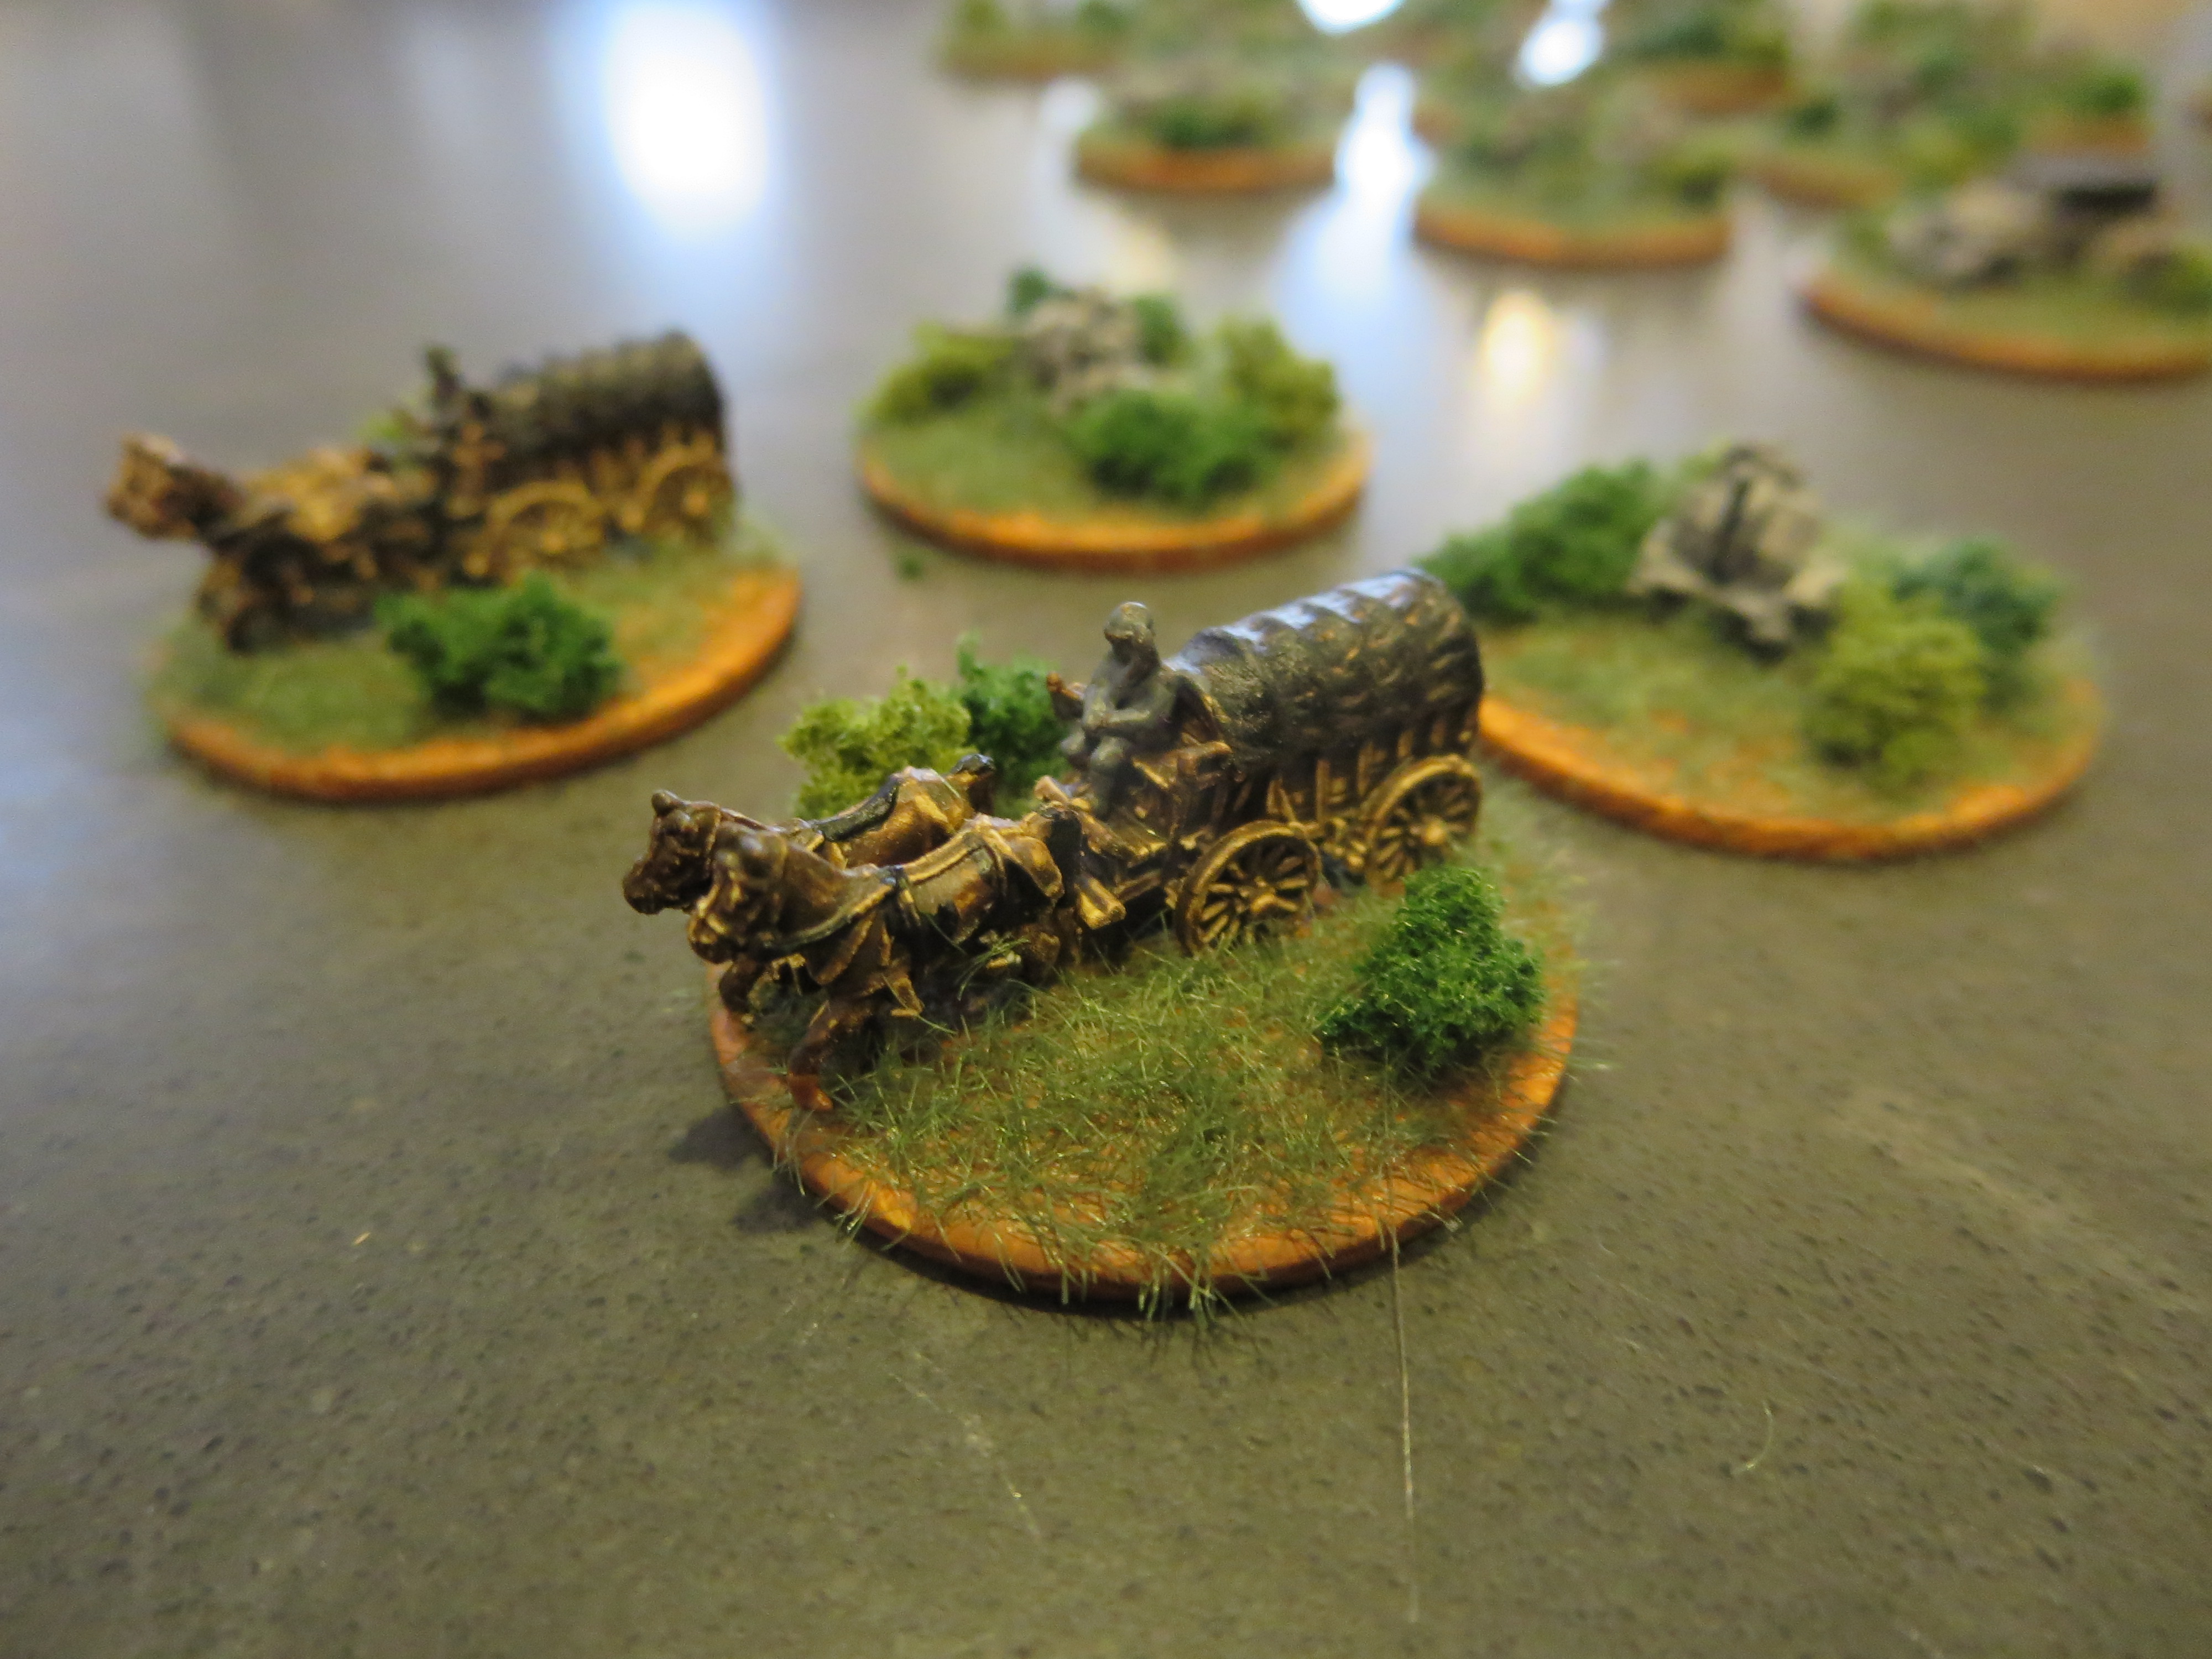 GHQ wagons and 20mm flak guns
 GHQ German infantry and Kfz 15 command car
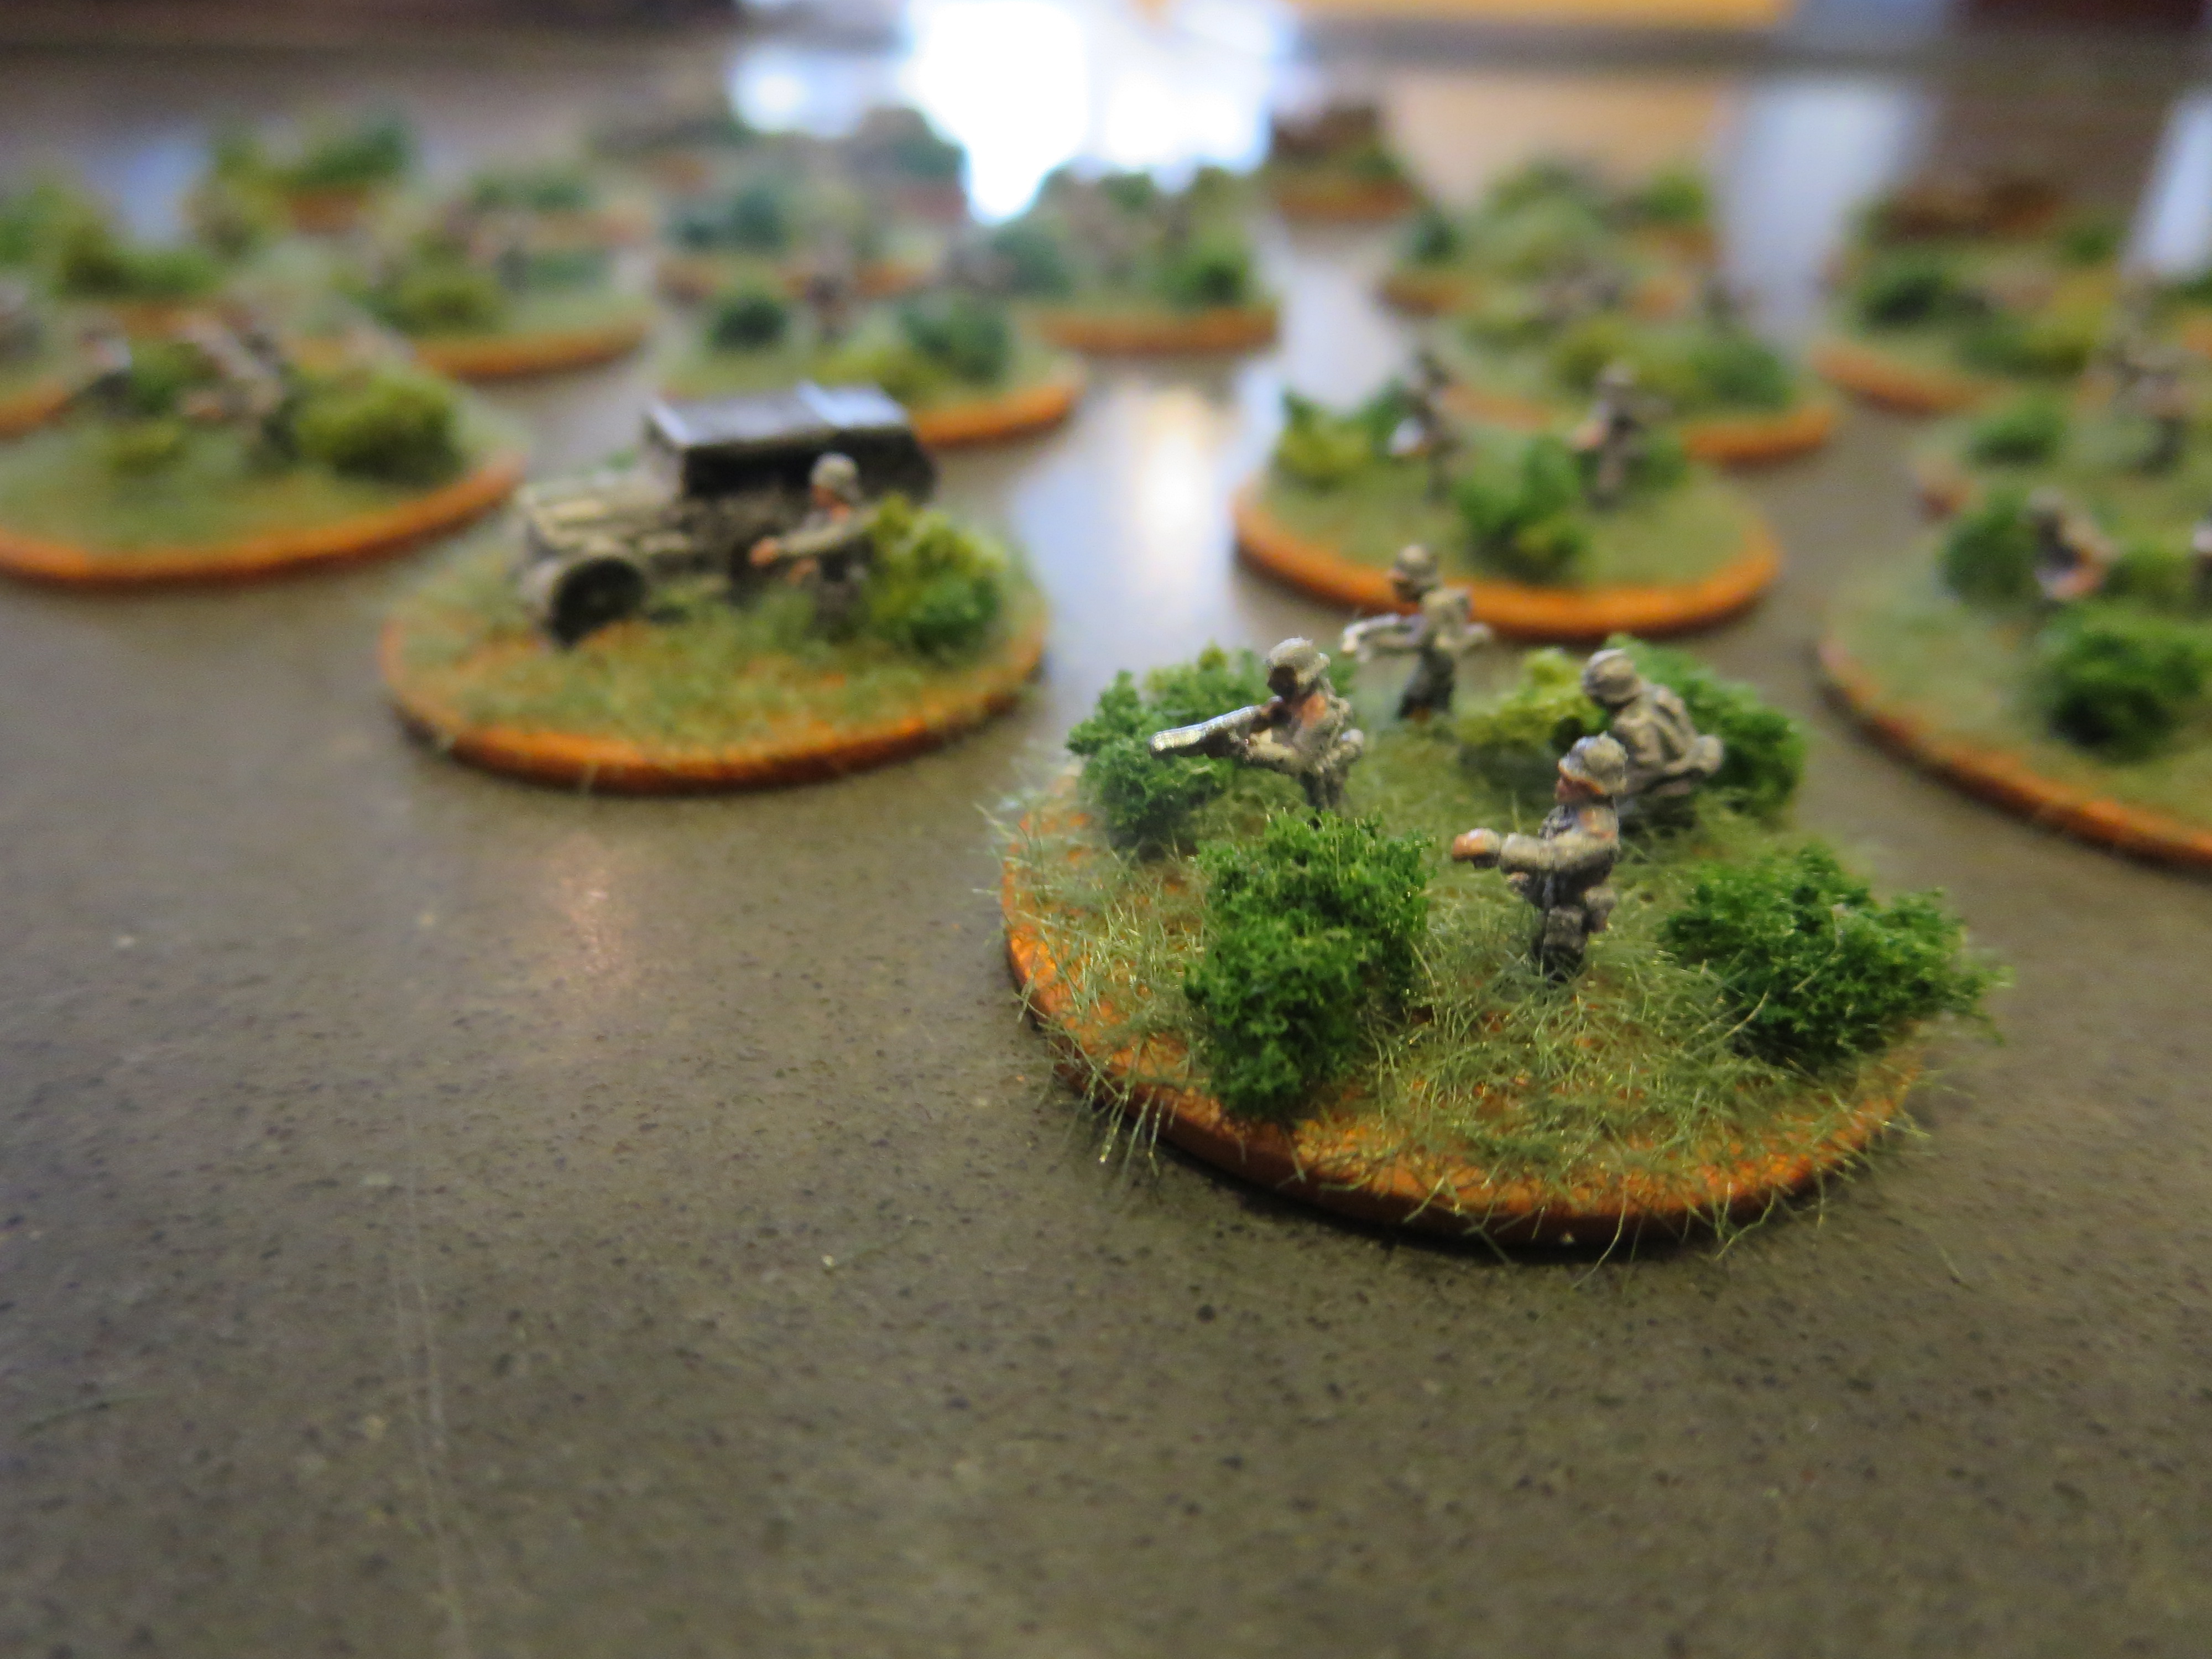
 GHQ German infantry and mortar team

Pingback: 28mm German Infantry By Artizan Designs | Brooklyn Wargaming
Looks great and gives me ideas for my own British and Japanese models coming in the mail. Thanks! One question — if you had to take these German models to a Desert scenario, wouldn’t them clumped green bushes limit their use? Or would desert German troops be differently attired anyway?
Troops in the desert would have a different uniform and color scheme. Right now I model all my games on European uniforms and color schemes.
Thanks for the reply! Makes sense.
Looking good! I dug up my old copy of Combined Arms to do some 1980’s European gaming. I may have to use washers as well, although CA may work better with square bases. Inspiring stuff!