I got into miniatures wargaming through a combined set of interests I developed as a kid: history, role-playing and scale modelling. One of the aspects of gaming I enjoy is setting up a realistic and engaging tabletop battlefield, both for the visual effect but also to reproduce the playable advantages and challenges found in waging scenarios within scenery.
I’ve been searching high and low for an affordable and well-made set of buildings to add to my 15mm Flames of War World War II gaming set in the post D-Day Western Front. Battlefront Miniatures, the makers of Flames of War, launched their own series of buildings last year. The pre-painted buildings are beautiful, albeit a bit too perfect and pretty expensive at $40-50 each. Miniature Building Authority (MBA) has been a long-time producer of fine pre-painted buildings. Like the structures from Battlefront, MBA models feature removable roofs but also convert into ruined bombed-out versions. At $40-50 for single large buildings or for pairs of smaller ones, the MBA buildings are also pretty pricey. MBA keeps a small line in stock, but they have dozens of out-of-production models which you can also find at conventions and occasionally online. JR Miniatures is another standby in the industry, but I find their relatively low-priced line of buildings is a bit of a mixed bag in terms of casting and playability.
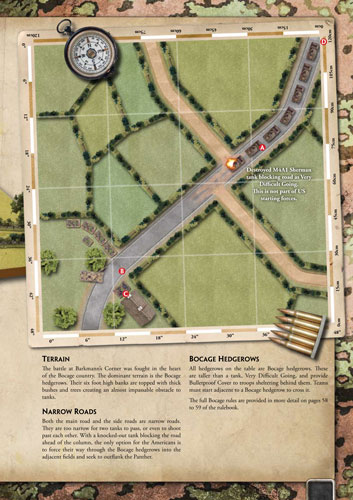
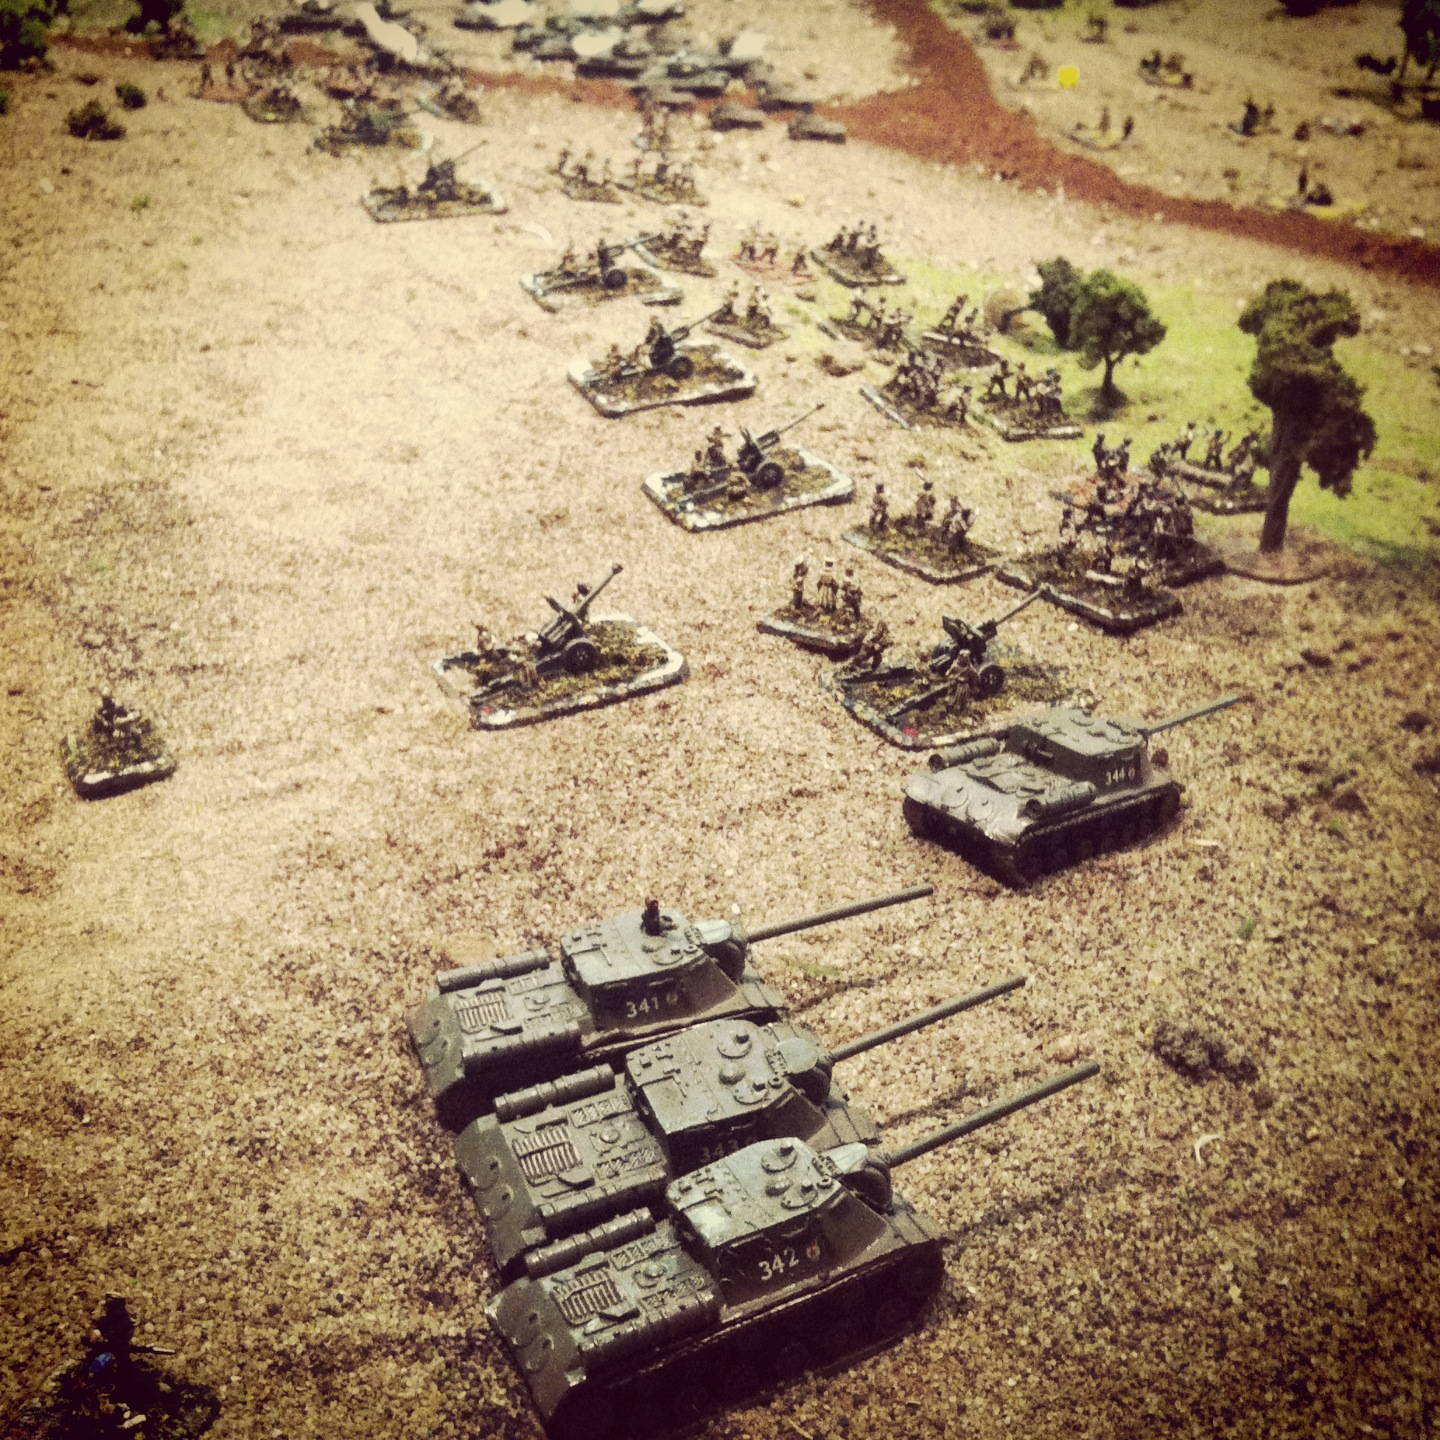
 With building up my gaming real estate on my mind, I posted to the message boards at The Miniatures Page. Some suggestions pointed to the above manufacturers, but several posters also mentioned Mark IV Miniatures. The company is run by Jeff McCarron, a second-generation gaming modeller out of Colorado who obviously puts great care and passion into his work. McCarron sells his models directly and distributes them through Musket Miniatures, and I found him to be incredibly responsive to a couple questions I had before ordering. As it turned out, a fellow member of Metropolitan Wargamers had recently picked up the large church model and a couple houses from Mark IV. After playing with his models during our big Summer FOW event and Barkmann’s Corner scenario at the club, I decided these were the buildings to sink an investment into.
 I decided to go with several two and three-story buildings, a barn, a courtyard and some walls, all ordered from Musket Miniatures. With all these models, I’d have the flexibility to set up a fairly decent-sized town or play with them as a separate farm estates. The castings arrived clean and required little tidying-up of residual flash with a knife.
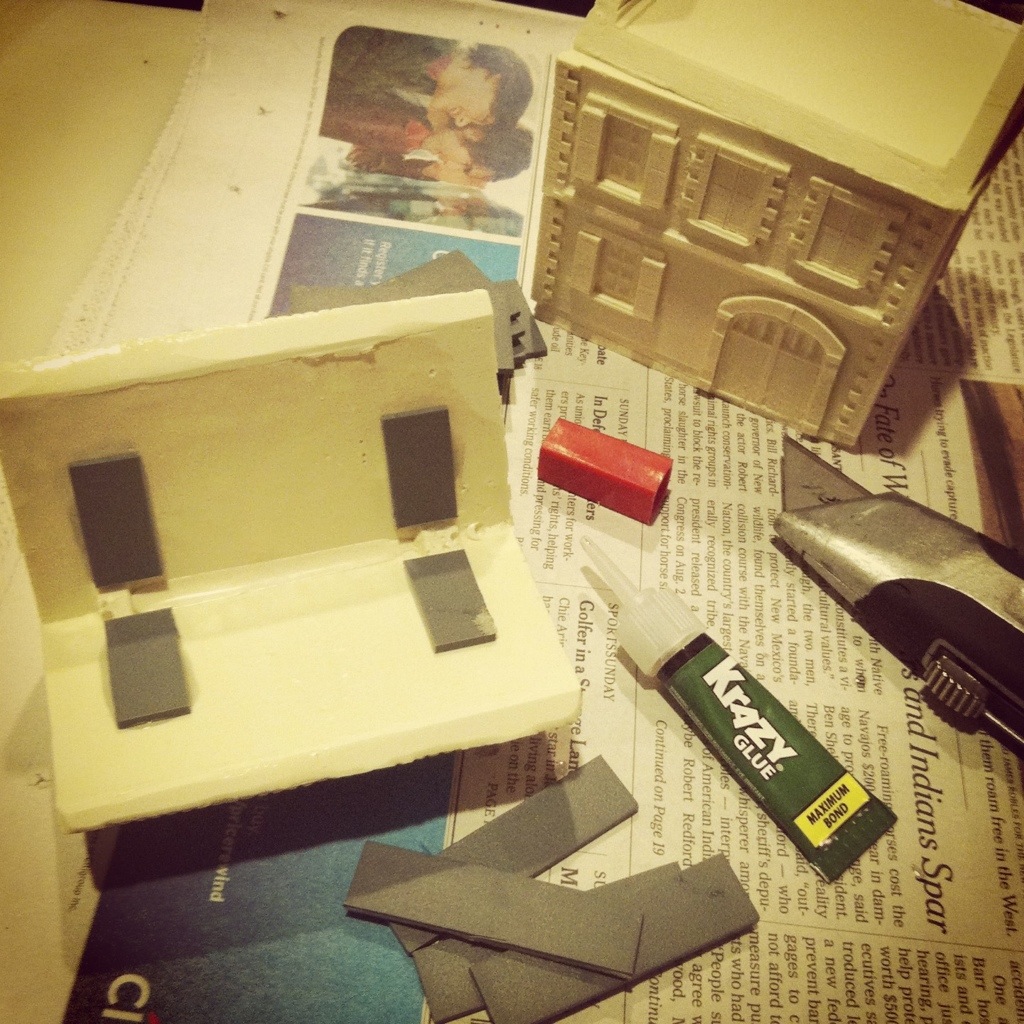 I did have to put in a bit of work gluing plastic tabs to the undersides of the floors and roofs to provide a snug fit for each story of the buildings. The larger one-story bank building also required a wall and metal cast windows to be glued in place.
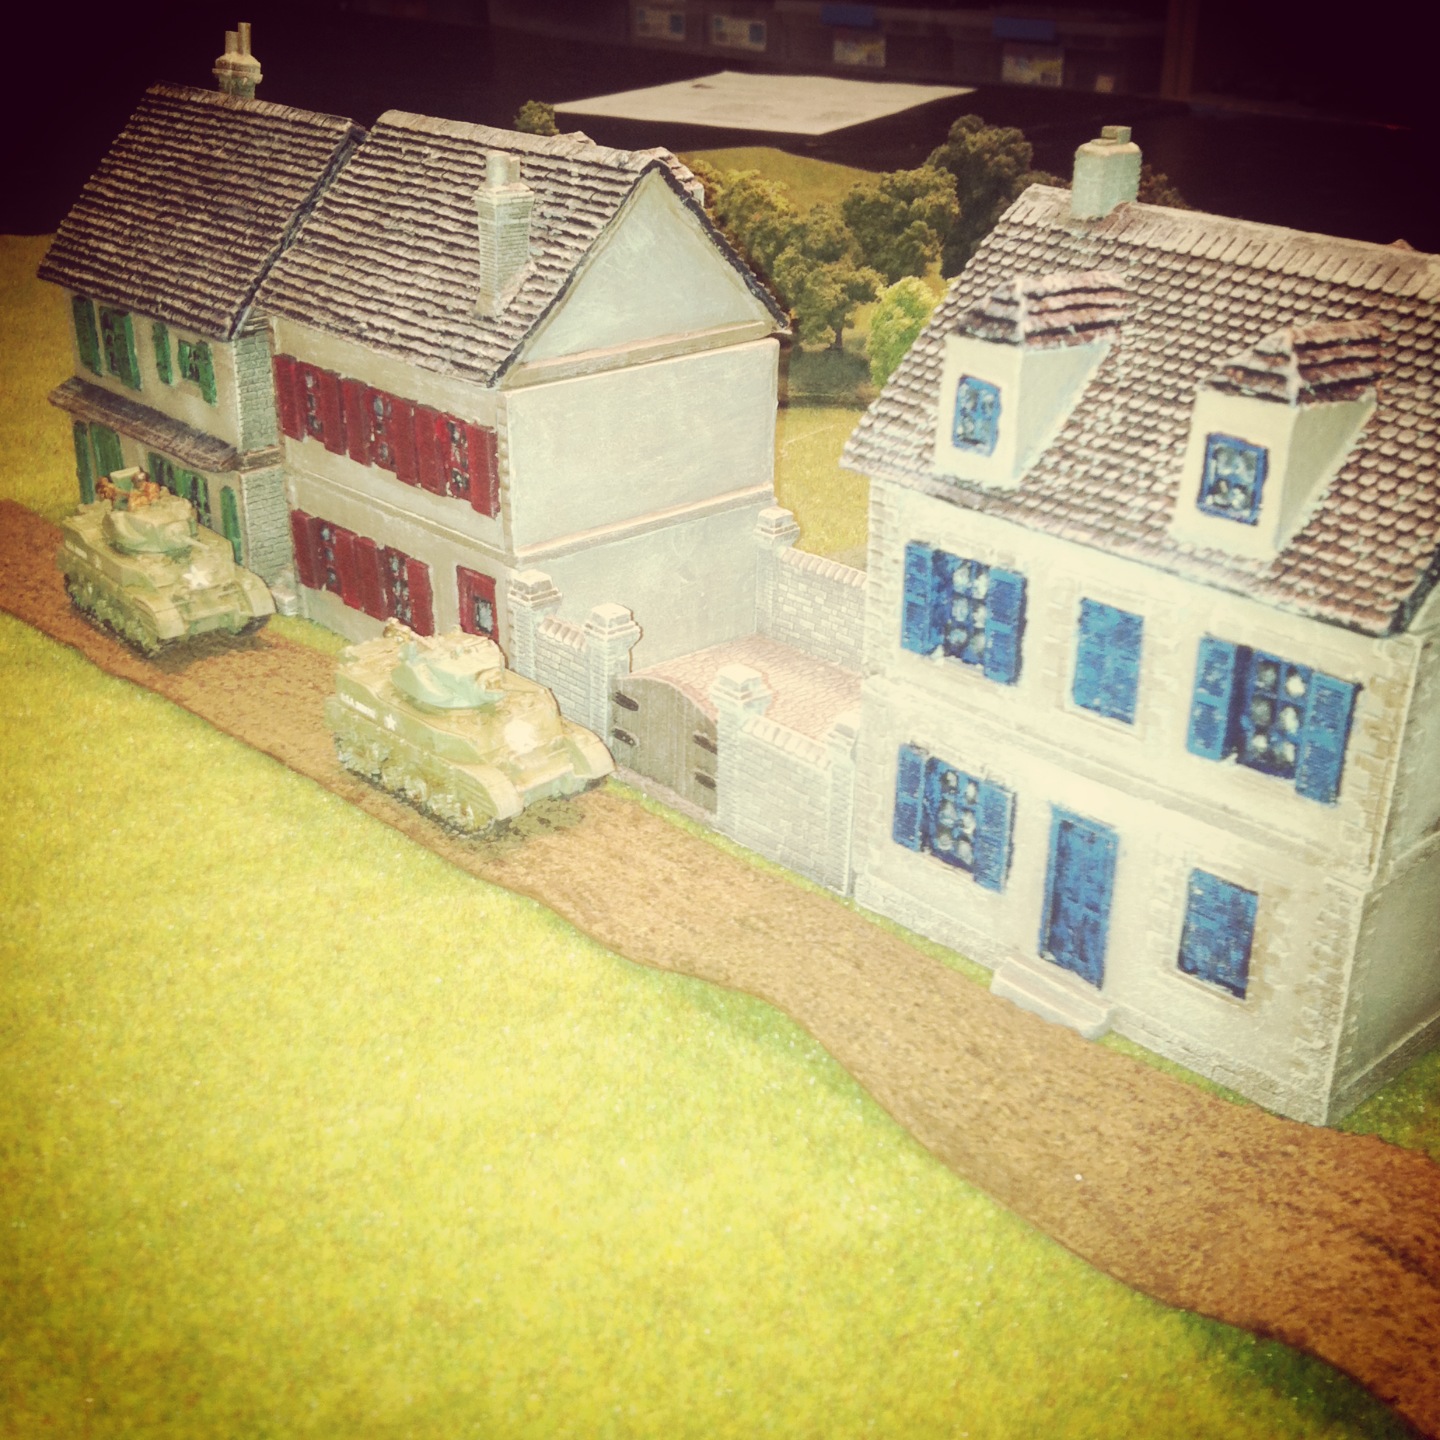
 For painting reference, I searched online for photos of European villages. After a light grey spray basecoat, the stucco walls of the buildings were dabbed with a bit of foam sponge in sandy gray-brown stucco and then dry-brushed with an off-white paint to add variety to the wall surfaces. Exposed stonework, the courtyard cobbles and masonry details at the corners, doors and windows all got combinations of varying shades of grays, browns and whites to create some depth.
 Shutters, doors and windows were painted with dull blue, white, green and red trim, mimicking some of the variety in paint schemes I had found in photos online. For the roofs, a black undercoat was dry brushed in a couple shades of grey with a bit of browns and dark green shades mixed in. On the barn model I glued on some thin pieces of lichen to add the look of vines covering part of the walls.
 The walled courtyard and modular wall sections got a two-part paint scheme over the gray primer. A watered-down brown-black wash over the bricks and cobbles filled the cracks with a dark shading finished-off with an off-white dry-brushed highlighting coat. The courtyard and wall gates started with a dark brown base with a lighter brown adding aged detail to the wood. Iron hinges got a black undercoat with some rusty metal dabbed over it. The result was some very realistic stone and brickwork walls.

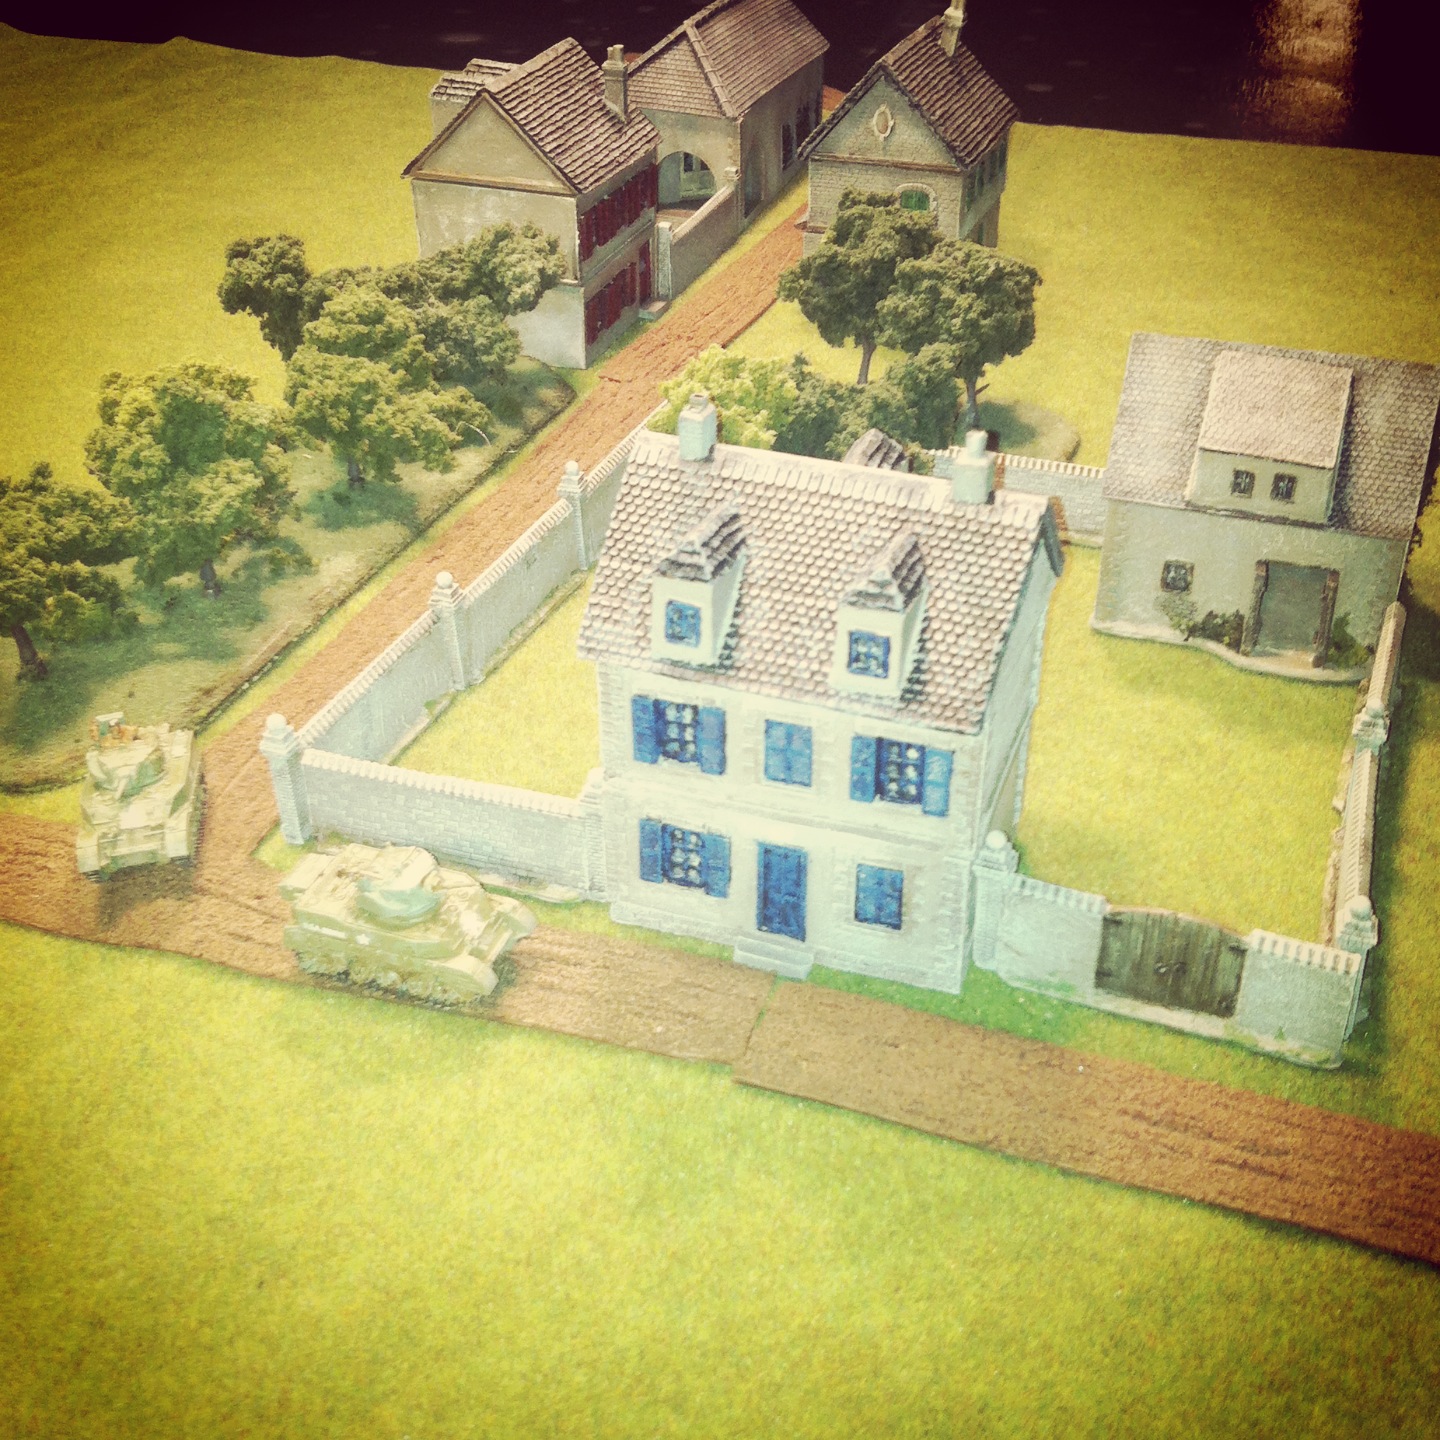

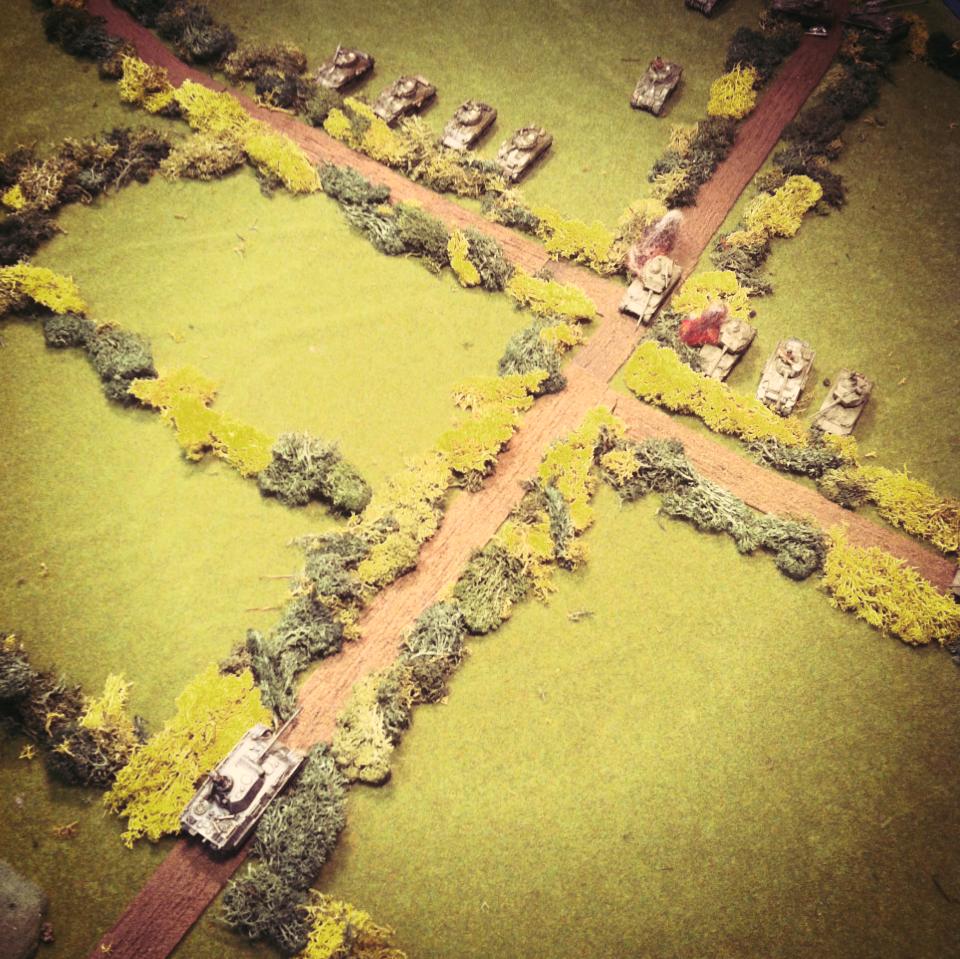
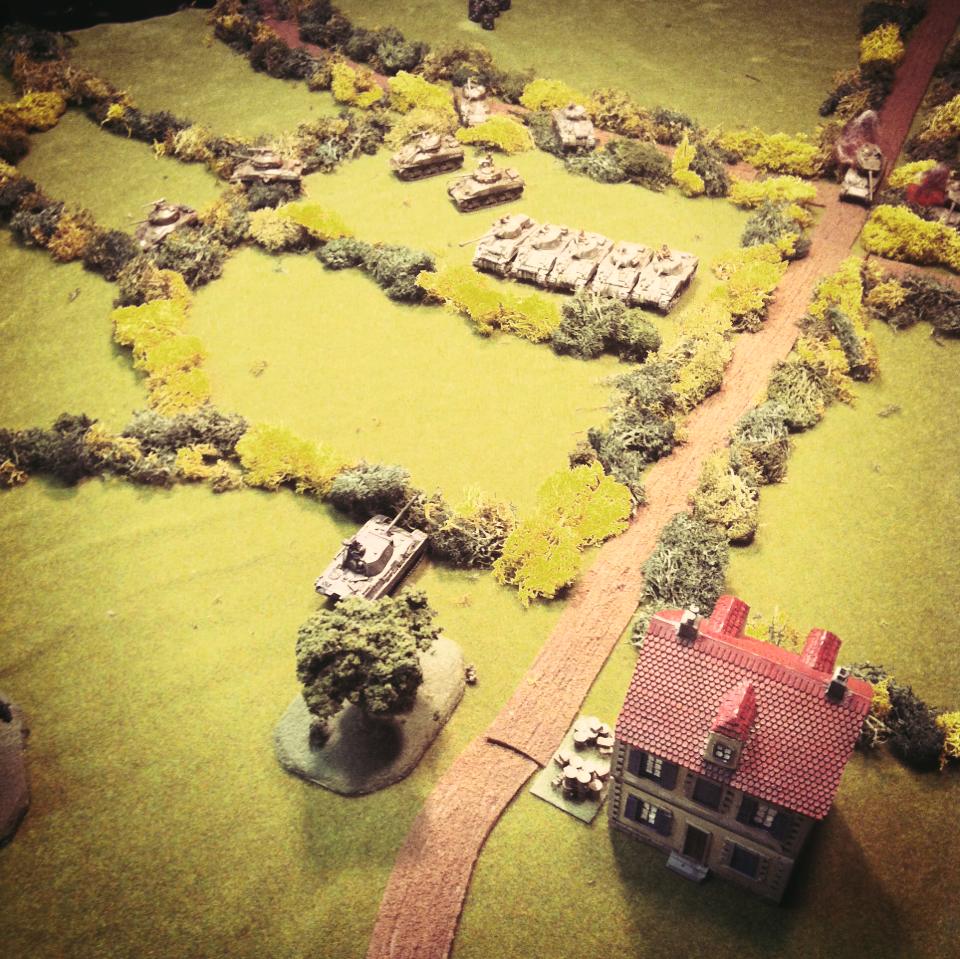
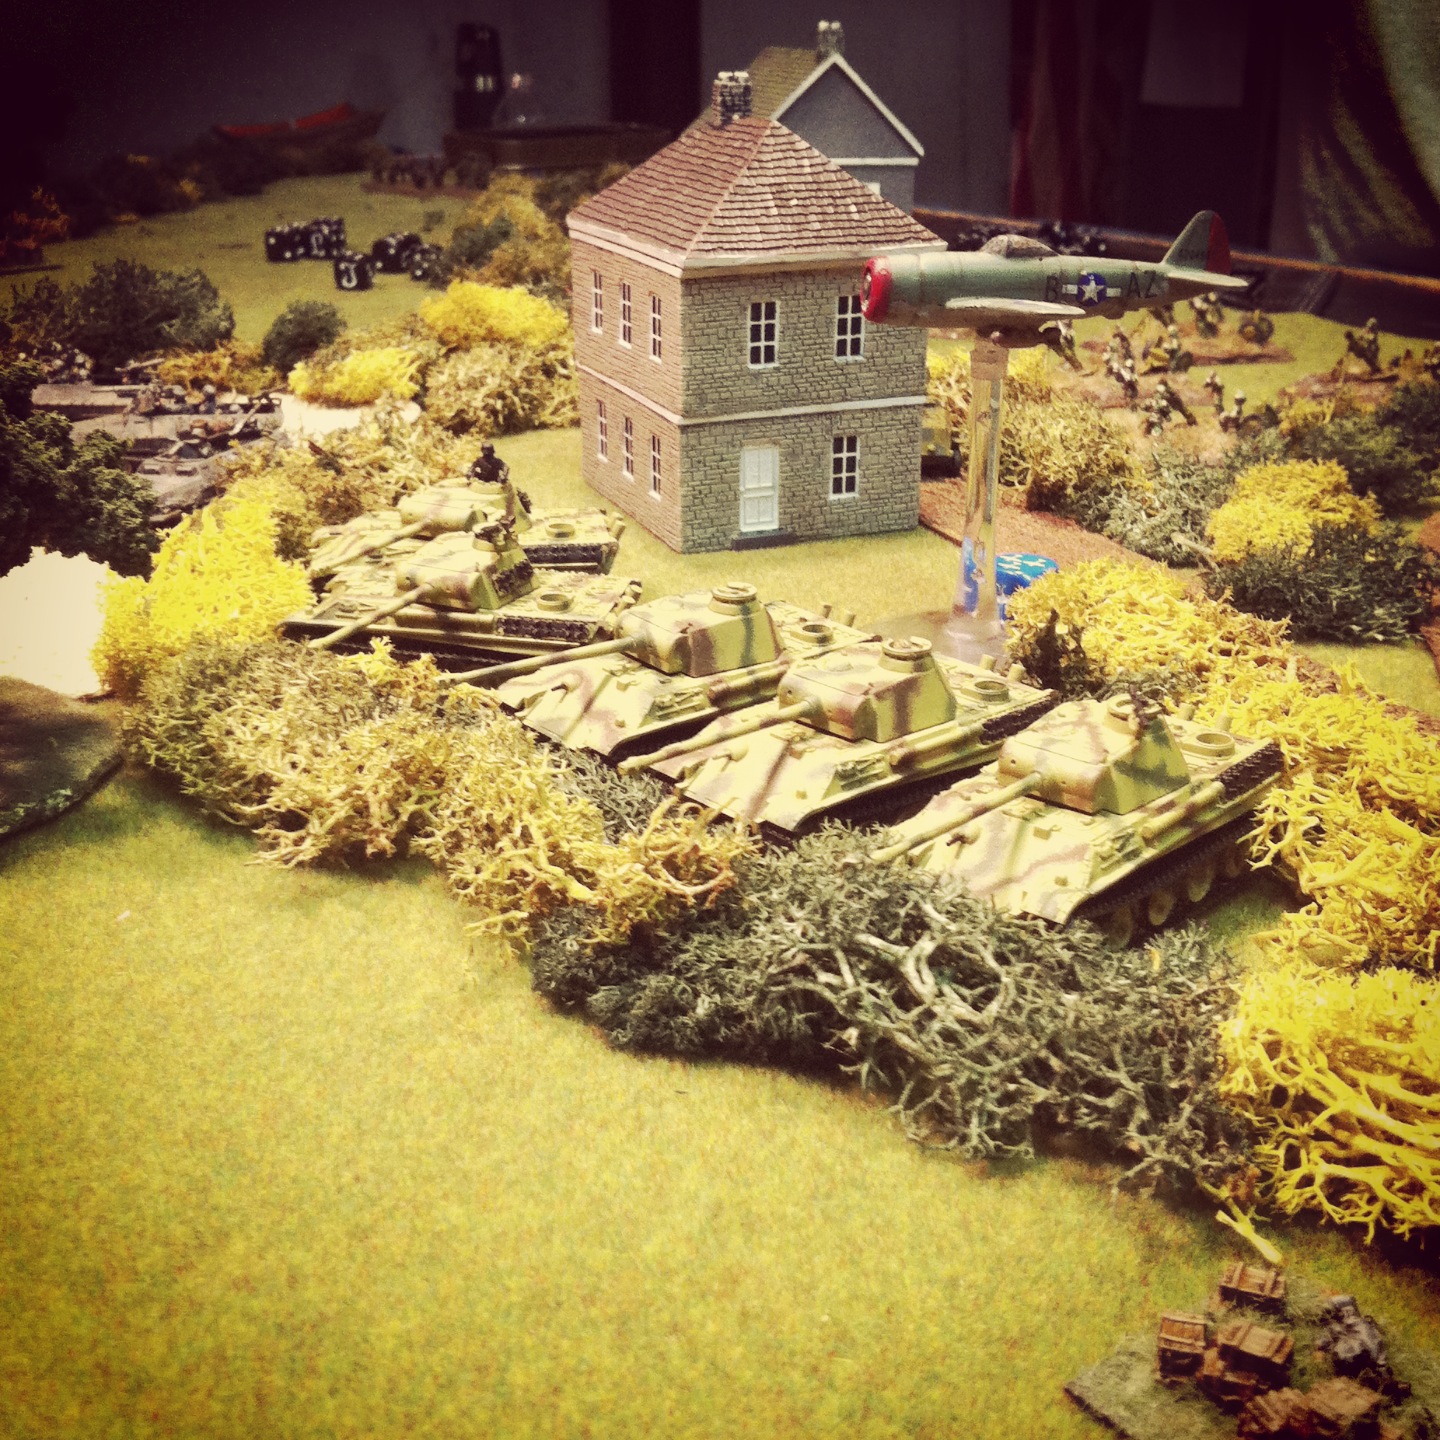
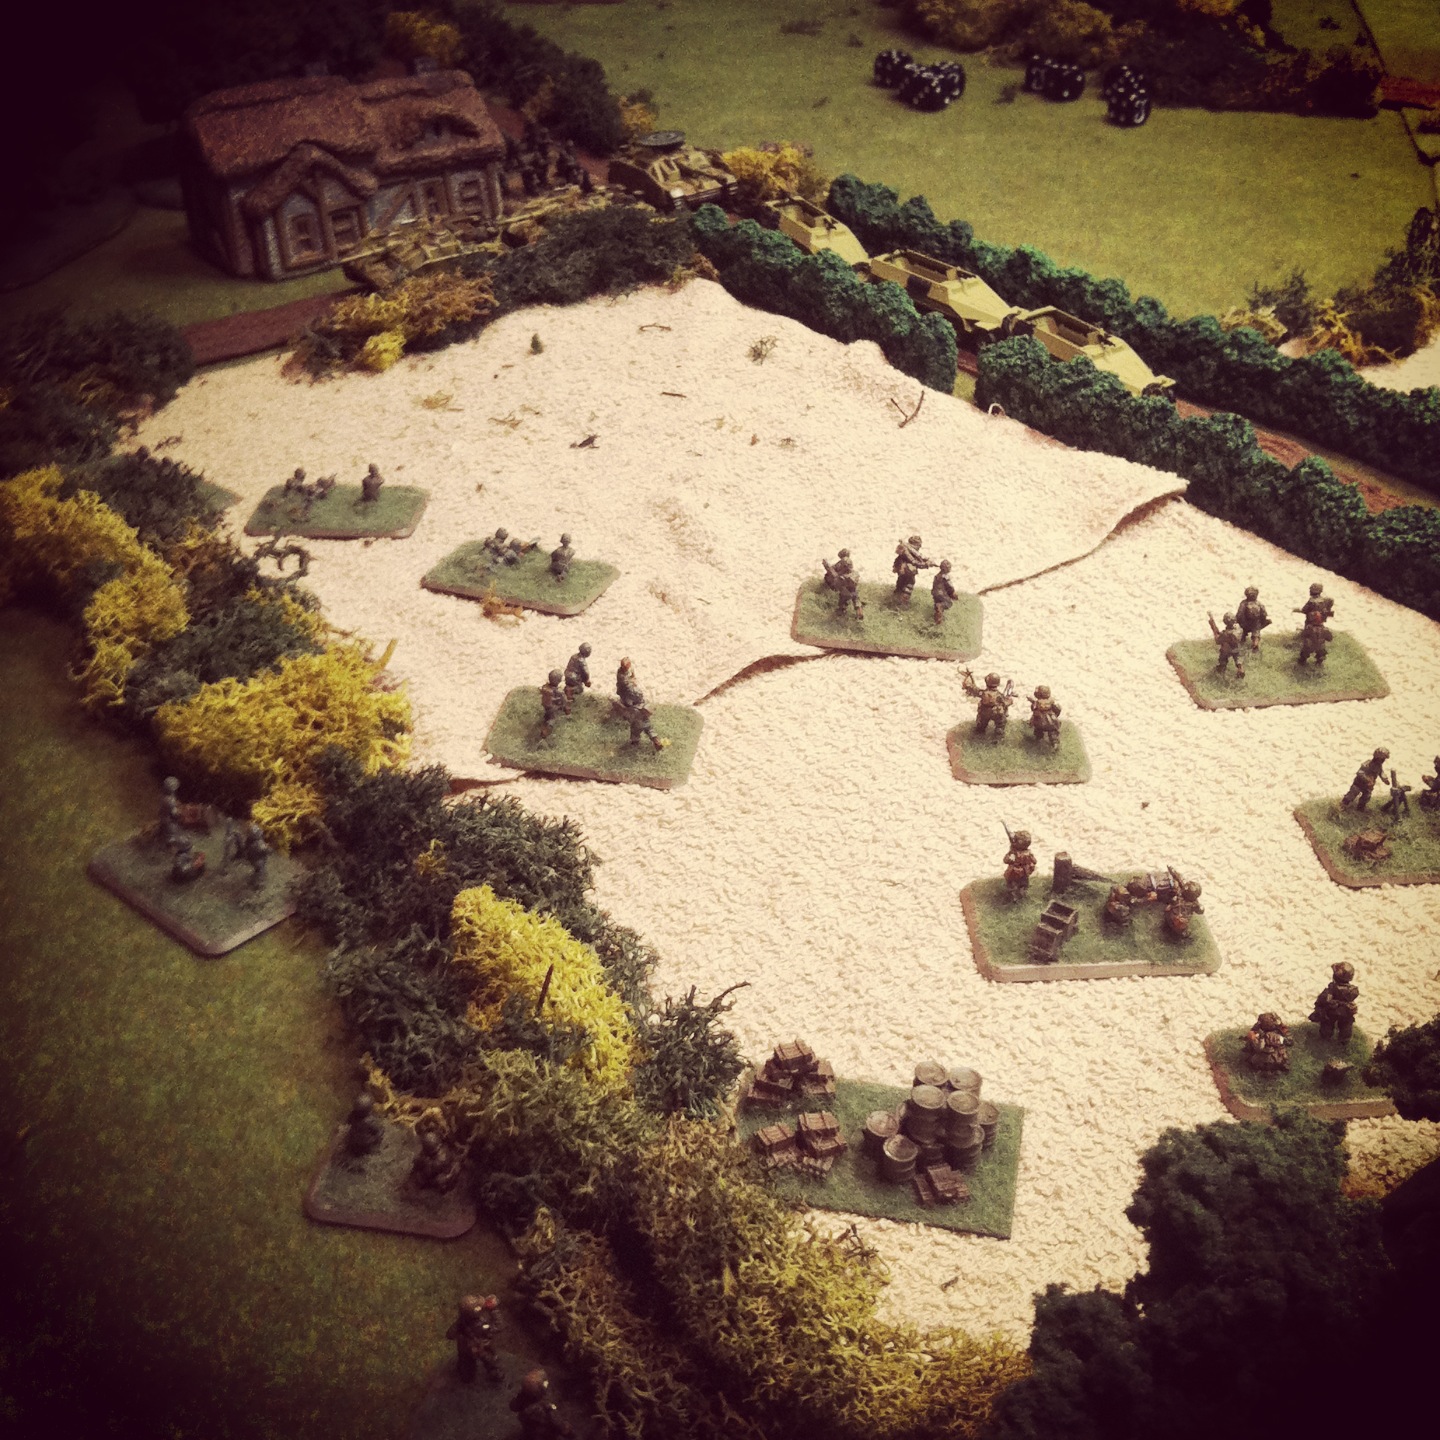
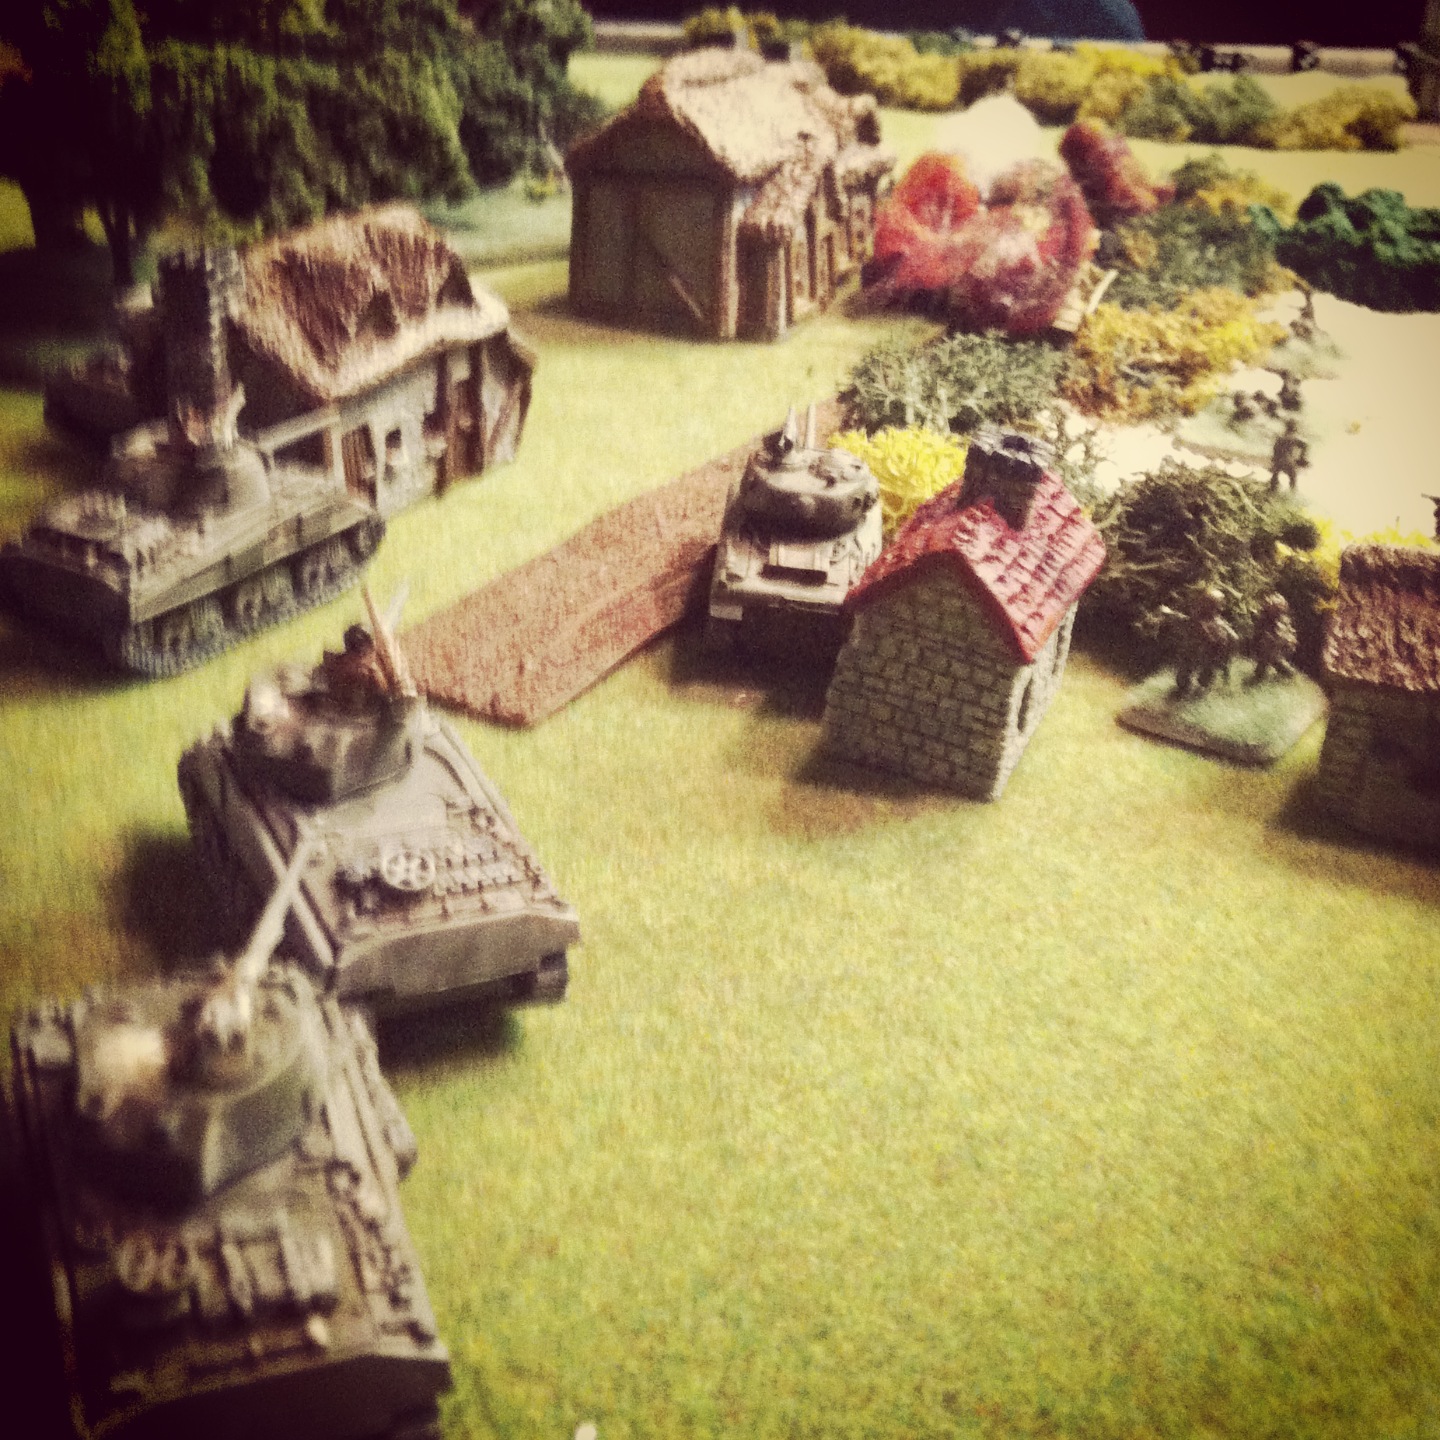
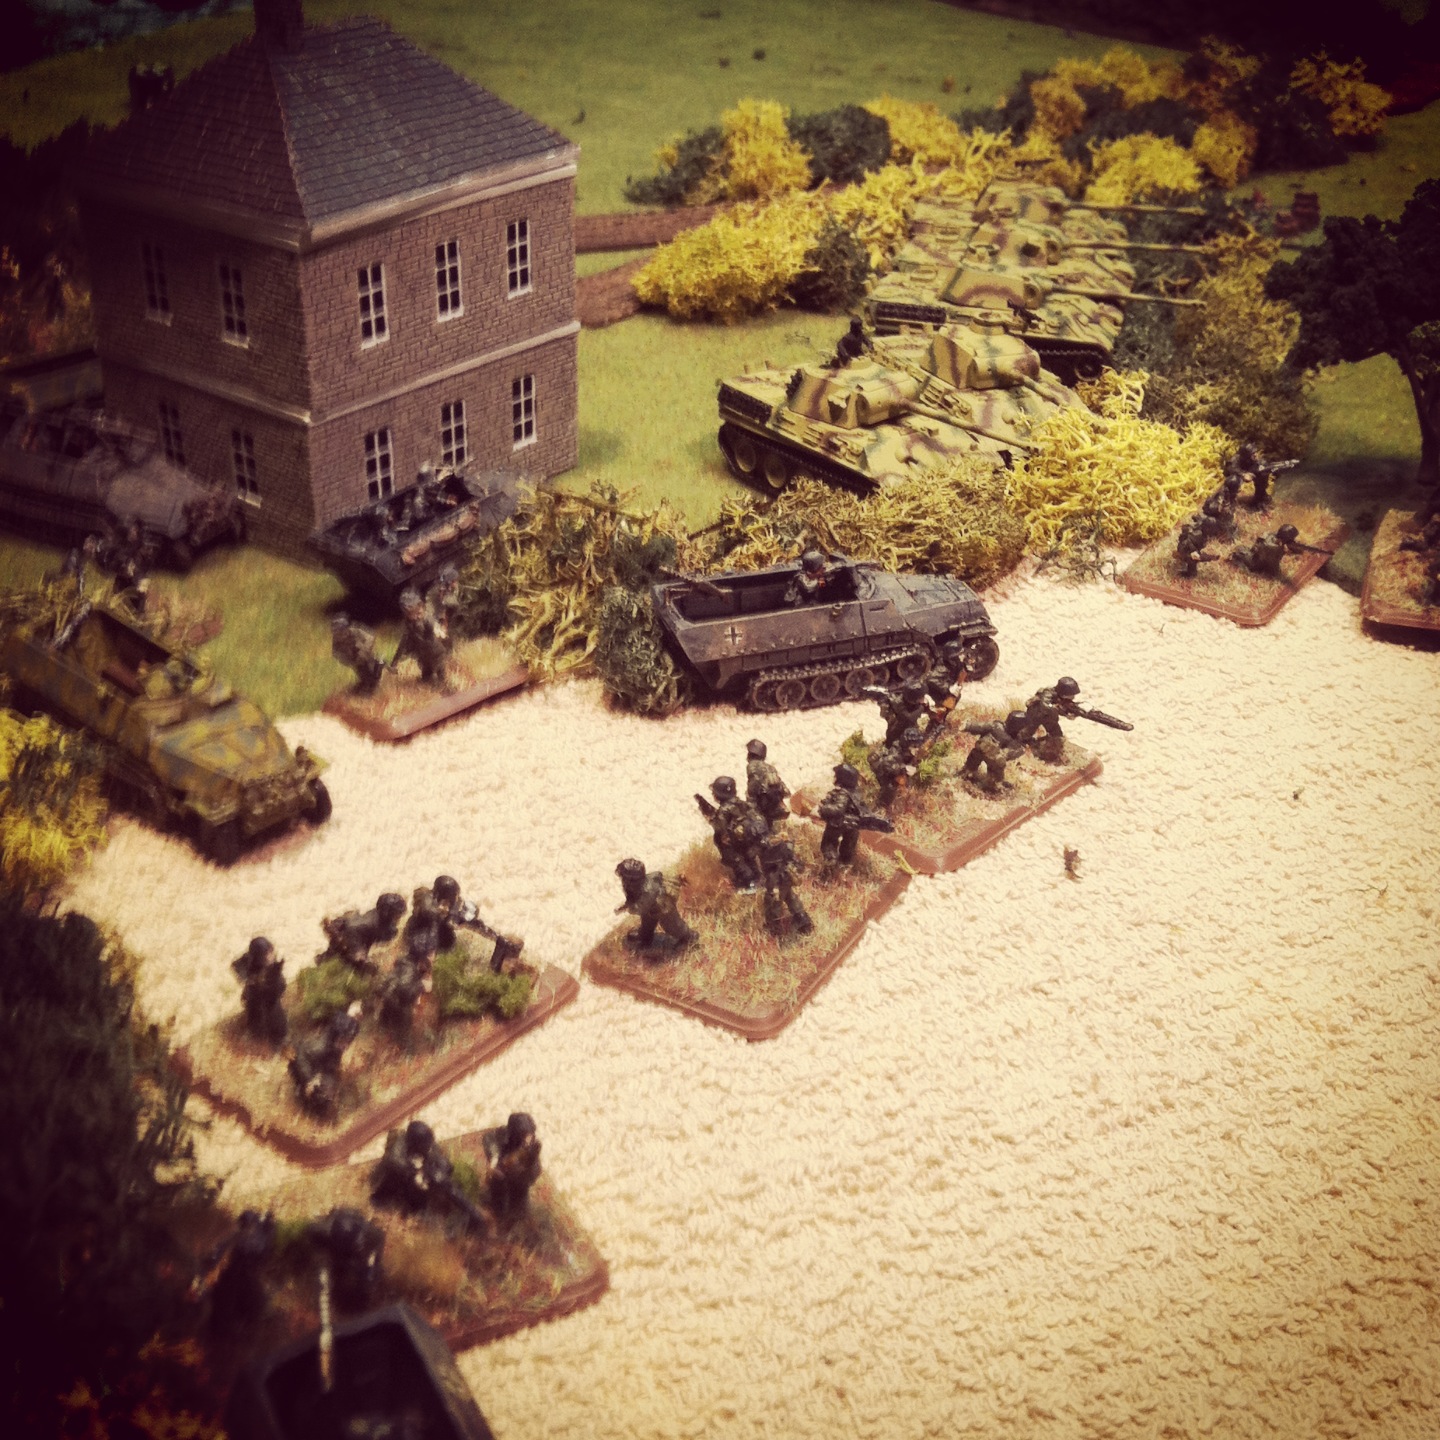
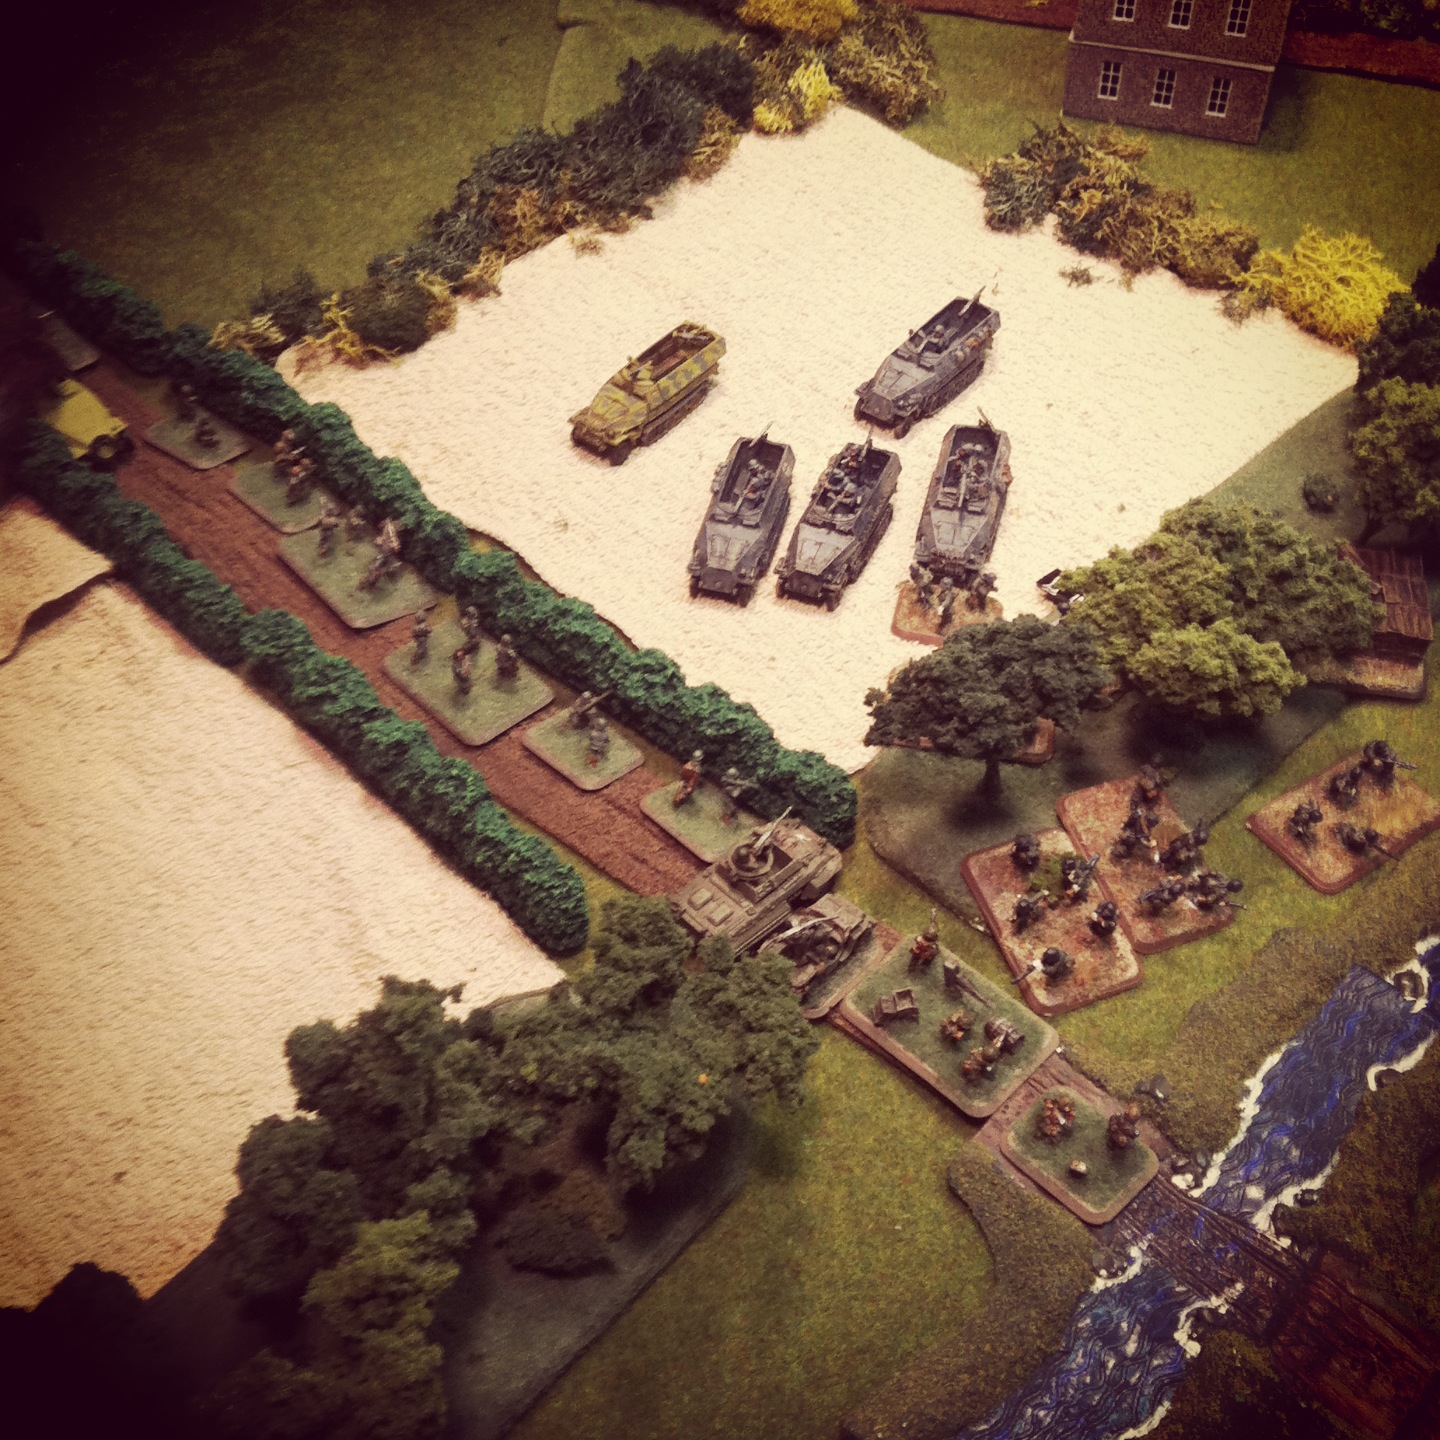
 I couldn’t be more pleased with the buildings. They’ve already seen some action on the tabletop in my recent Singling ’44 game and combining them with my existing trees, roads and lichen hedgerows really brings the battlefield to life. I’m already eying a few of the other models offered by Mark IV, including some ruined versions of the same buildings which come cast in some exciting bombed-out interior detail.
At Metropolitan Wargamers, there’s some early plans being laid for another big day of gaming to coincide with the fall’s Flames of War Tanksgiving 2013 event and there’s certain to be plenty of WWII action before then. With my new buildings from Mark IV on the table, these miniature landmarks are certain to add even more depth an interest to all out future games.
Related articles
- Flames of War: Metropolitan Wargamers Summer 2013 FOW Day (brooklynwargaming.com)
- Flames of War: Barkmann’s Corner Scenario (brooklynwargaming.com)
- Flames of War: Fielding the P-47 Thunderbolt (brooklynwargaming.com)
- Flames of War: Fielding the M3 Stuart Tank (brooklynwargaming.com)
- Flames of War: Hunner Park 1944 Scenario (brooklynwargaming.com)
- Flames of War: Fielding the Sd. Kfz. 7/1 Anti-Aircraft Gun (brooklynwargaming.com)
- Flames of War: Fielding the Guards Armoured Division (brooklynwargaming.com)