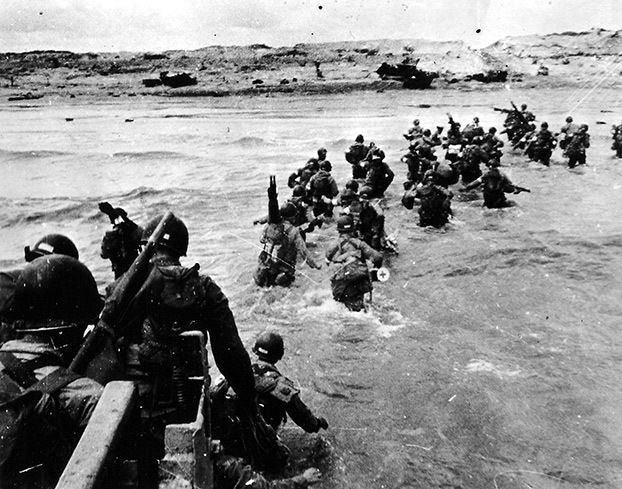
 Allied airborne troops were the first units on the ground in the pre-dawn hours of June 6th, 1944 invasion of Normandy. As the vanguard ahead of the massive beach landings to come on D-Day, the inland goals of the paratroopers was to secure key inland areas and deny German reinforcements a path to the coast. Members of the 505th Parachute Infantry Regiment of the 82nd Airborne Division were tasked with seizing a bridge over the Merderet River at La Fiere and just west of Sainte-Mère-Église.
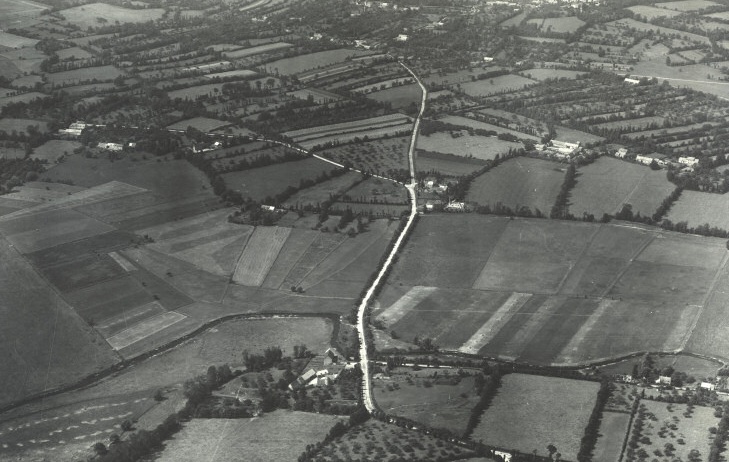
 Map of the action around La Fiere, June 6-9 1944
There to meet the arriving Americans were elements of the German 1057th Infantry Regiment of the 91st Infantry Division. For three days, German resistance amid the open fields, bocage hedgerows and scattered stone Normandy buildings held out against the elite US airborne troops. By July 9th, however, the Germans withdrew and the way was cleared as Allied troops began to arrive inland from the beaches.
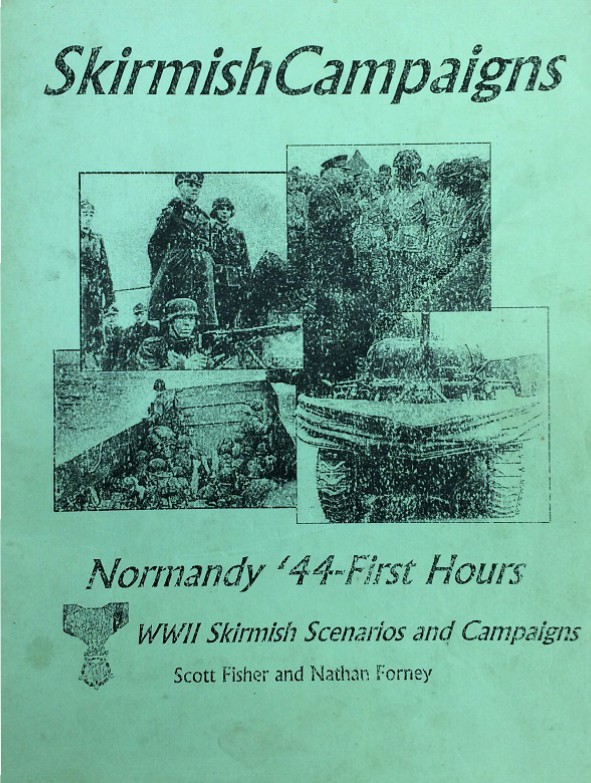
 Skirmish Campaigns “Normandy ’44 – First Hours” scenario book
I’ve previously run a 15mm Flames of War scenario at La Fiere, so I was excited to scale up the battle to 28mm at Metropolitan Wargamers in Brooklyn, NY this past weekend. Our game at La Fiere once again came from the classic Normandy ’44 – First Hours scenario book from Skirmish Campaigns, and we used Battleground rules. The Skirmish Campaigns series offers narratives, orders of battle and terrain layout maps that are brief and to the point, focusing on getting into the game as quickly as possible. For our game at La Fiere, we modified the order of battle and added in my newly-painted Rubicon Models Sherman tank for the US and a German anti-tank unit I’ve also recently completed. The rest of our forces came from my collection of 28mm German and US troops painted over the past year.
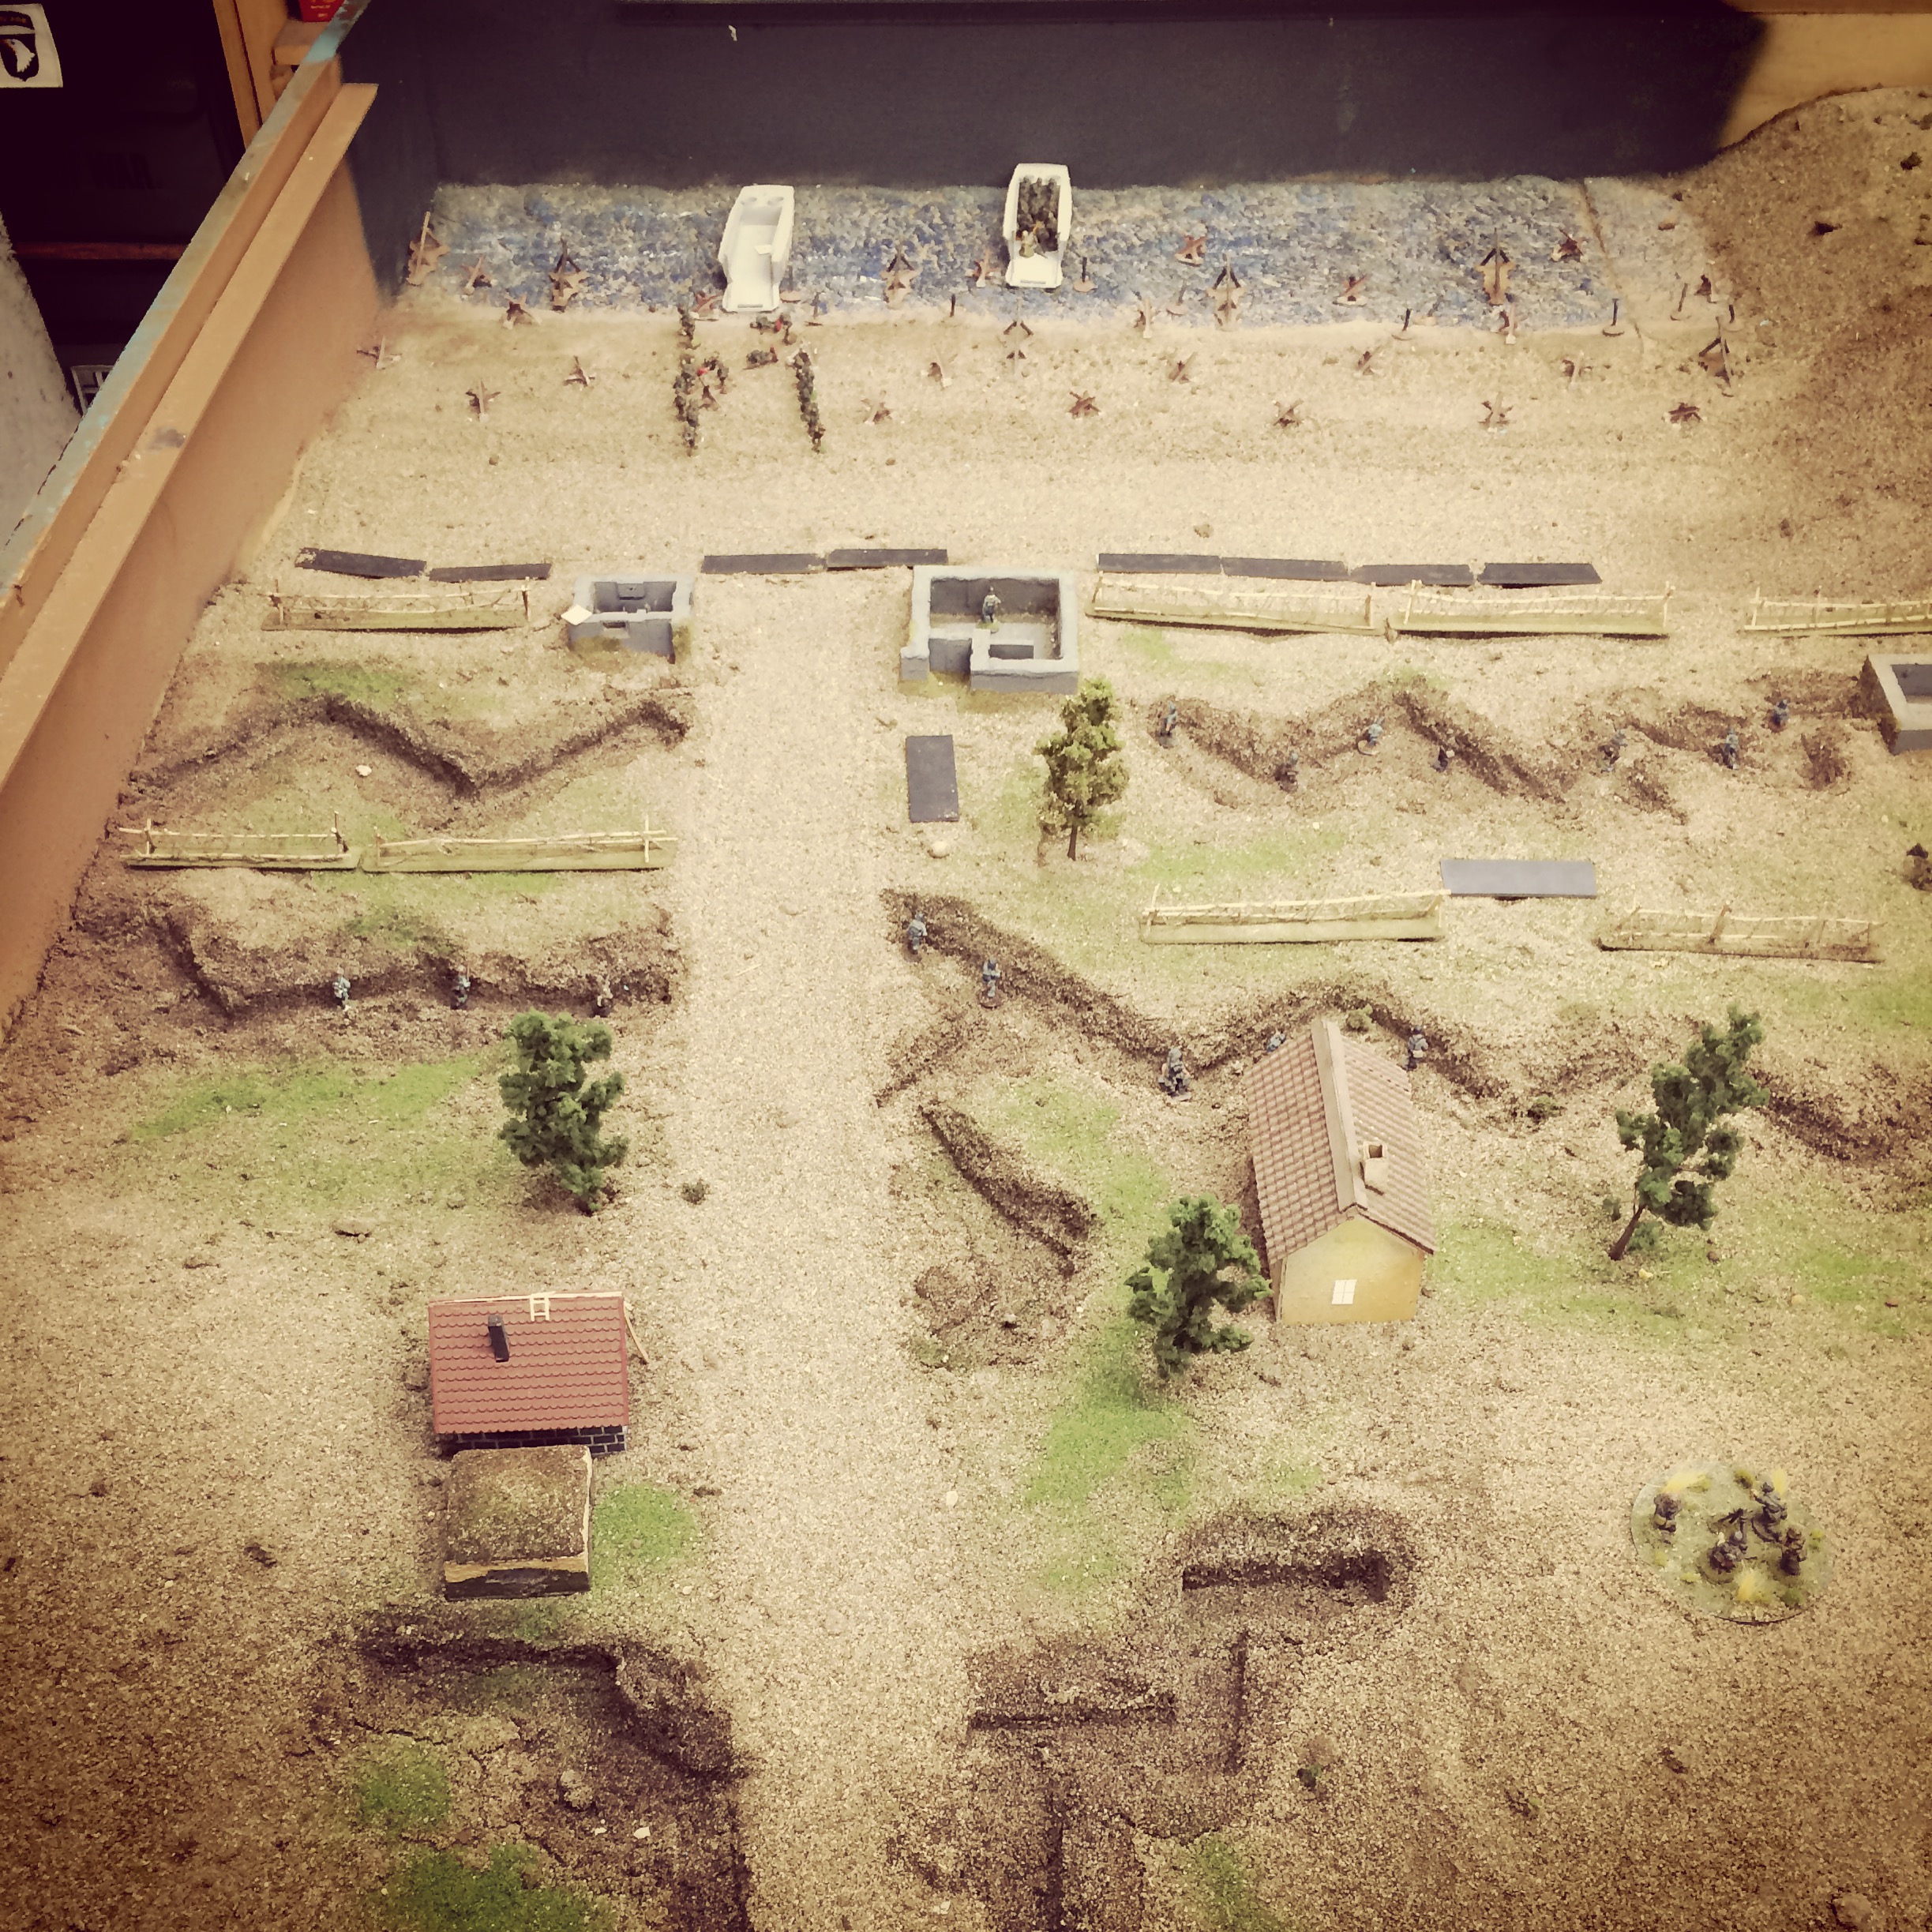
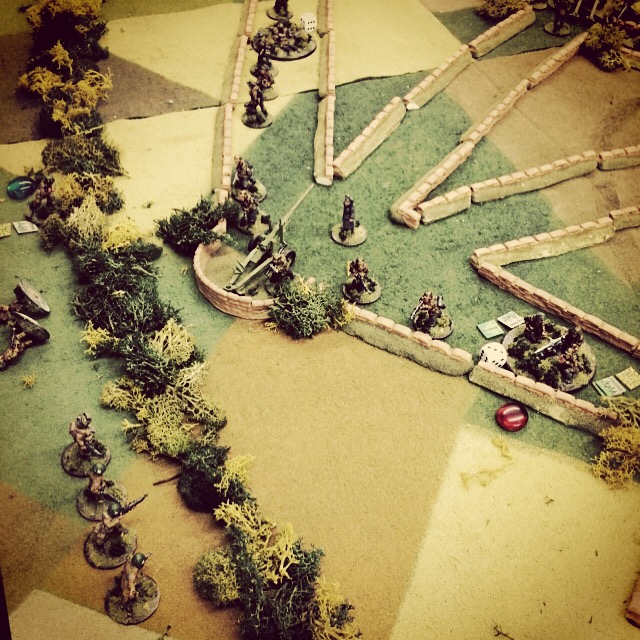
 Table set up and initial German deployment at La Fiere
At the 28mm scale, we increased the tabletop set-up to a 4′ x 4′ board accommodating two main bocage-lined east-west roads, fields and a large stone house. With an American objective to seize the house, the Germans set-up with an infantry team and light machine gun in a line of trenches stretching through the main field. The German command set-up in the top floor of the house with a tripod-mounted MG 42 and anti-tank unit armed with a Panzershreck and Panzerfausts ready to deploy from the rear of the building. Two small anti-personnel mine fields were also set — one to the east of the house and one protecting the northern end of the German prepared positions.
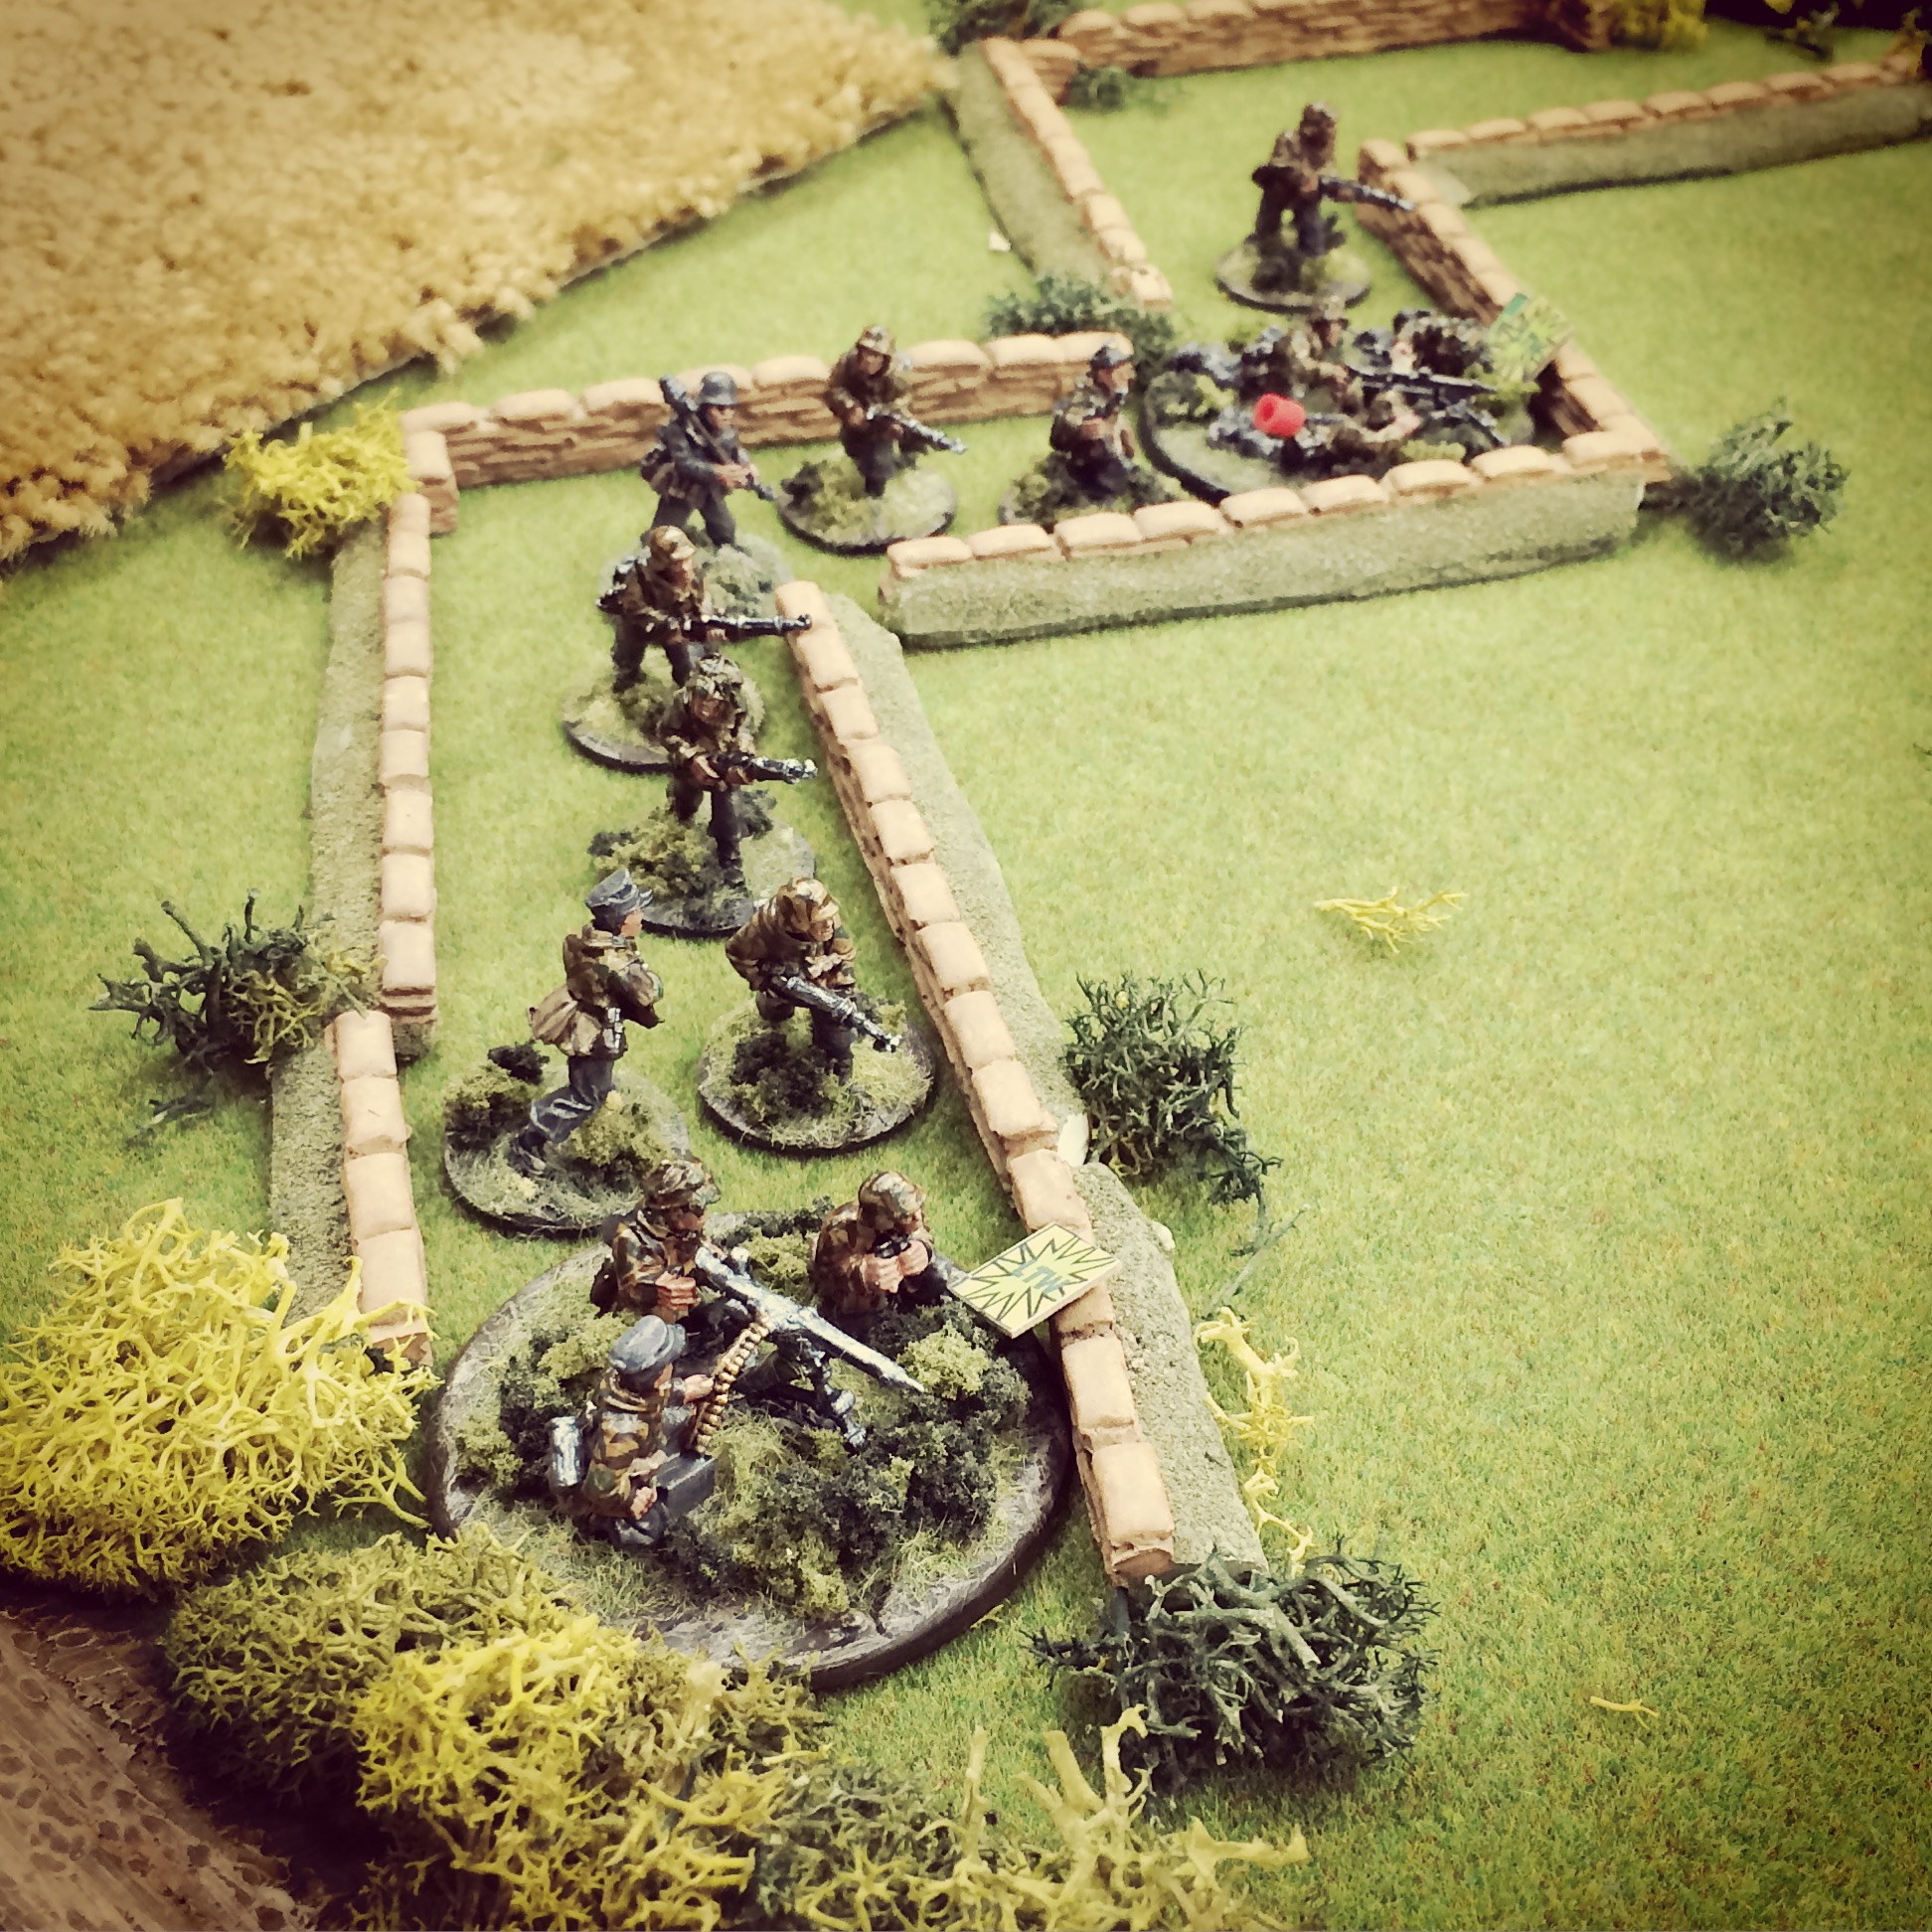 Entrenched German troops and machine guns shift to meet the arriving Americans
With a game time limit of ten turns, the game began with the US being given the initiative as the Germans lay quietly in wait. The Americans took the first two turns to move on from the far edge of the table to the east and their deployment quickly revealed their plan. To their right, a M1 mortar crew set up behind a tree with their spotter creeping to the edge of the bocage to sight German targets across the field. Next, a .30-calibre machine gun team set up at the hedgerow, followed by the HQ and a parachute rifle squad all stretched along the thick hedge. Across the road at the American left, one additional rifle squad moved in along the road with their Sherman rolling in support.
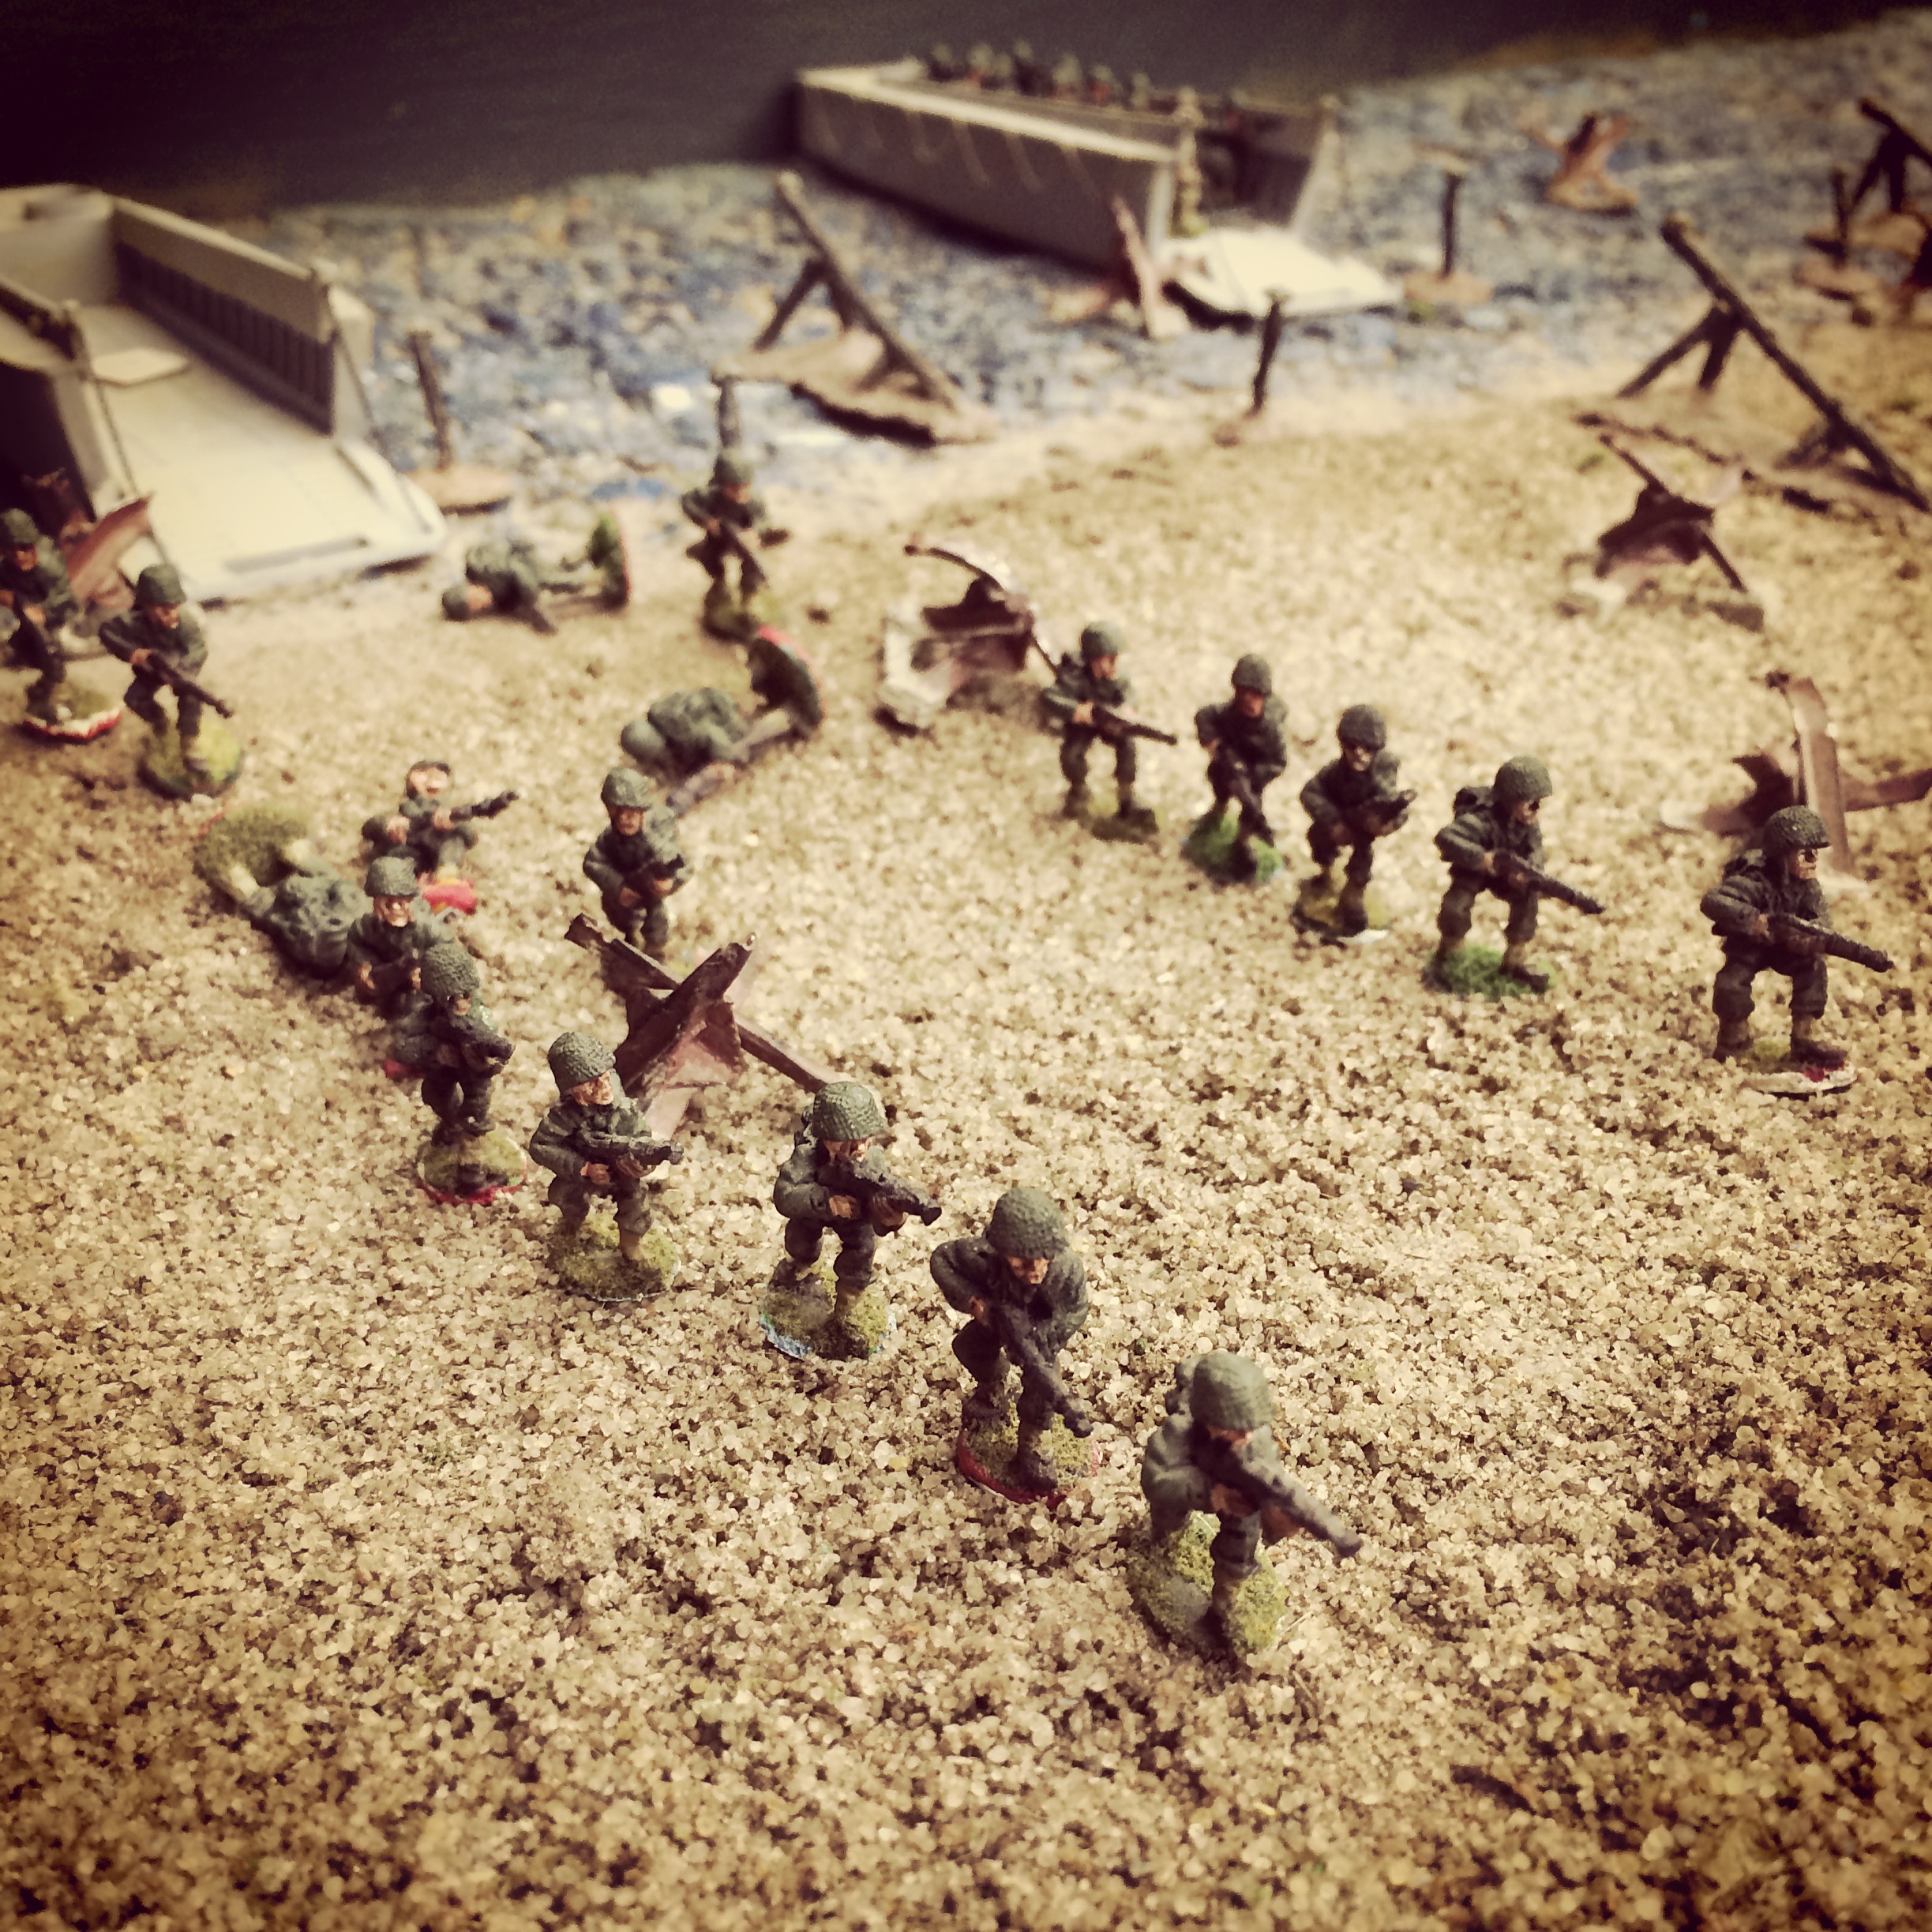
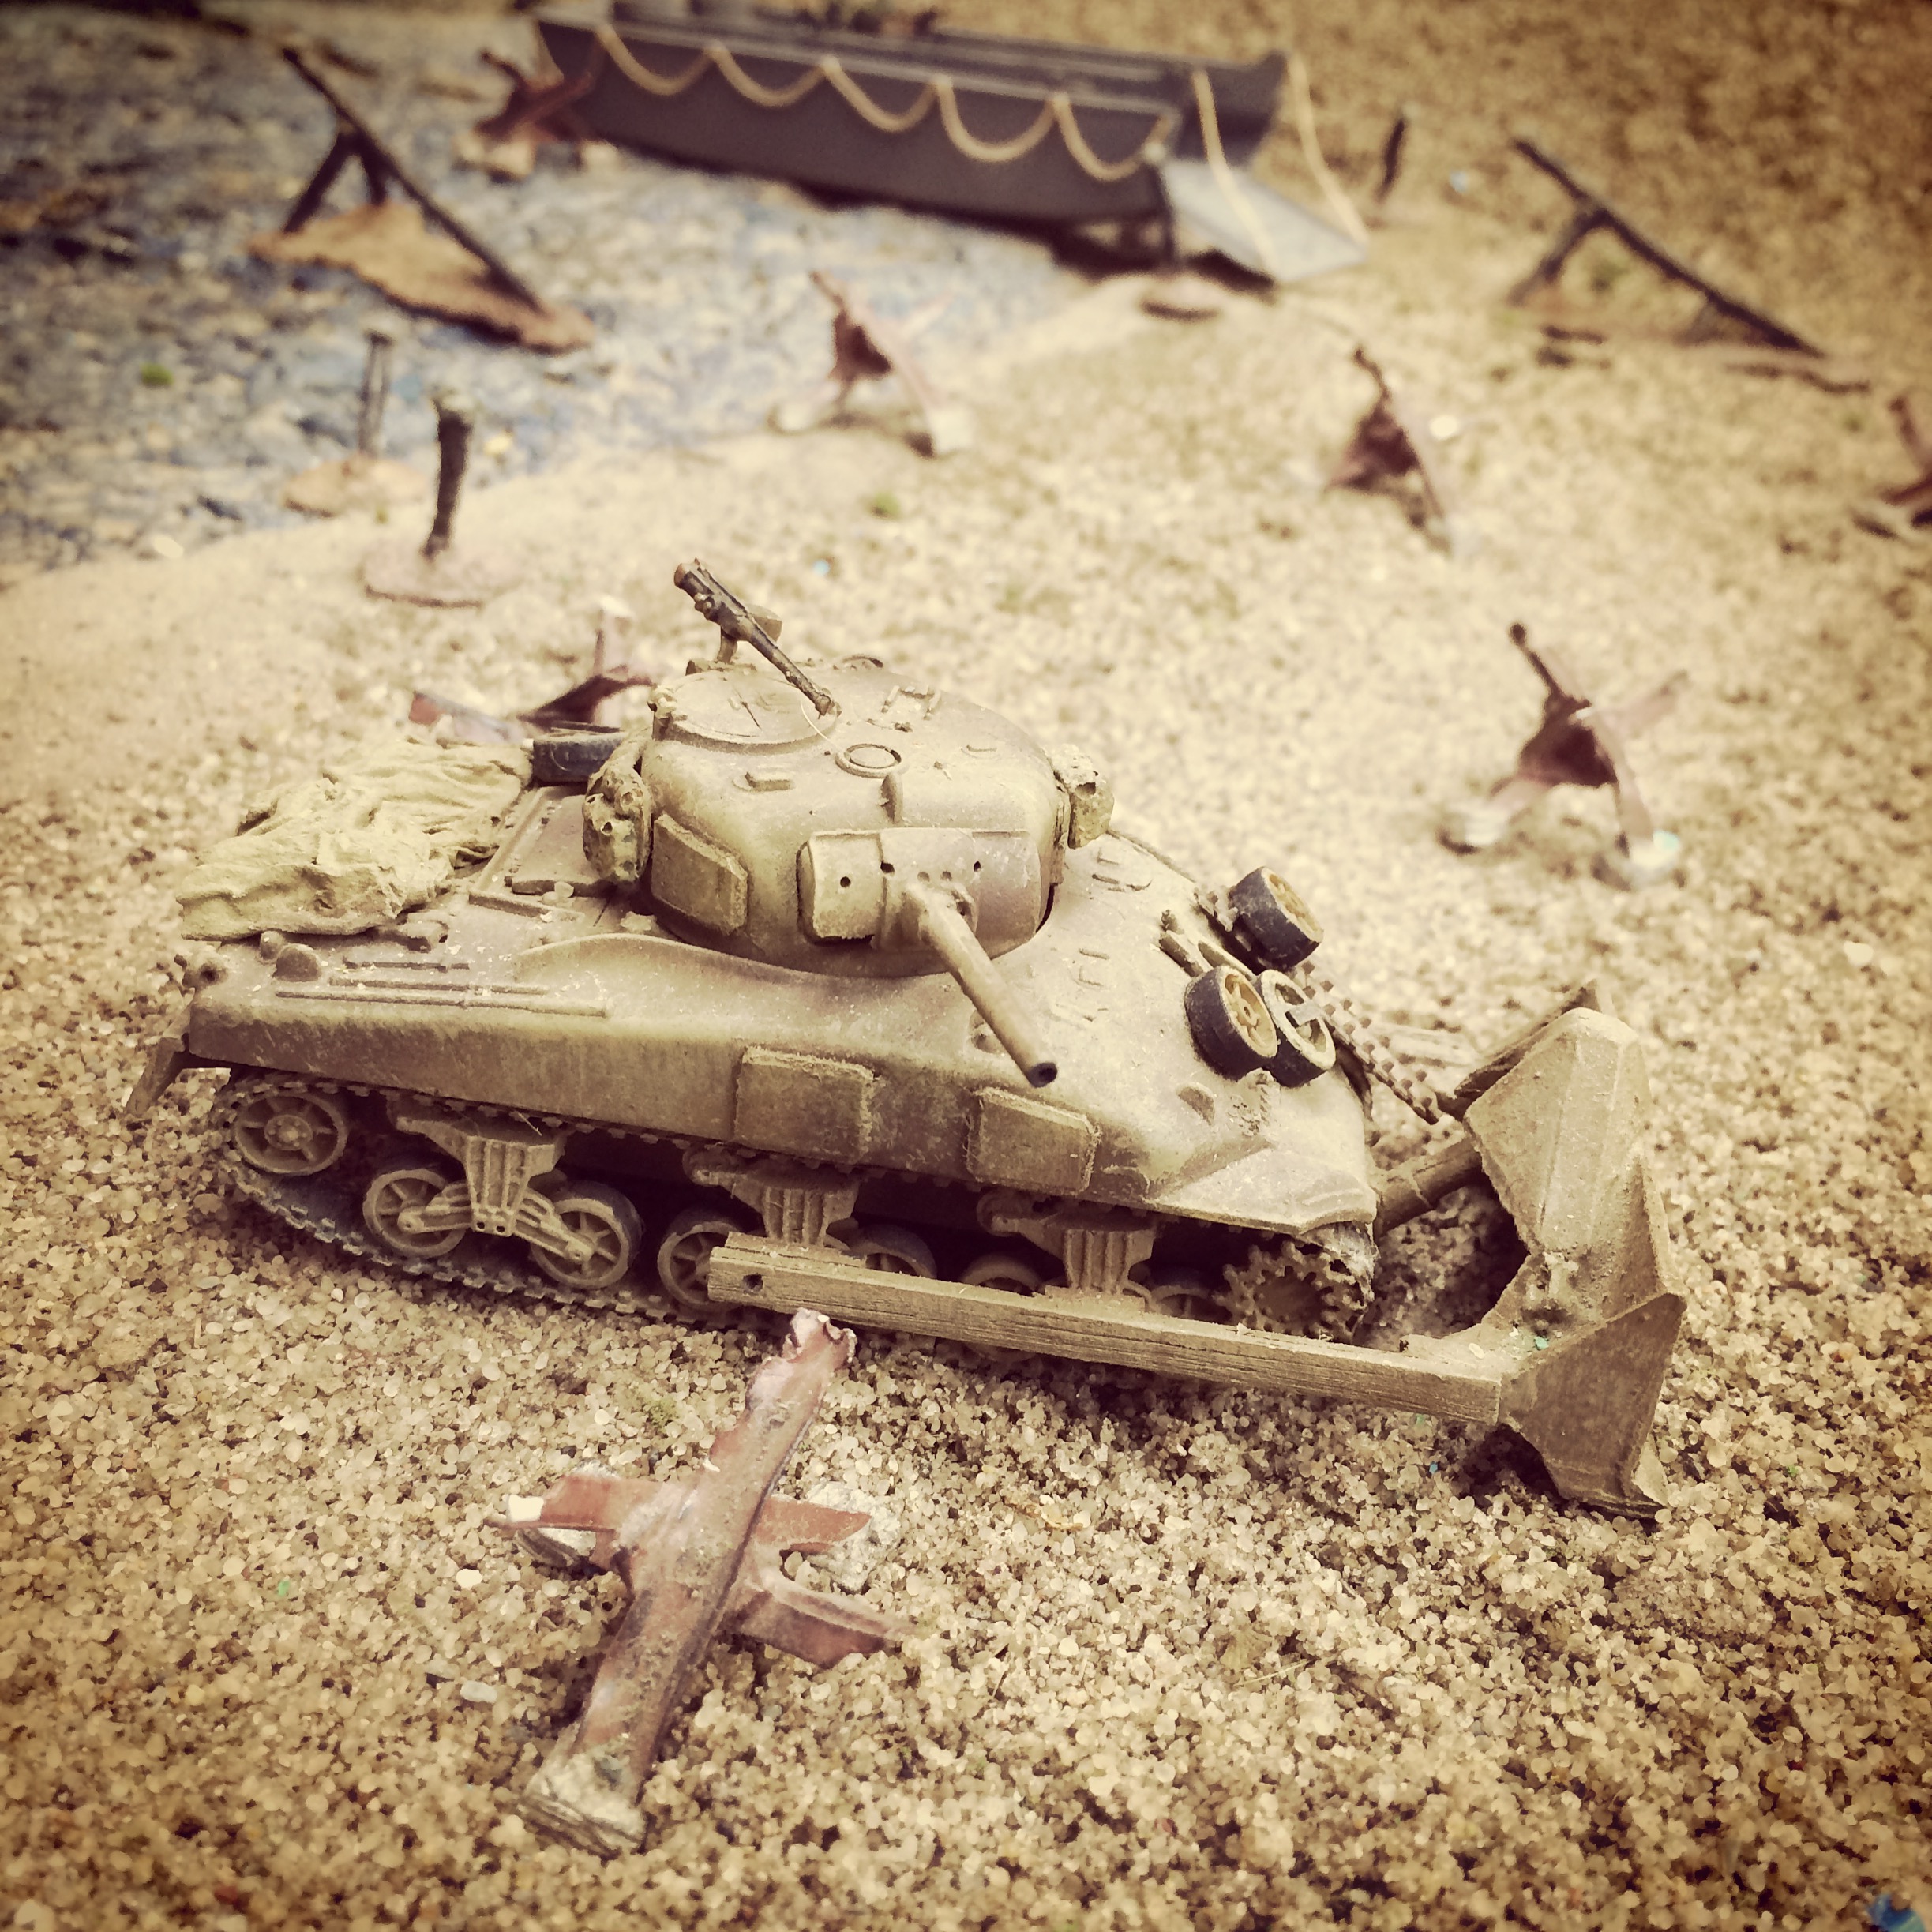
 US paratroopers advance at the bocage hedgerows supported by a Sherman
Clearly the US plan was to lock down the German forces in their prepared positions with combined mortar, machine gun and infantry fire as the infantry would push through the open field toward the house objective. All the while, the balance of the Americans would creep toward the house using their tank for cover and intimidation. The mortar team confirmed the plan by launching two smoke rounds into the wide field at the end of the second turn, providing drifting cover for the next two turns.
 German machine gunners take heavy fire from the American rifles
With the tank’s position revealed at the road, my Germans quickly moved their anti-tank squad around the house through turn three and lay in wait behind the bocage. The Germans also redeployed their tripod-mounted MG 42 to the far right of the trench to stave off the American advance in the field. The German advantage lay solely in their defensive positions, and all they had to do was survive. The Americans were going to have to abandon cover early in the game, but they superior numbers, elite troops and better weapons. Plus, the airborne had a tank.
 The Sherman rolls down the road
There were few targets for the Germans soldiers to shoot at through turn four, and they had difficulty spotting through the smoke and distance across the field. The American machine gunners managed to lay down steady fire each turn, forcing some Germans into prone positions, wounding others but not scoring any kills. The American plan shows signs of unraveling early on as the mortar began failing to repeatedly to sight and range in effectively on any German targets in the trenches.
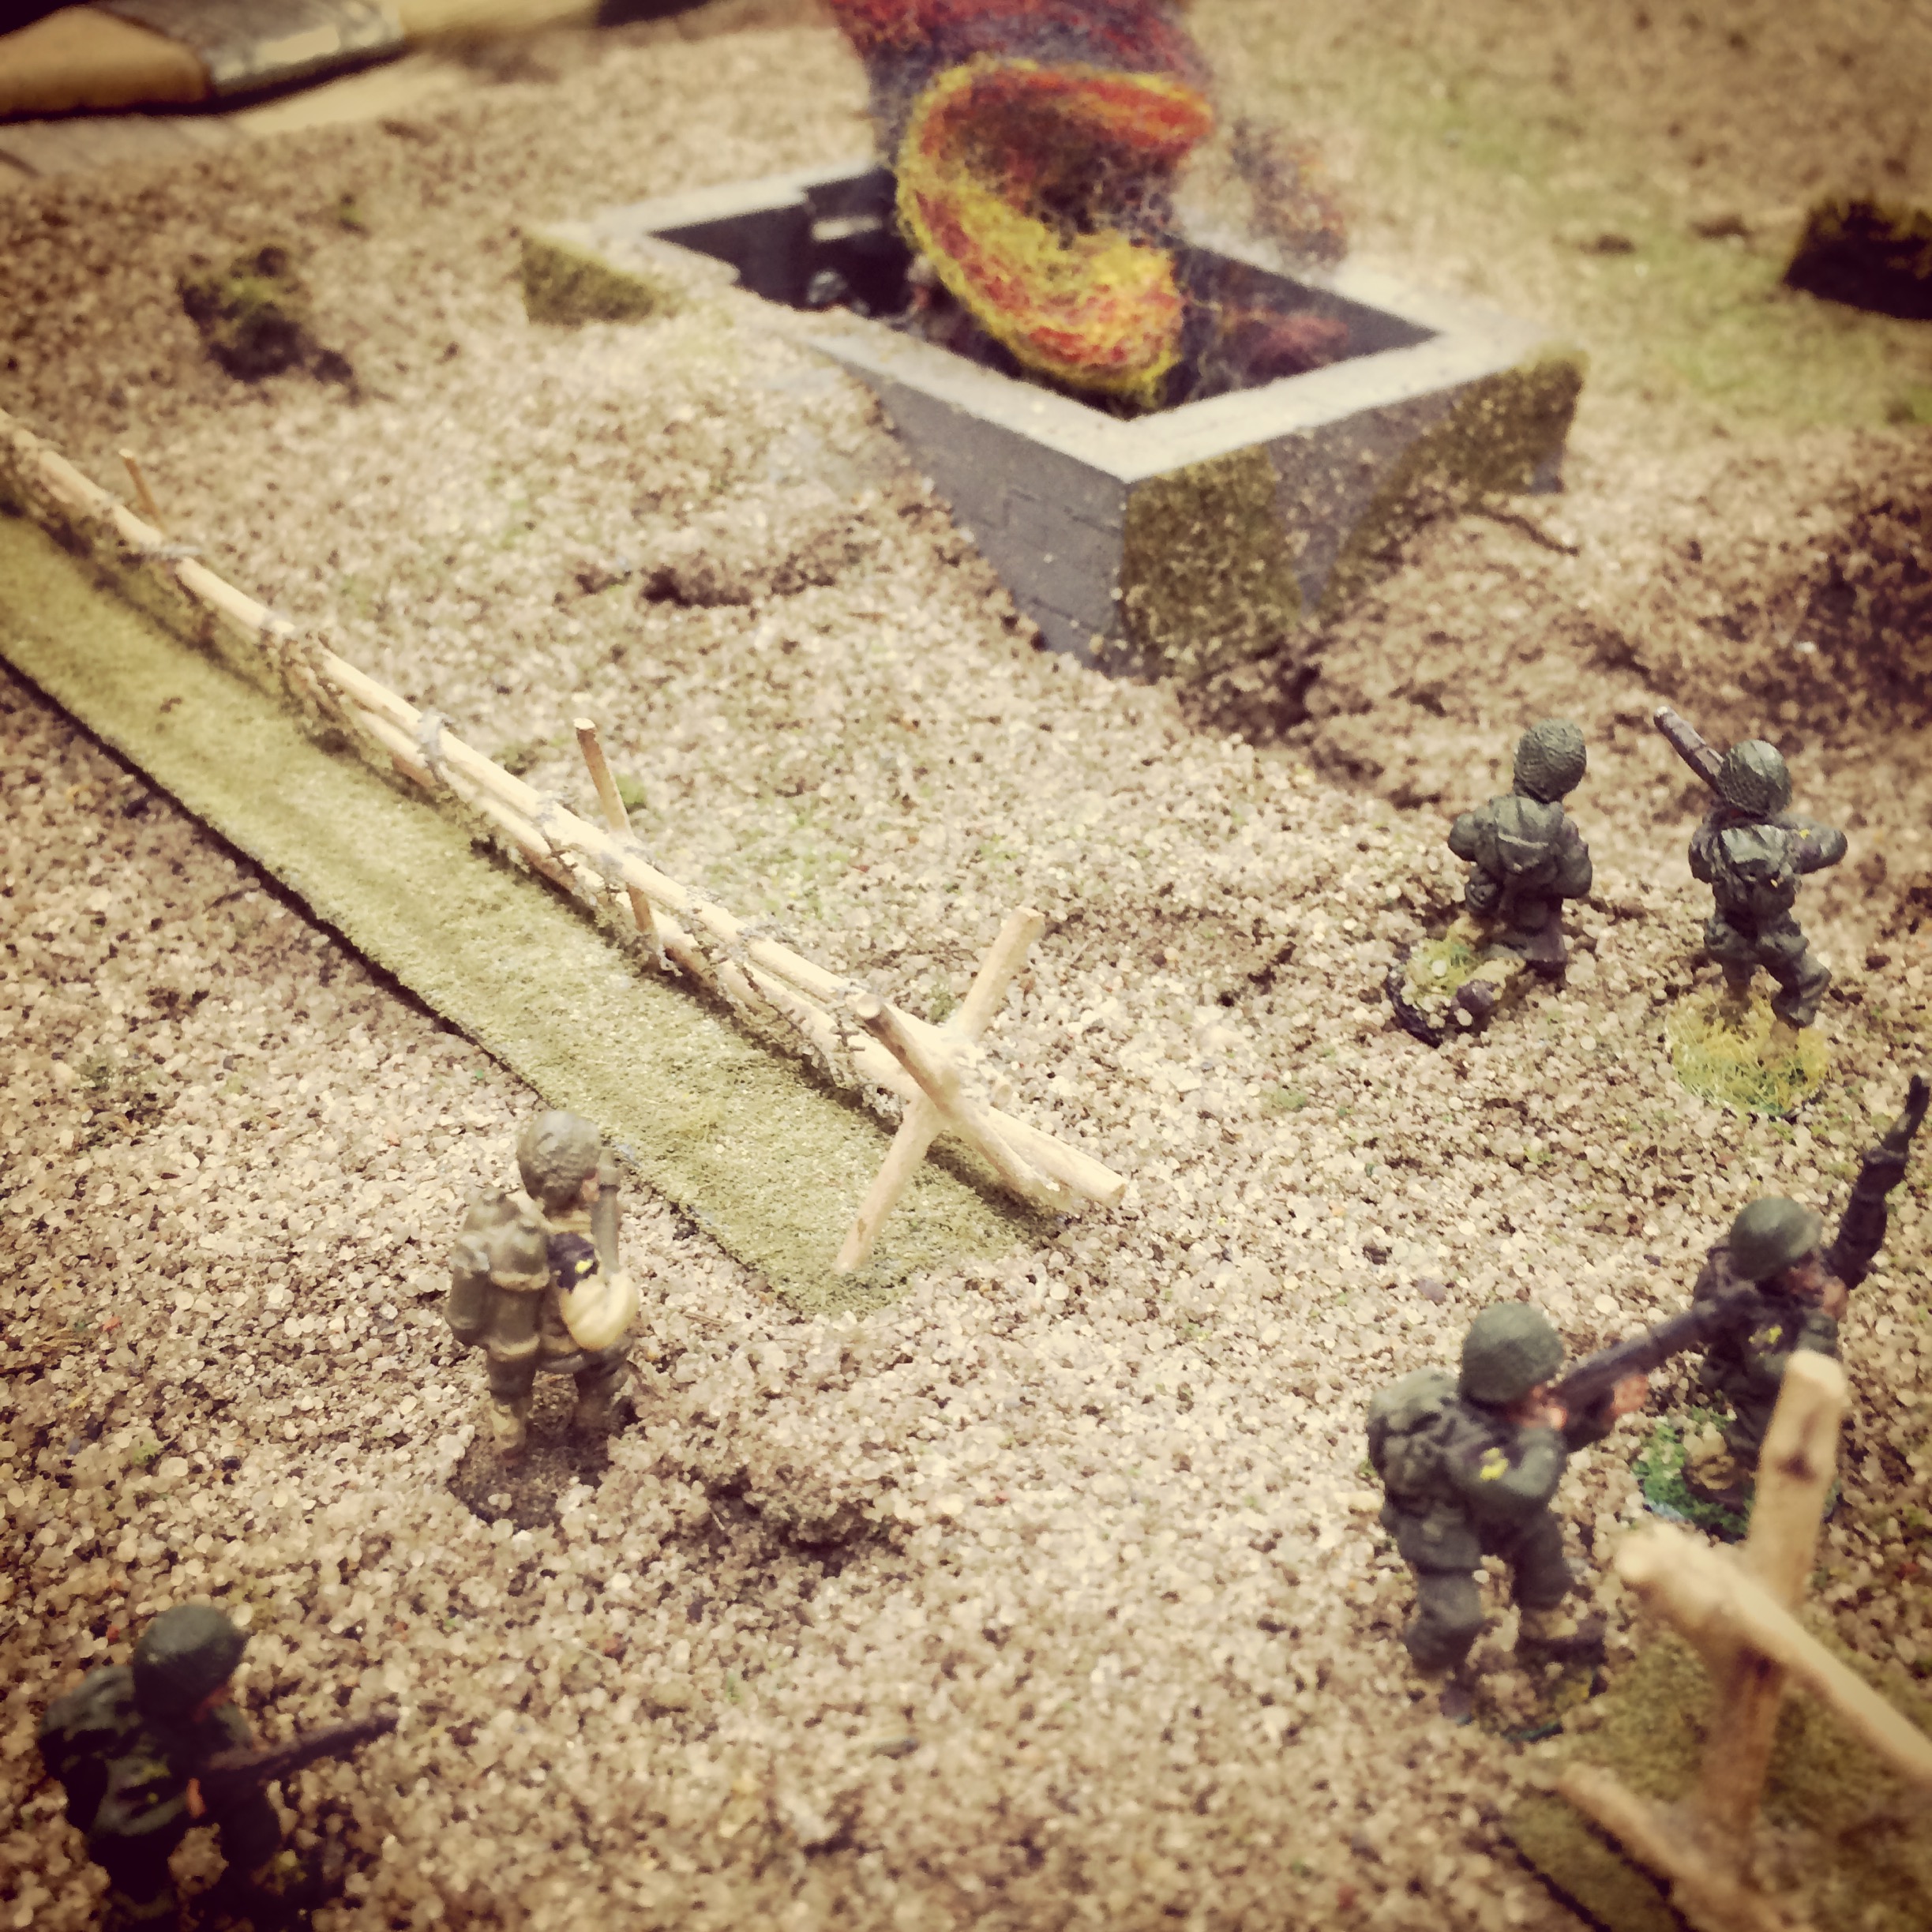
 Confident US soldiers make for the open as their tank protects their left
The only other alternative for the Americans was to simply start pushing across the field in the open. With the heavy German machine guns at their center and right jamming and the crew taking fire, the US airborne began a slow advance by turns five and six. Infantry fire from the US included three dice from each Thompson submachine gun and two dice for every M1 rifle. As the paratroopers closed in, grenades were also thrown and knocked the German tripod MG 42 out of commission. All the Germans could answer with were single dice from their rifles and three dice for submachine gun shots from the officers, all in fewer numbers than the larger US squads.
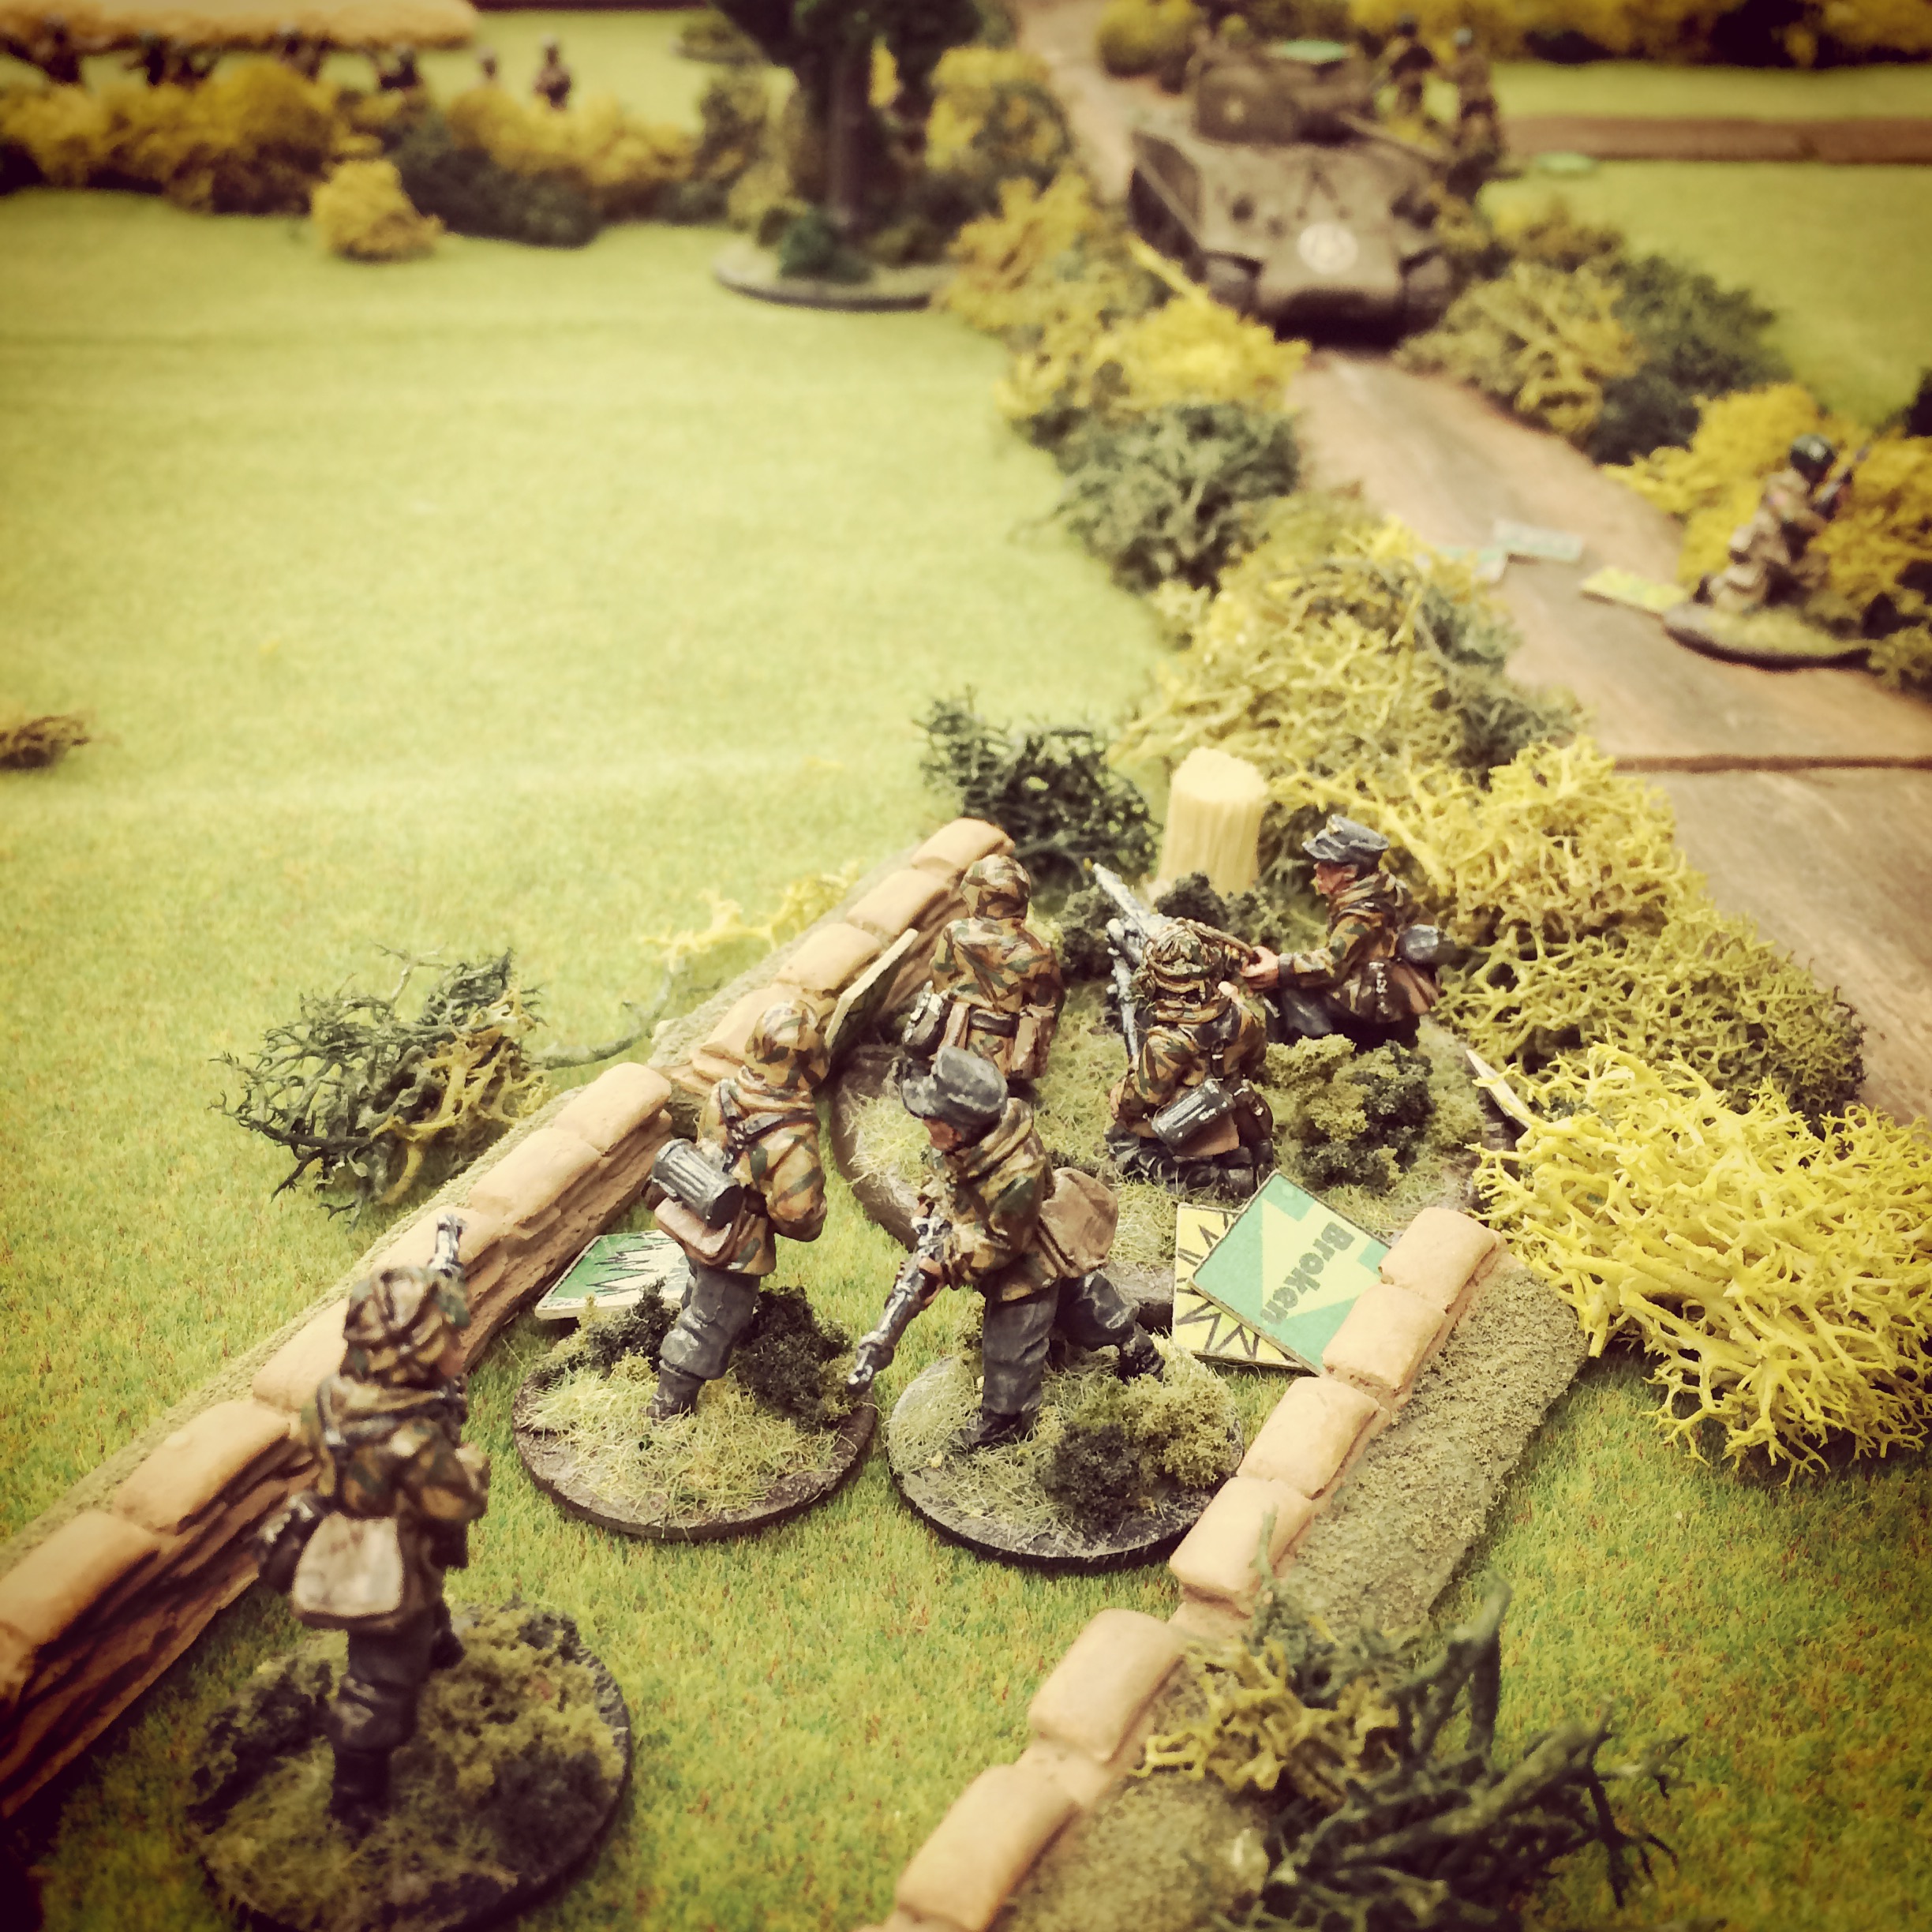
 German anti-tank weapons move to meet the advancing American airborne and supporting tank
Across the road, the second American rifle squad crept along on either side of the bocage with the tank rattling along beside them. As the first troops closed near the house, the first minefield was exposed but no Americans were injured as they continued on at a slower pace. Their delay allowed the German anti-tank crew to move into position, firing a few rifle and submachine gun shots along the way at the airborne tip-toeing around the mines. With the tank finally in sight, the Sherman opened up with opportunity fire from its hull, turret and top-mounted .50-calibre machine guns. Under a hail of bullets, the anti-tank crew went prone and took light wounds, disallowing their planned shot at the tank for the turn. By the sixth turn, the assistant gunner was able to crawl to the injured Panzershreck and deliver a crippling shot to the tank’s front track. Rolling for morale after the hit, the American crew rolled a ’20’ — the worst possible outcome — and fled their tank and the field.
 German troops hold fast against continued fire from the Americans
With the tank out of the battle, the airborne infantry were left alone to do the job. At the seventh turn, the first US troops to close on the building were mowed down under heavy fire from the German HQ inside the building. The German survivors in the field trenches held out against three waves of US advances. In the open and with no heavy support, the Americans were eaten up in the field despite their superior training and weapons. Against the odds, the German forces had thrown back the US airborne’s advance on La Fiere.
Playing a 28mm battle with the Battleground skirmish rules gives an incredible amount of detailed feel to the game. Wounds, suppression, weapon jams, moving, loading, spotting, morale checks, cover and troop quality all intertwine to effect each figure individually as they contribute to the overall mission of their force. Under battle conditions, unlikely things — like mortars being completely useless or a tank crew fleeing the field– can and did happen. In our game, a well-laid plan by a superior American force was thwarted by Germans who just kept hanging on as the dice went their way.