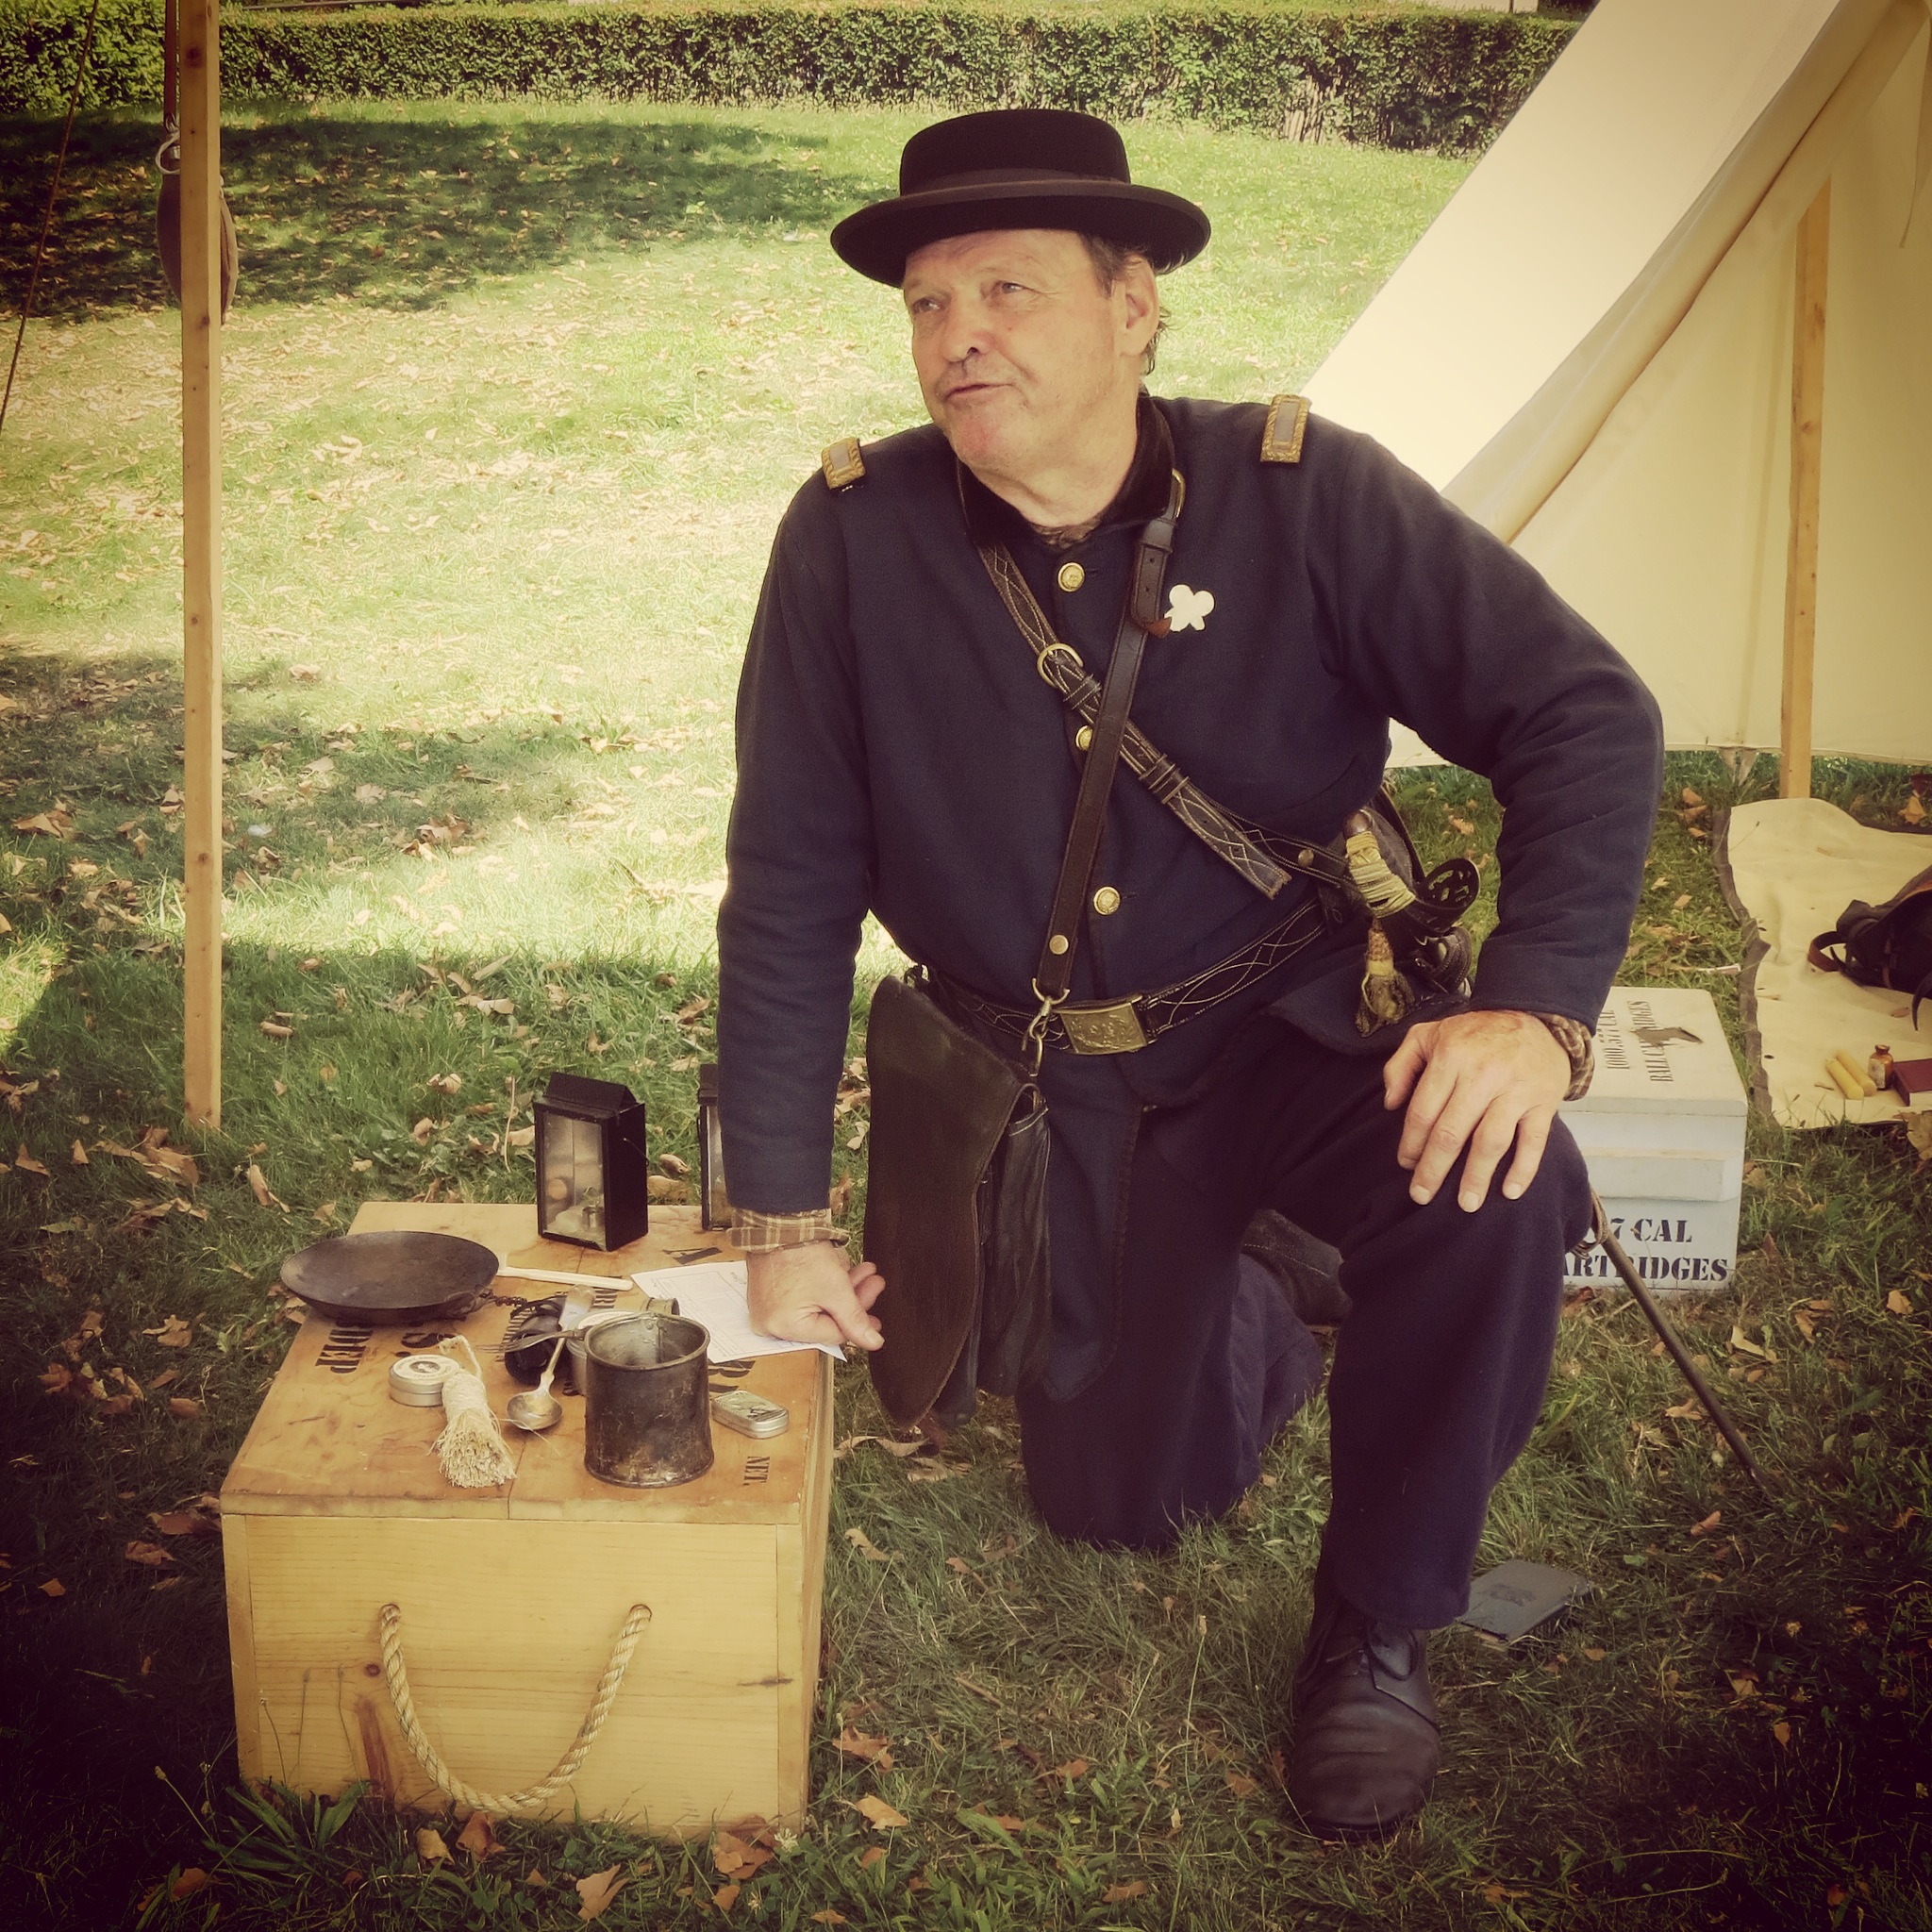
Twenty-three years ago I found myself interning for a summer in southwestern Pennsylvania. While researching and writing National Register of Historic Places historic district nominations for three towns along Route 40 (The National Road) I found myself driving past Fort Necessity National Battlefield countless times. I wound up visiting and revisiting the site numerous times that summer, and I was fortunate to return to the site a couple summers ago (photo from that visit above).
Fort Necessity holds a particular place in my heart as a site marking a military loss and a long-misinterpreted oddball fortification. This is American history at its small and messy best. And so, with a big current interest in modeling and wargaming the French and Indian War at the 28mm scale, I needed to build Fort Necessity.
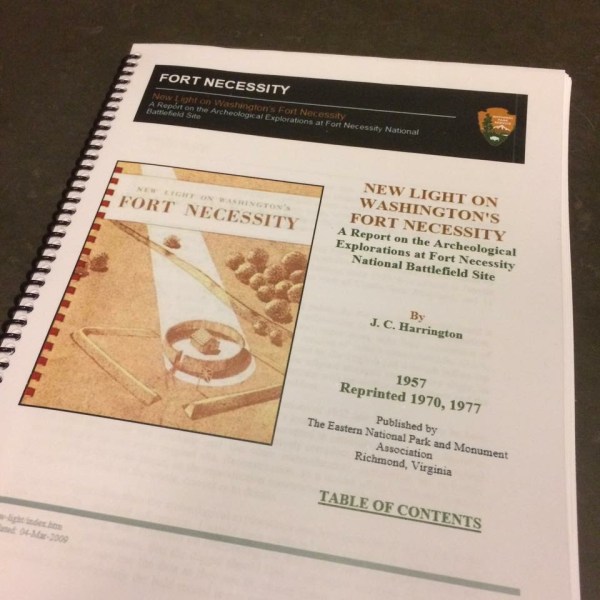
Mid-20th-century archeology formed the basis for my fort
In building my fort in 28mm, I relied heavily on the historic and archeological work from J.C. Harrington’s New Light On Washington’s Fort Necessity. The report is available for free and makes for some fairly detailed reading on the campaign leading up to the construction of the stockade and battle. The Battle of Fort Necessity on July 3, 1754 is notable for being a foundational experience for a young George Washington commanding British Colonial forces. The defense in an open field was accomplished with a simple “Fort of Necessity” of split upright logs and a small central storage building. The battle was overly one-sided with the French Canadians and their Indian allies dealing a loss to Washington. The hastily-built stockade, having served its one-time purpose, was burned to the ground at a later date.

Scale drawing of the fort as based on archeology of the 1950s
From there, the site passed through a number of unremarkable ownerships over the centuries until the National Park Service took over the site in 1933. First-hand accounts and contemporaneous documentation of the battle site and fort is minimal. The NPS recreated a fort in a vaguely diamond-shape, erroneously interpreting the remains of earthen ramparts as firing steps inside the stockade. Subsequent investigations of the site in the late 1950s revealed a round shape for the stockade, and the NPS built a new version of the fort in the 1970s. Visitors to the site today see the fort in a much closer approximation to what the original must have been like some 260 years ago.
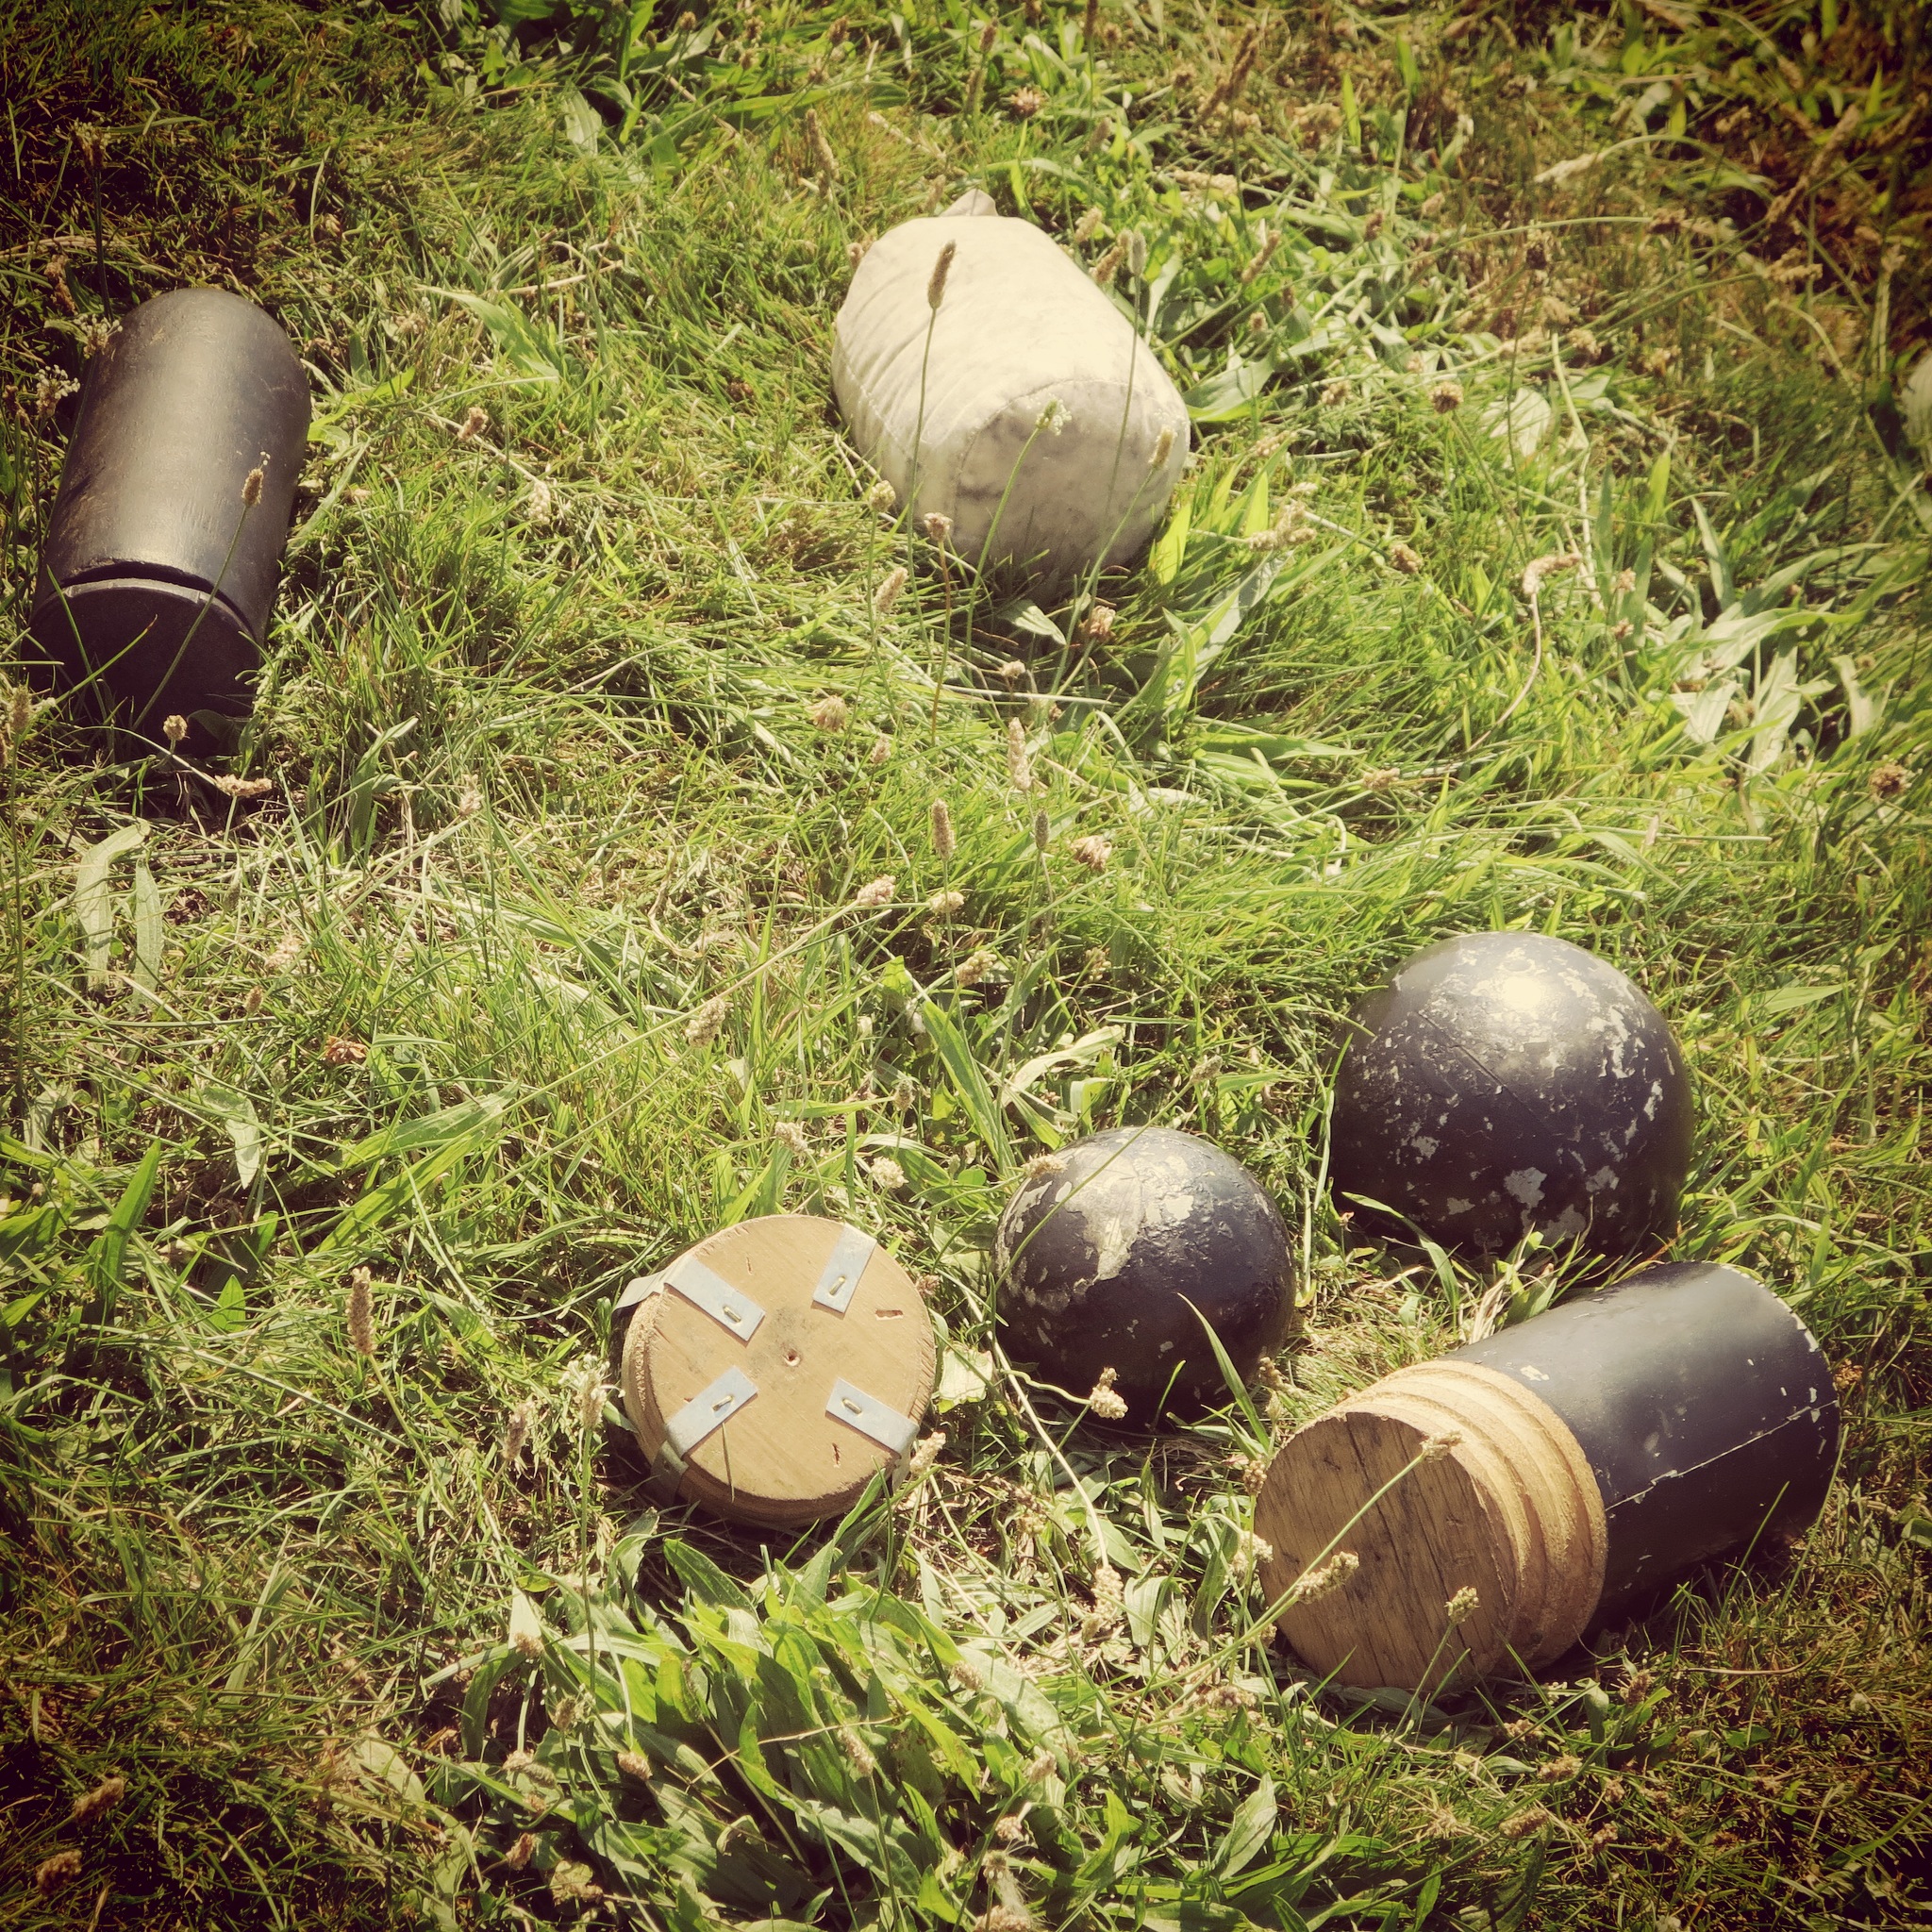
Timbers were split lengthwise with the flat side pointed outward. This is thought to have been done largely as a time saver as only half the number of trees had to be felled when building the fort. Live musket tests at the site in the video above demonstrate how little protection the logs would have provided with hundreds of French and Indians firing from the surrounding woods. Standing in the stockade under fire would have been a mix of smoke, splinters and metal ripping through the air.
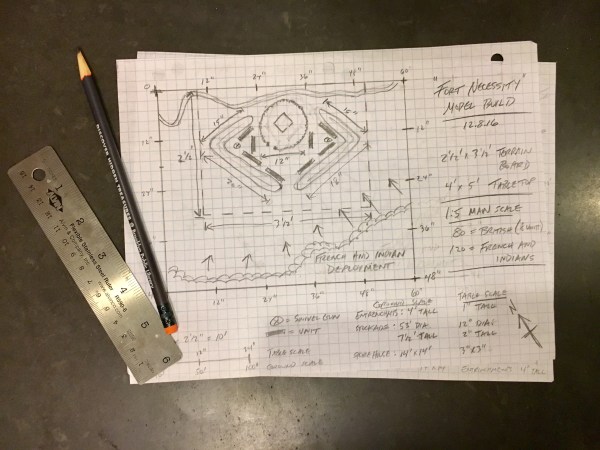
Scaled drawings for the fort construction
I used the scale drawings from the report to create a scaled building plan. With the fort estimated at 53′ in diameter, I converted the size to about 12″ in diameter for the model. Going on my own visits to the site, I estimated the palisade height at about 7 1/2′ which I scaled to about 1 1/2″ for the cut timbers. Finally, the small storage house at the center of the fort of about 14′ square in real life was scaled to a 3″ square model size.
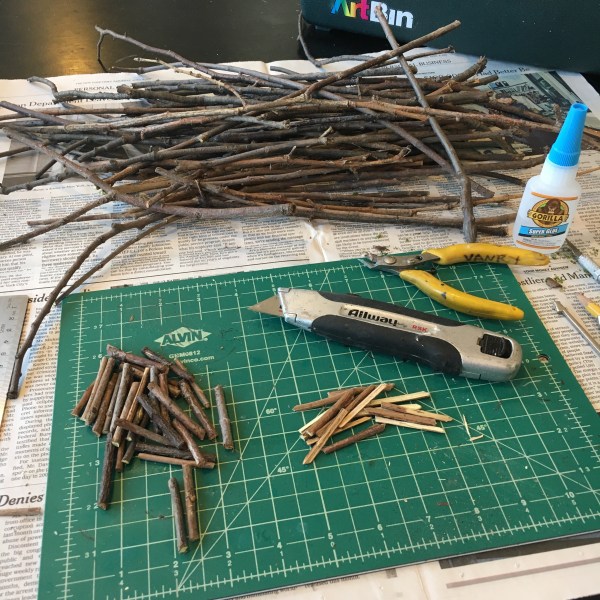
Twigs being cut and split into scale timbers
With all this research and inspiration in my head, I spent a sunny afternoon collecting fallen twigs in a nearby park. I cut selected twigs into 1 1/2″ pieces and split them lengthwise with a sharp knife. Once cut and split, one end of each was clipped to a point using small hobby cutters.
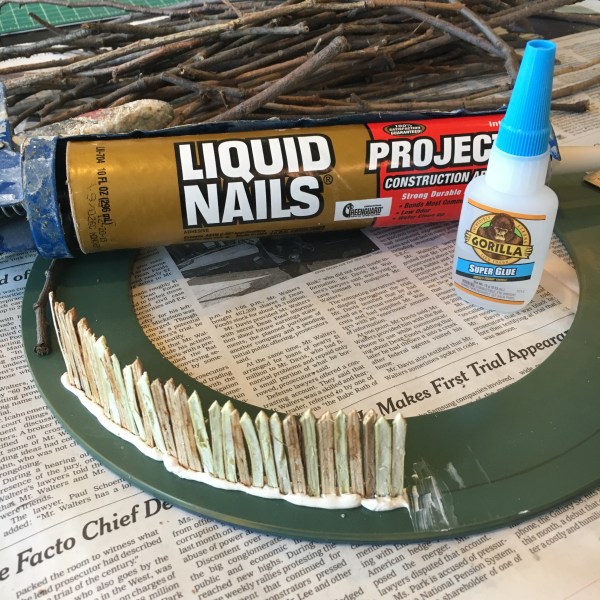
The stockade goes up six inches at a time
The base of the fort consisted of a rigid plastic circle I found discarded on the street. Using a pencil, I traced the outline of a 12″ circle toward the outer edge of the base. Working about six inches at a time, I applied a heavy bead of construction adhesive along the line and stuck my cut timbers side by side in the glue.

Superglue adds strength to the wall
Although the adhesive eventually dries very hard, it does cure a bit slowly. This allowed me to wiggle and straighten the wall pieces as I went along. When a section began to firm up, I spread a small amount of superglue between each timber. Once dry, the whole wall was nice and rigid. I continued this process around the whole fort, leaving a 1 1/2″ gap for the door with a solid round timber on each side.

Woodworker’s putty forms the ground around the stockade
As sections of the wall were completed, I filled in the ground. I used woodworkers putty to slope up gently to the wall on either side and cover the bead of adhesive holding the wall in place. I made sure to maintain an irregular texture with the putty to add some realism to the ground surrounding the fort.
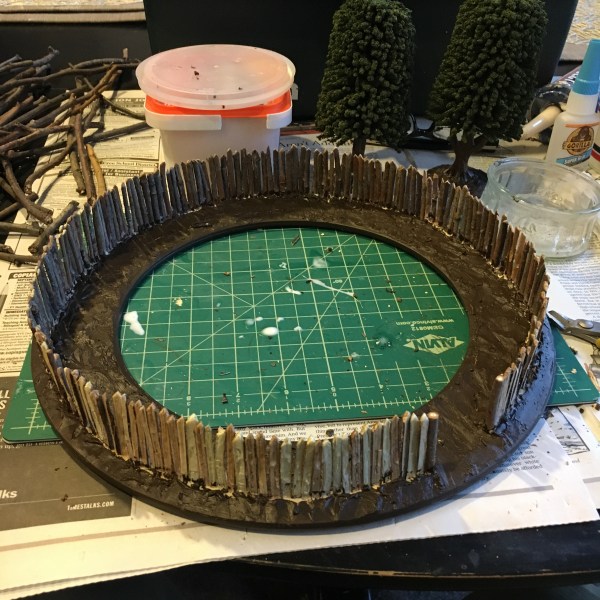
The full fort built and ready for some ground cover
When dry, I covered the ground in a thick layer of brown paint and ground cover. I left the gate area muddy, dry-brushing some lighter browns over the dark basecoat. With everything dry, I soaked the whole fort in some heavy coats of sprayed matte finish.
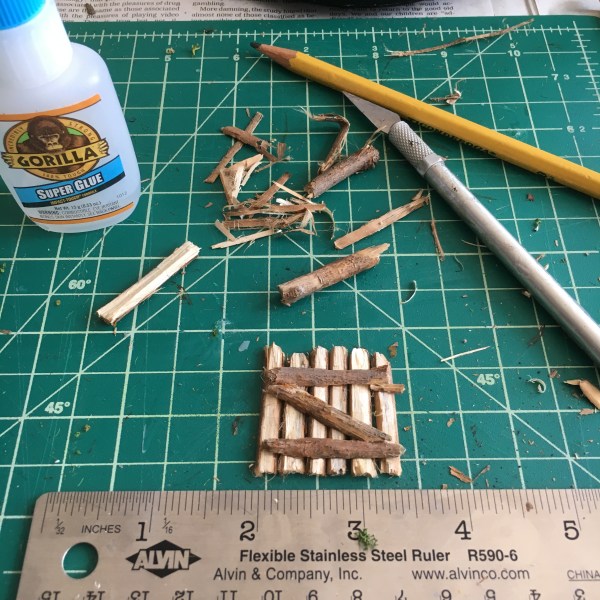
The door comes together using more split timbers
For the stockade door, I split small timbers into boards flat on both sides. Cross pieces on the back held the boards together, and a final bead of superglue between each board firmed the door up. To make the door functional, I cut two small pieces of leathery cloth into thin hinges and glued them to the door and a round post to one side.
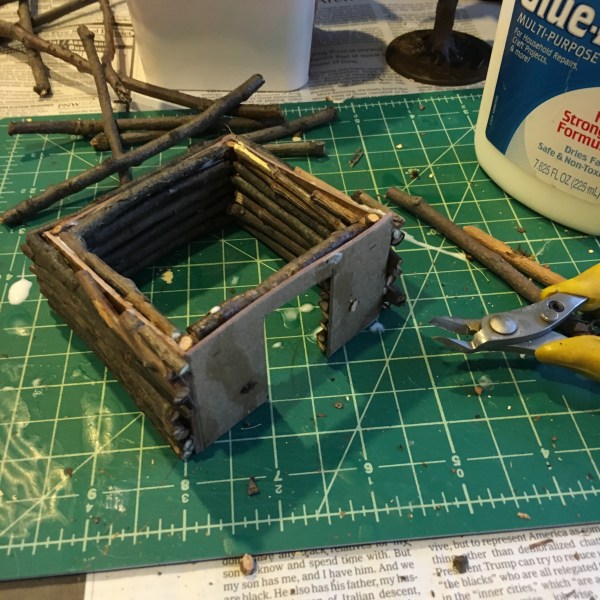
Logs are glued up on the cardboard base
For the small interior storage building, I began with thin cardboard cut to 3″ on a side and tapering from 1 1/2″ at the front to 1″ at the back. A small door opening 1″ across was cut at the front.

The log walls are completed
The building’s walls were made inside and out with logs glued over one another. I cut alternating lengths to provide joint overlaps at the corners to approximate actual speculated construction of the period.
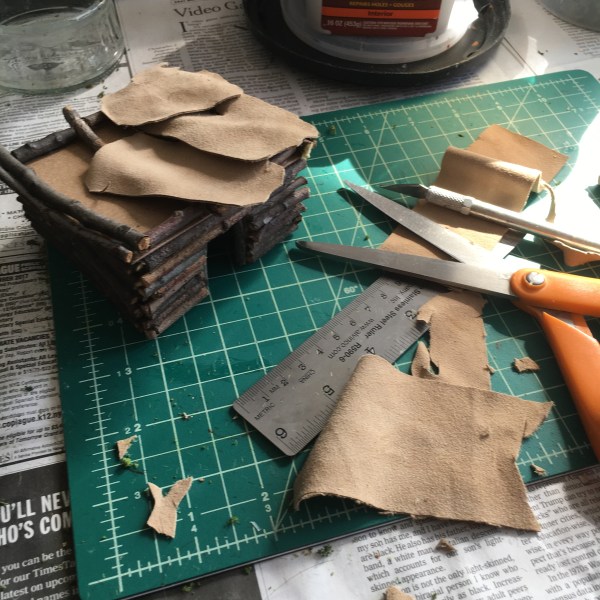
The roof is laid out and completed
For the removable roof, another piece of cardboard cut about 3 1/2″ square was laid on top. Beams were laid out and then the roof was covered with roughly cut thin pieces of leather to represent skins used to cover the roof. Finally, a few random poles were glued on top to hold everything in place.
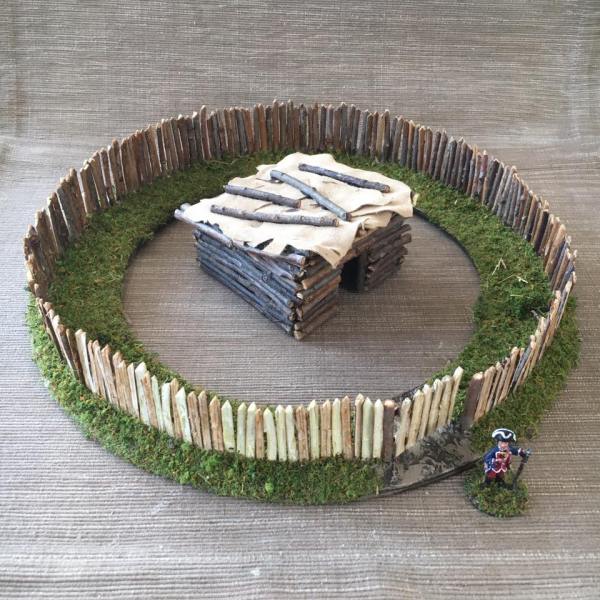
Colonel George Washington inspects the completed Fort Necessity
With the build completed over just a couple days, I had a fairly good model of Fort Necessity built at a 28mm tabletop wargaming scale. My plan is to use the new model in a recreation of the battle at the upcoming Fire In The East NJ Con this coming June. I’ll have another post on the scenario as I playtest it in the coming month.