My workbench focus over the past couple of weeks has been almost exclusively on my 28mm American Civil War project which I hope to have wrapped-up and ready to present in a large scale battle this spring. As posted previously, I love setting out a realistic wargaming table full of structures and terrain. Luckily, Perry Miniatures – the maker of my favored 28mm American Civil War soldiers – also produces a couple 1/56th scale plastic kits of terrain suitable to the period.

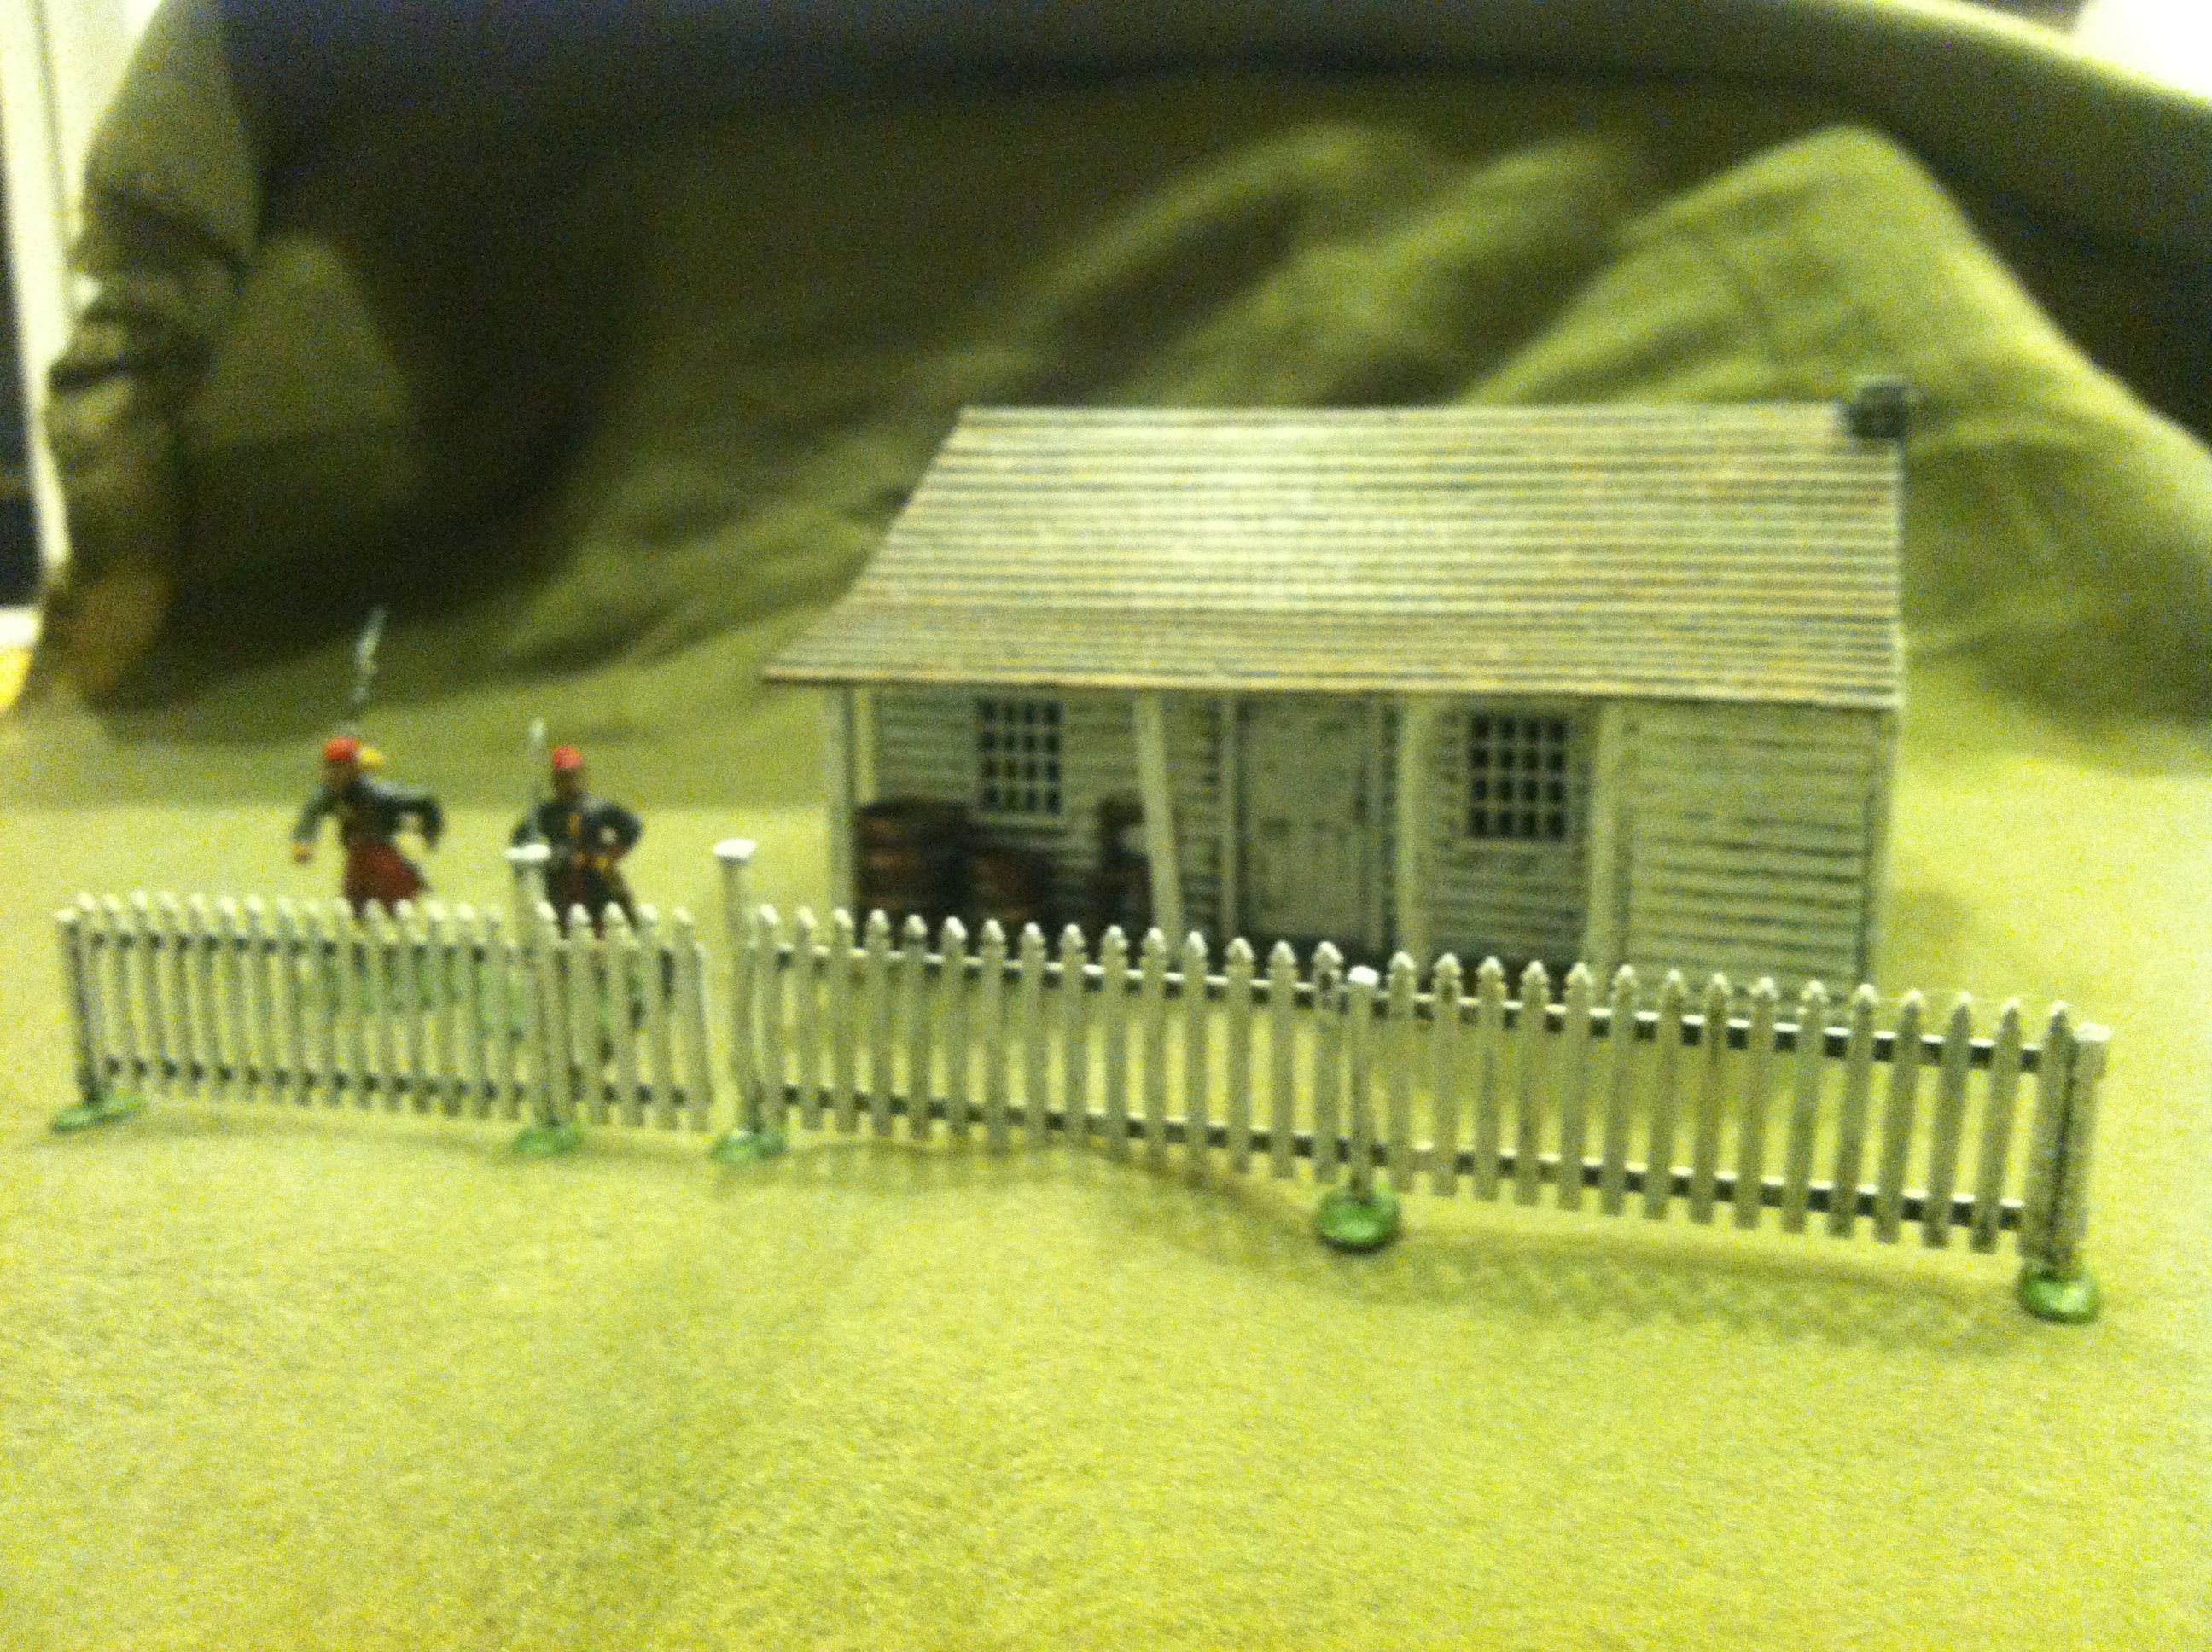
 The Perry Miniatures farmhouse is loosely modelled on General Meade’s Union headquarters from the Battle of Gettsyburg, pictured at right in a photo from the aftermath of the battle and as it looks today. I’ve seen the house in person a couple of times, and I’ve also seen similar buildings in Western New York, Ohio, Michigan and Virginia. The Perry Miniatures model is typical of the small wood-framed clapboard rural farmhouses found in the North, South and into the Great Lakes region from the late 18th through 19th-centuries.
The pieces of the farmhouse kit come in two easily-assembled sprues along with an extra sprue of three types of fencing. The fencing is disappointing and unfortunately doesn’t really offer much to work with in terms of building out a farm scene. Some extra sets of plastic fencing from Renedra are probably needed to really complete the set. However, the box does contain a chair and a couple barrels to add some nice detail to the model’s front porch.
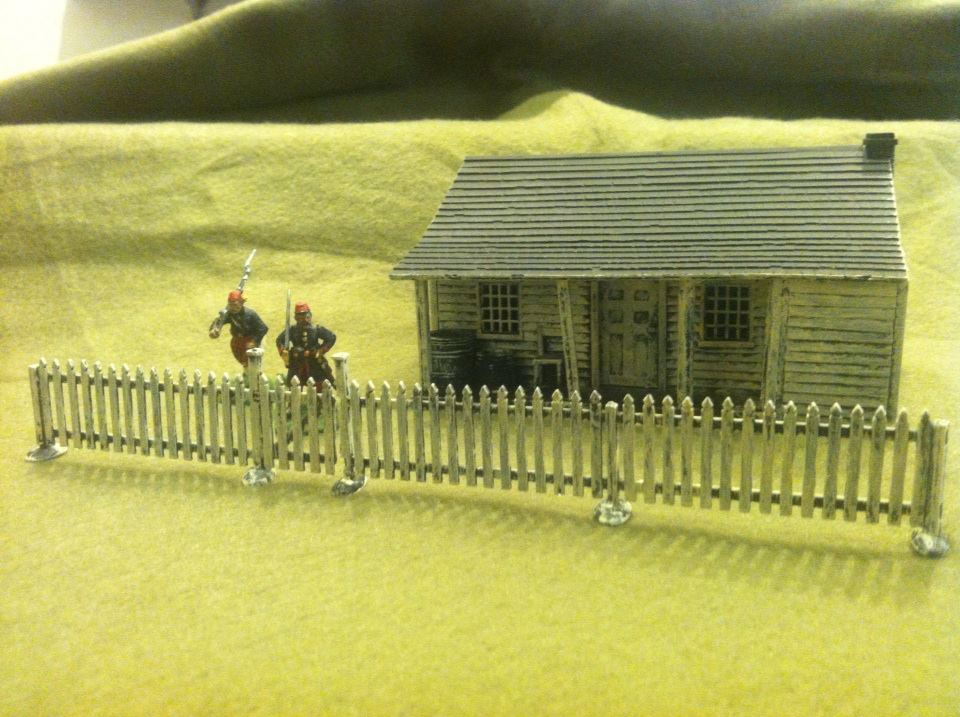 I glued up the kit and sprayed it with a flat black undercoat. My plan was to give the farmhouse a weather-beaten finish looking like it had years of peeling paint. I started by dry-brushing the model with a large flat brush with a yellowish off-white paint, making sure to leave a fair amount of the black in the gaps and areas between the clapboards (photo at top left).

 Next, I dry-brushed the house again with a bright white paint, giving the clapboards additional depth as if the most recent layer of paint had deteriorated over time. For the roof shingles, I built-up dry-brushed paint in dark brown, light brown and then a bit of dark green mixed with a brown wash. I began the chimney with a dark gray paint and then finished it with dry-brushed lighter gray and dabs of brown and off-white paint to represent variations in the stonework (photo at middle left).
For details, I dabbed the barrels, chair and porch planking with dark brown and completed them with some lighter brown dry-brushing and some aging metal for the barrel hoops. The door knobs at the front and rear each got a dab of brass paint (photo at bottom left), and I gave the picket fence another coat of the bright white like the house clapboards.
The final results are below and ready for the battlefield this coming spring.